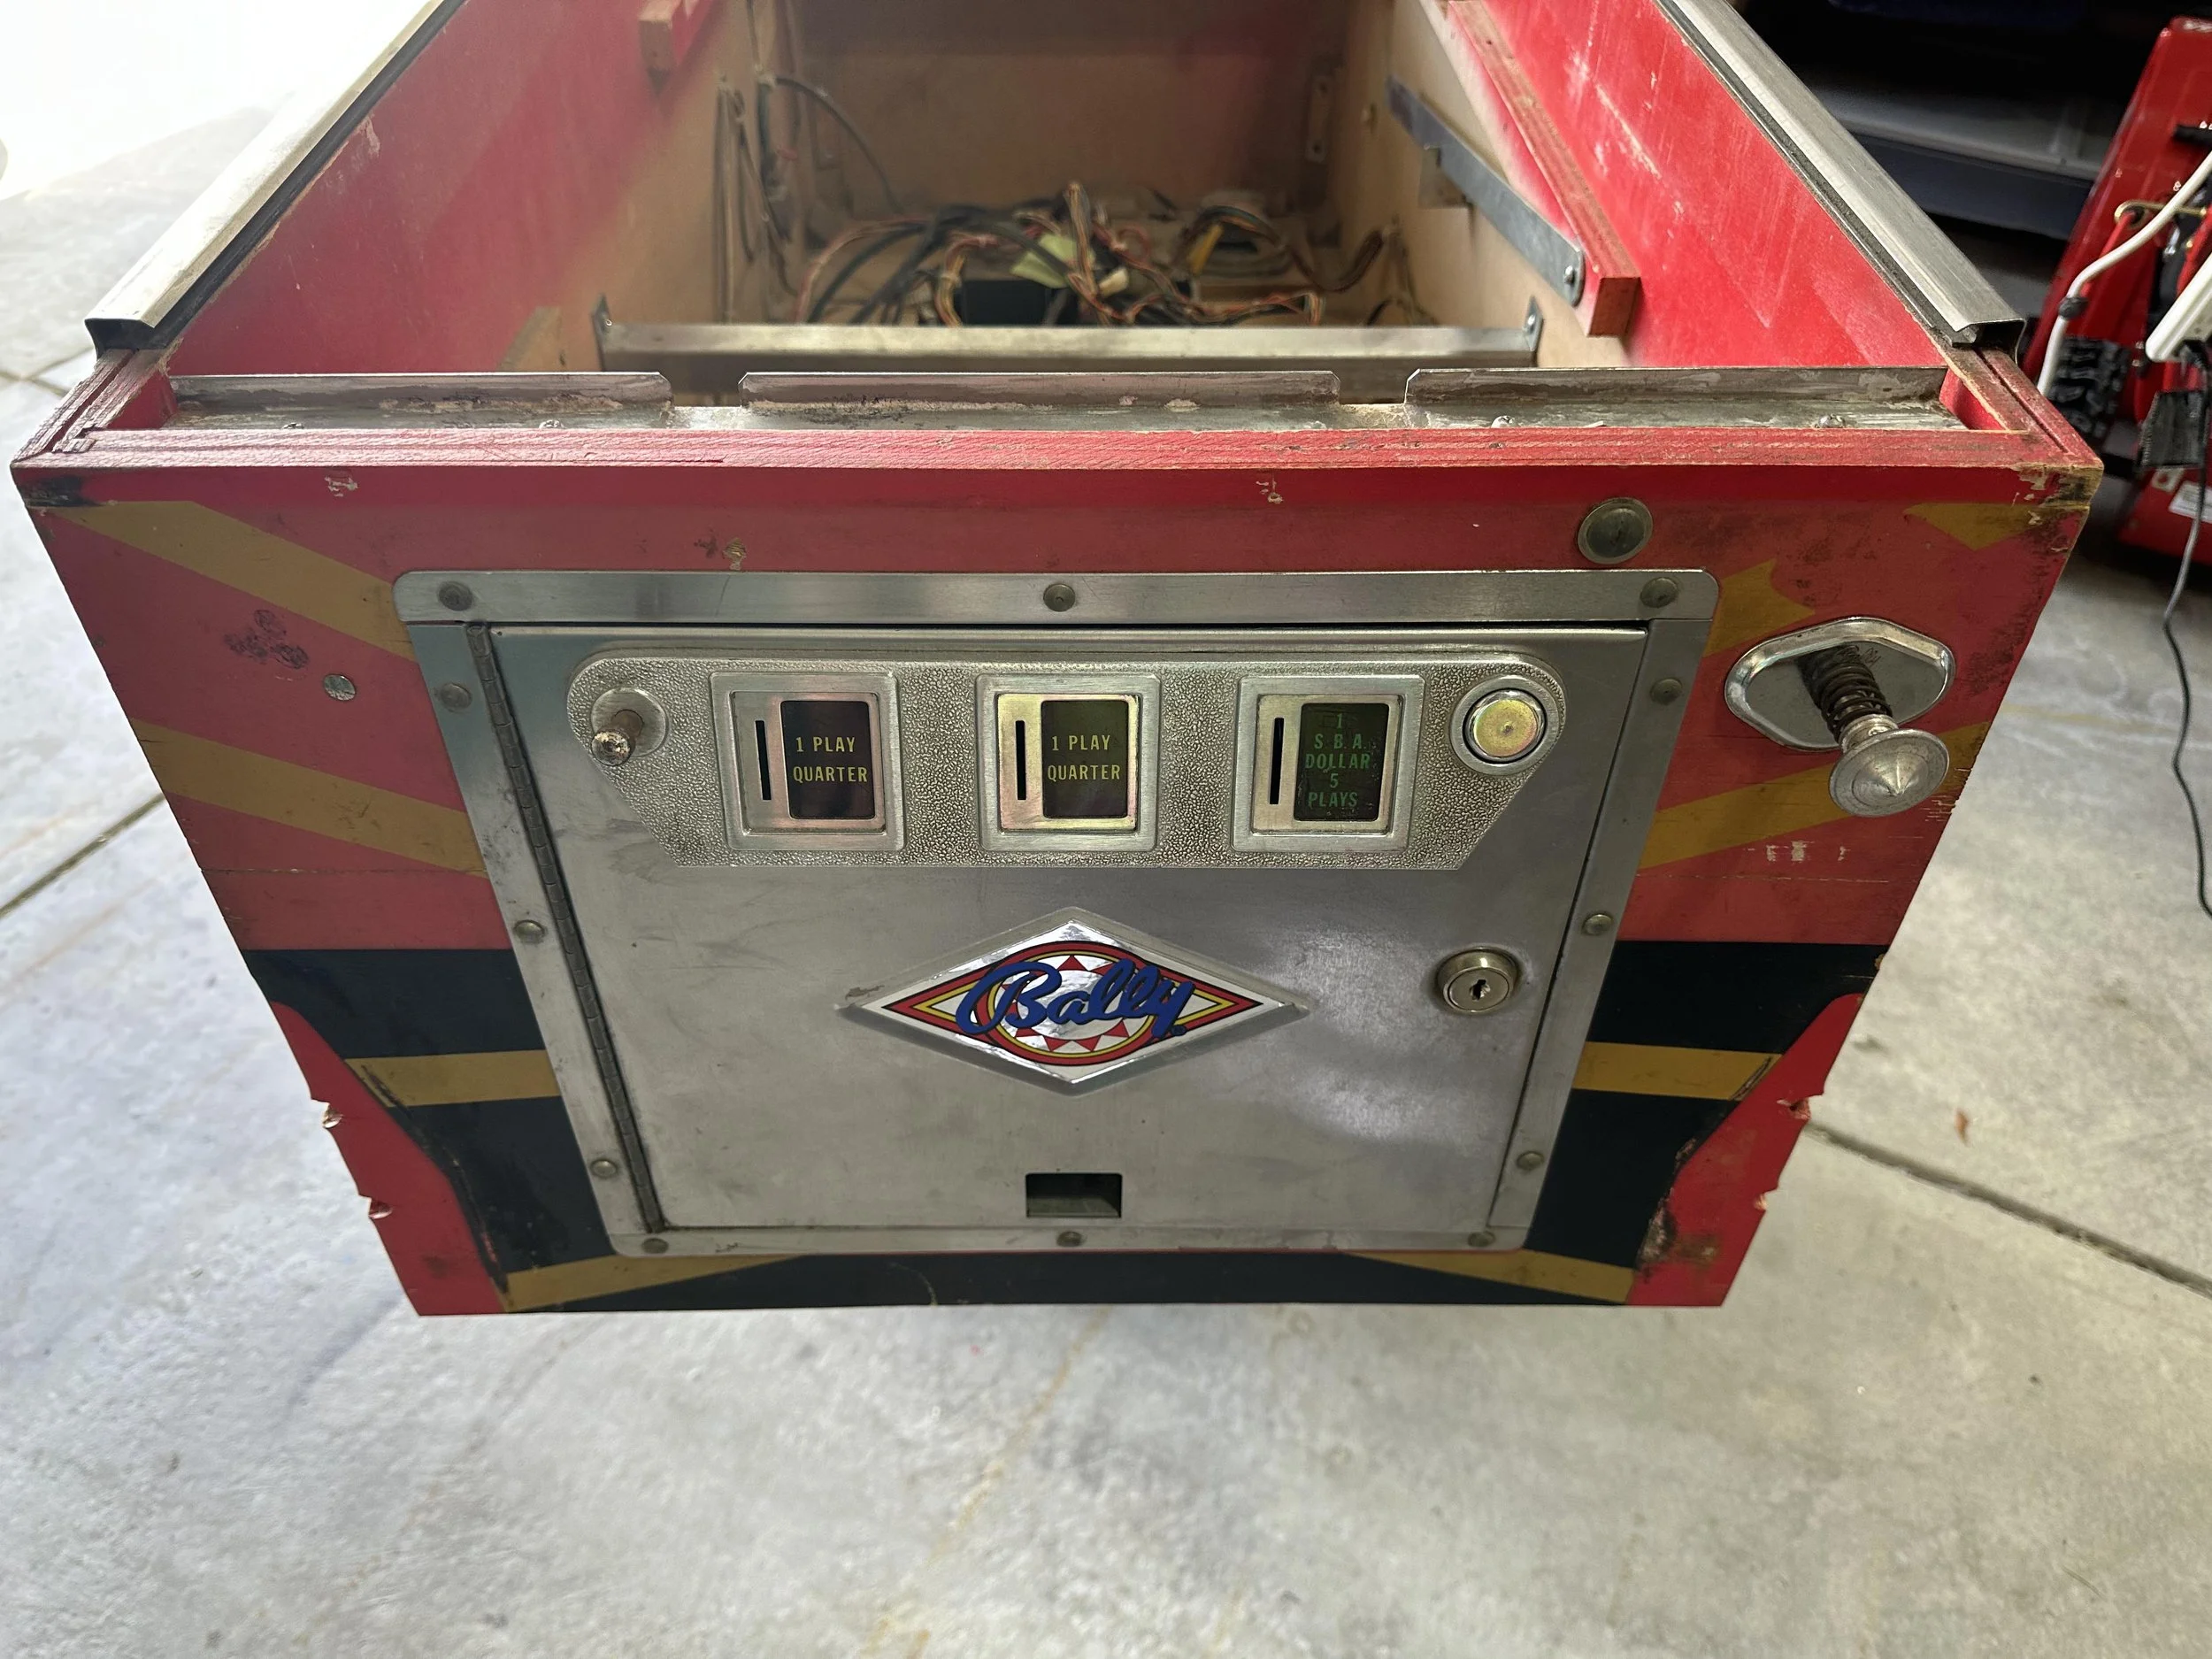
1981 Bally Flash Gordon SS
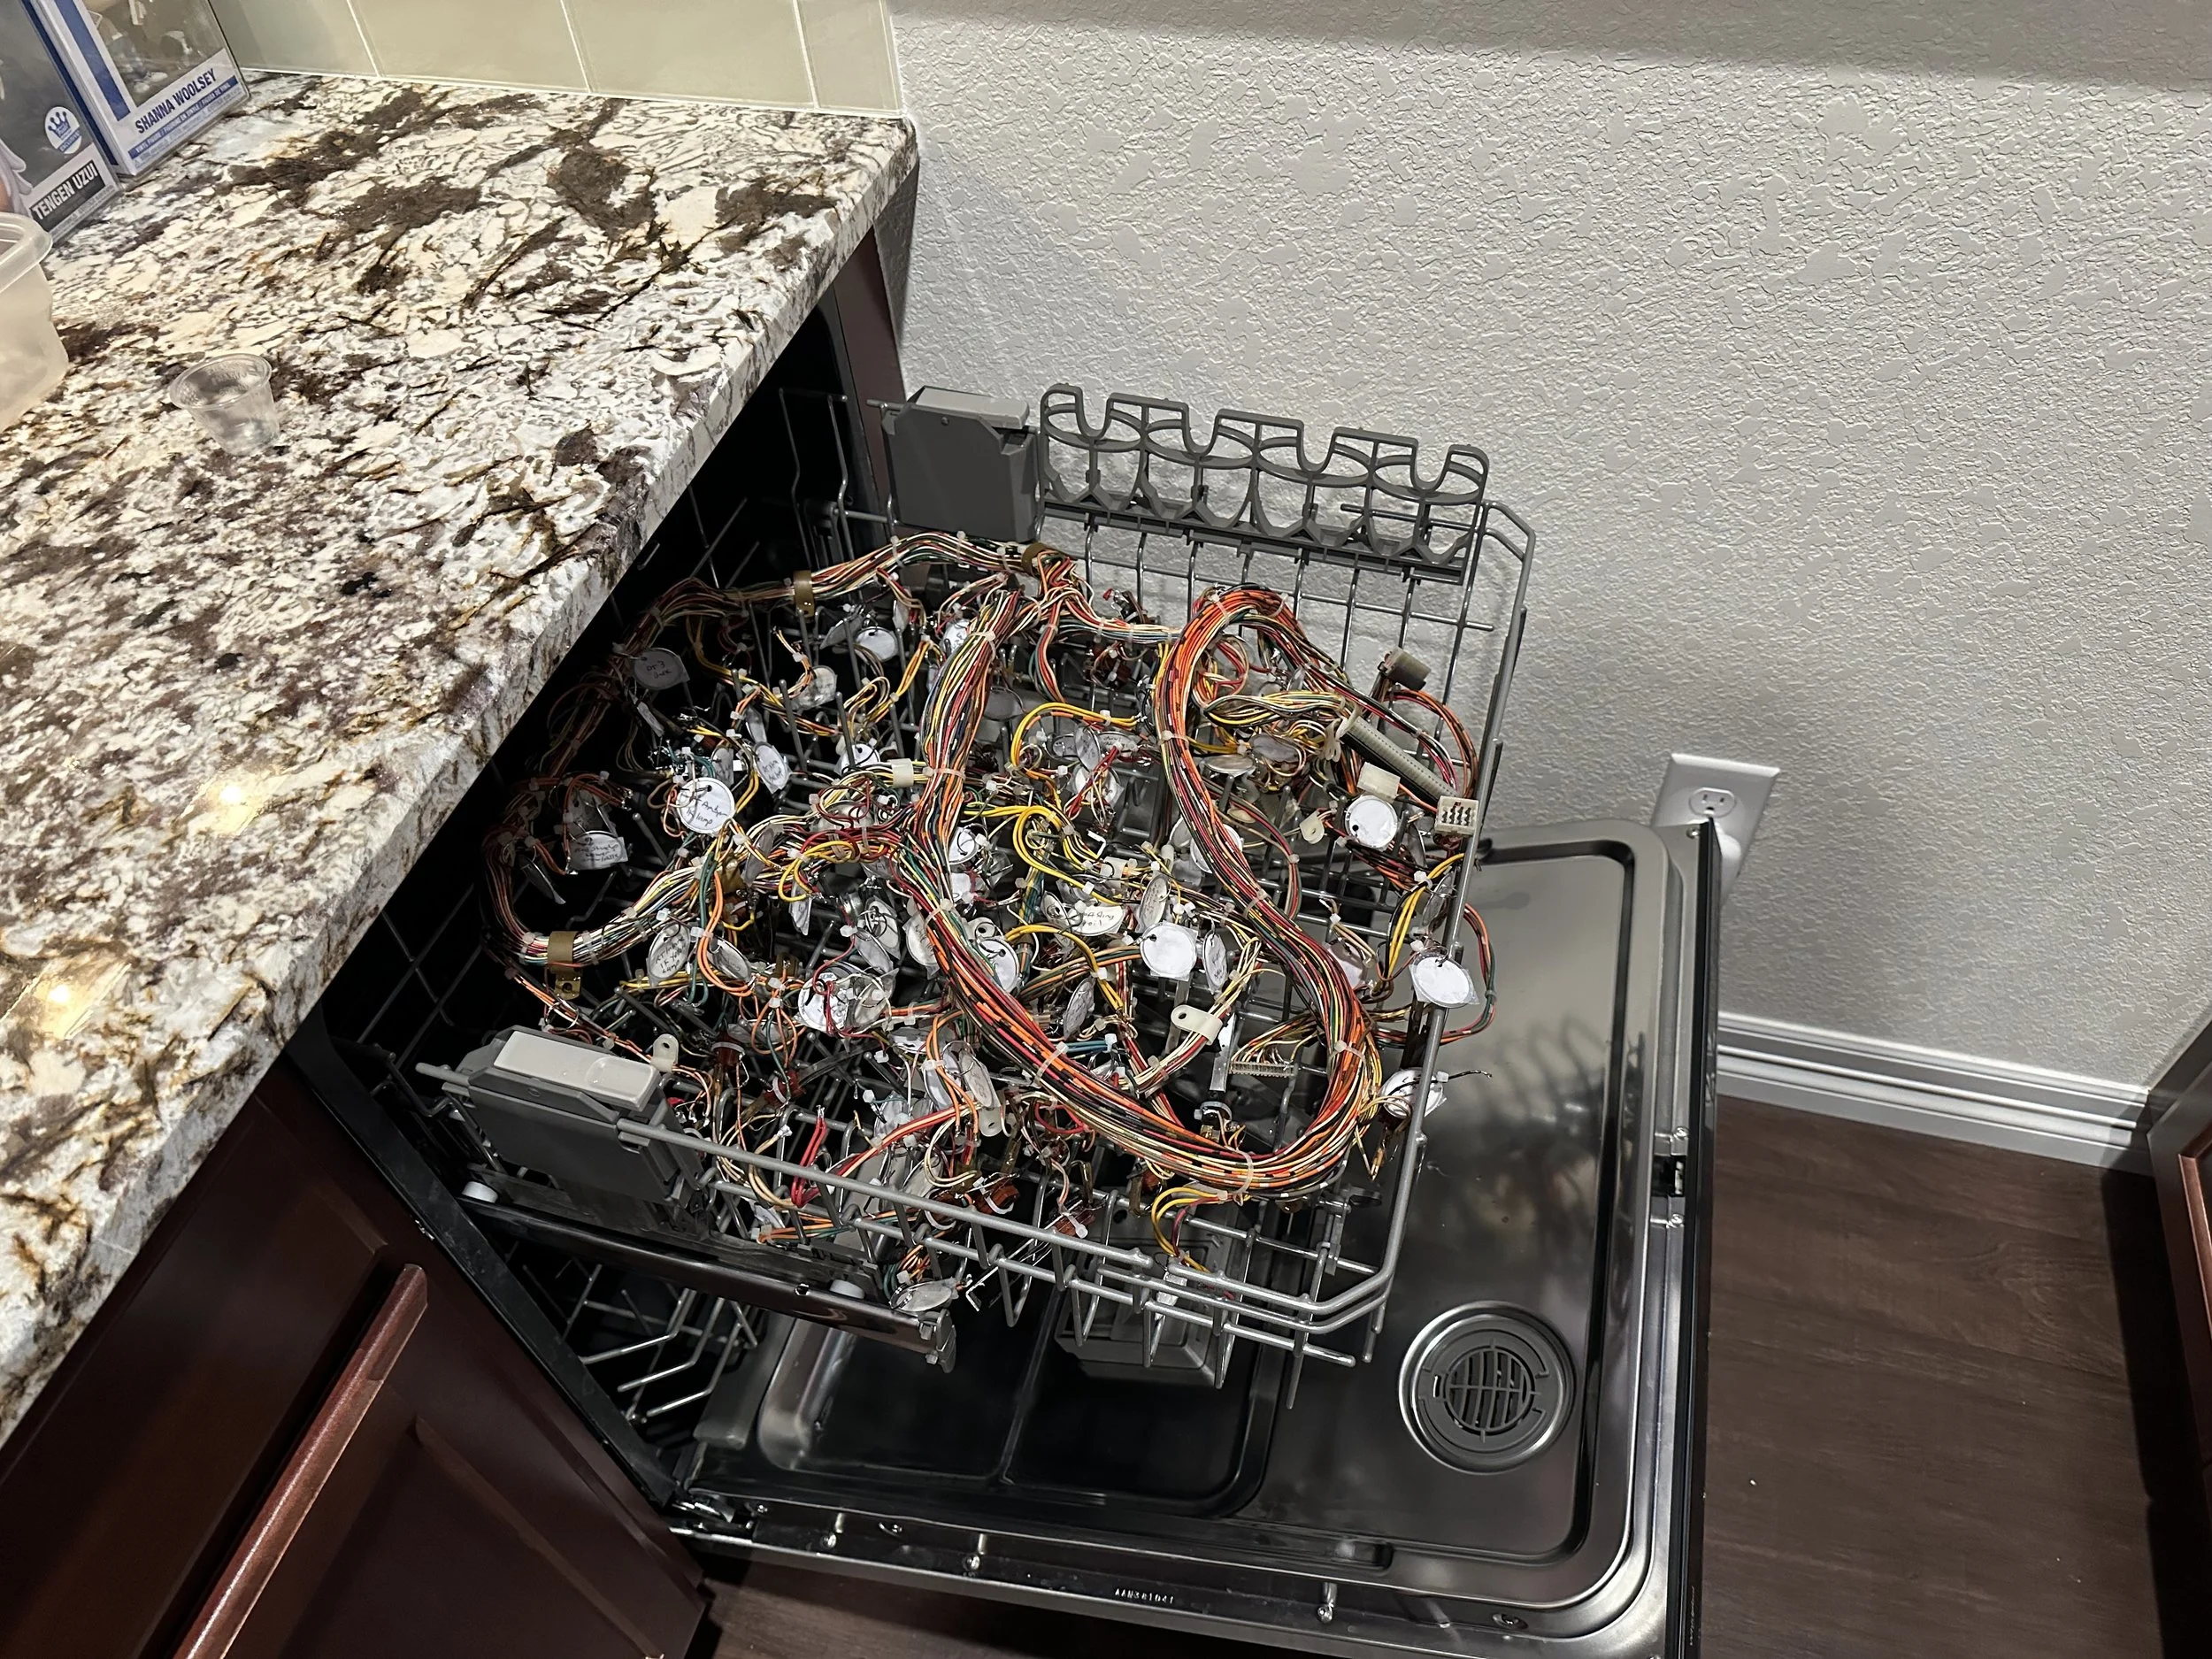
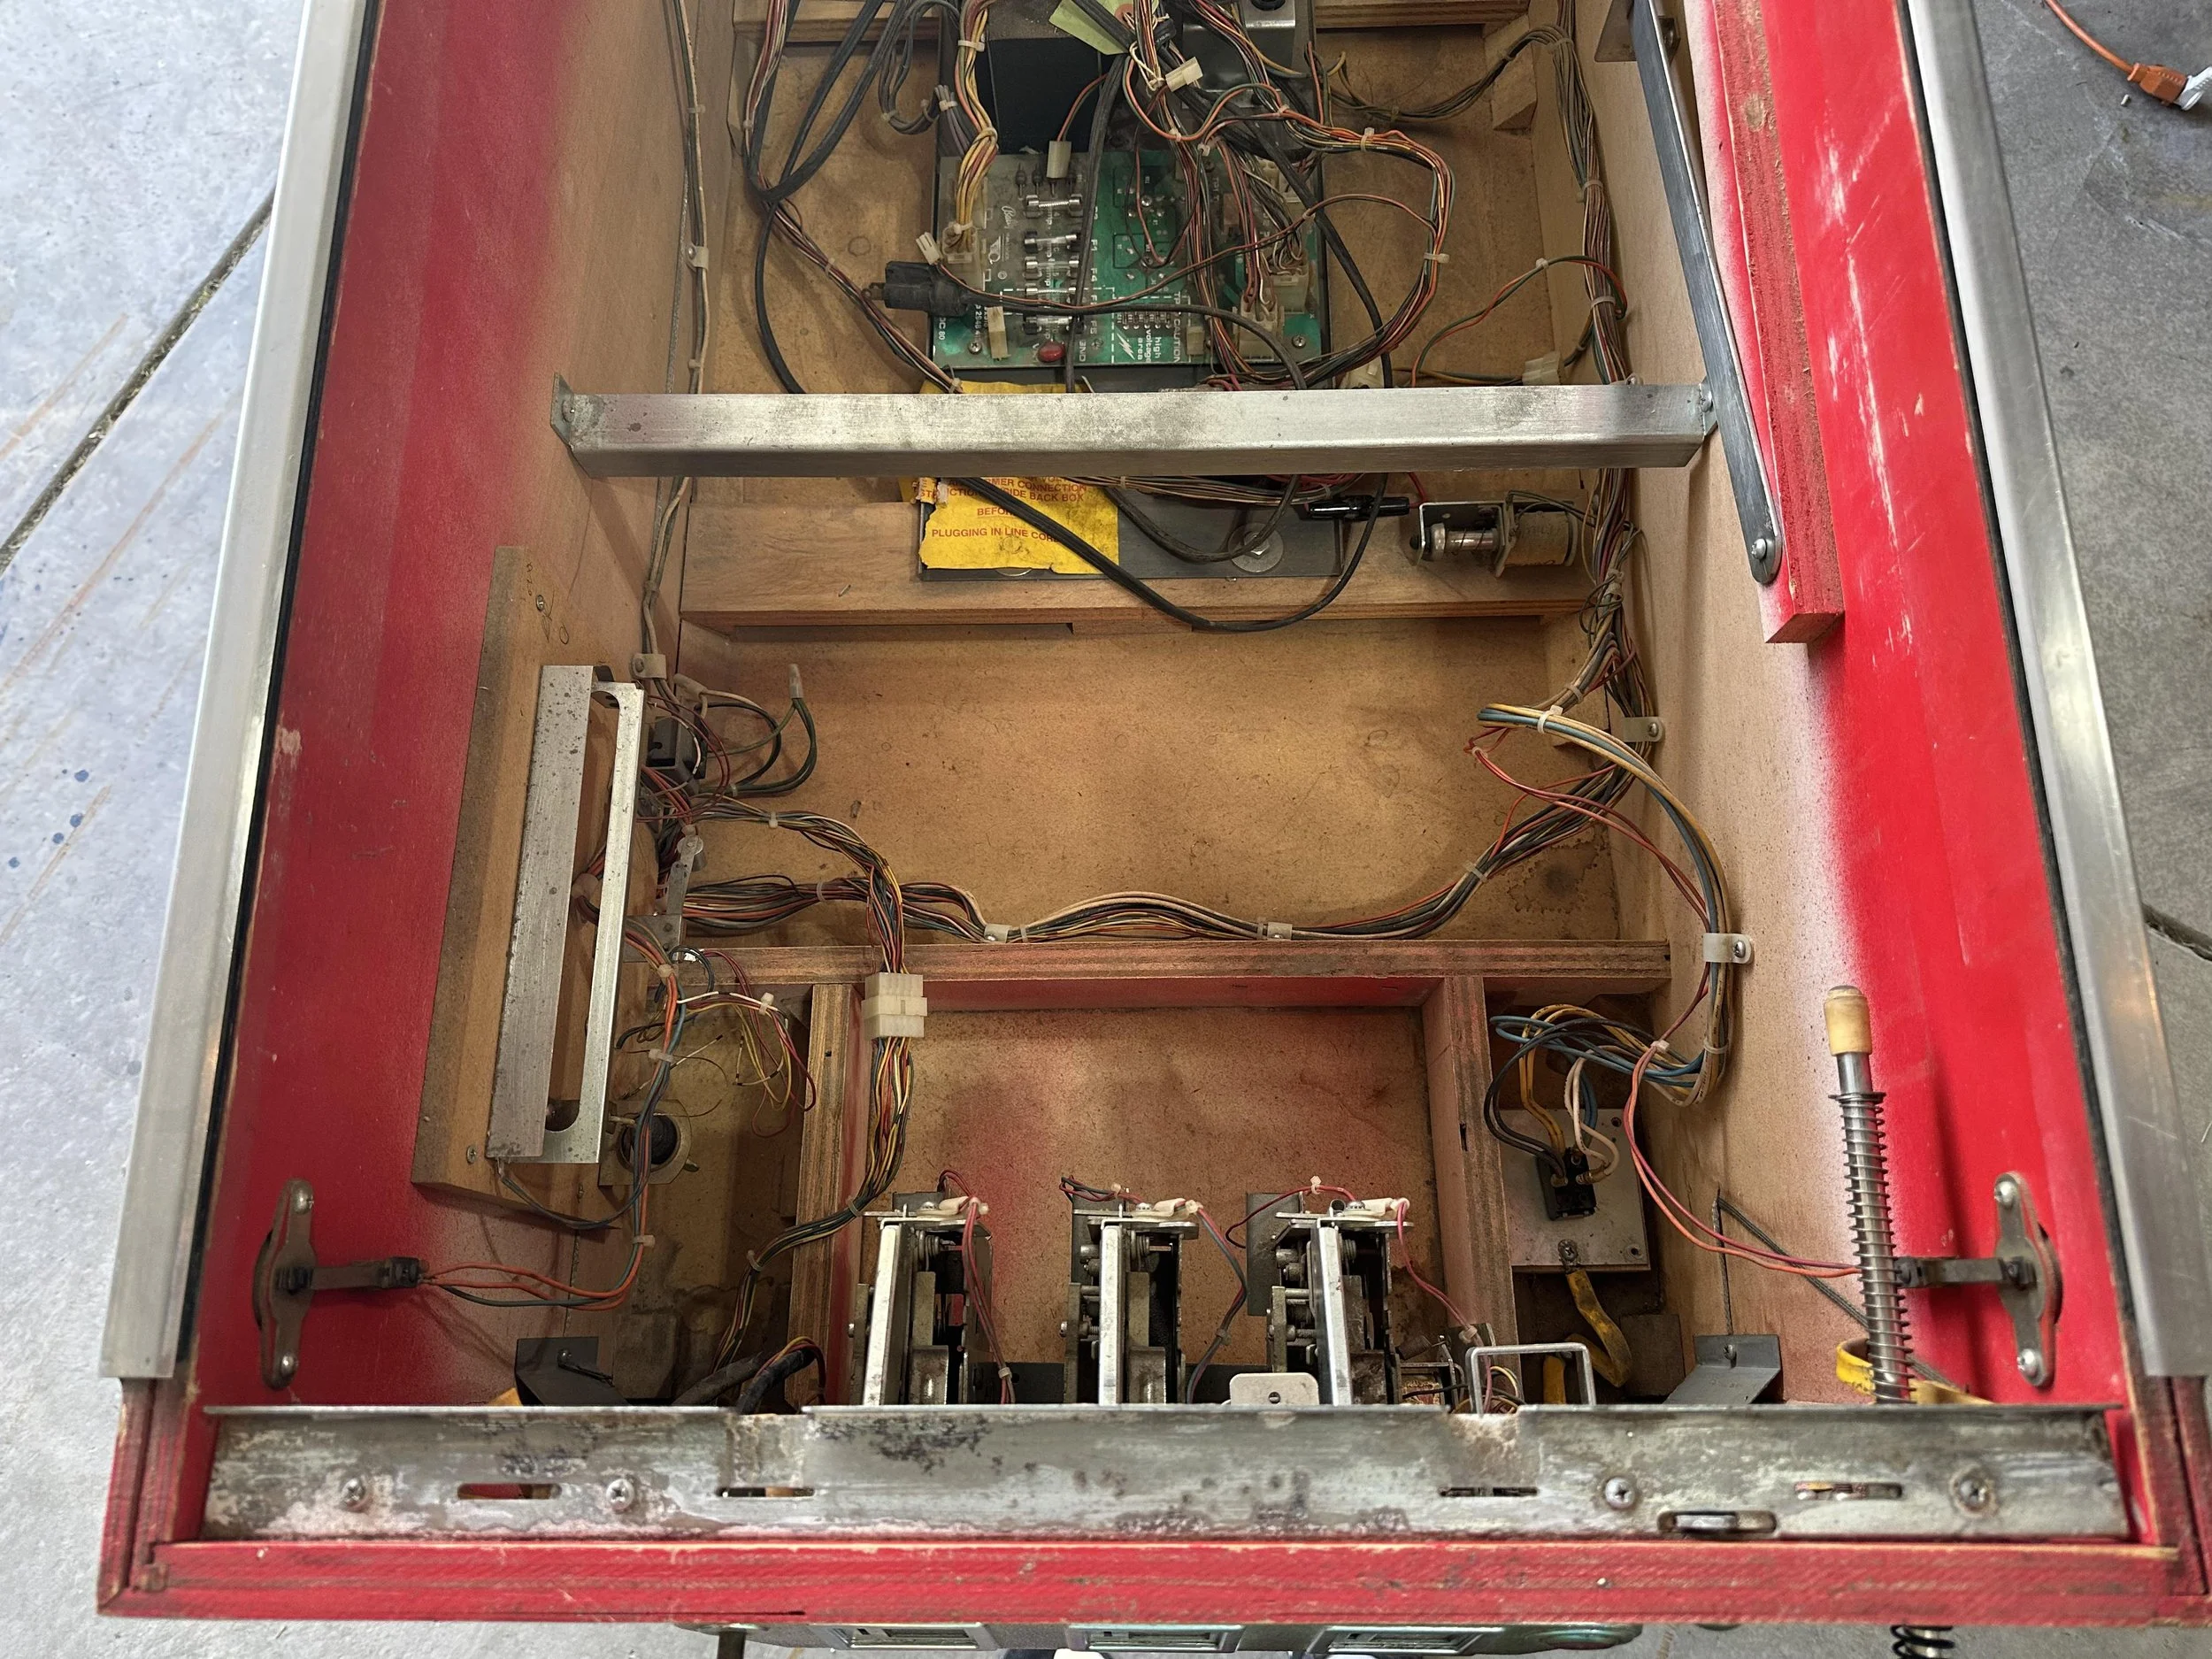
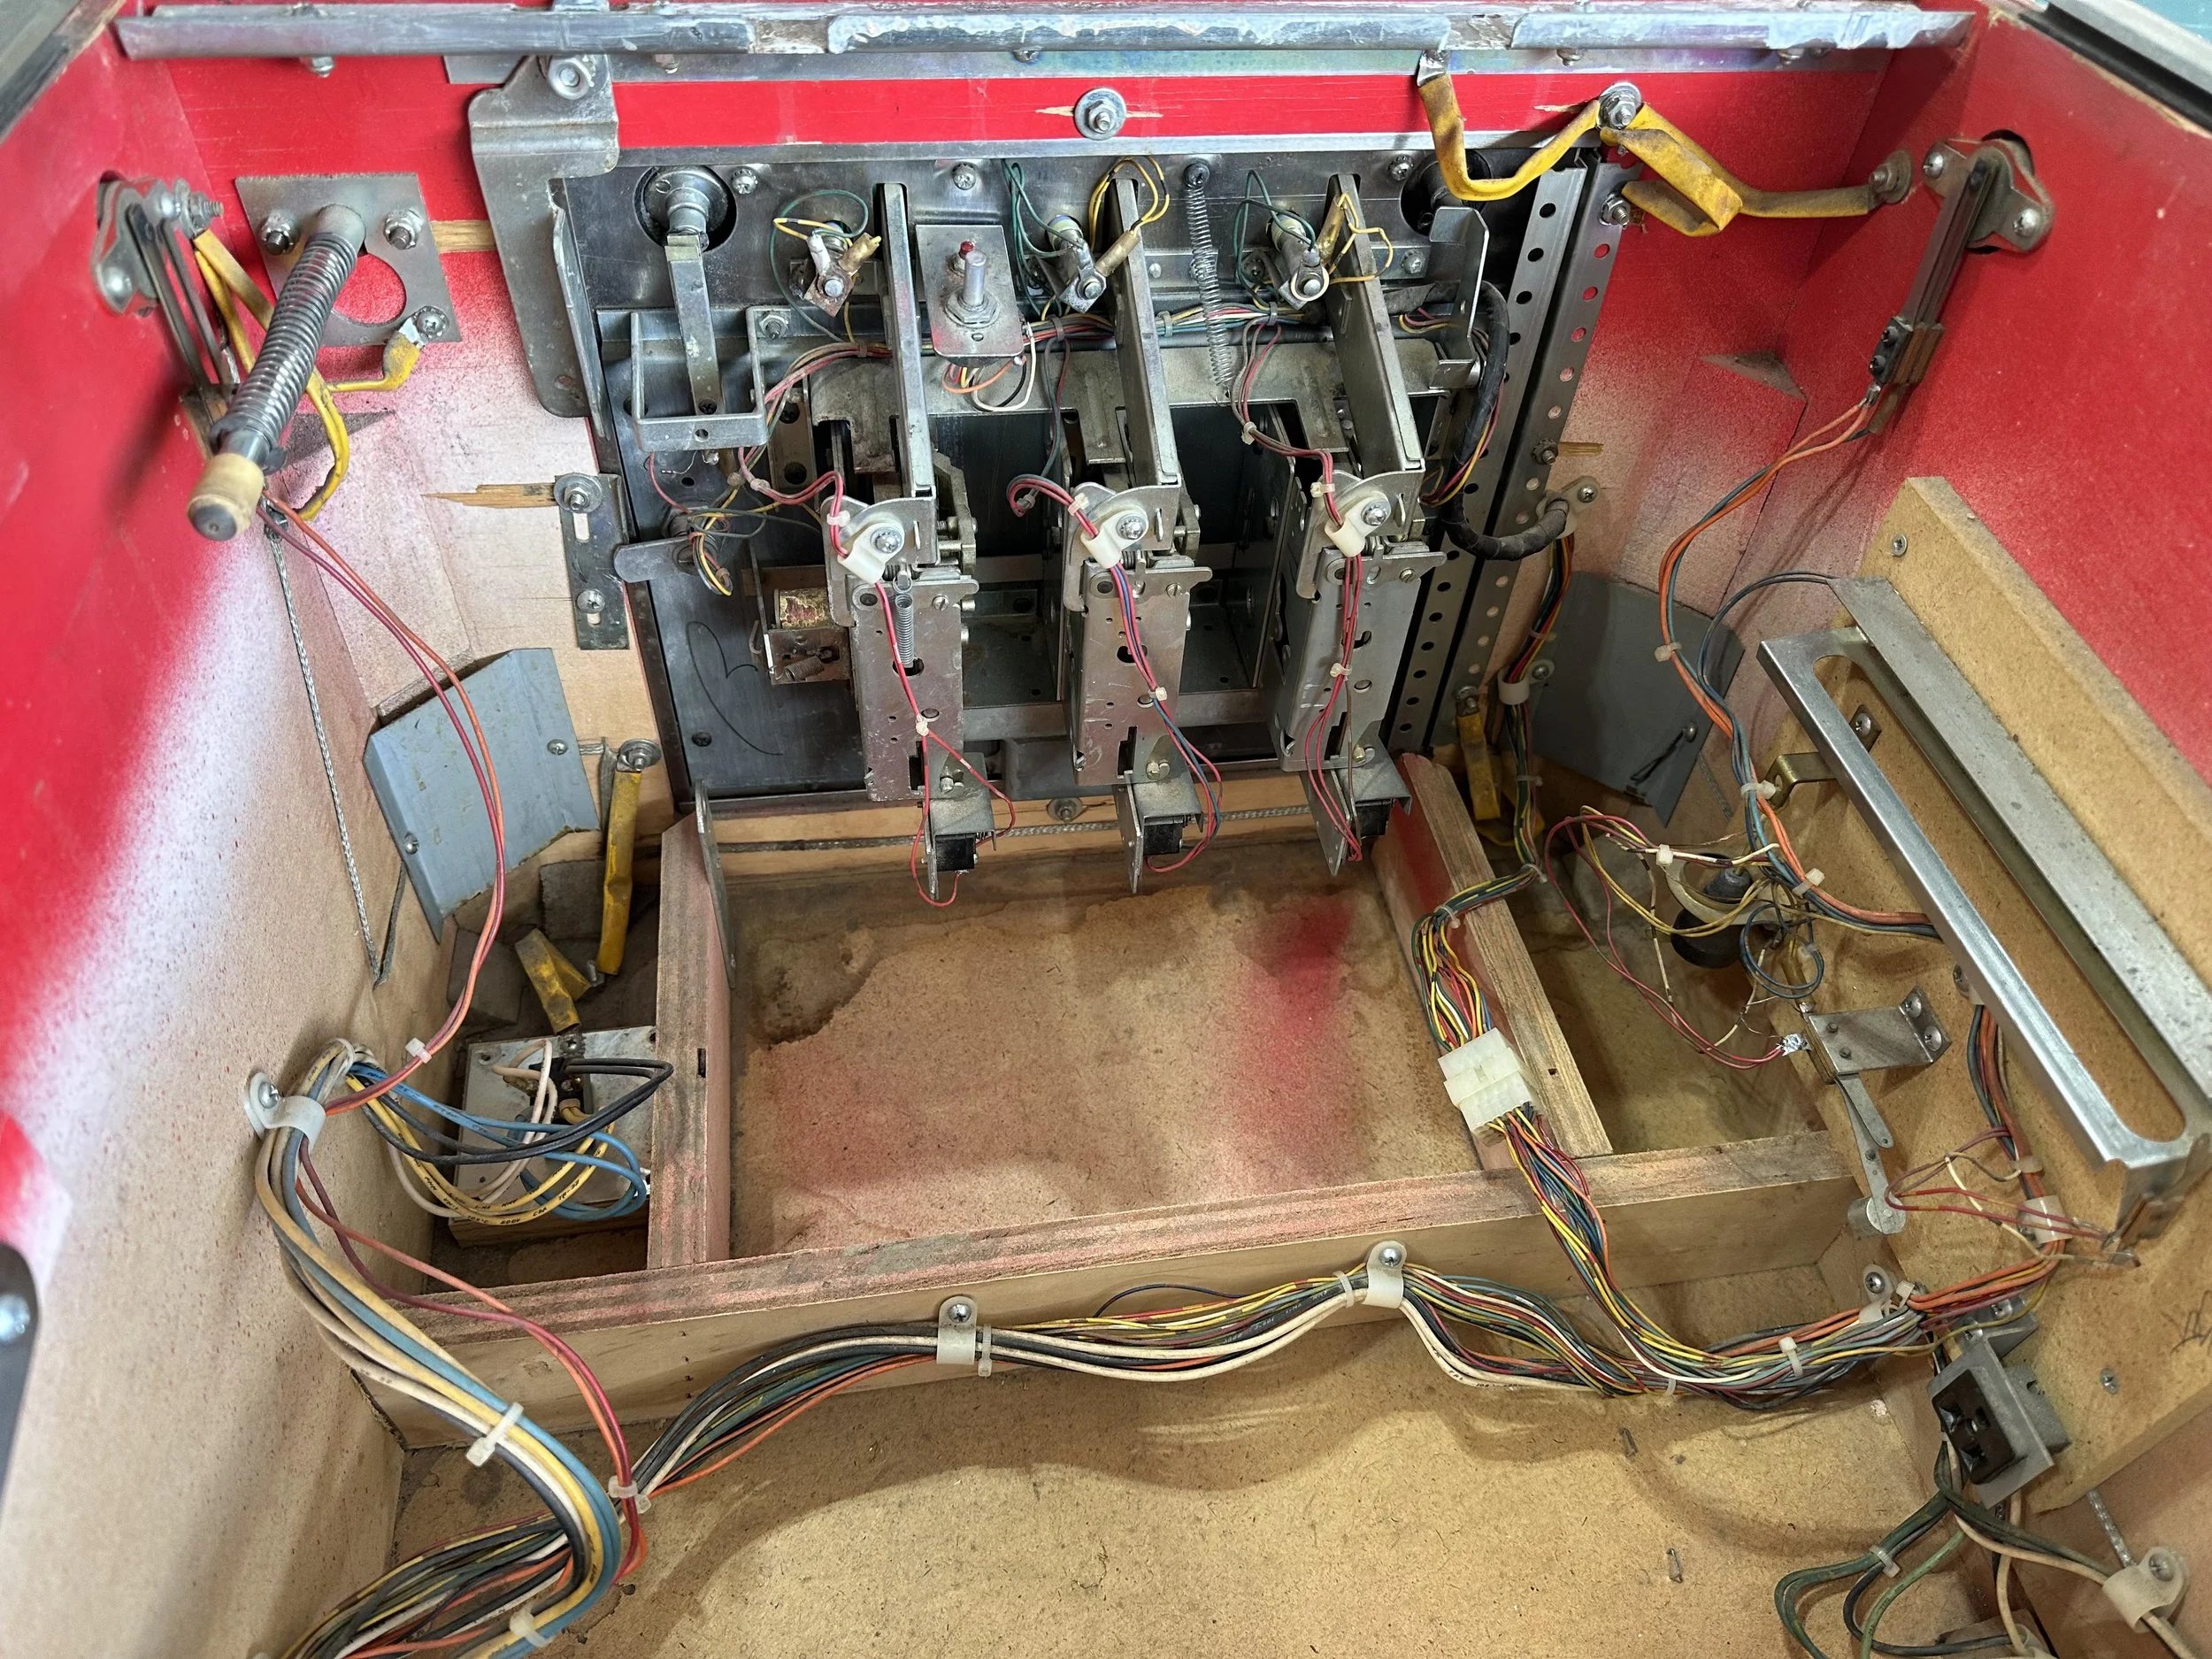
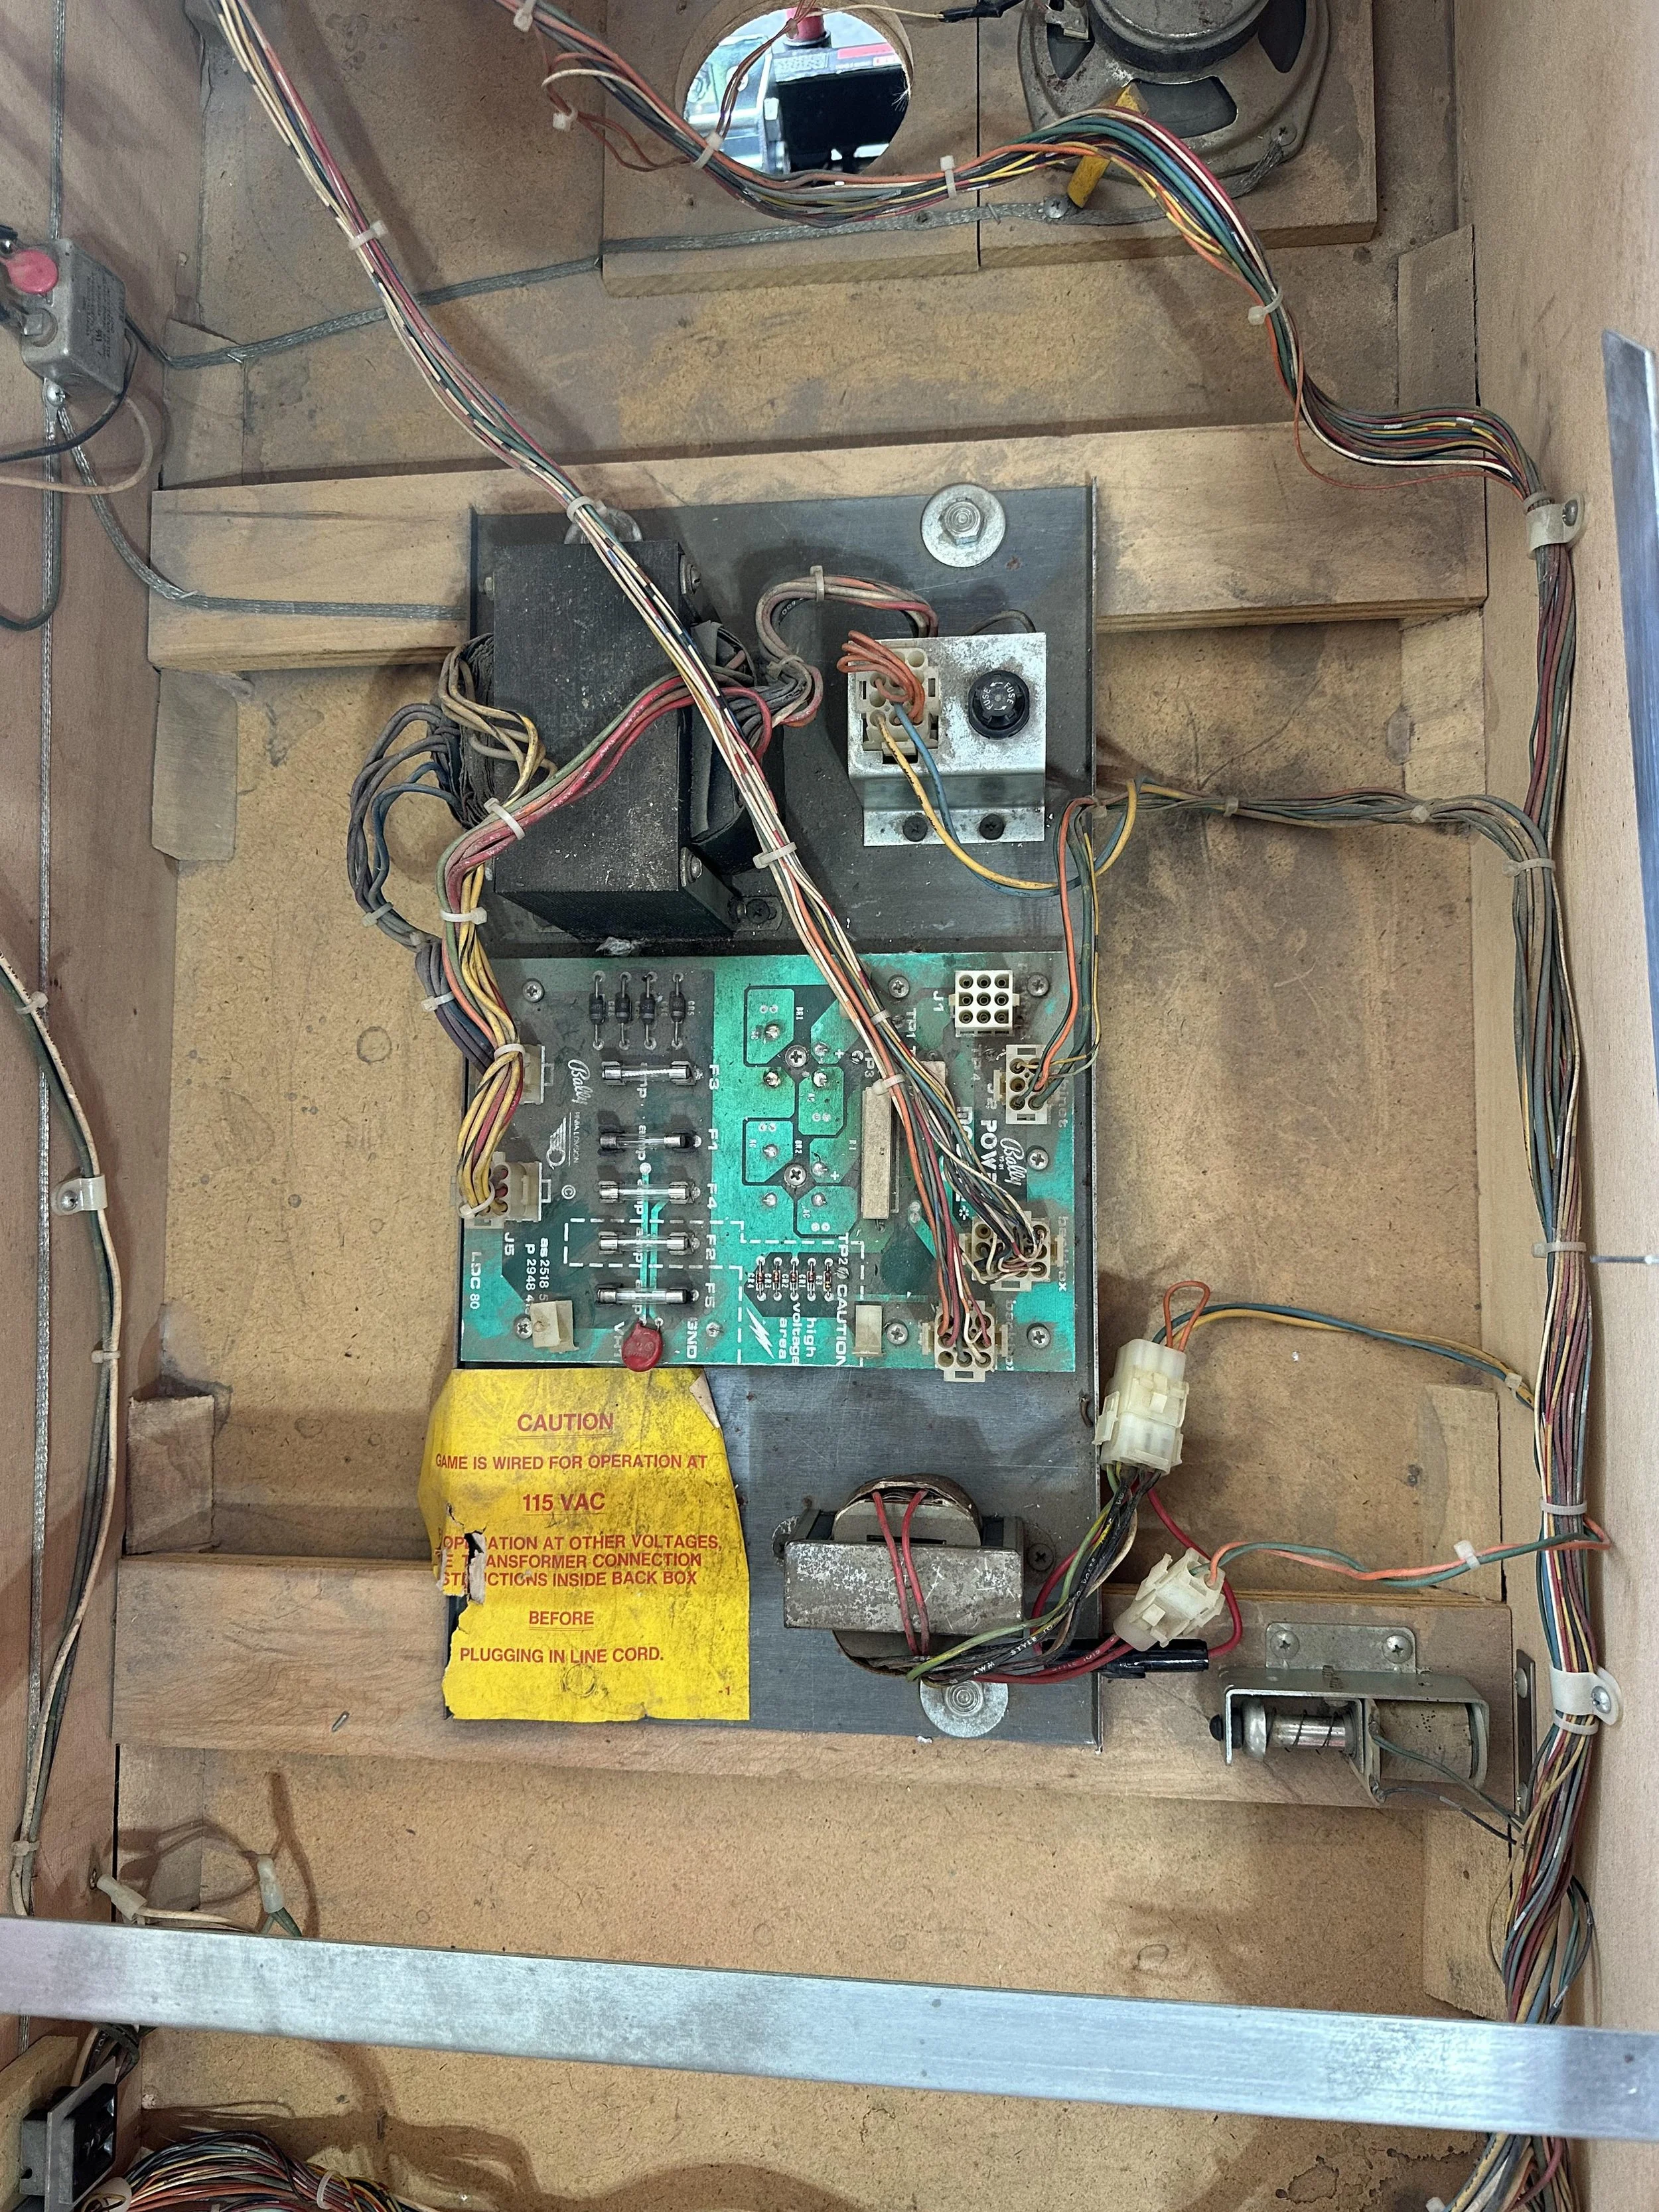
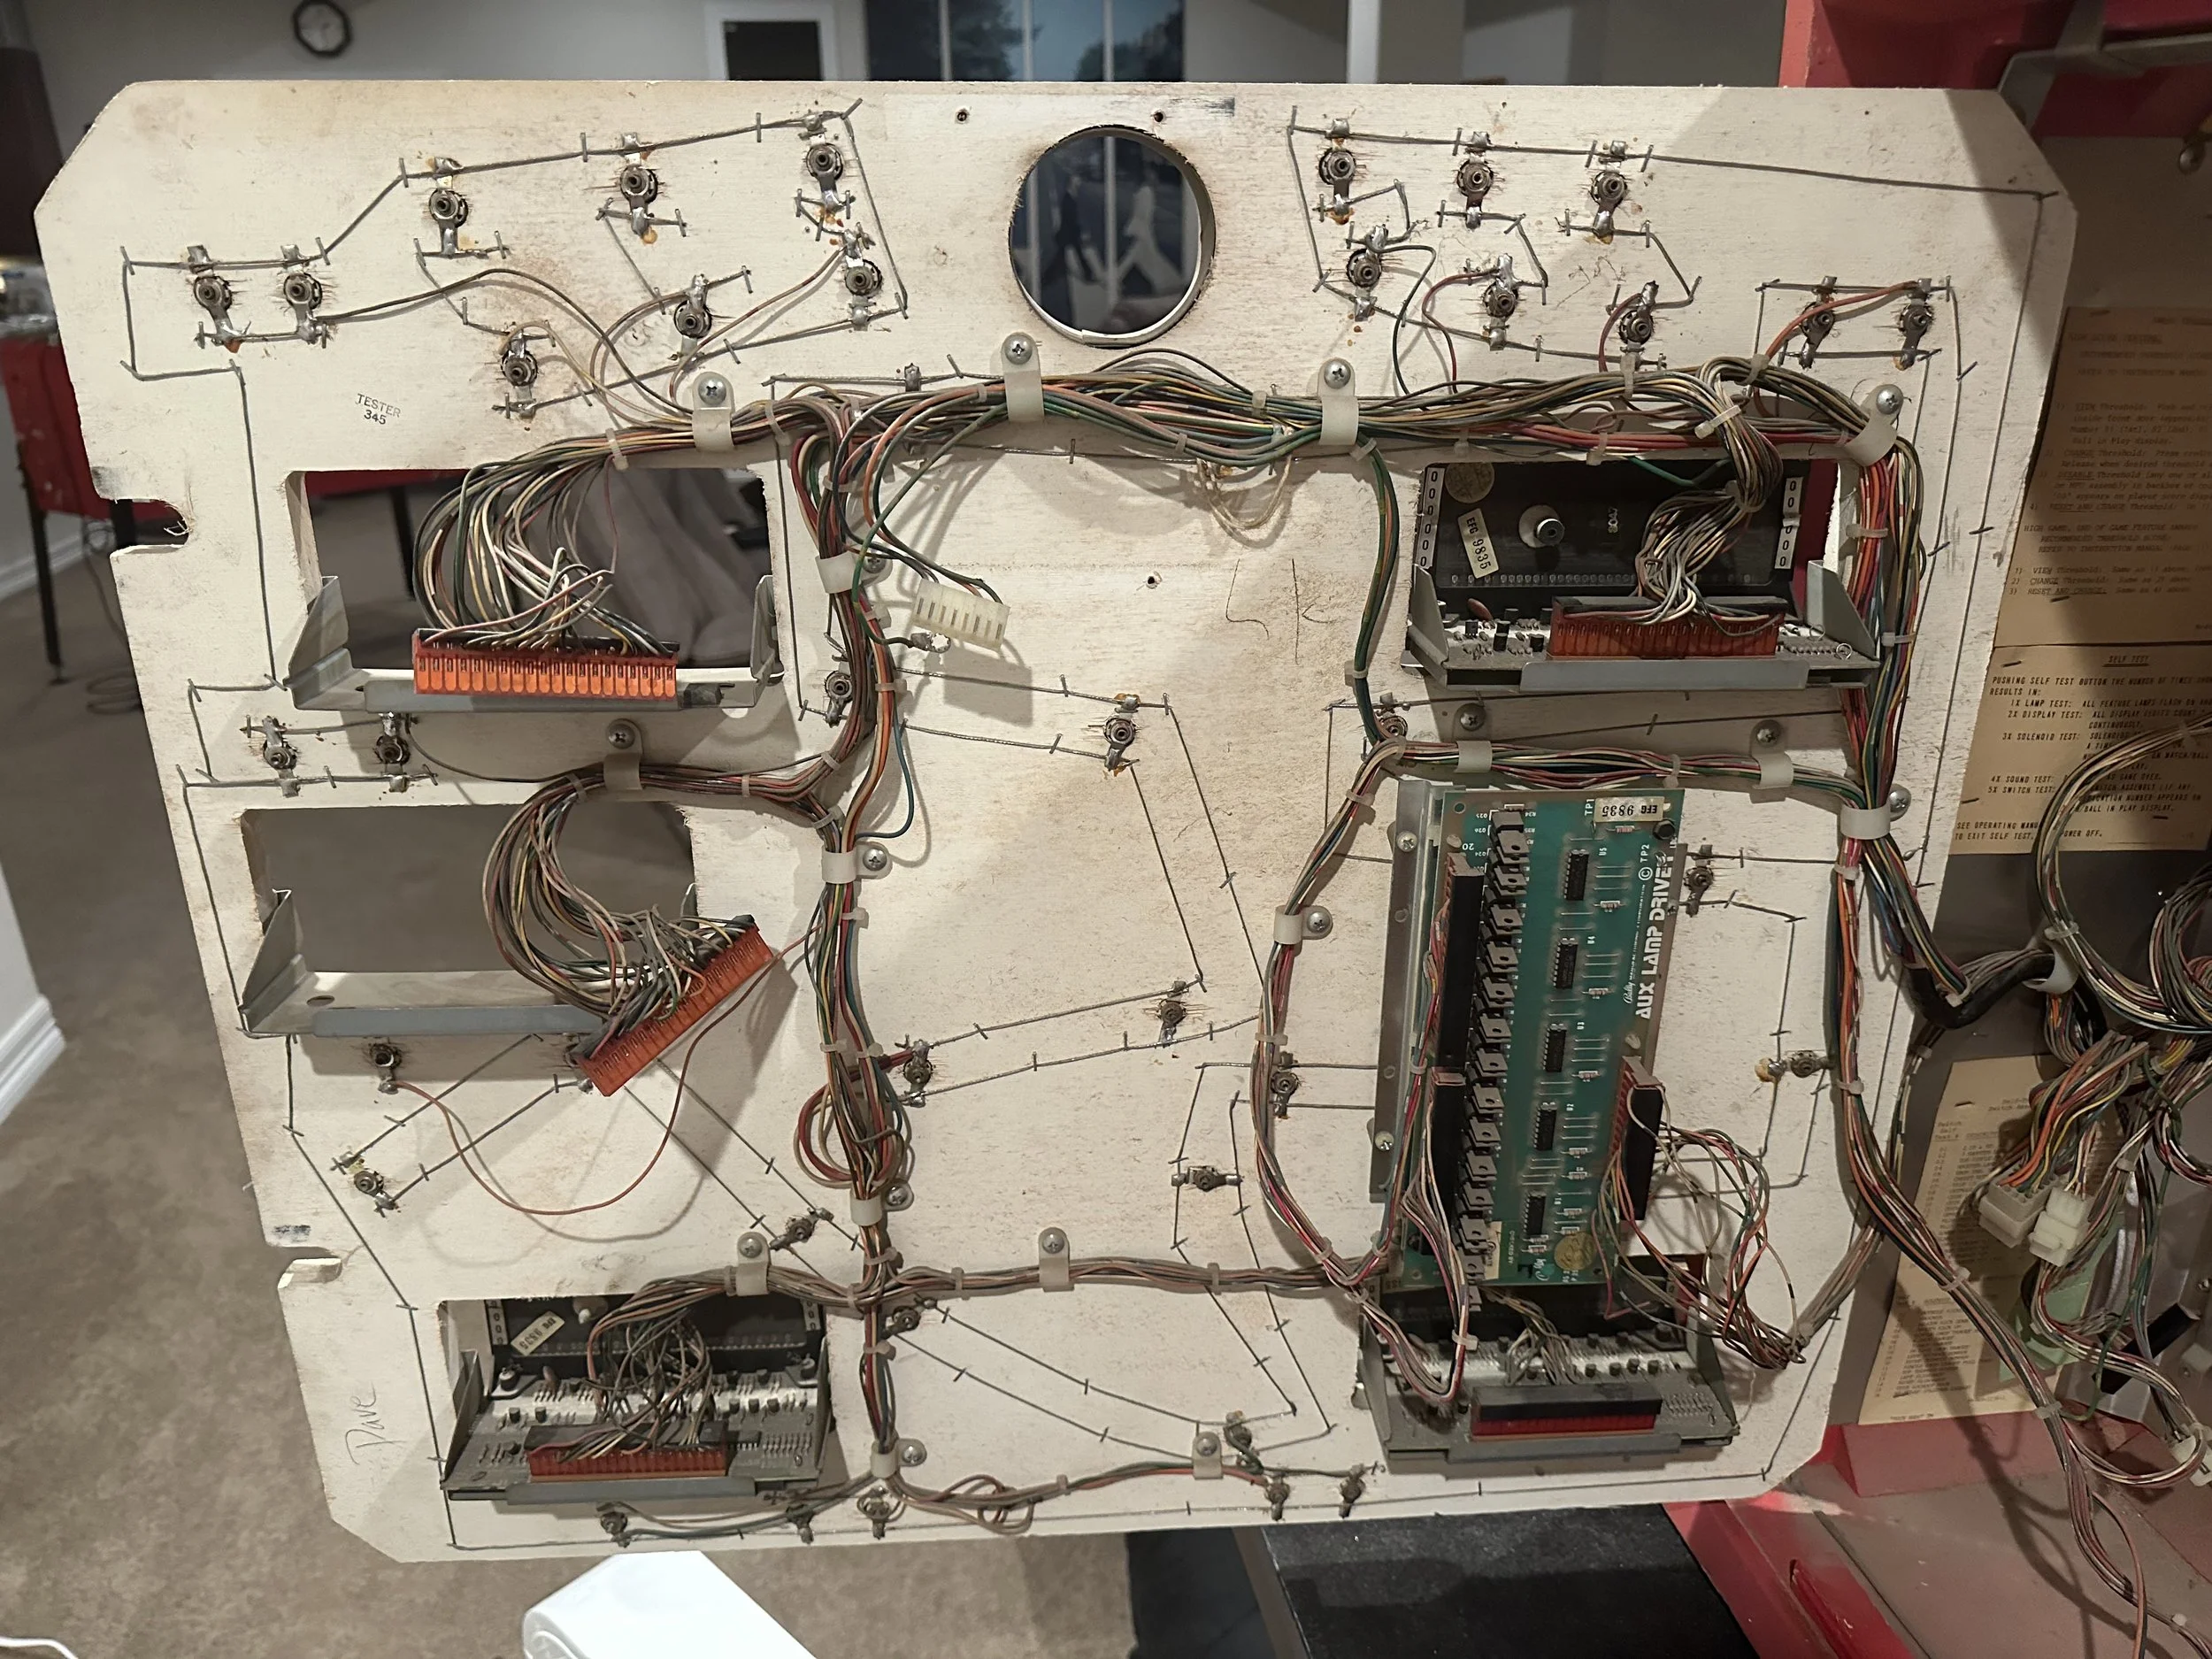
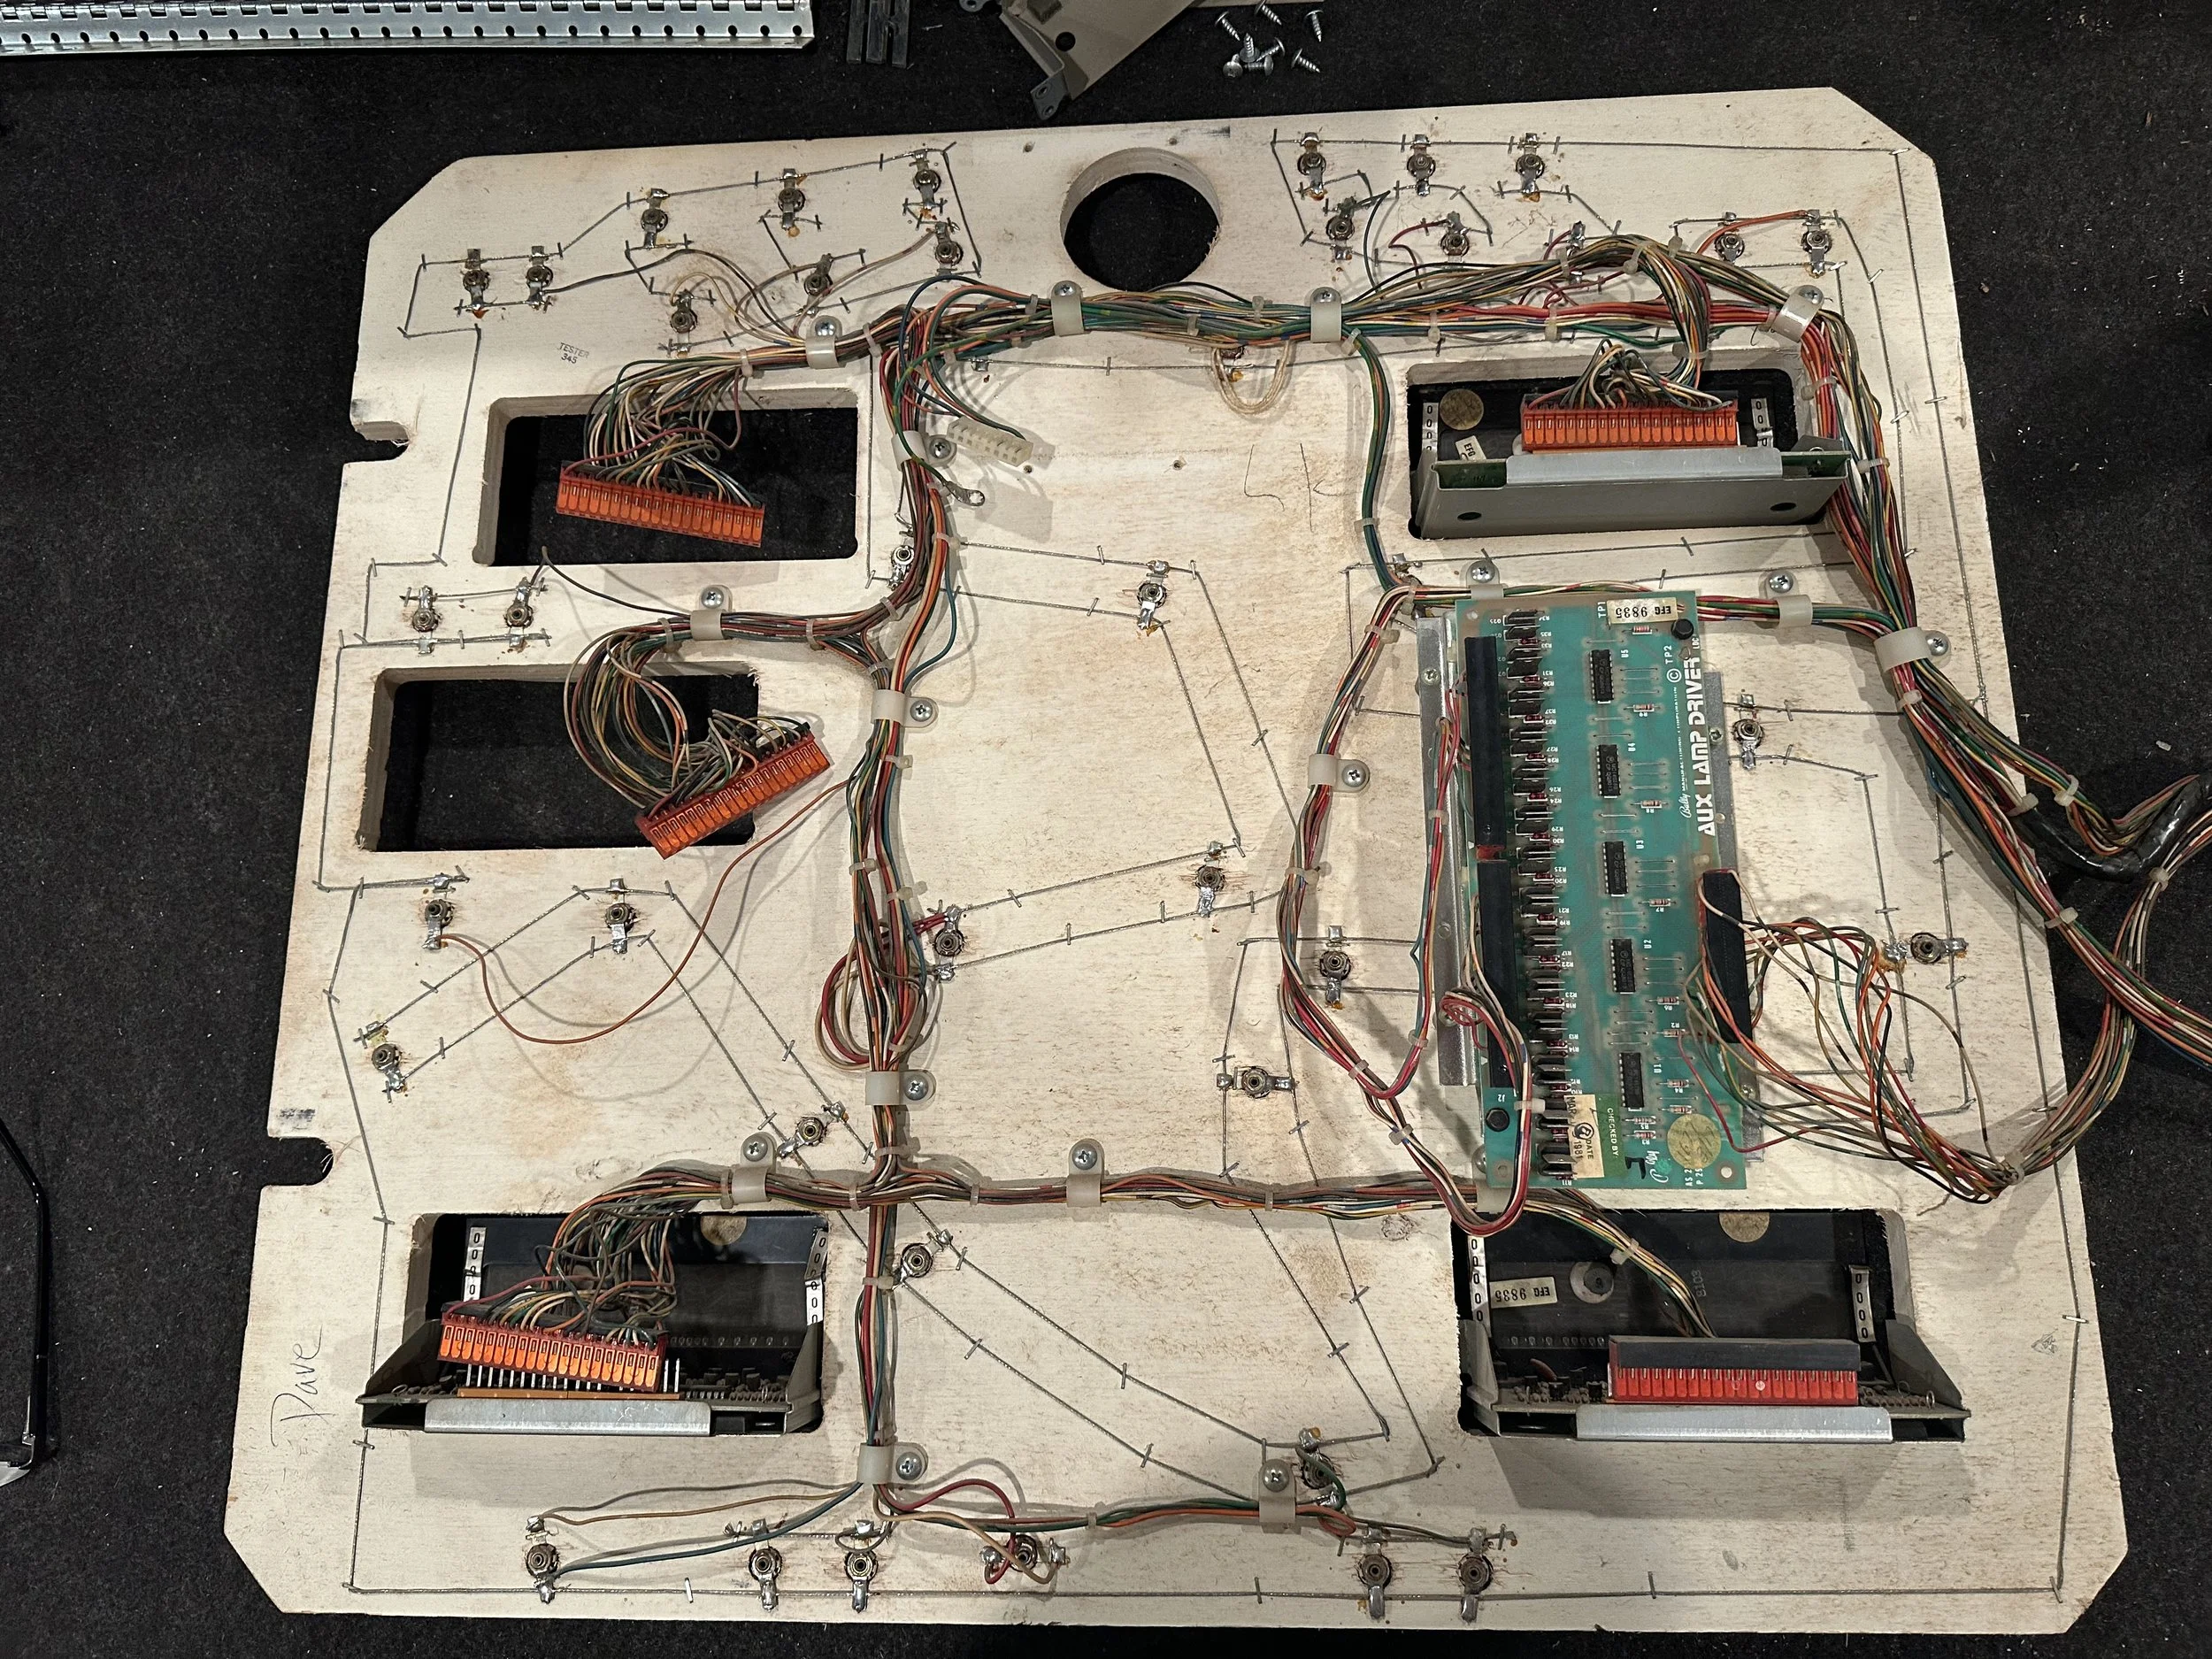
Tear Down & Cleaning
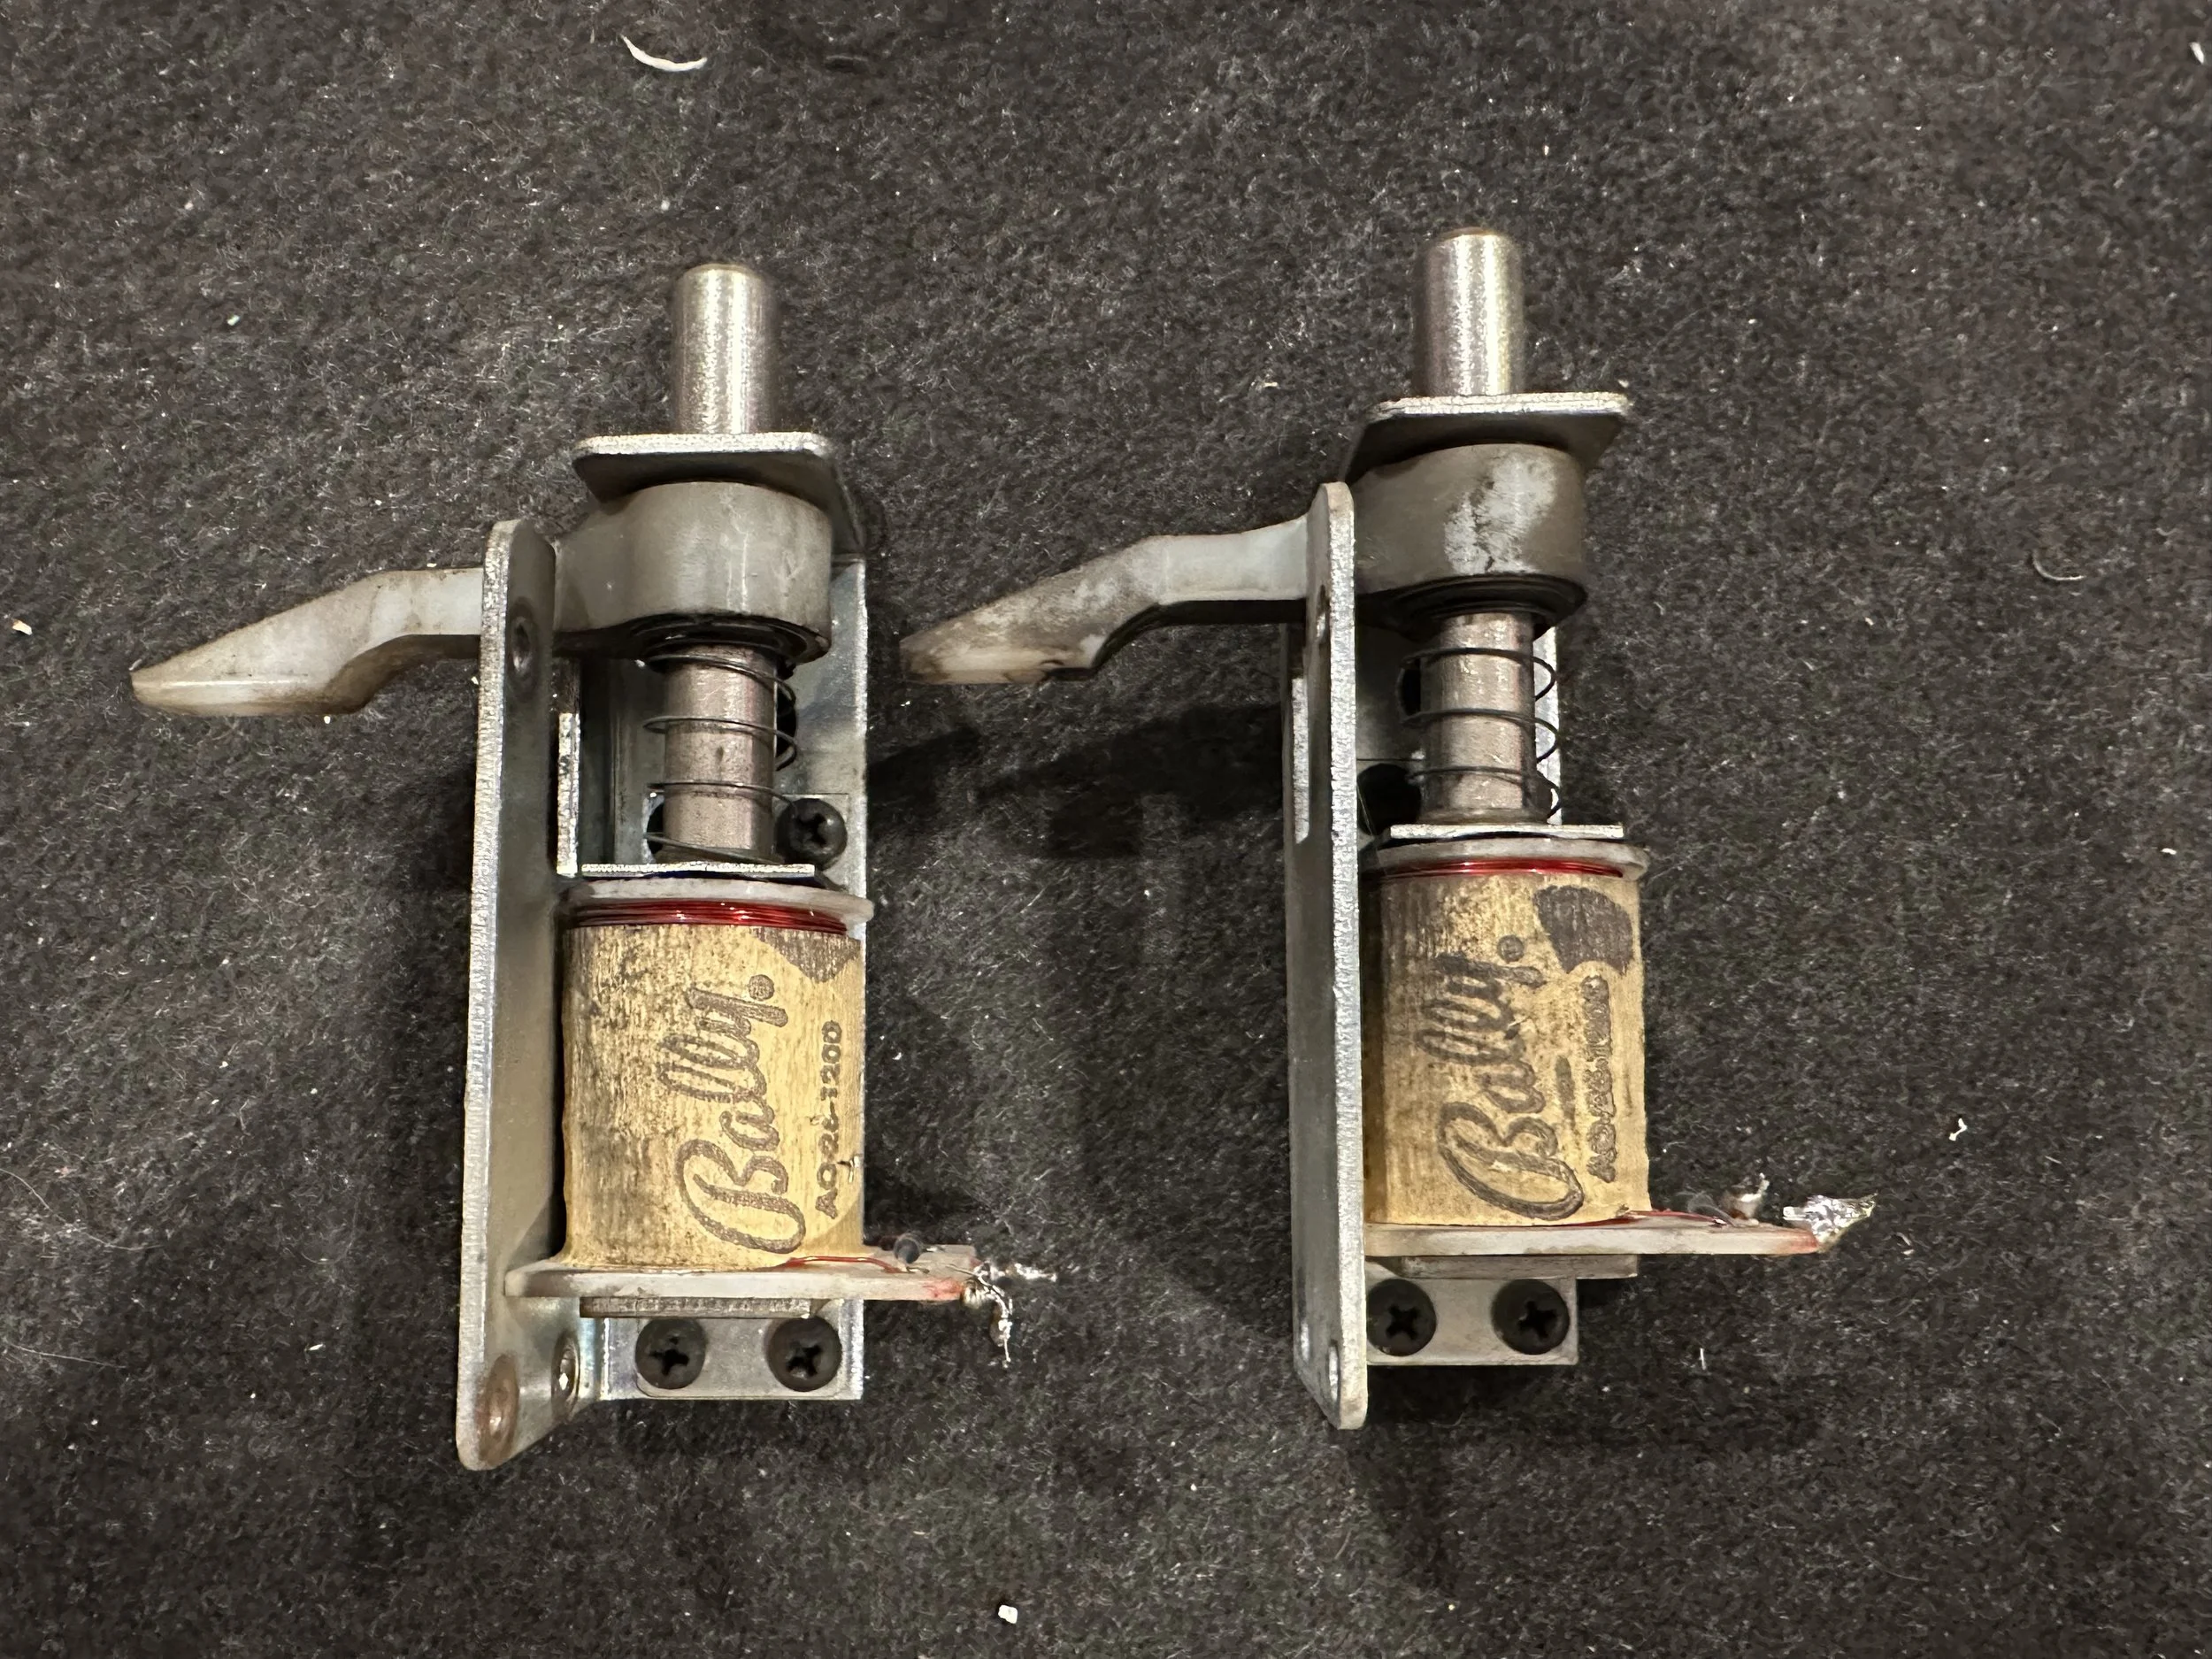
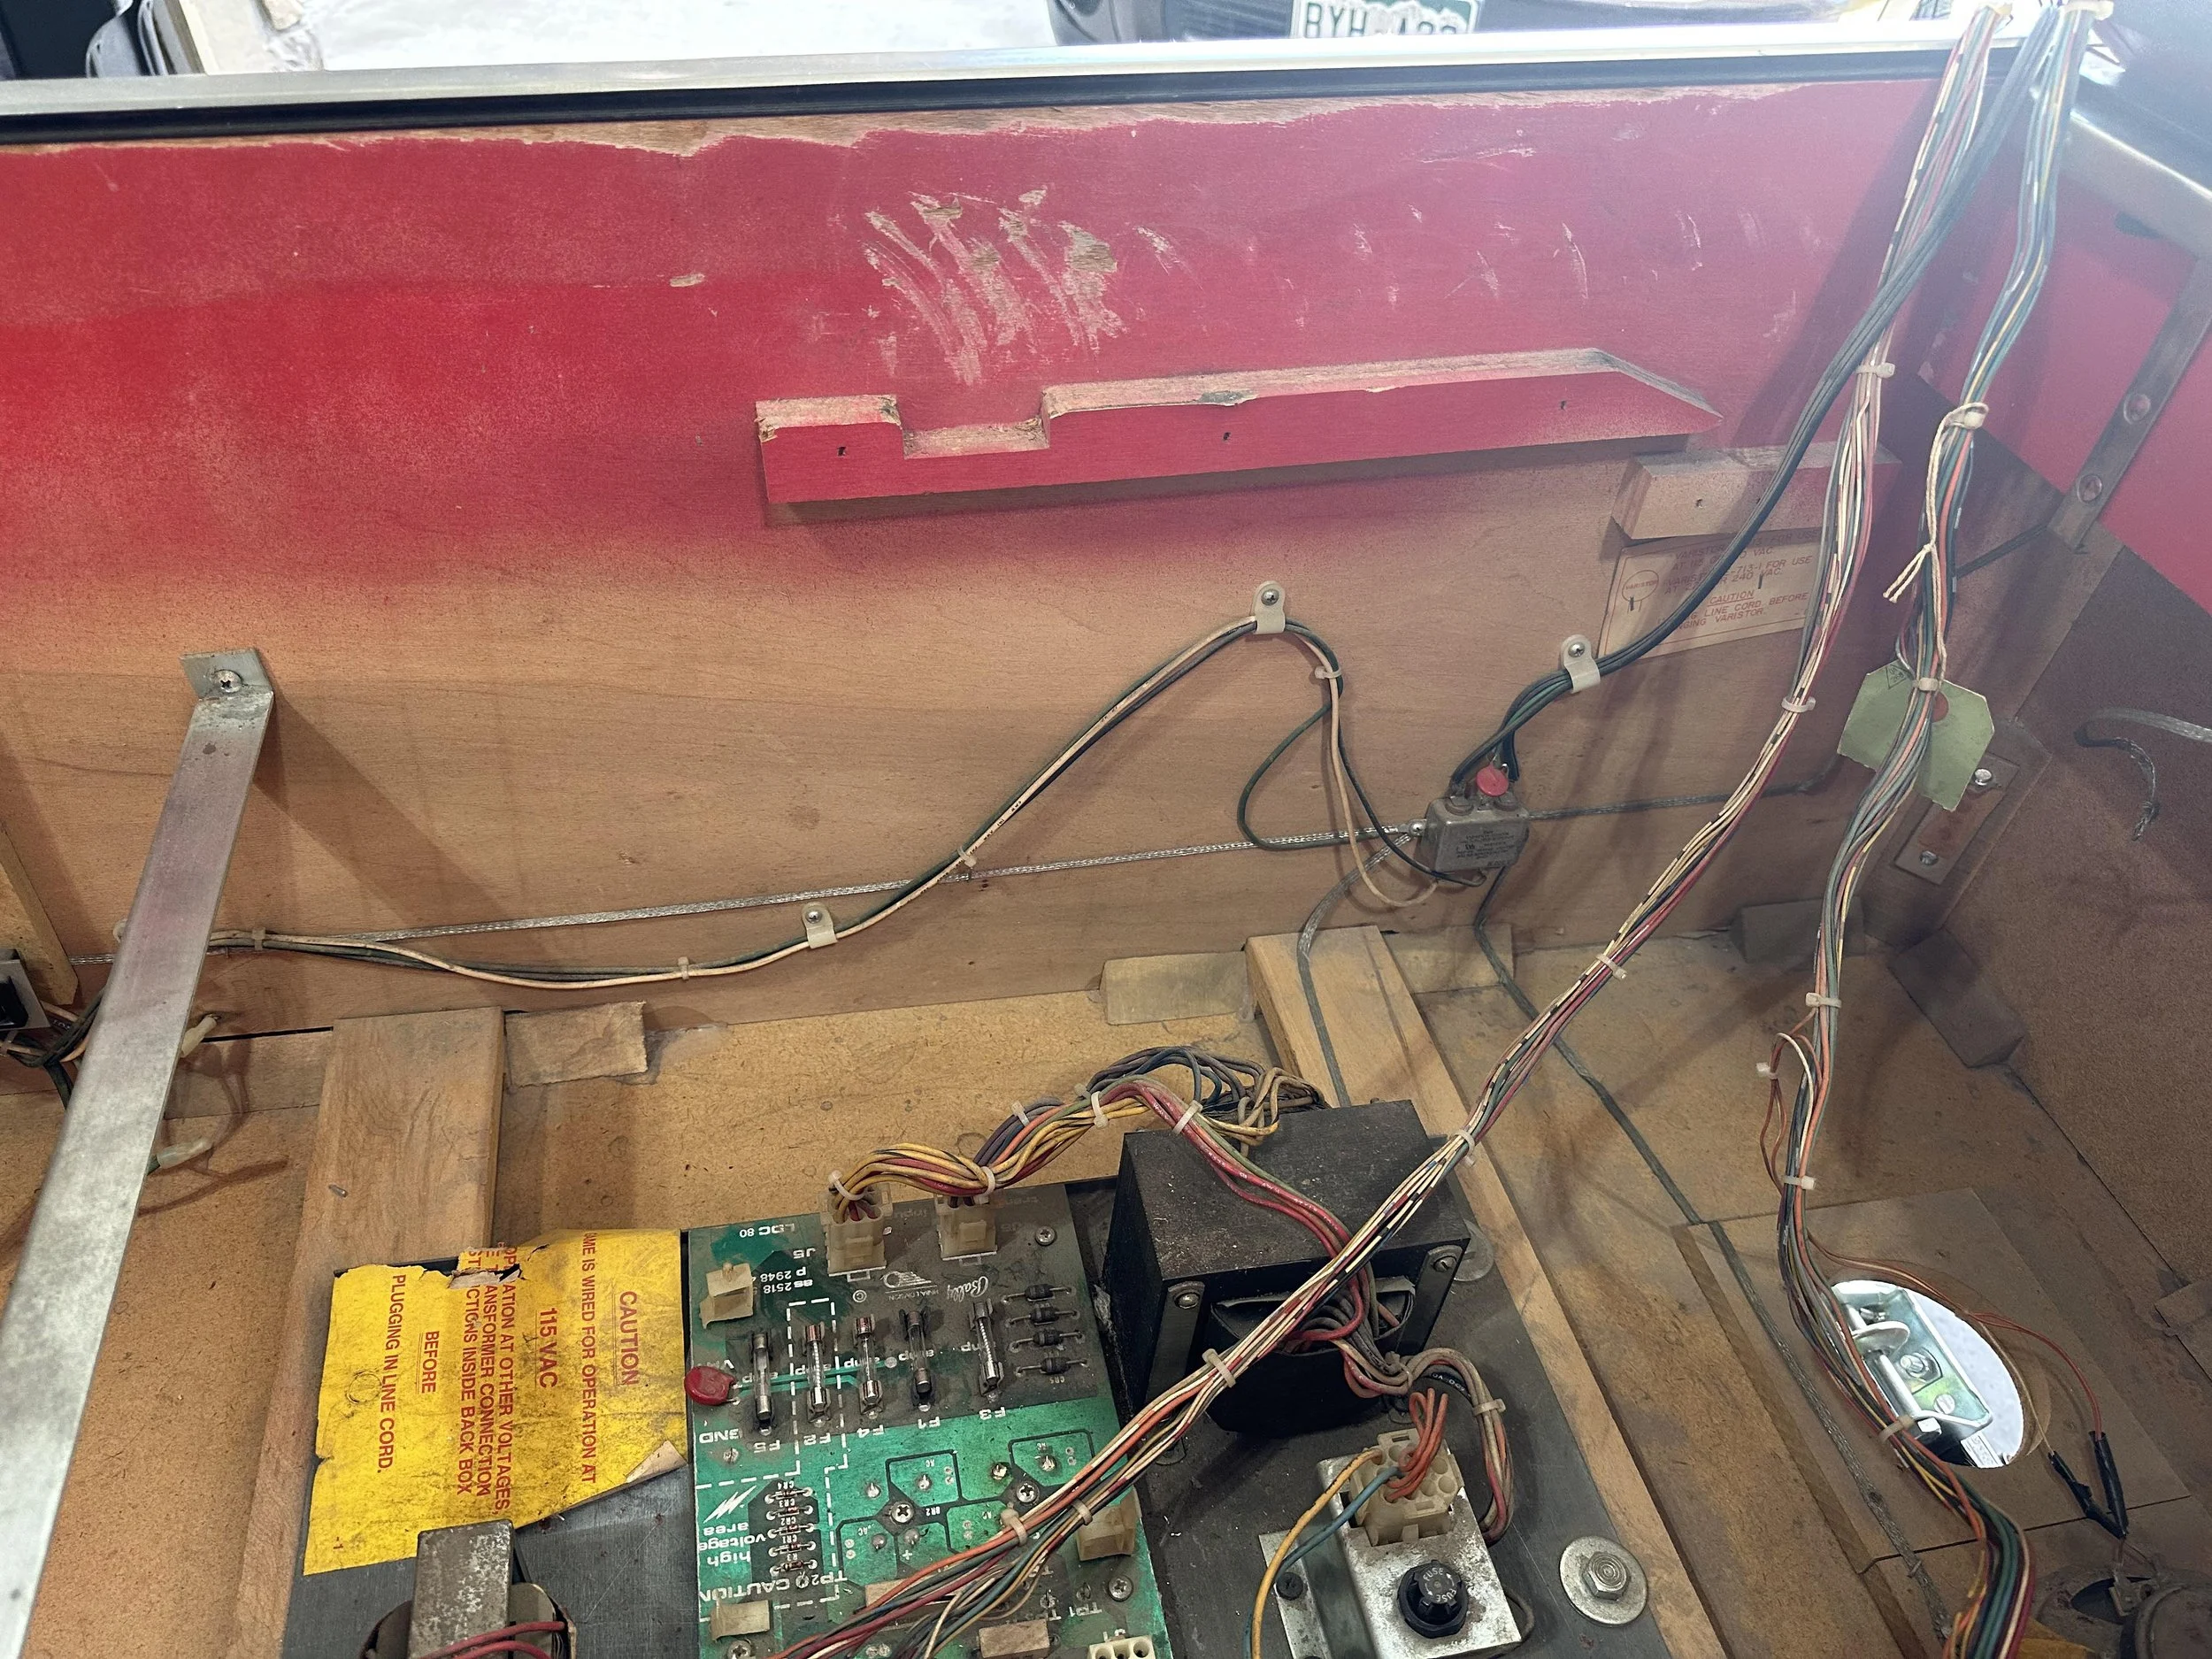
My normal process for a restoring a pin is to get it working 100% (or as near to 100% as possible) before stripping it down to the individual nuts and bolts to clean and rebuild. I bought this as a semi-working project and indeed when I got it home, it would power and actually boot to Attract Mode and start a game. But that’s where things went south. First thing to go wrong was blowing the F2 fuse whenever the right flipper button was pushed. That was fairly easy to address - the flippers were not wired correctly. They looked half-rebuilt so somebody before me put in a new right coil and a new pawl, but that was it. I’m thinking the new coil went in because the original burned up due to F2 being over-fused and running too much voltage through. There are fuse values for a reason!
Other things found trying to get it running:
Several lights out. I’ll leave those alone…they’re either bad lamps, flaky lamp sockets, bad/corroded connectors on the wire harness, or issues with the lamp board. Those will all get taken care of during the restore.
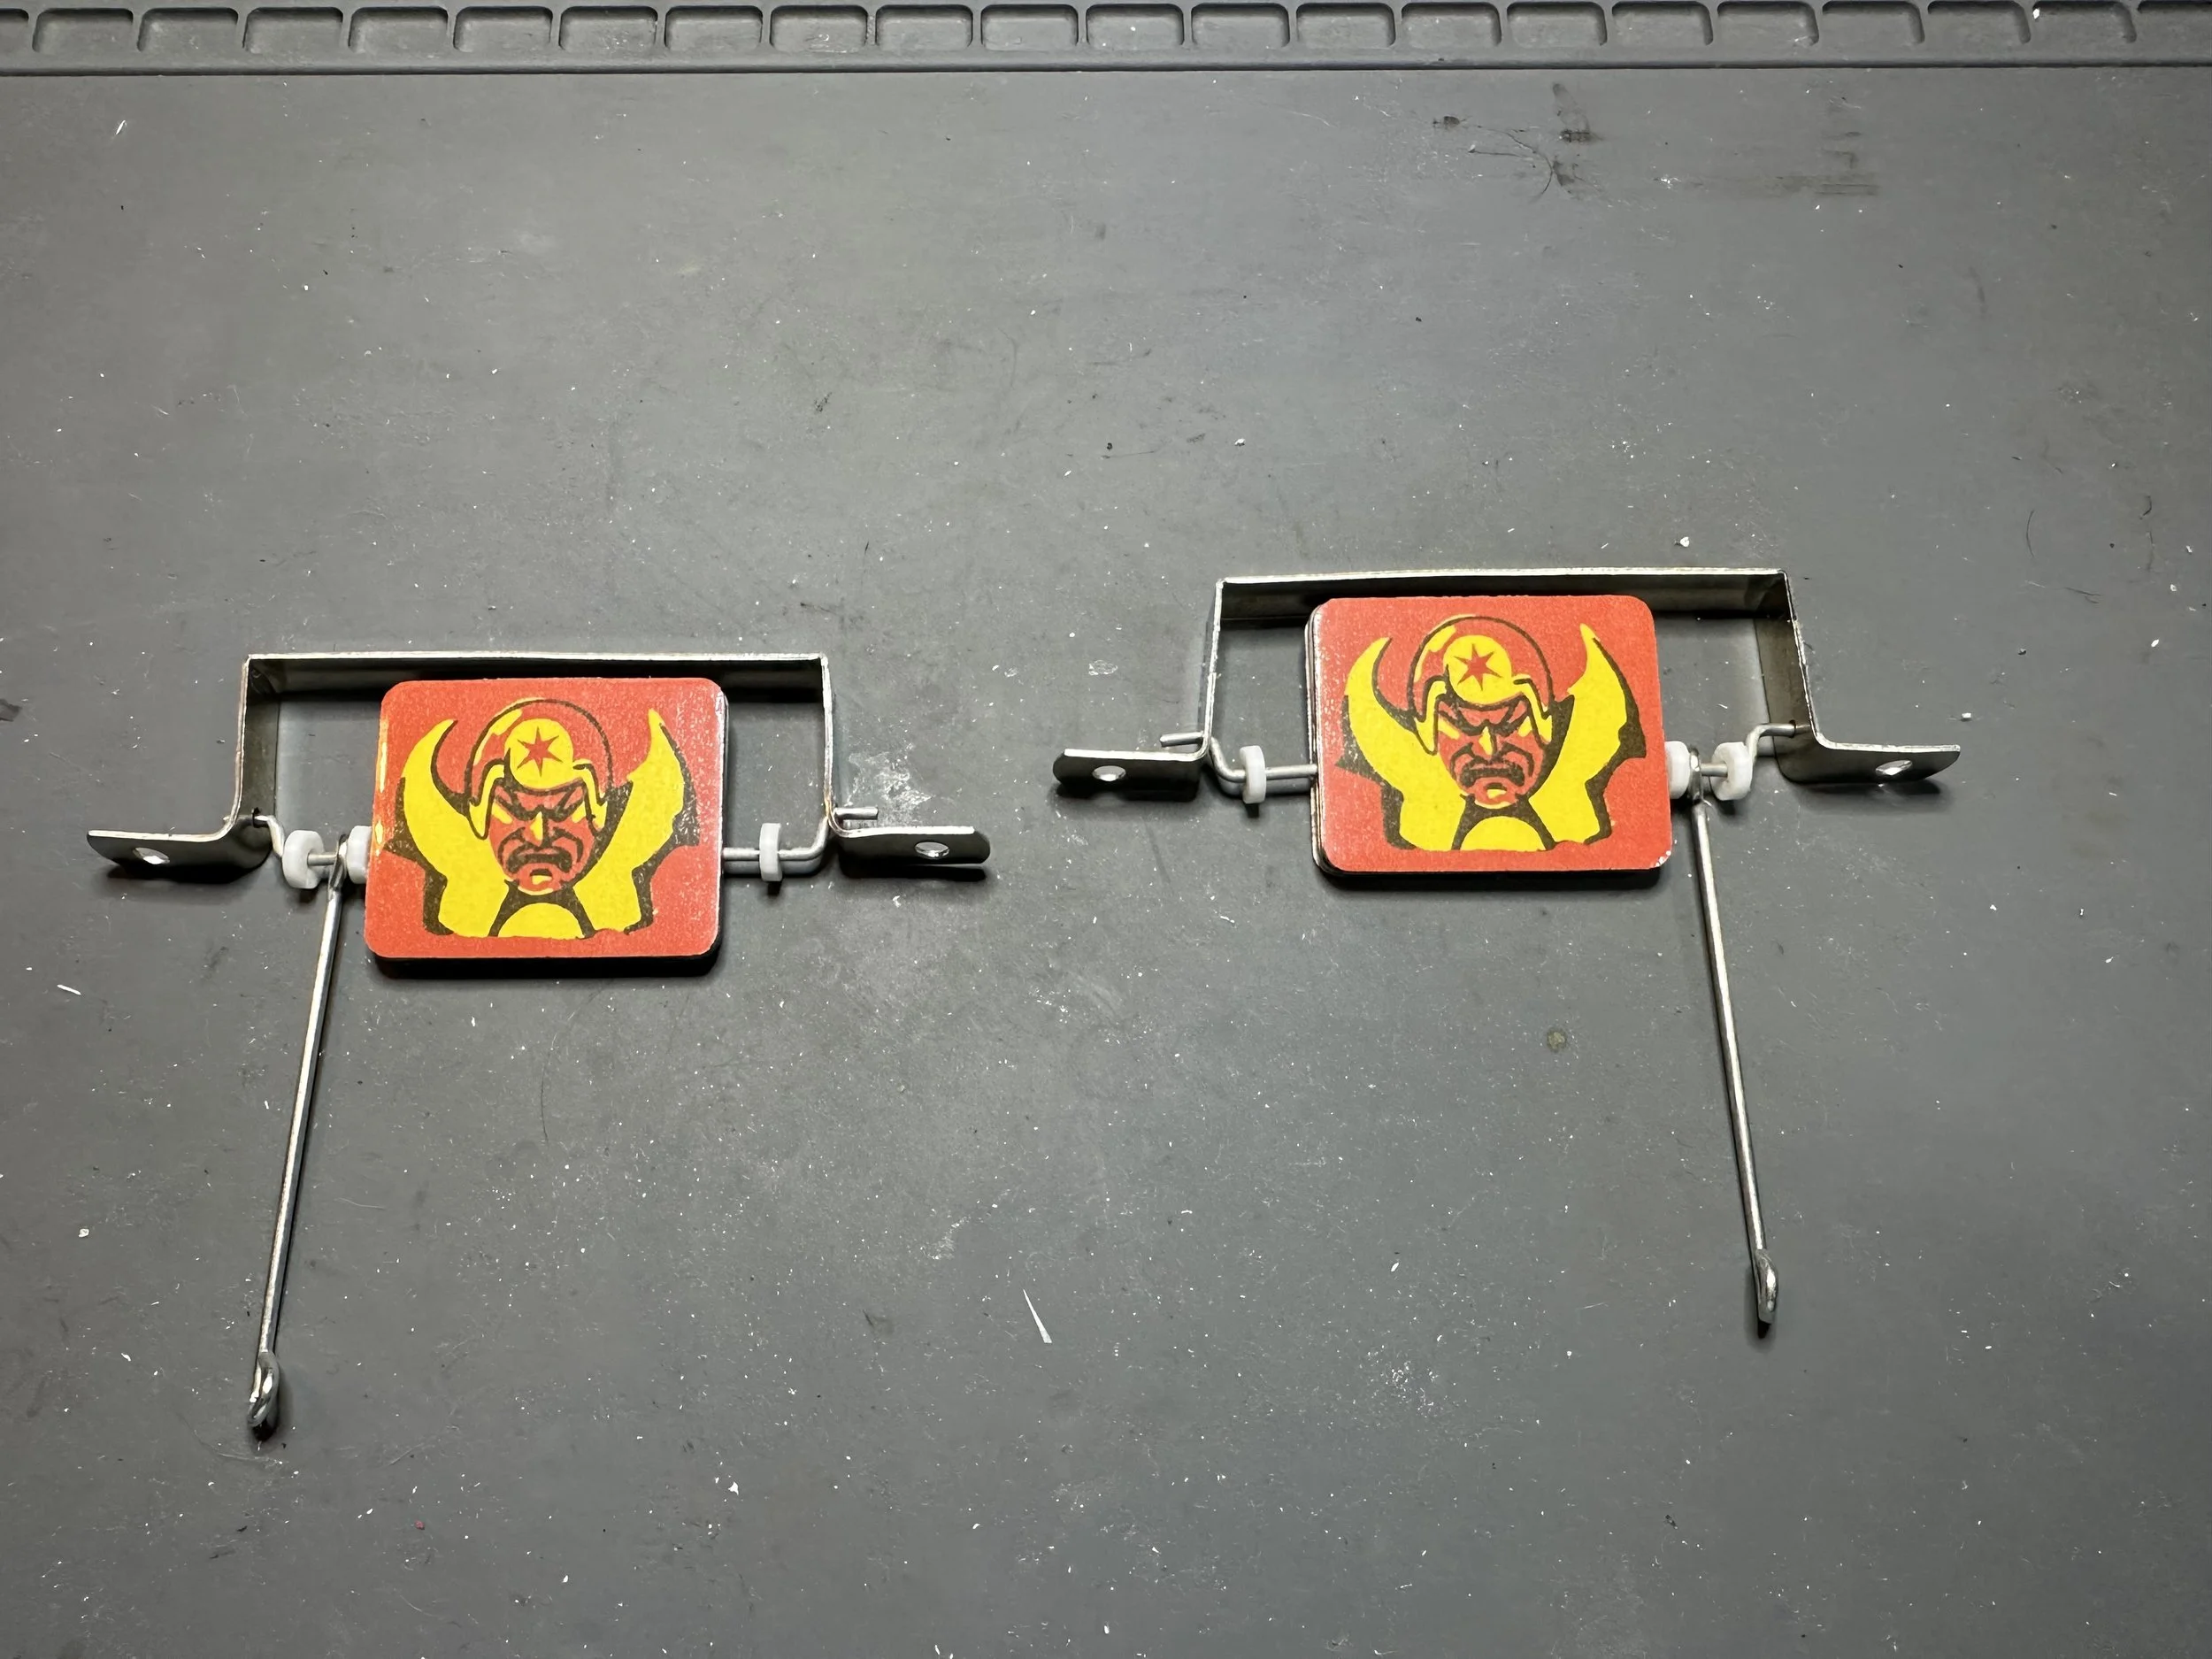
About 30% of the targets don’t score. All addressed by either adjusting leaf switch gaps and/or cleaning the leaf switch contacts.
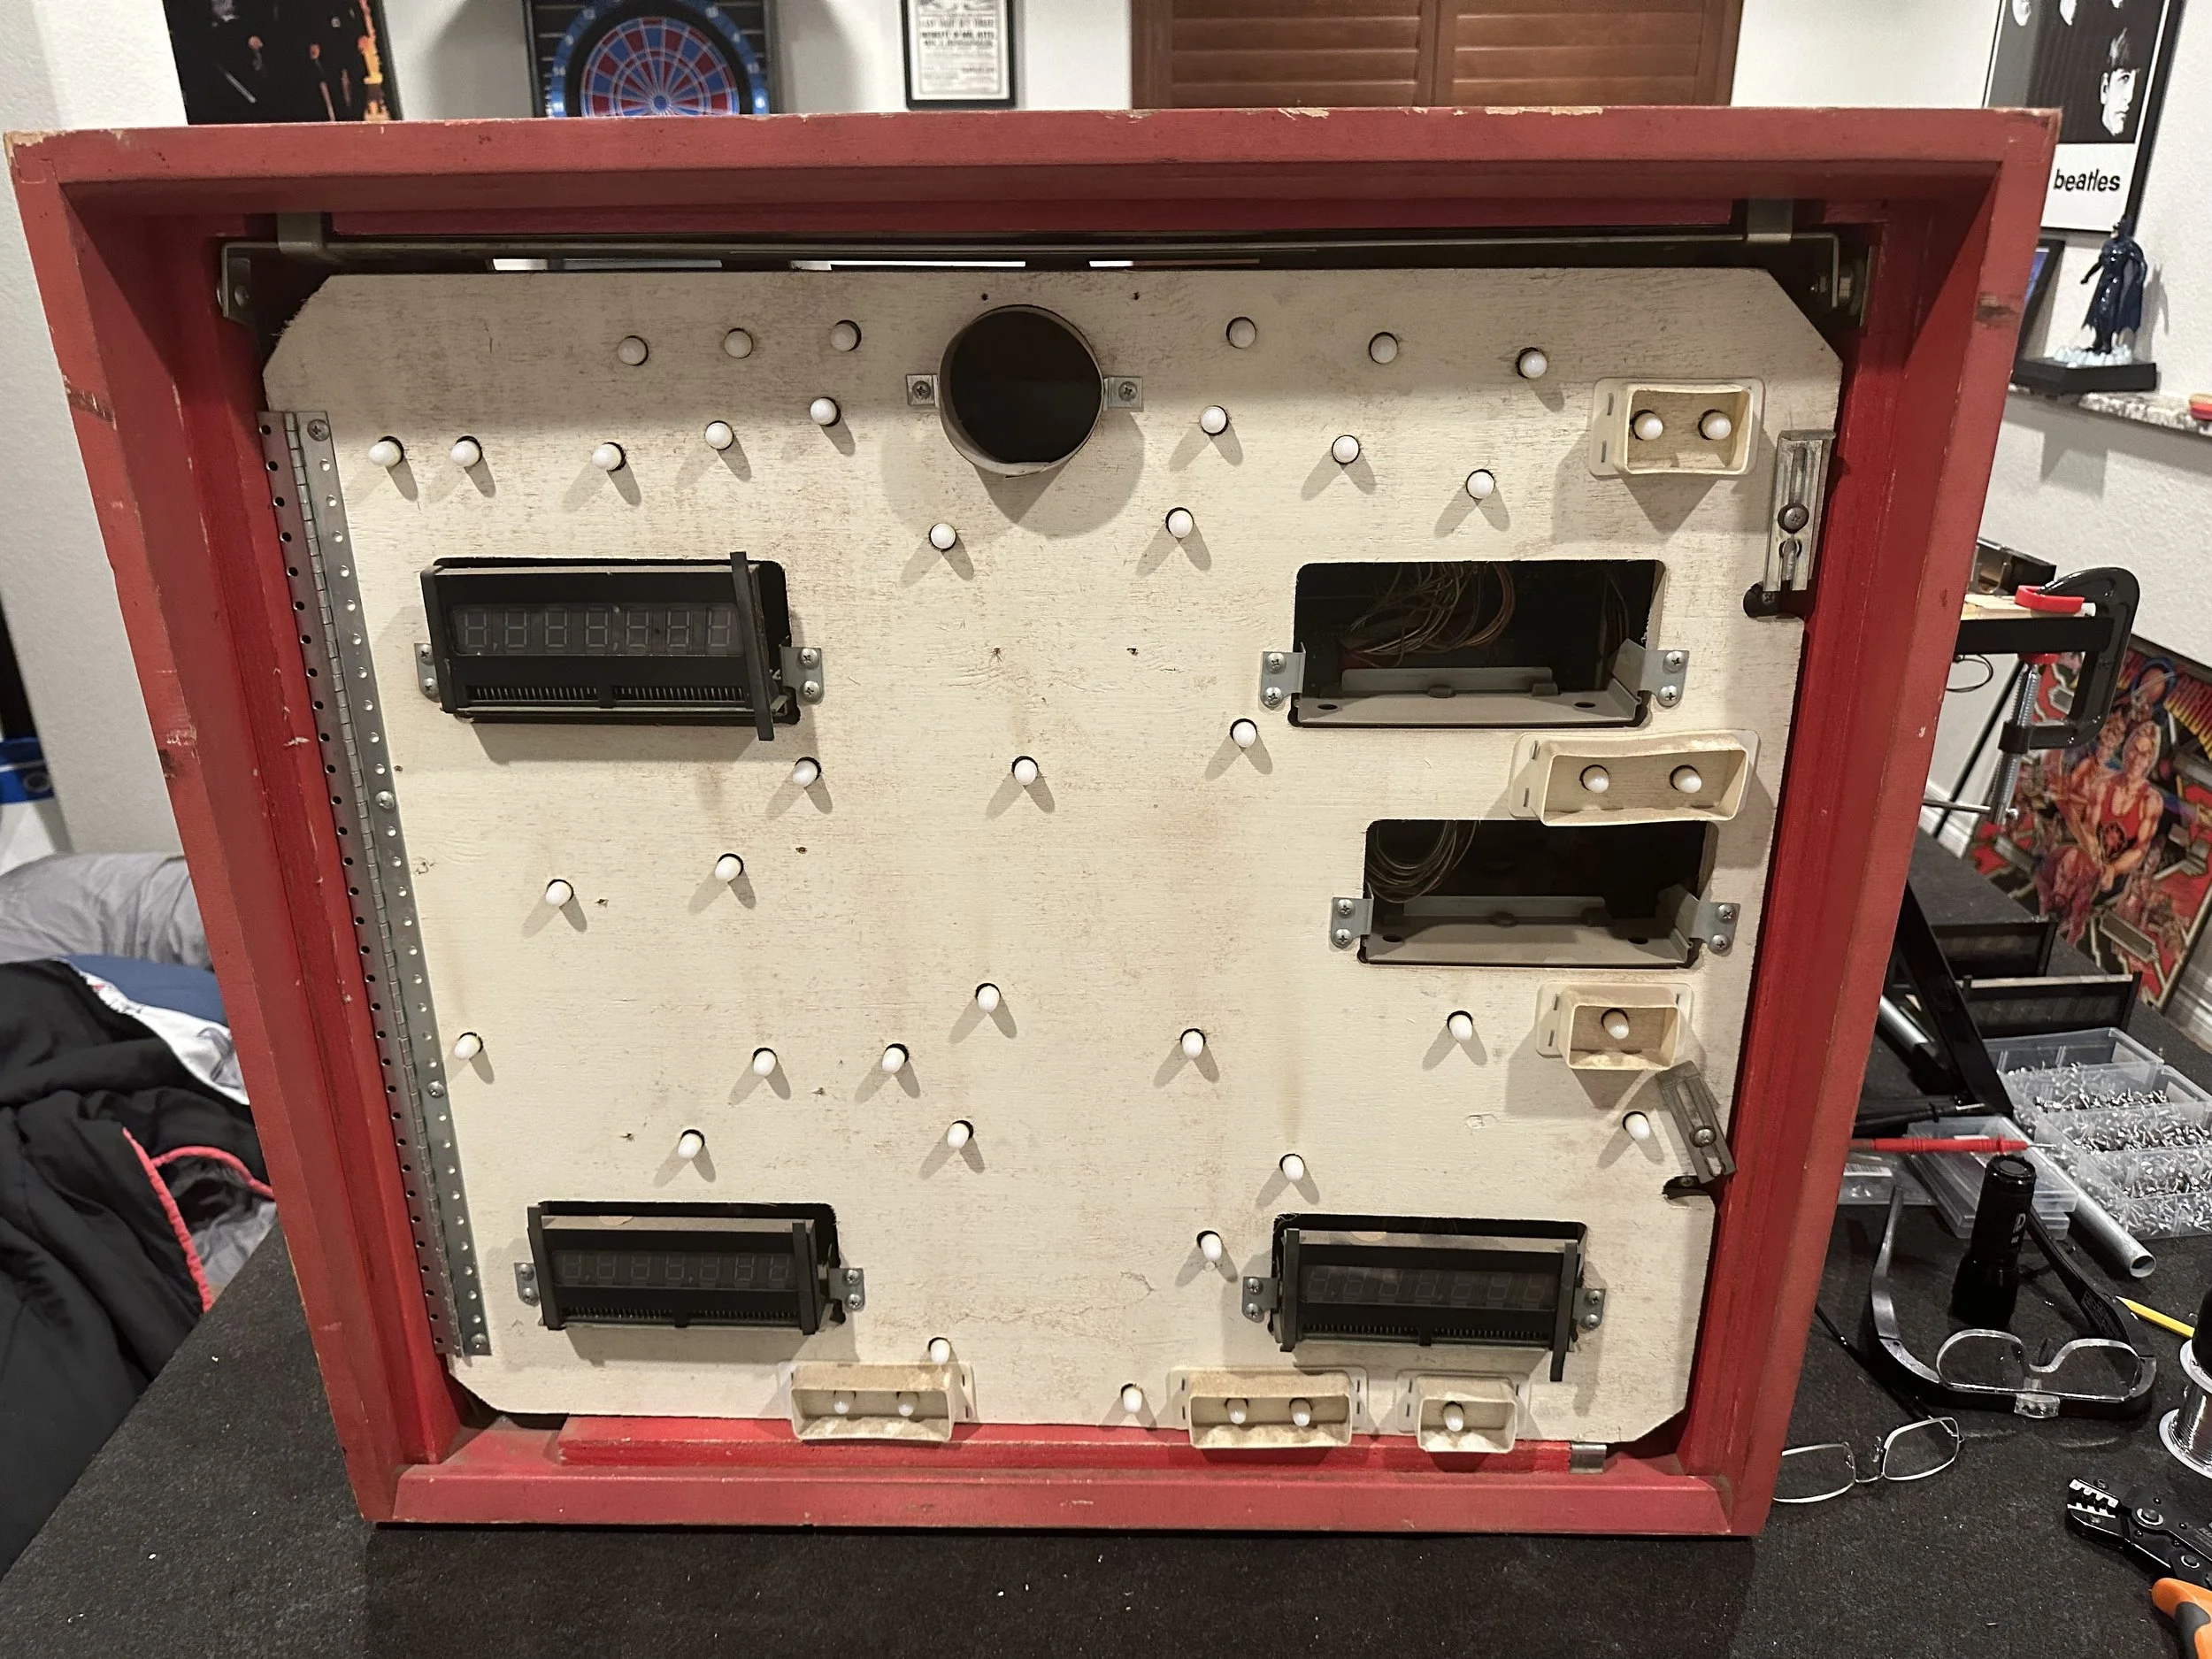
Strobe is inop. Leaving that alone as it’ll get addressed during the restore. Confirmed correct voltage is at the board so there’s either something wrong with the board or the wire harness connector.
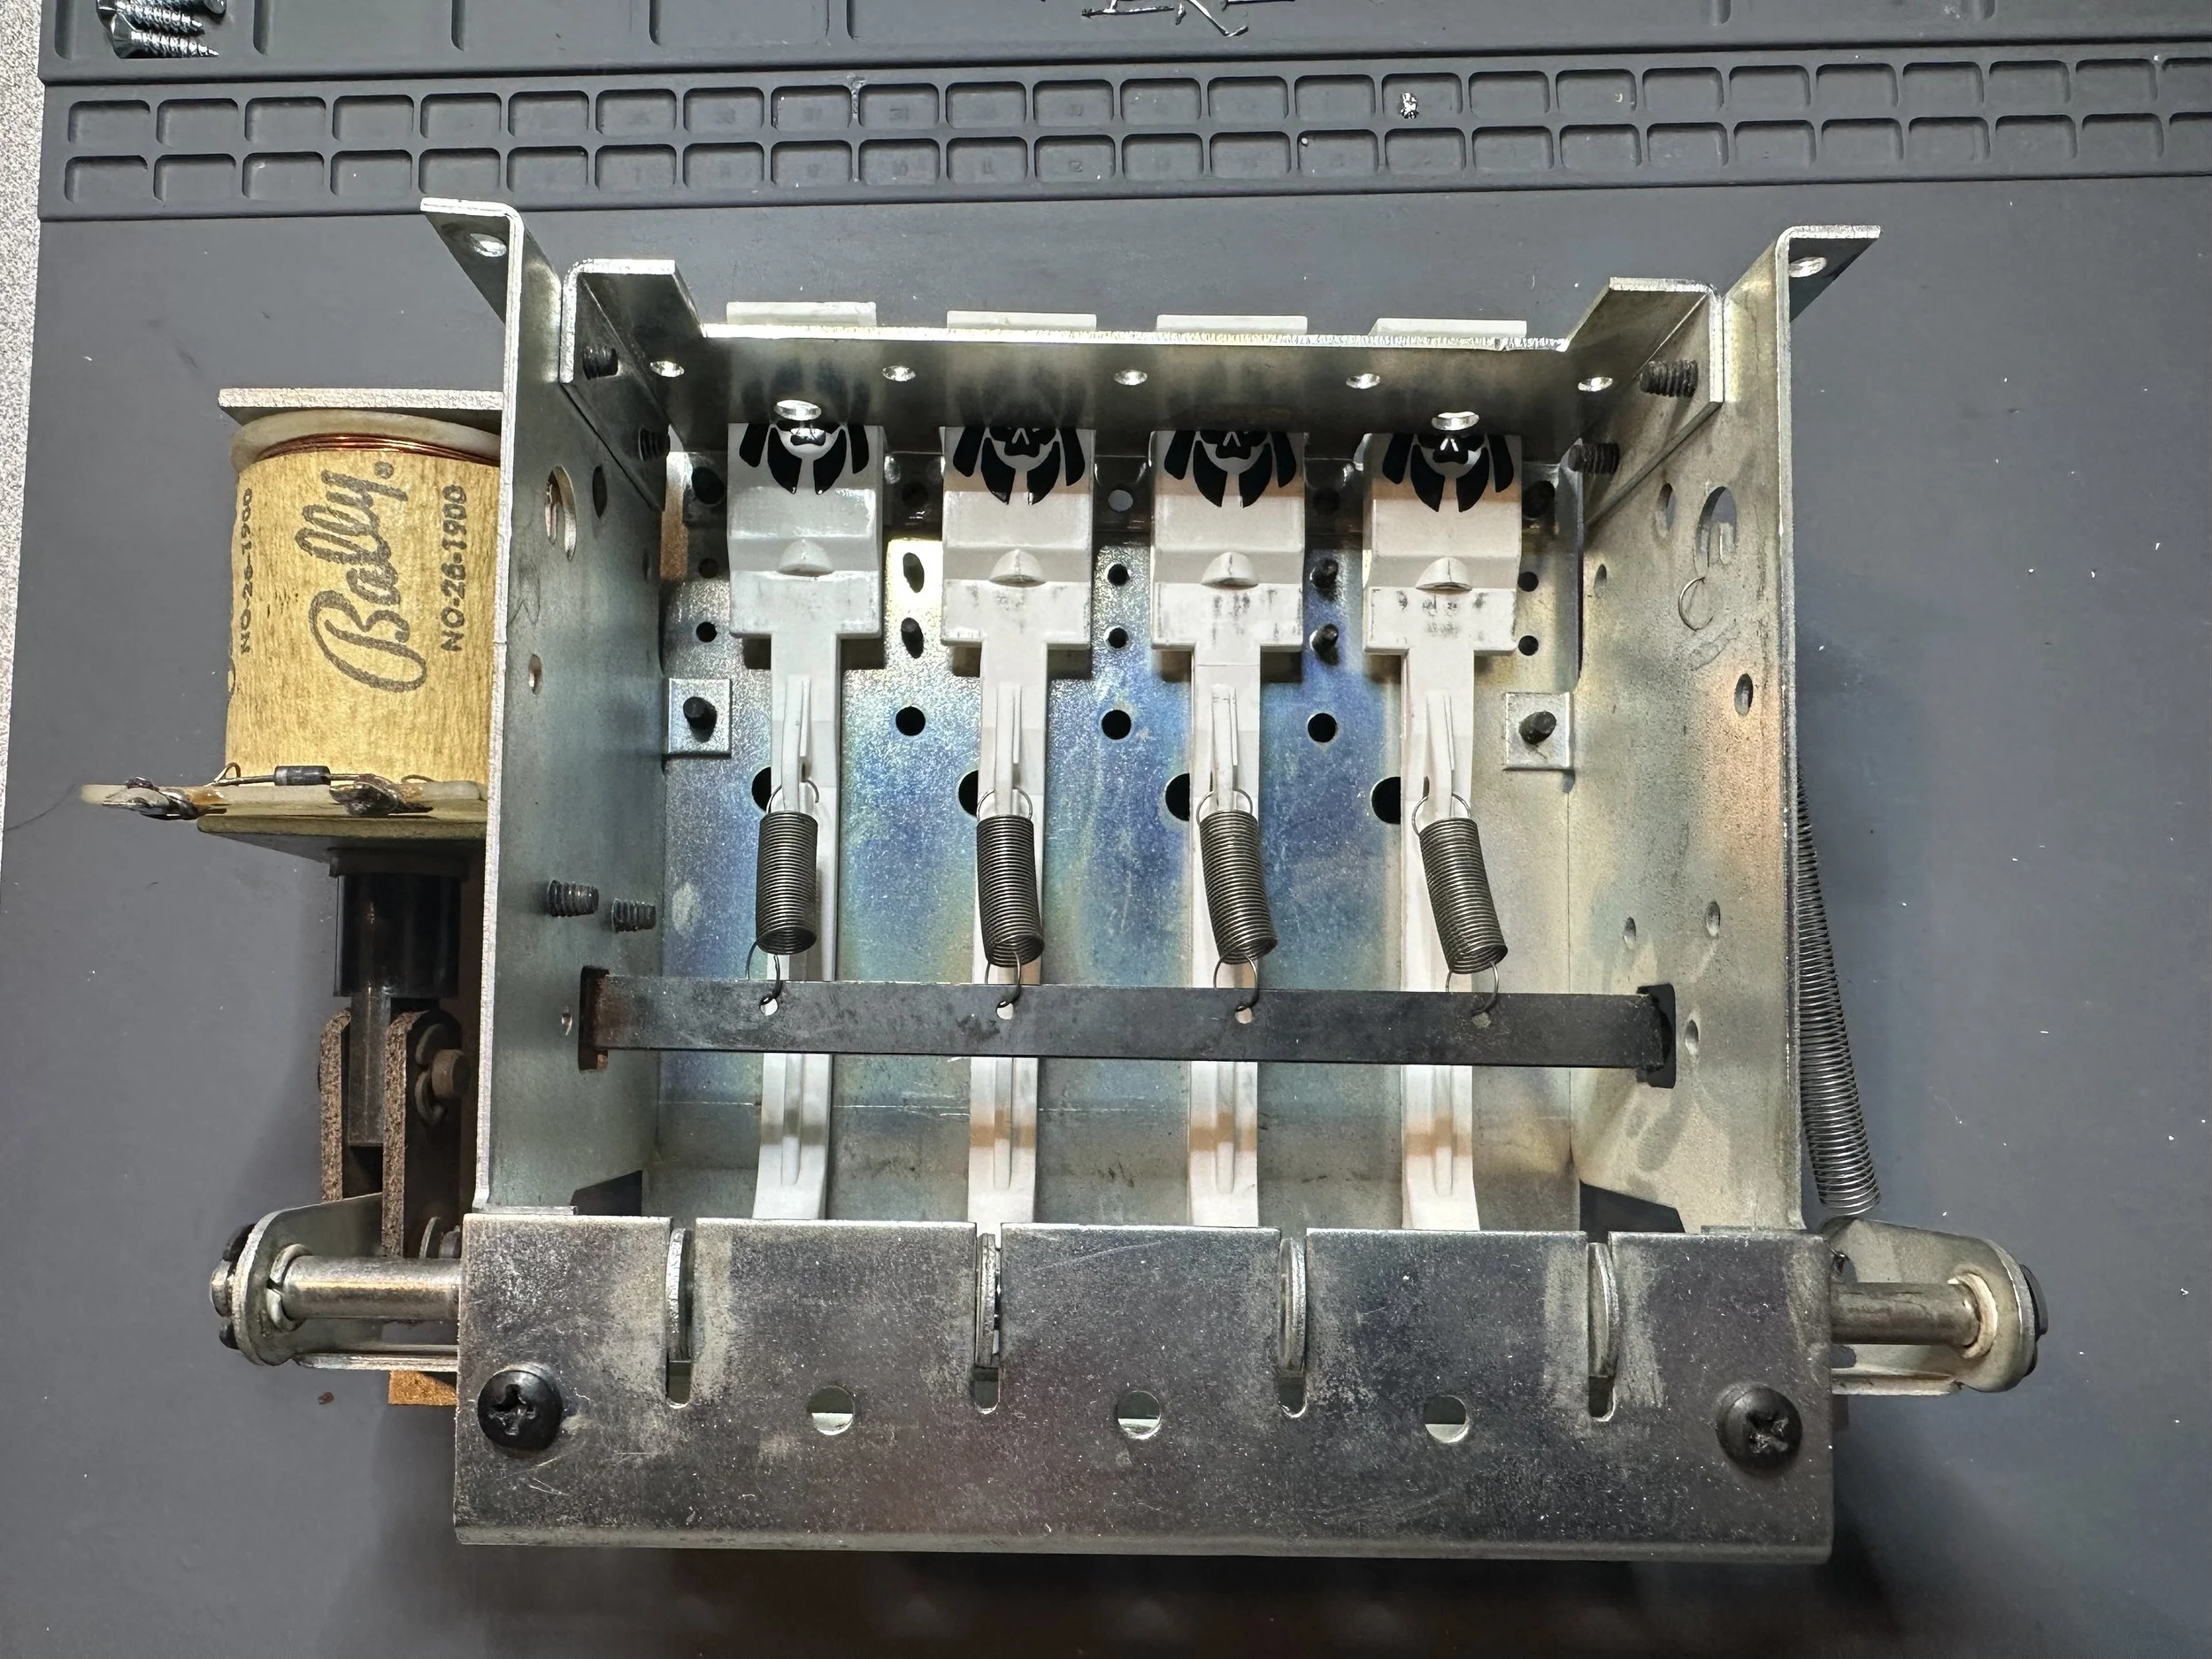
Pop bumpers have “dead spots”. Adjusted the spoon positions for better sensitivity, will probably replace all spoons with new during the restore as they have worn out holes in the middle from the skirt stem.
So I got the machine about 95% working in my garage after a week or so and came up with a modified plan for the restoration:
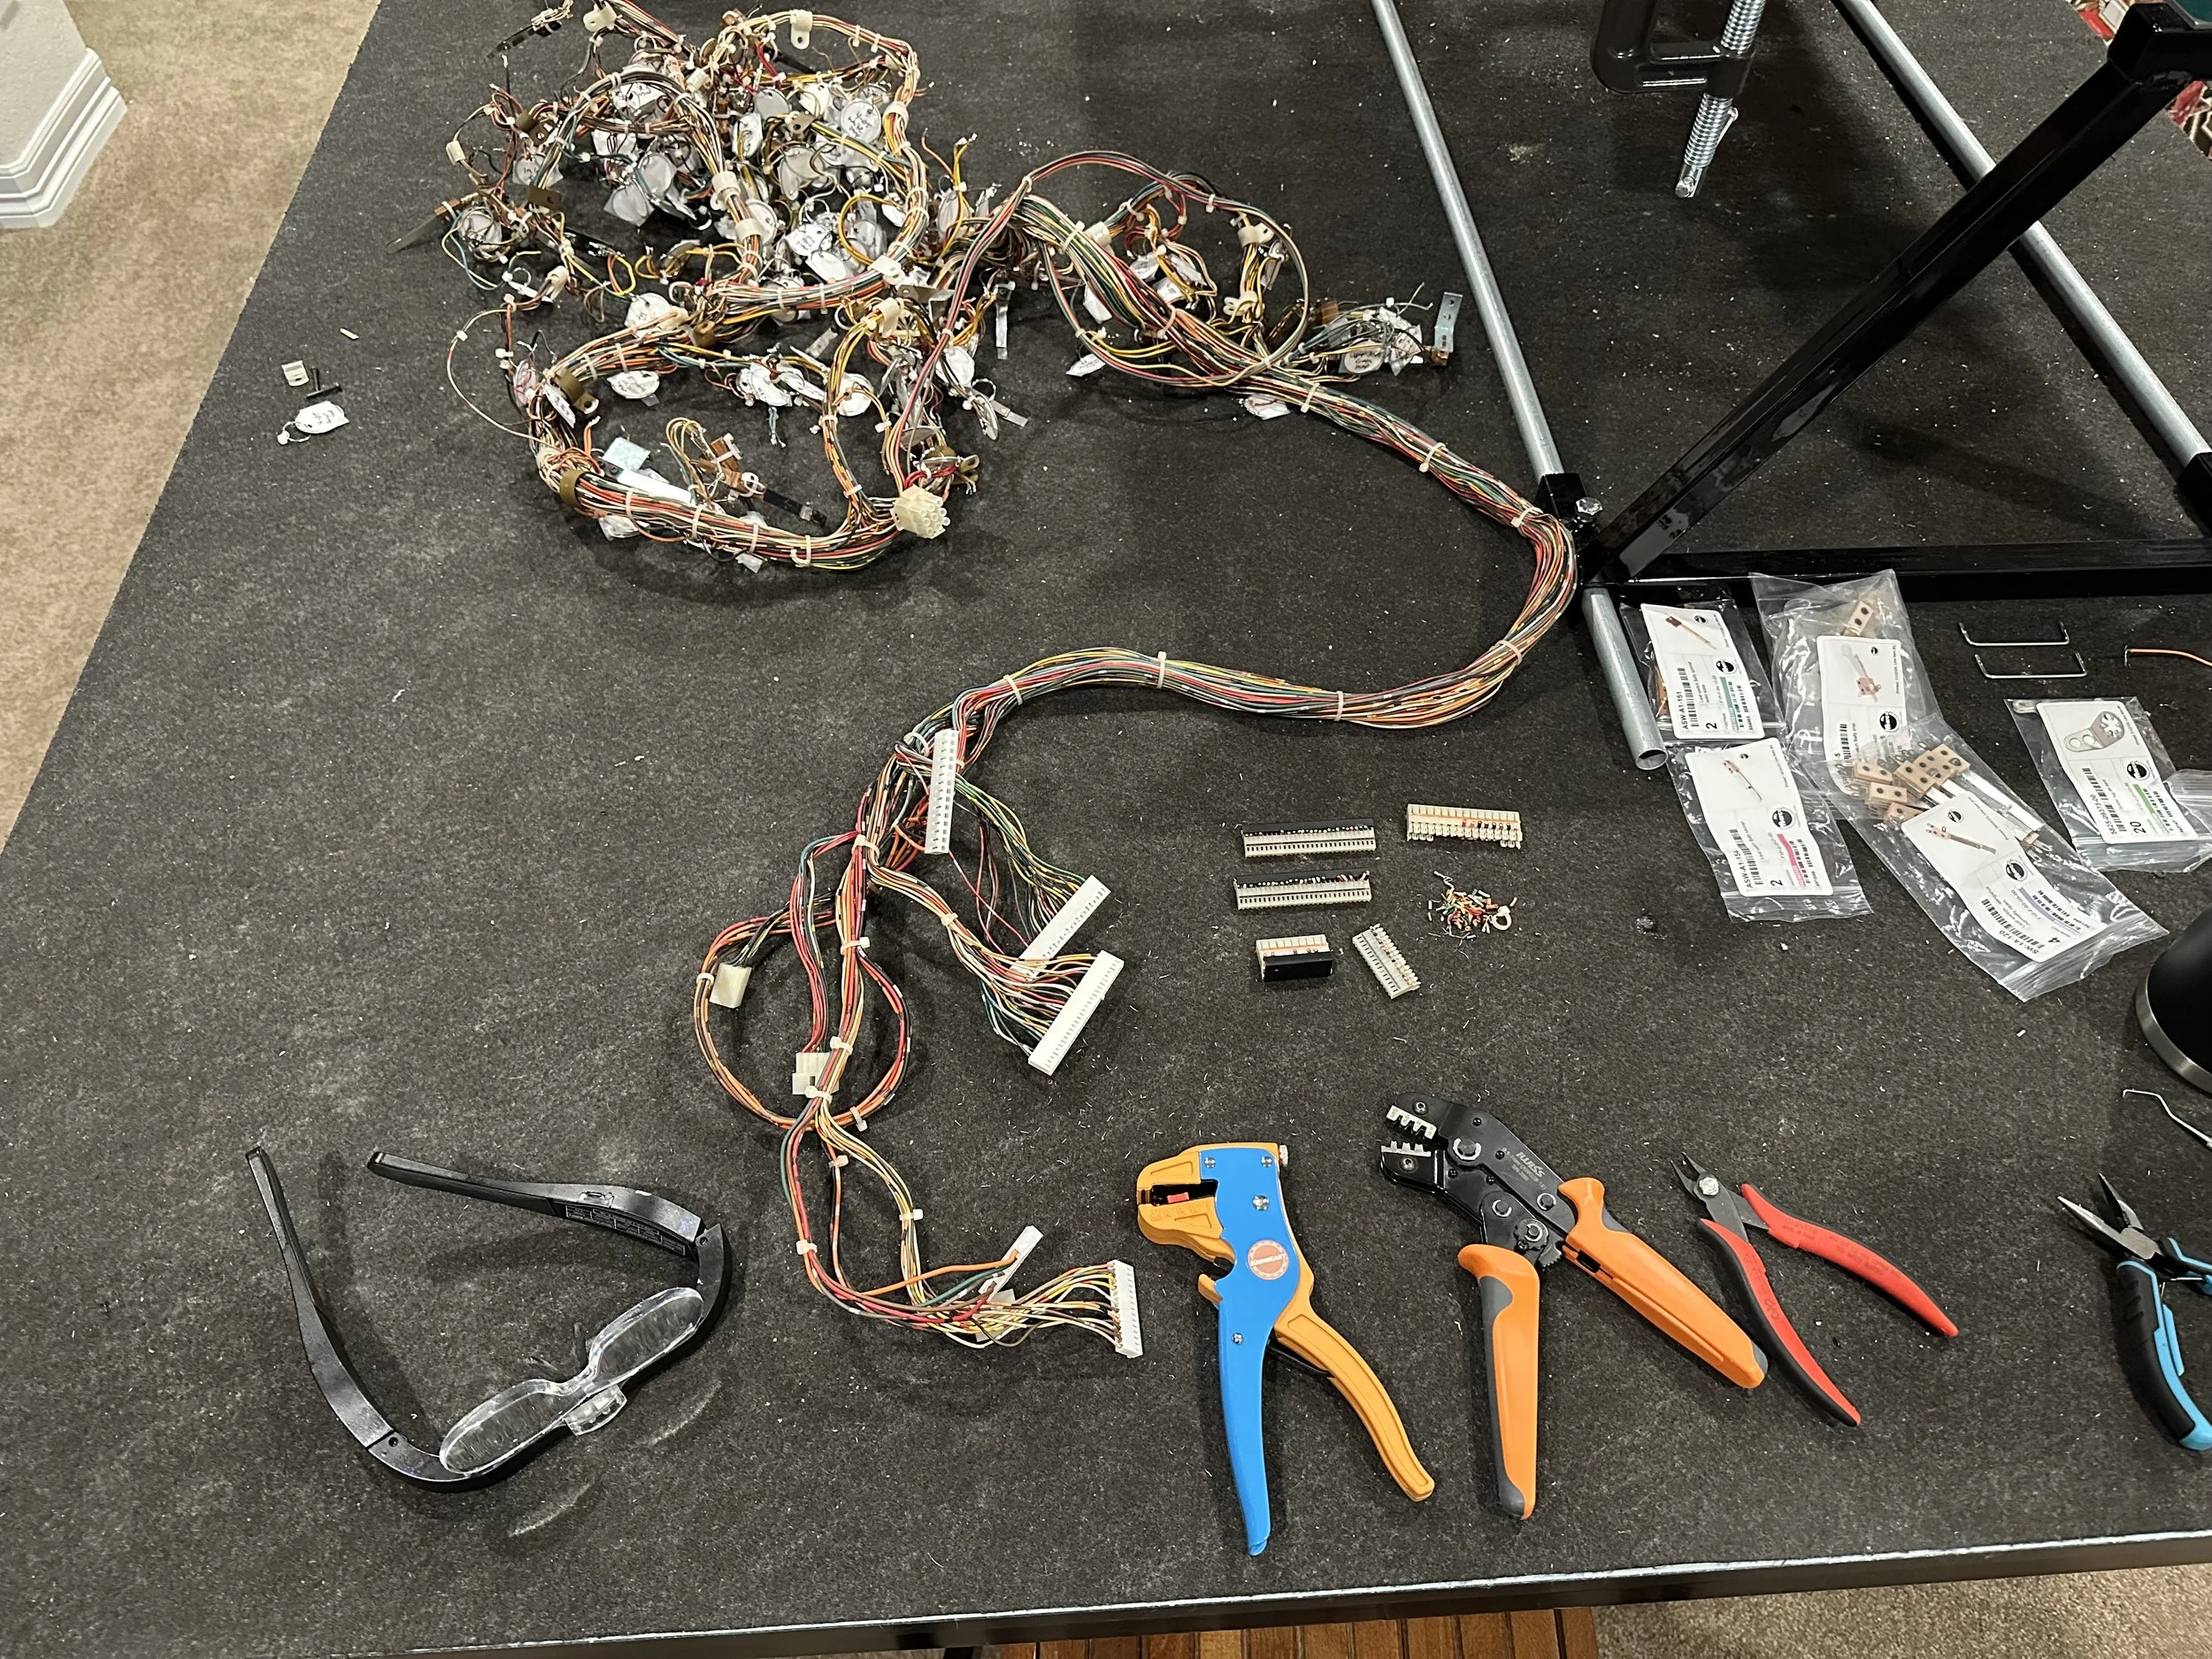
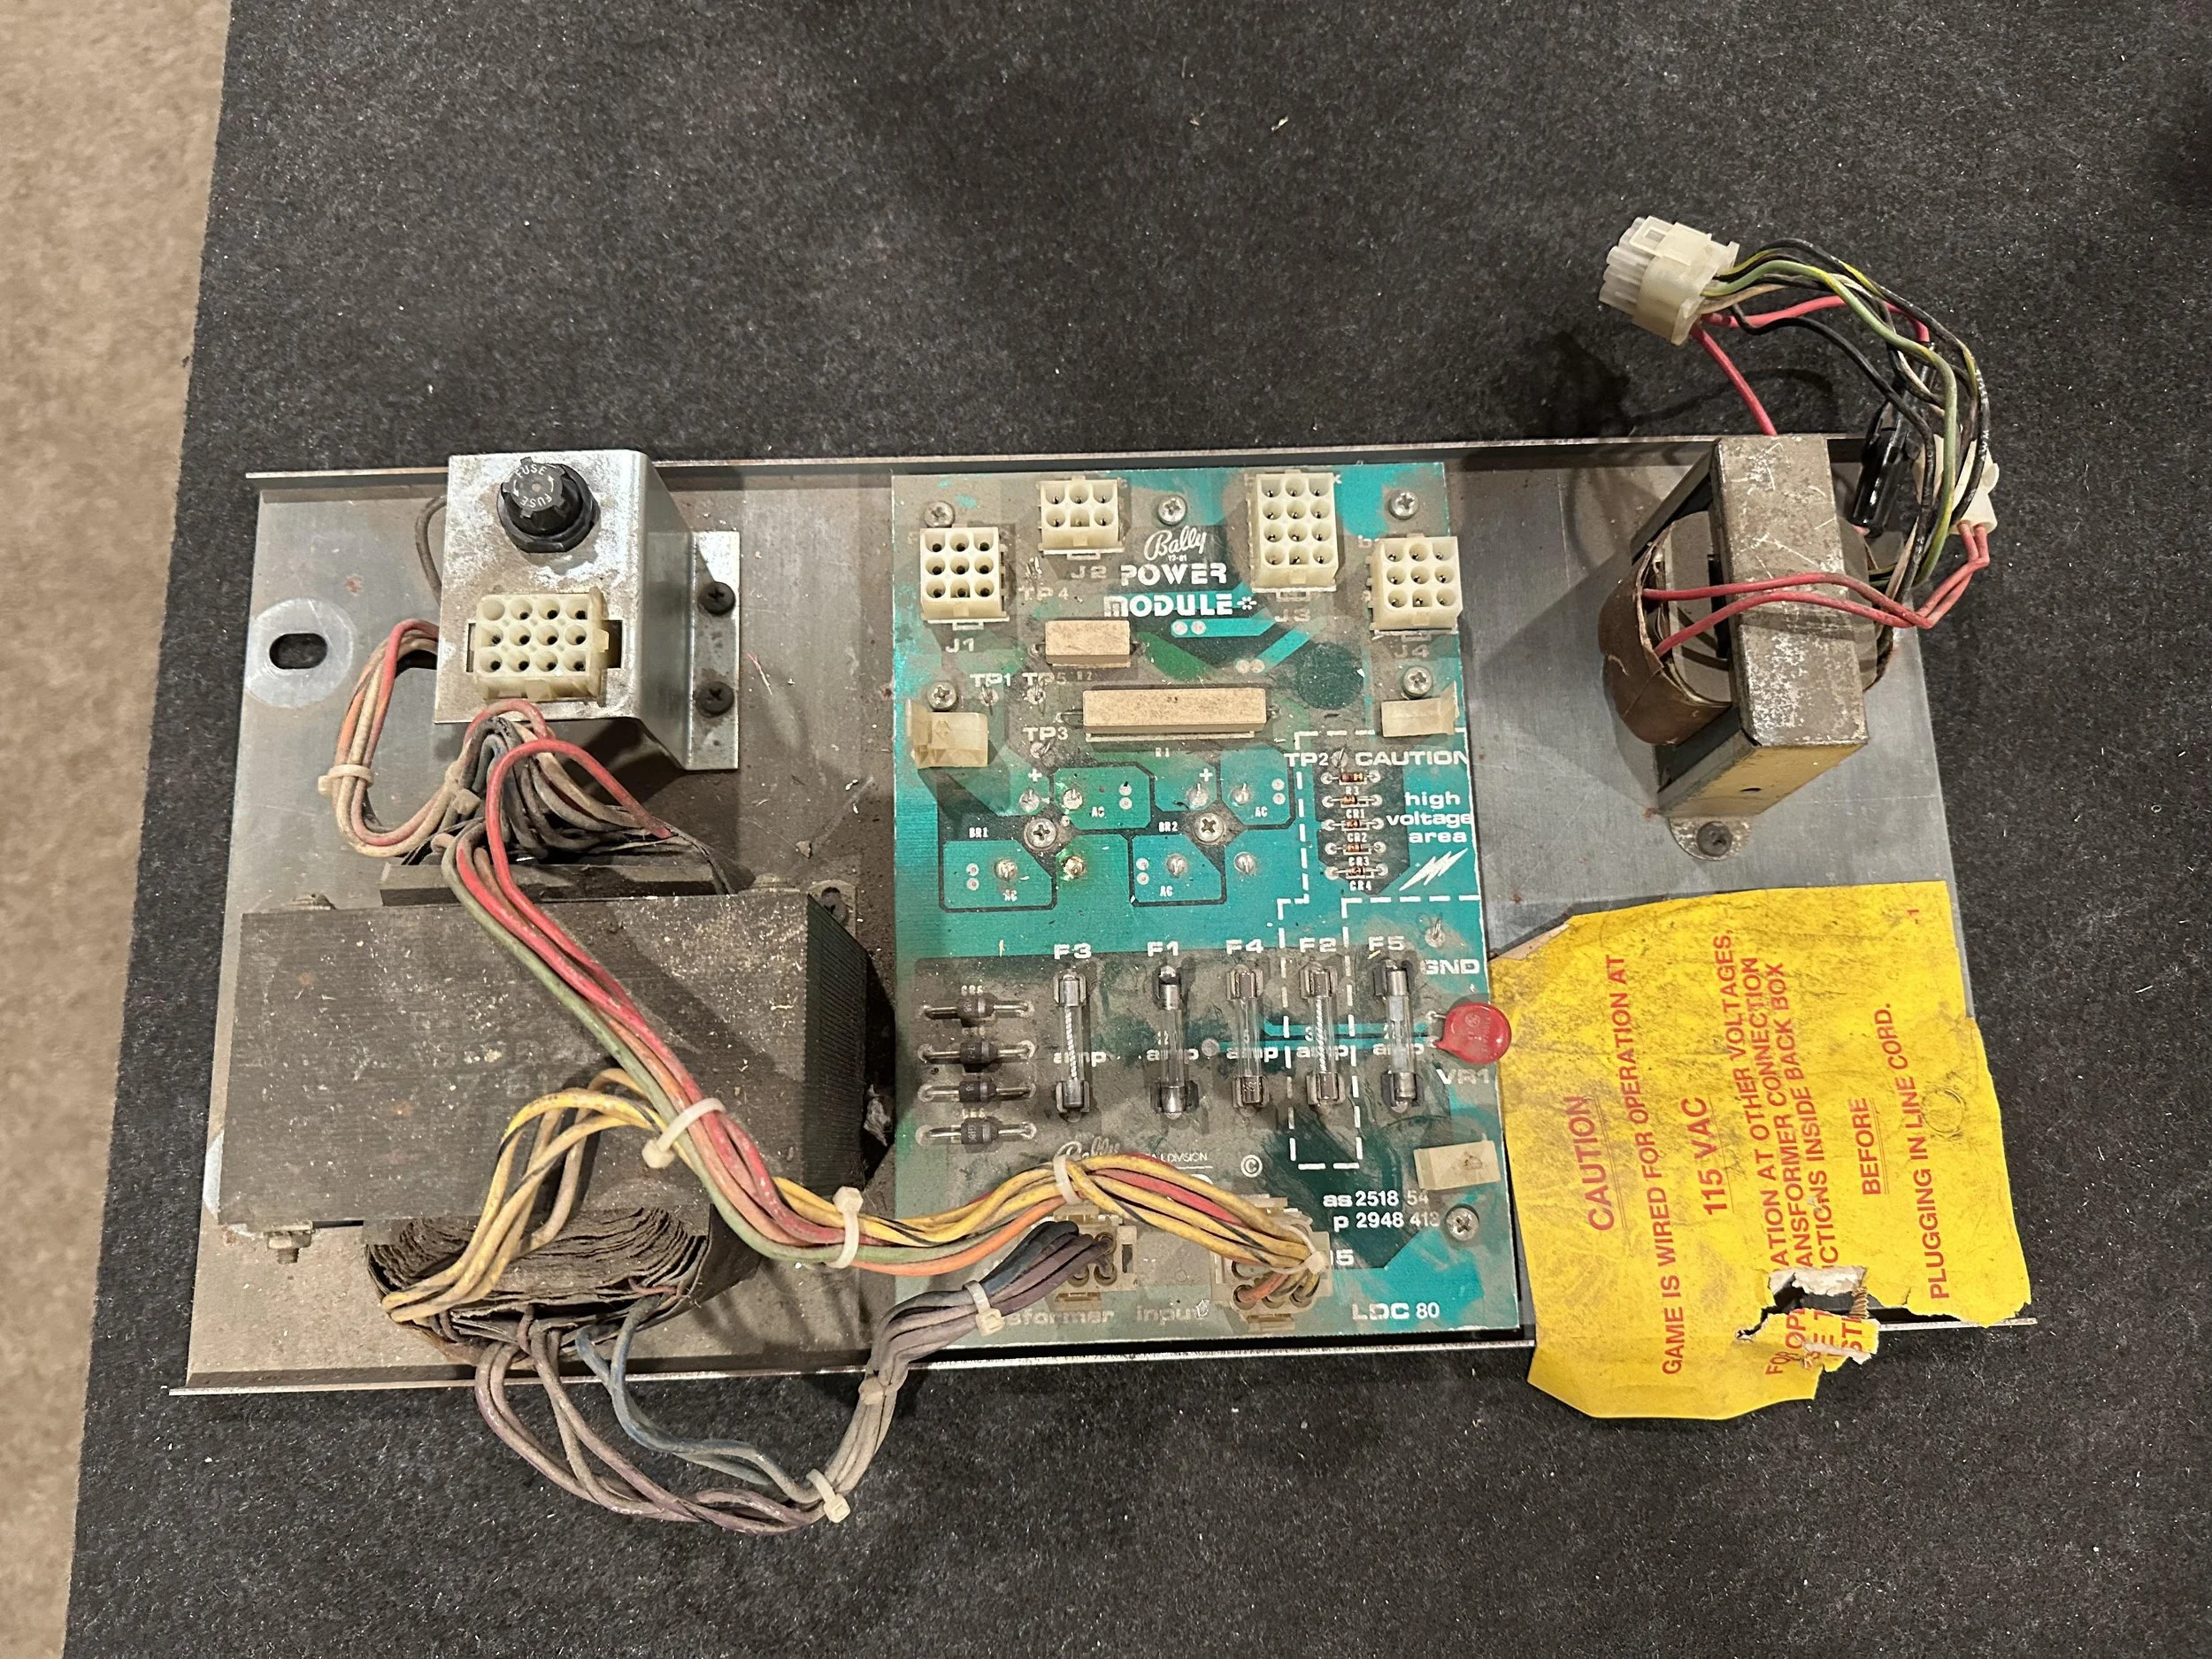
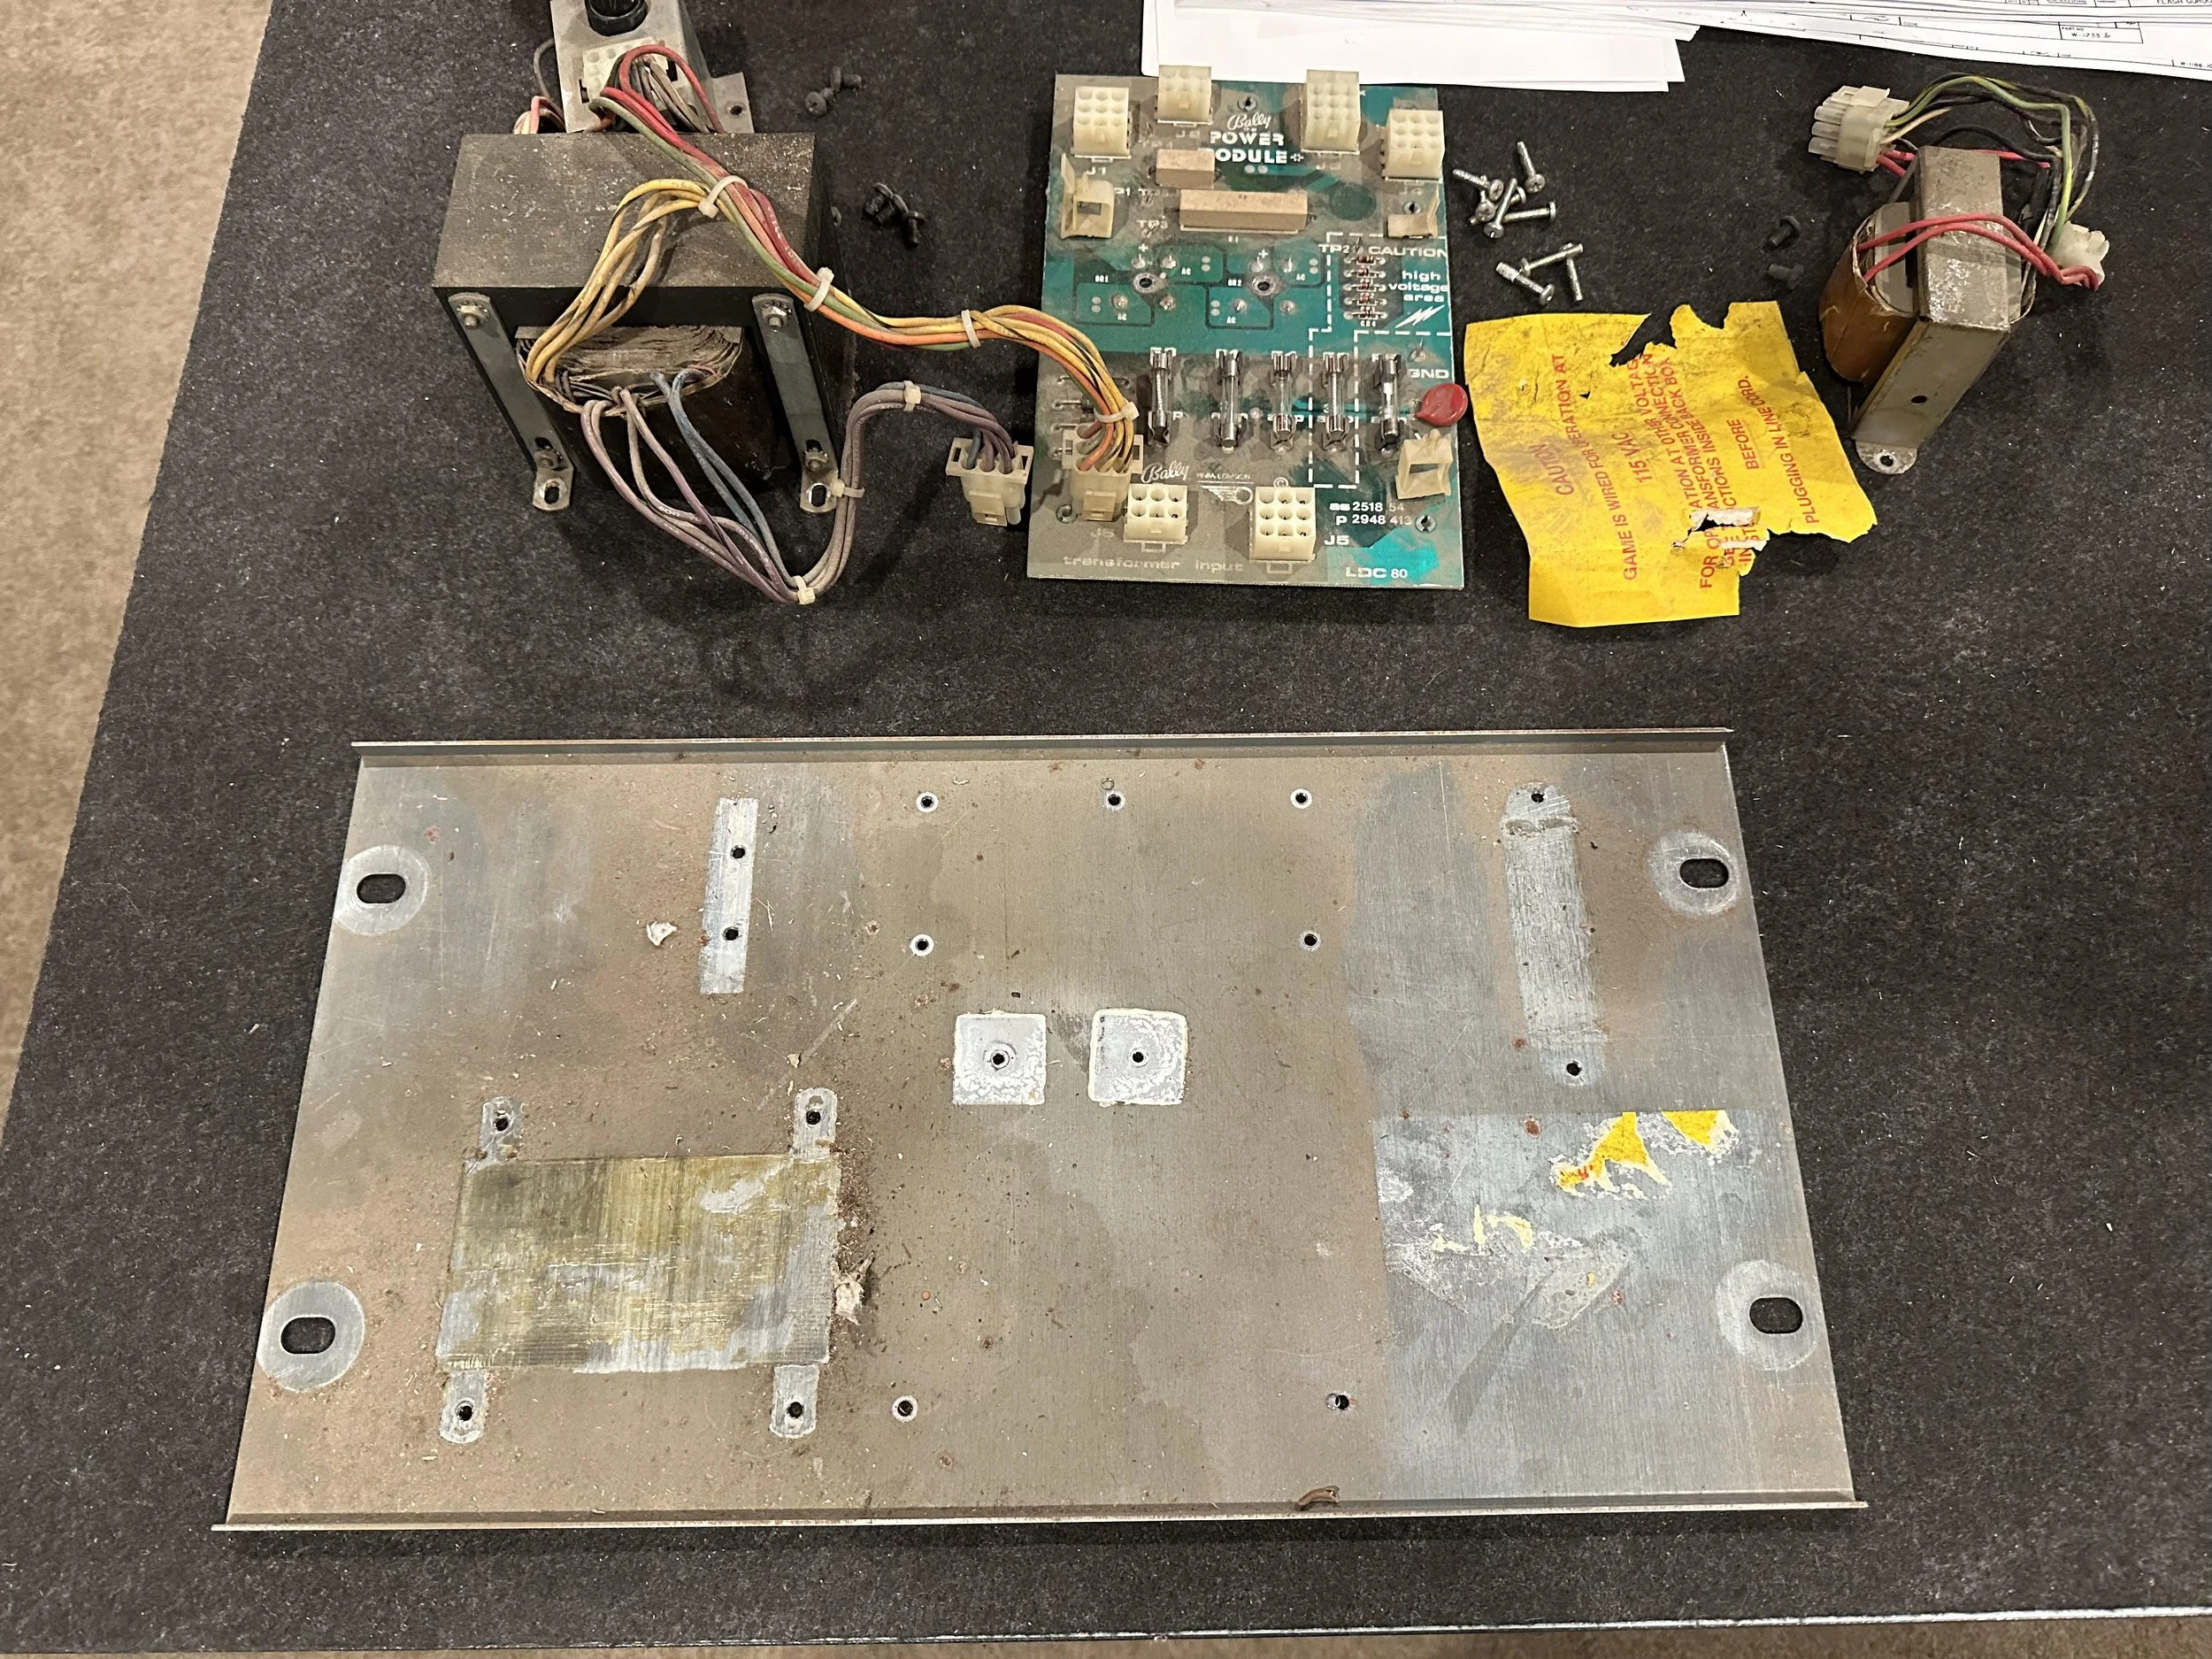
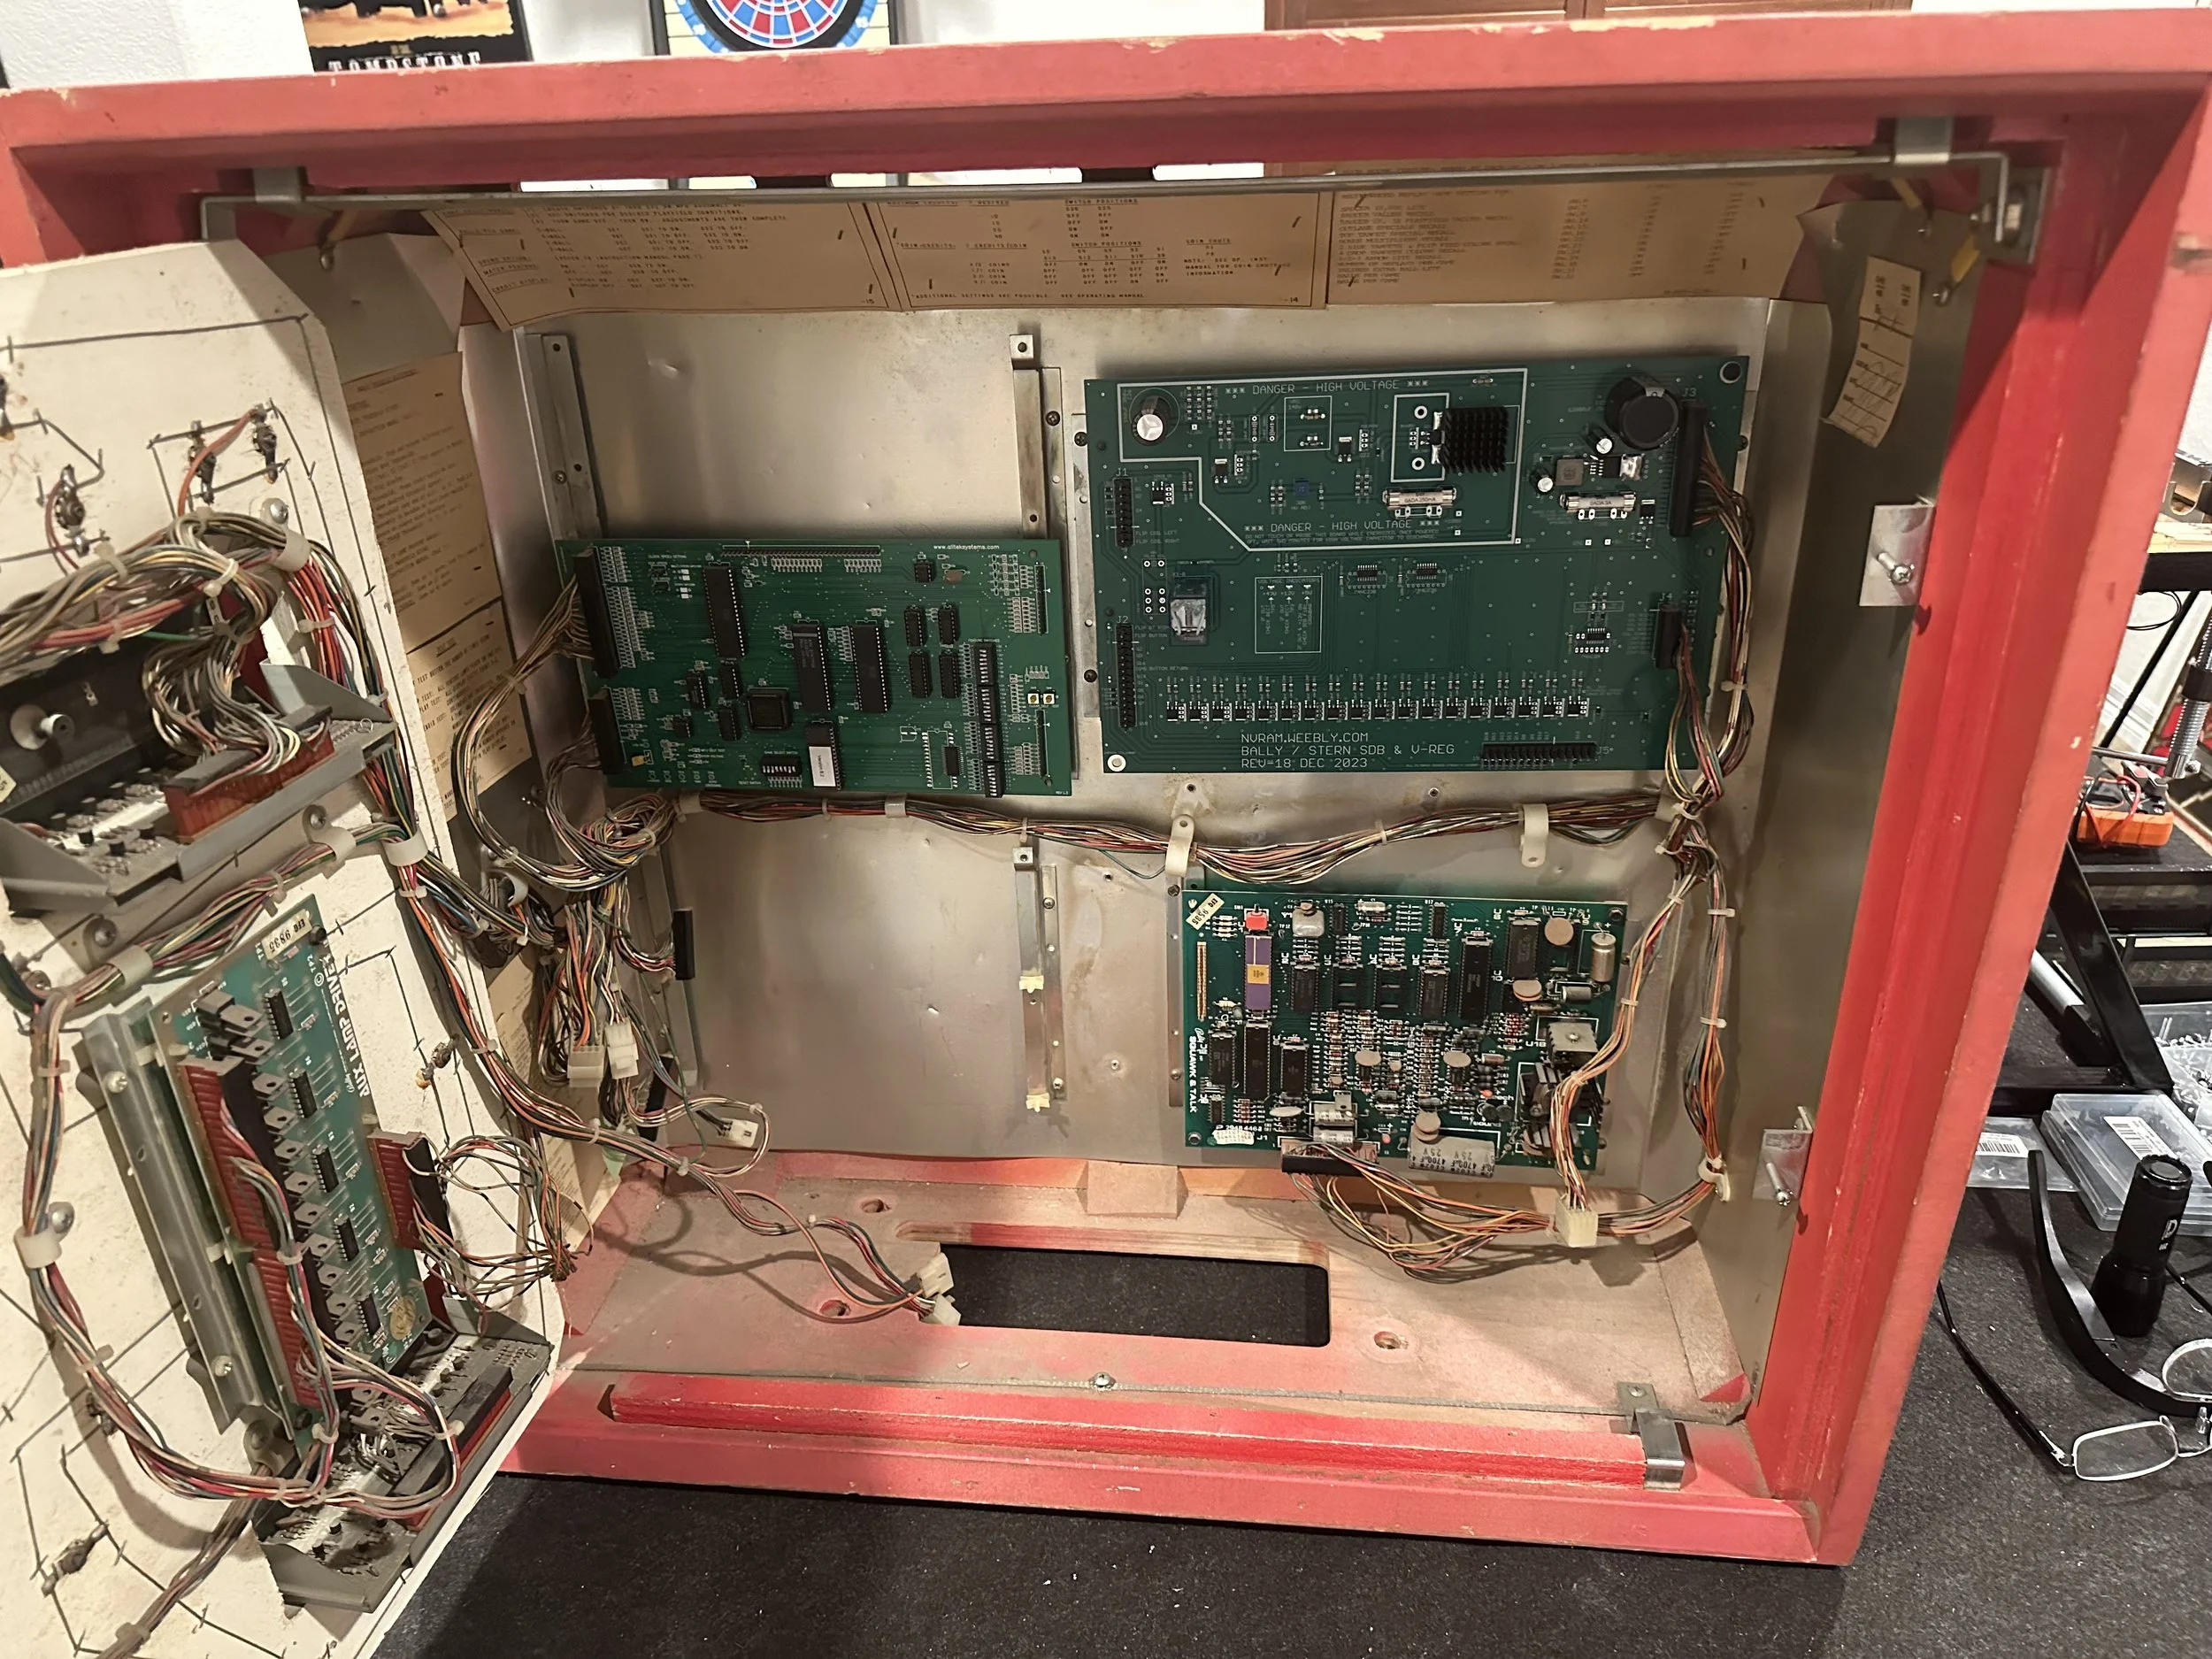
#1 - Replace the board set with modern equivalents and repair the original board set for a future Bally project (or use as test spares)
#2 - Keep the backglass - it’s actually in very nice shape
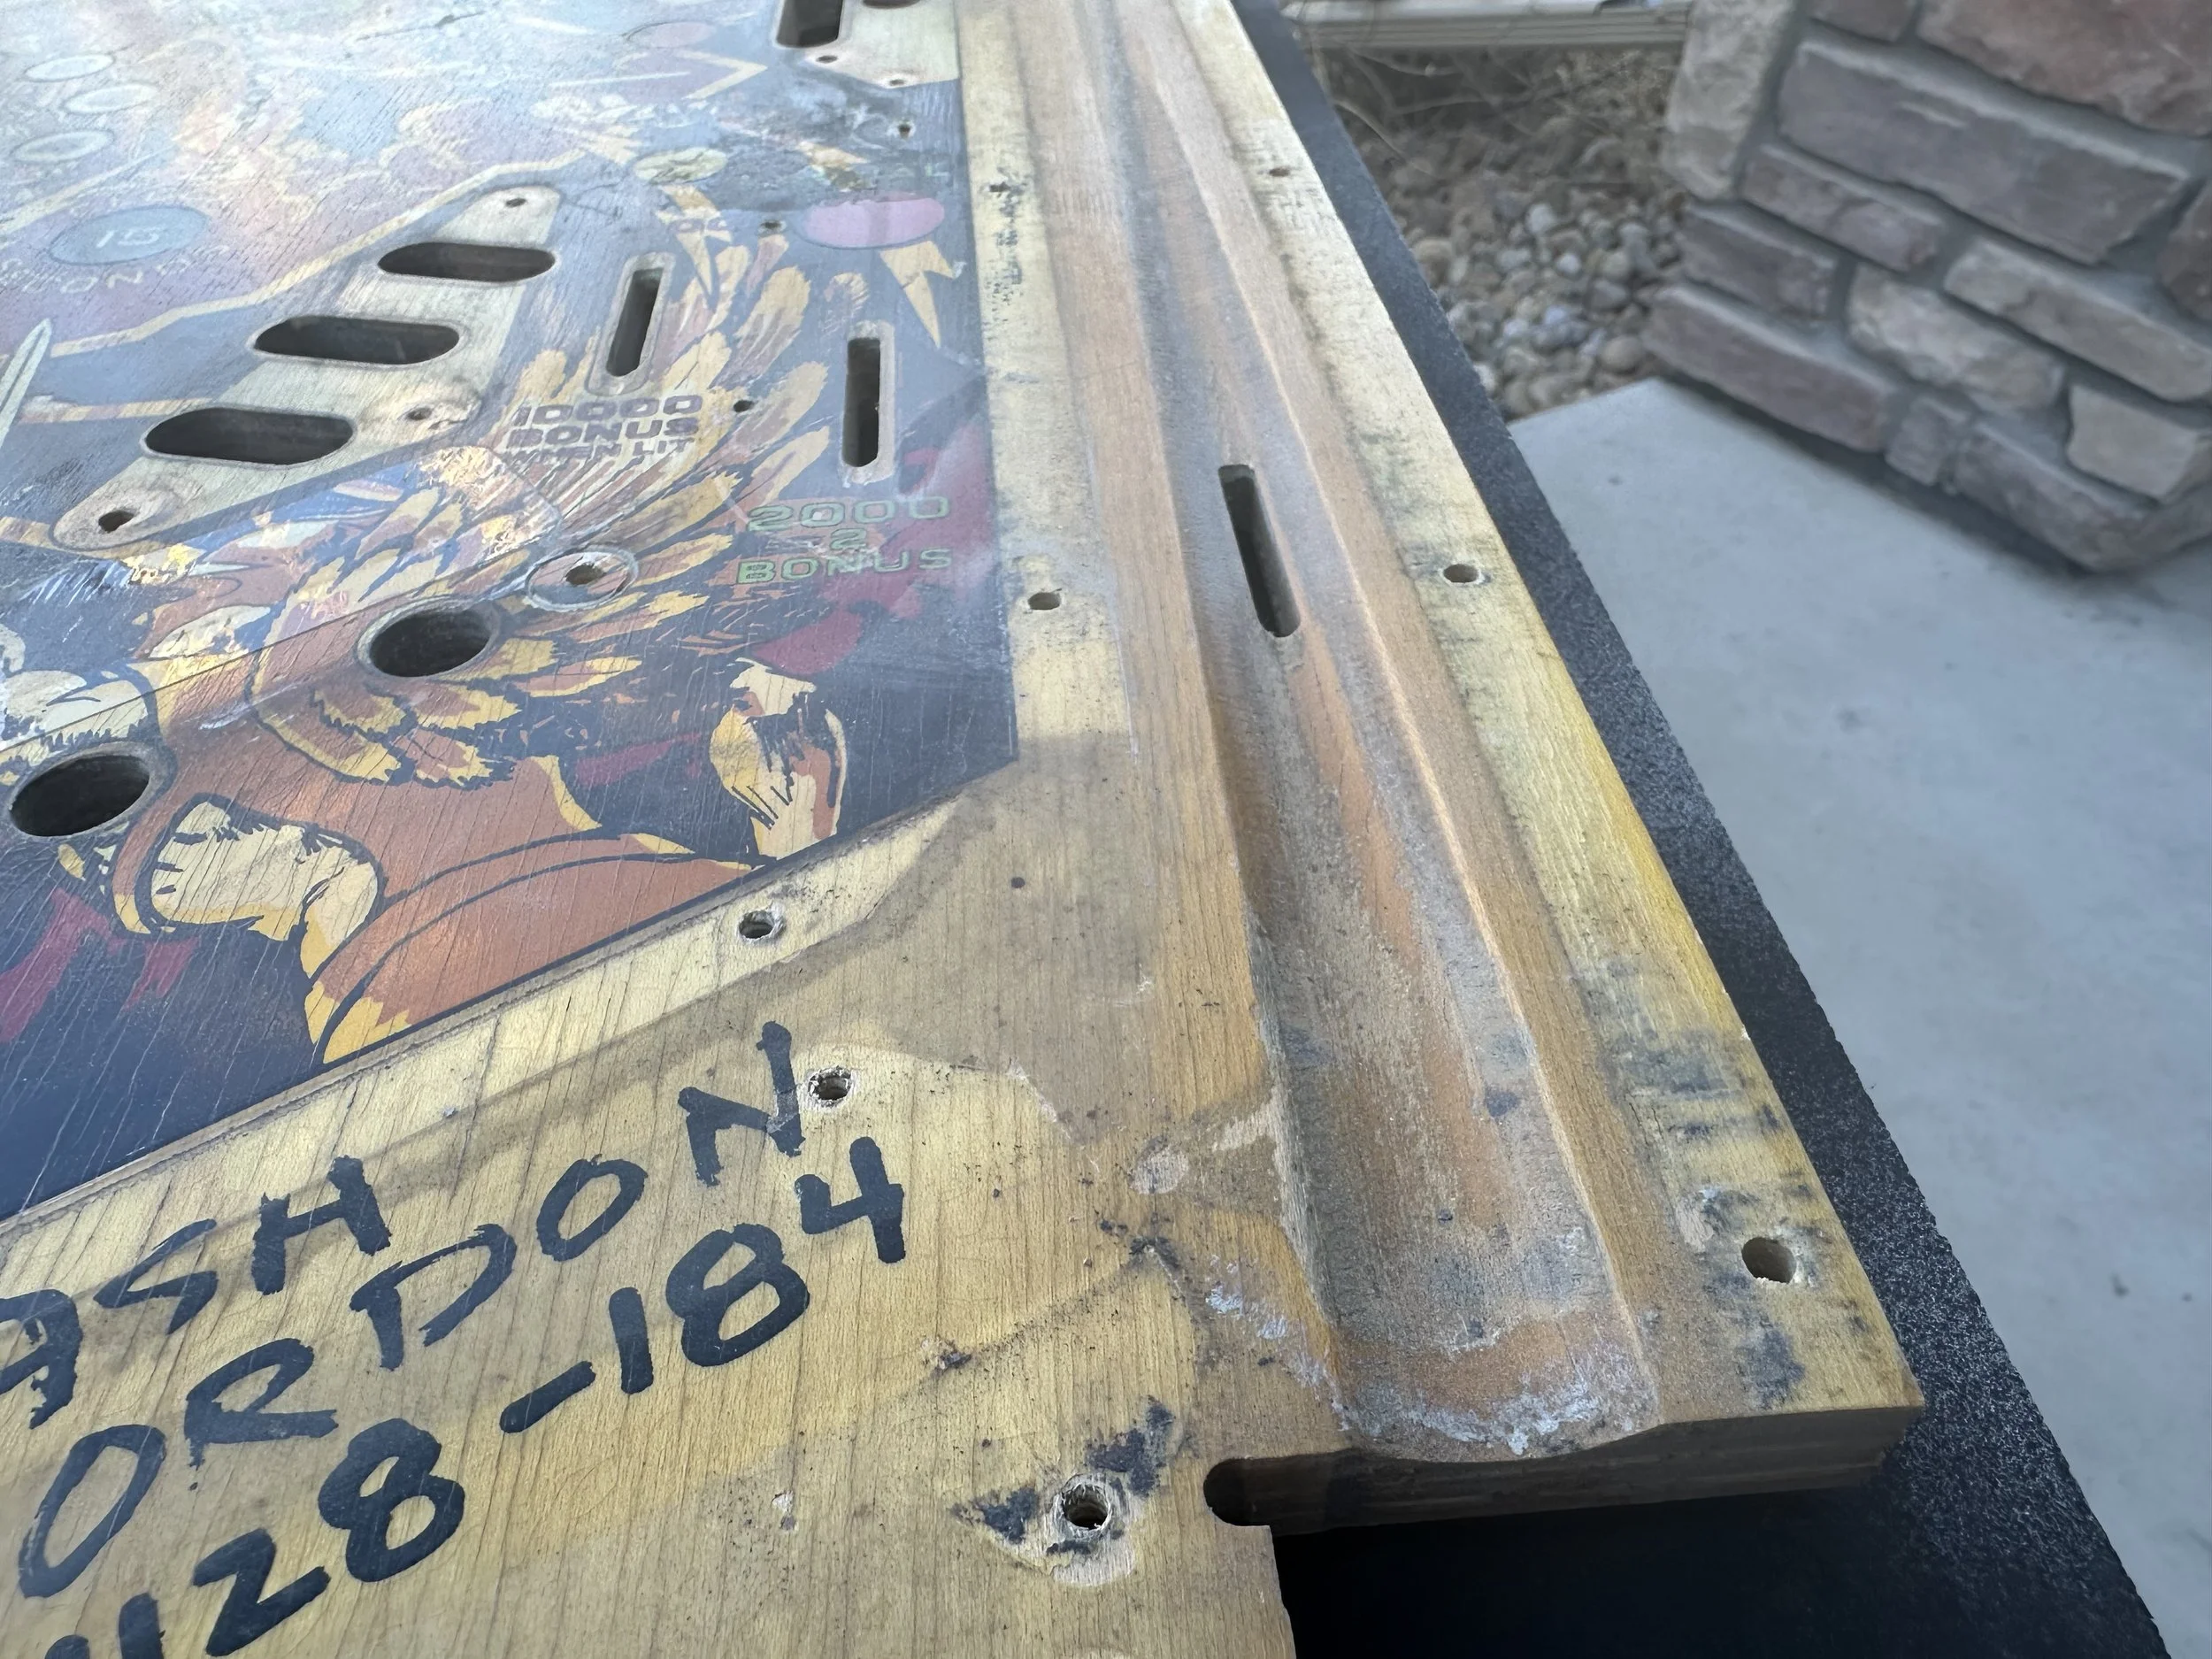
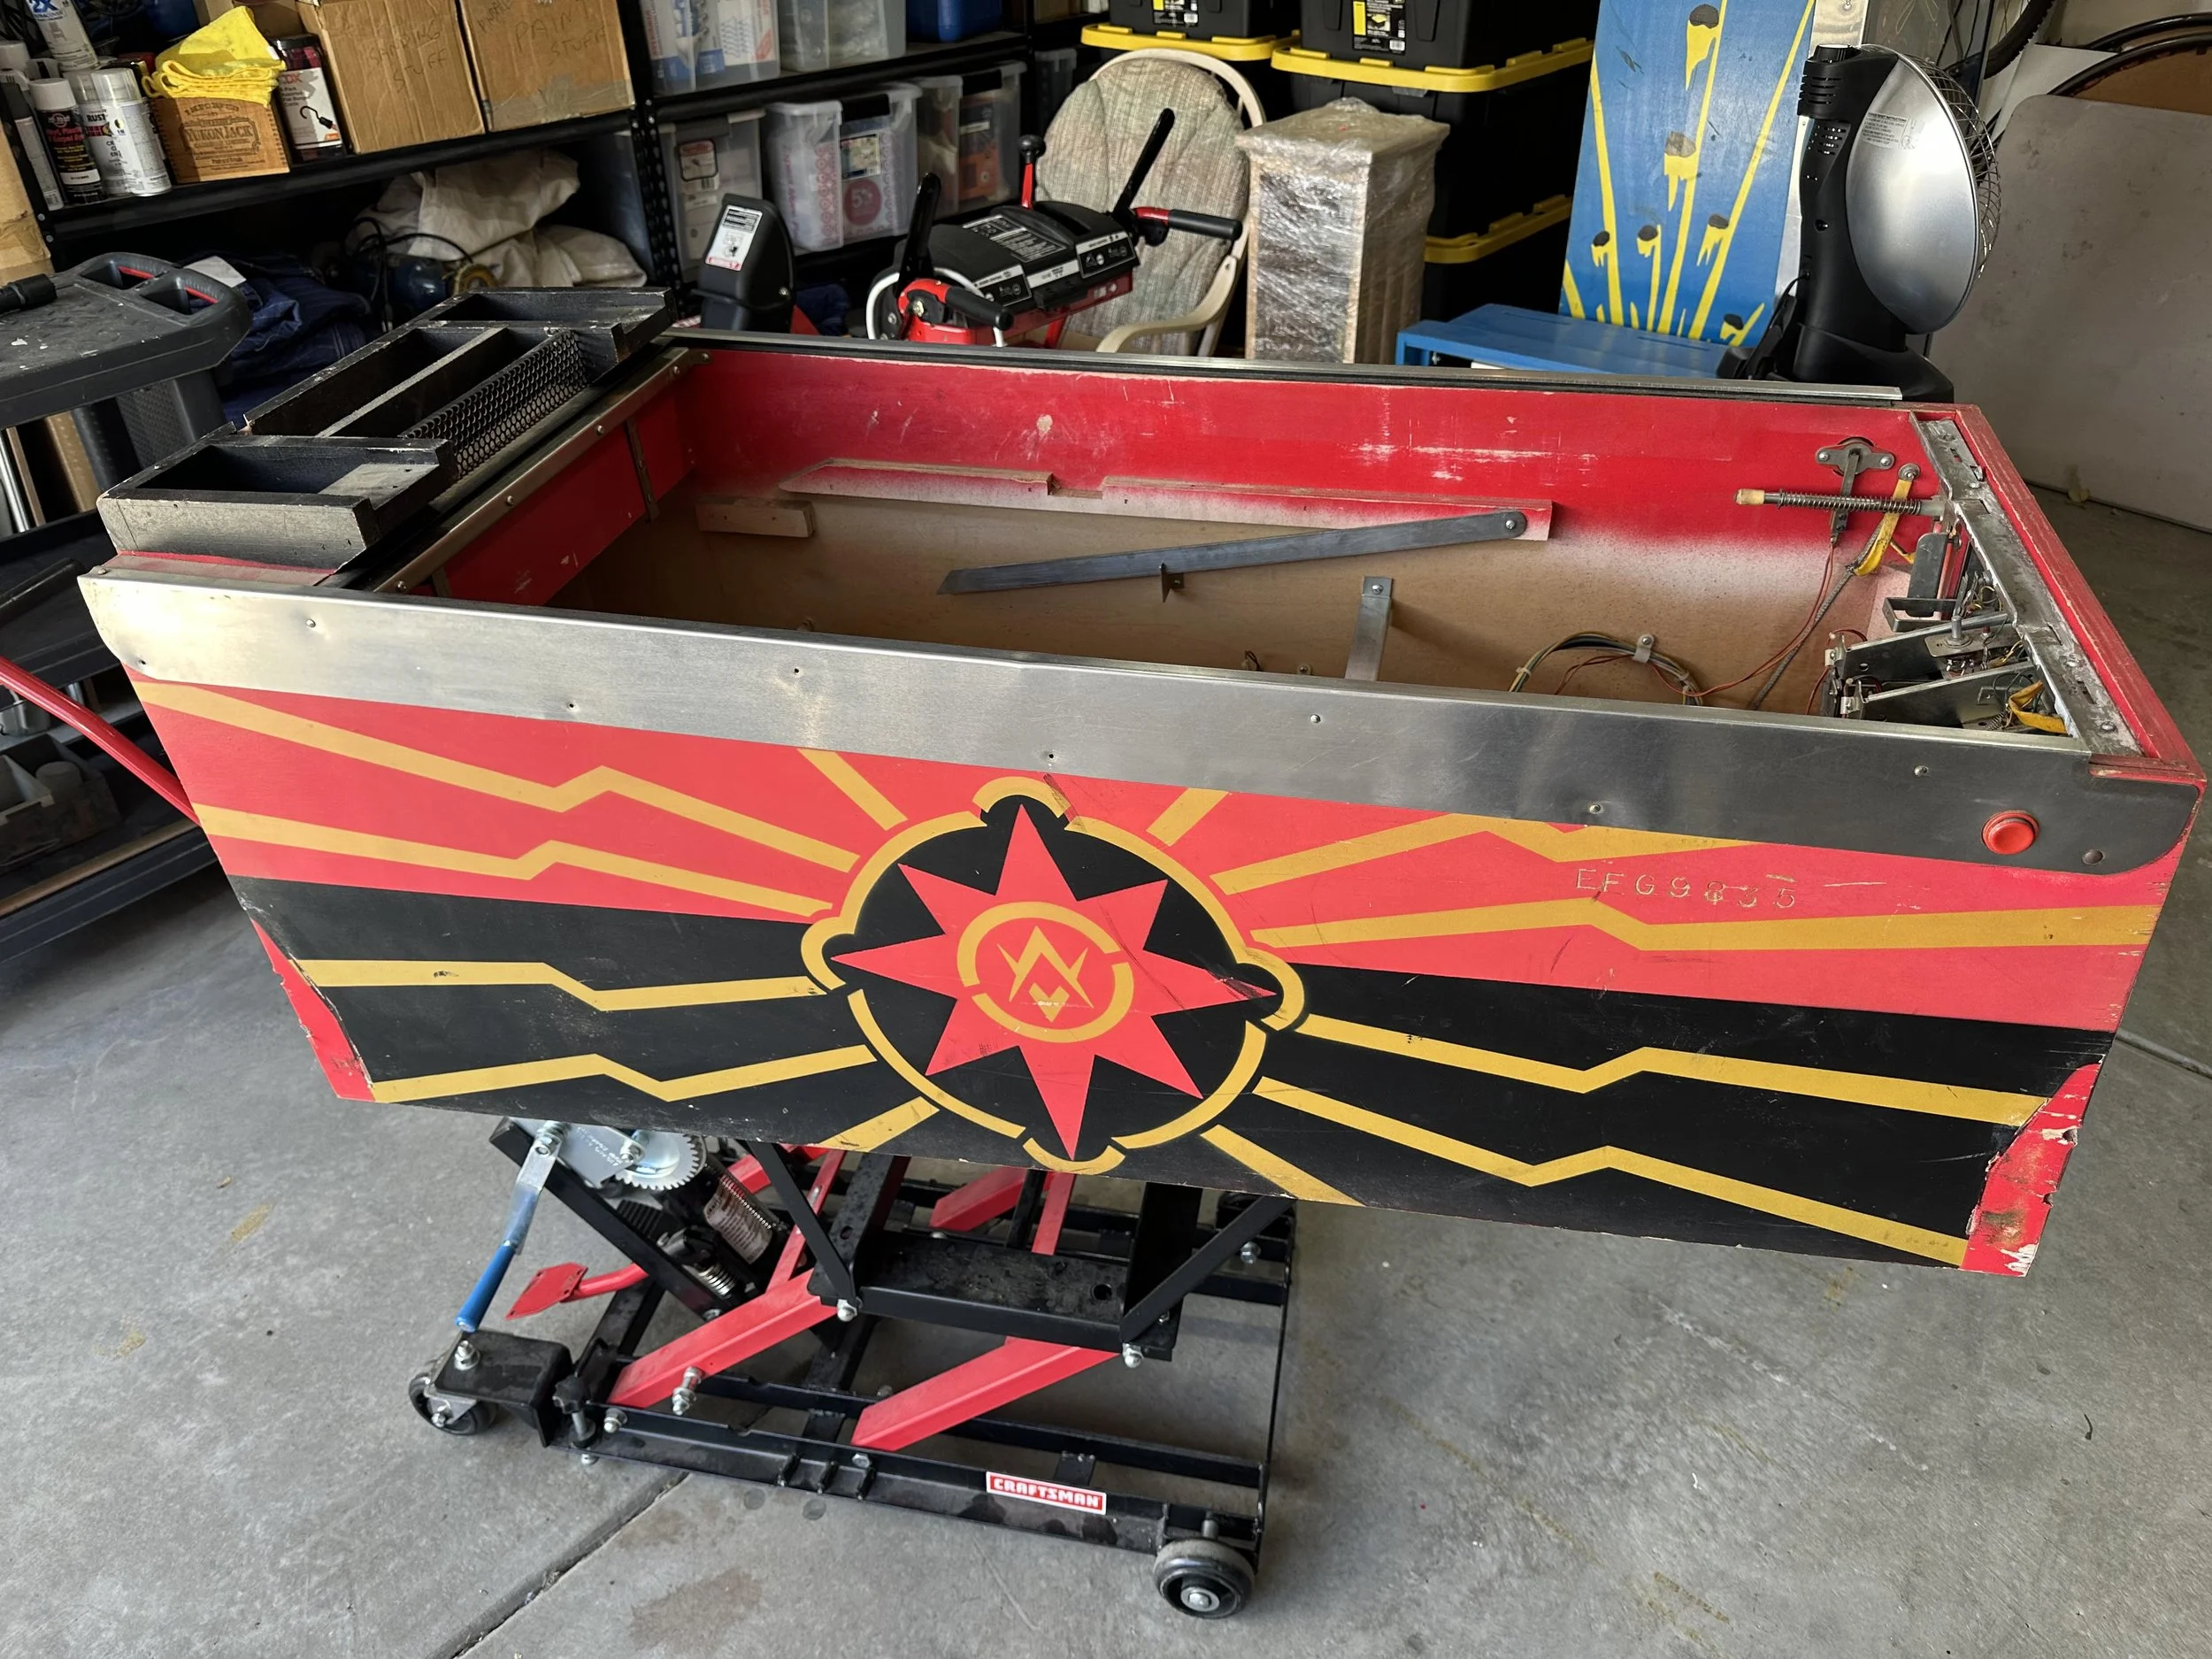
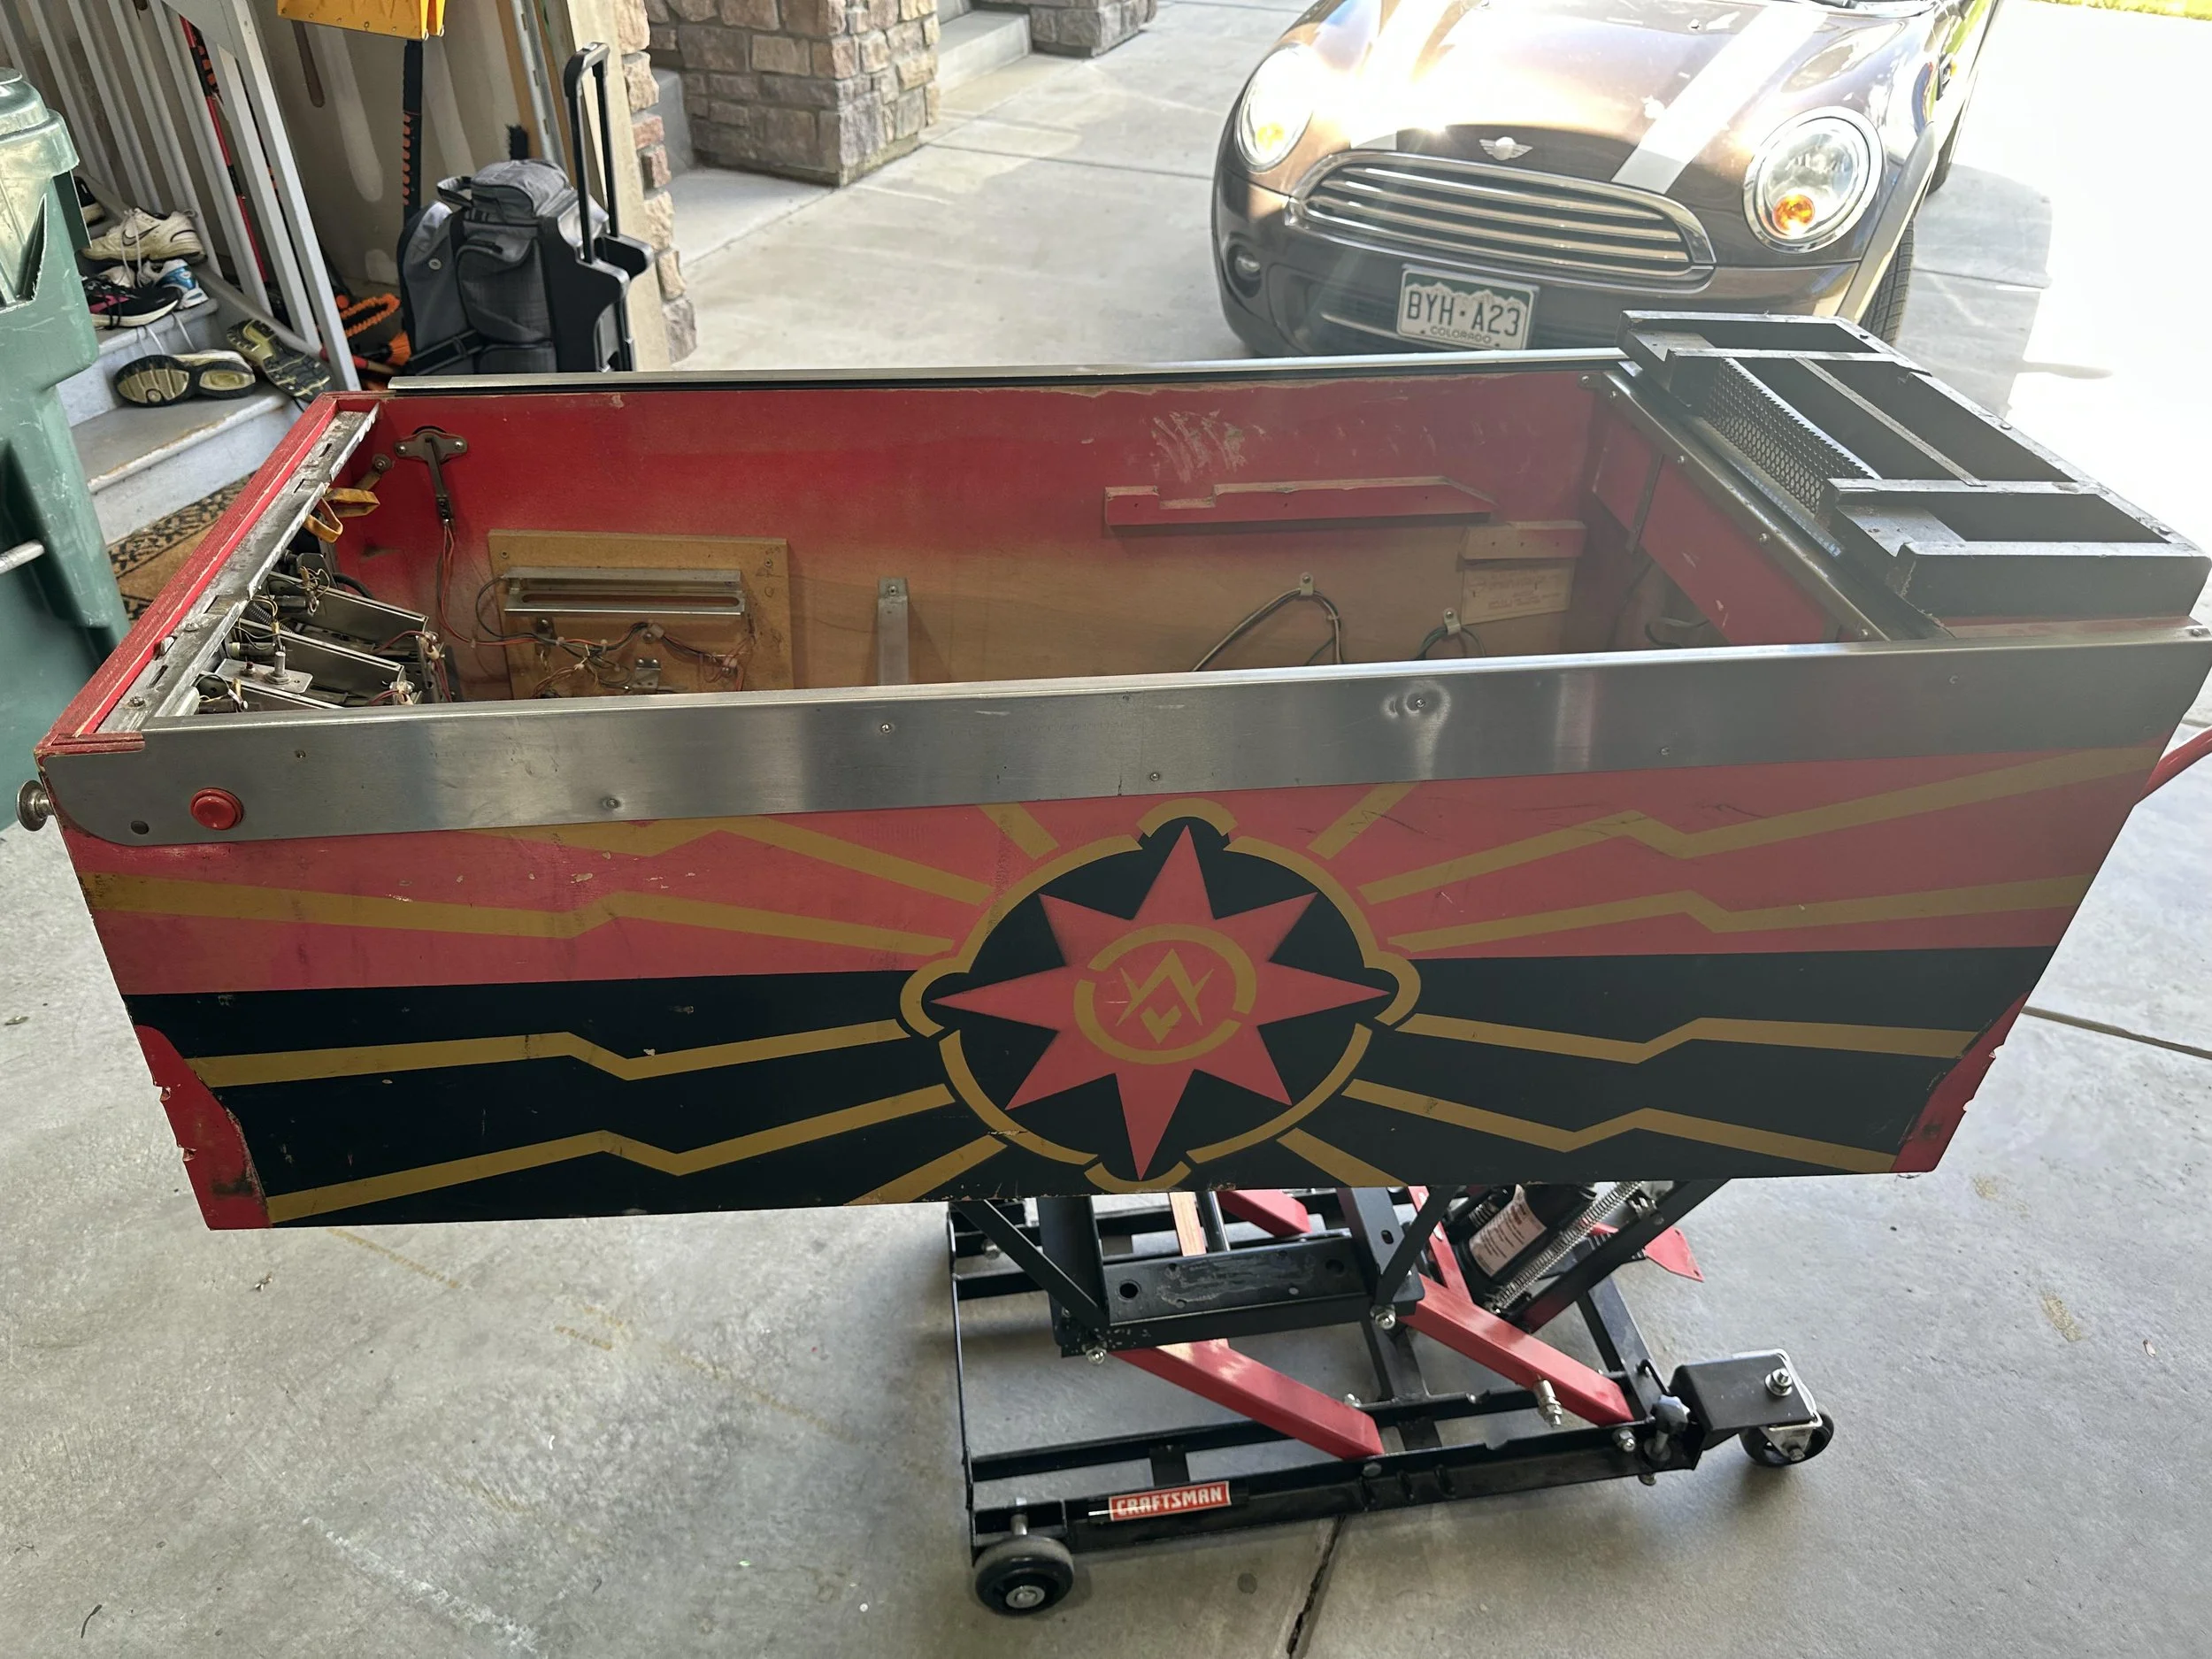
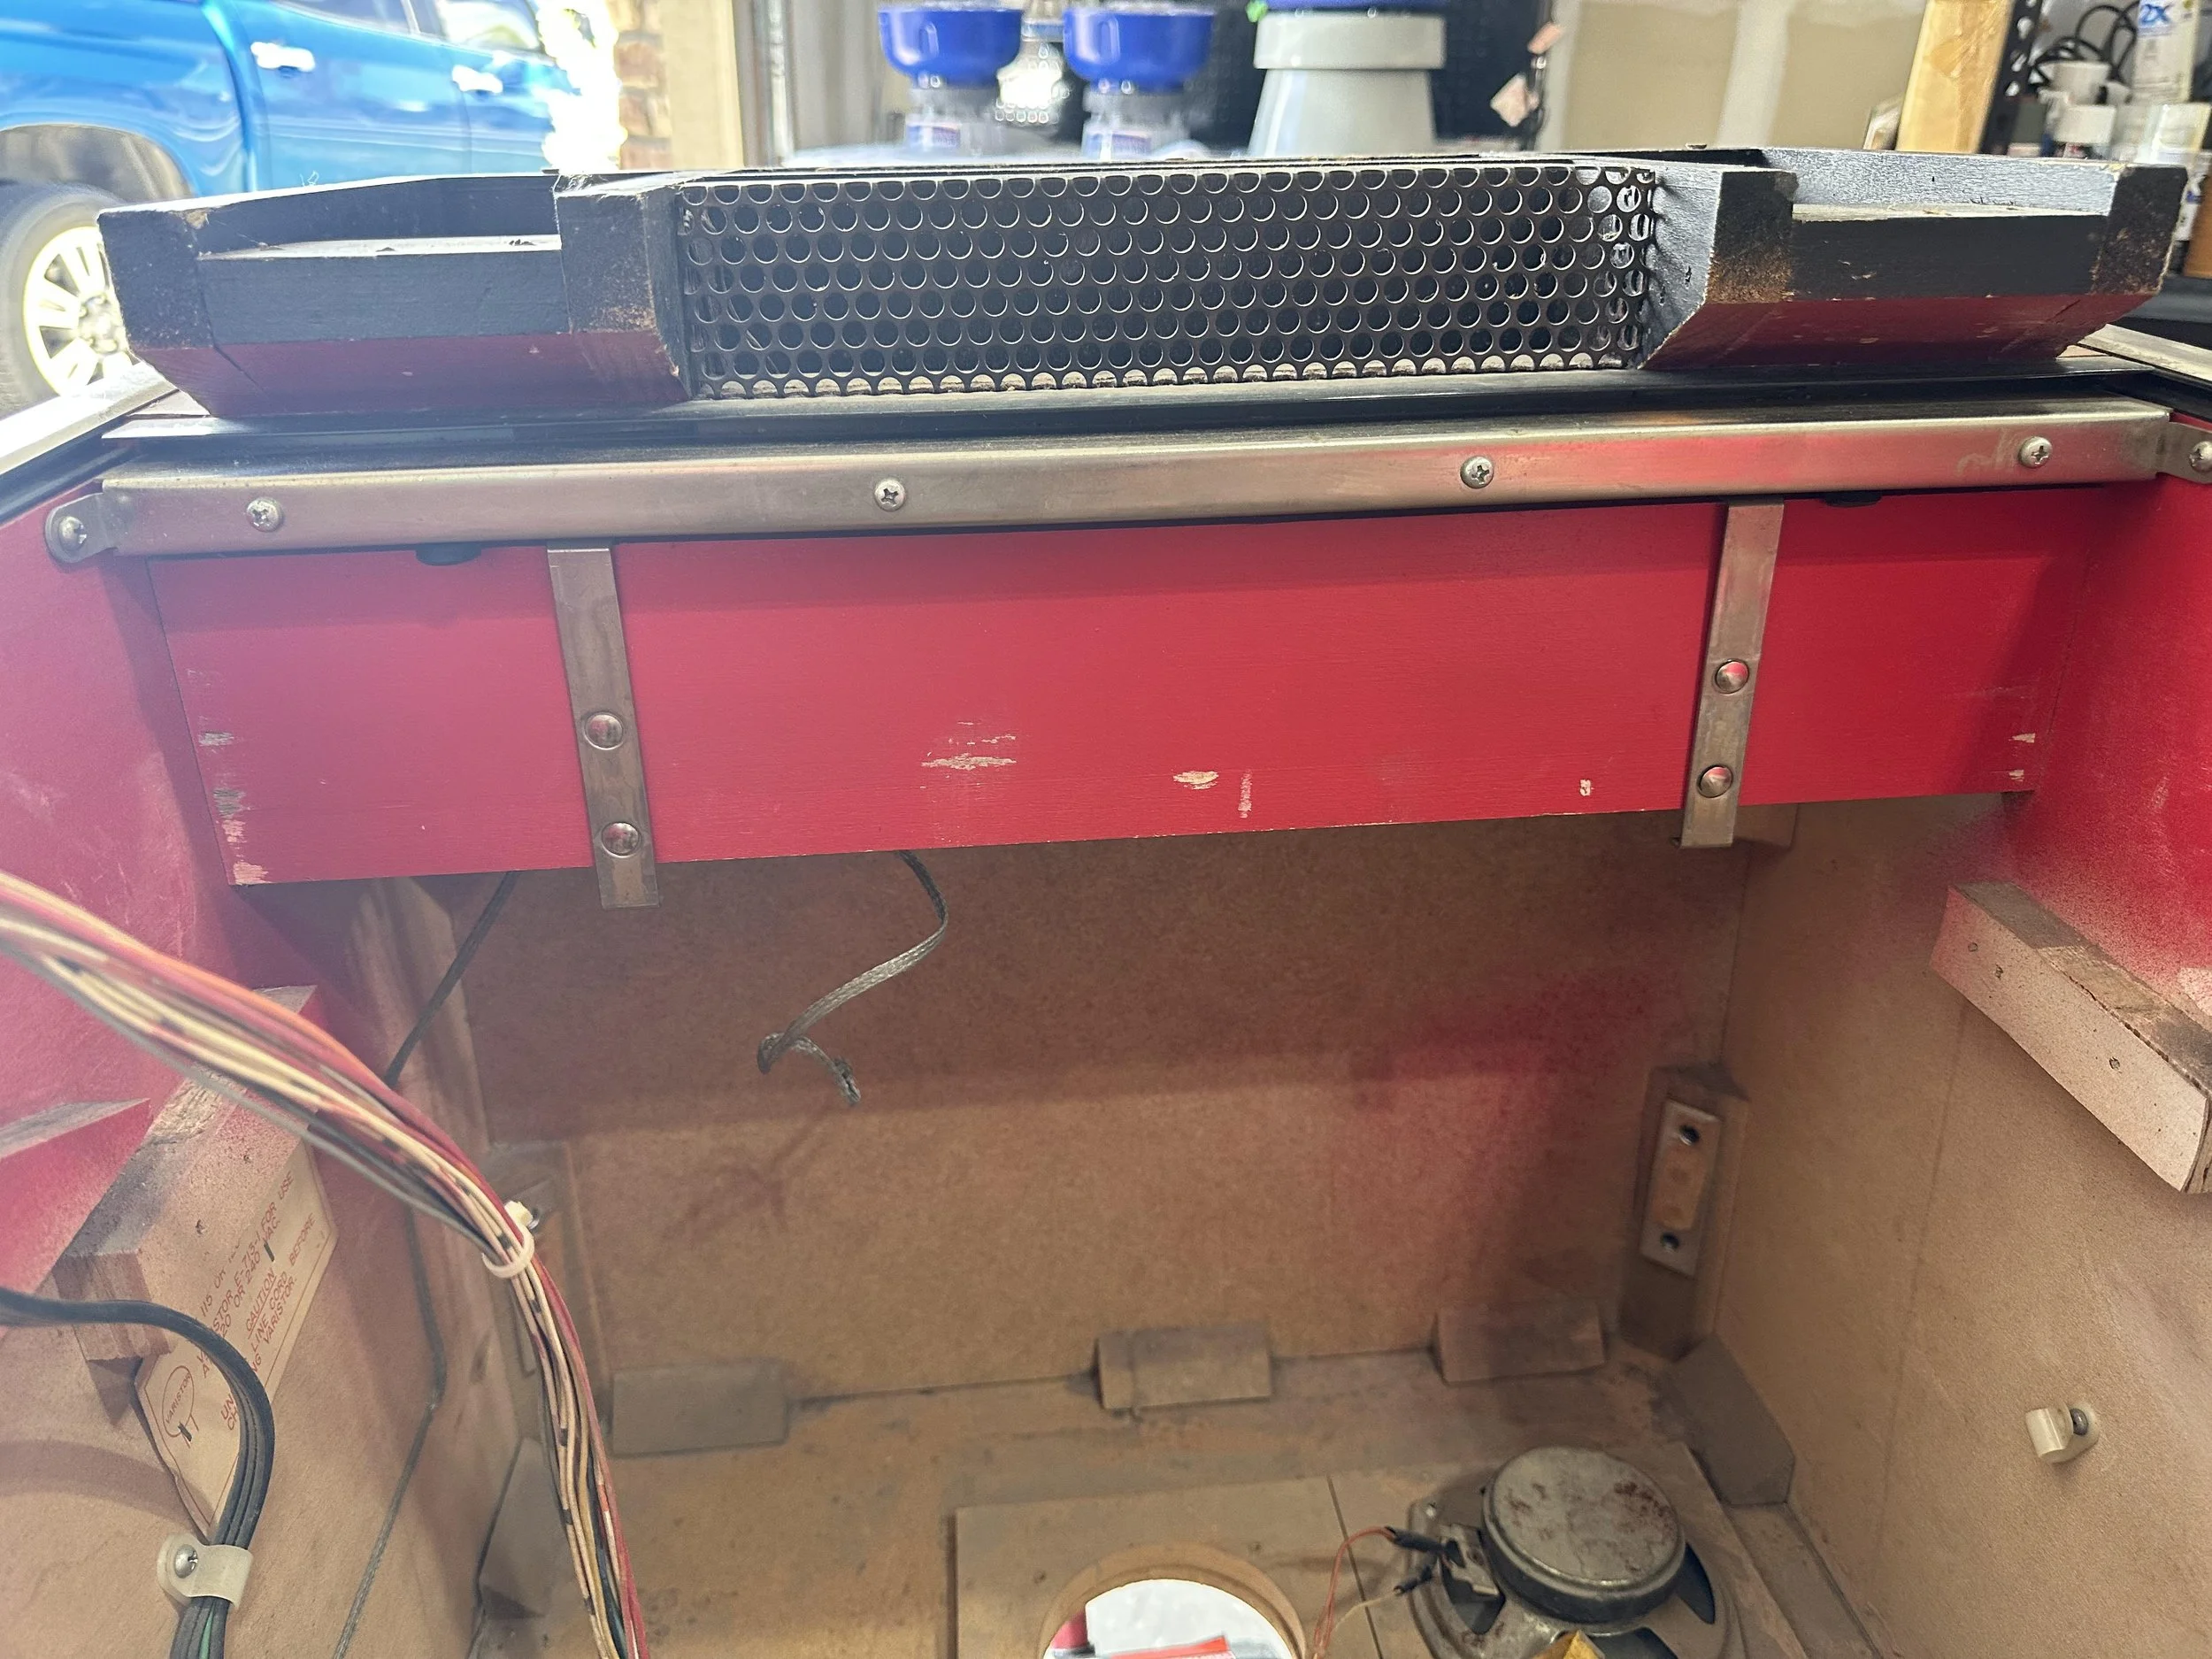
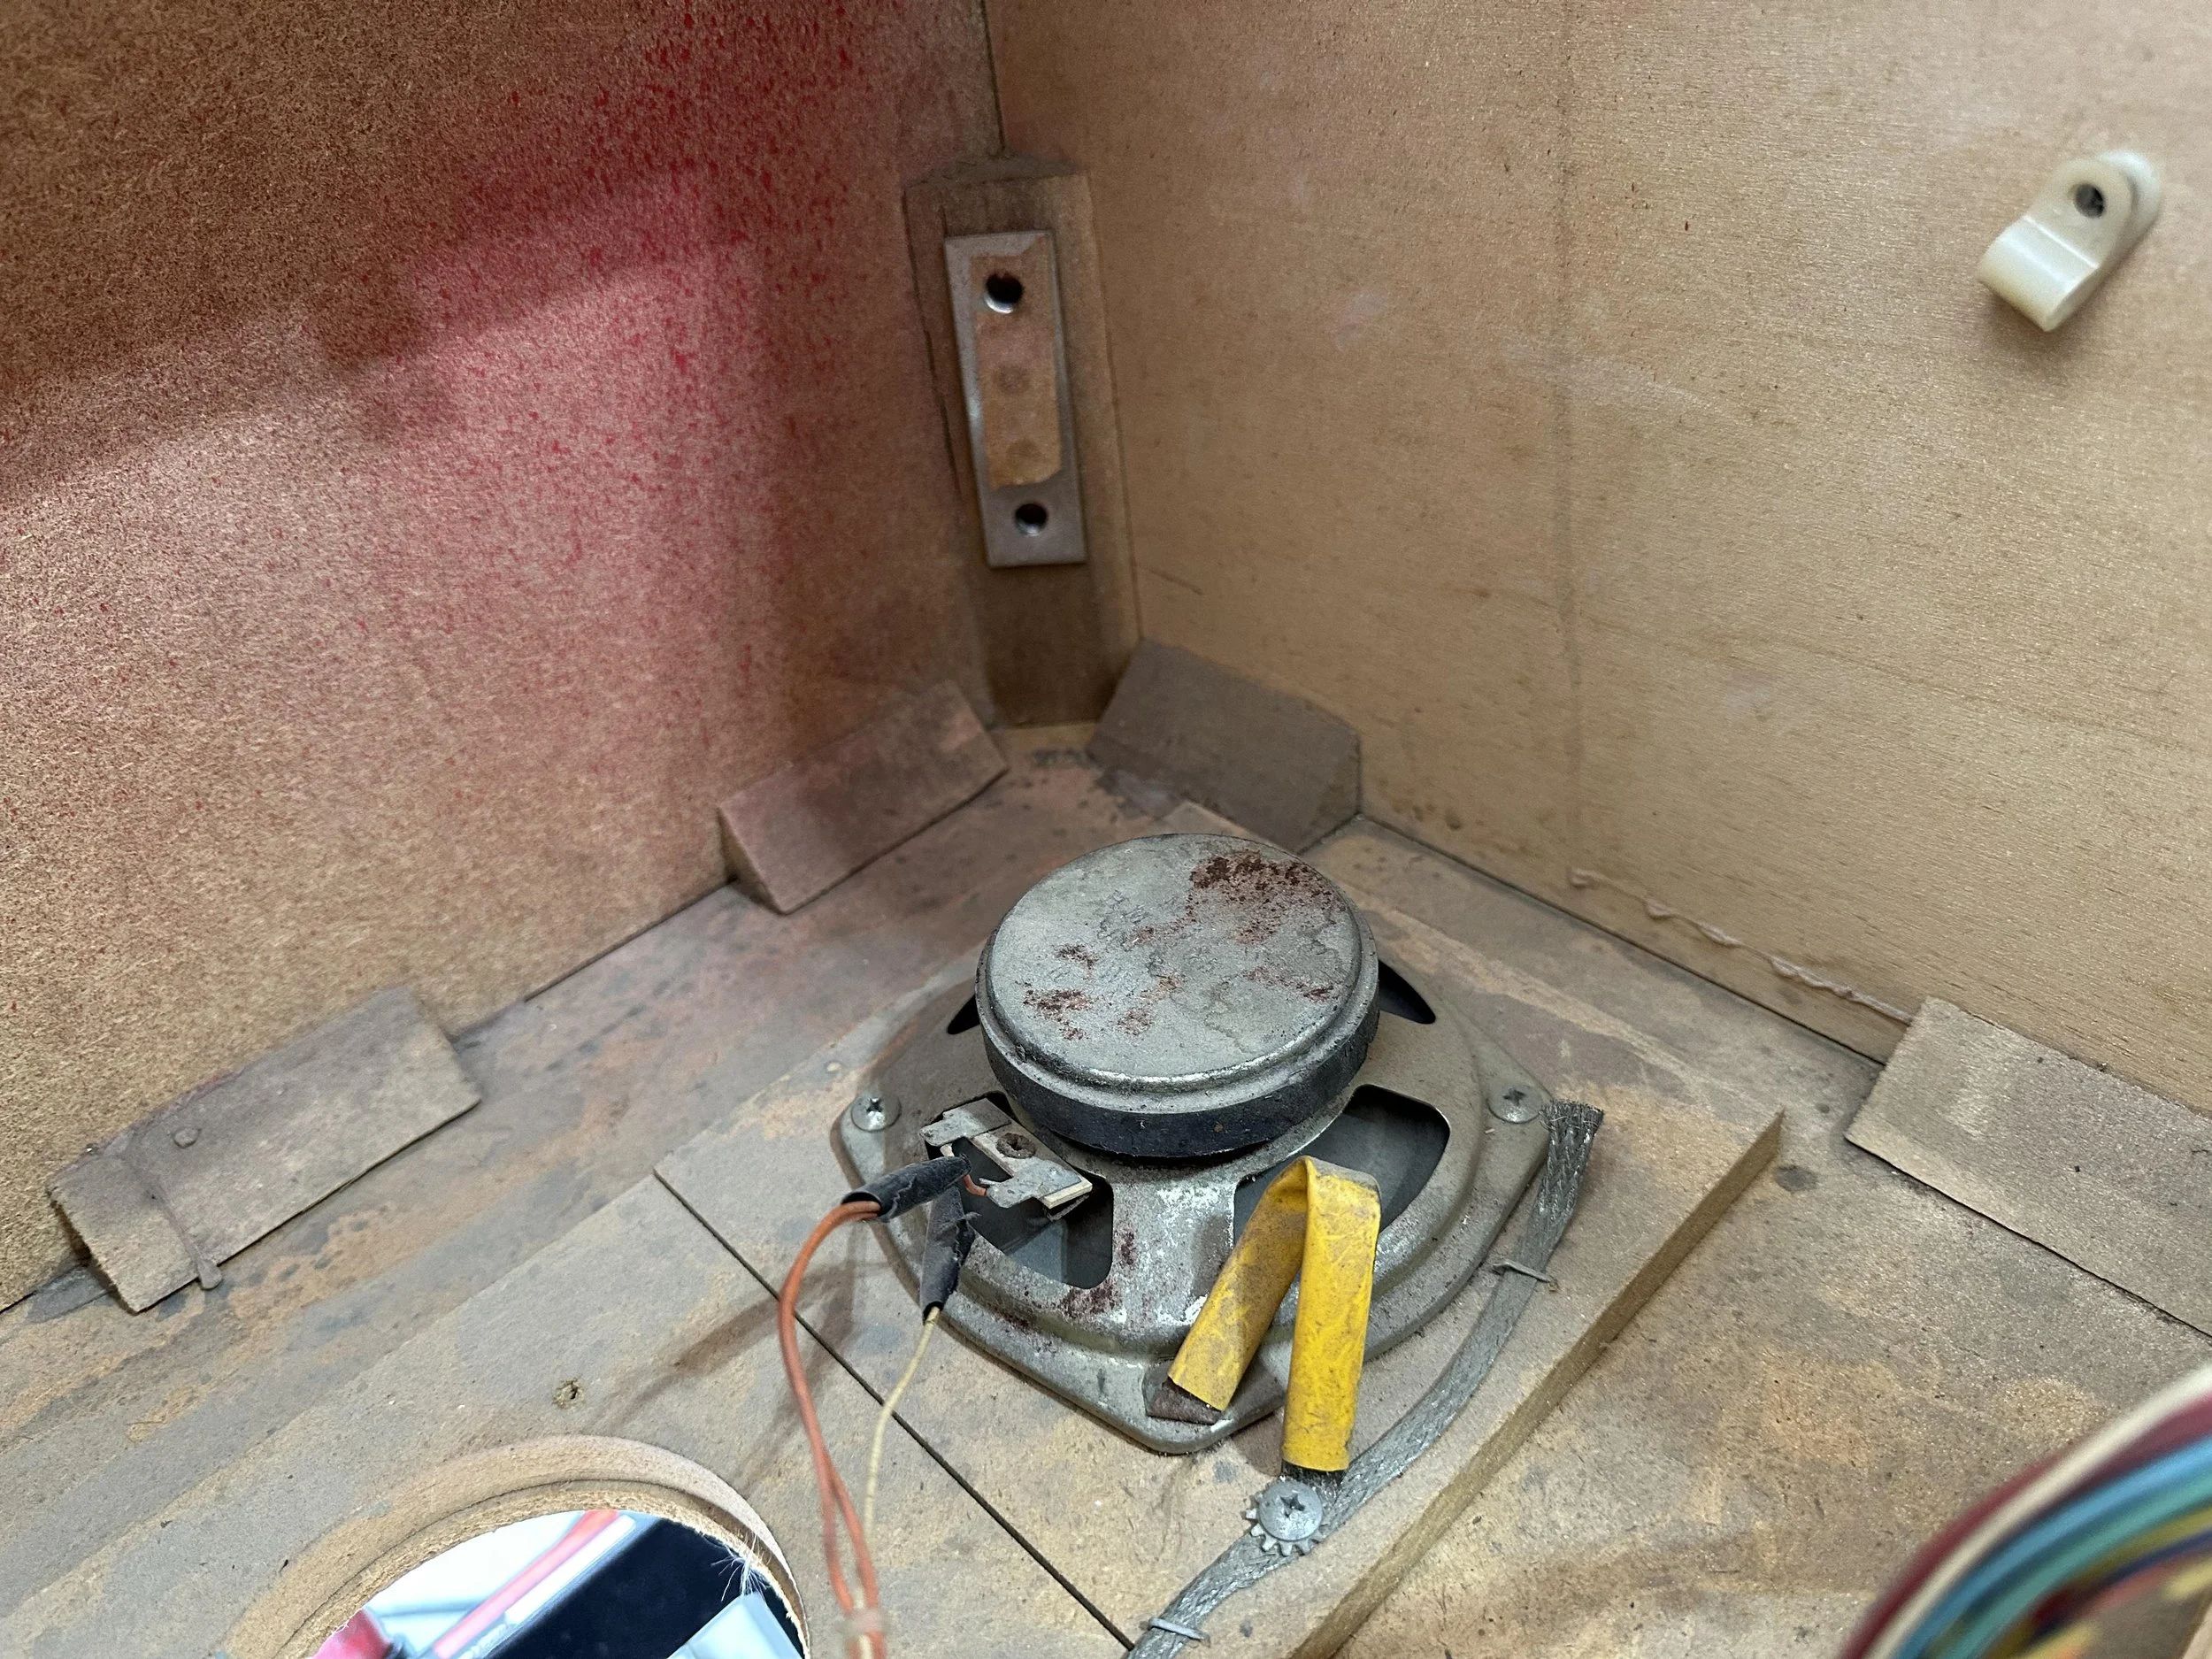
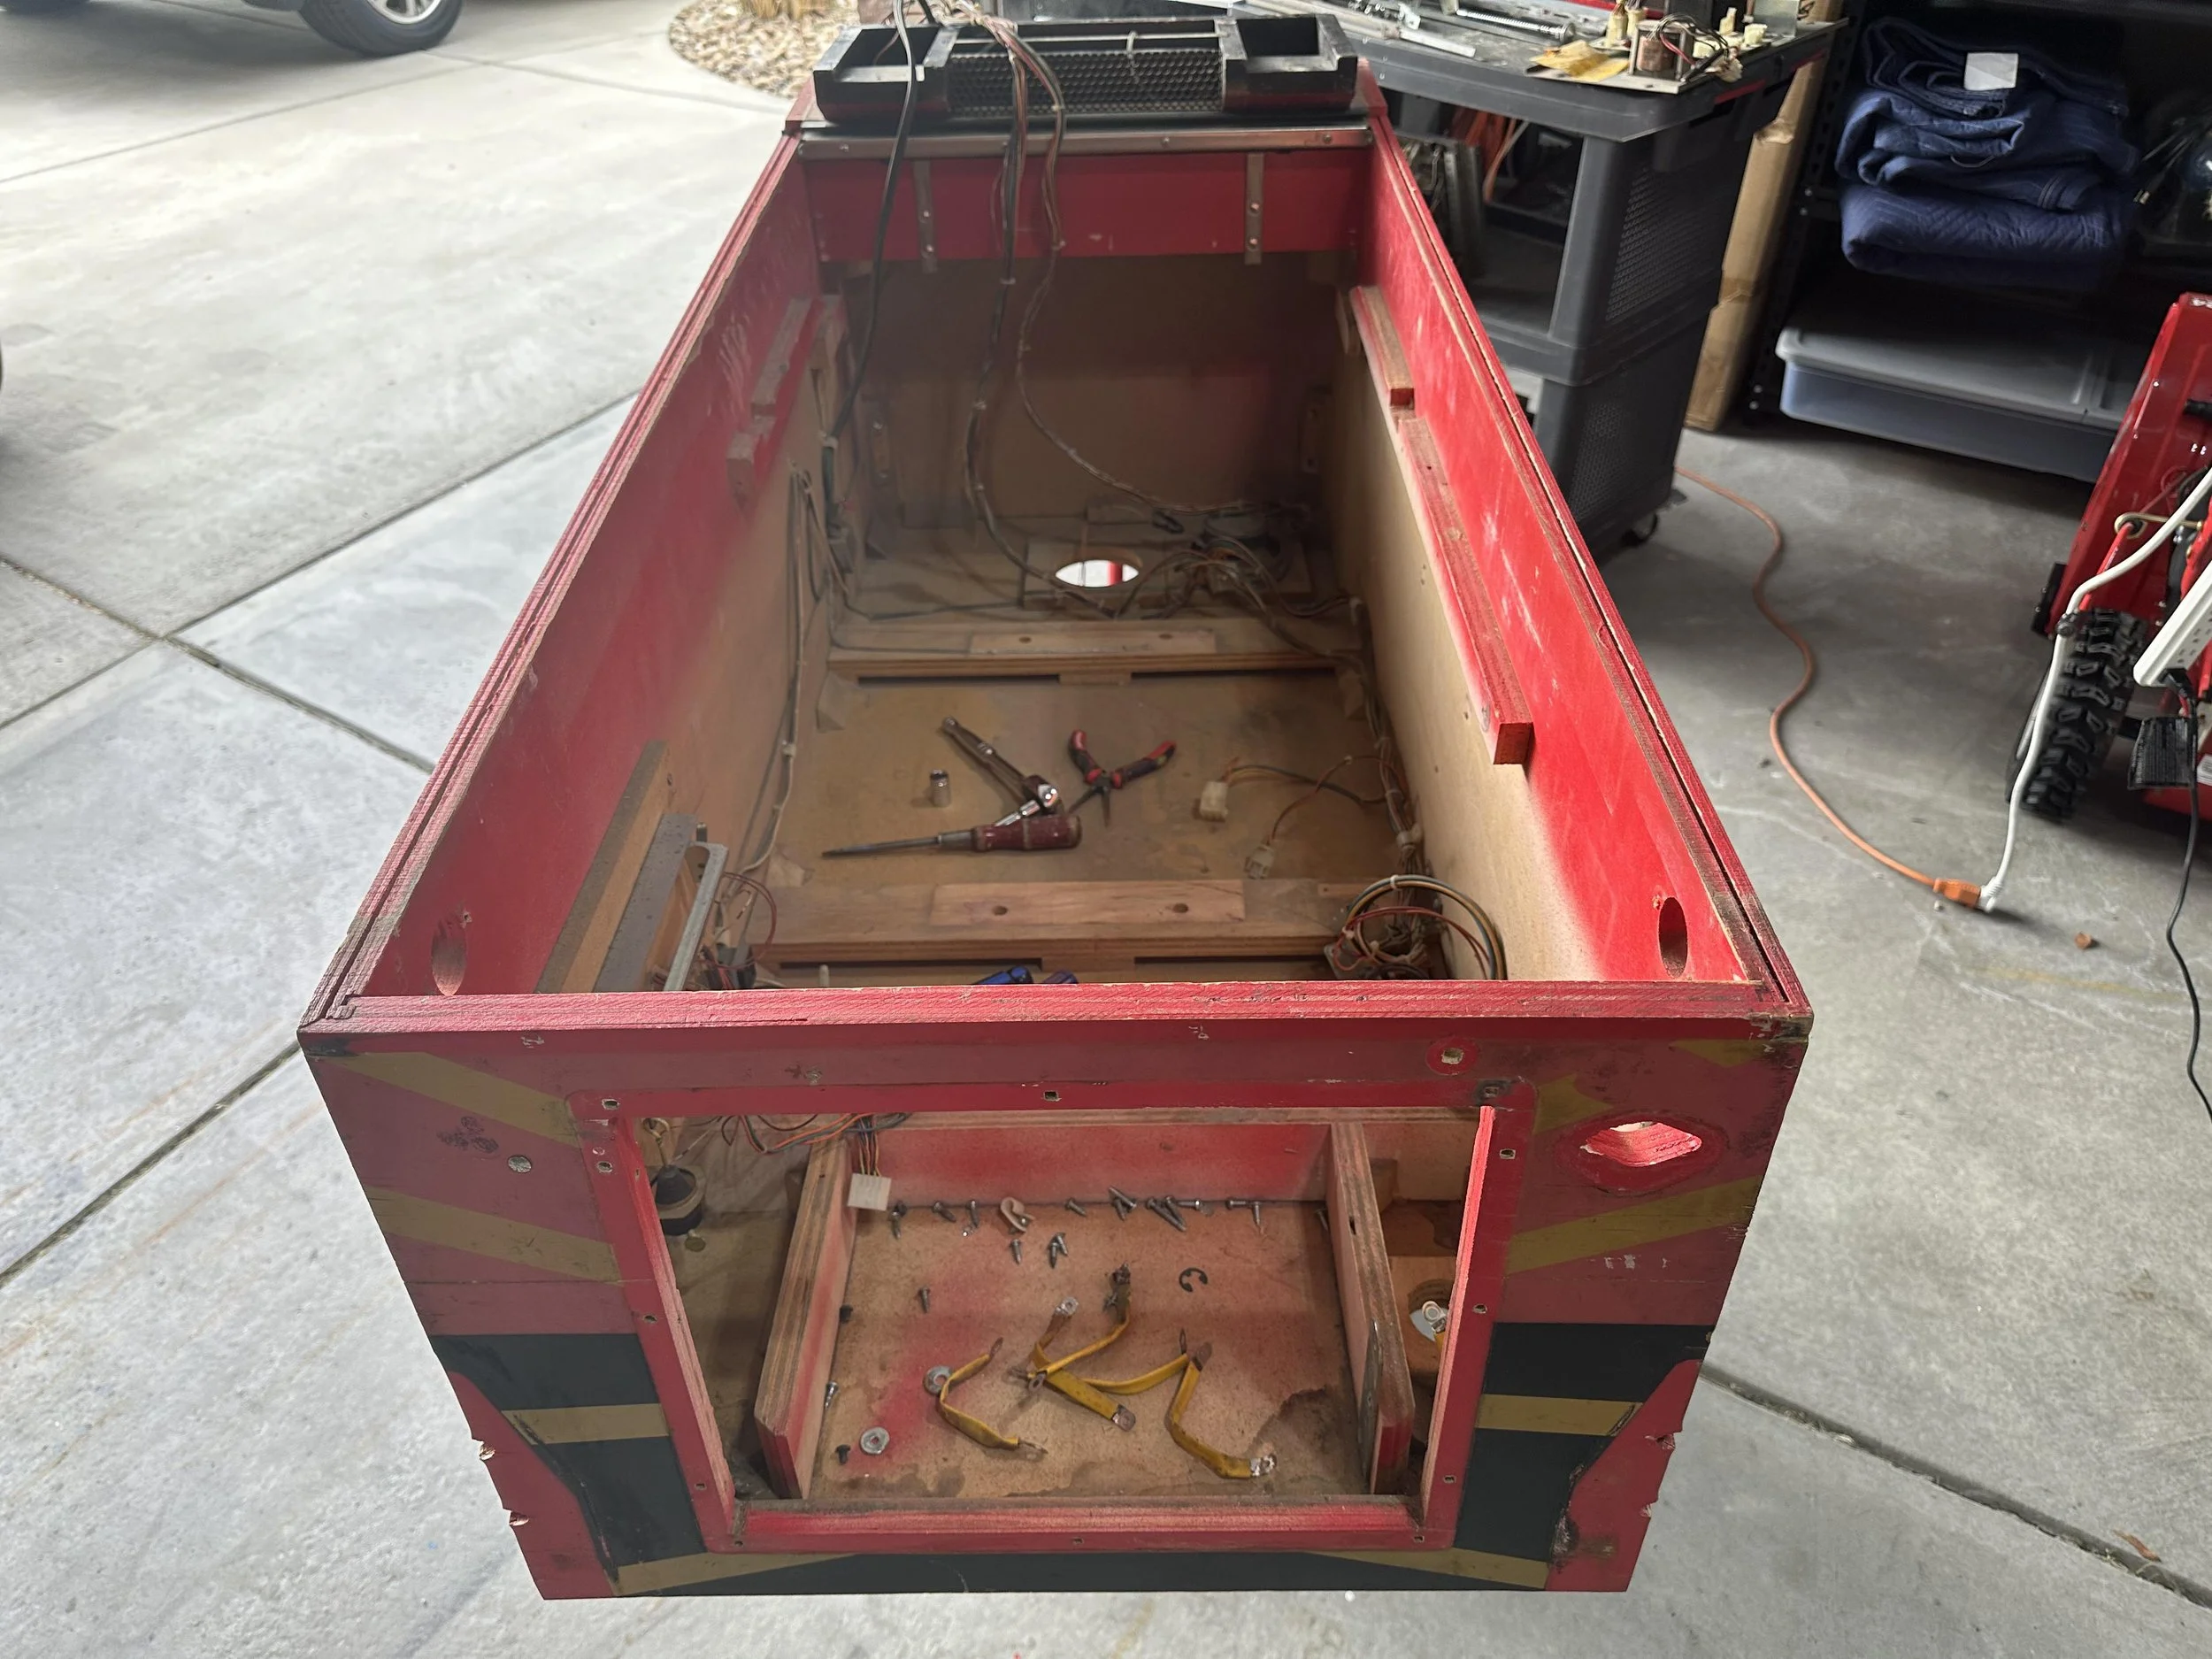
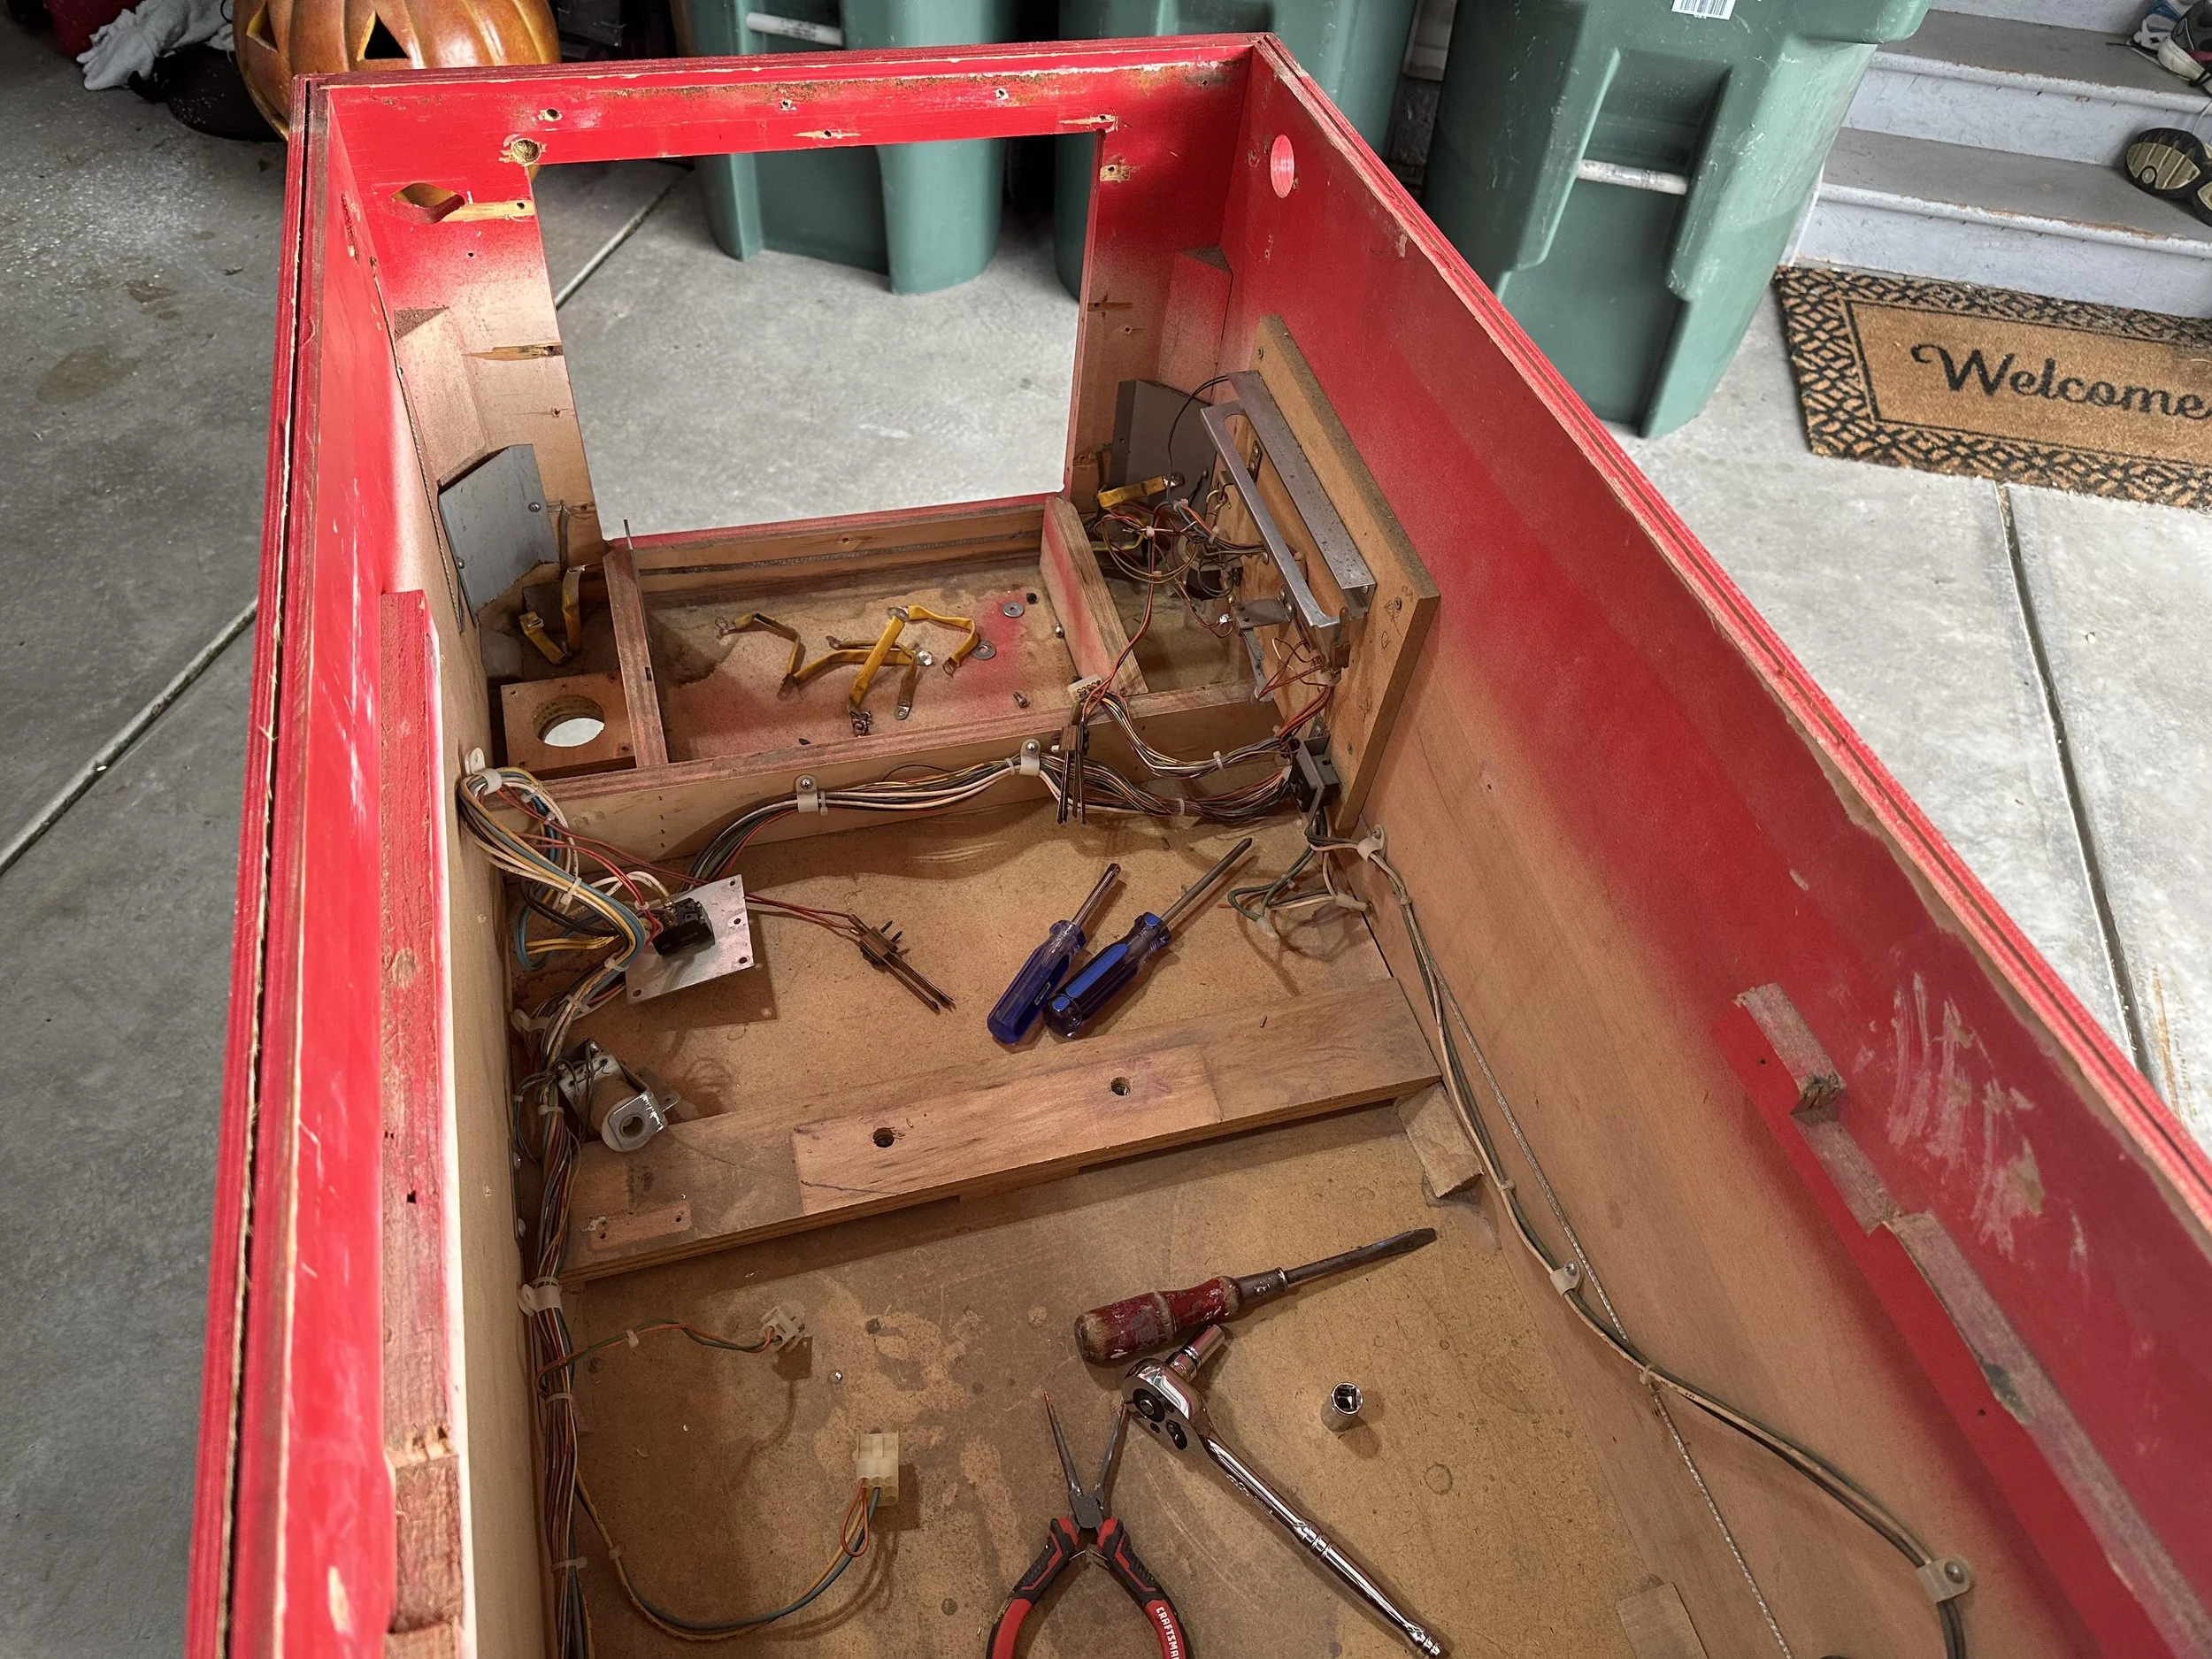
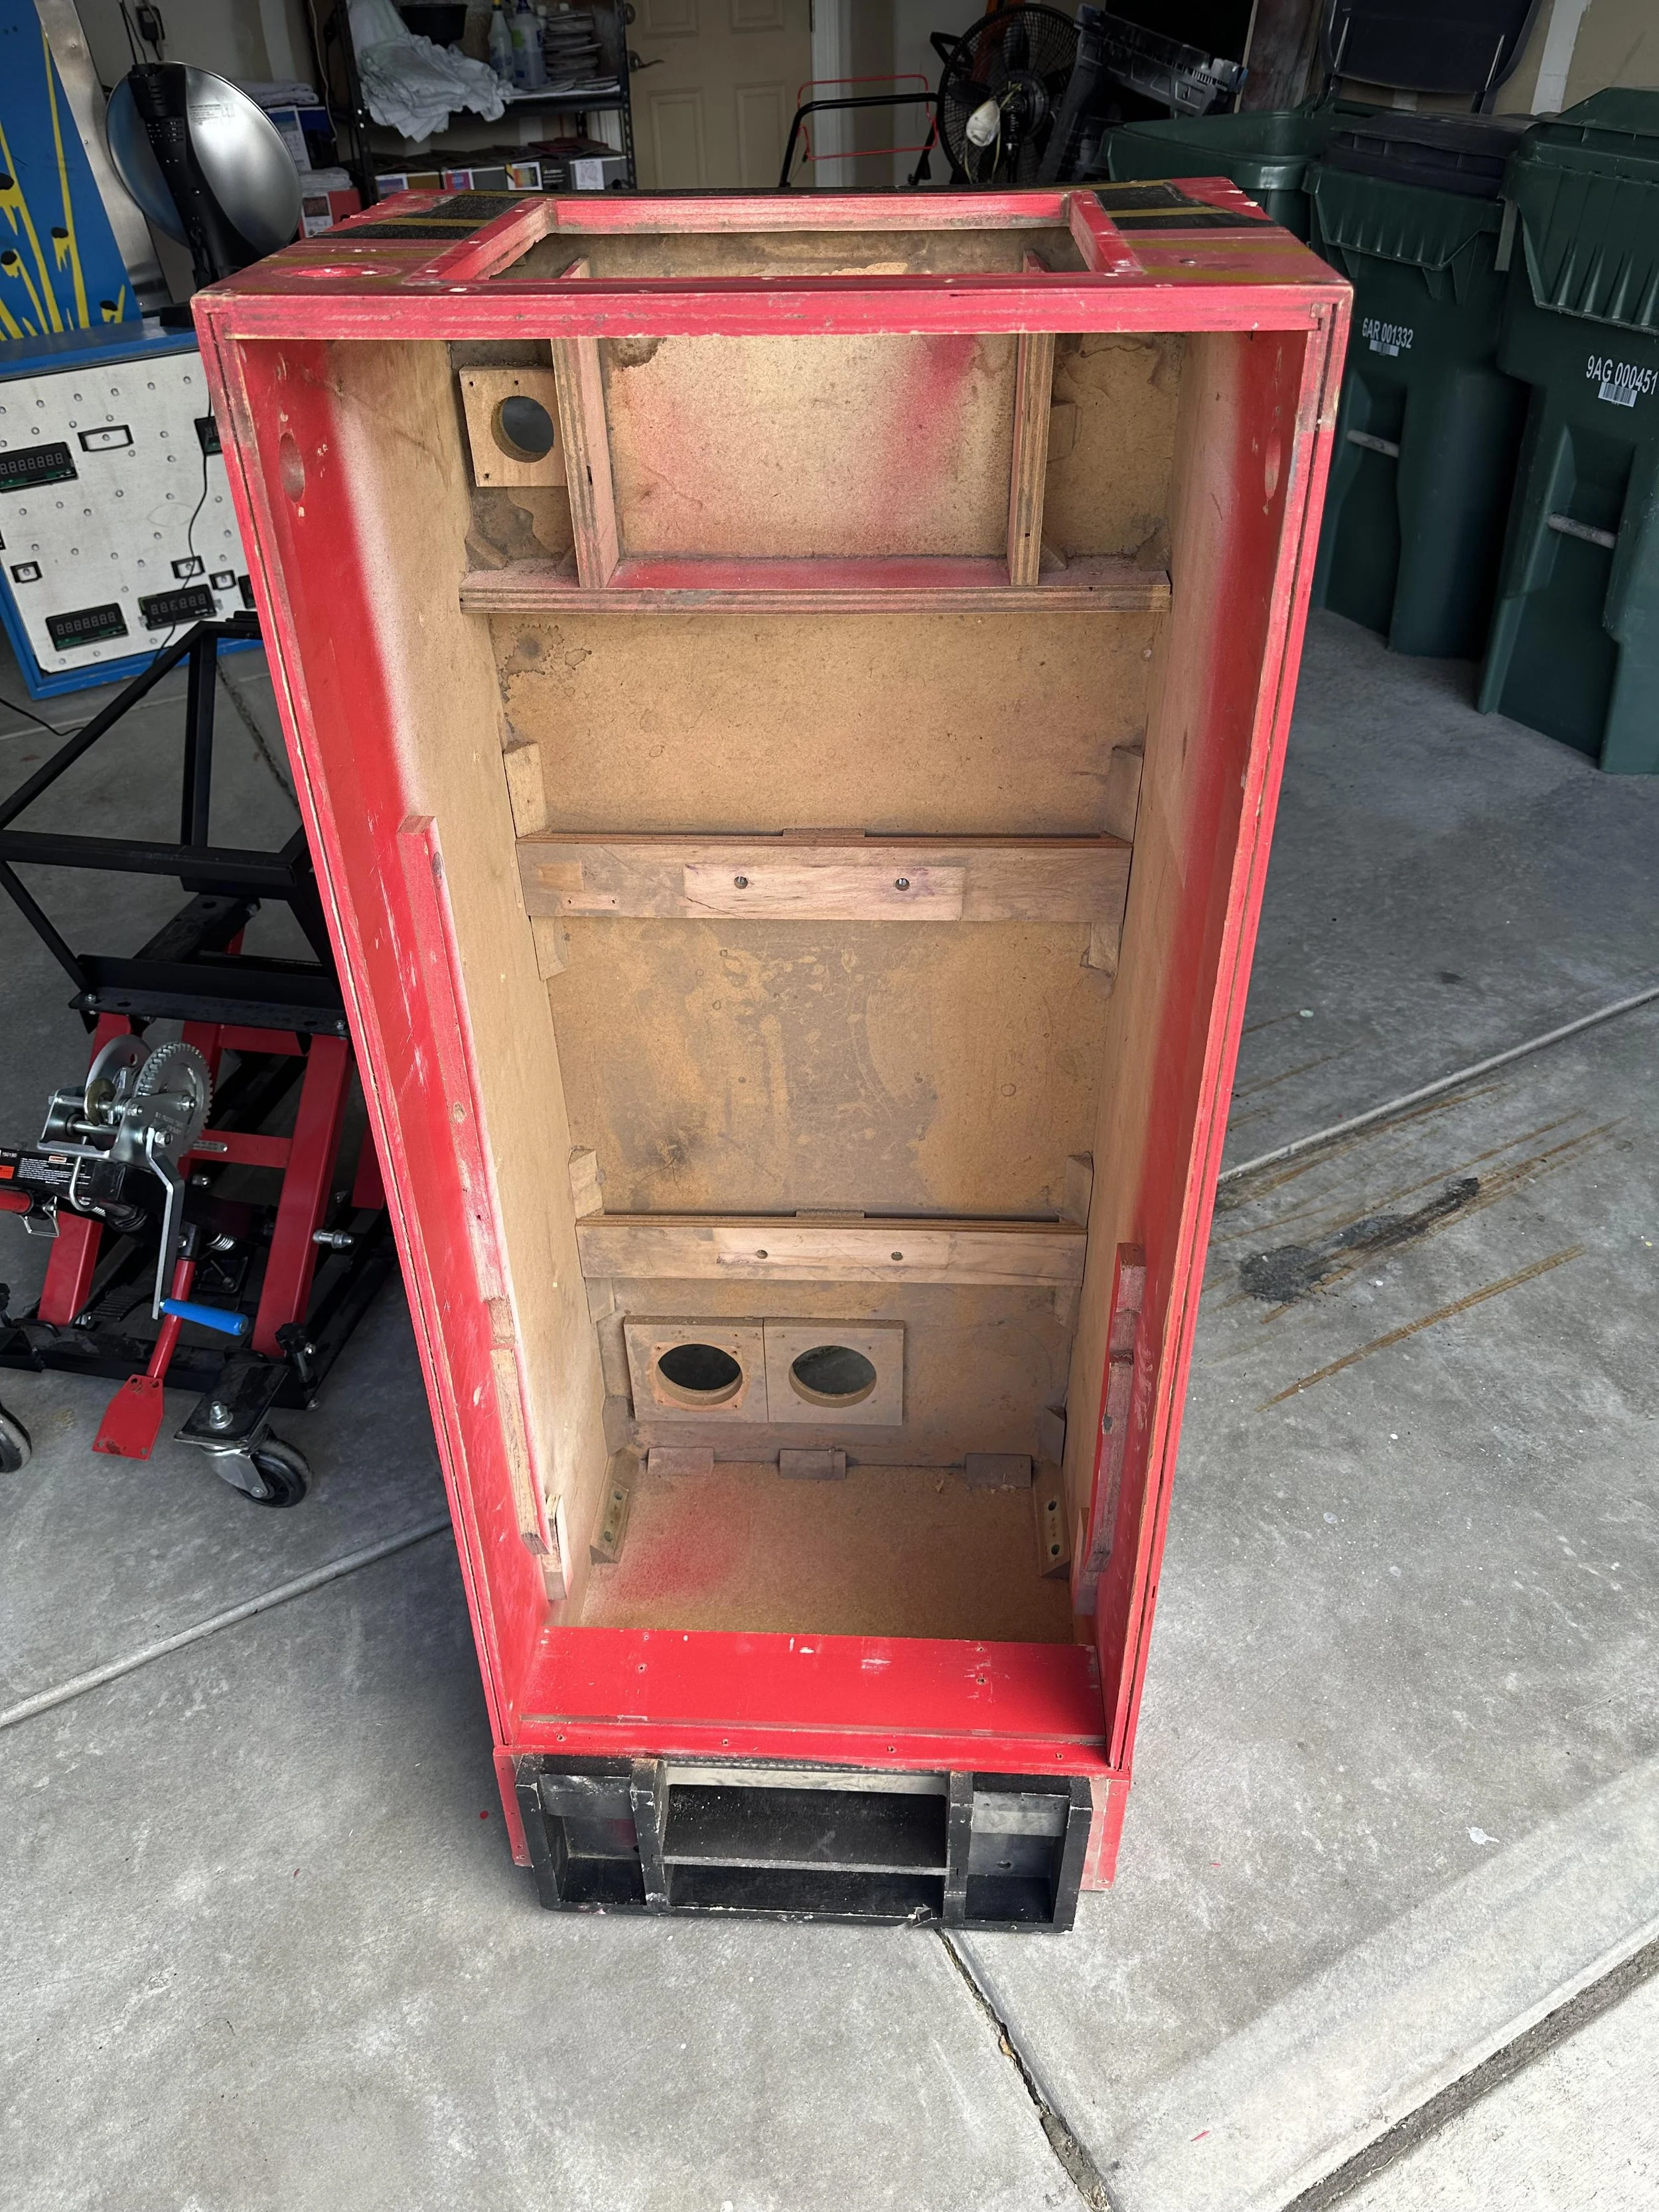
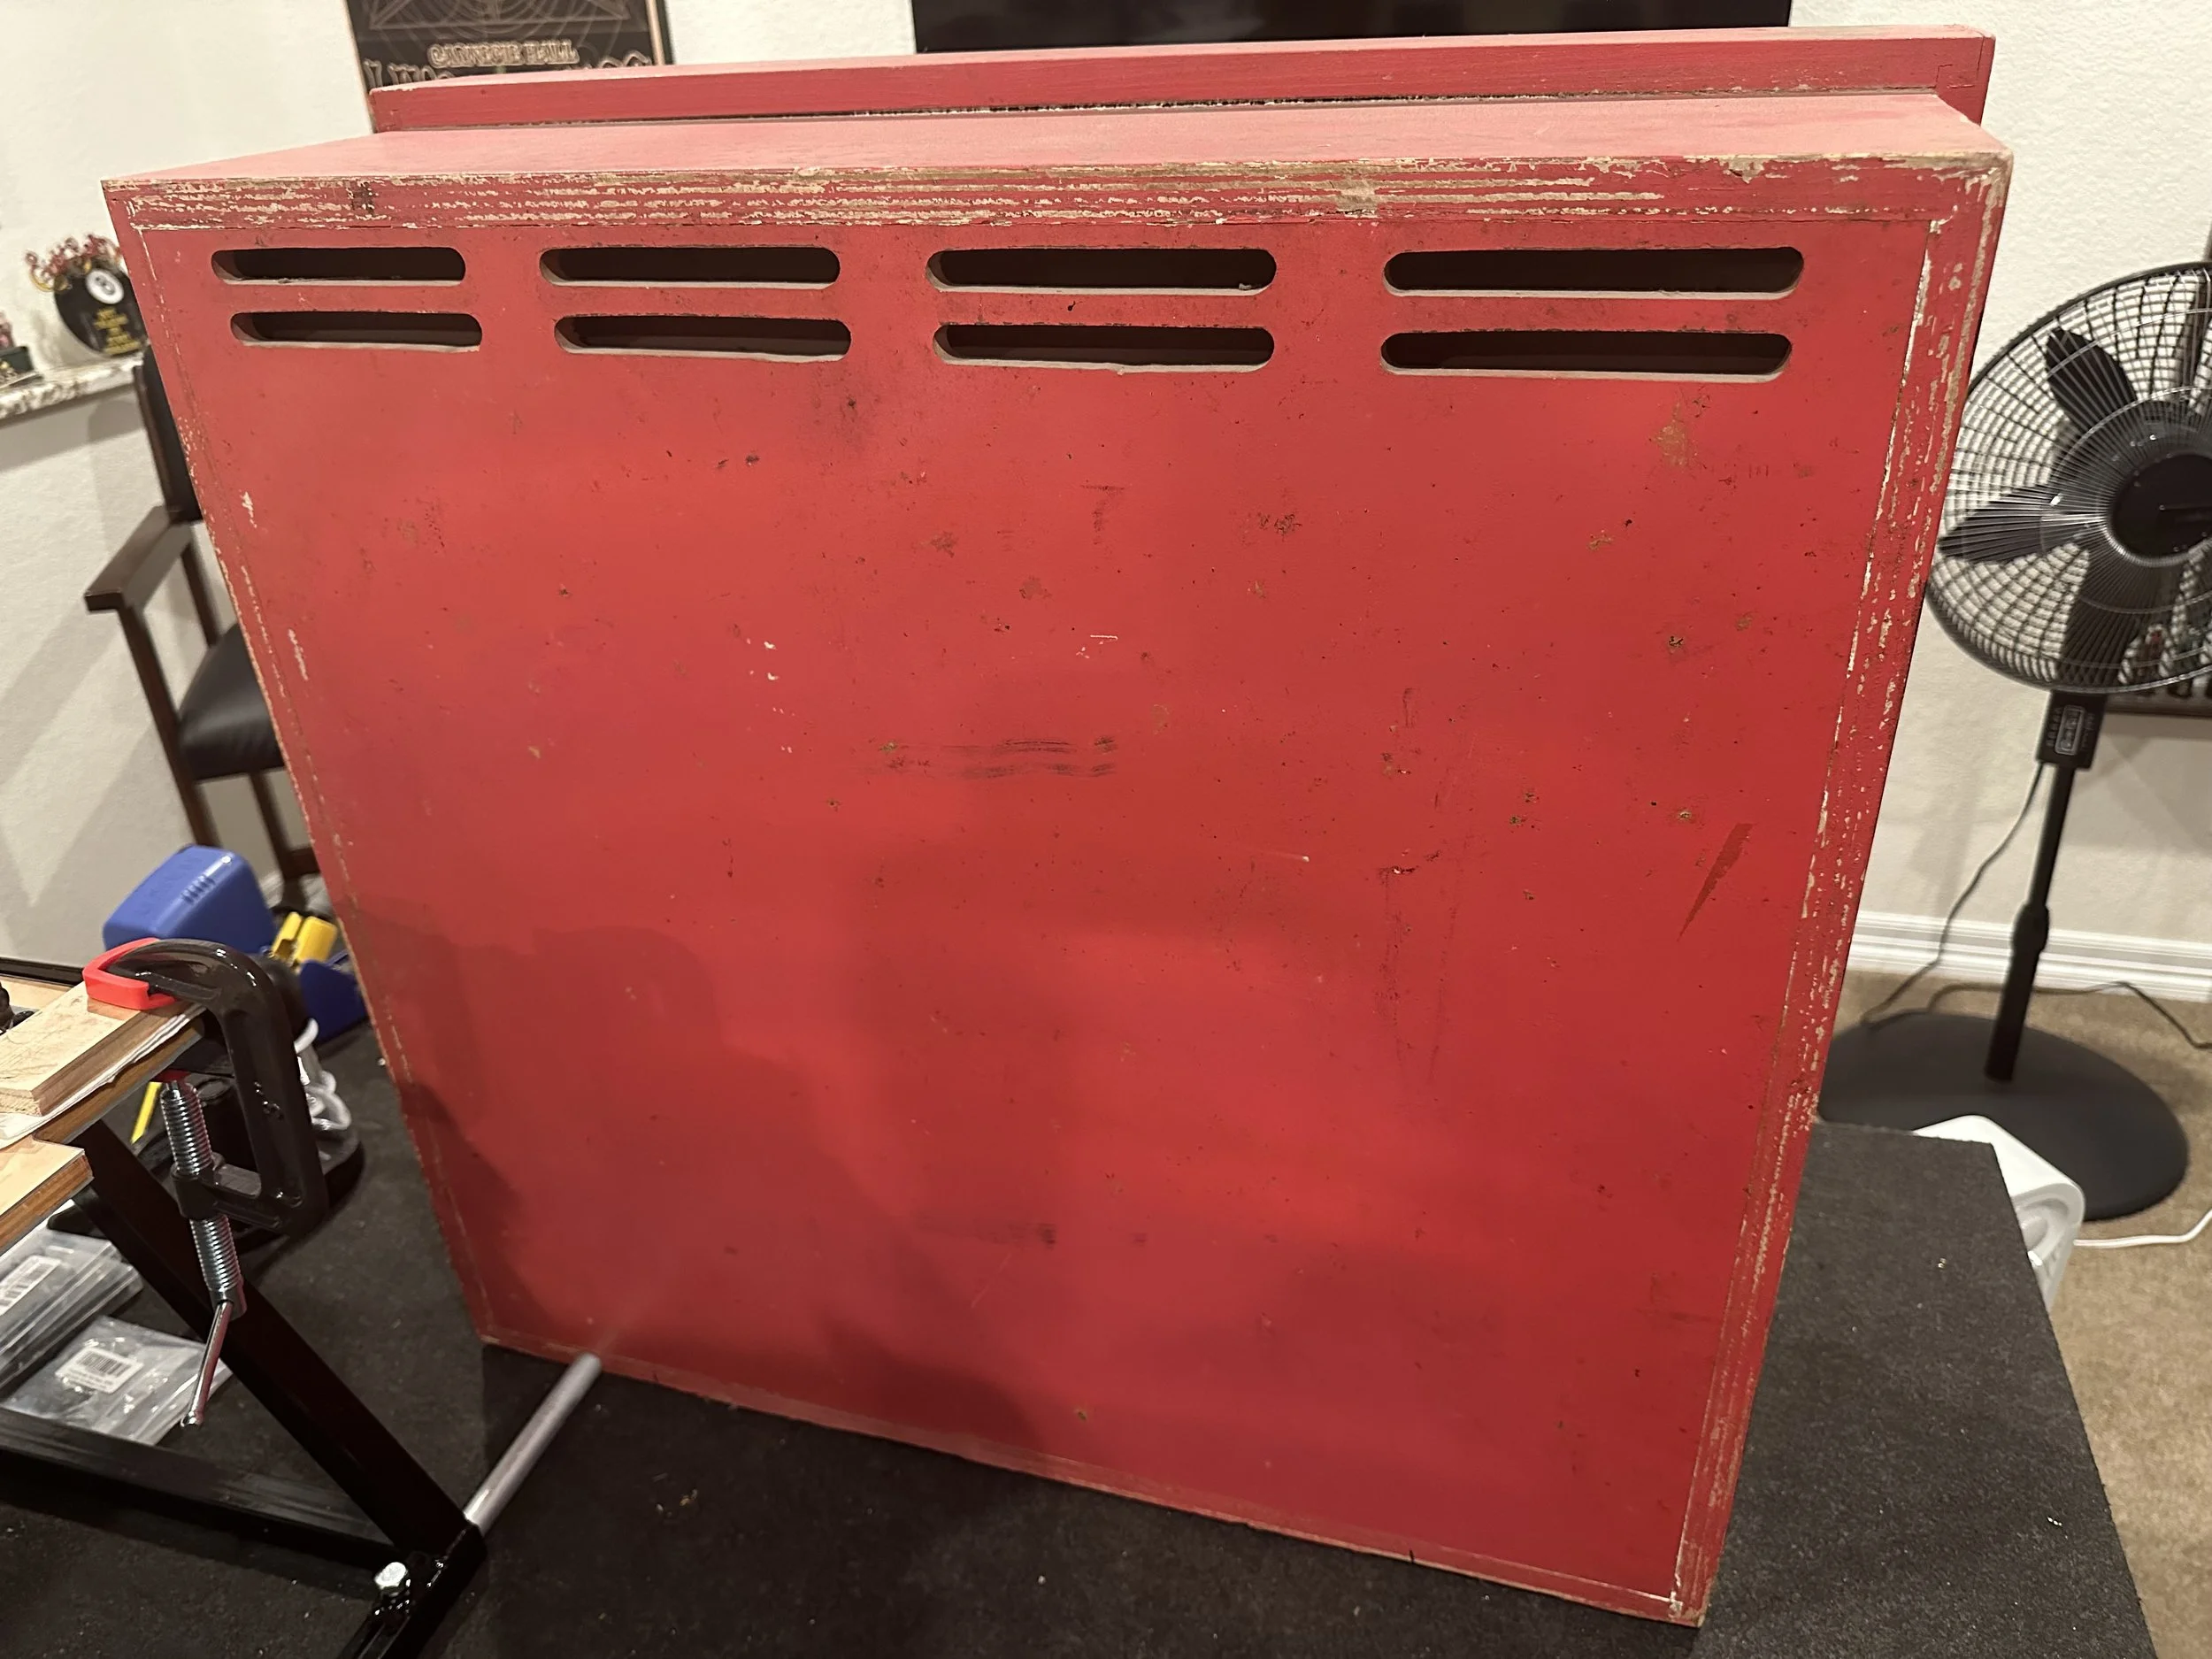
#3 - Strip and repair all of the wood damage on cabinet (crushed corners, weak joints, deep scratches, etc).
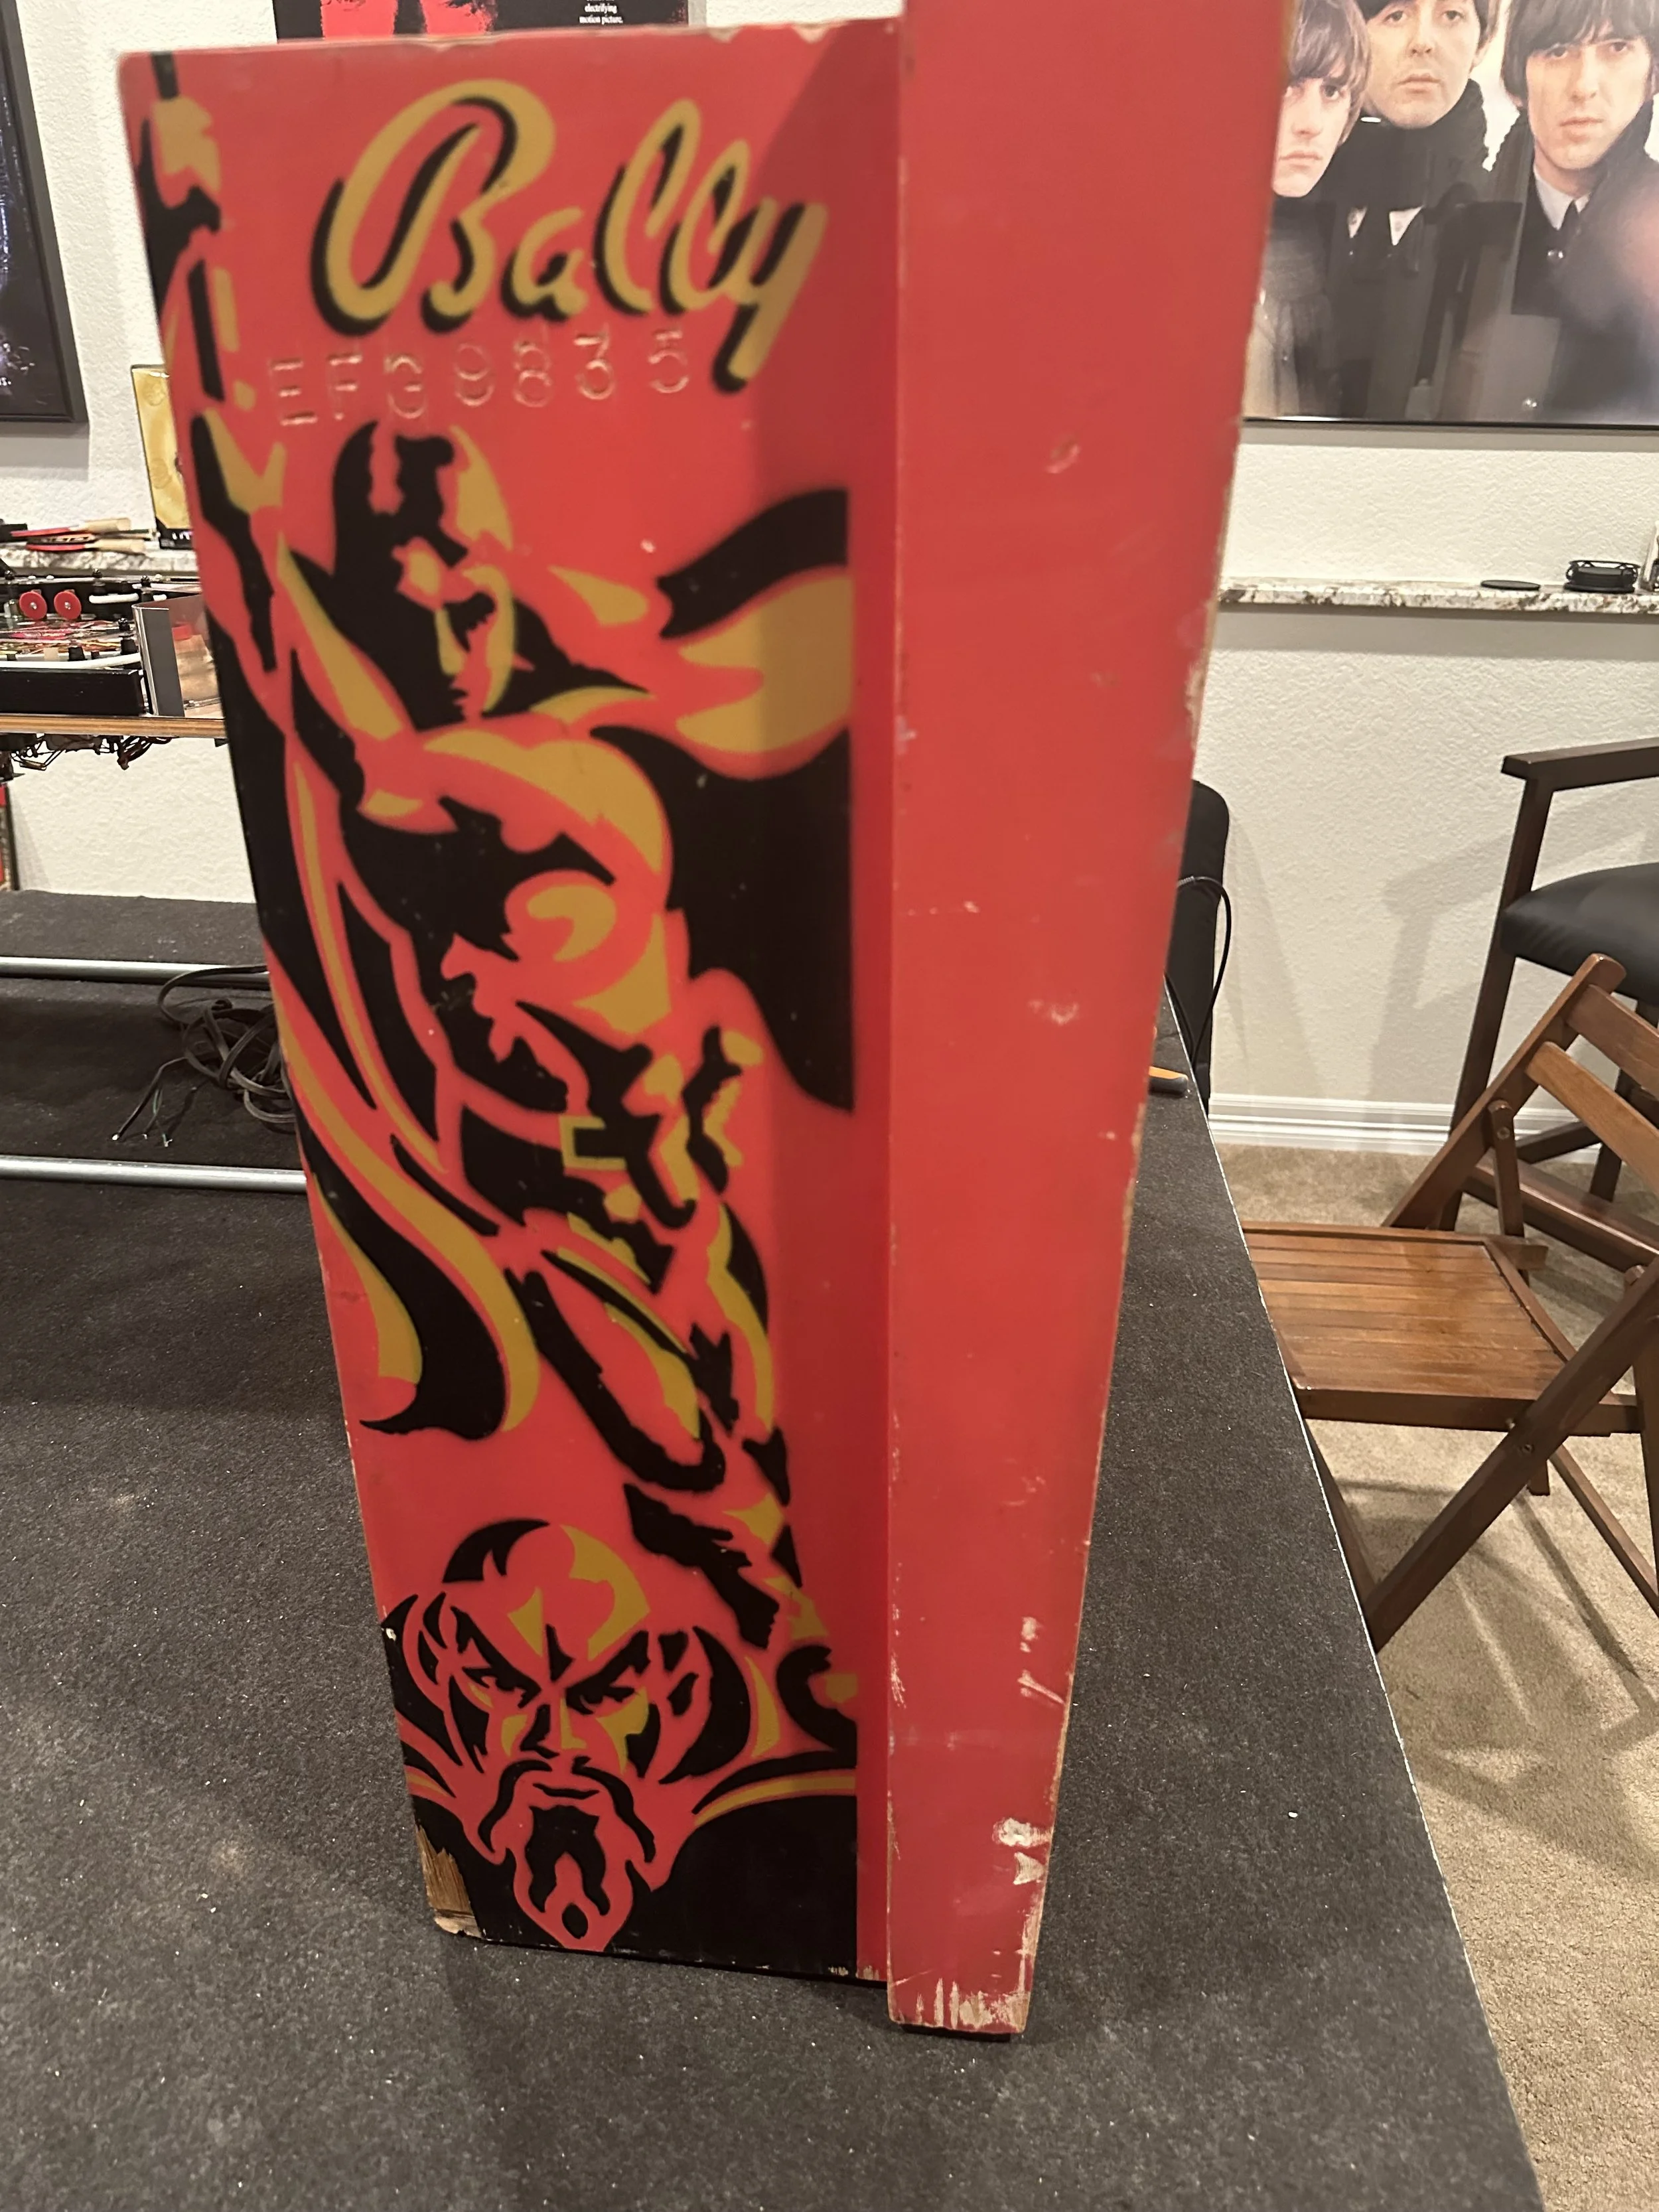
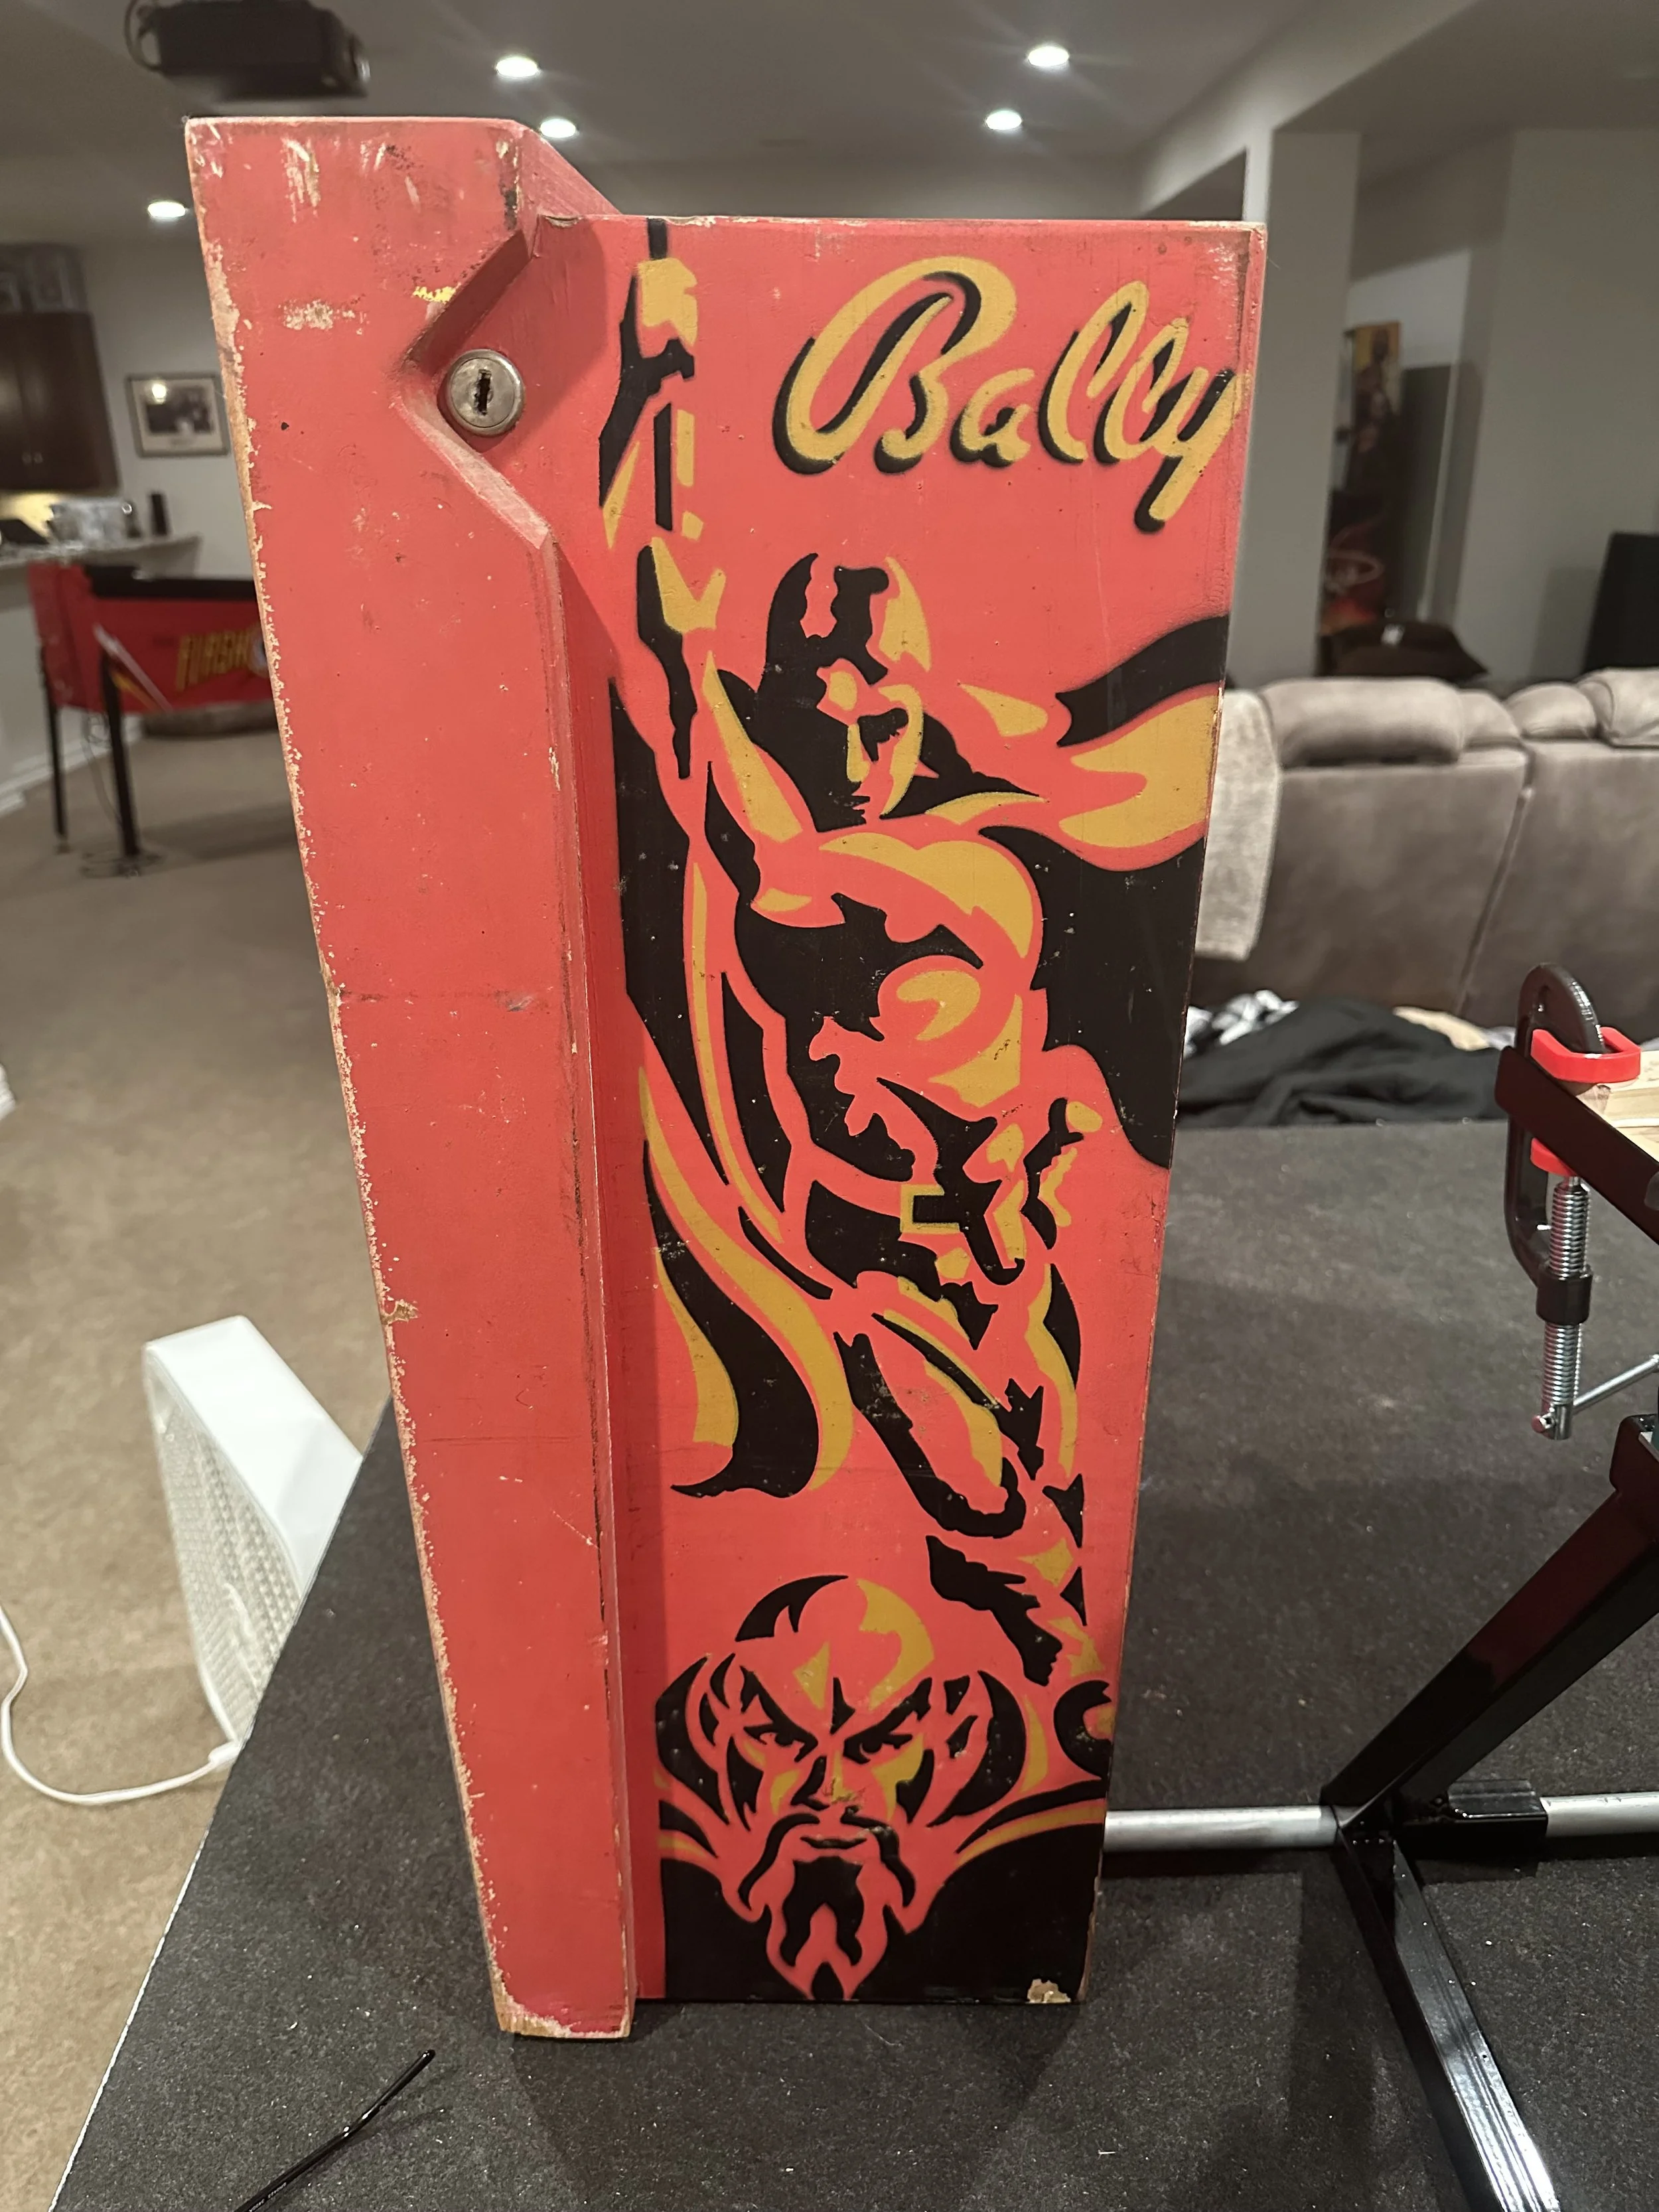
#4 - Repaint the cab with Pinball Pimp stencils, but with some customized artwork
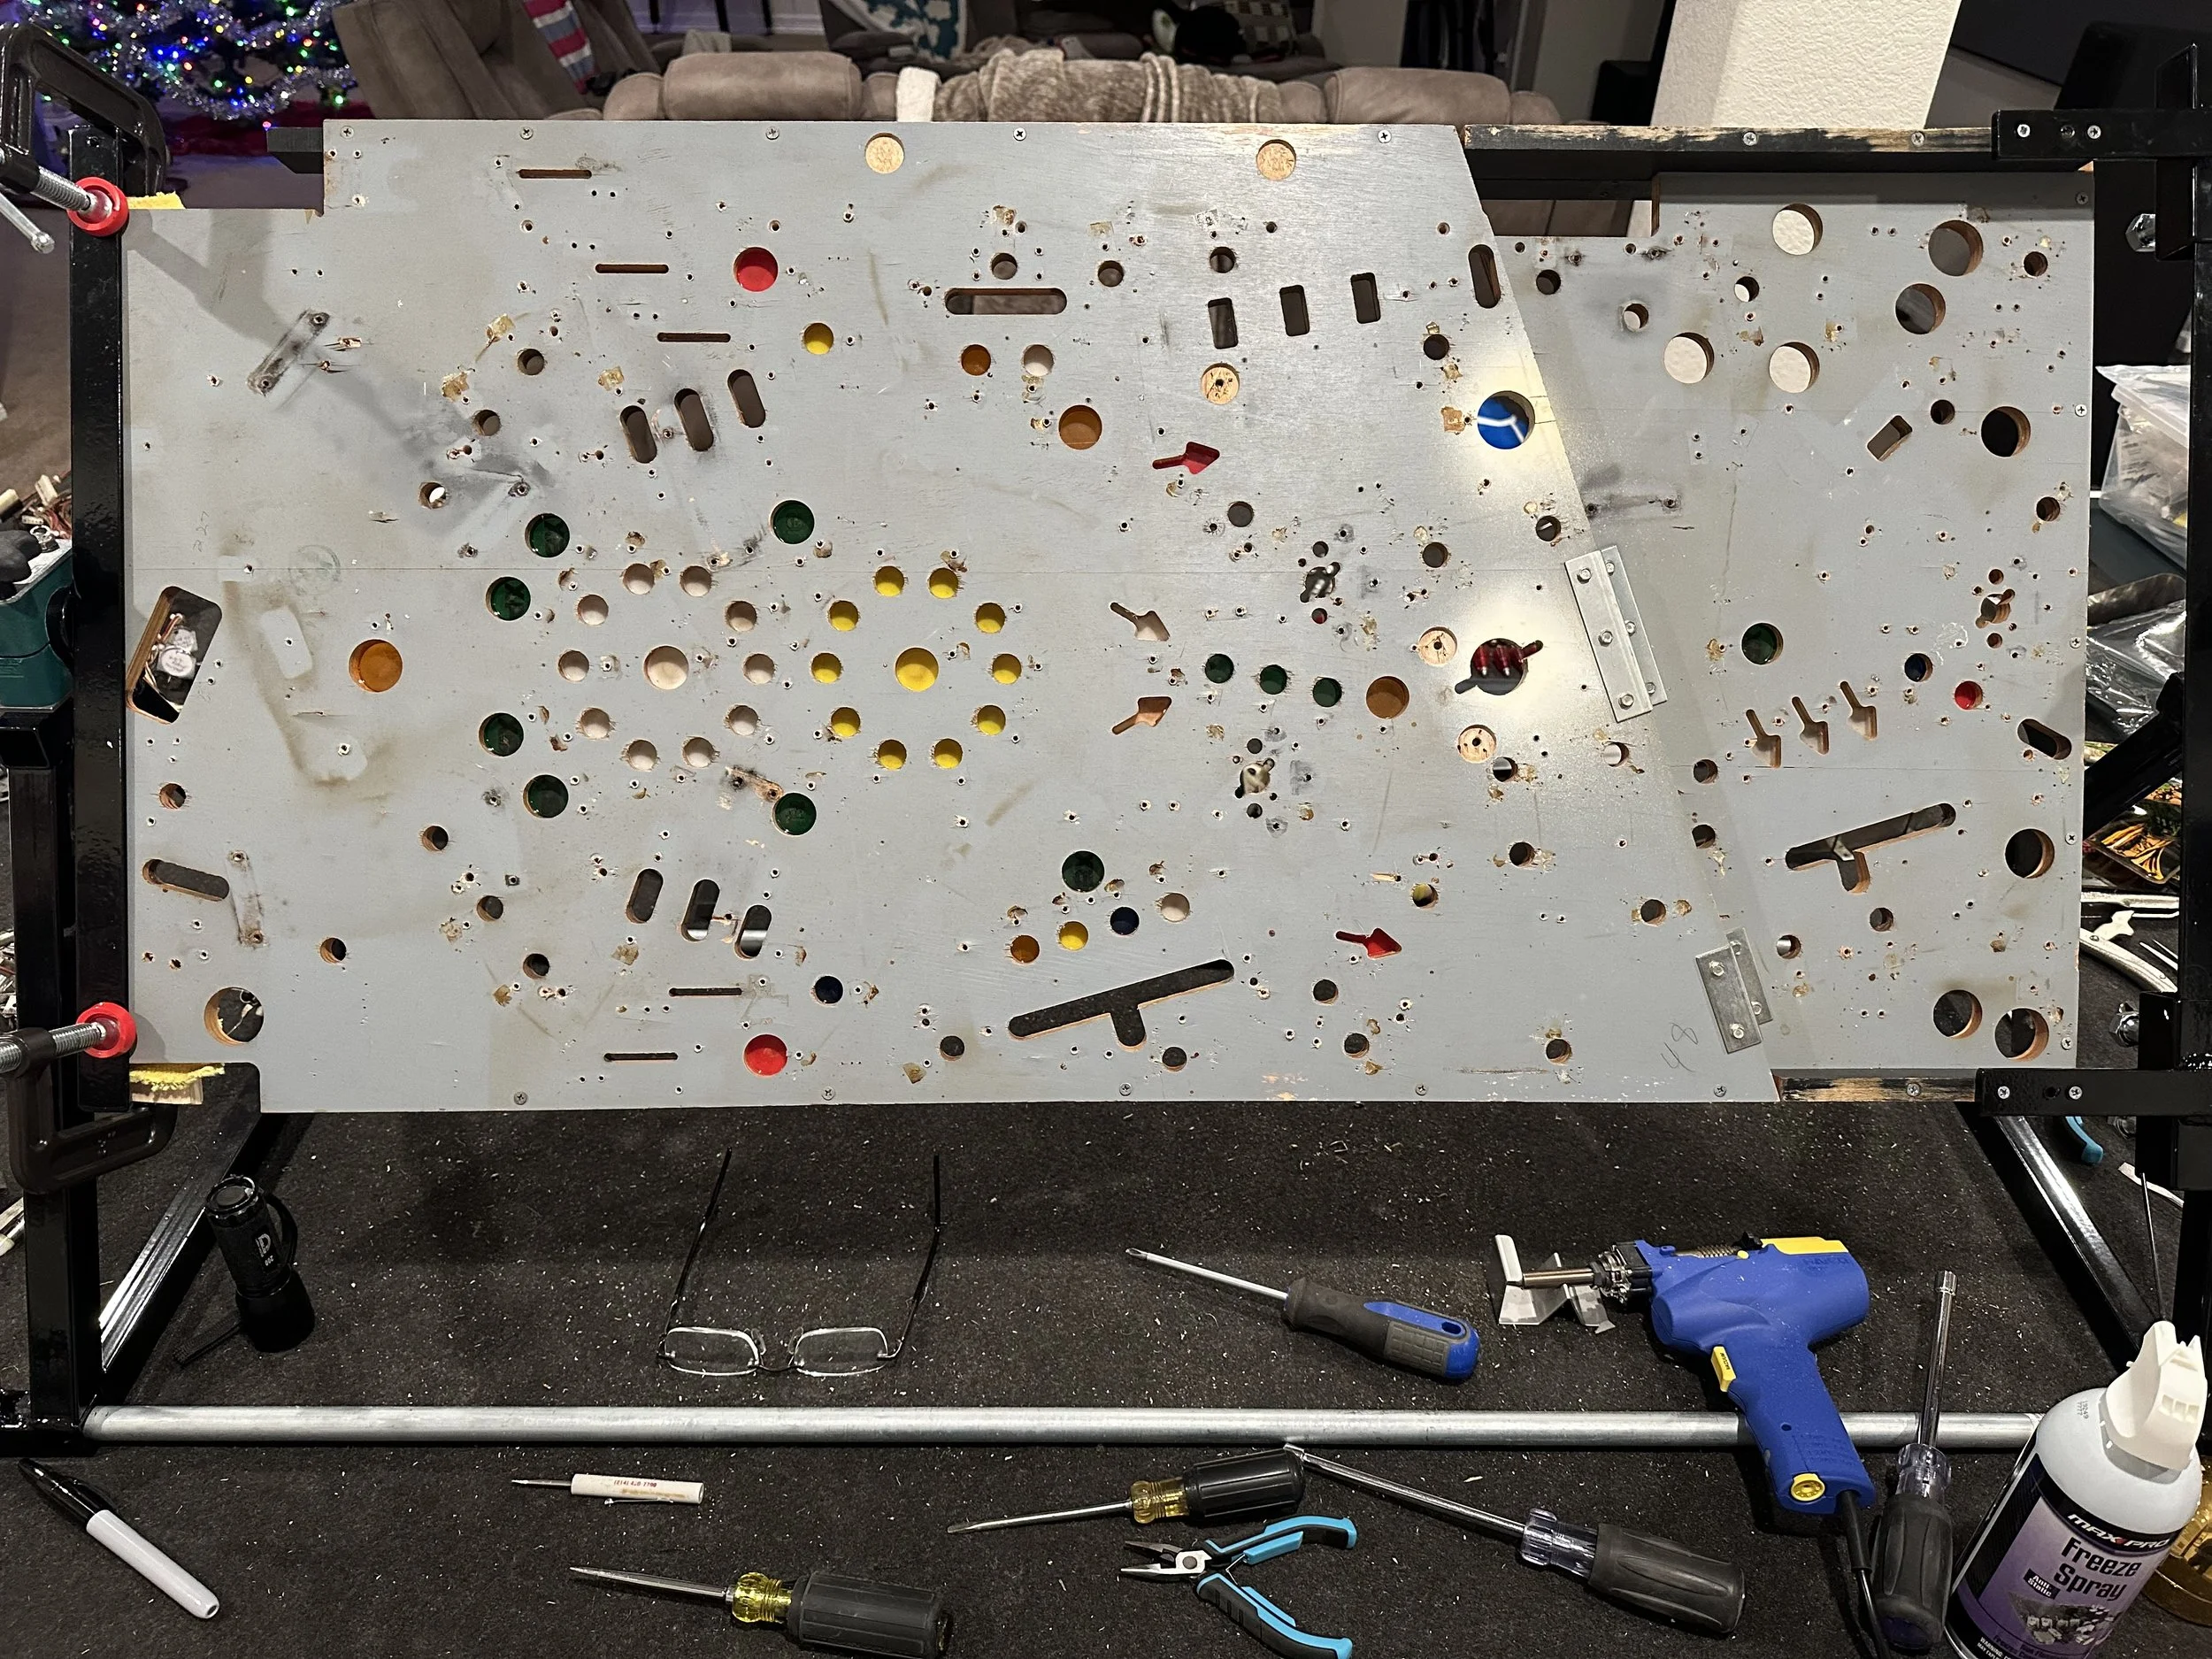
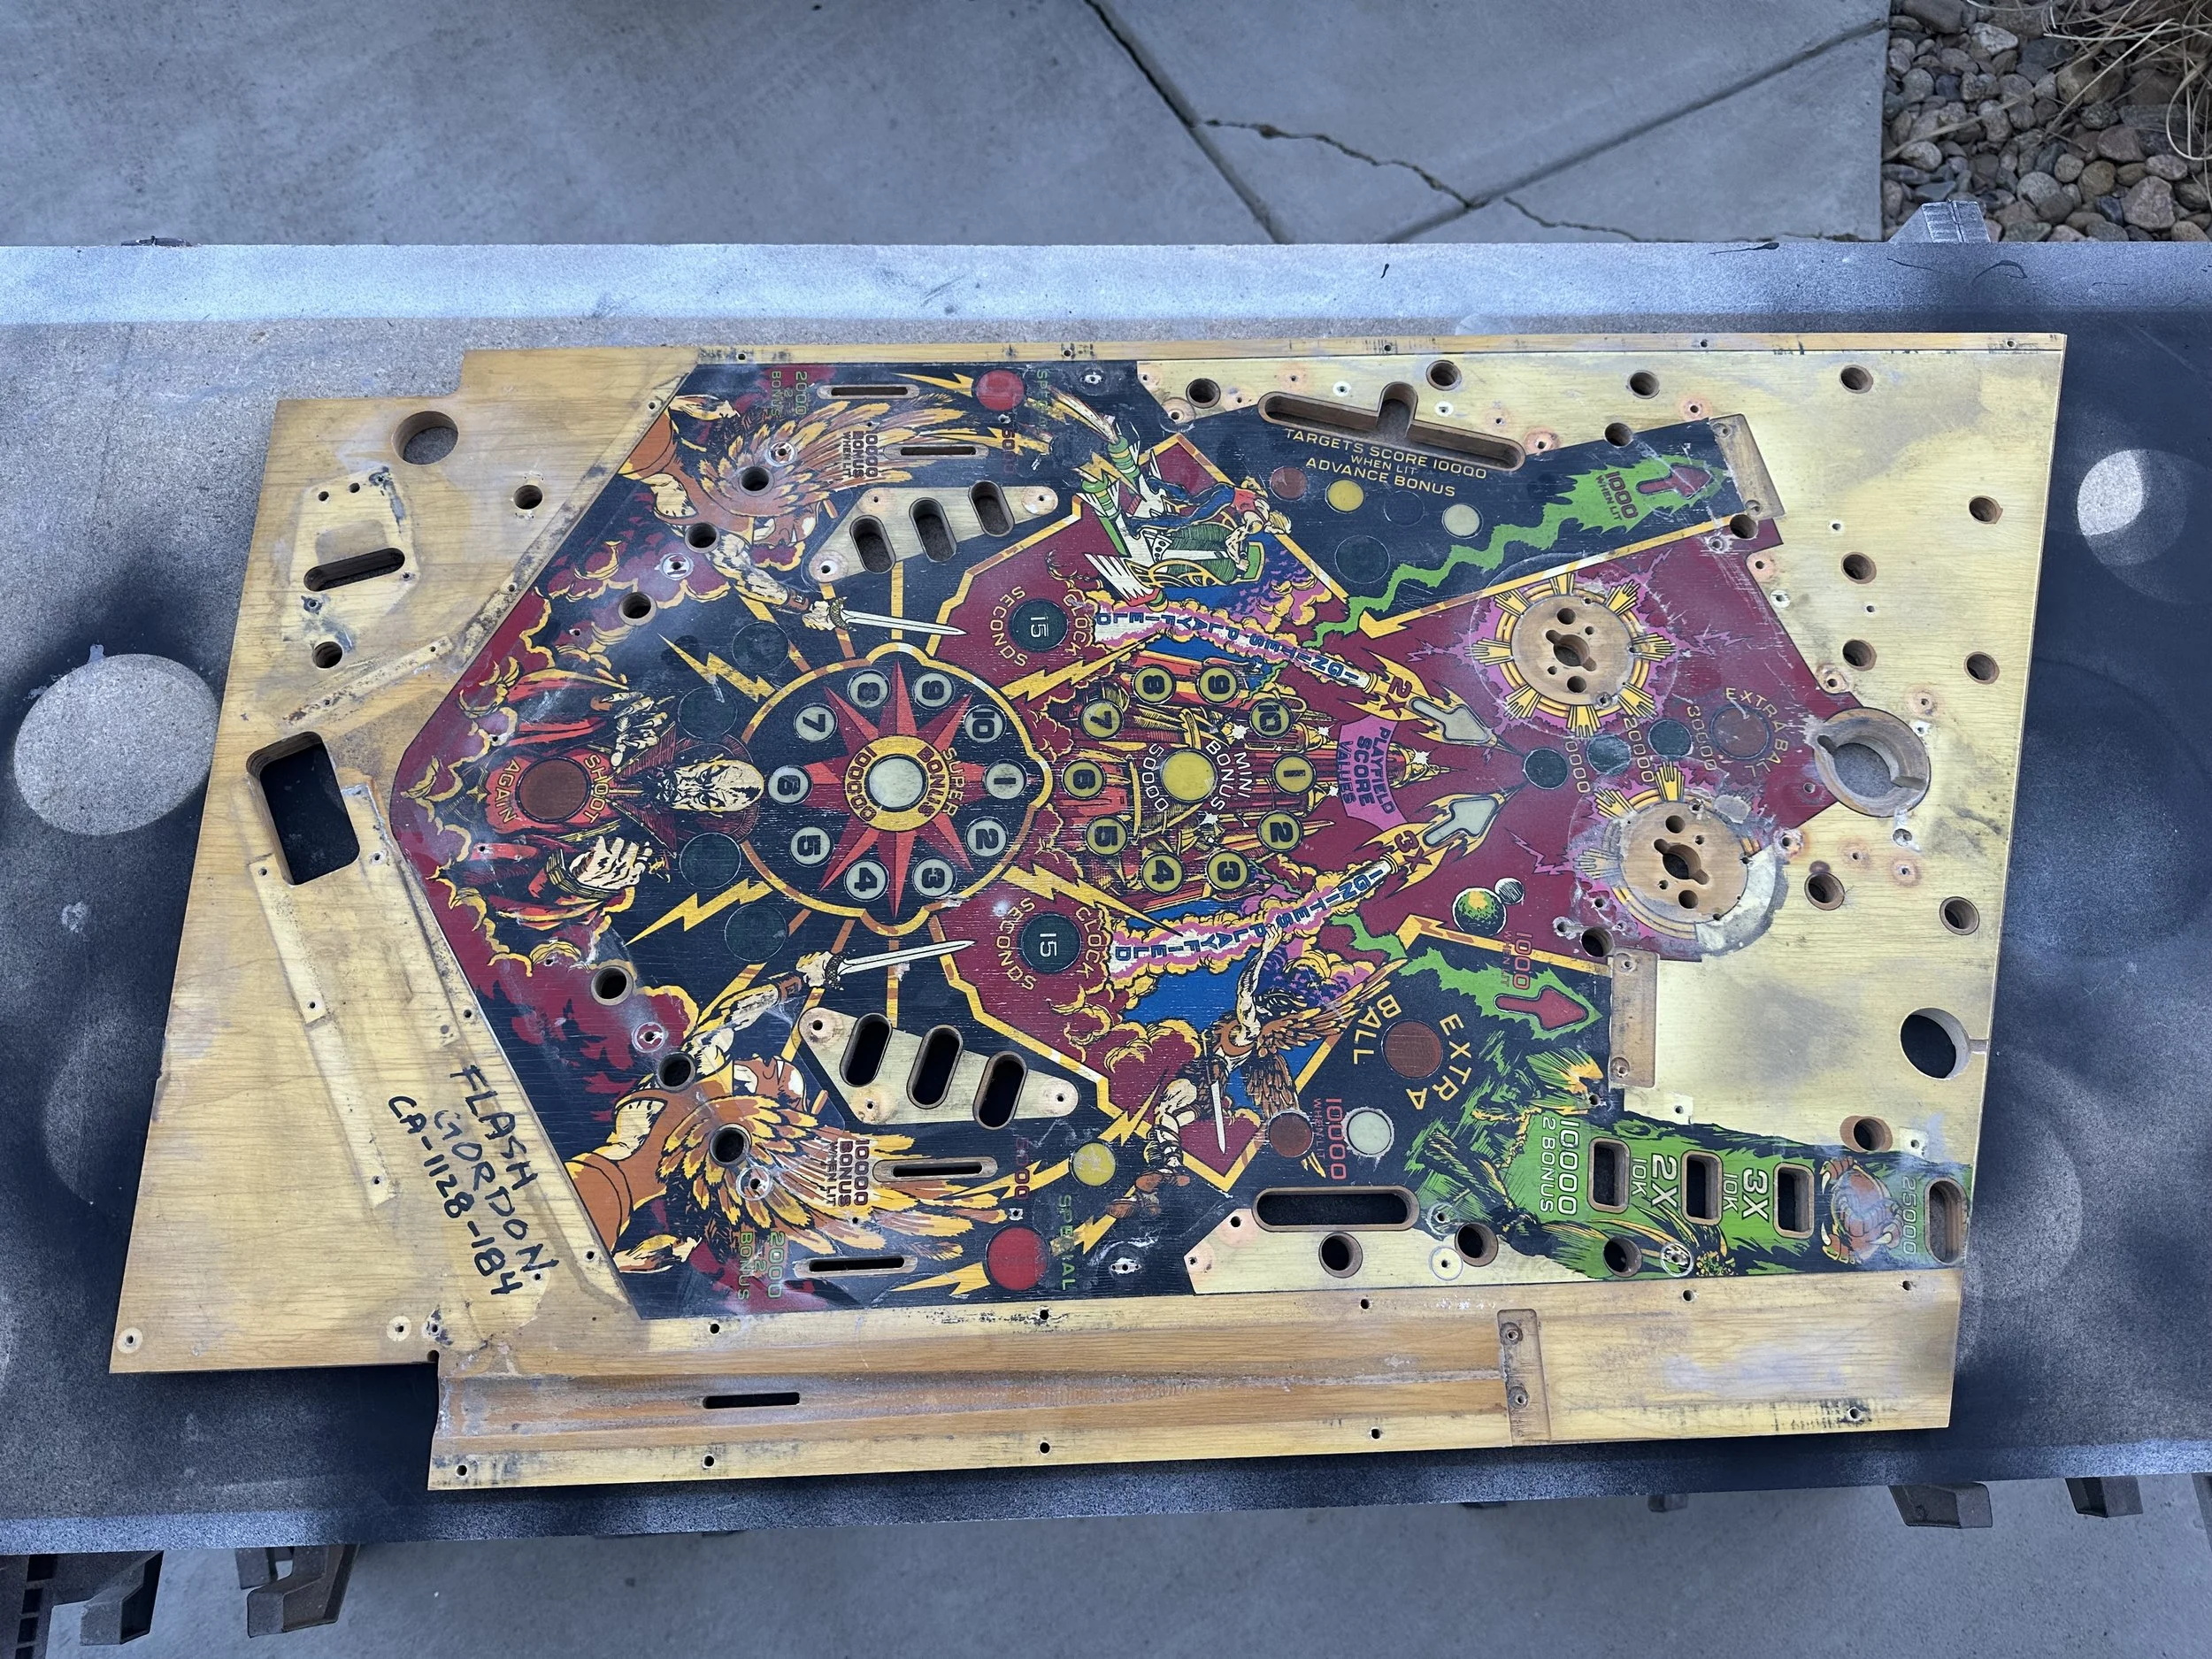
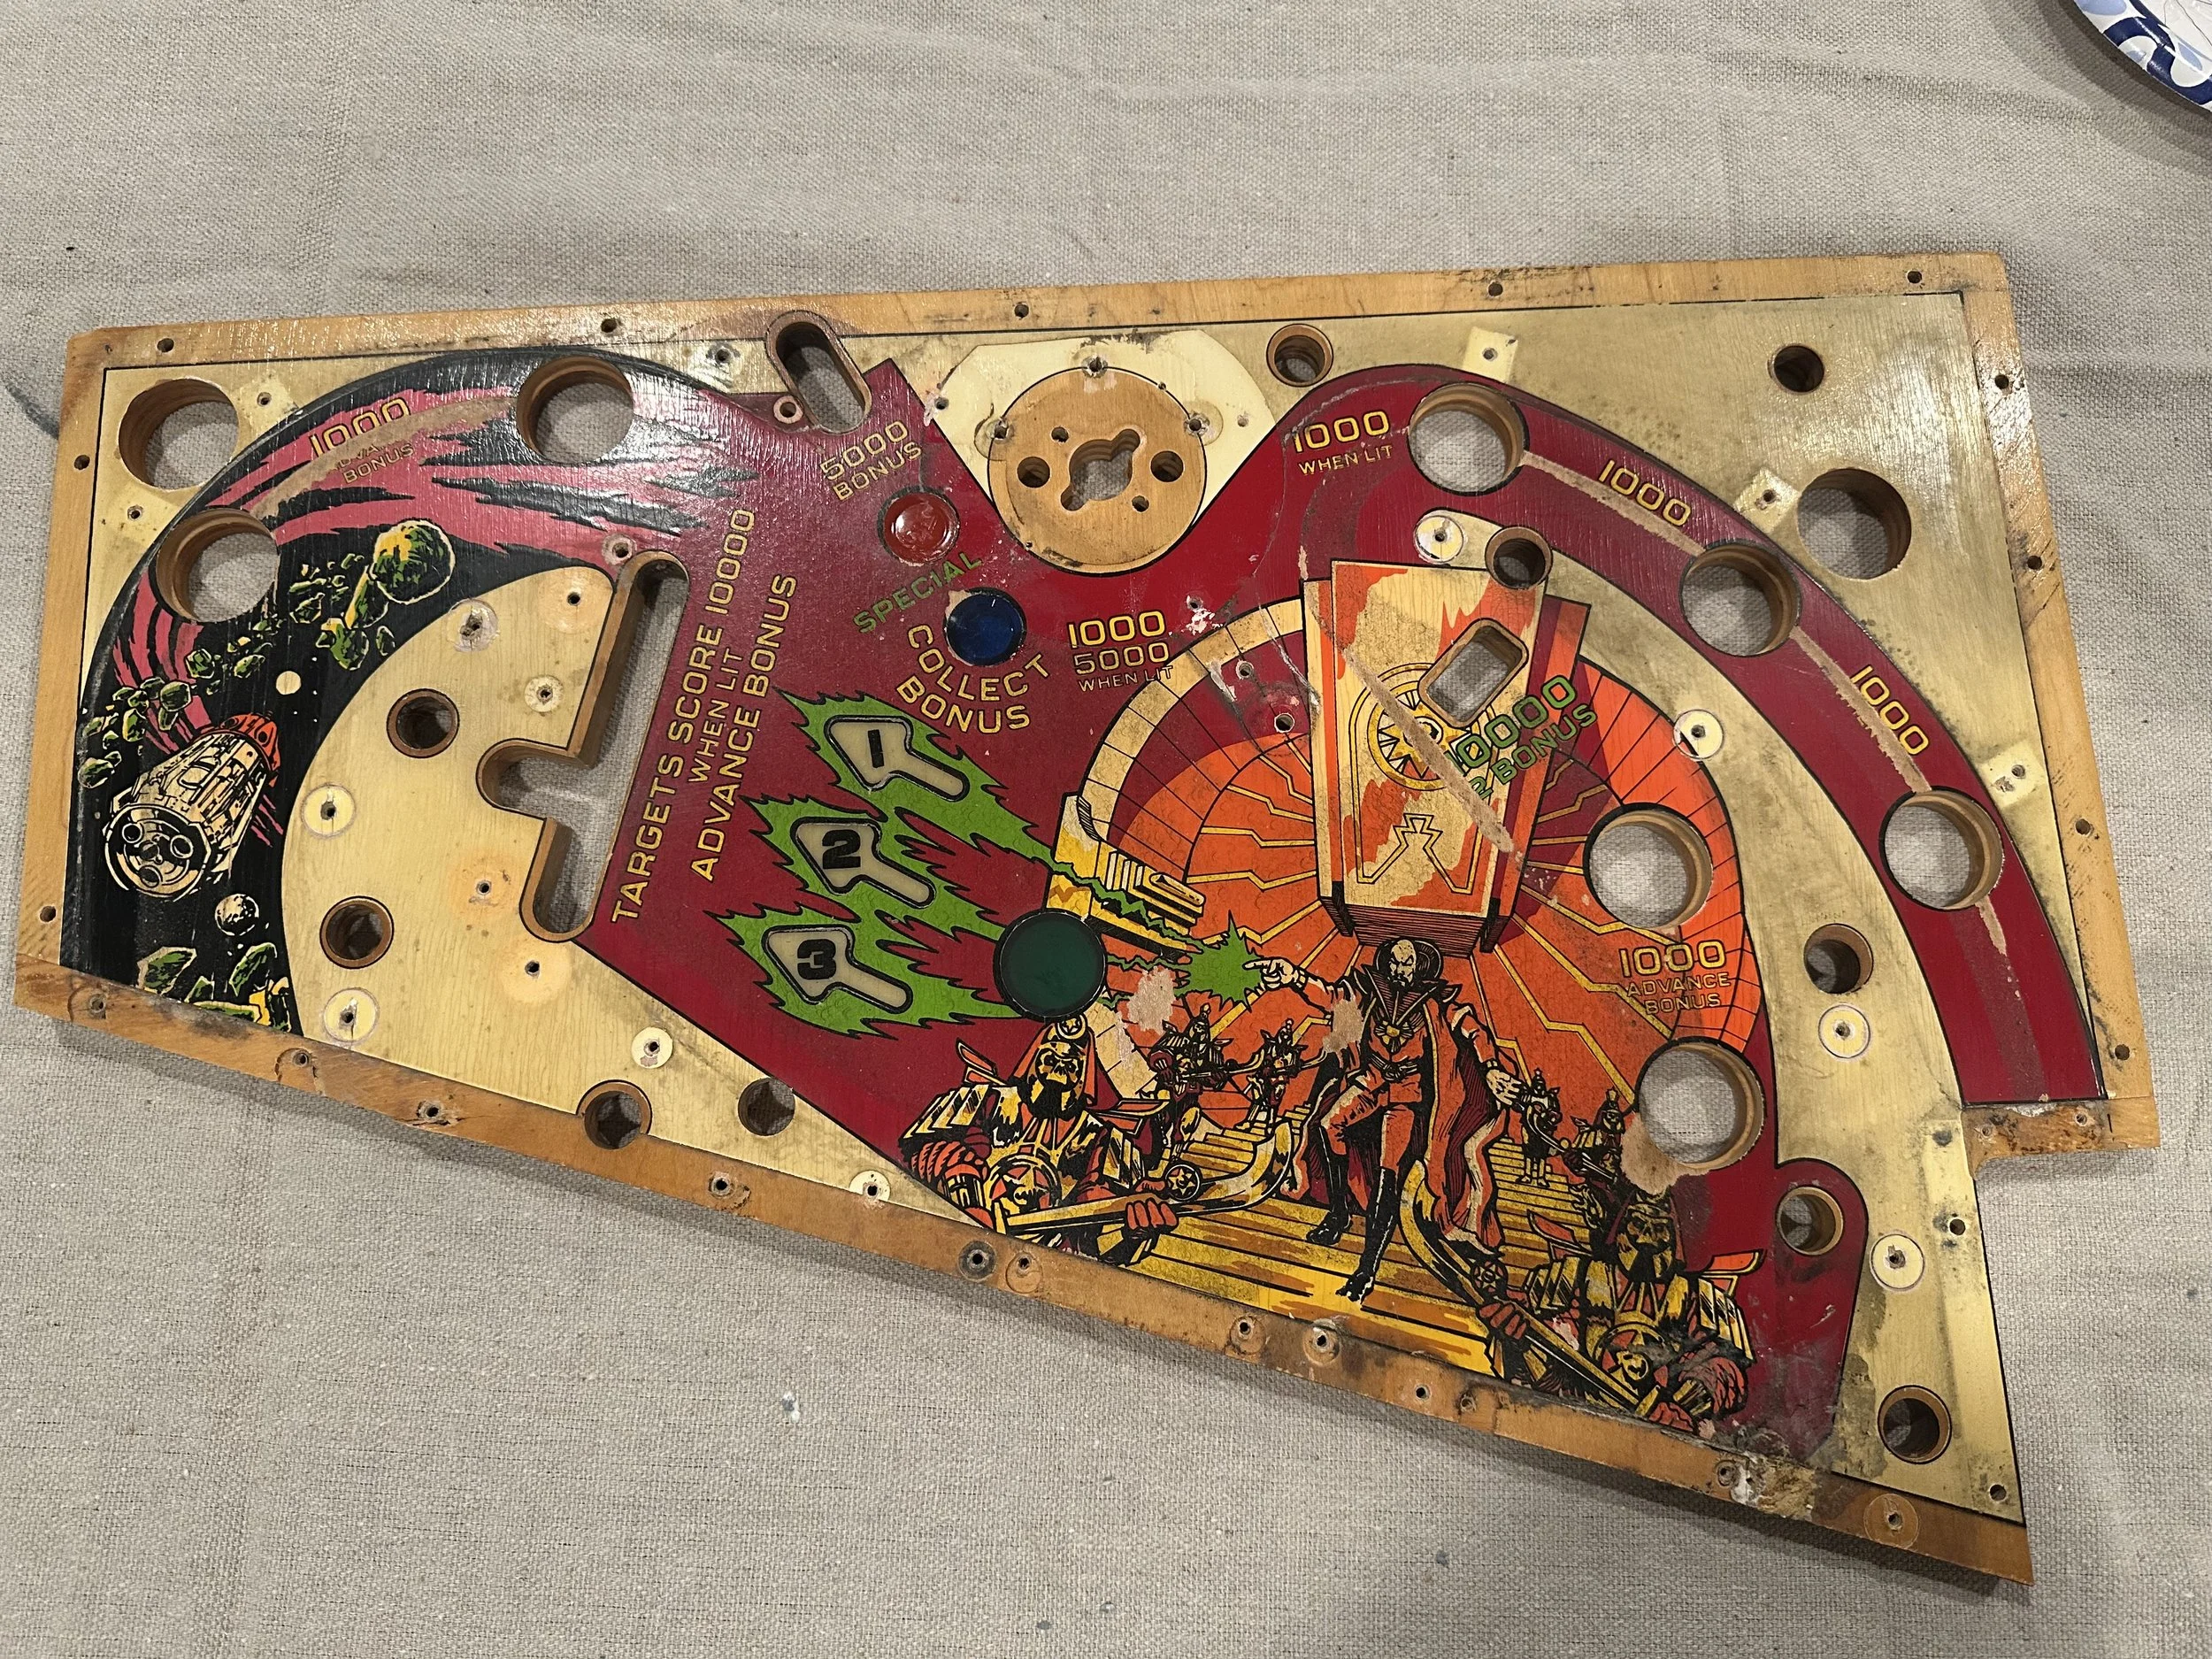
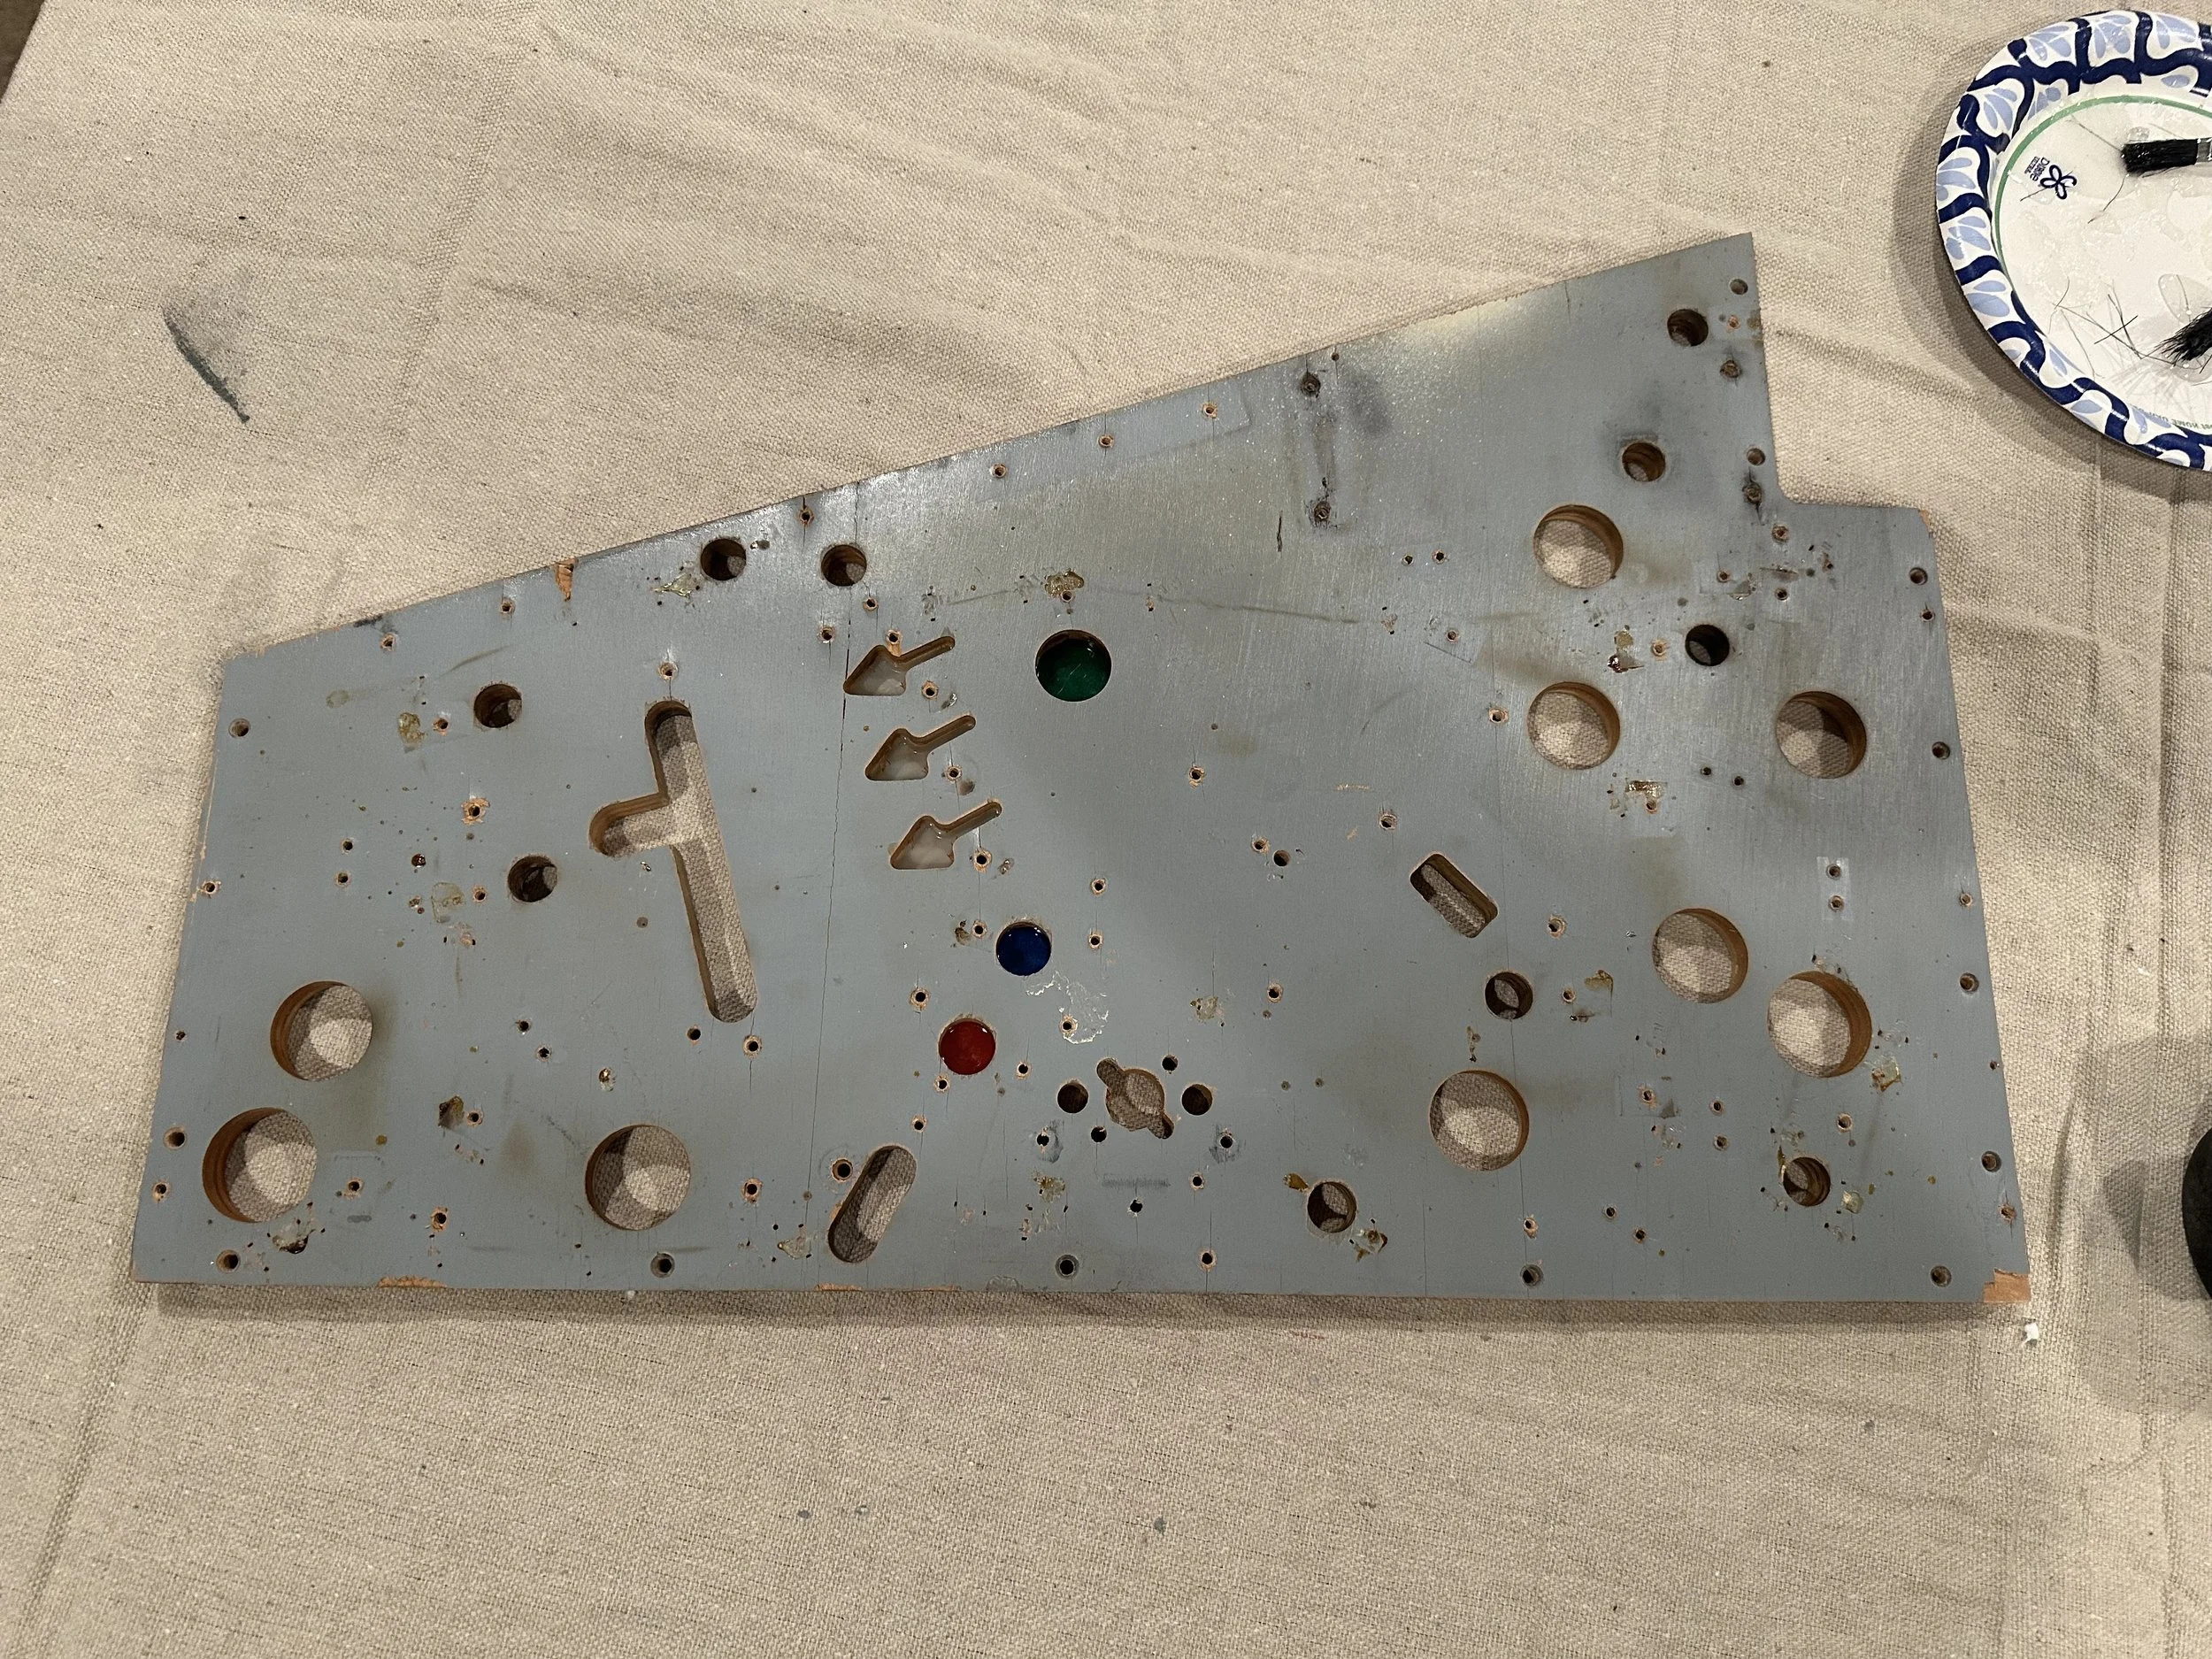
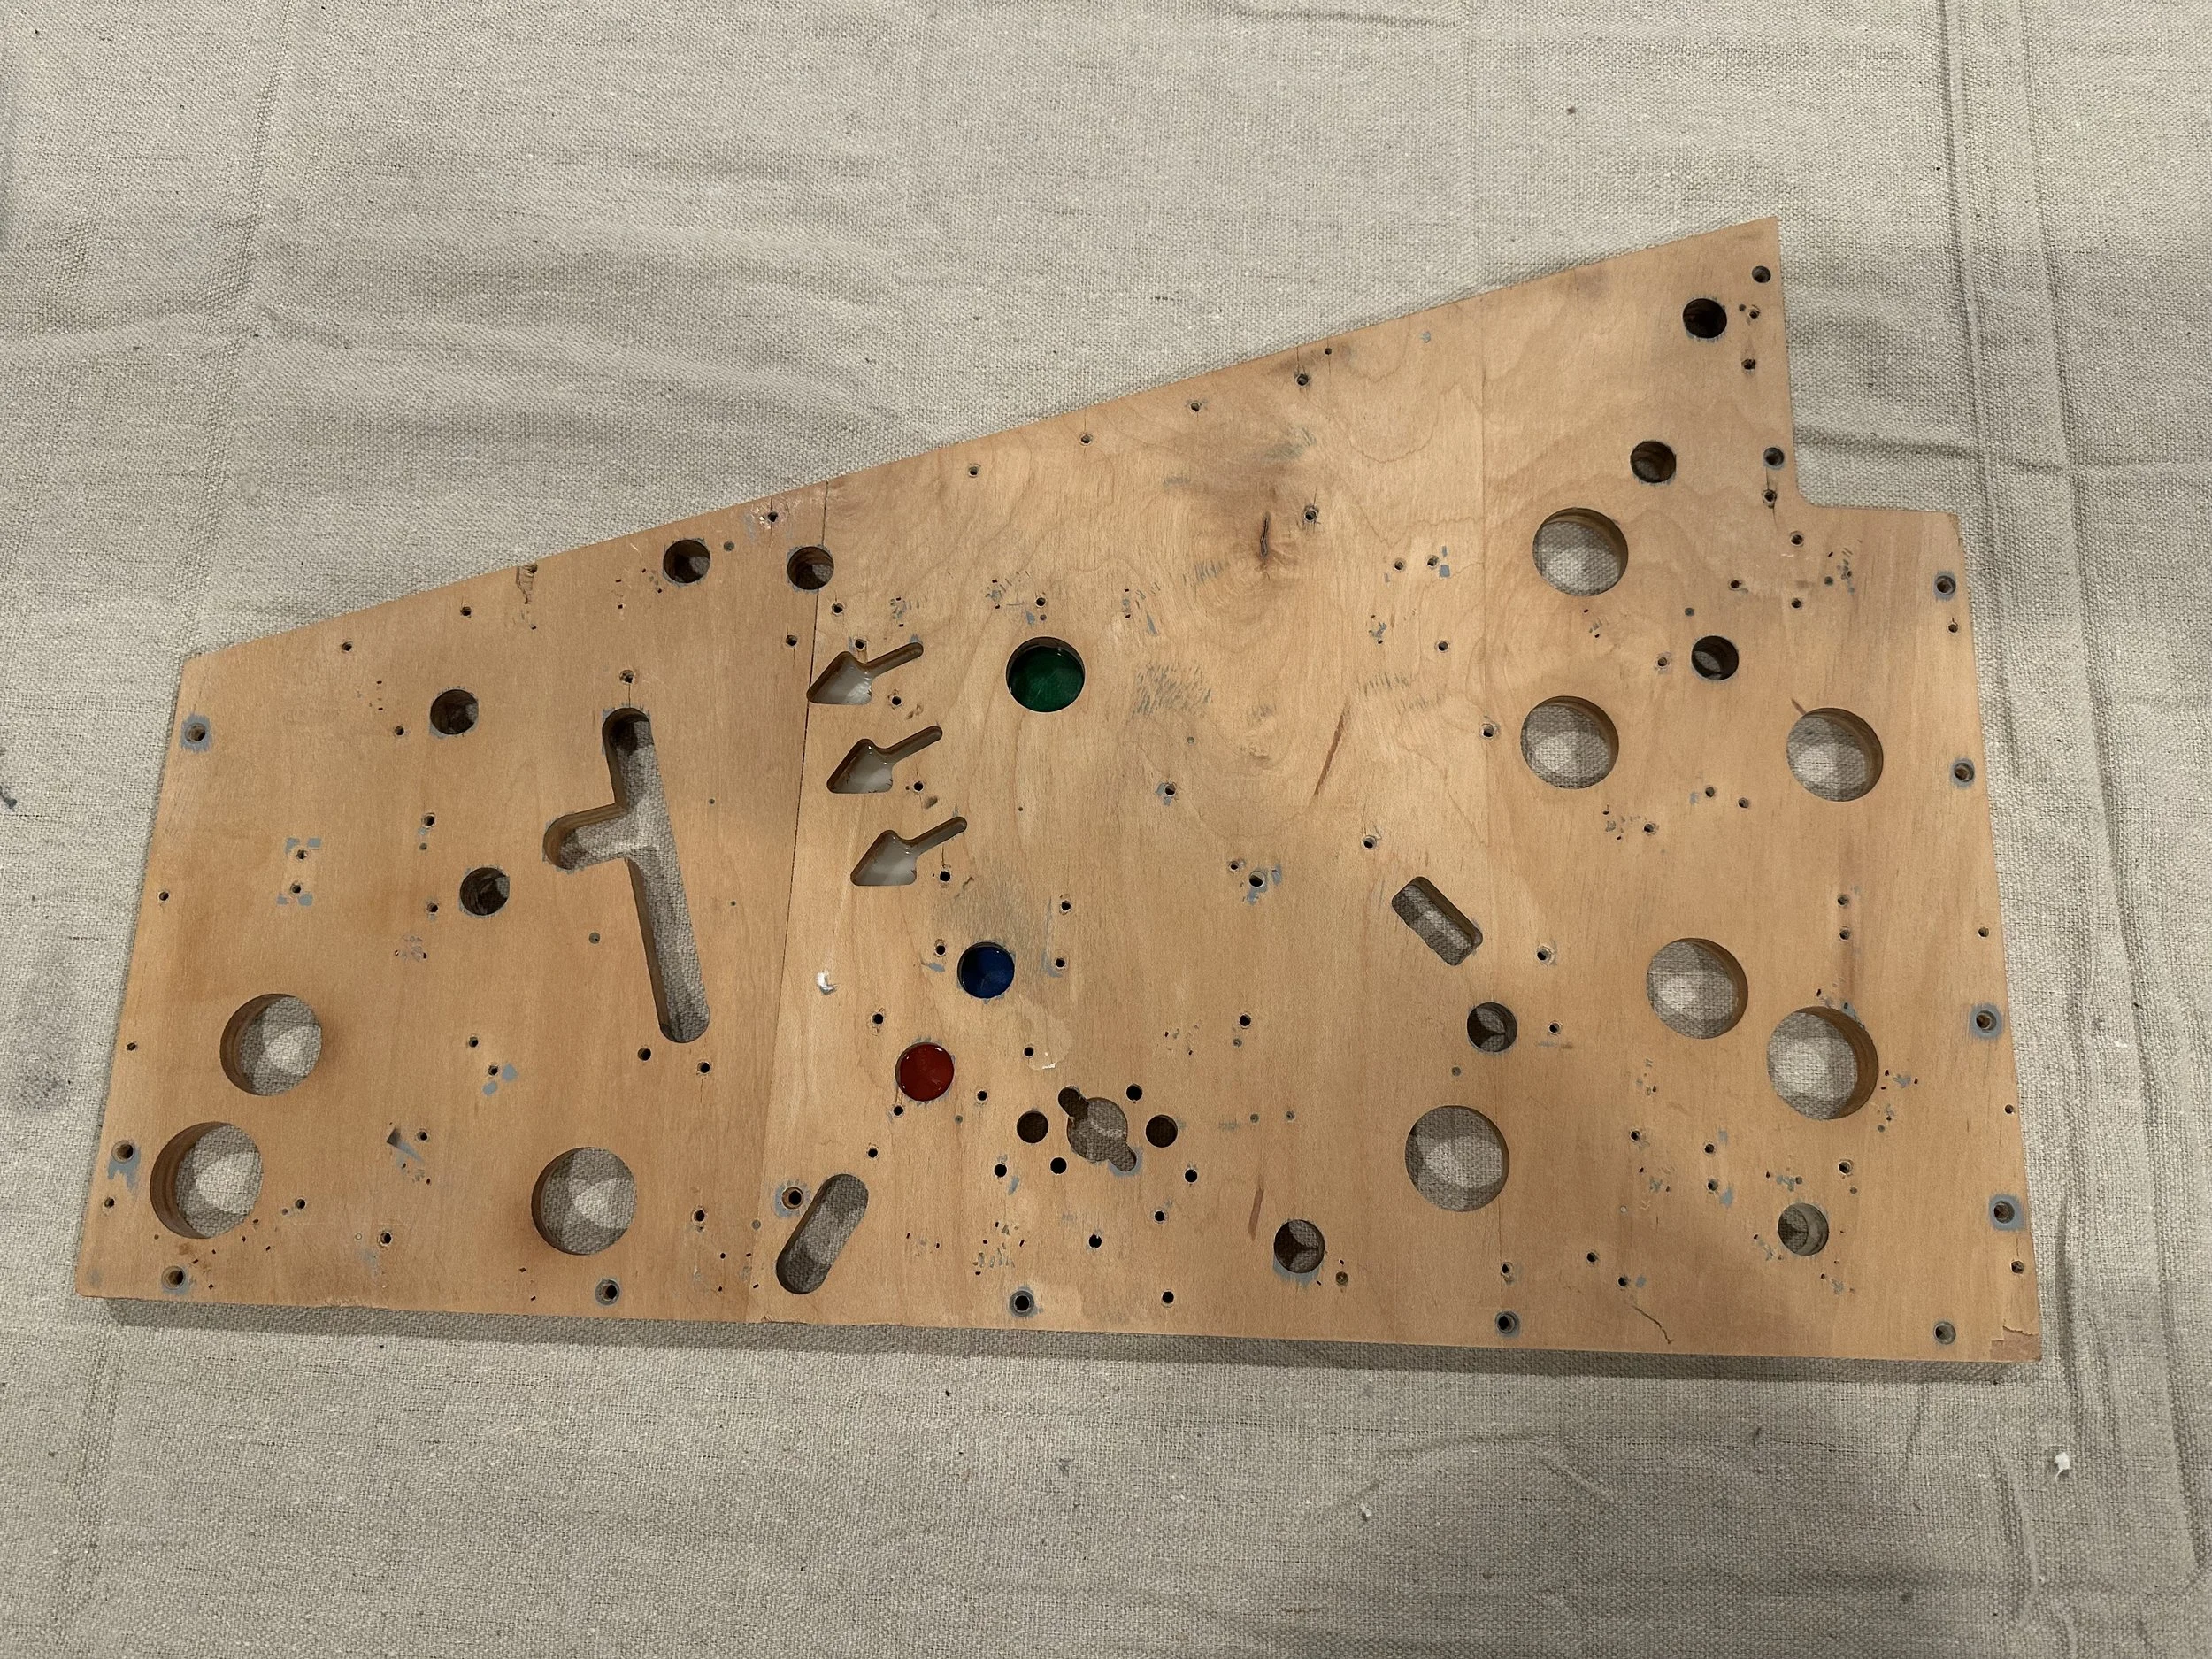
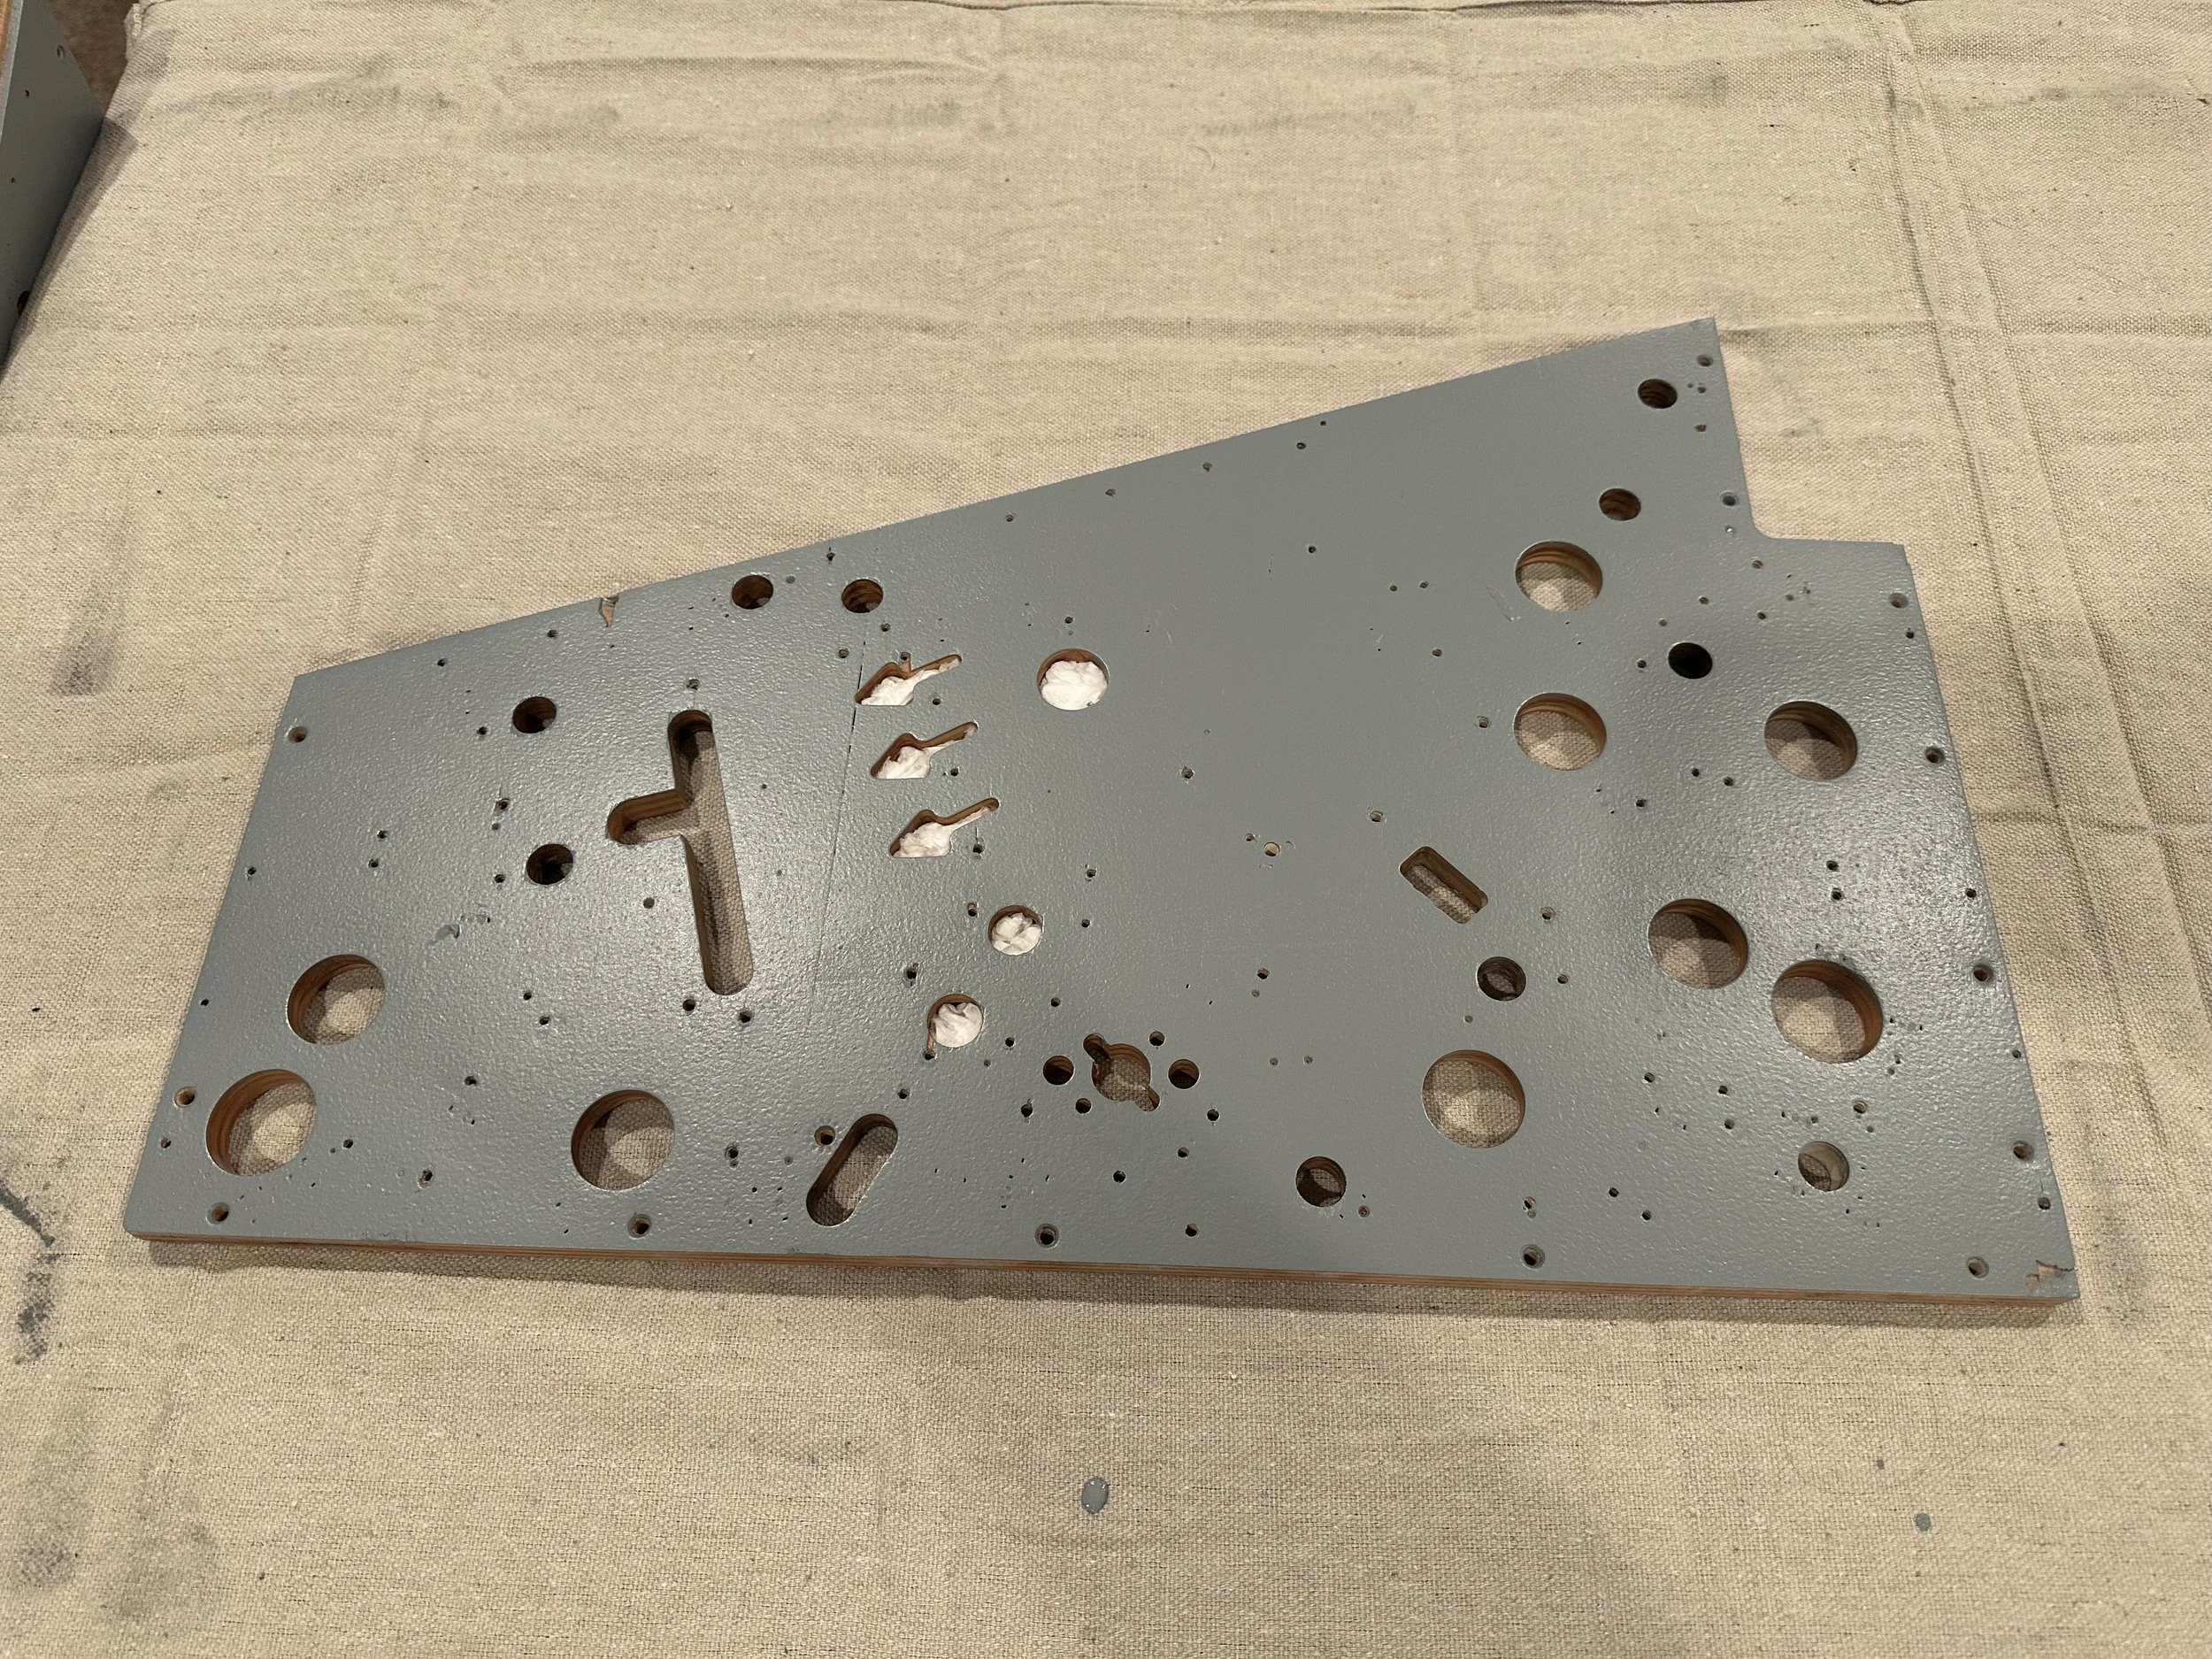
#5 - Use original playfield but with a new hardtop. Re-paint the underside with a fresh coat of Bally gray!
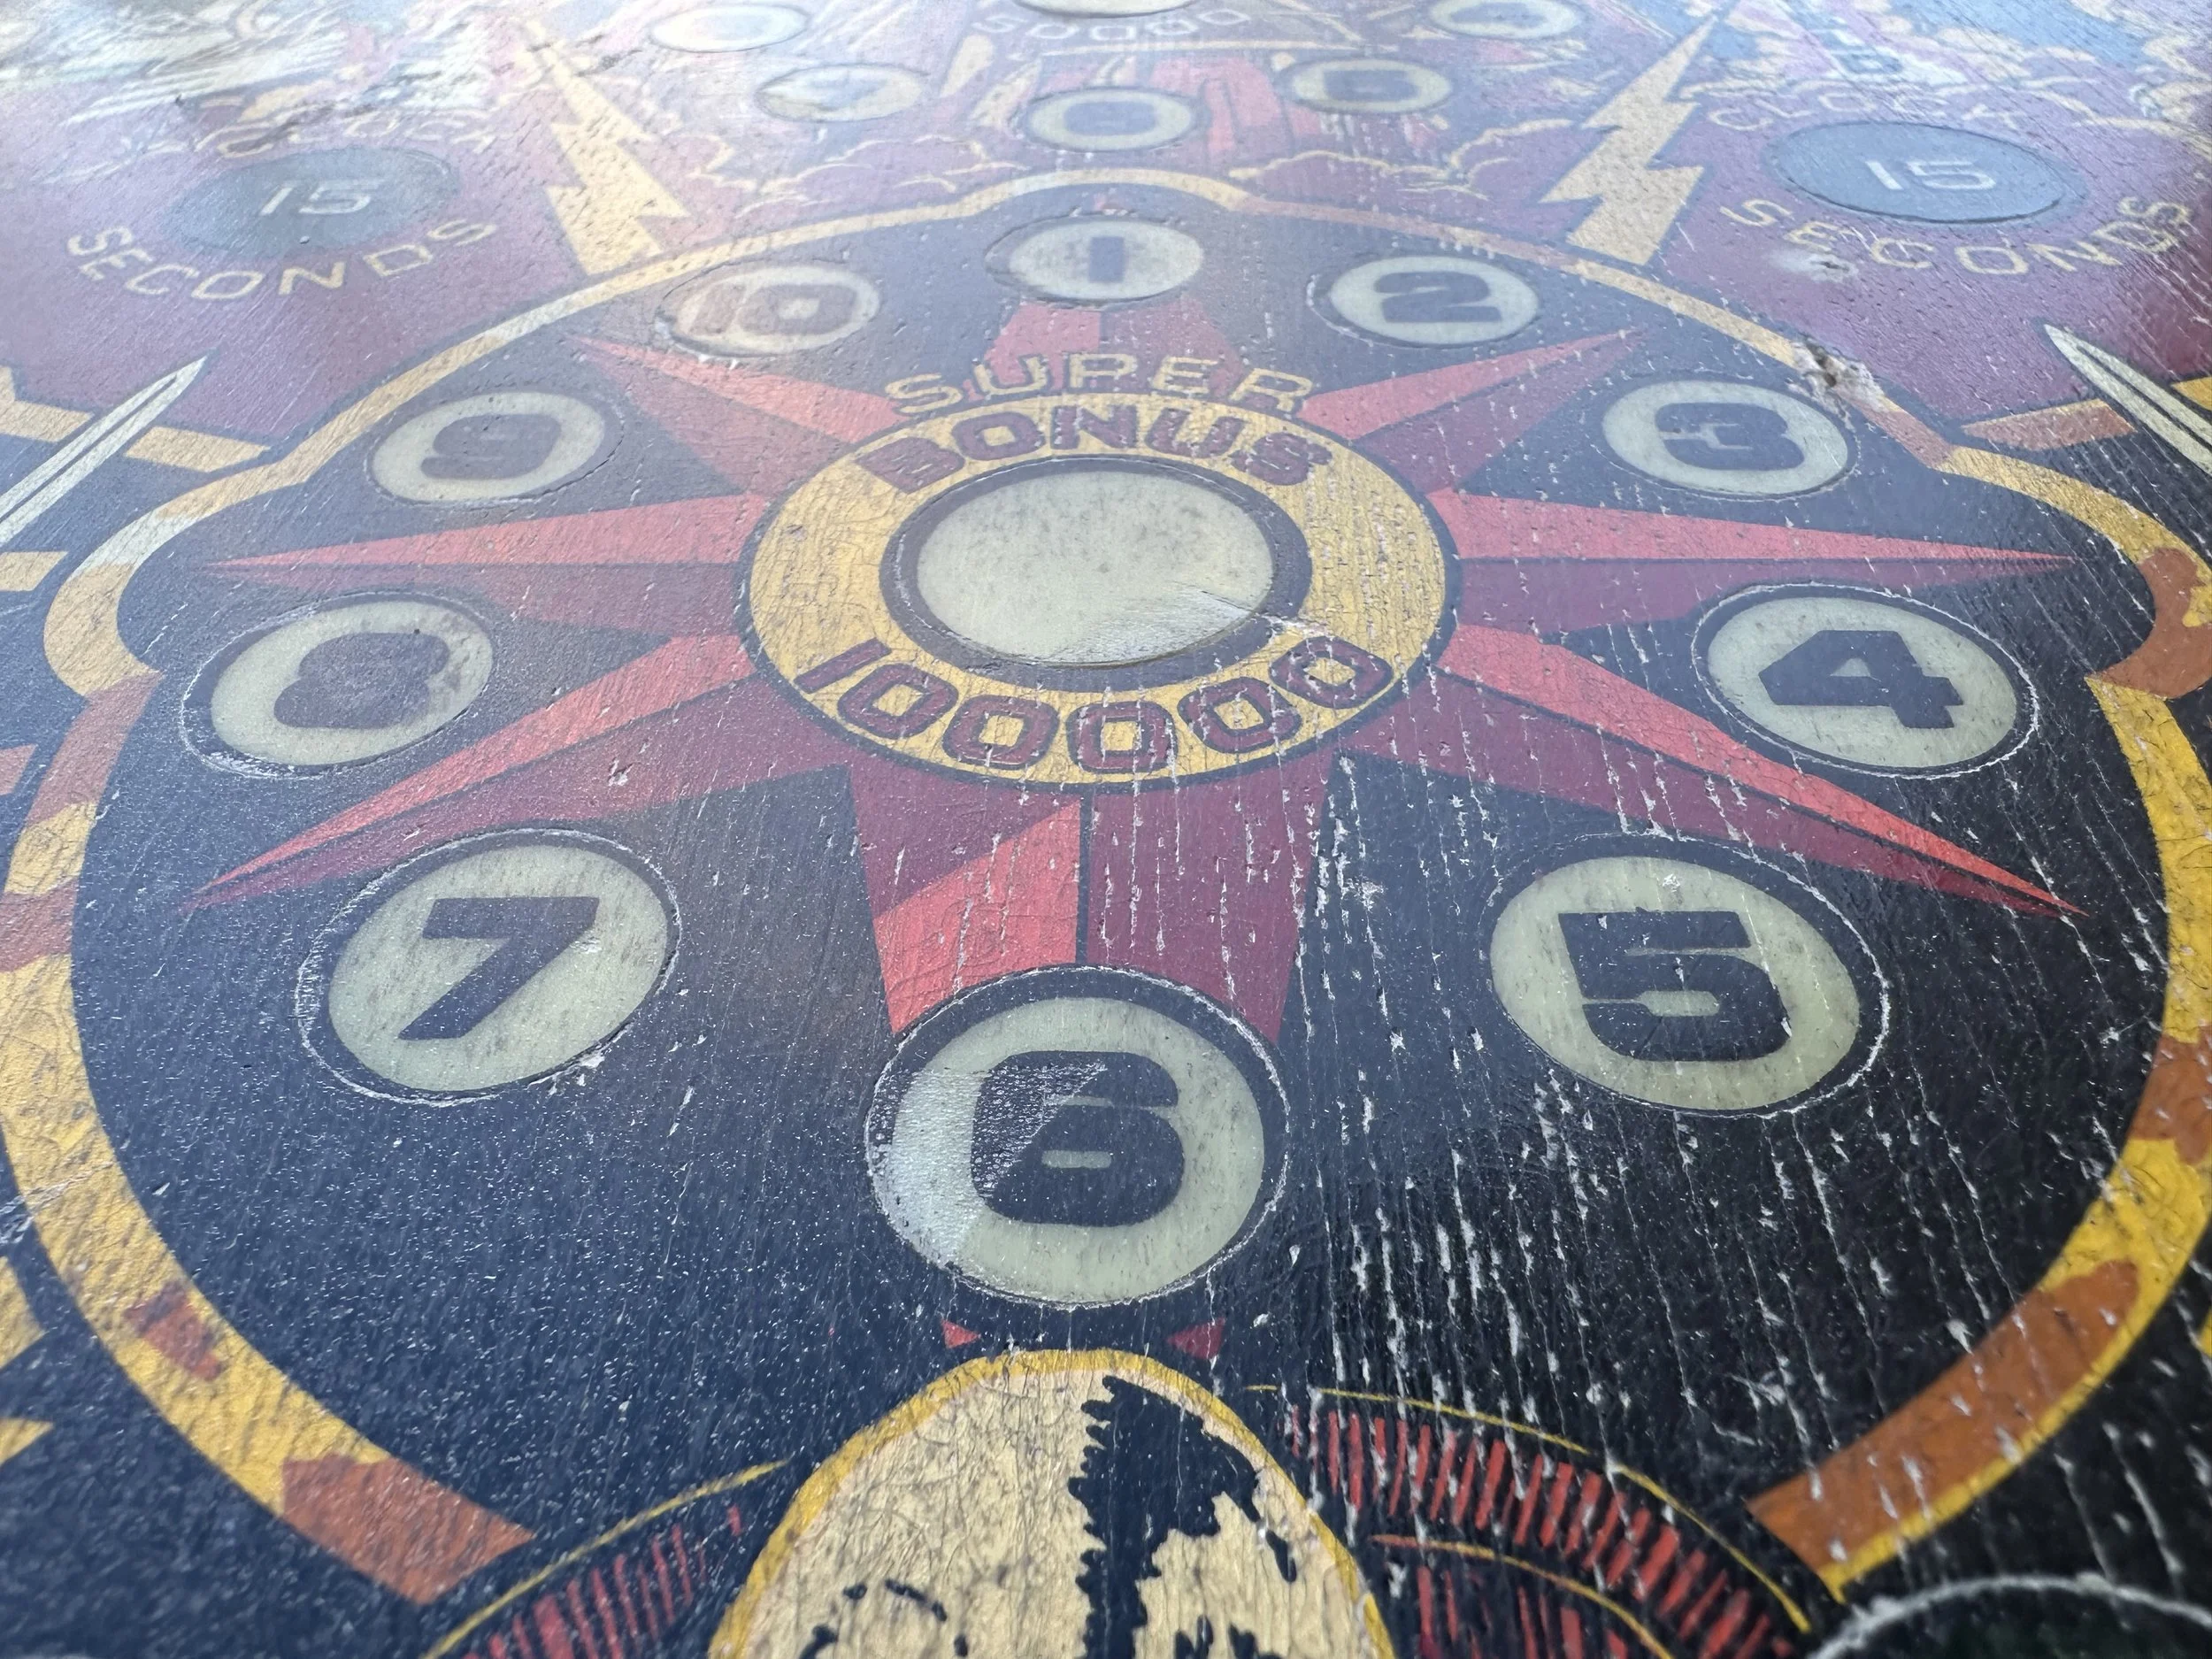
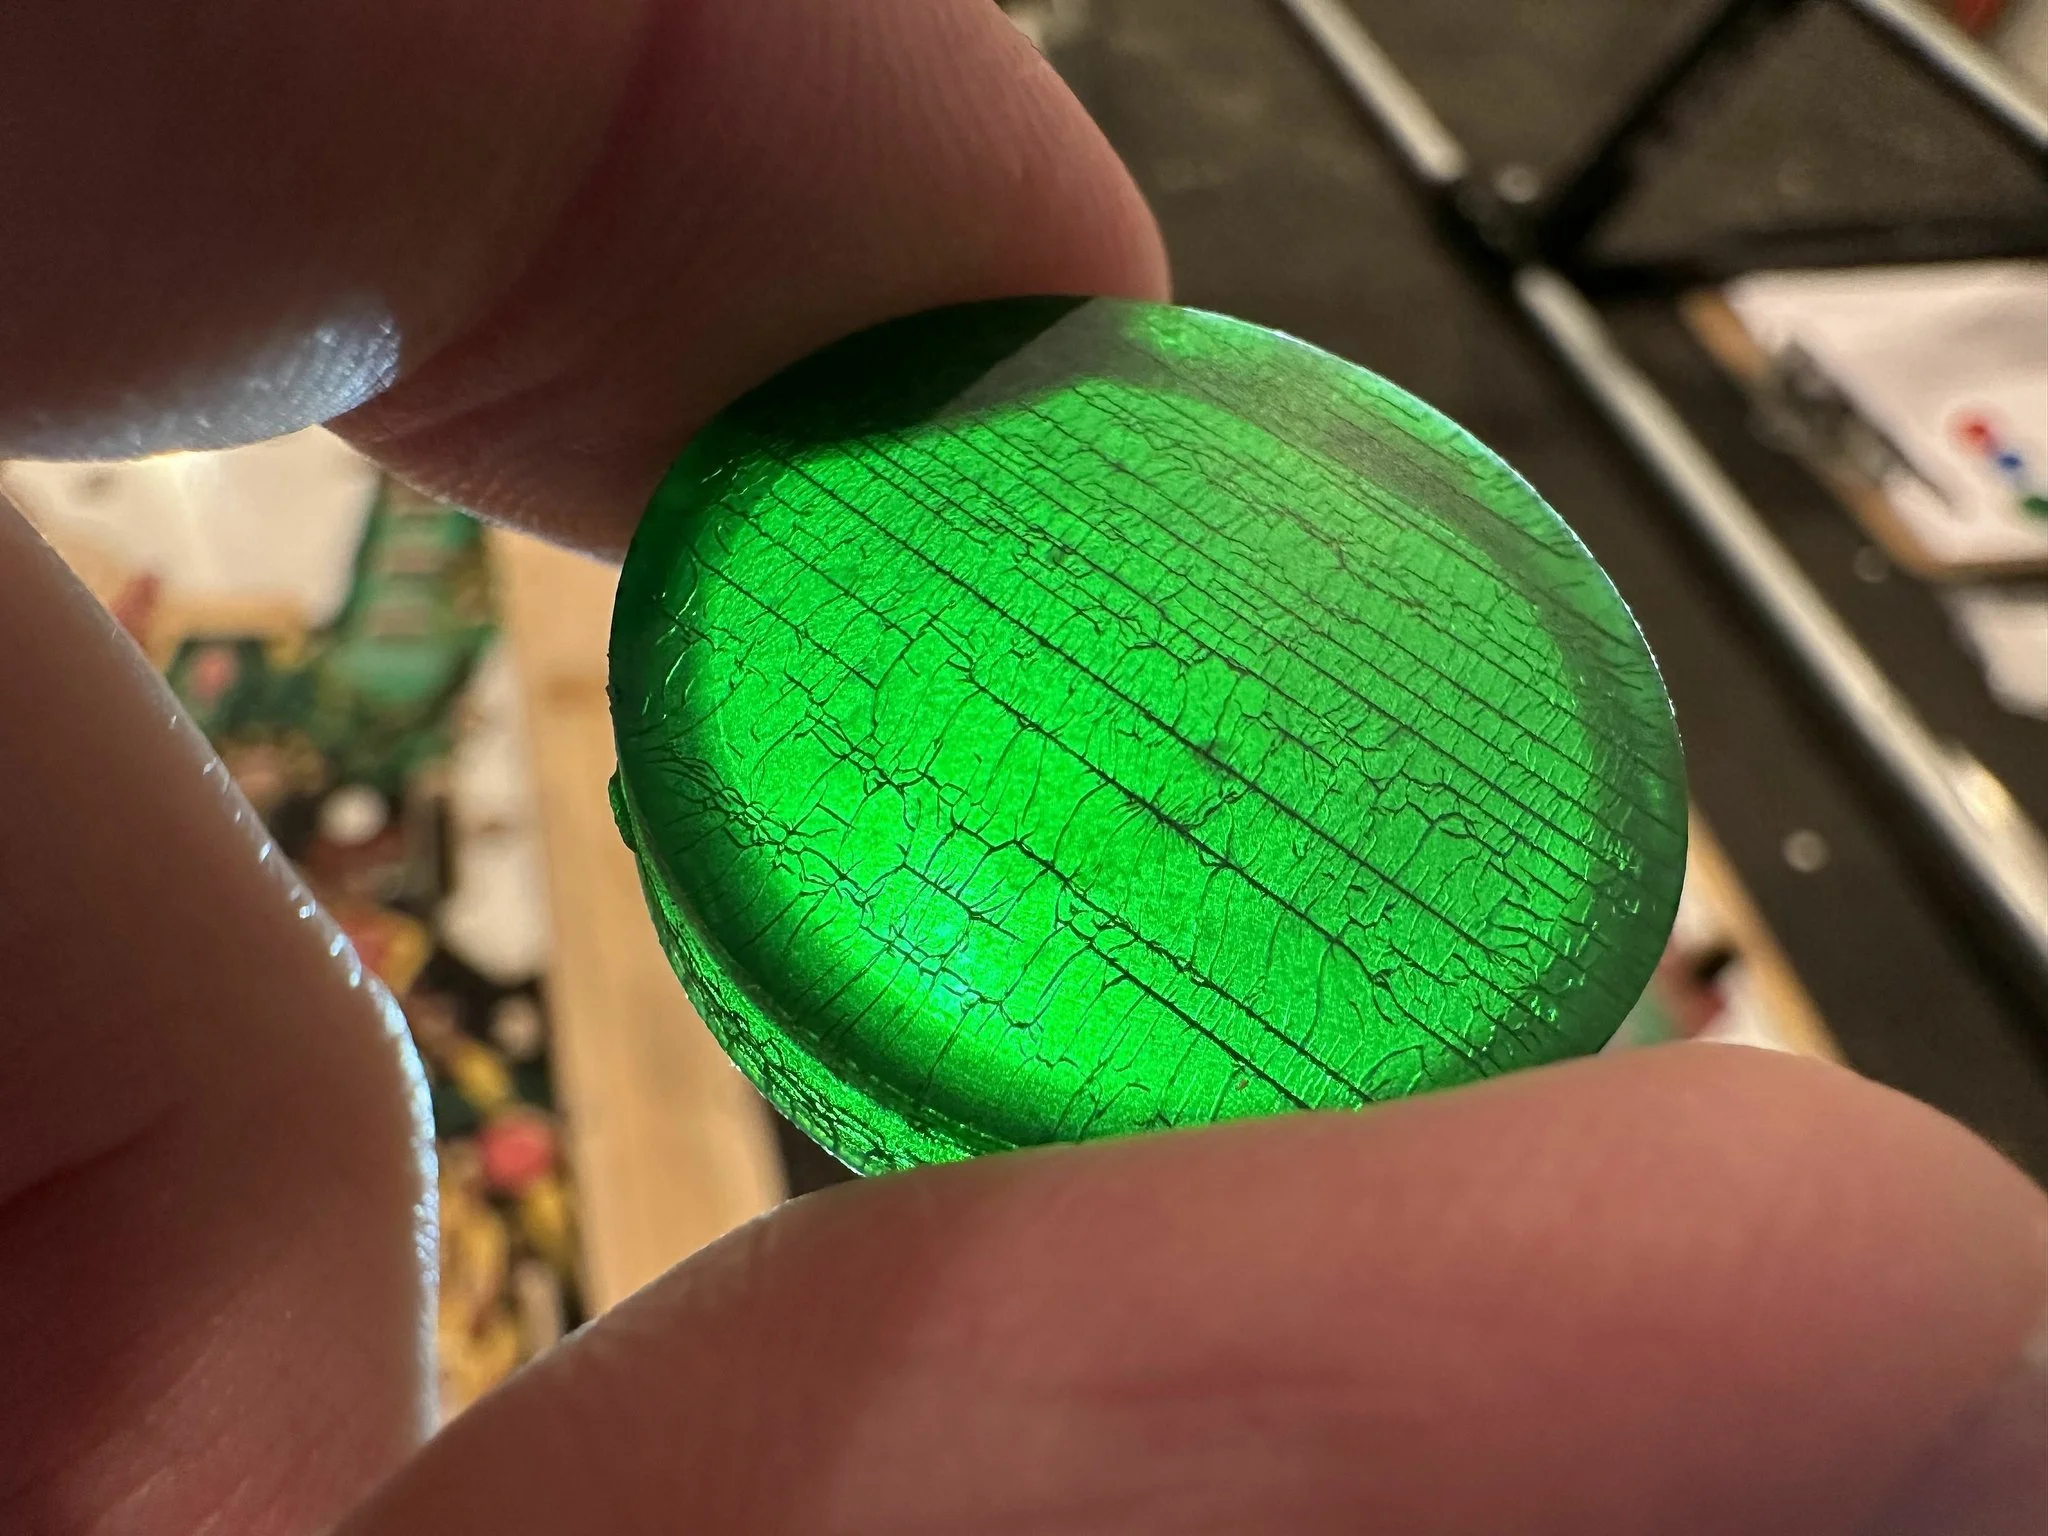
#6 - Replace most of the cracked and crazing playfield inserts
#7 - Install new plastics and rubber kit
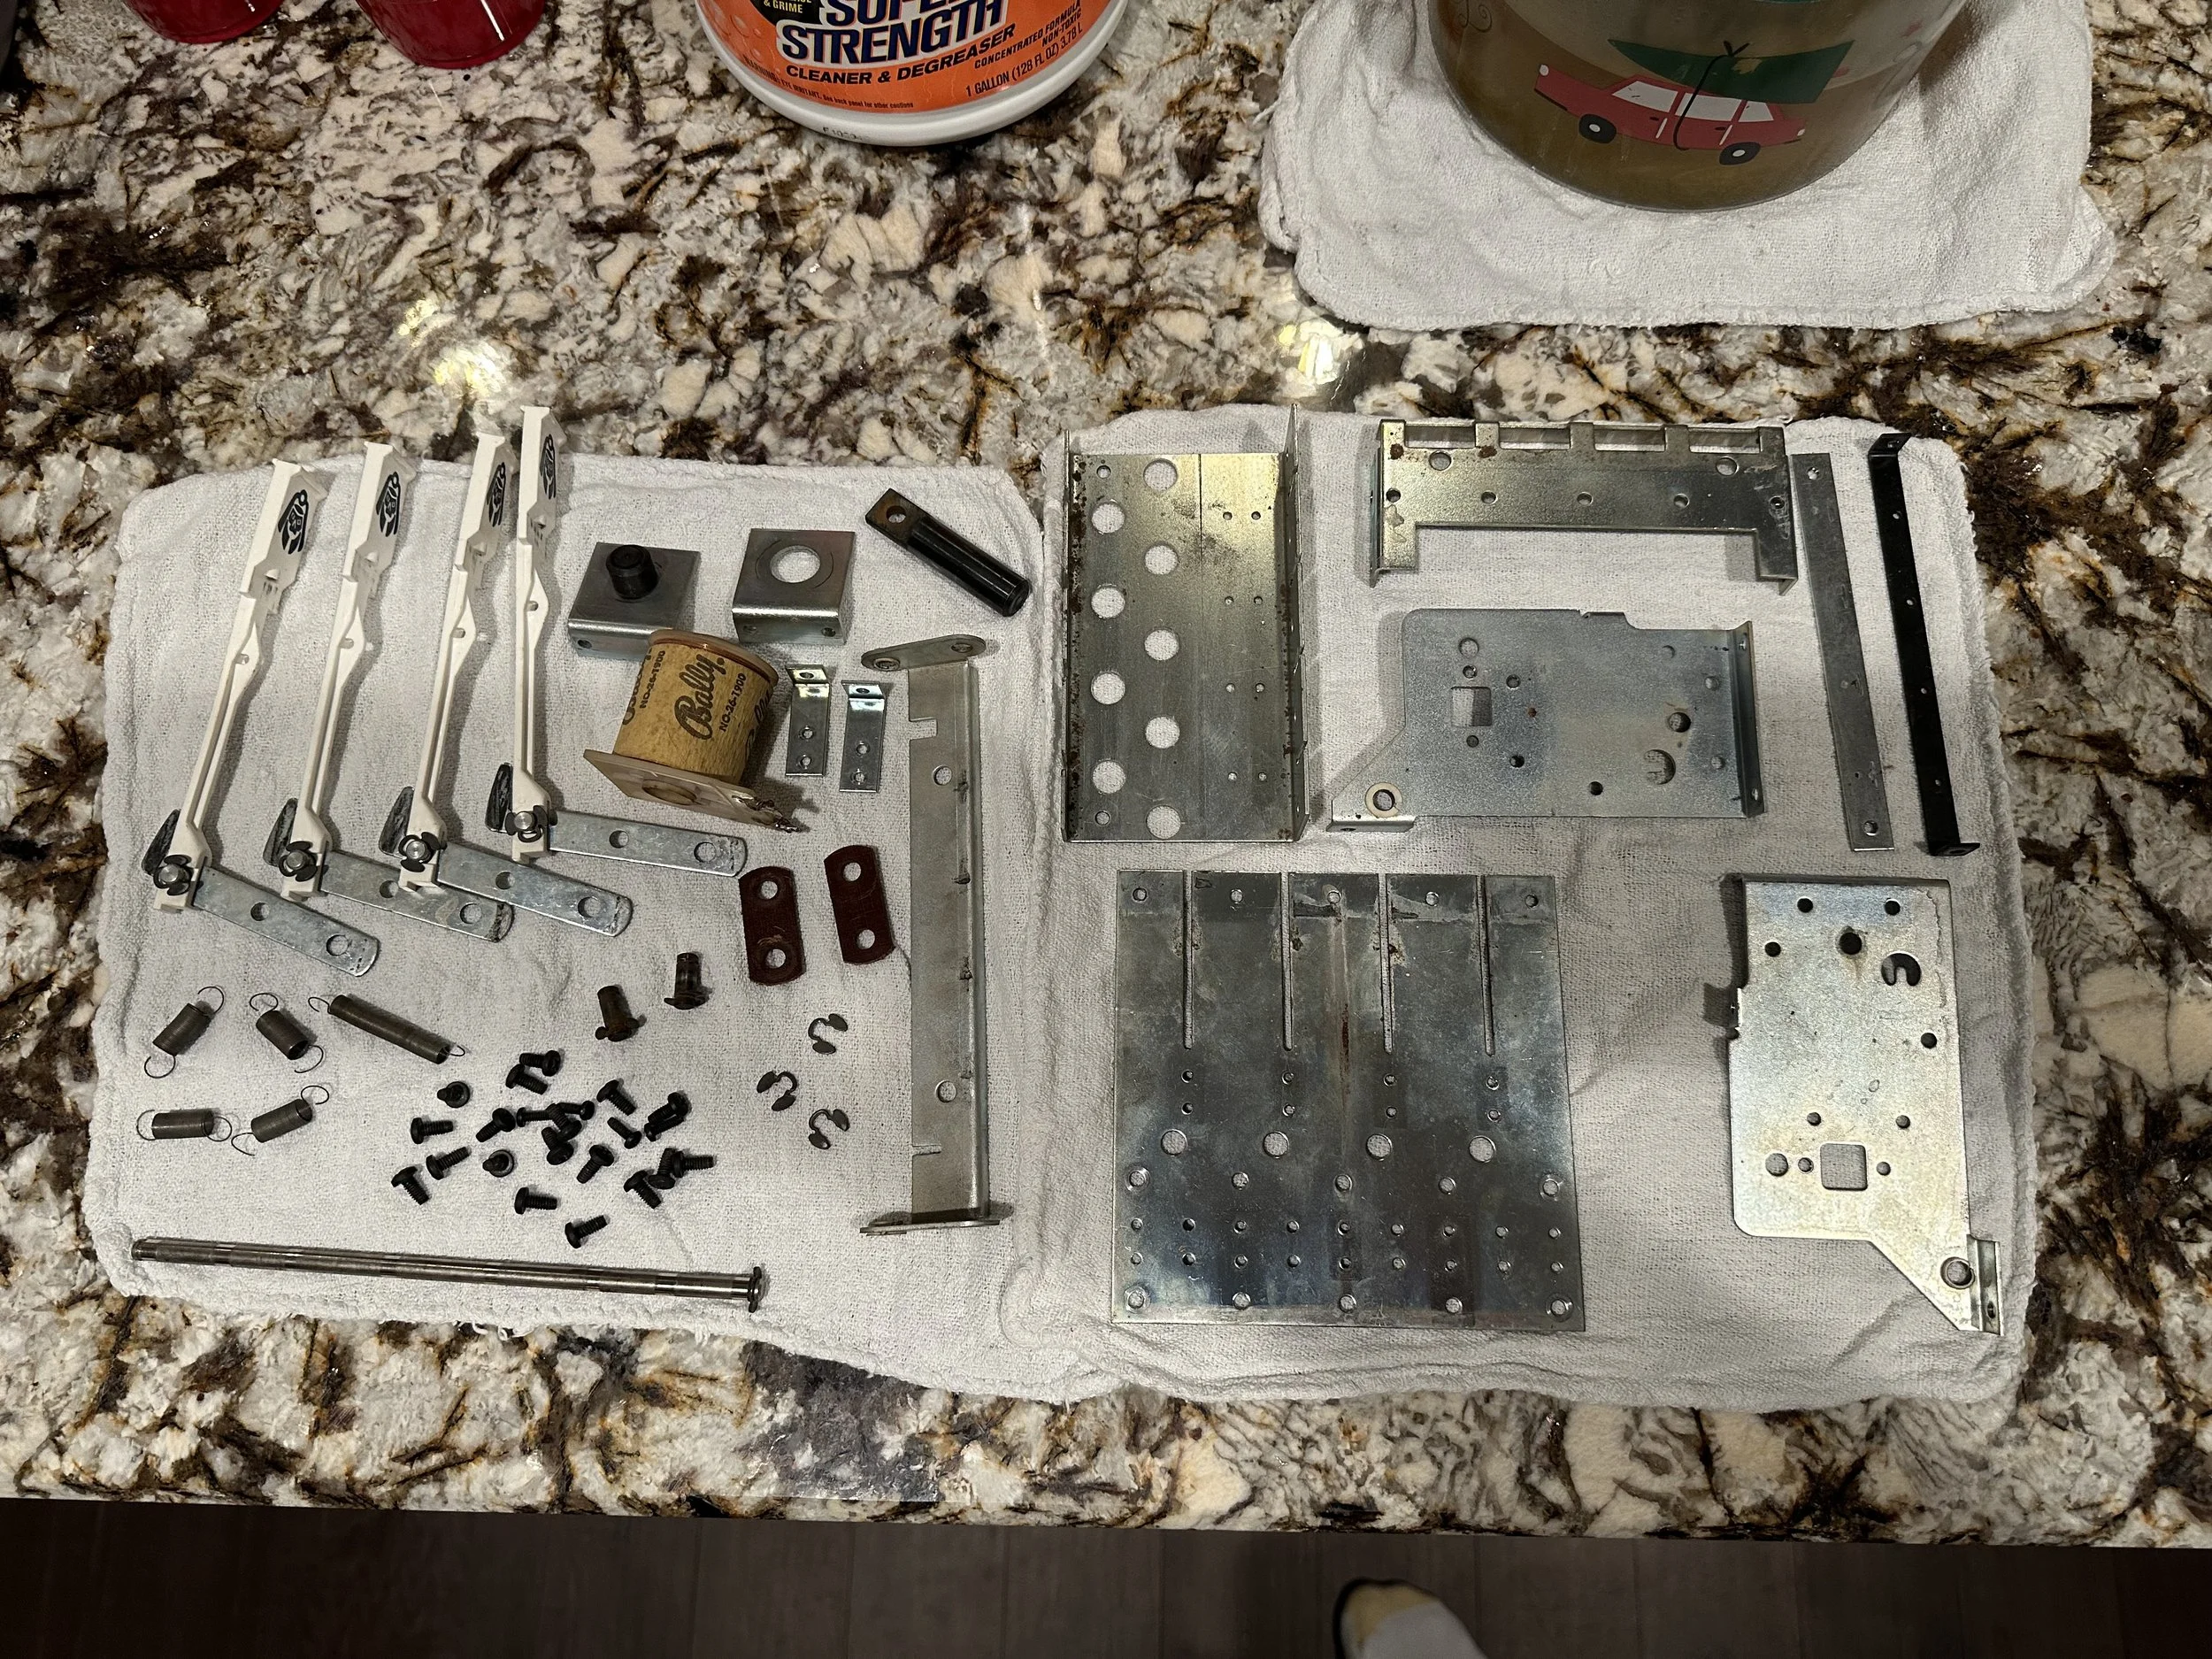
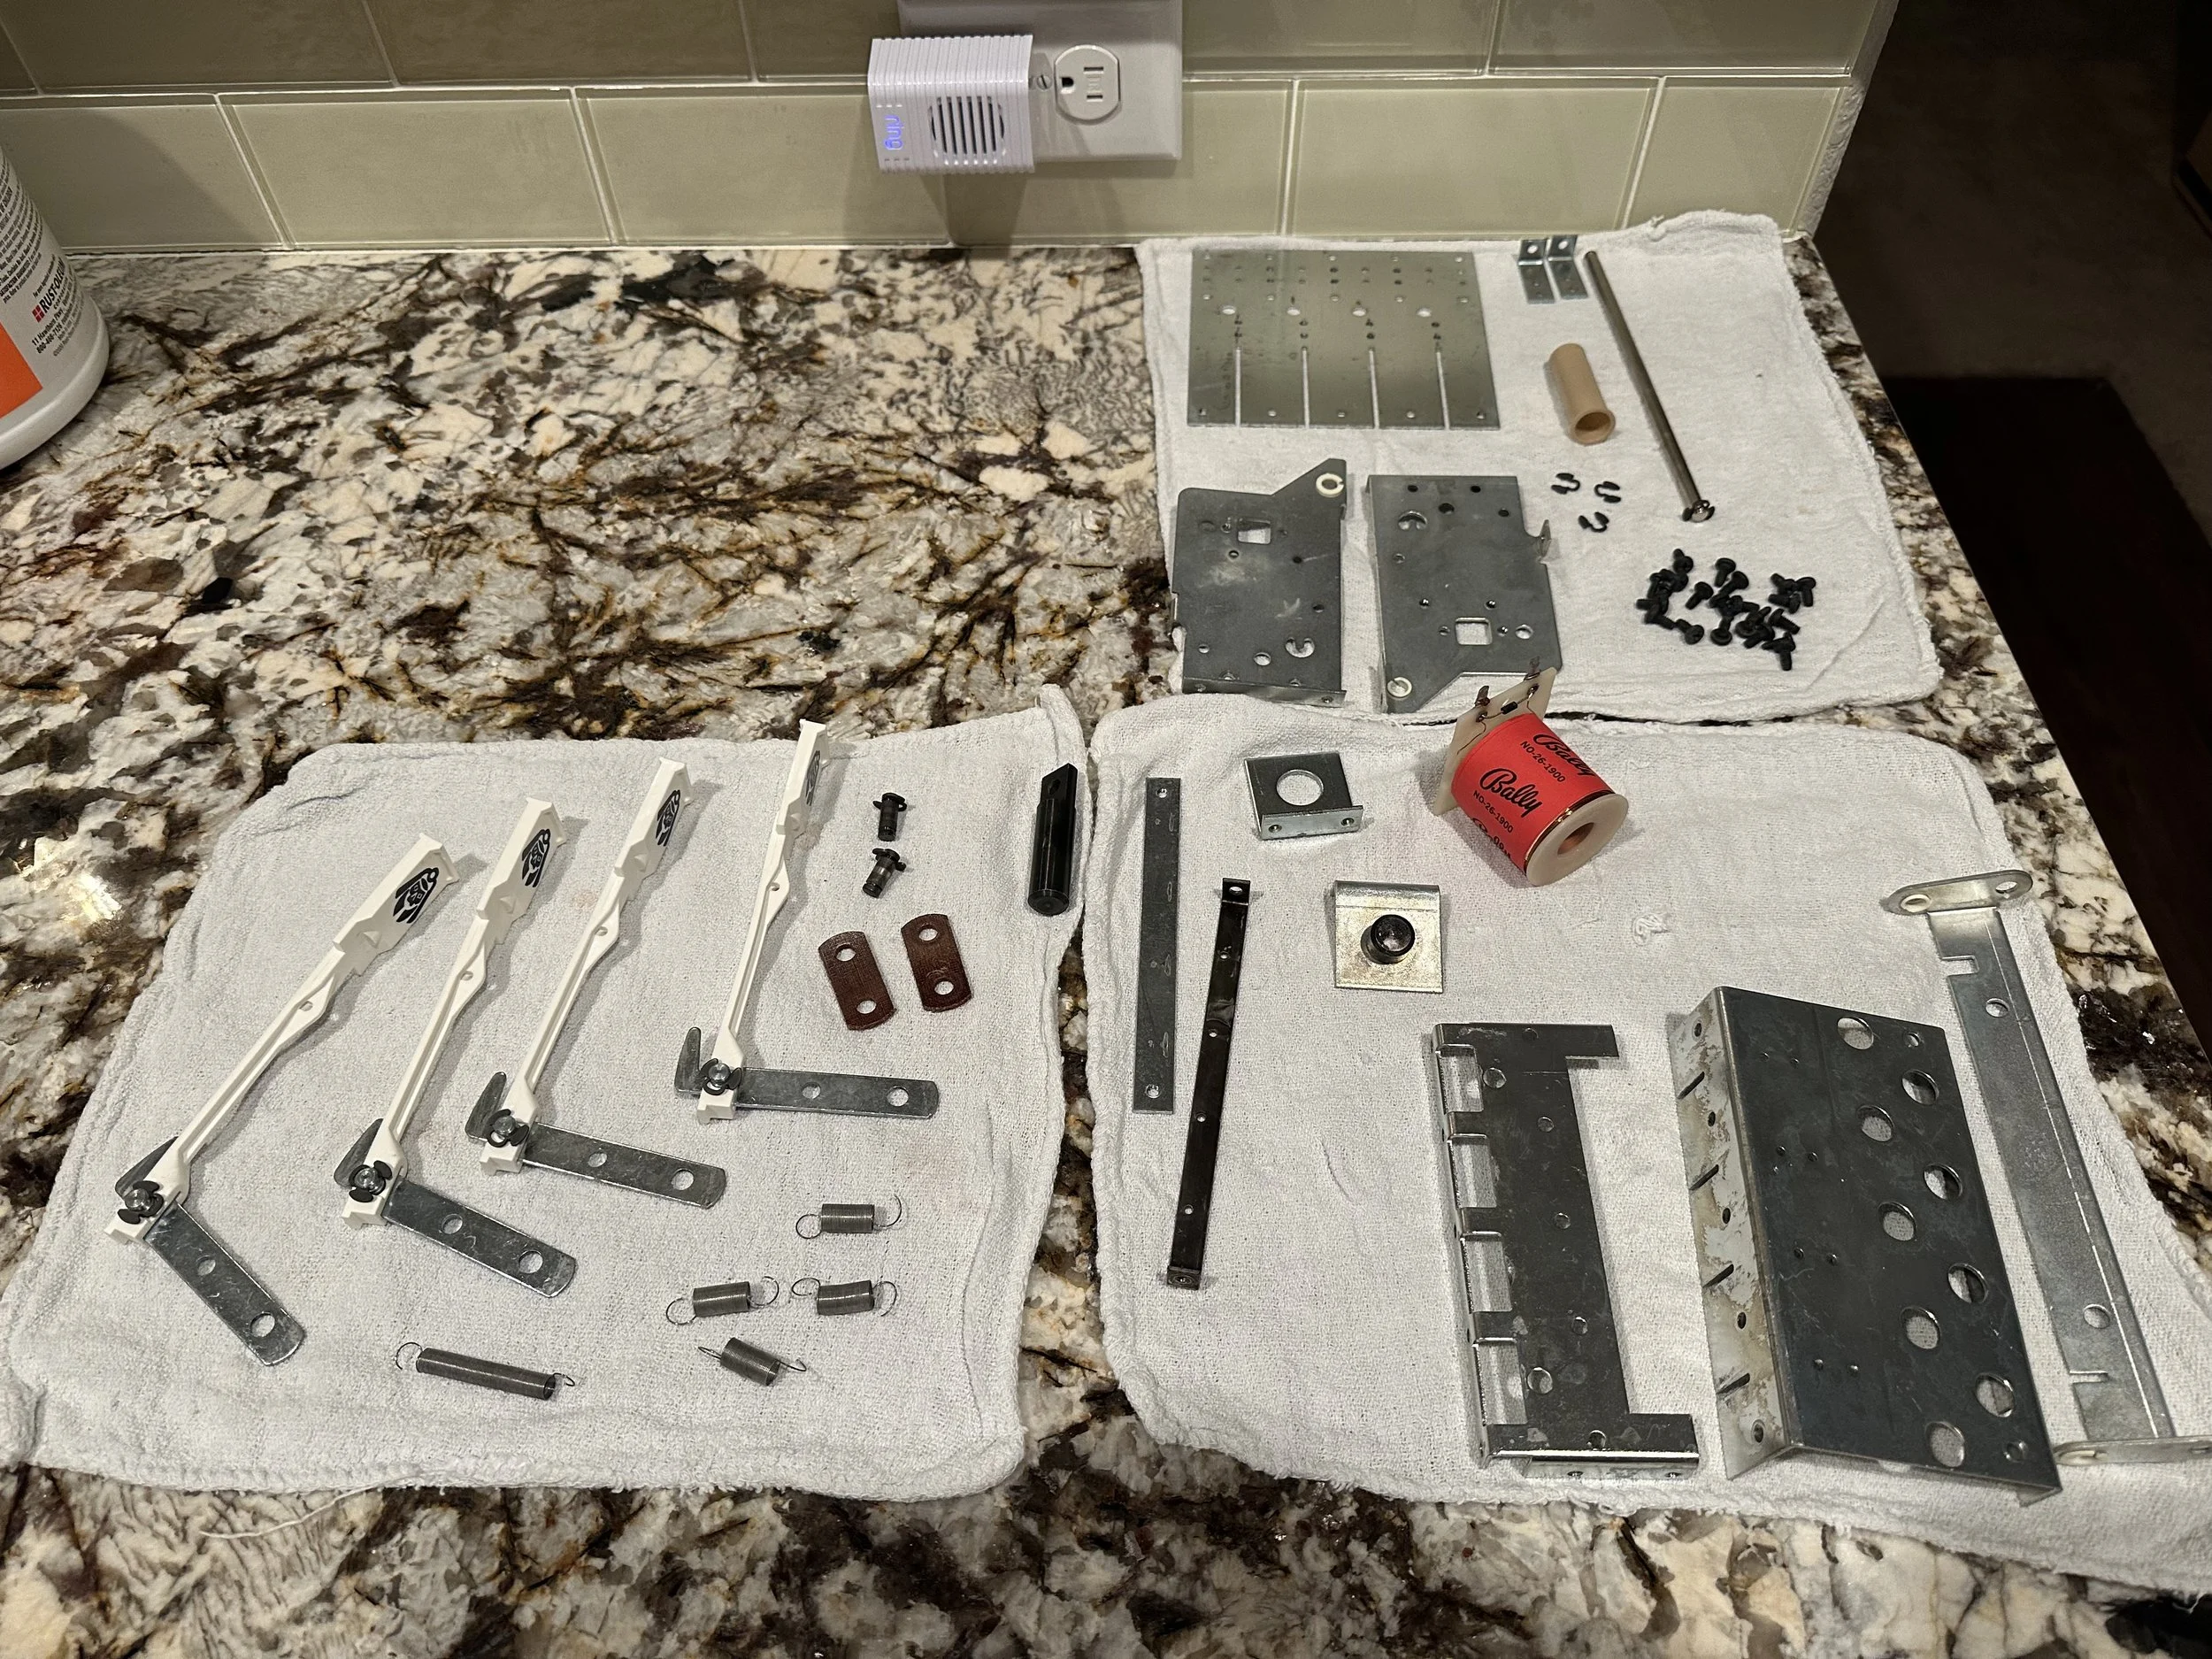
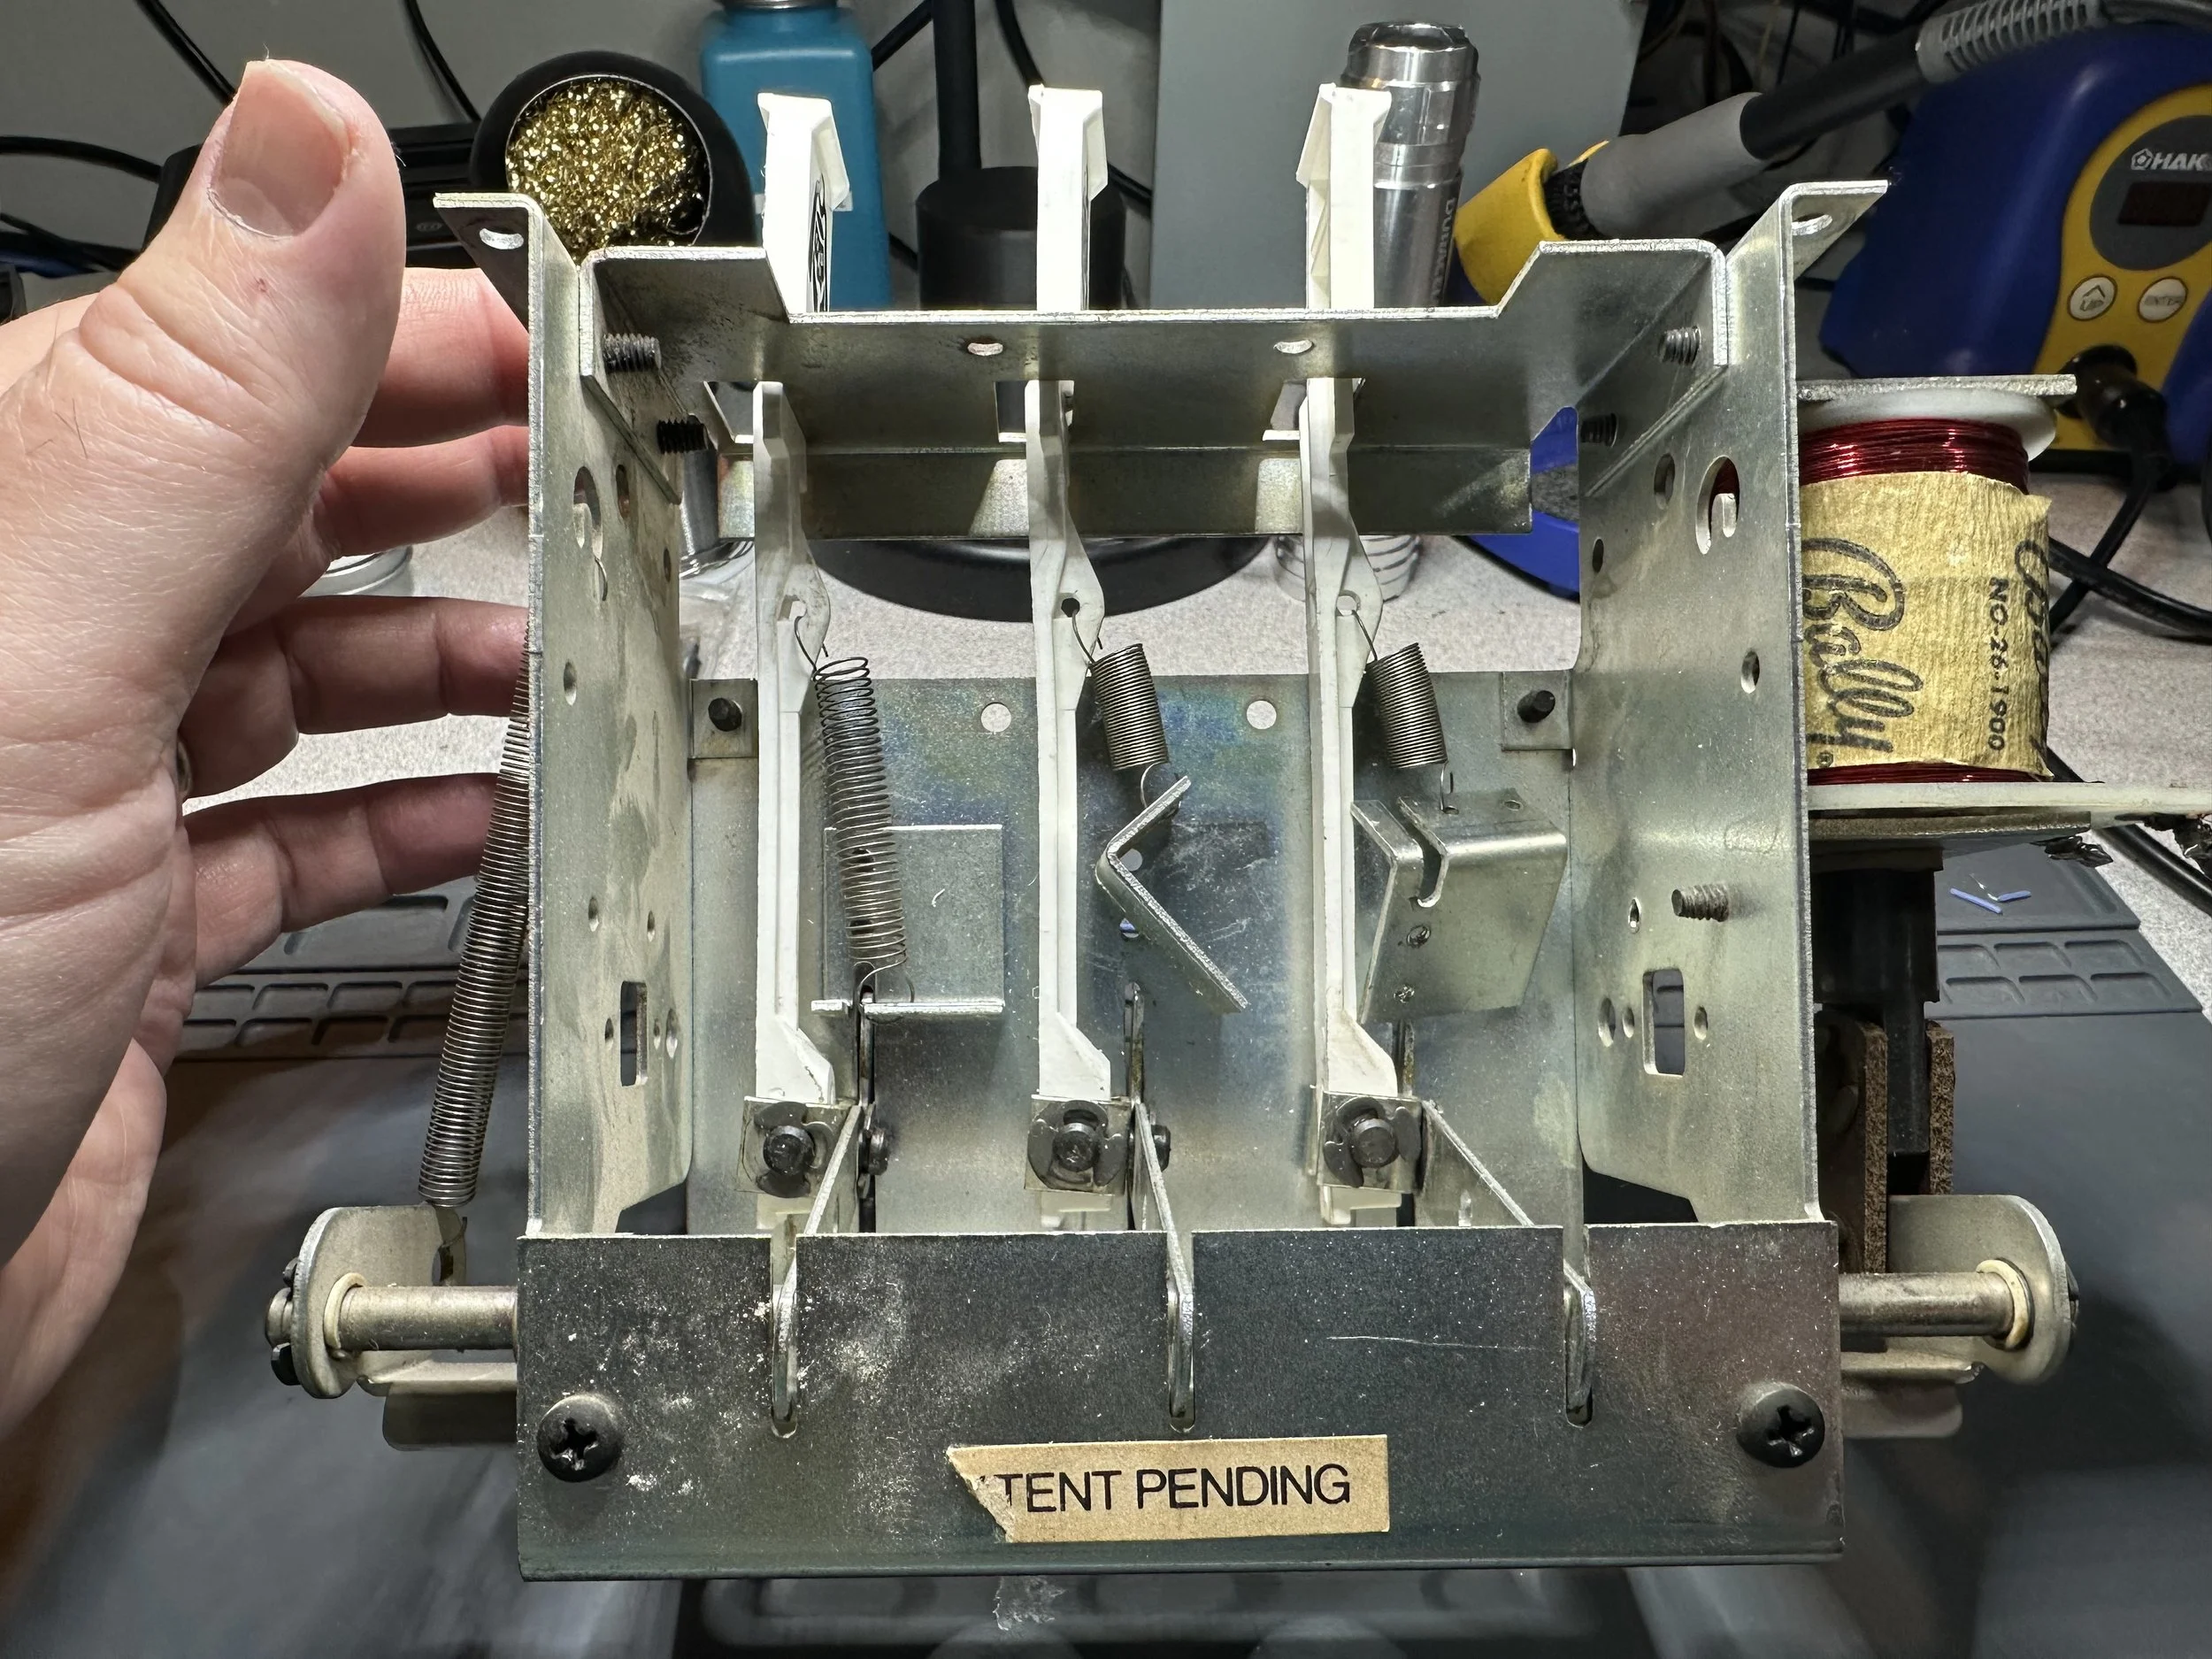
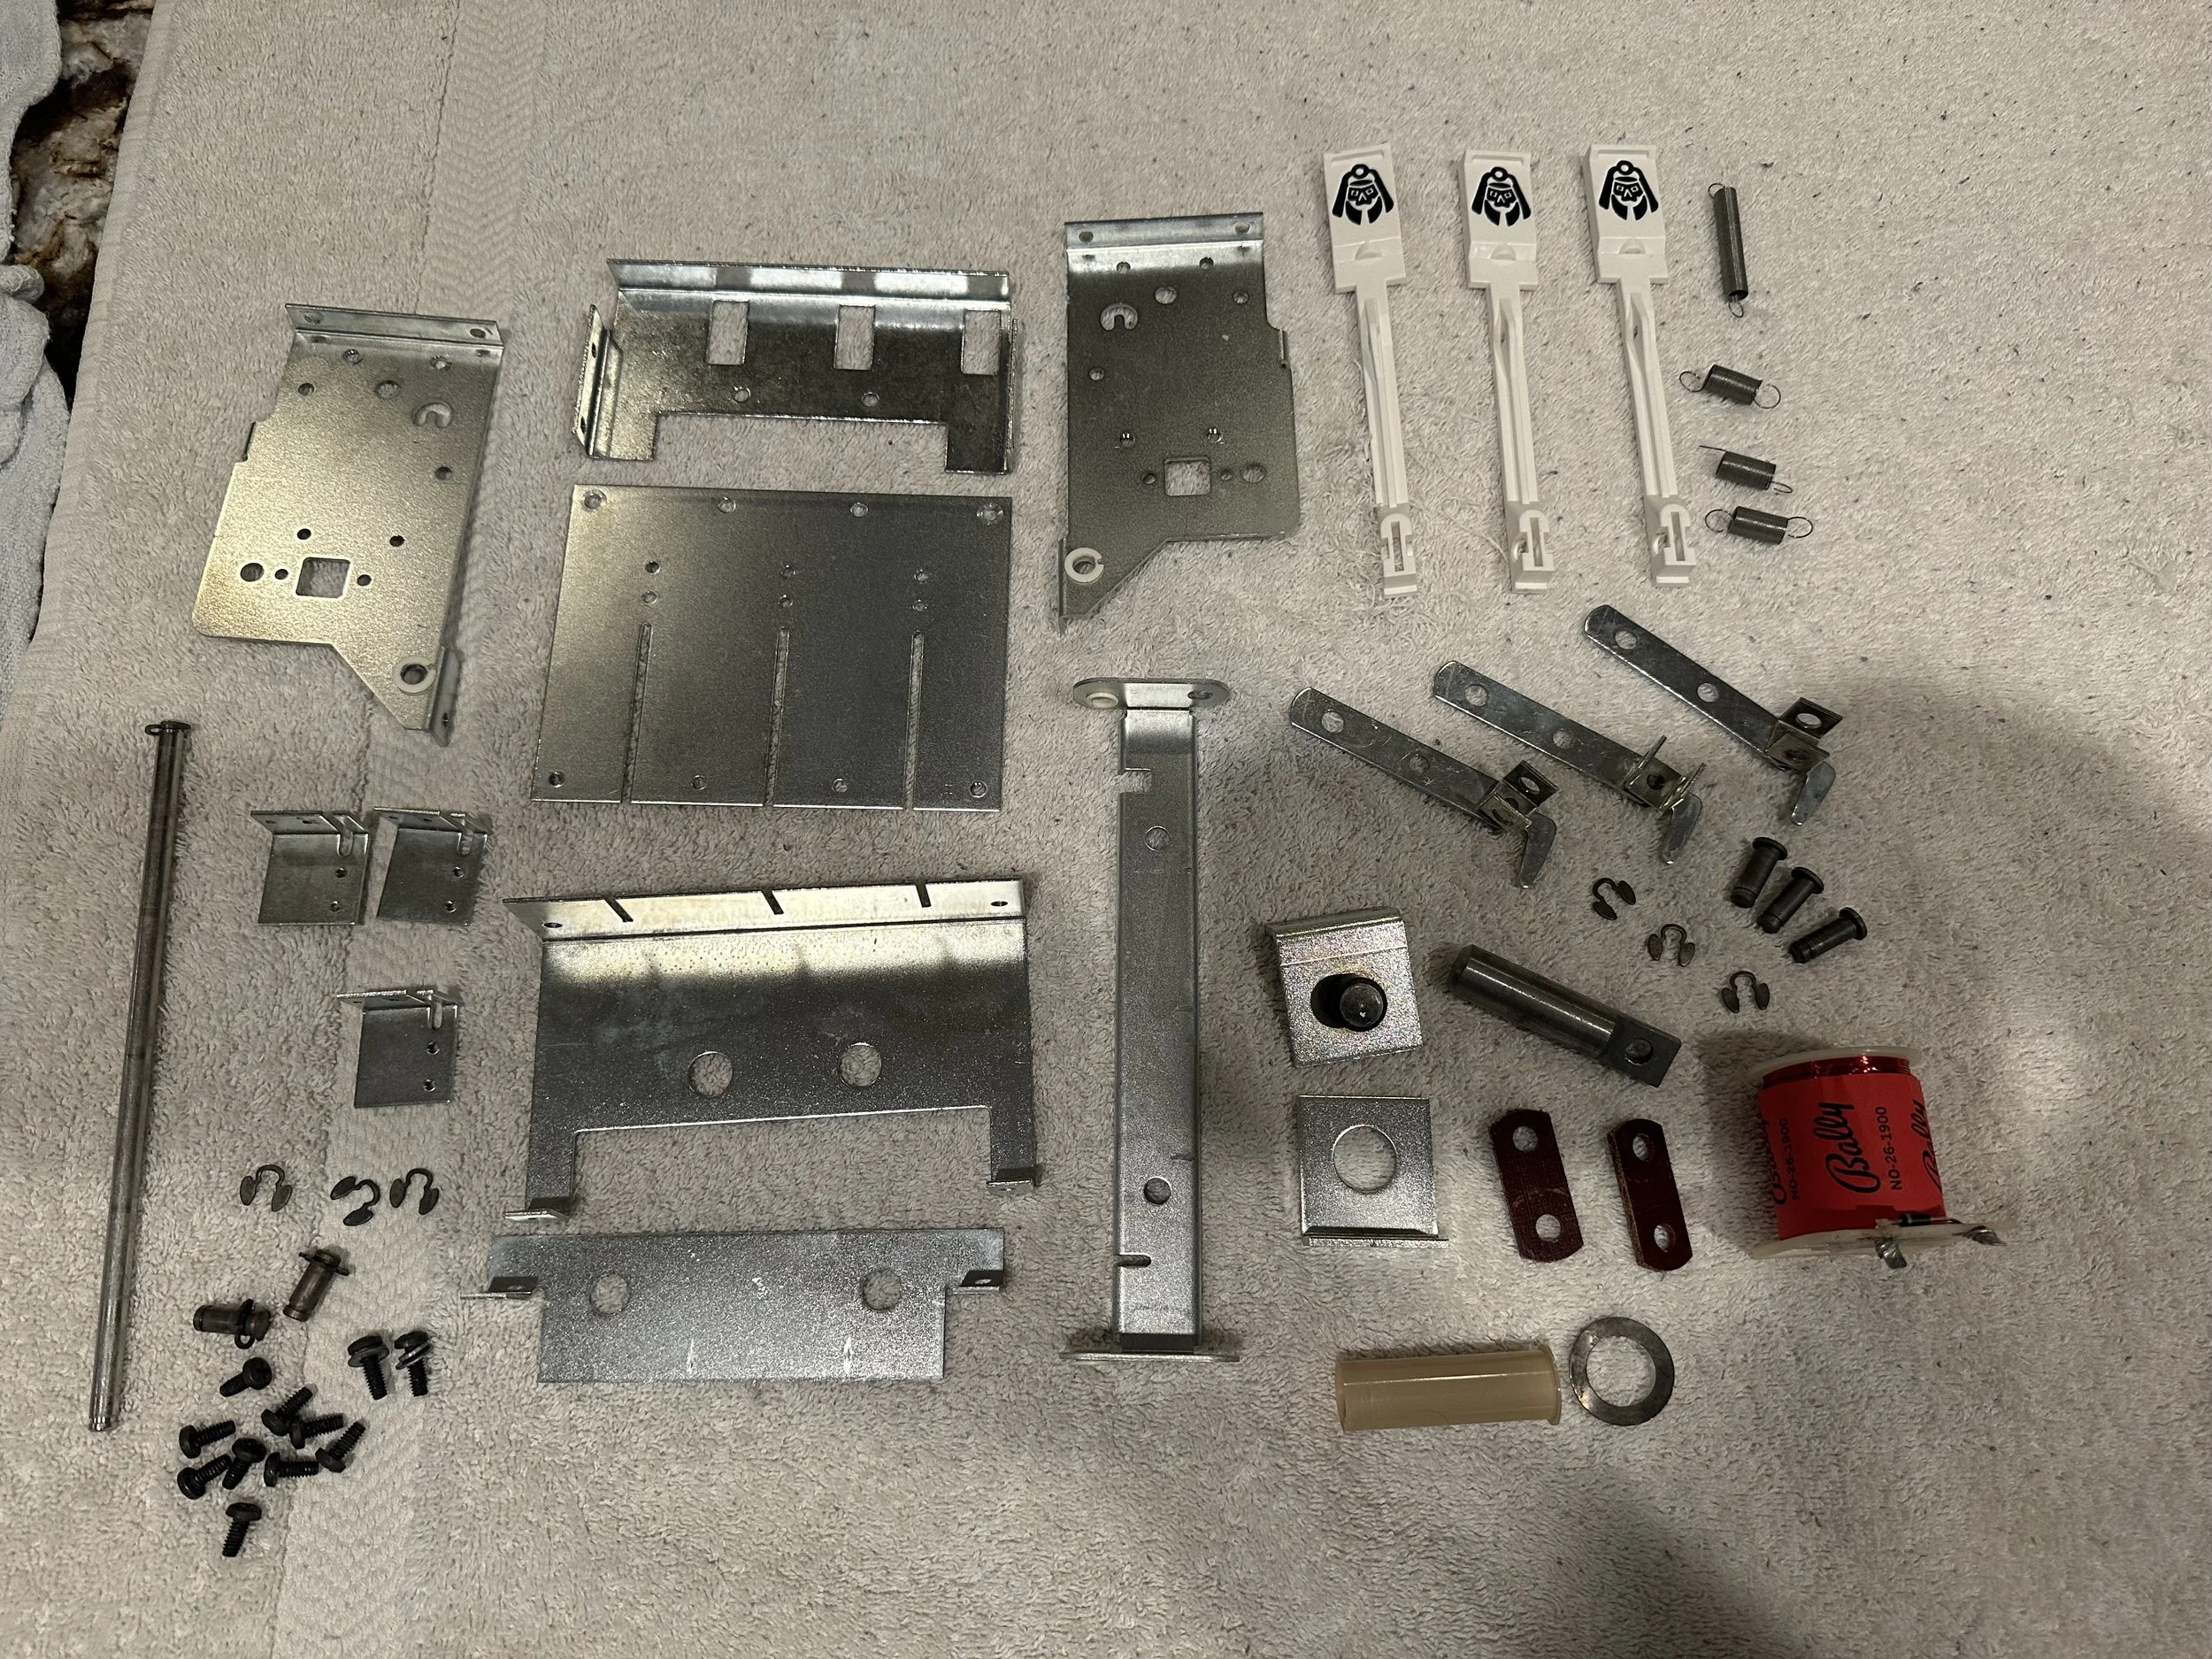
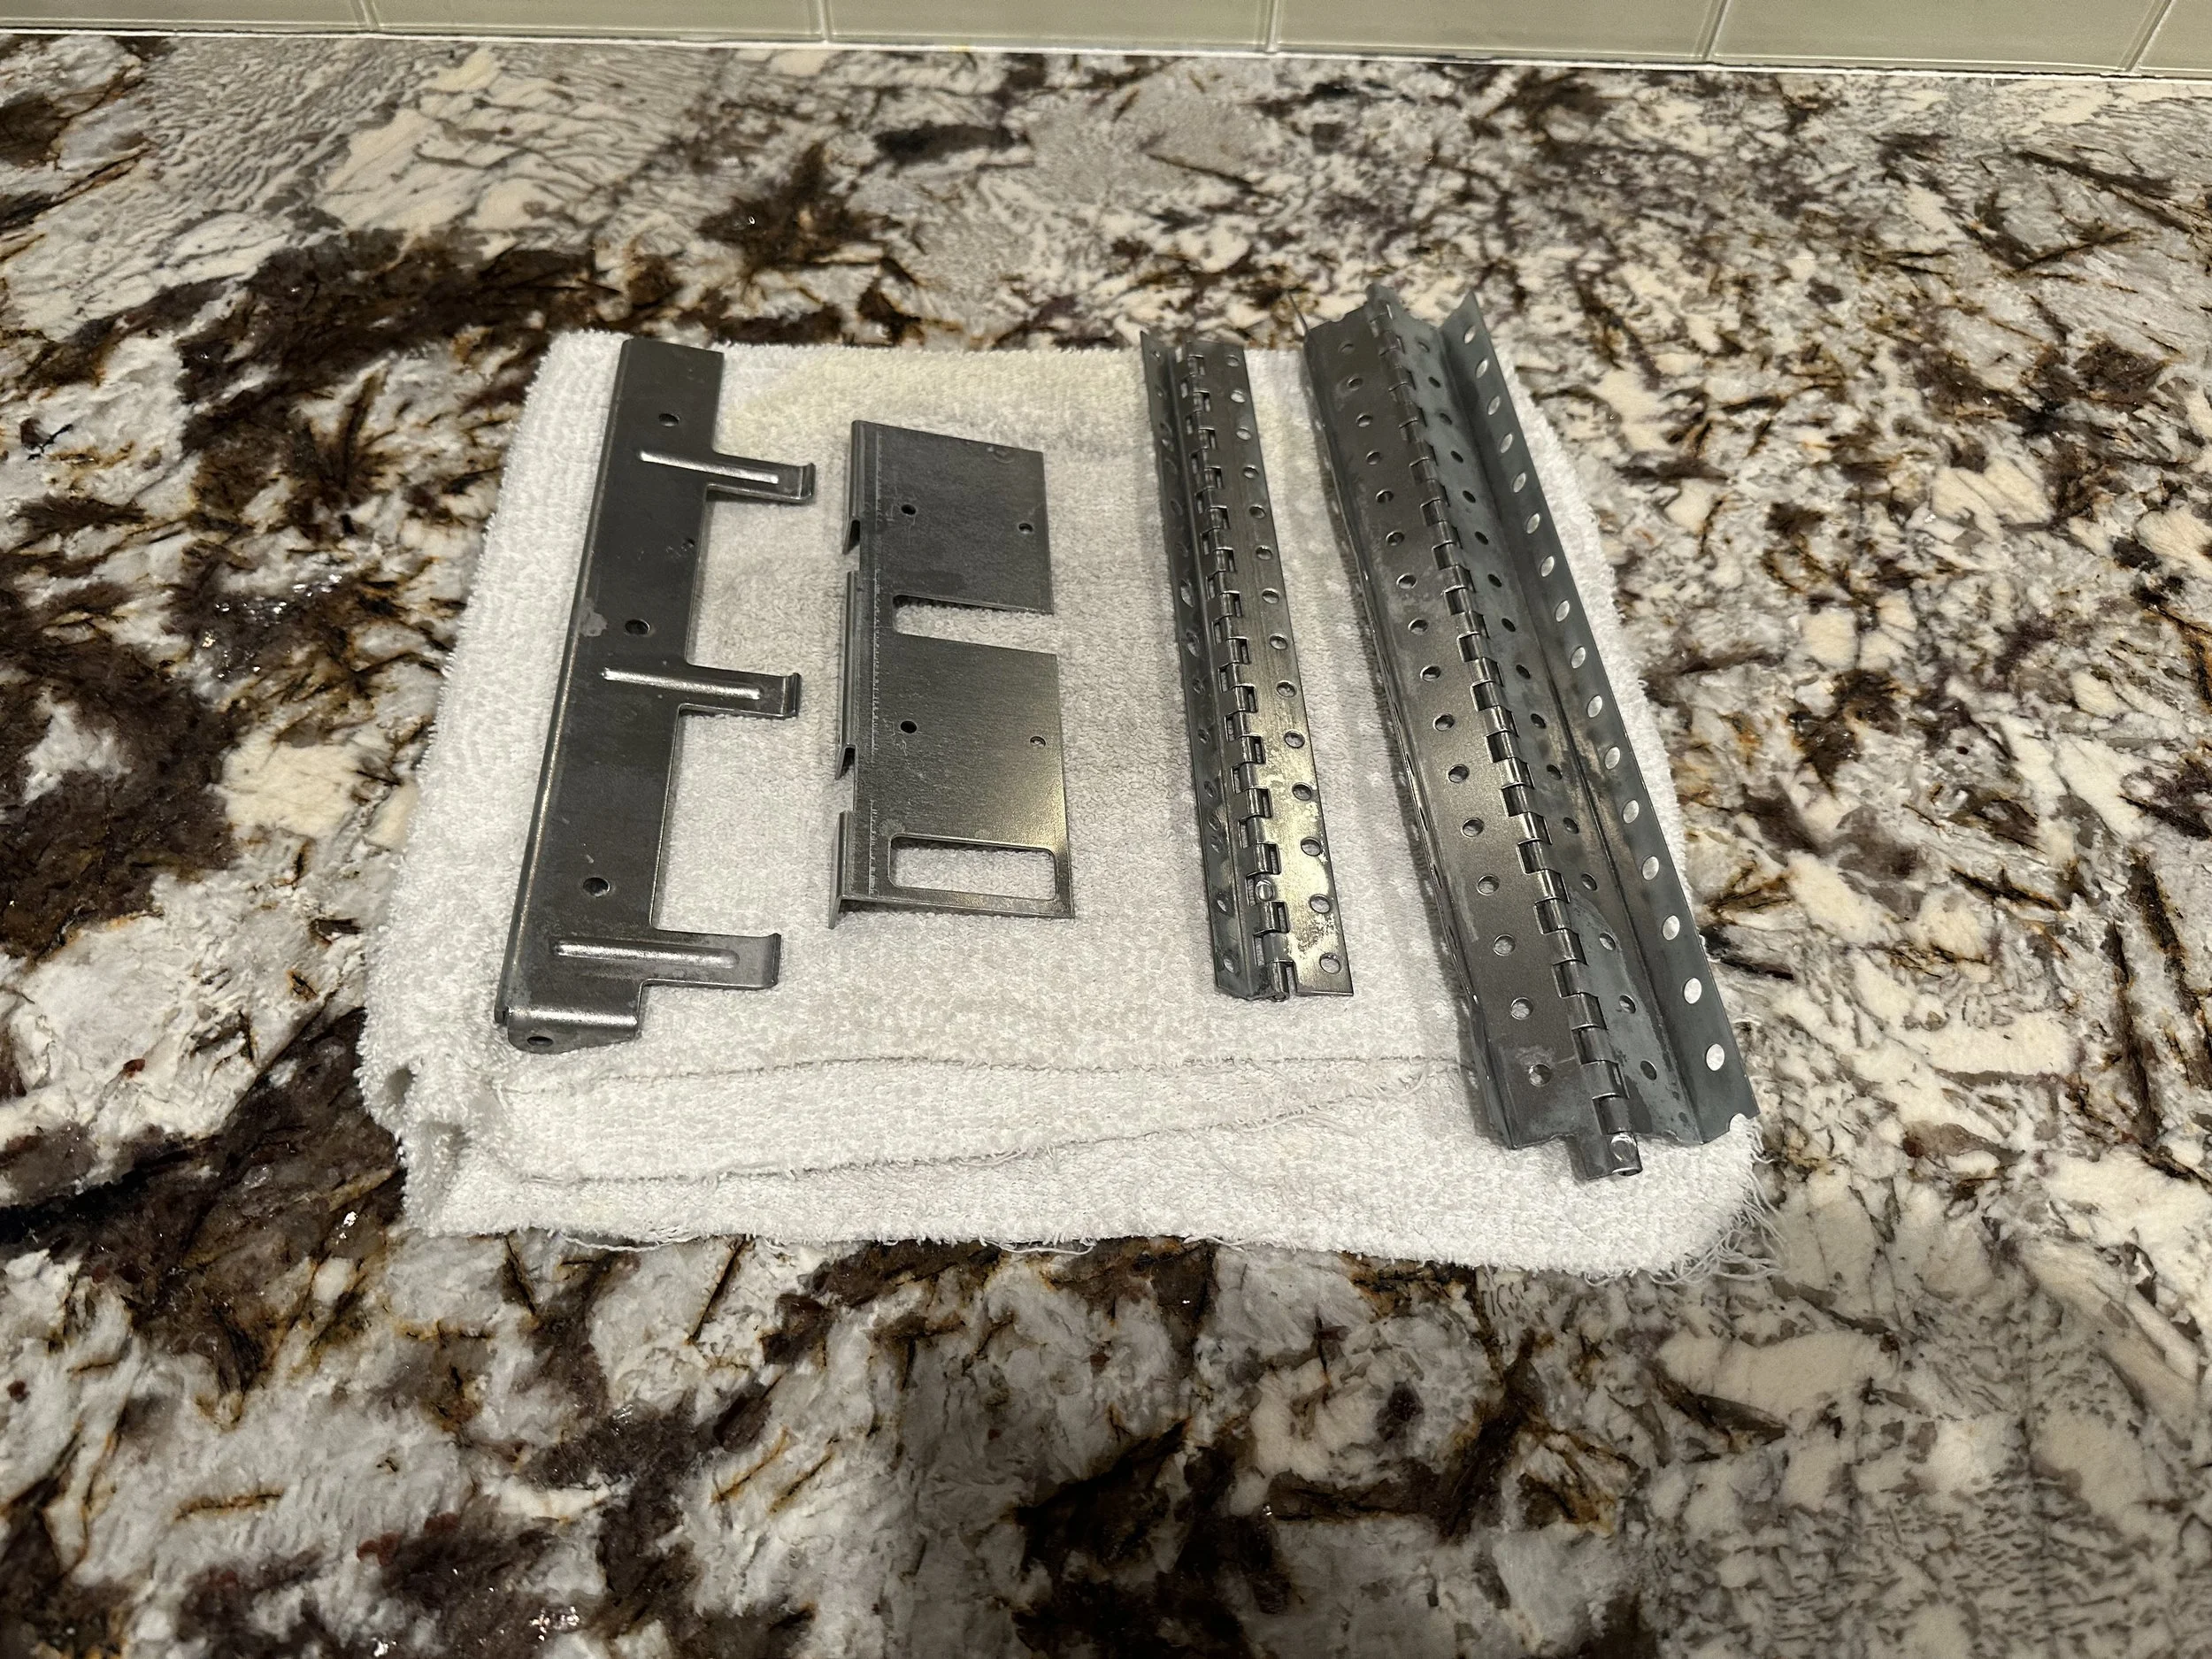
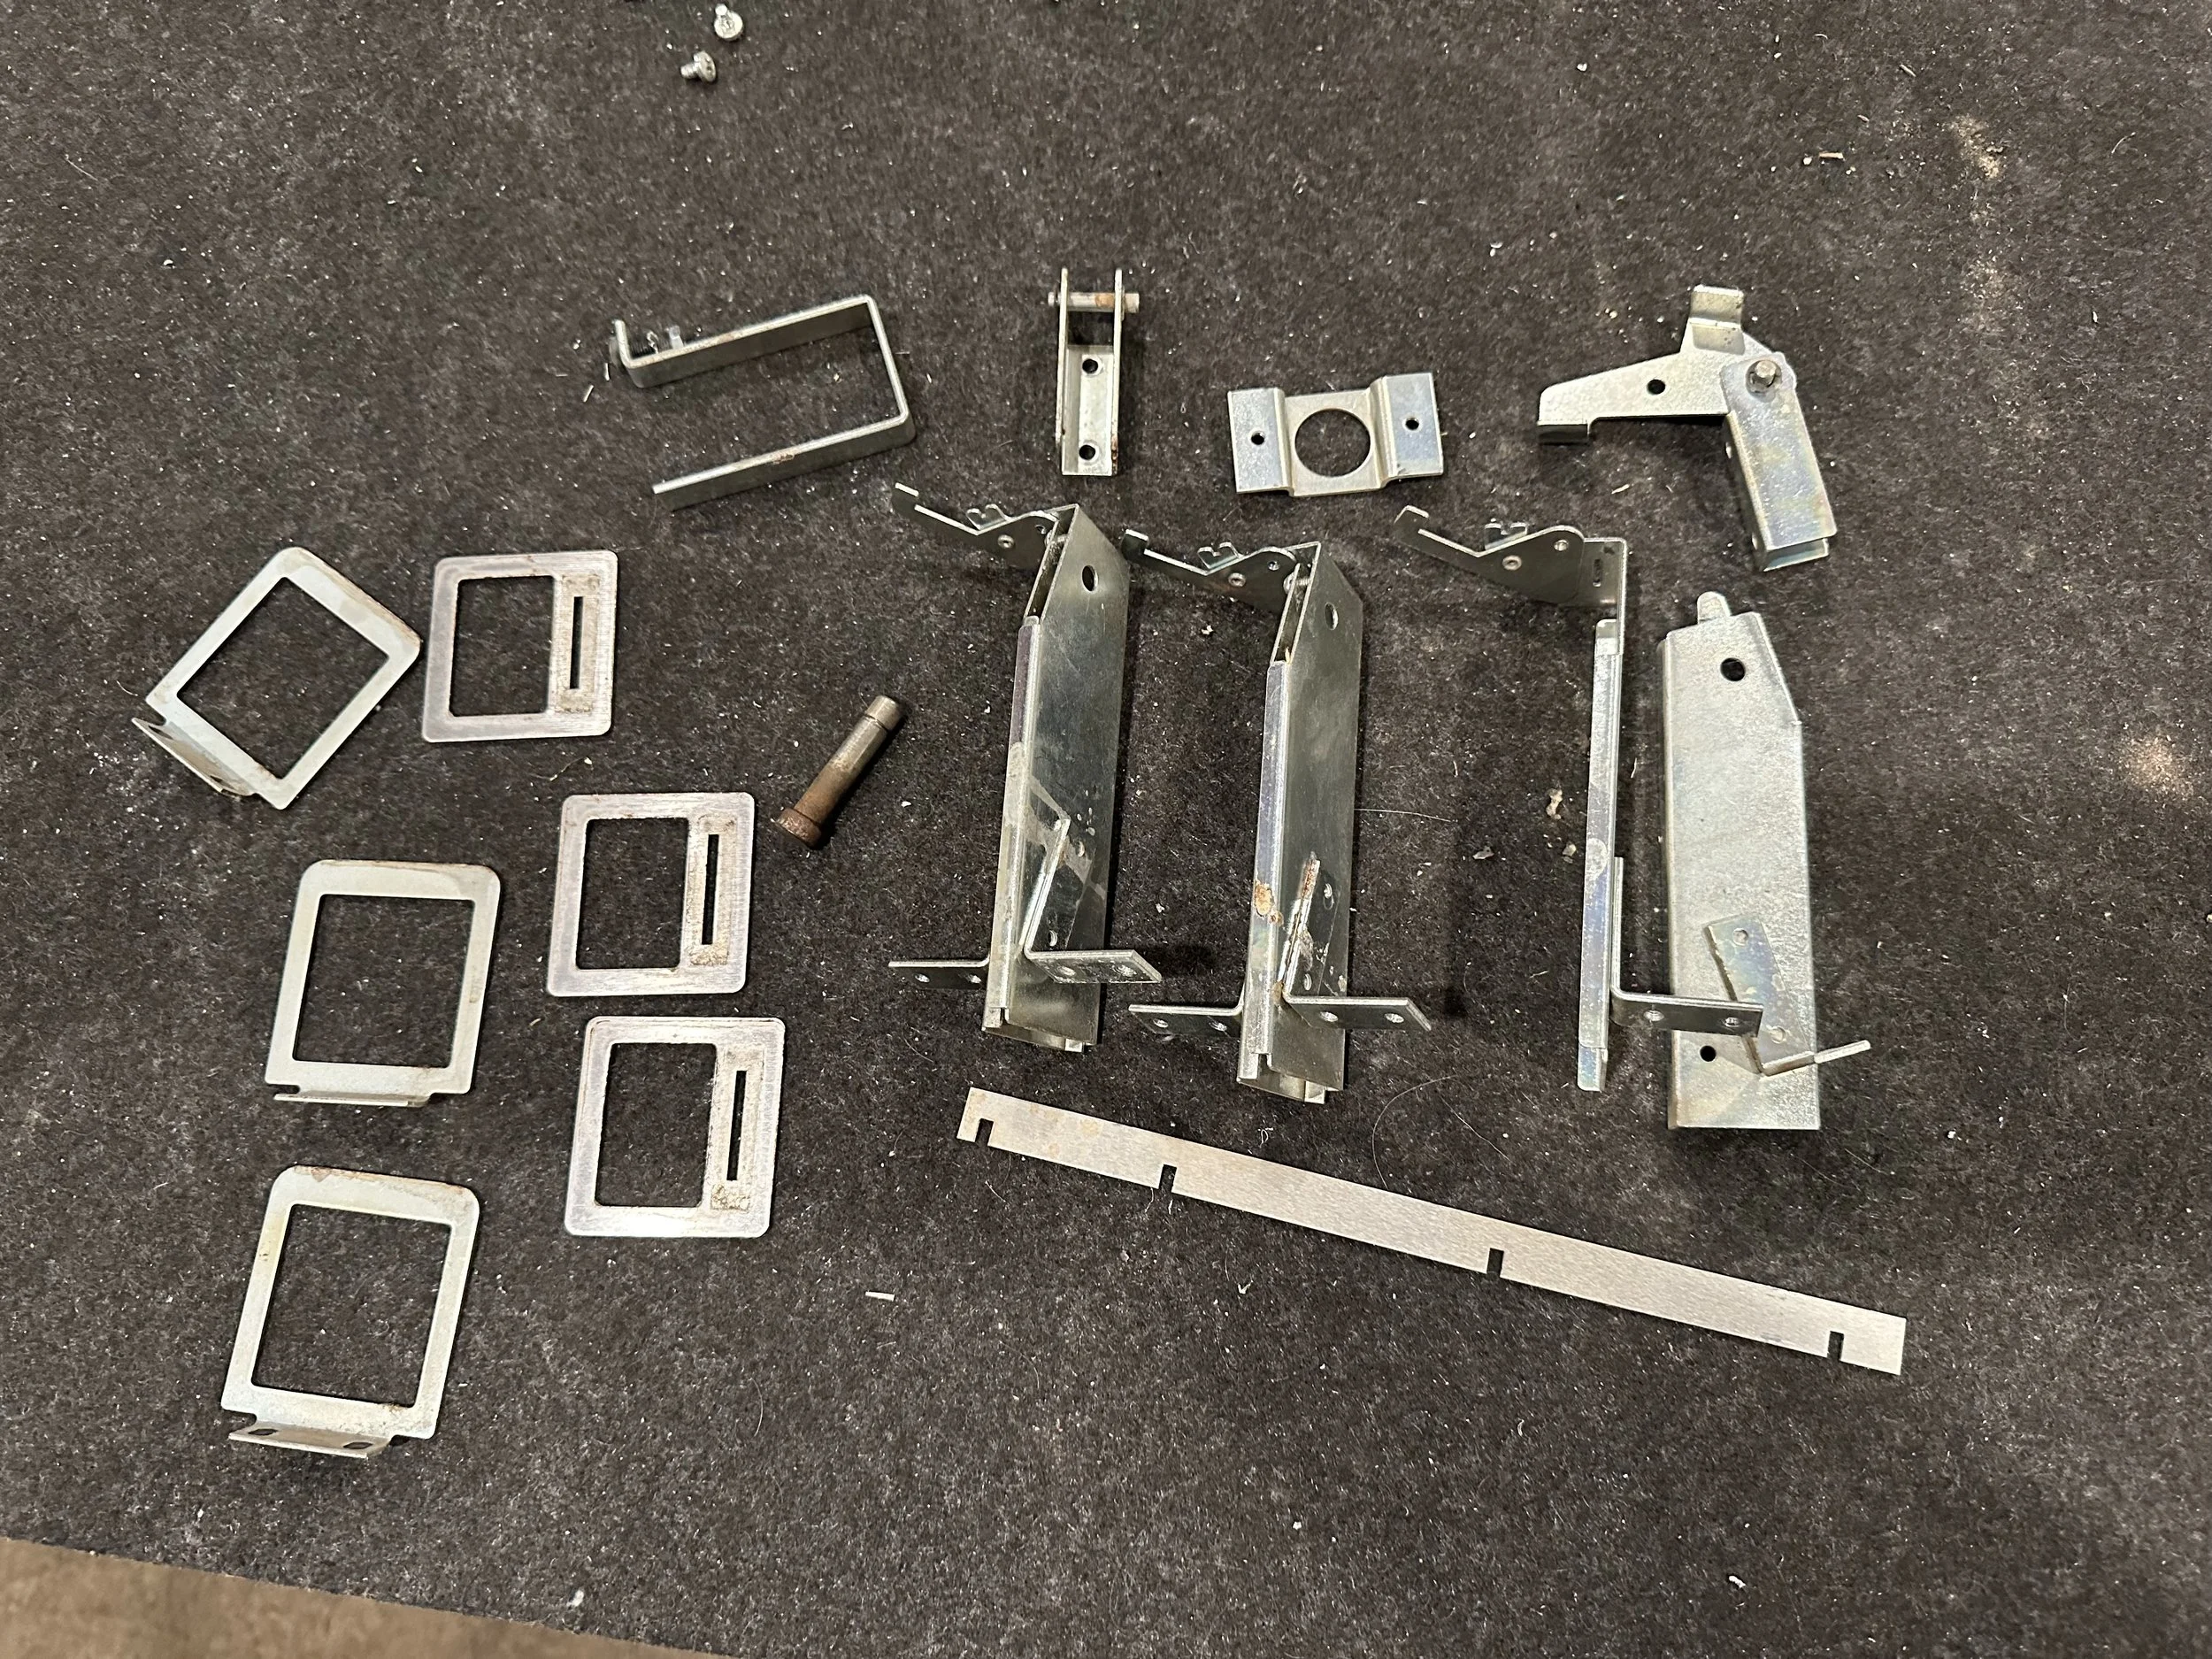
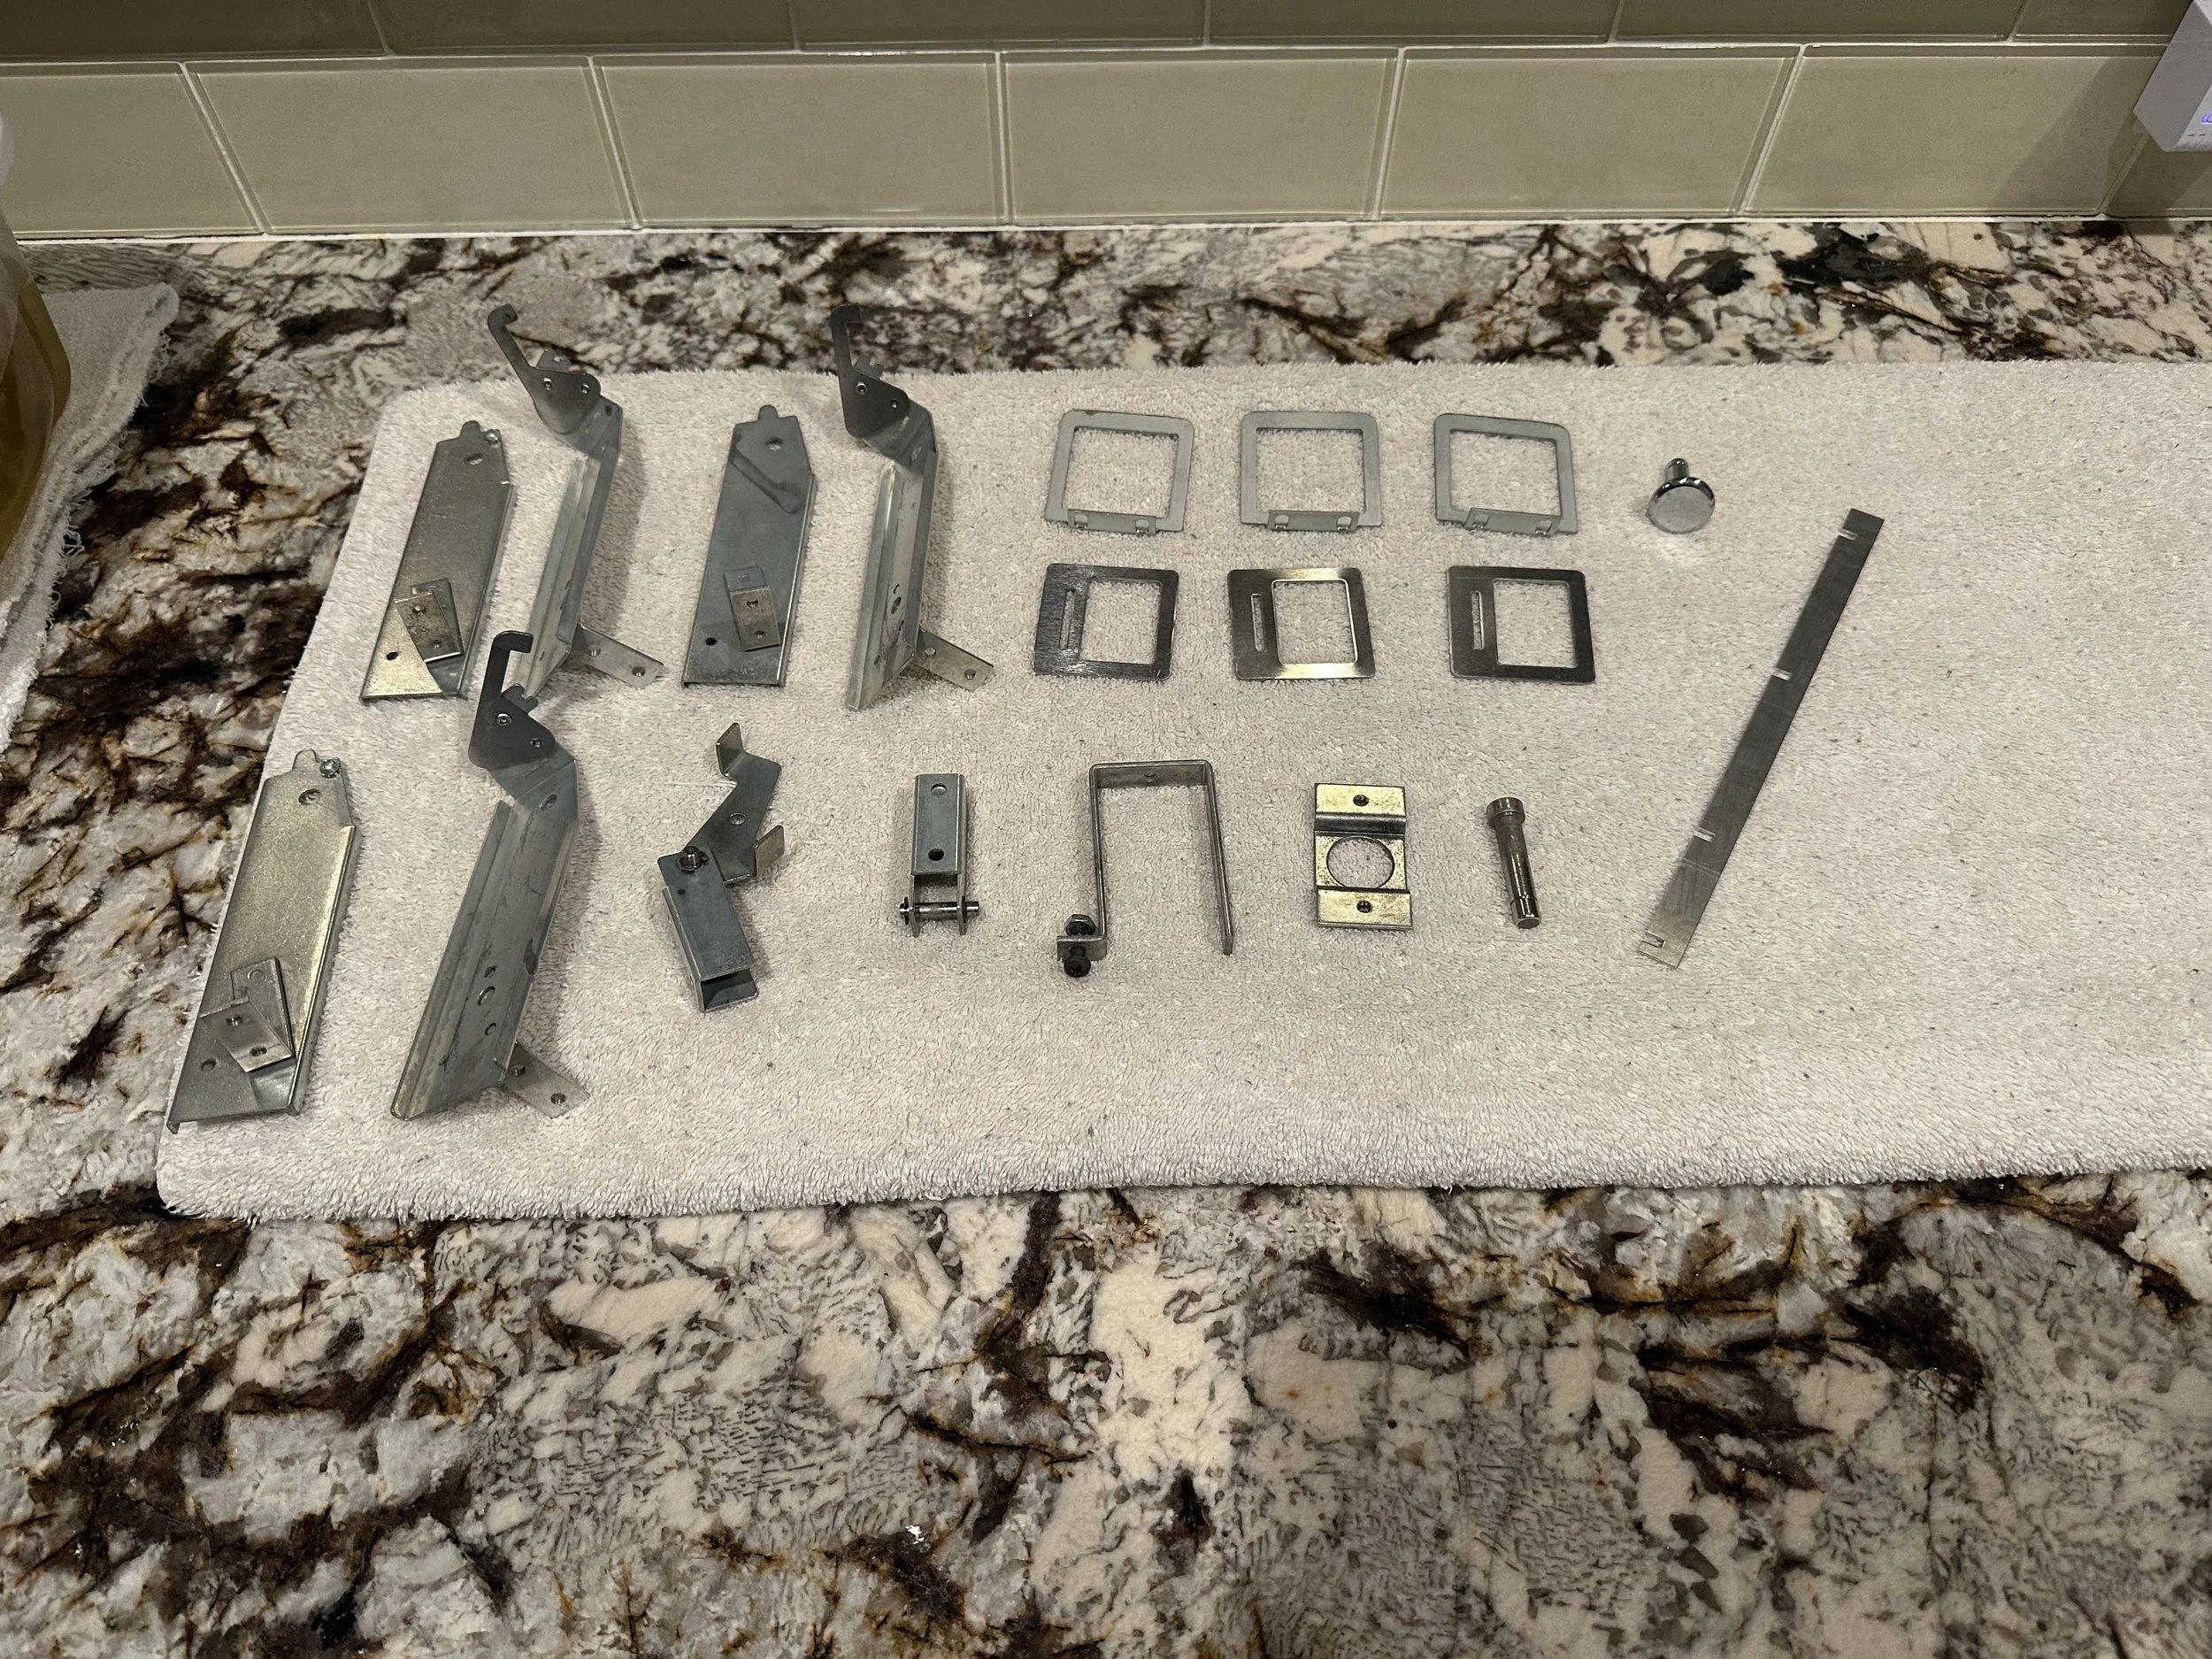
#8 - Tumble/clean/polish/re-use as many metal parts as possible
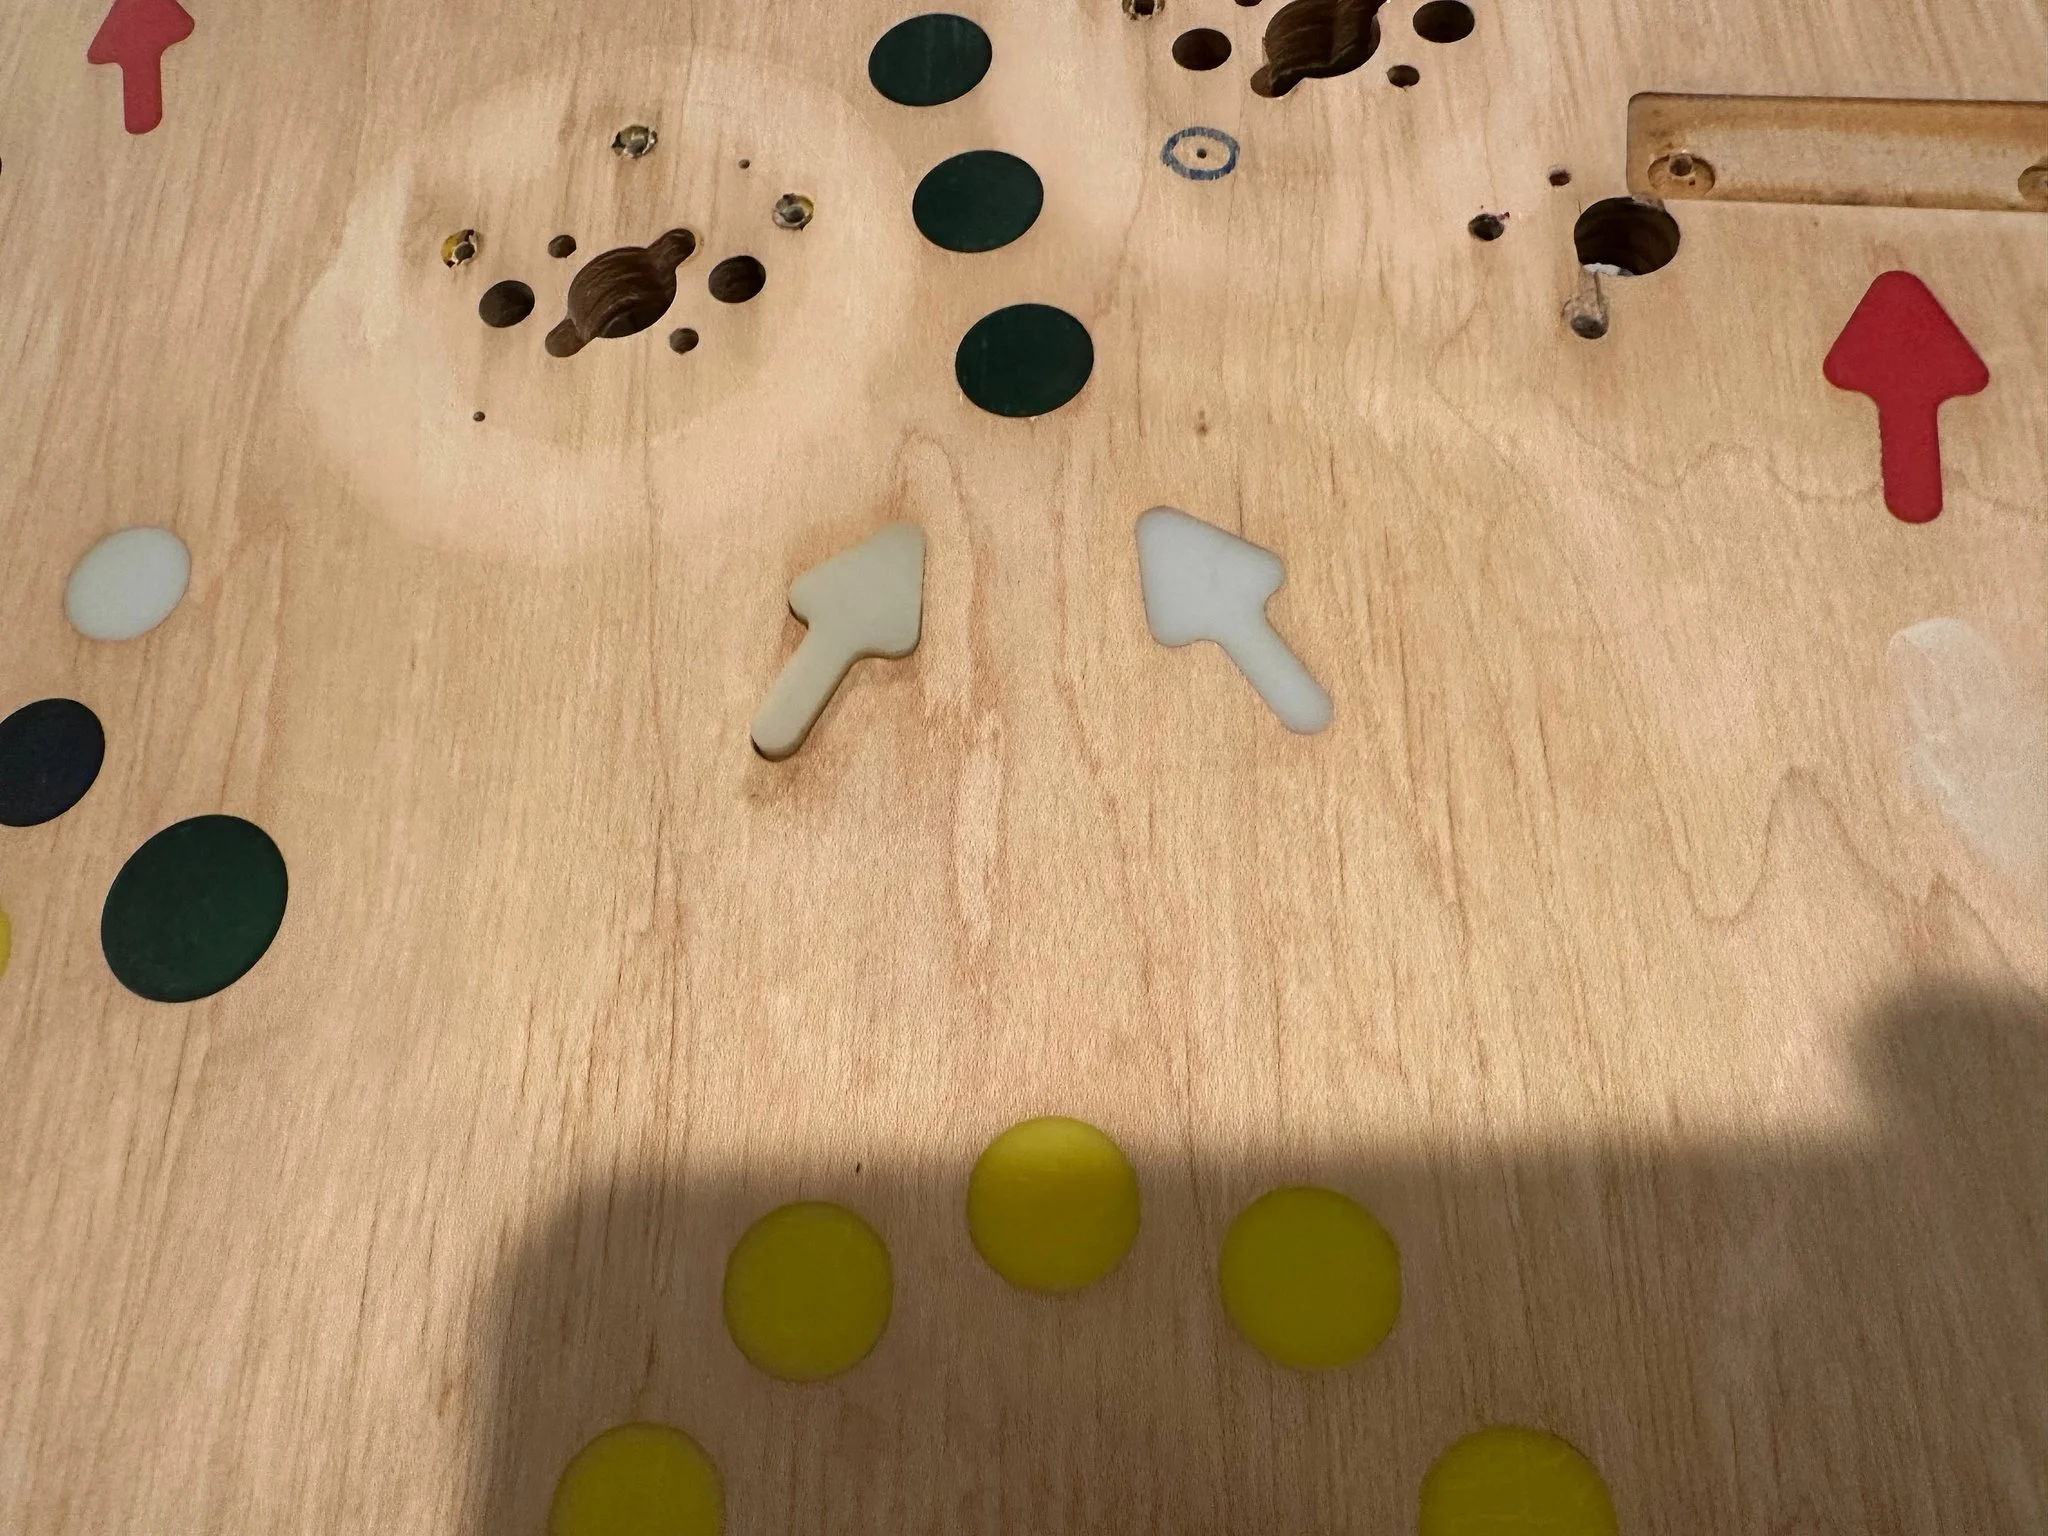
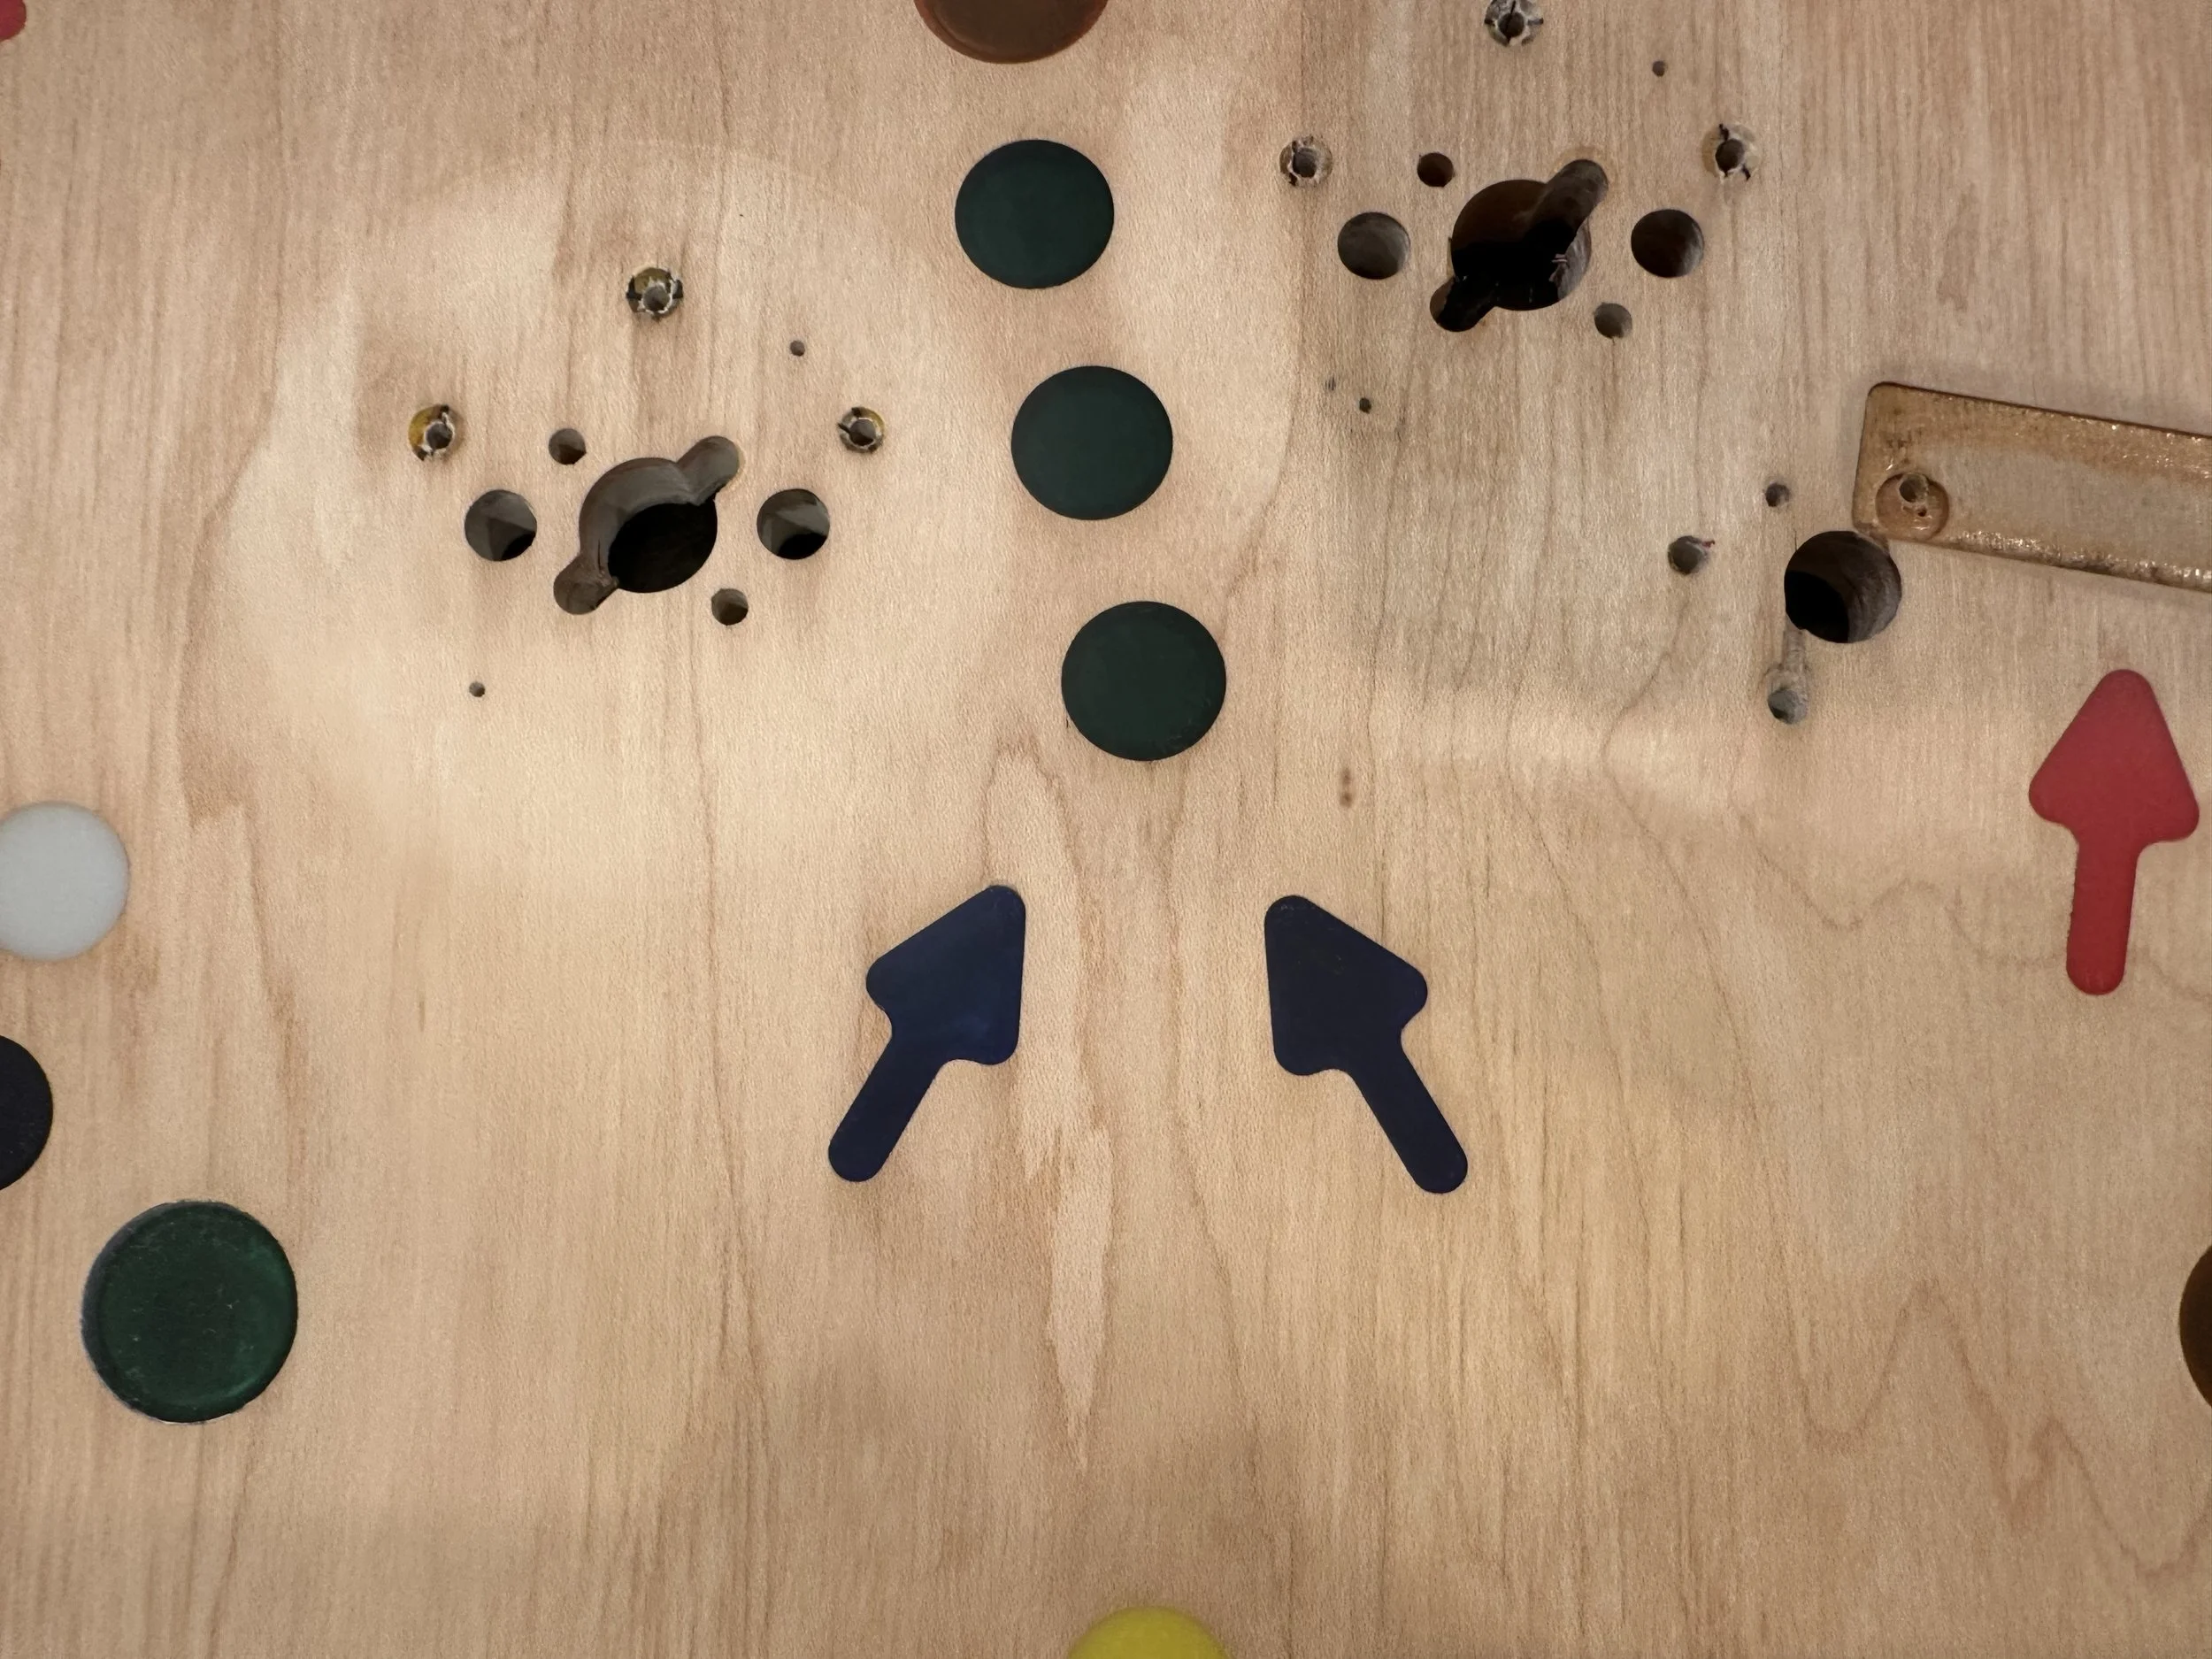
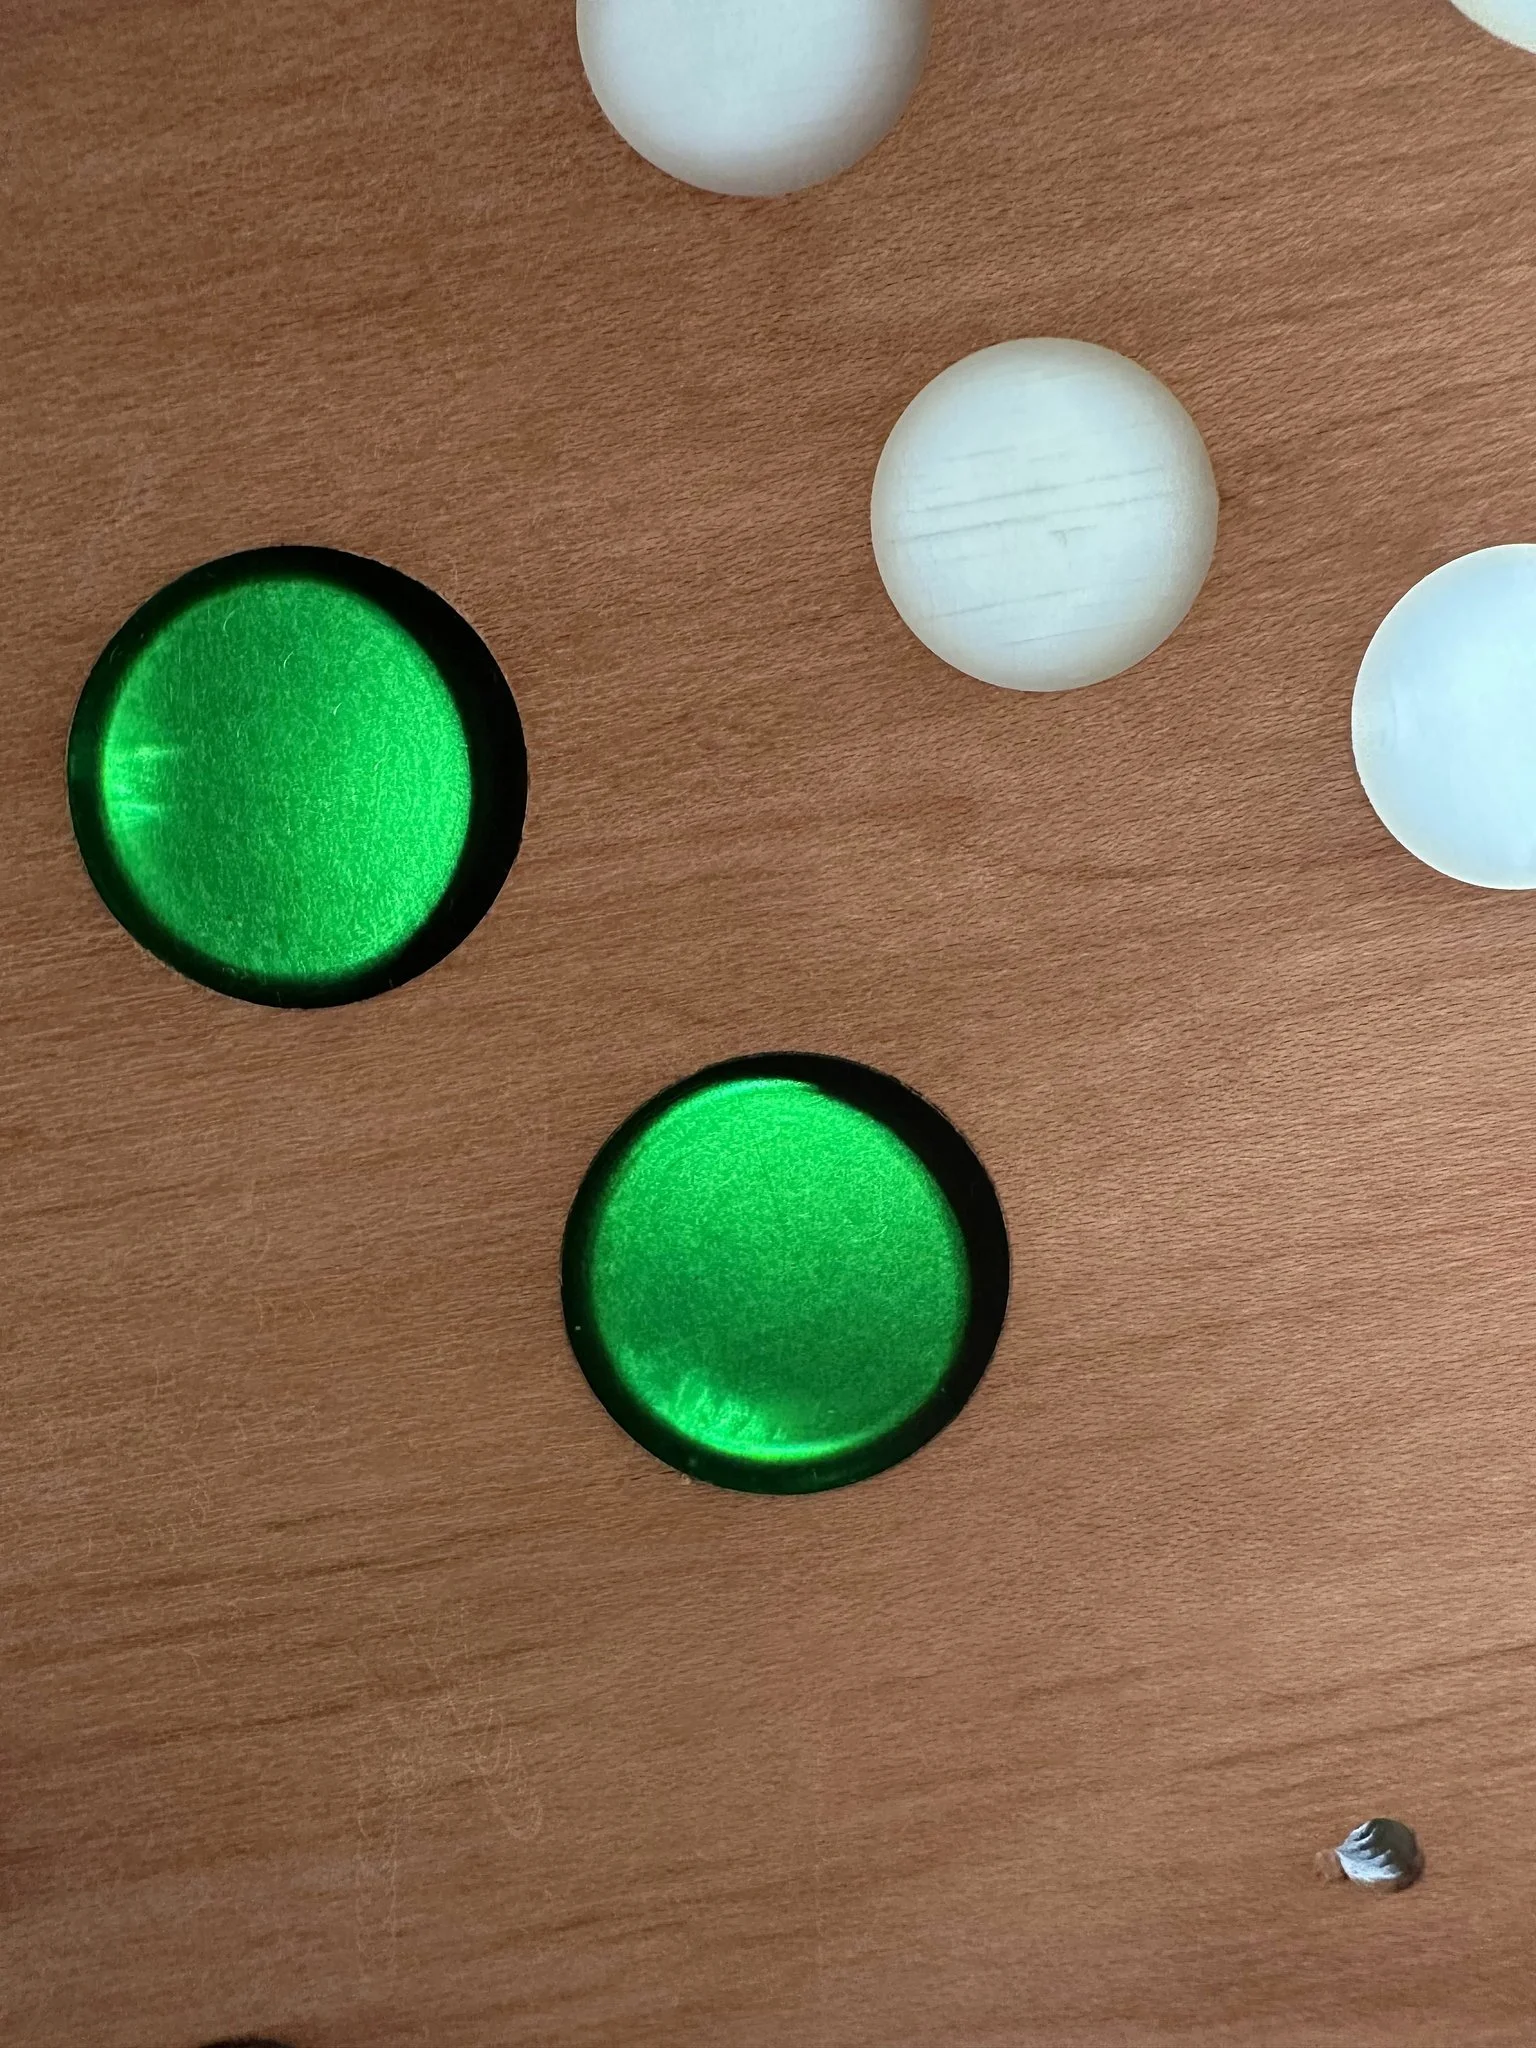
Replacing the broken White Arrows for the playfield bonus proved to be a bit challenging as the white ones are no longer made. I tried the used route but then the shade of white became a concern as I could not get any pair to match (despite UV light, bleaching, and other plastics brightening tricks). Ultimately I went with Blue Arrows, which are still being made new in the same size. Now that they’re in, I think it adds a nice customized touch.