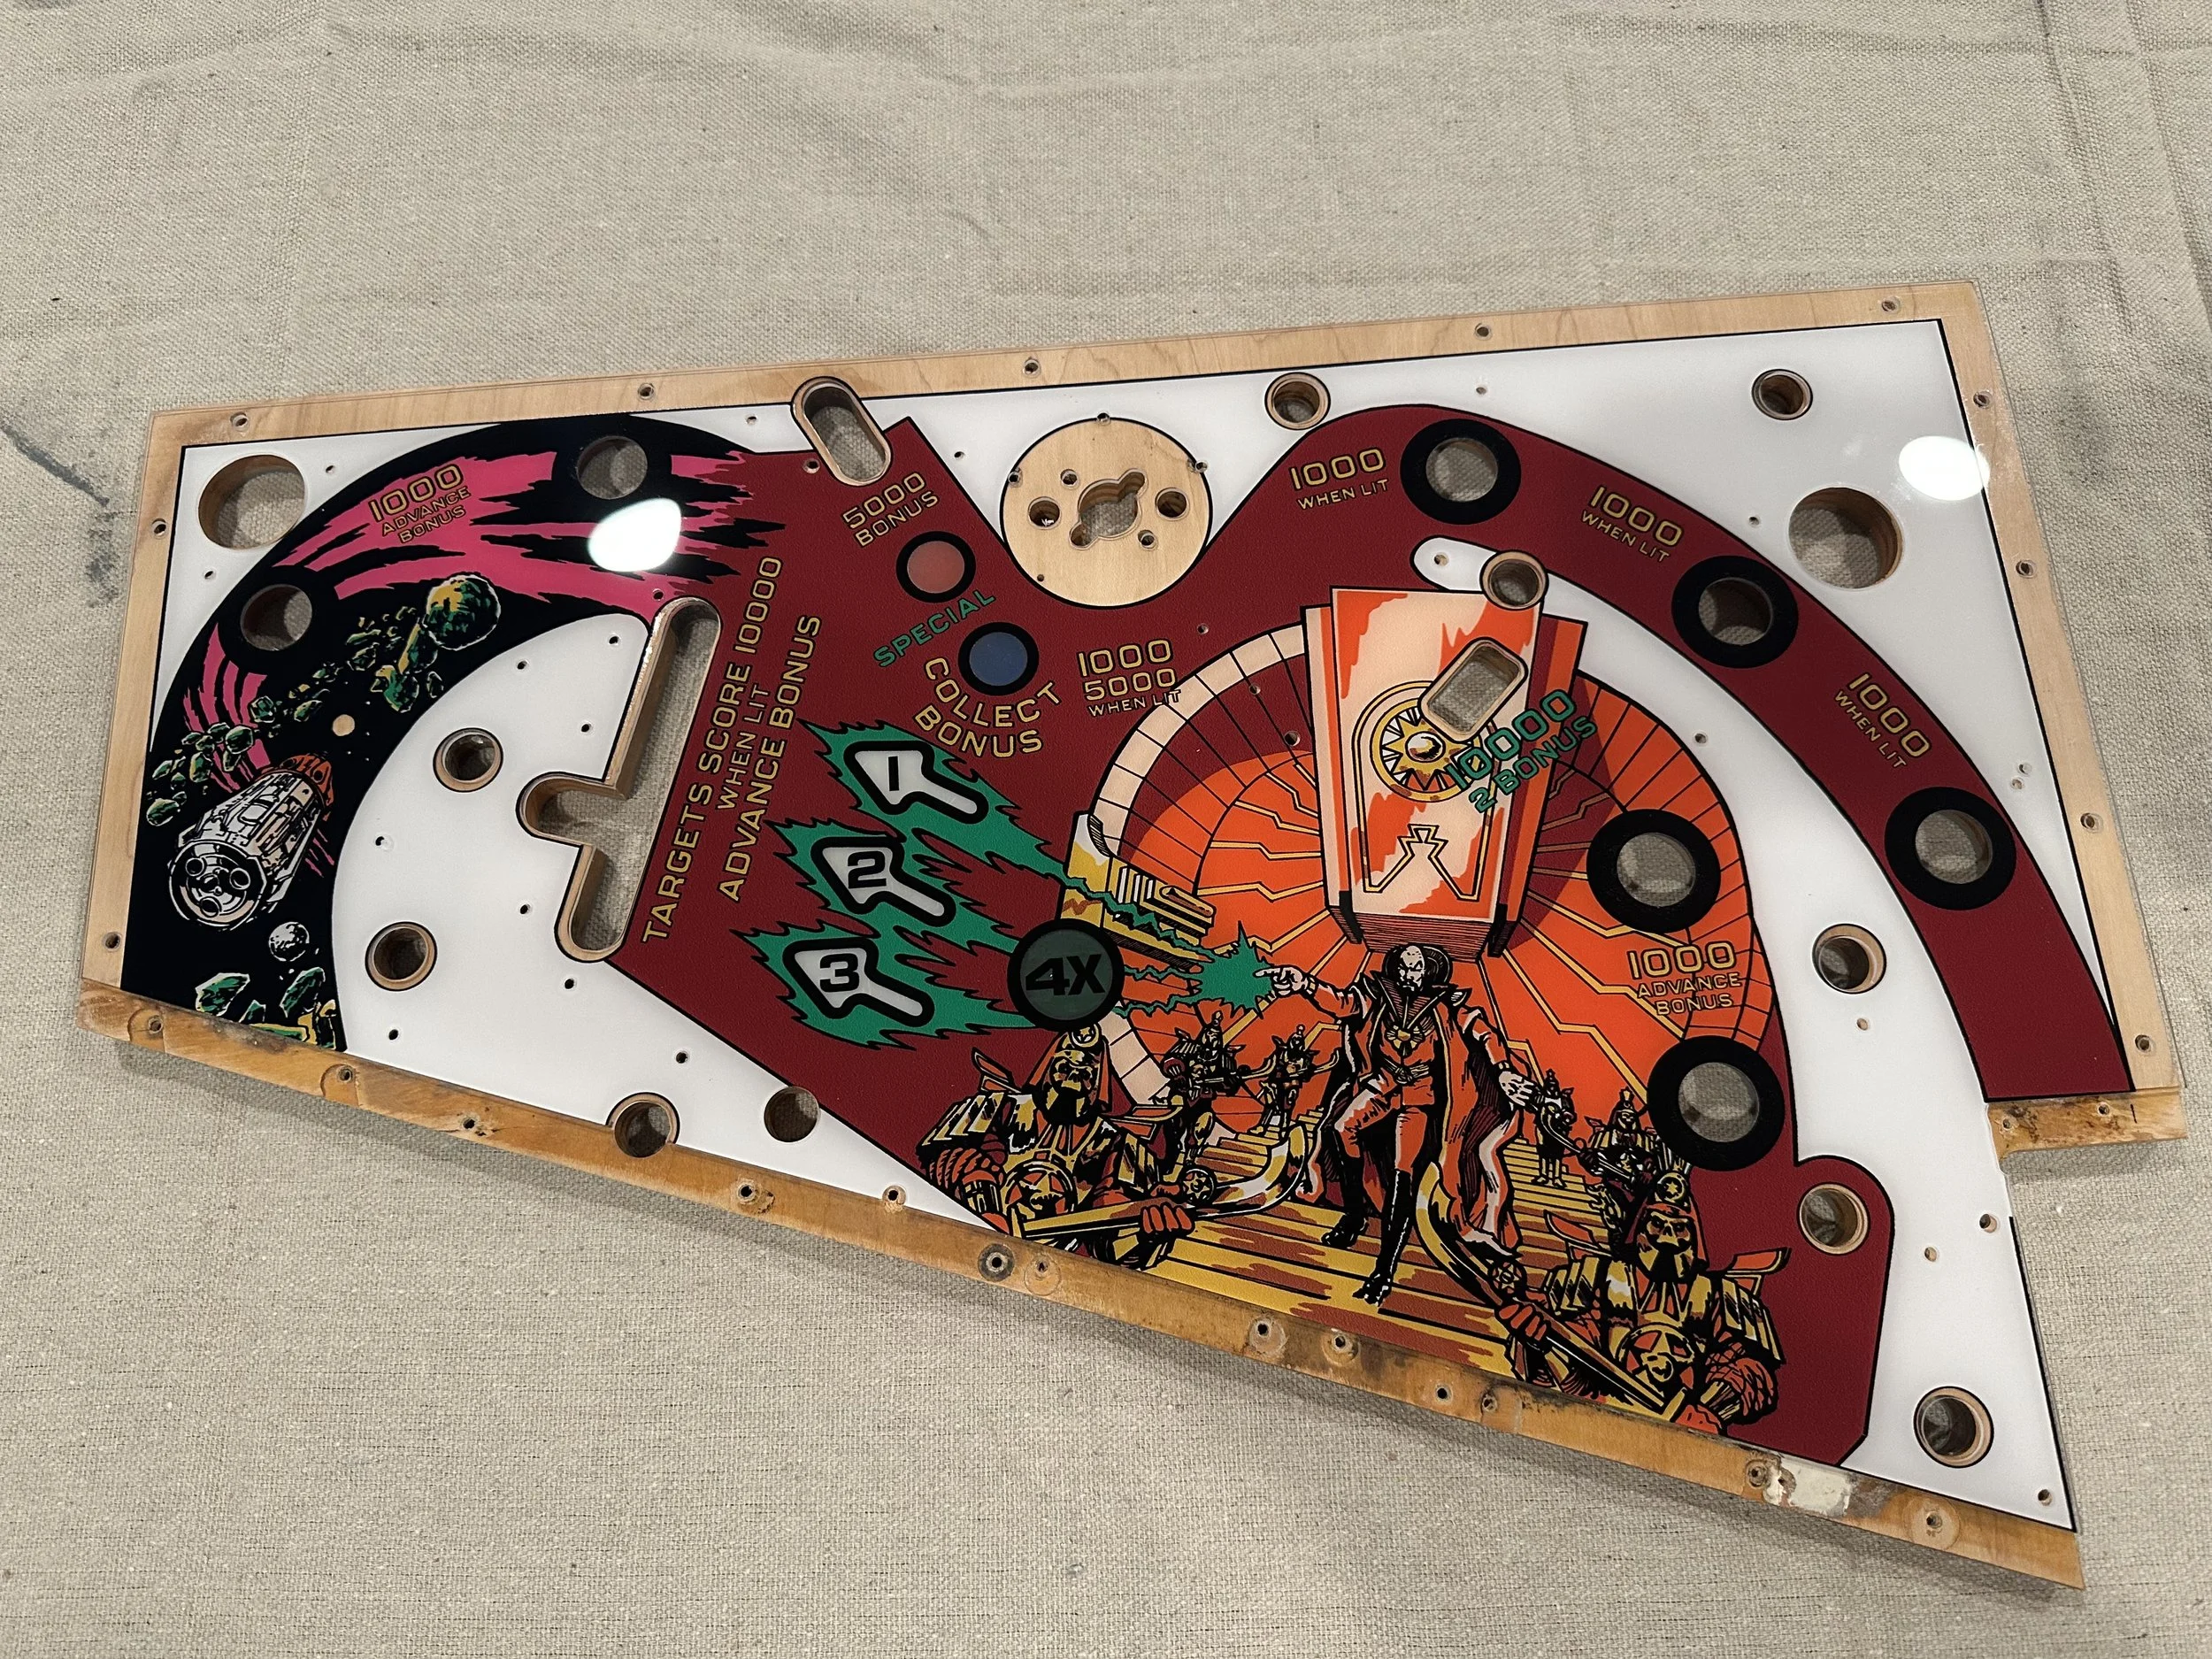
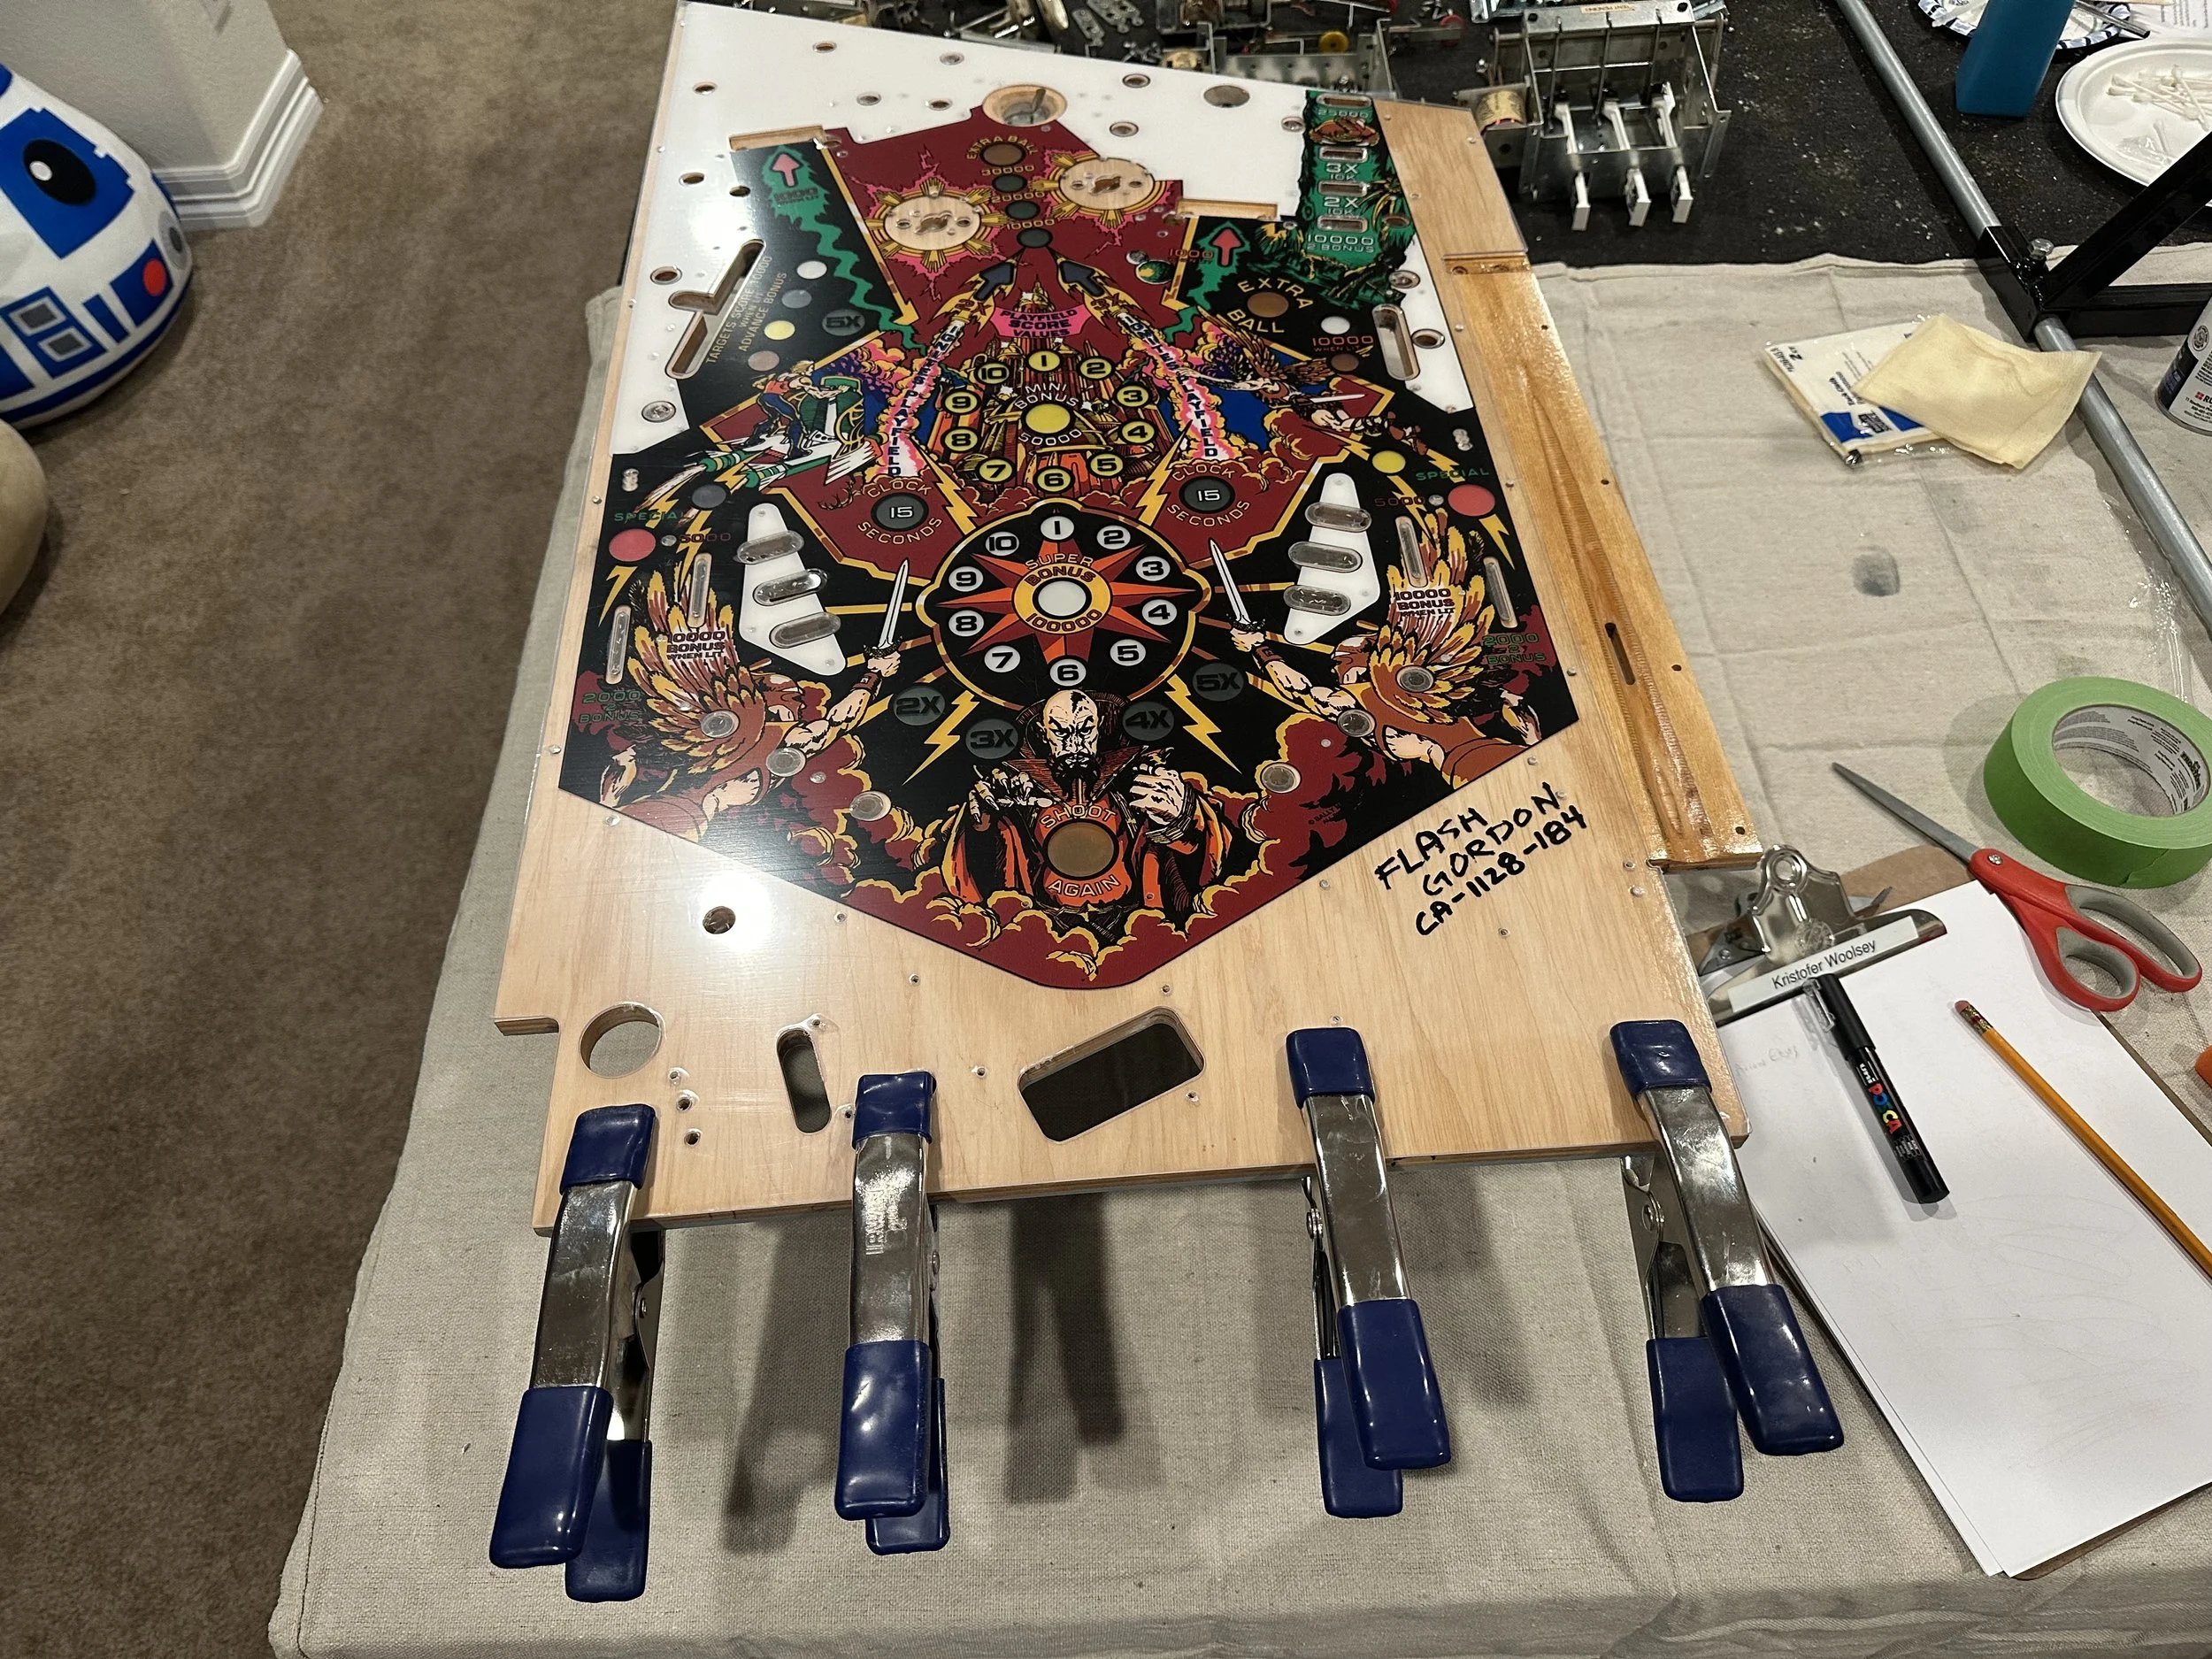
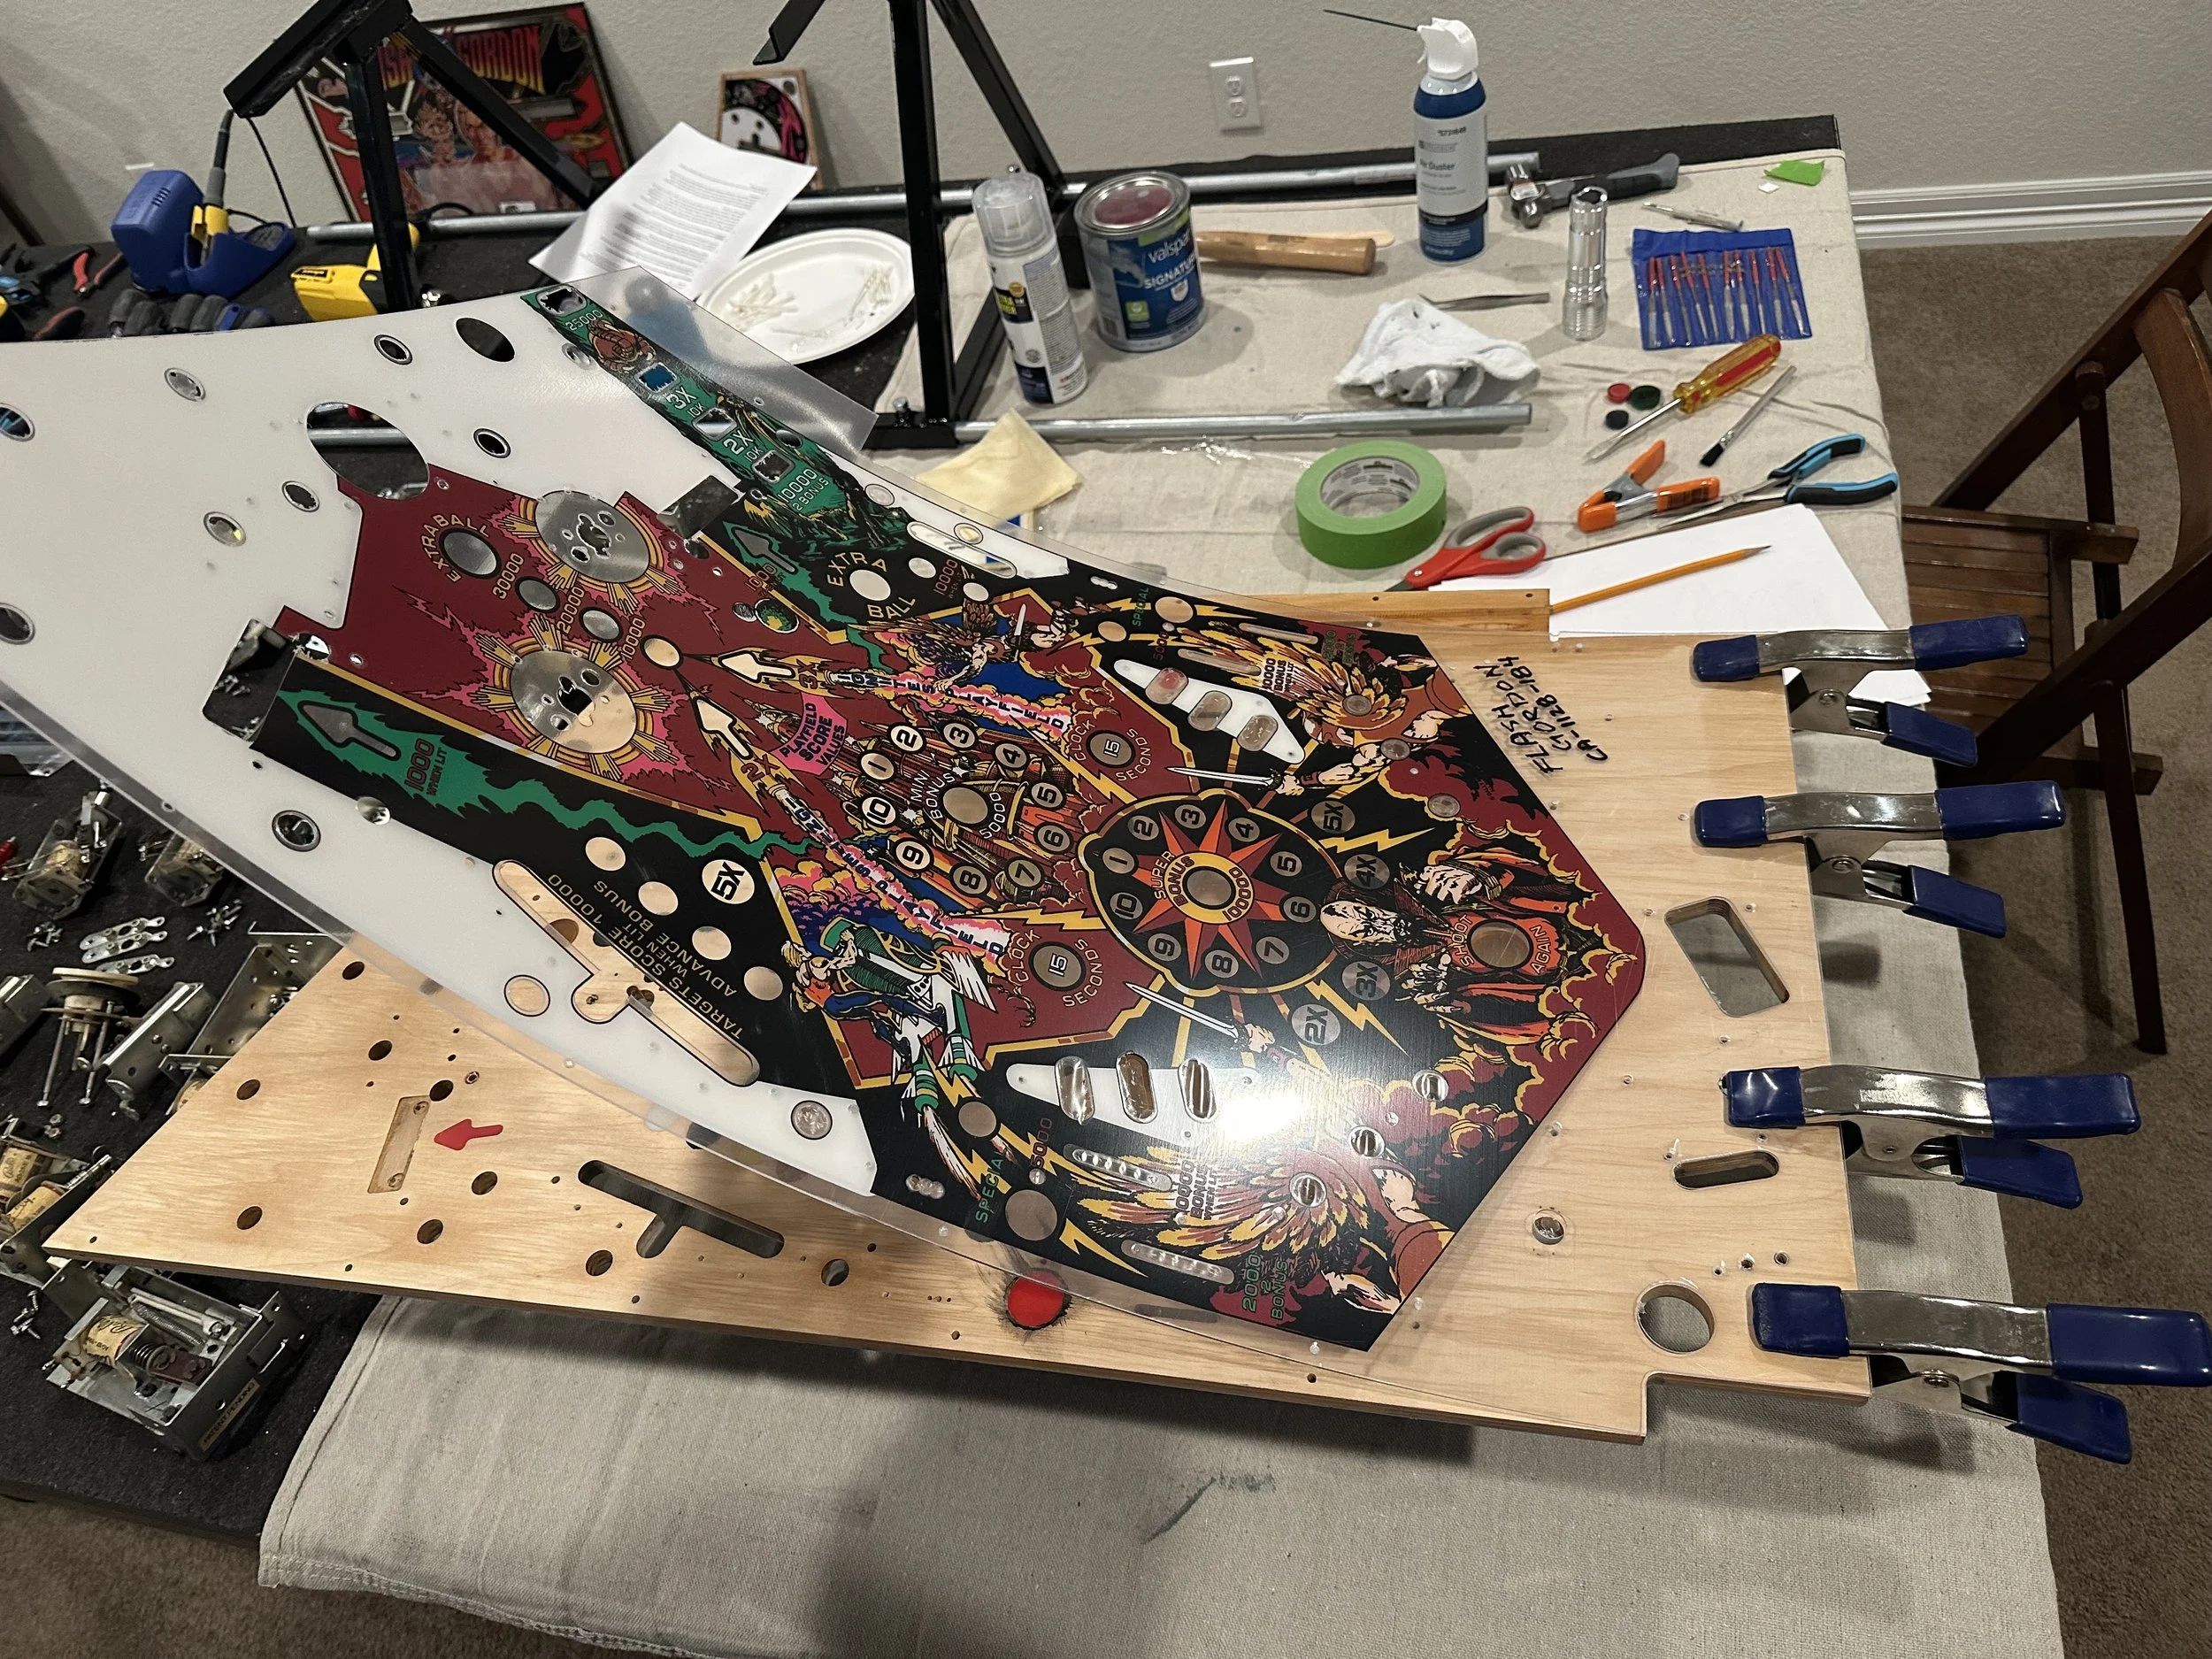
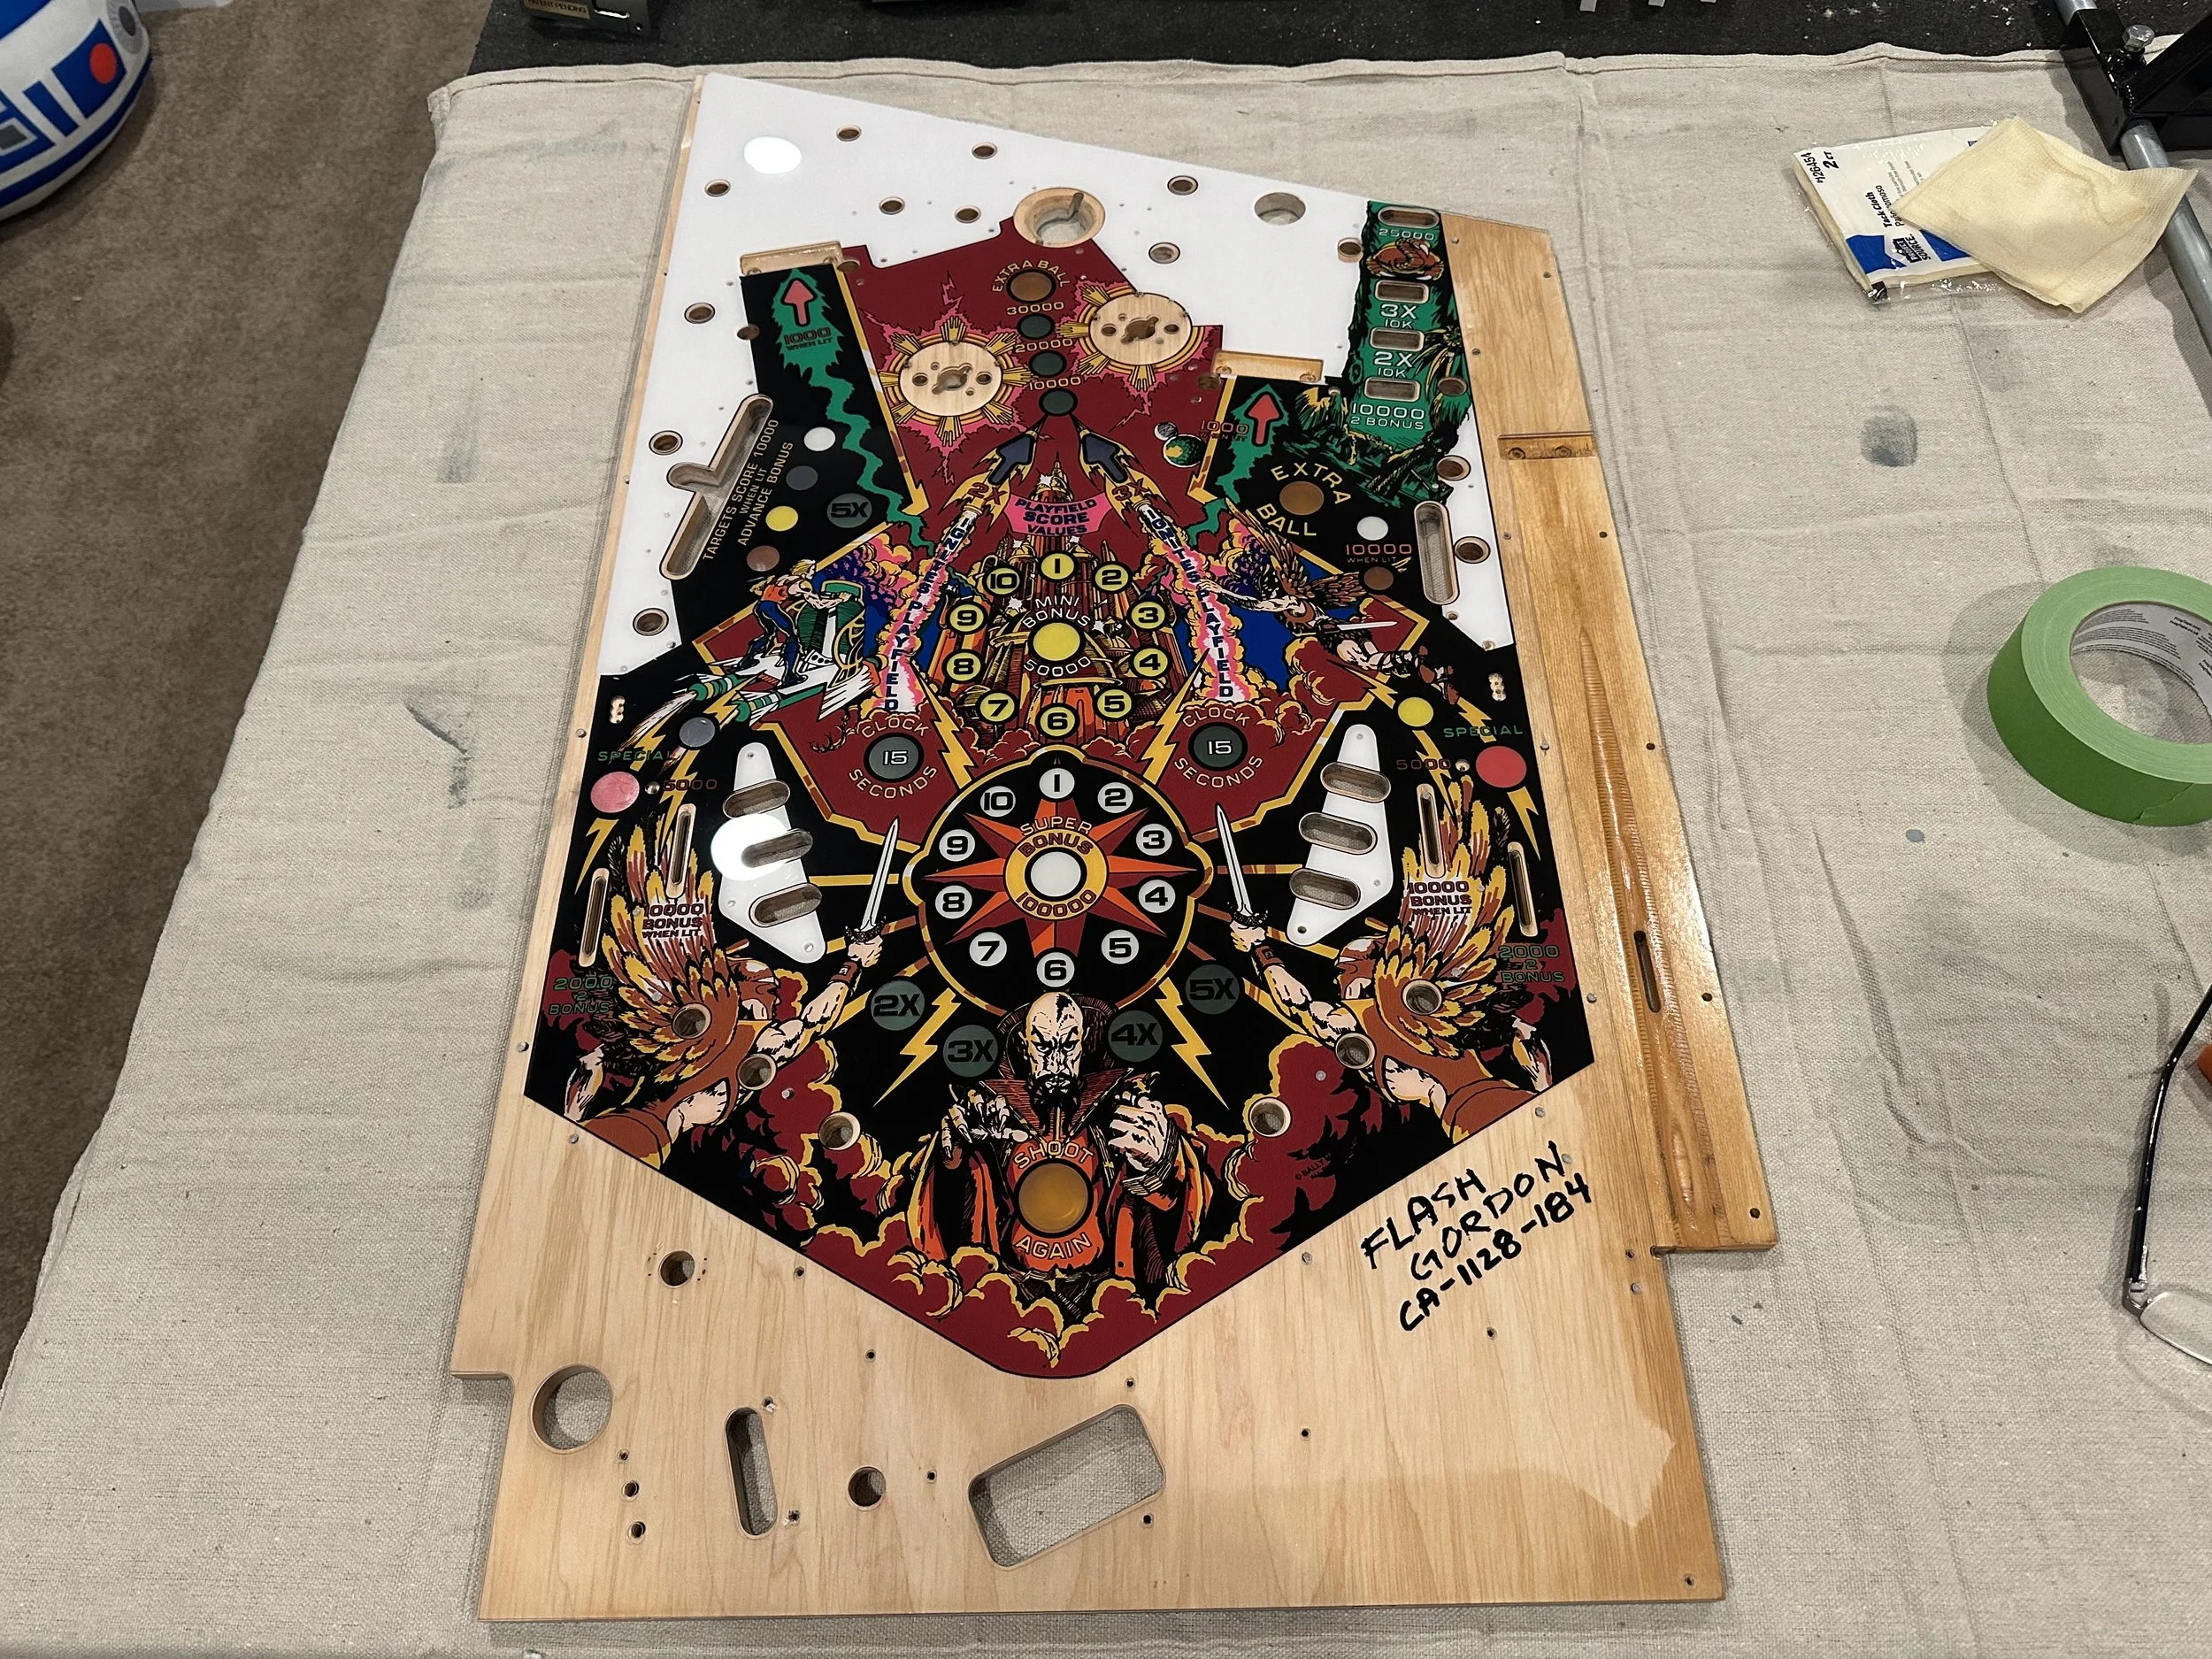
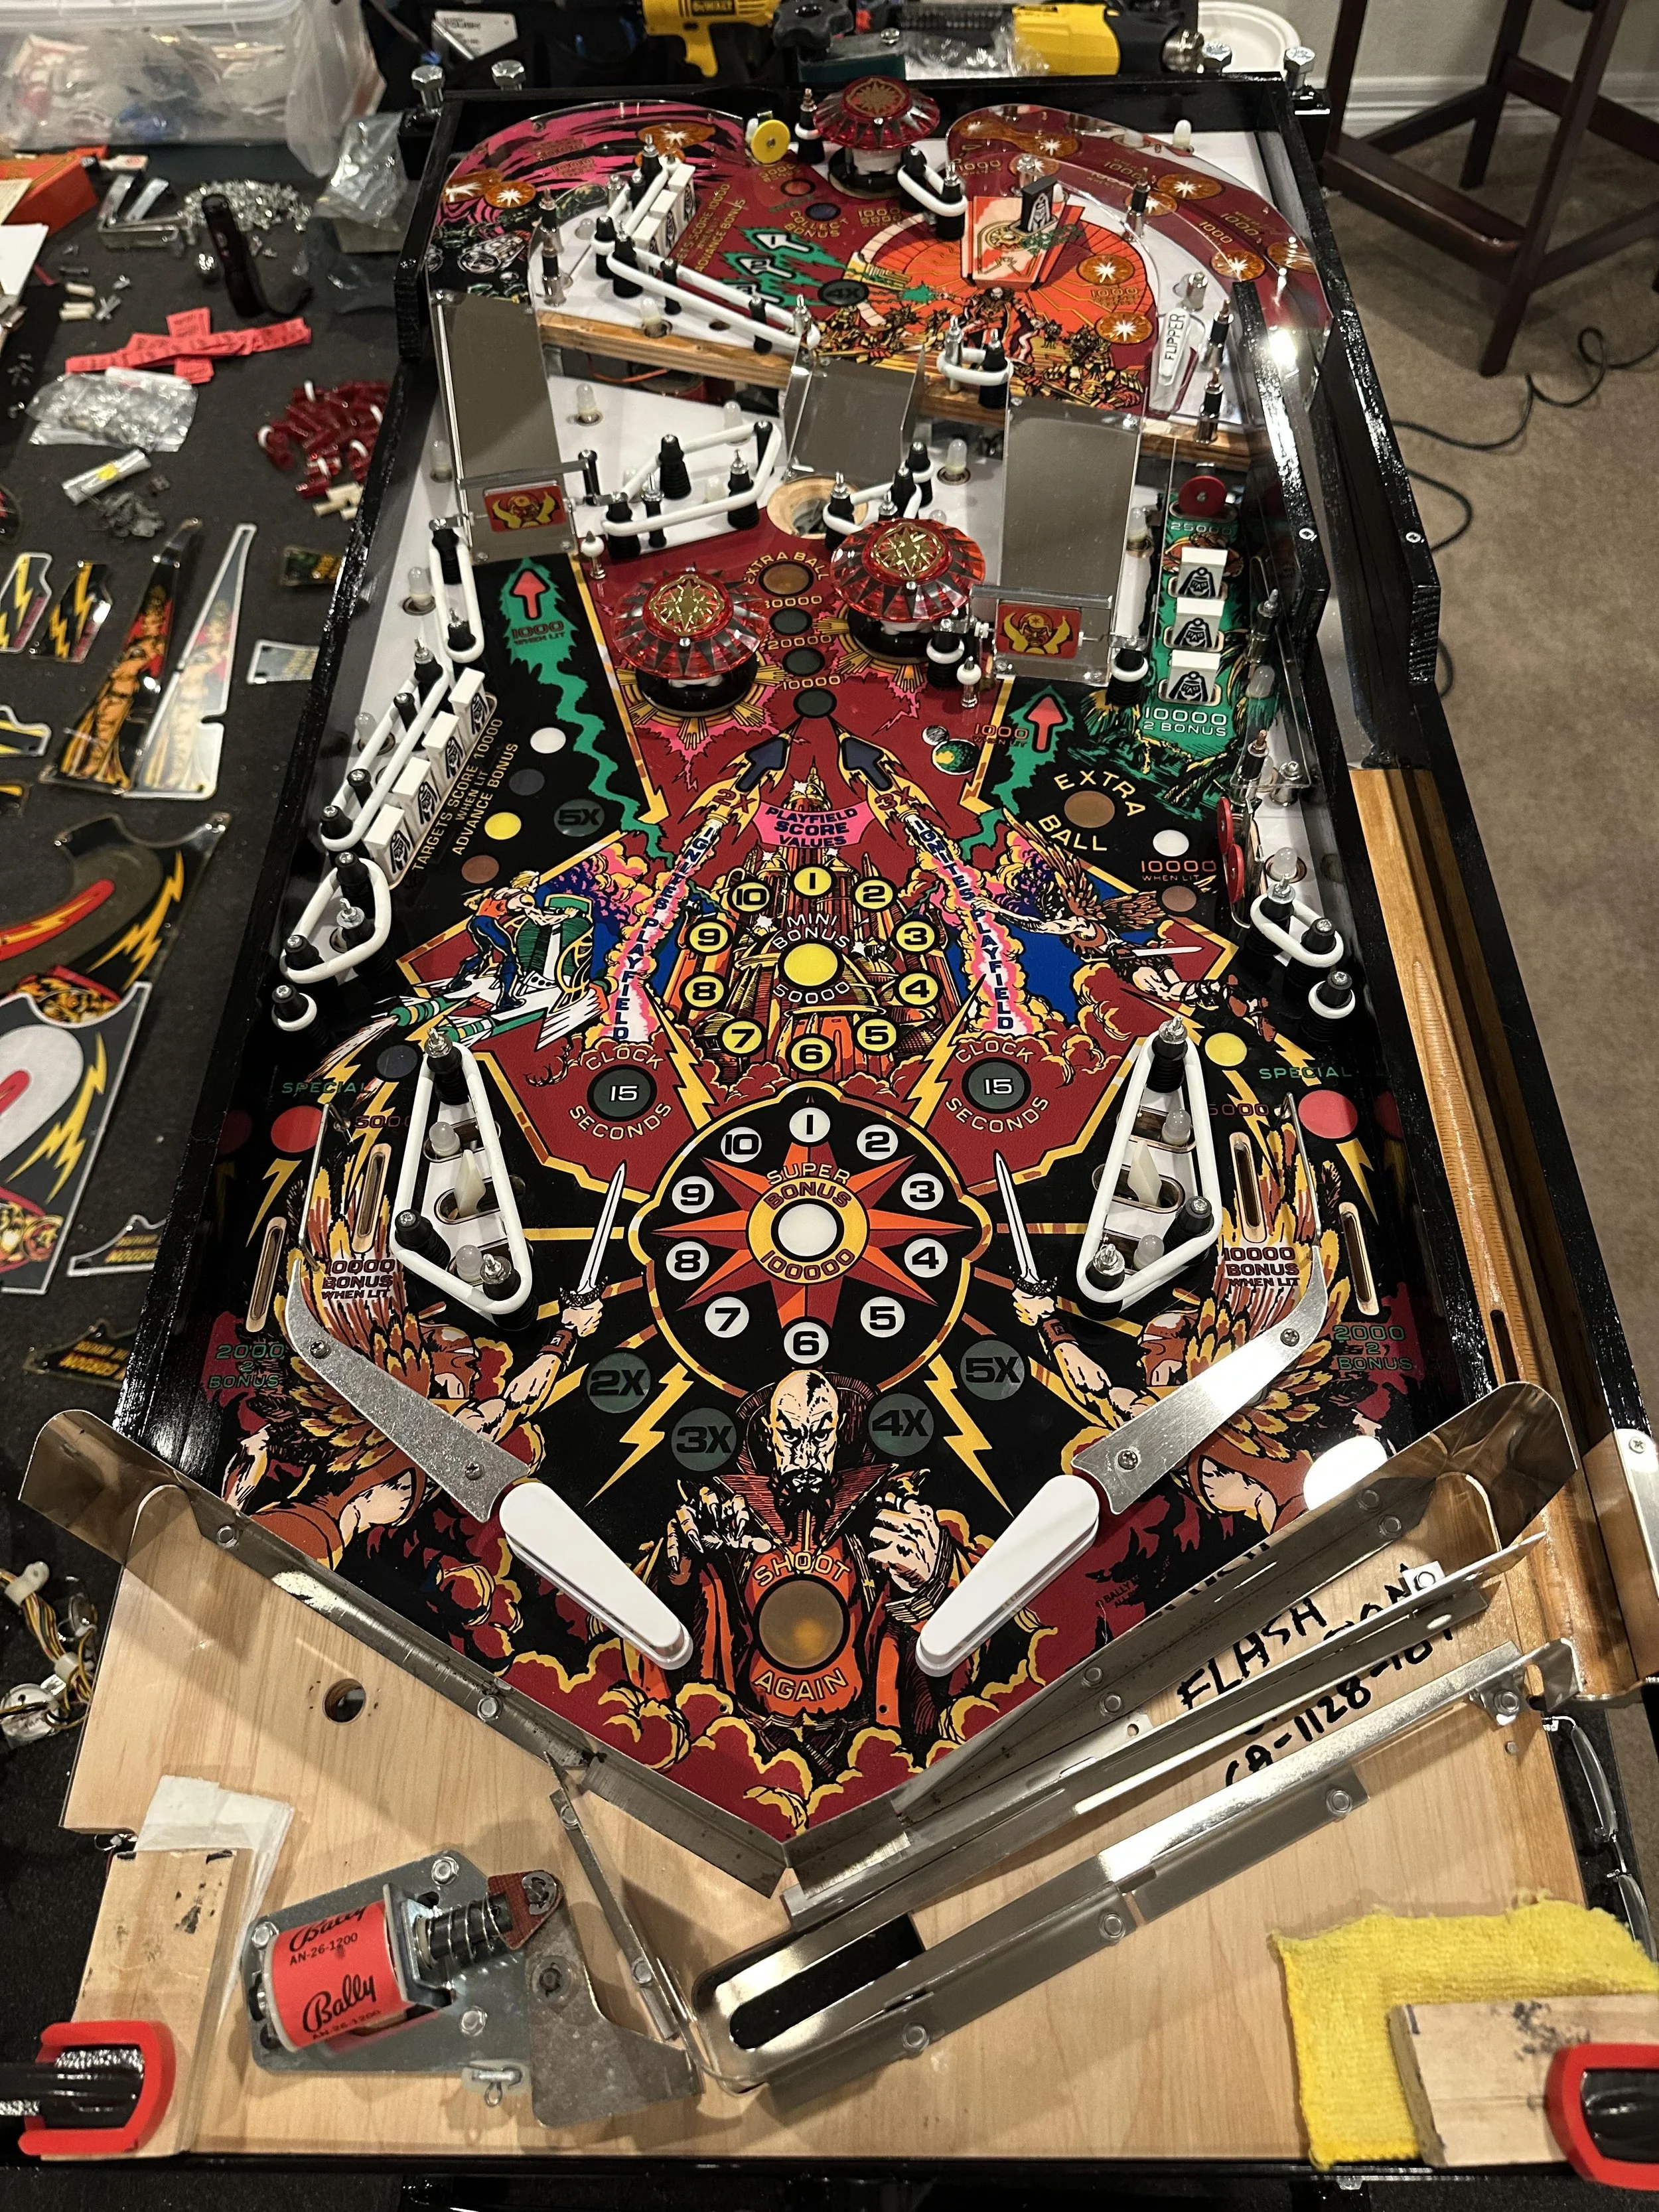
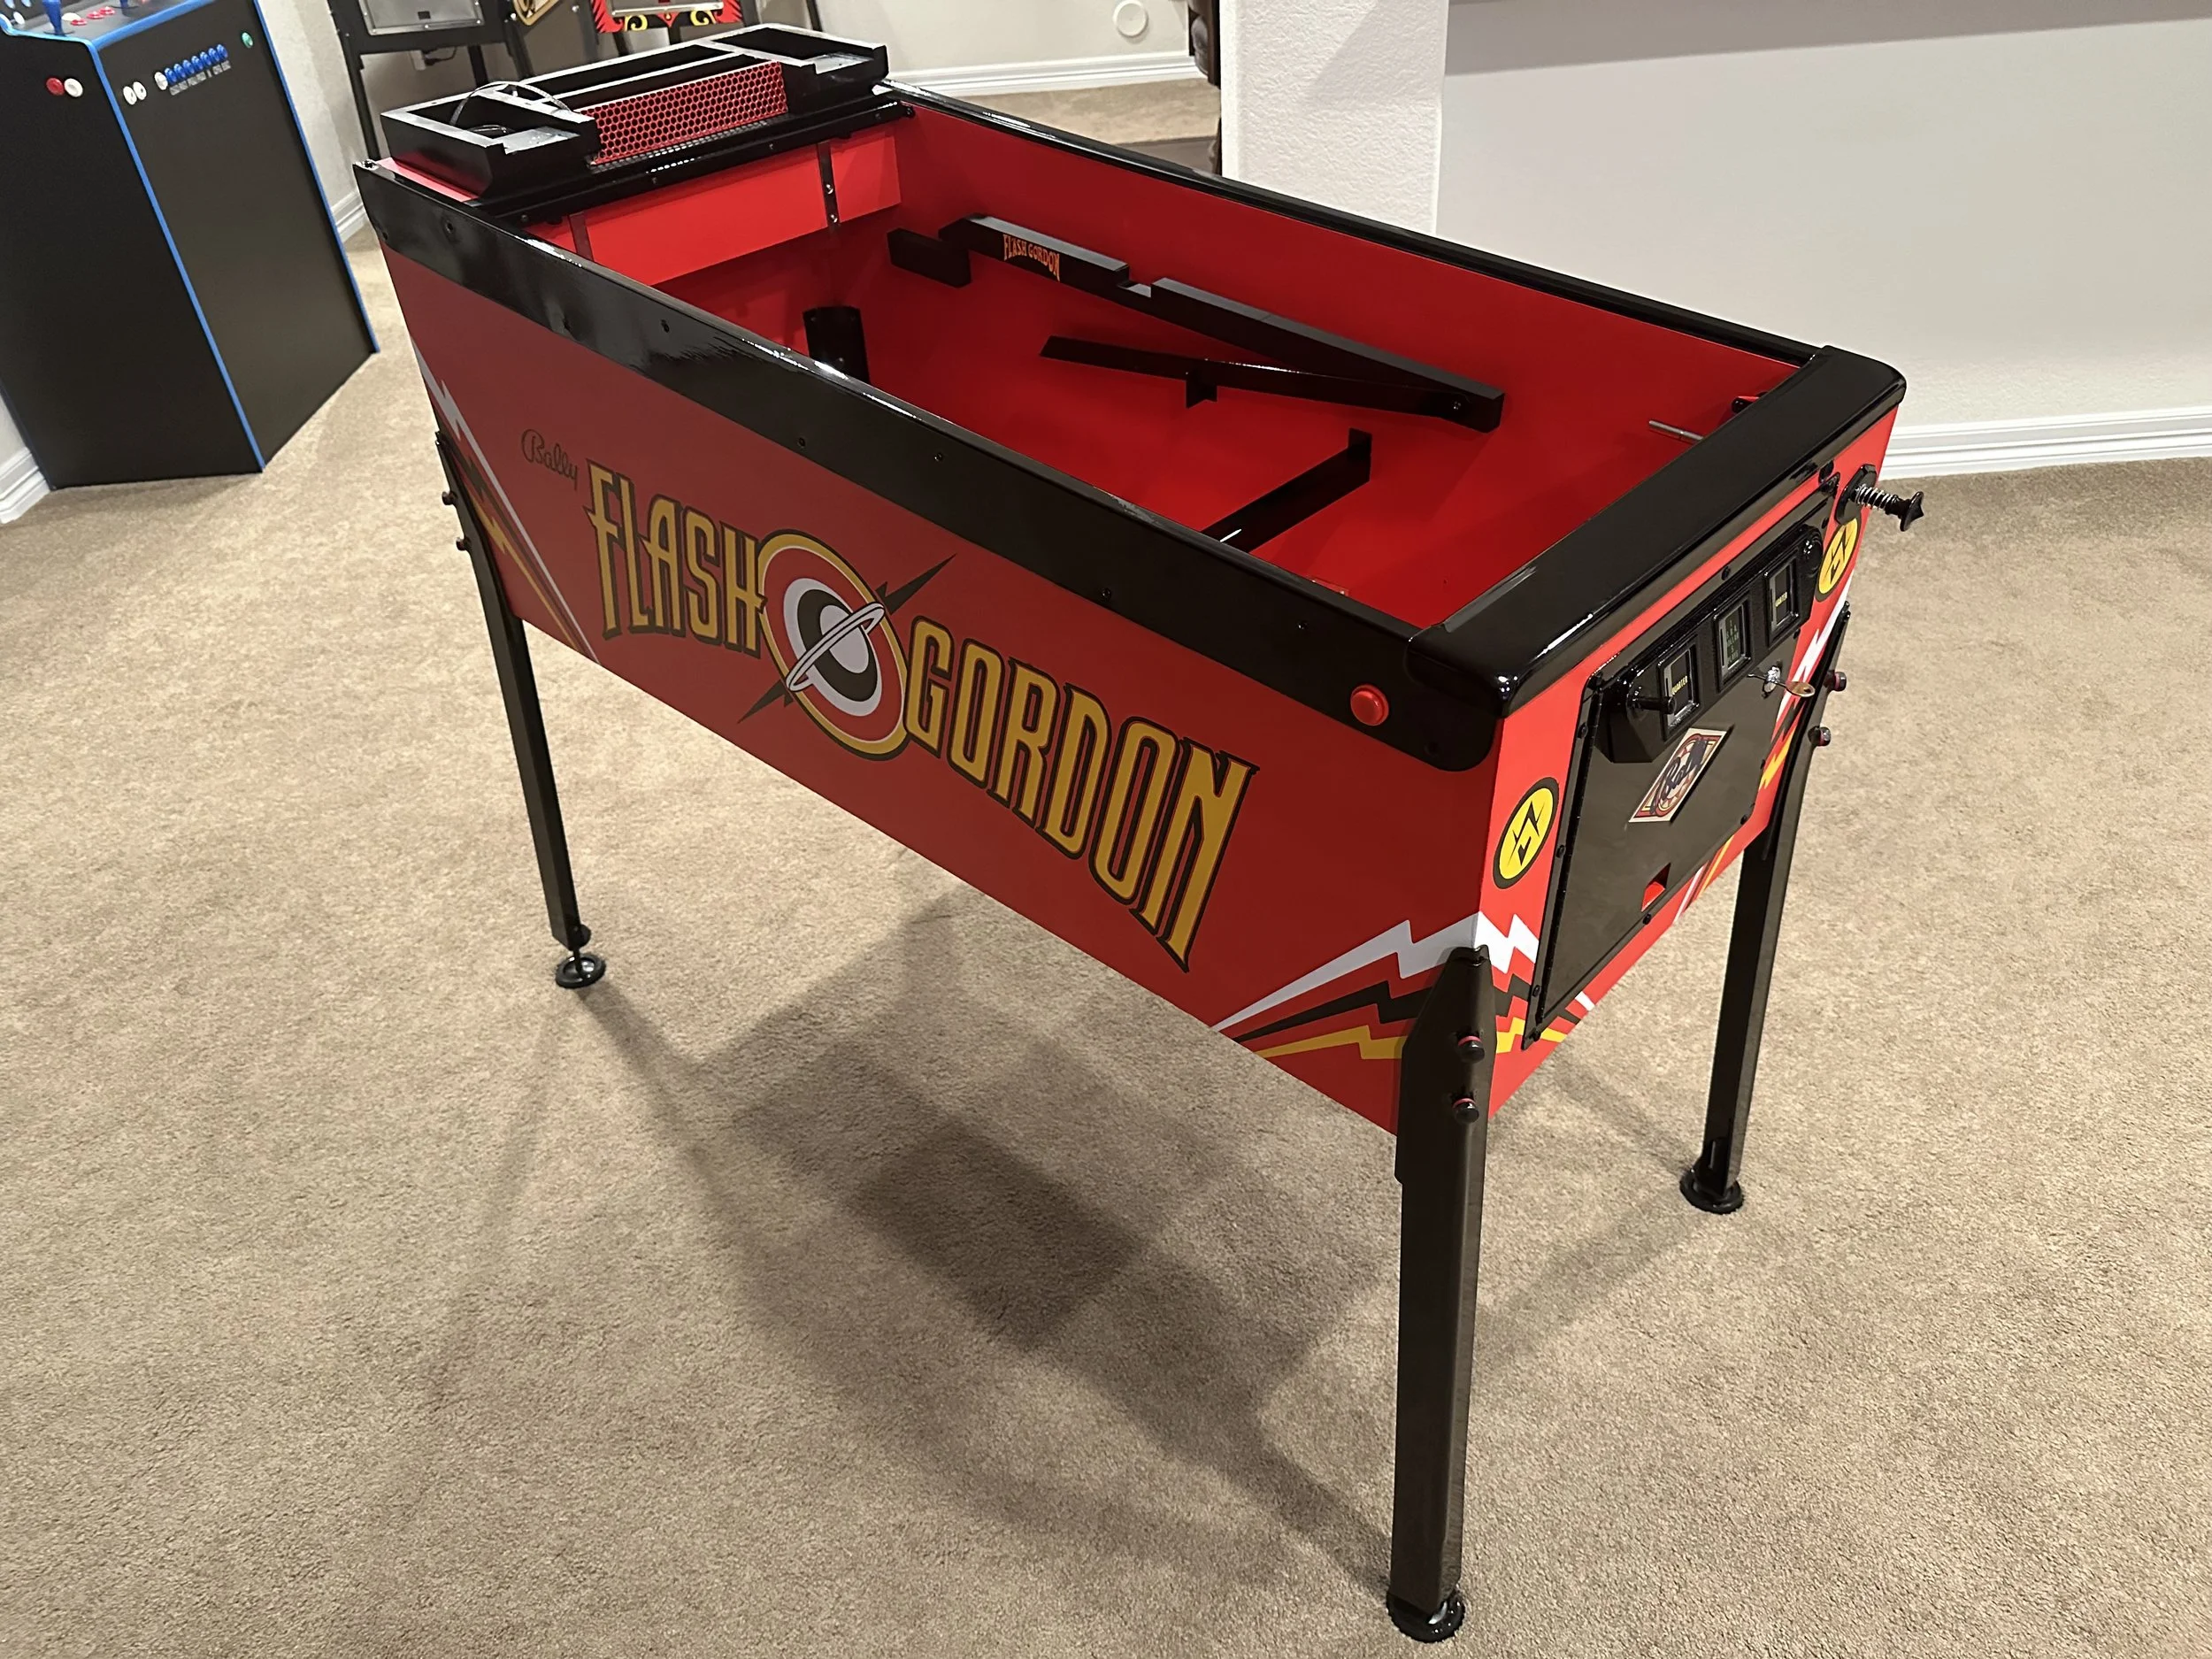
1981 Bally Flash Gordon SS
Rebuild
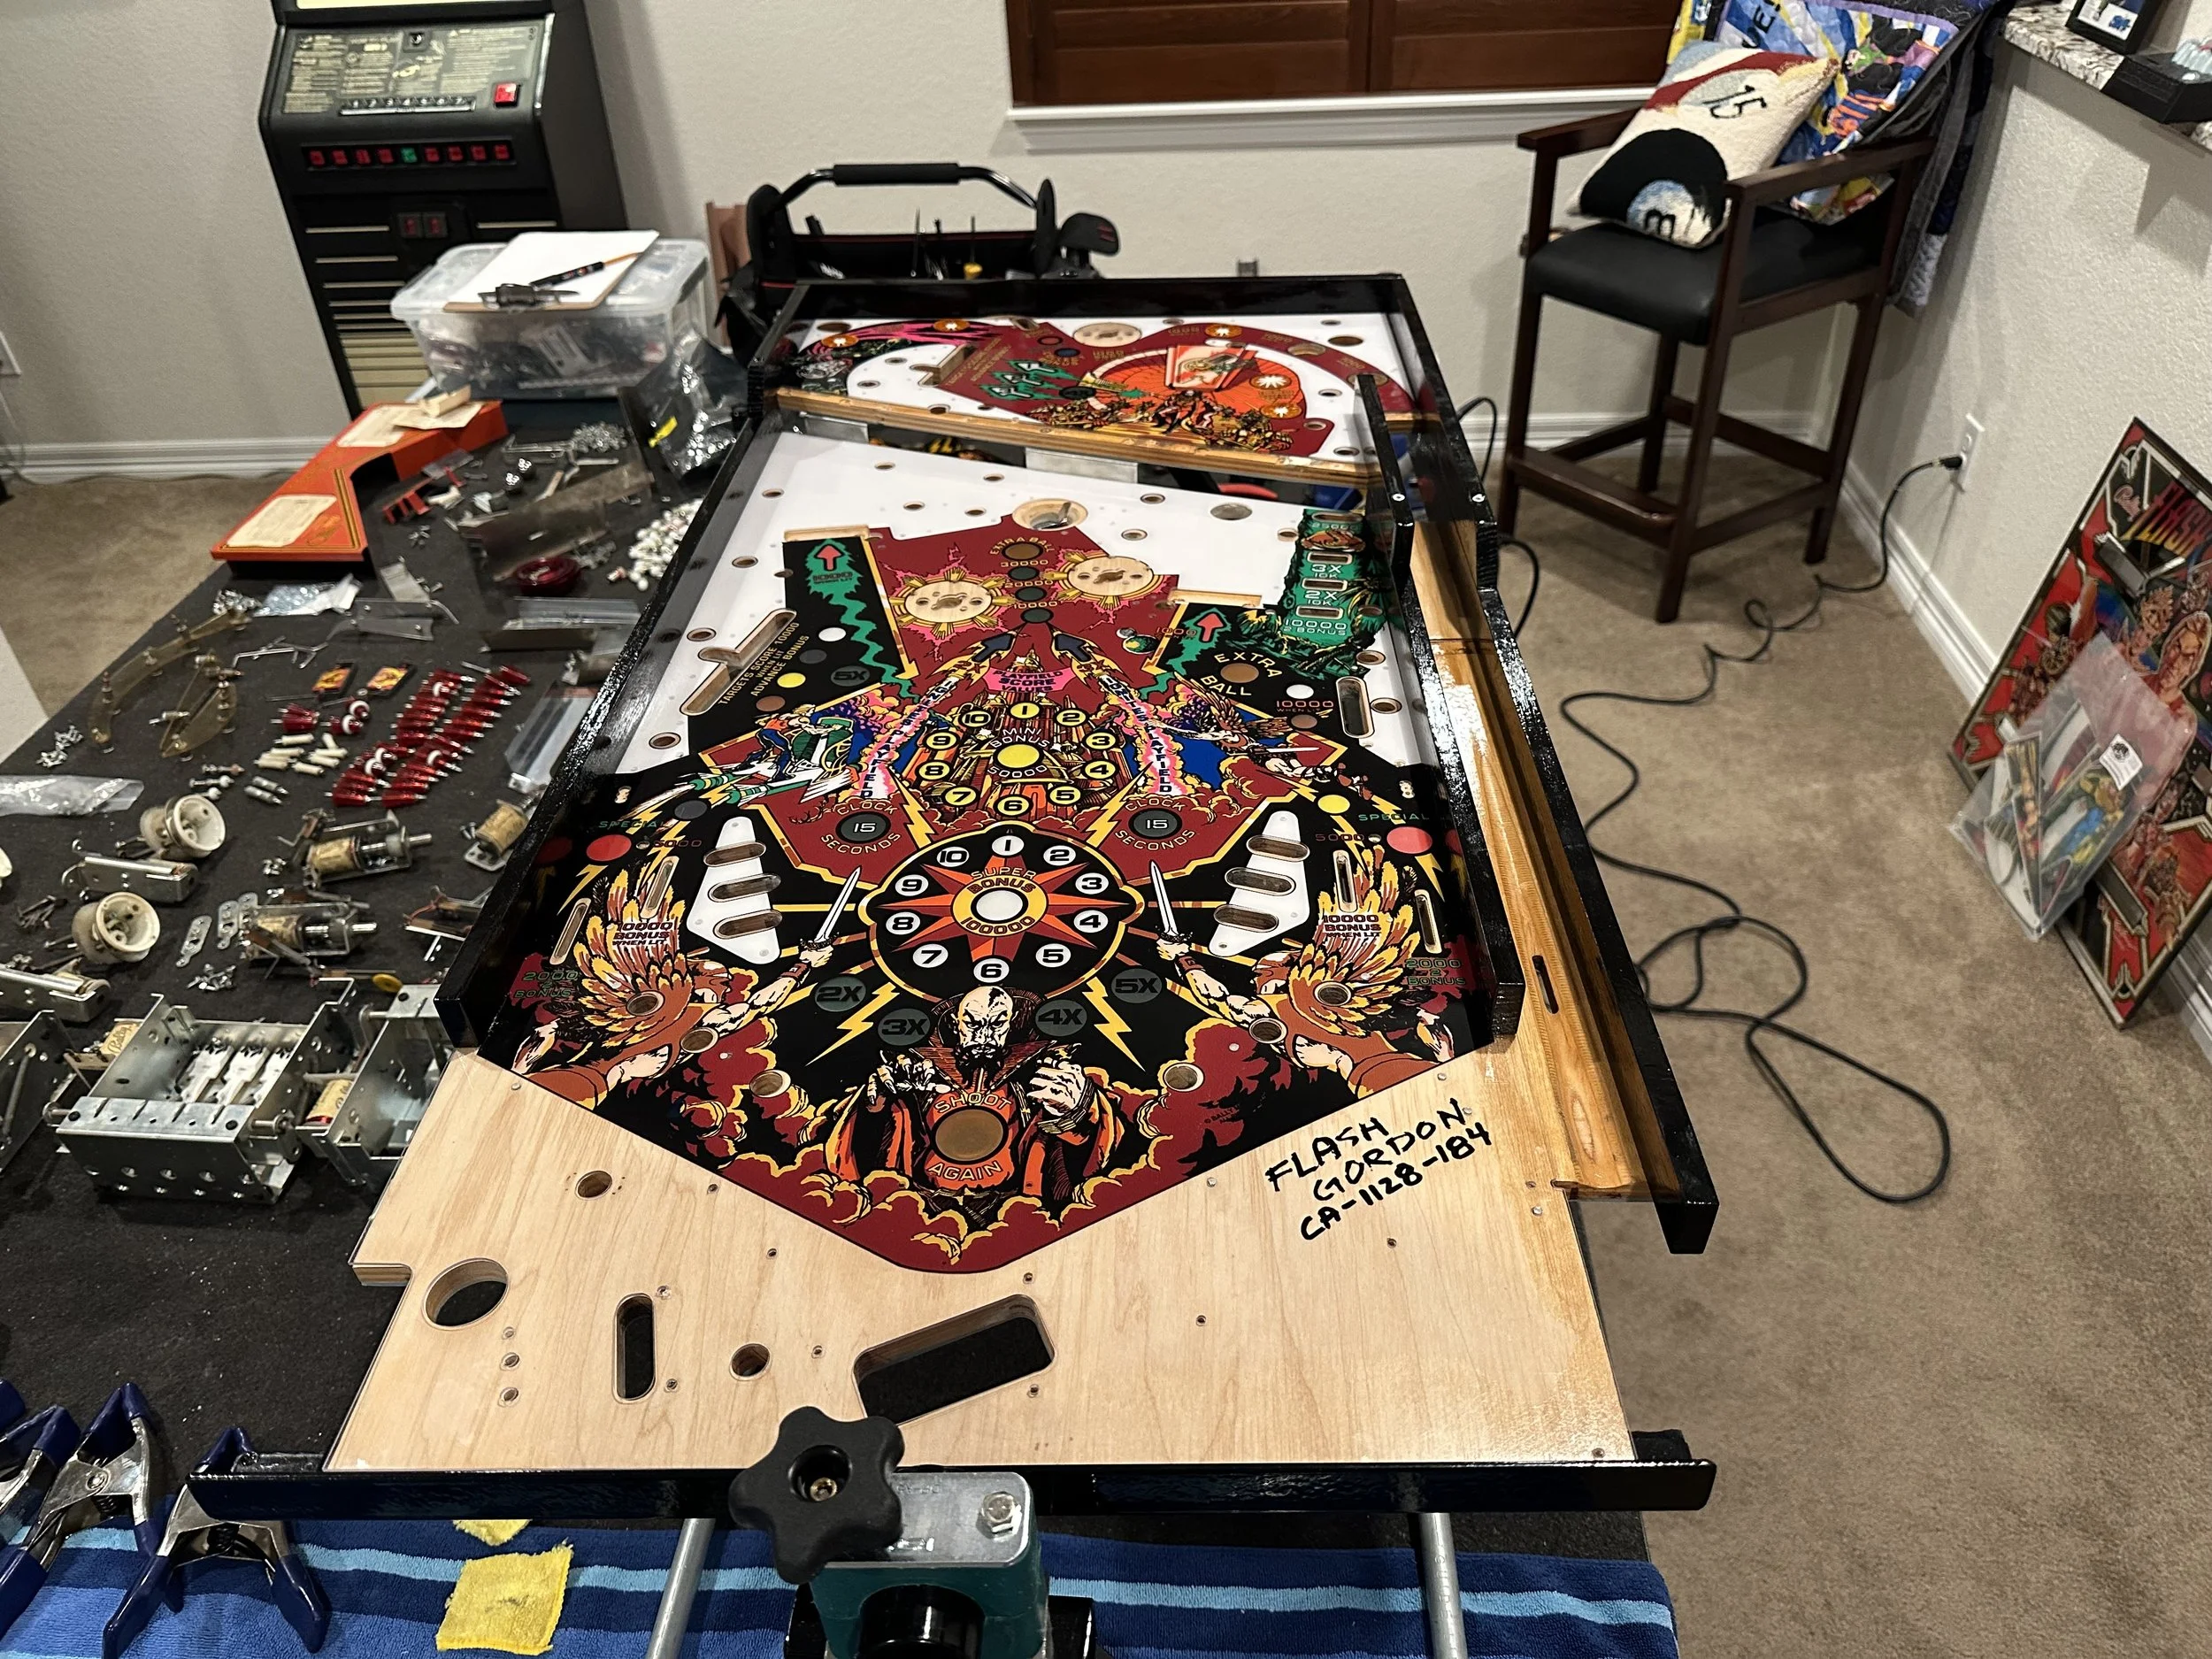
This Flash Gordon had some pretty good bones to start me off well and of all the restorations I’ve done to date, this one was probably the least problematic. And even though the original high voltage gas score displays were in pretty good shape for being 44+ years old, I replaced them with Xpin LED displays which take less power to run (5v vs 180v). It also allows me to remove the high voltage circuit from the pin, by removing a fuse, thereby making it much safer to work on and more power friendly.
One thing that stood out the most for me in the this project was using a lot of 3D printed parts that I designed. We bought a Bambu X1C 3D printer for our family early on in the year and I’ve managed to teach myself some basic CAD and learn about the hobby. Some of the parts I’ve designed for this Flash Gordon project include:
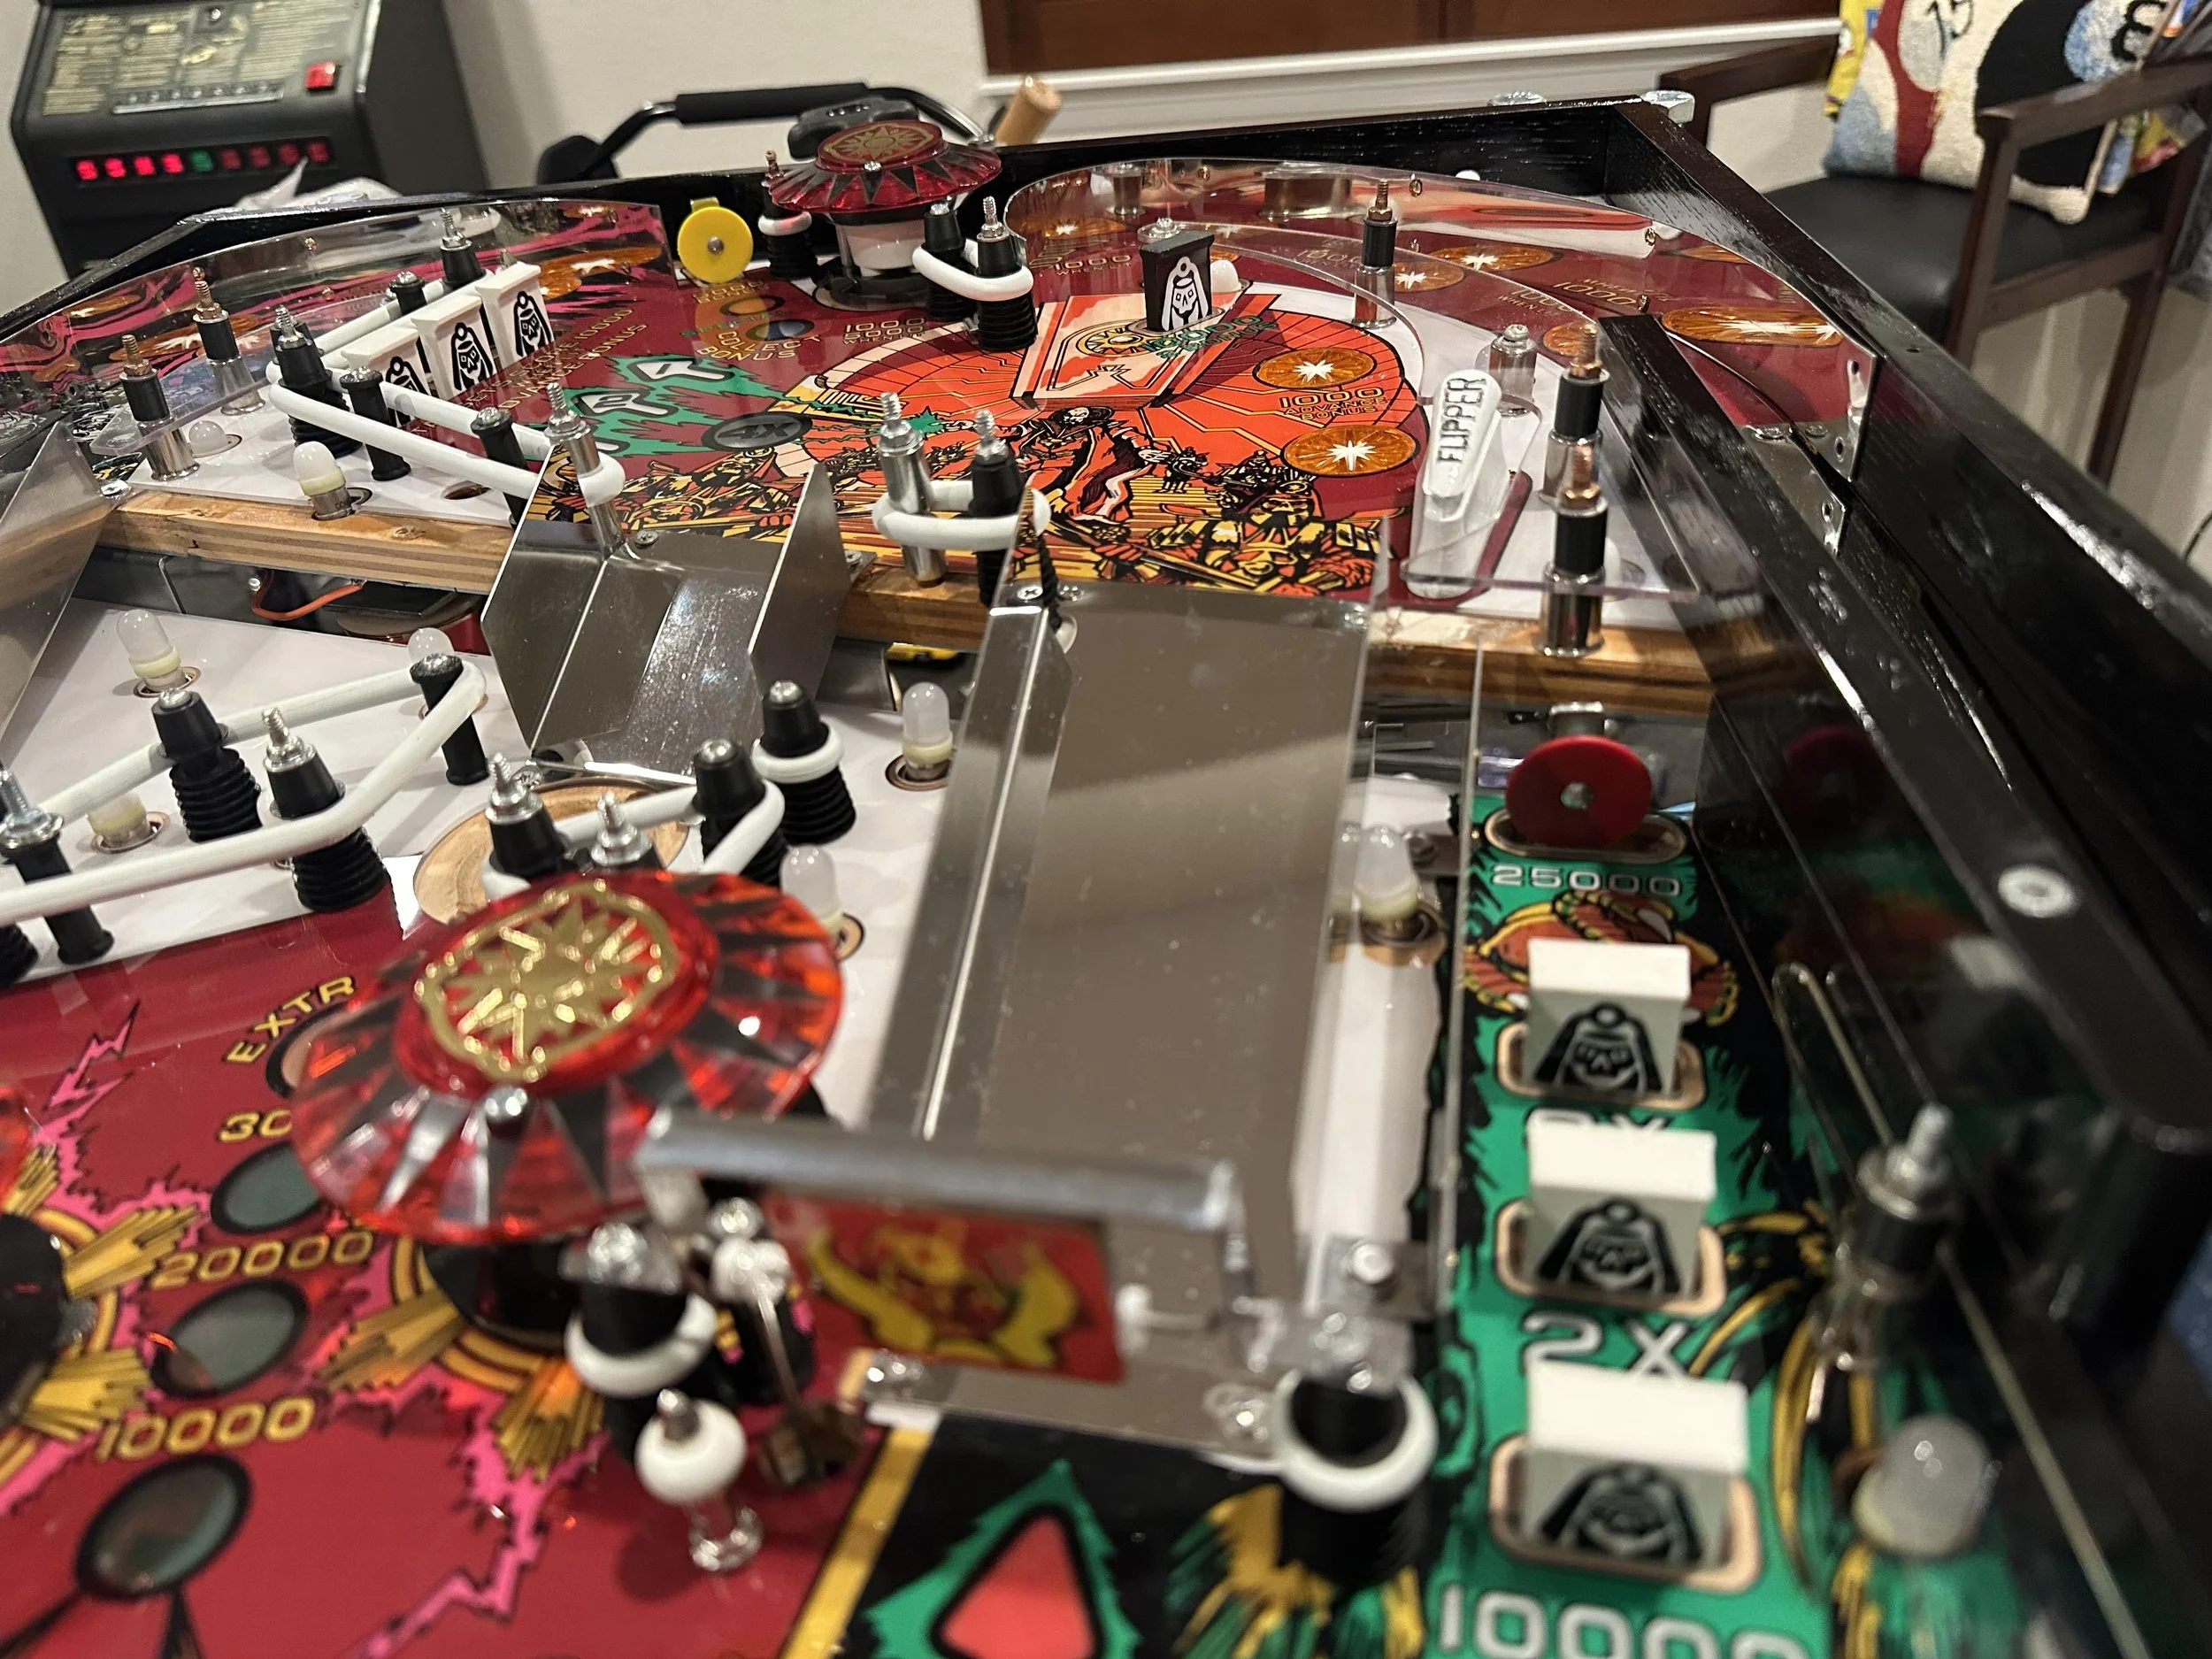
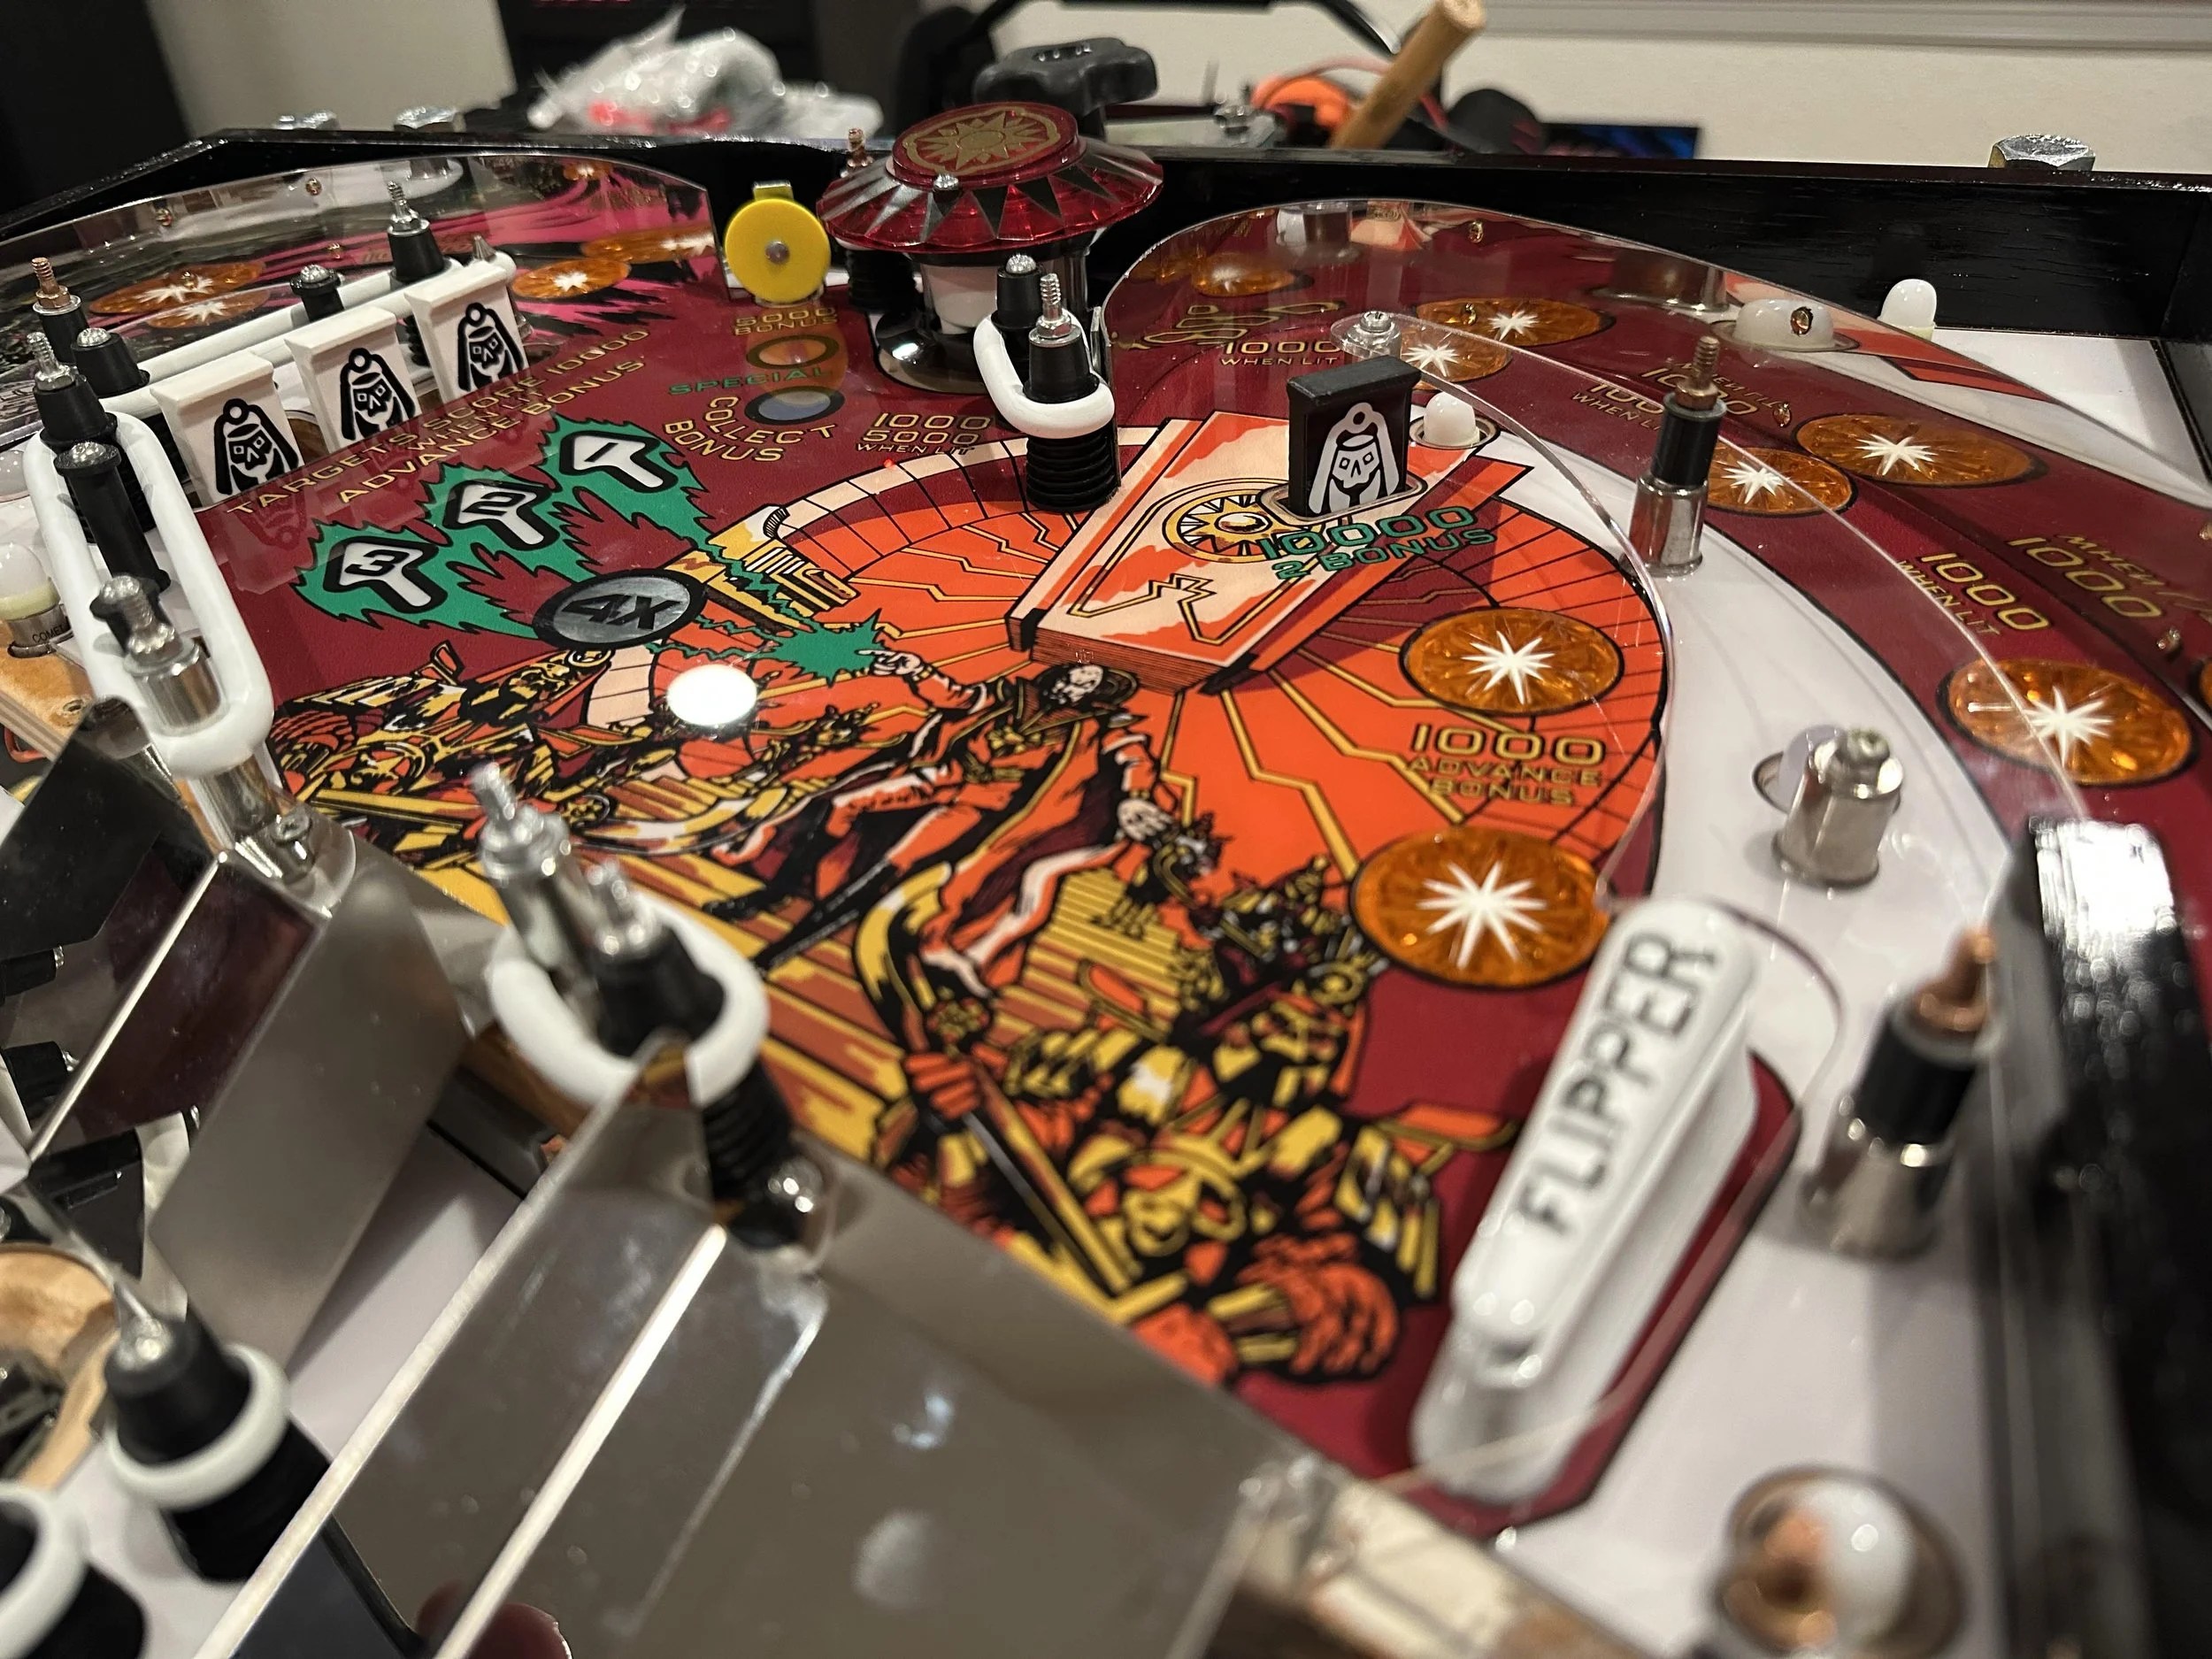
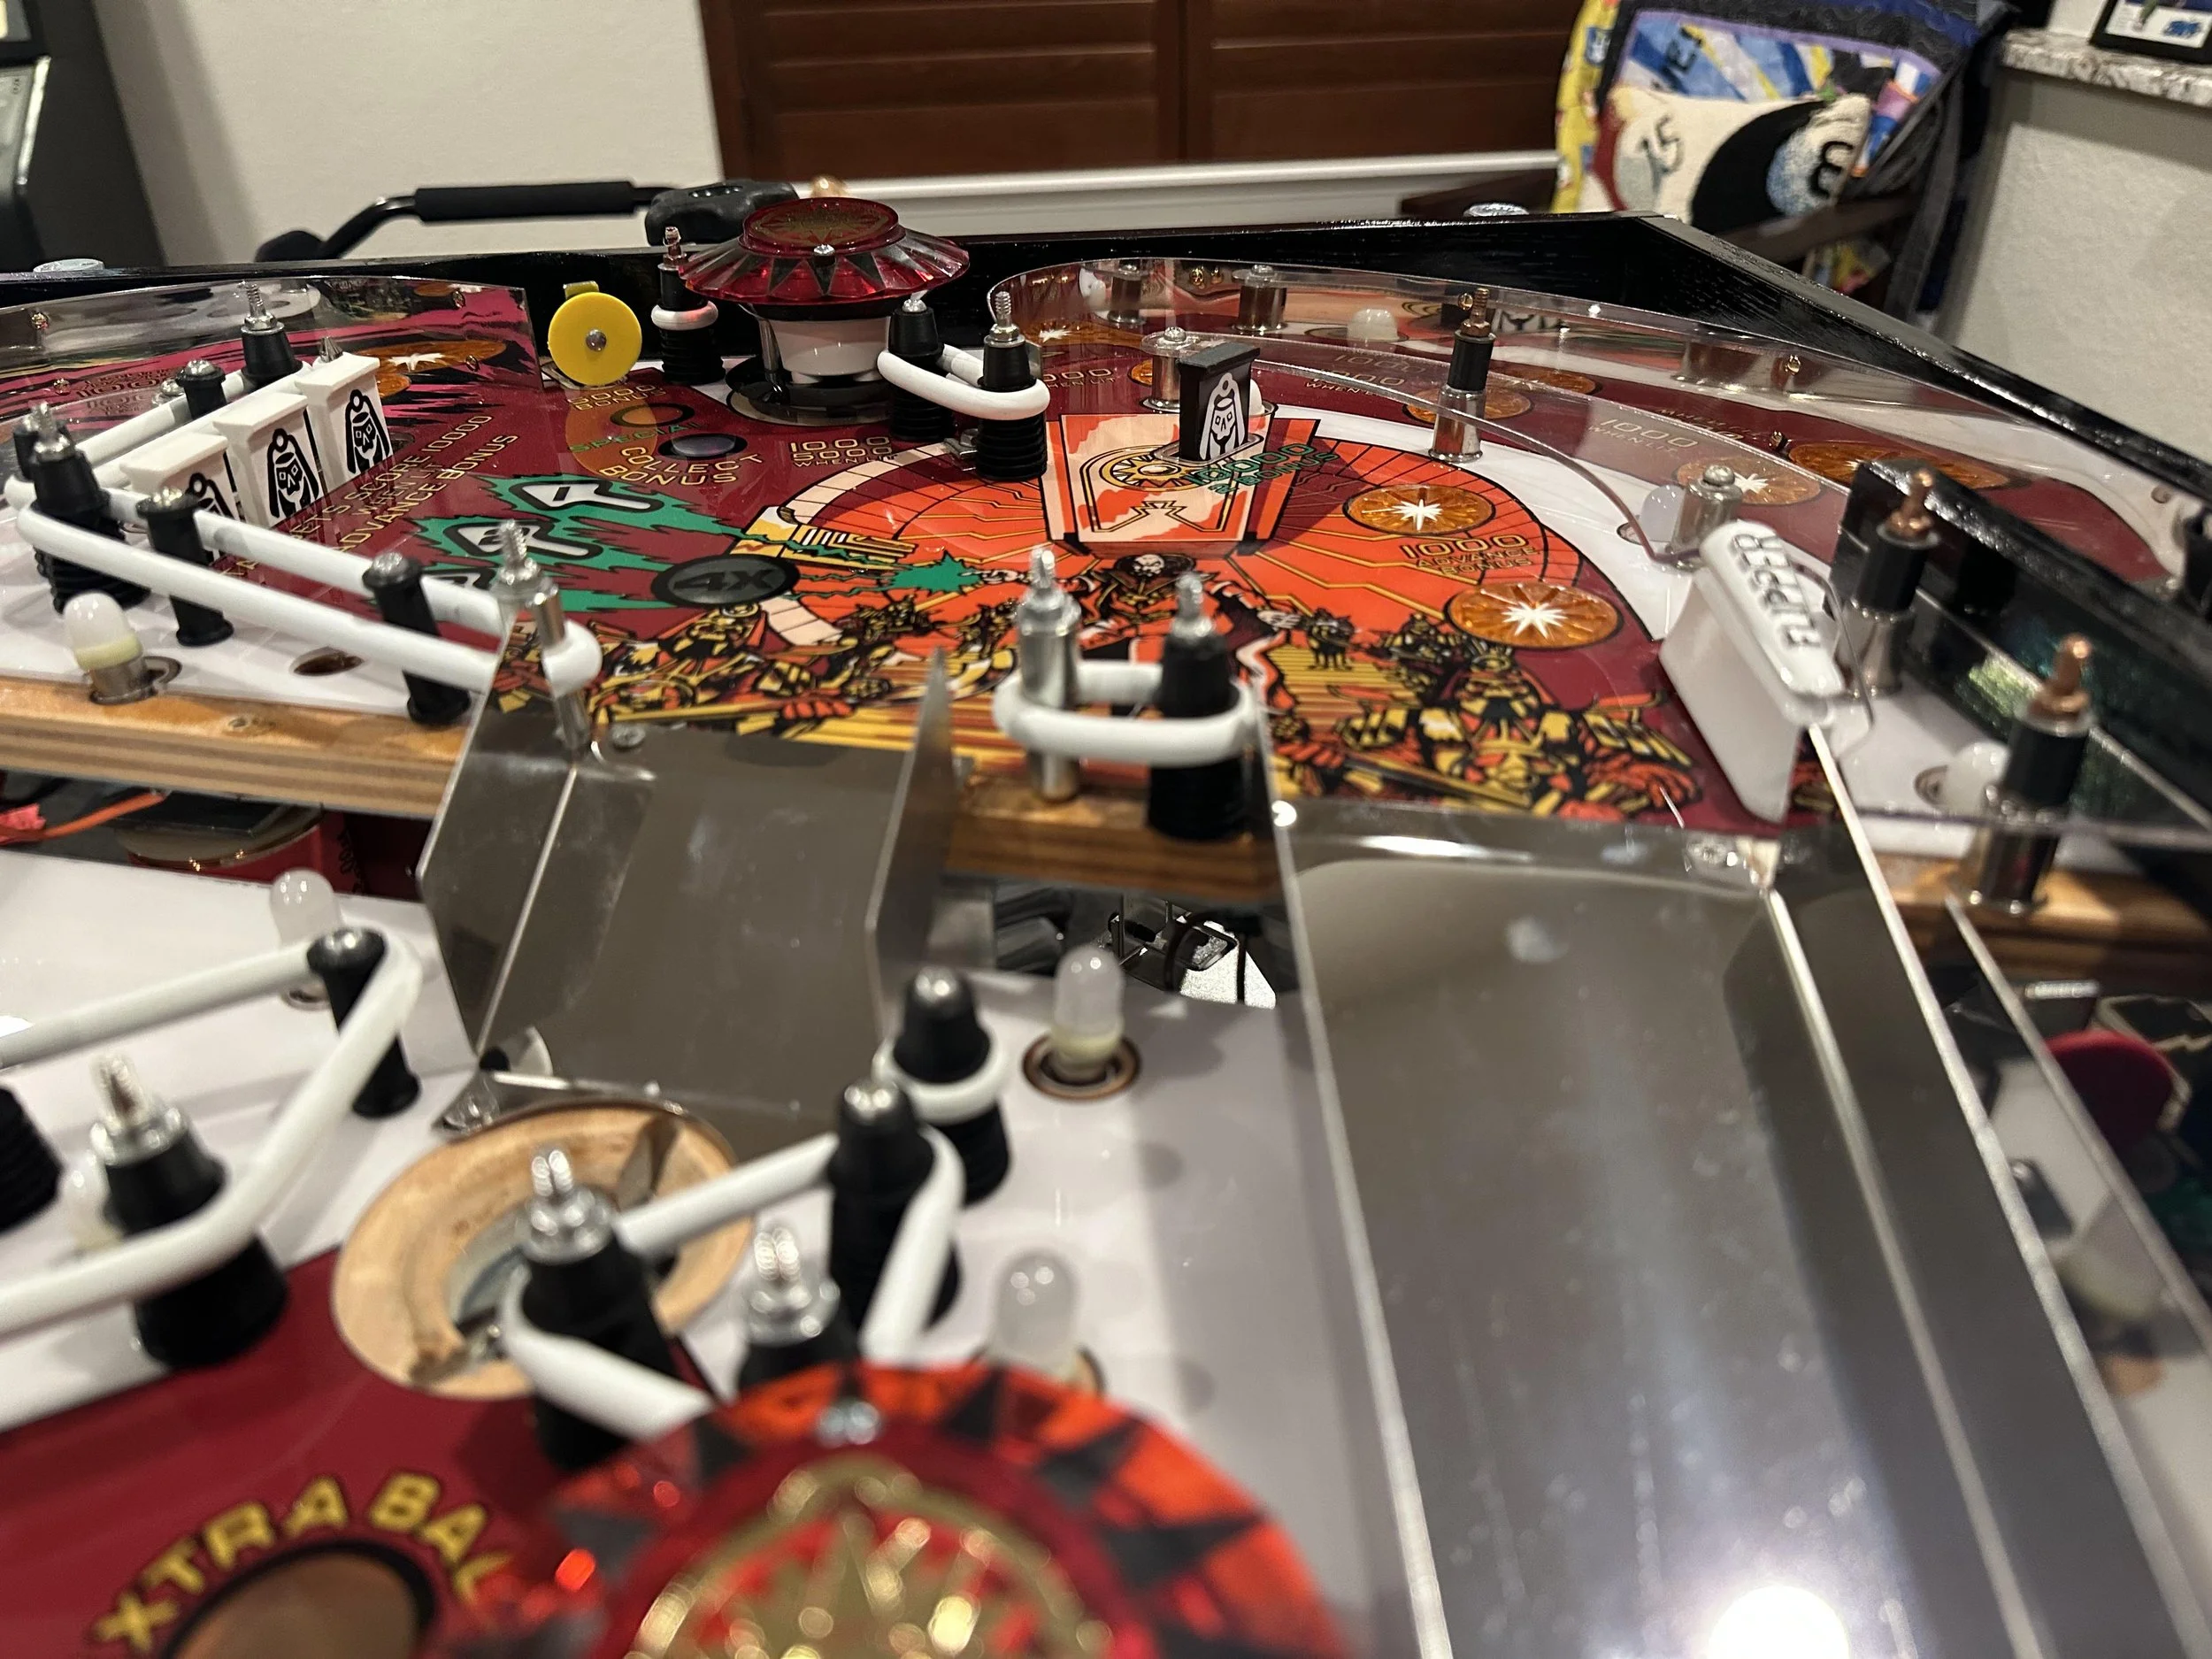
Drop Targets with the alien face embedded into the target face. Regular White with Black Alien ones for the two banks and the inline, and a special Black with White Alien for the “guard” that protects the path into the bonus area in front of the shooter lane.
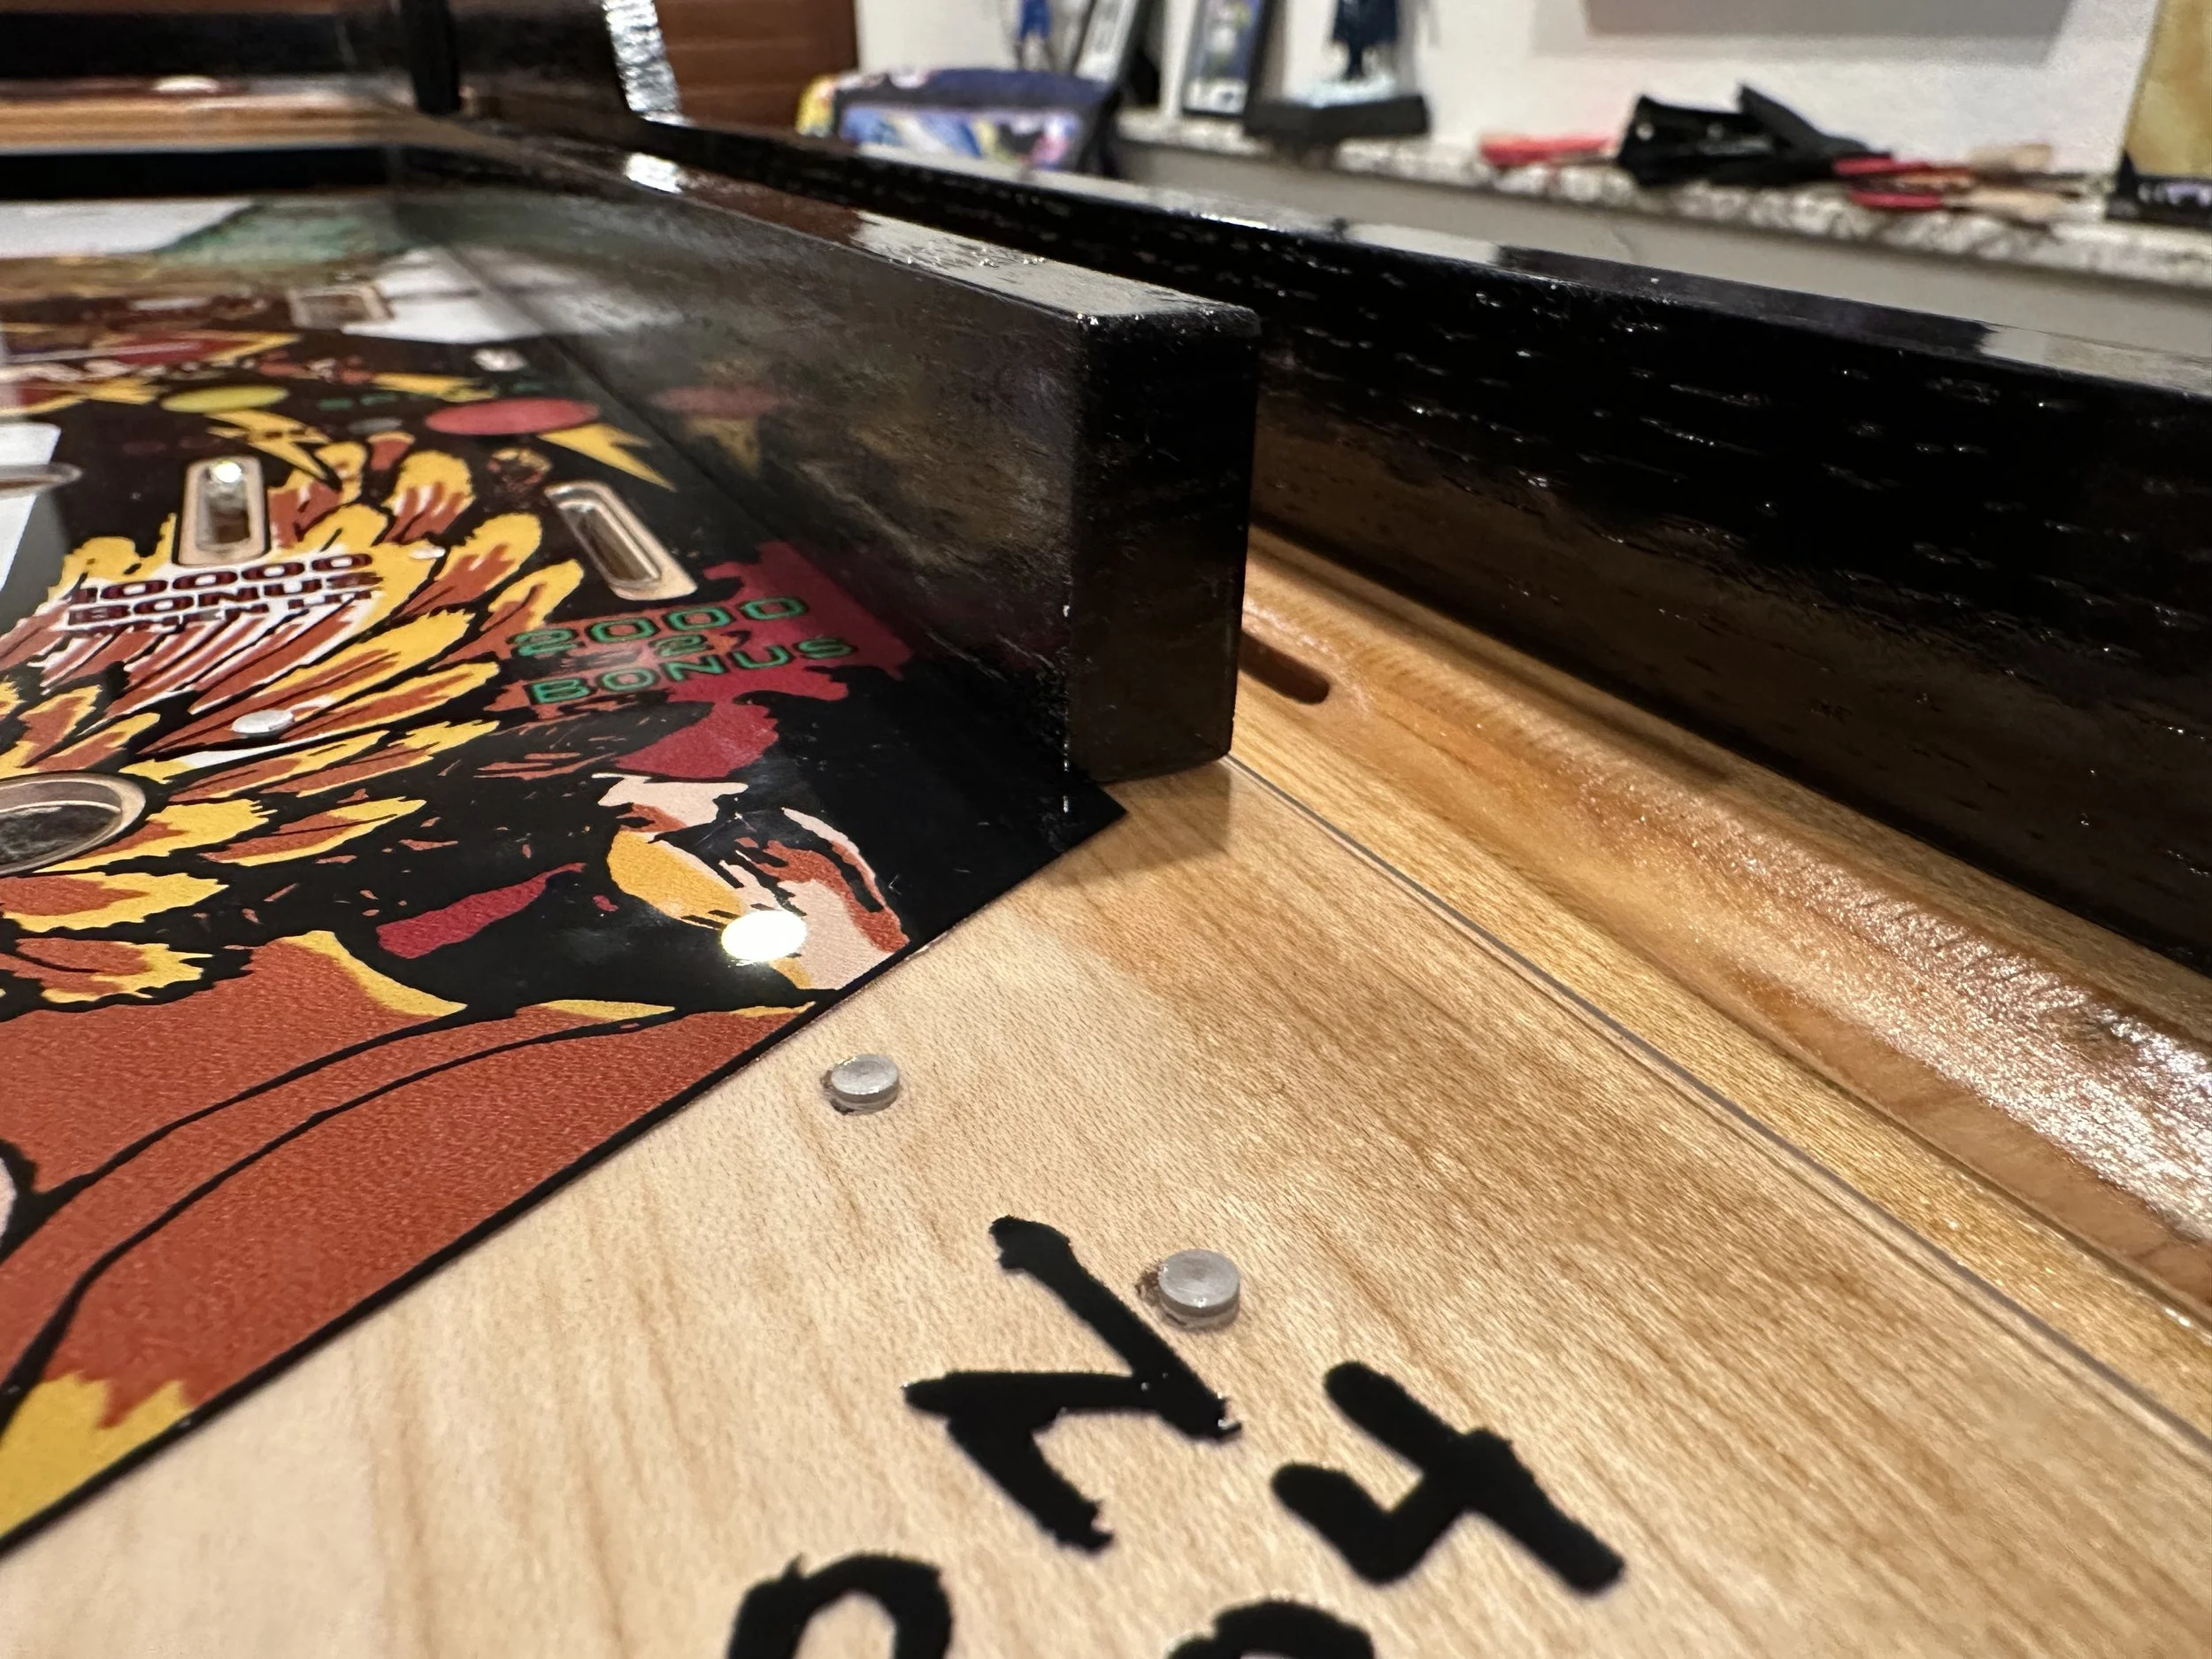
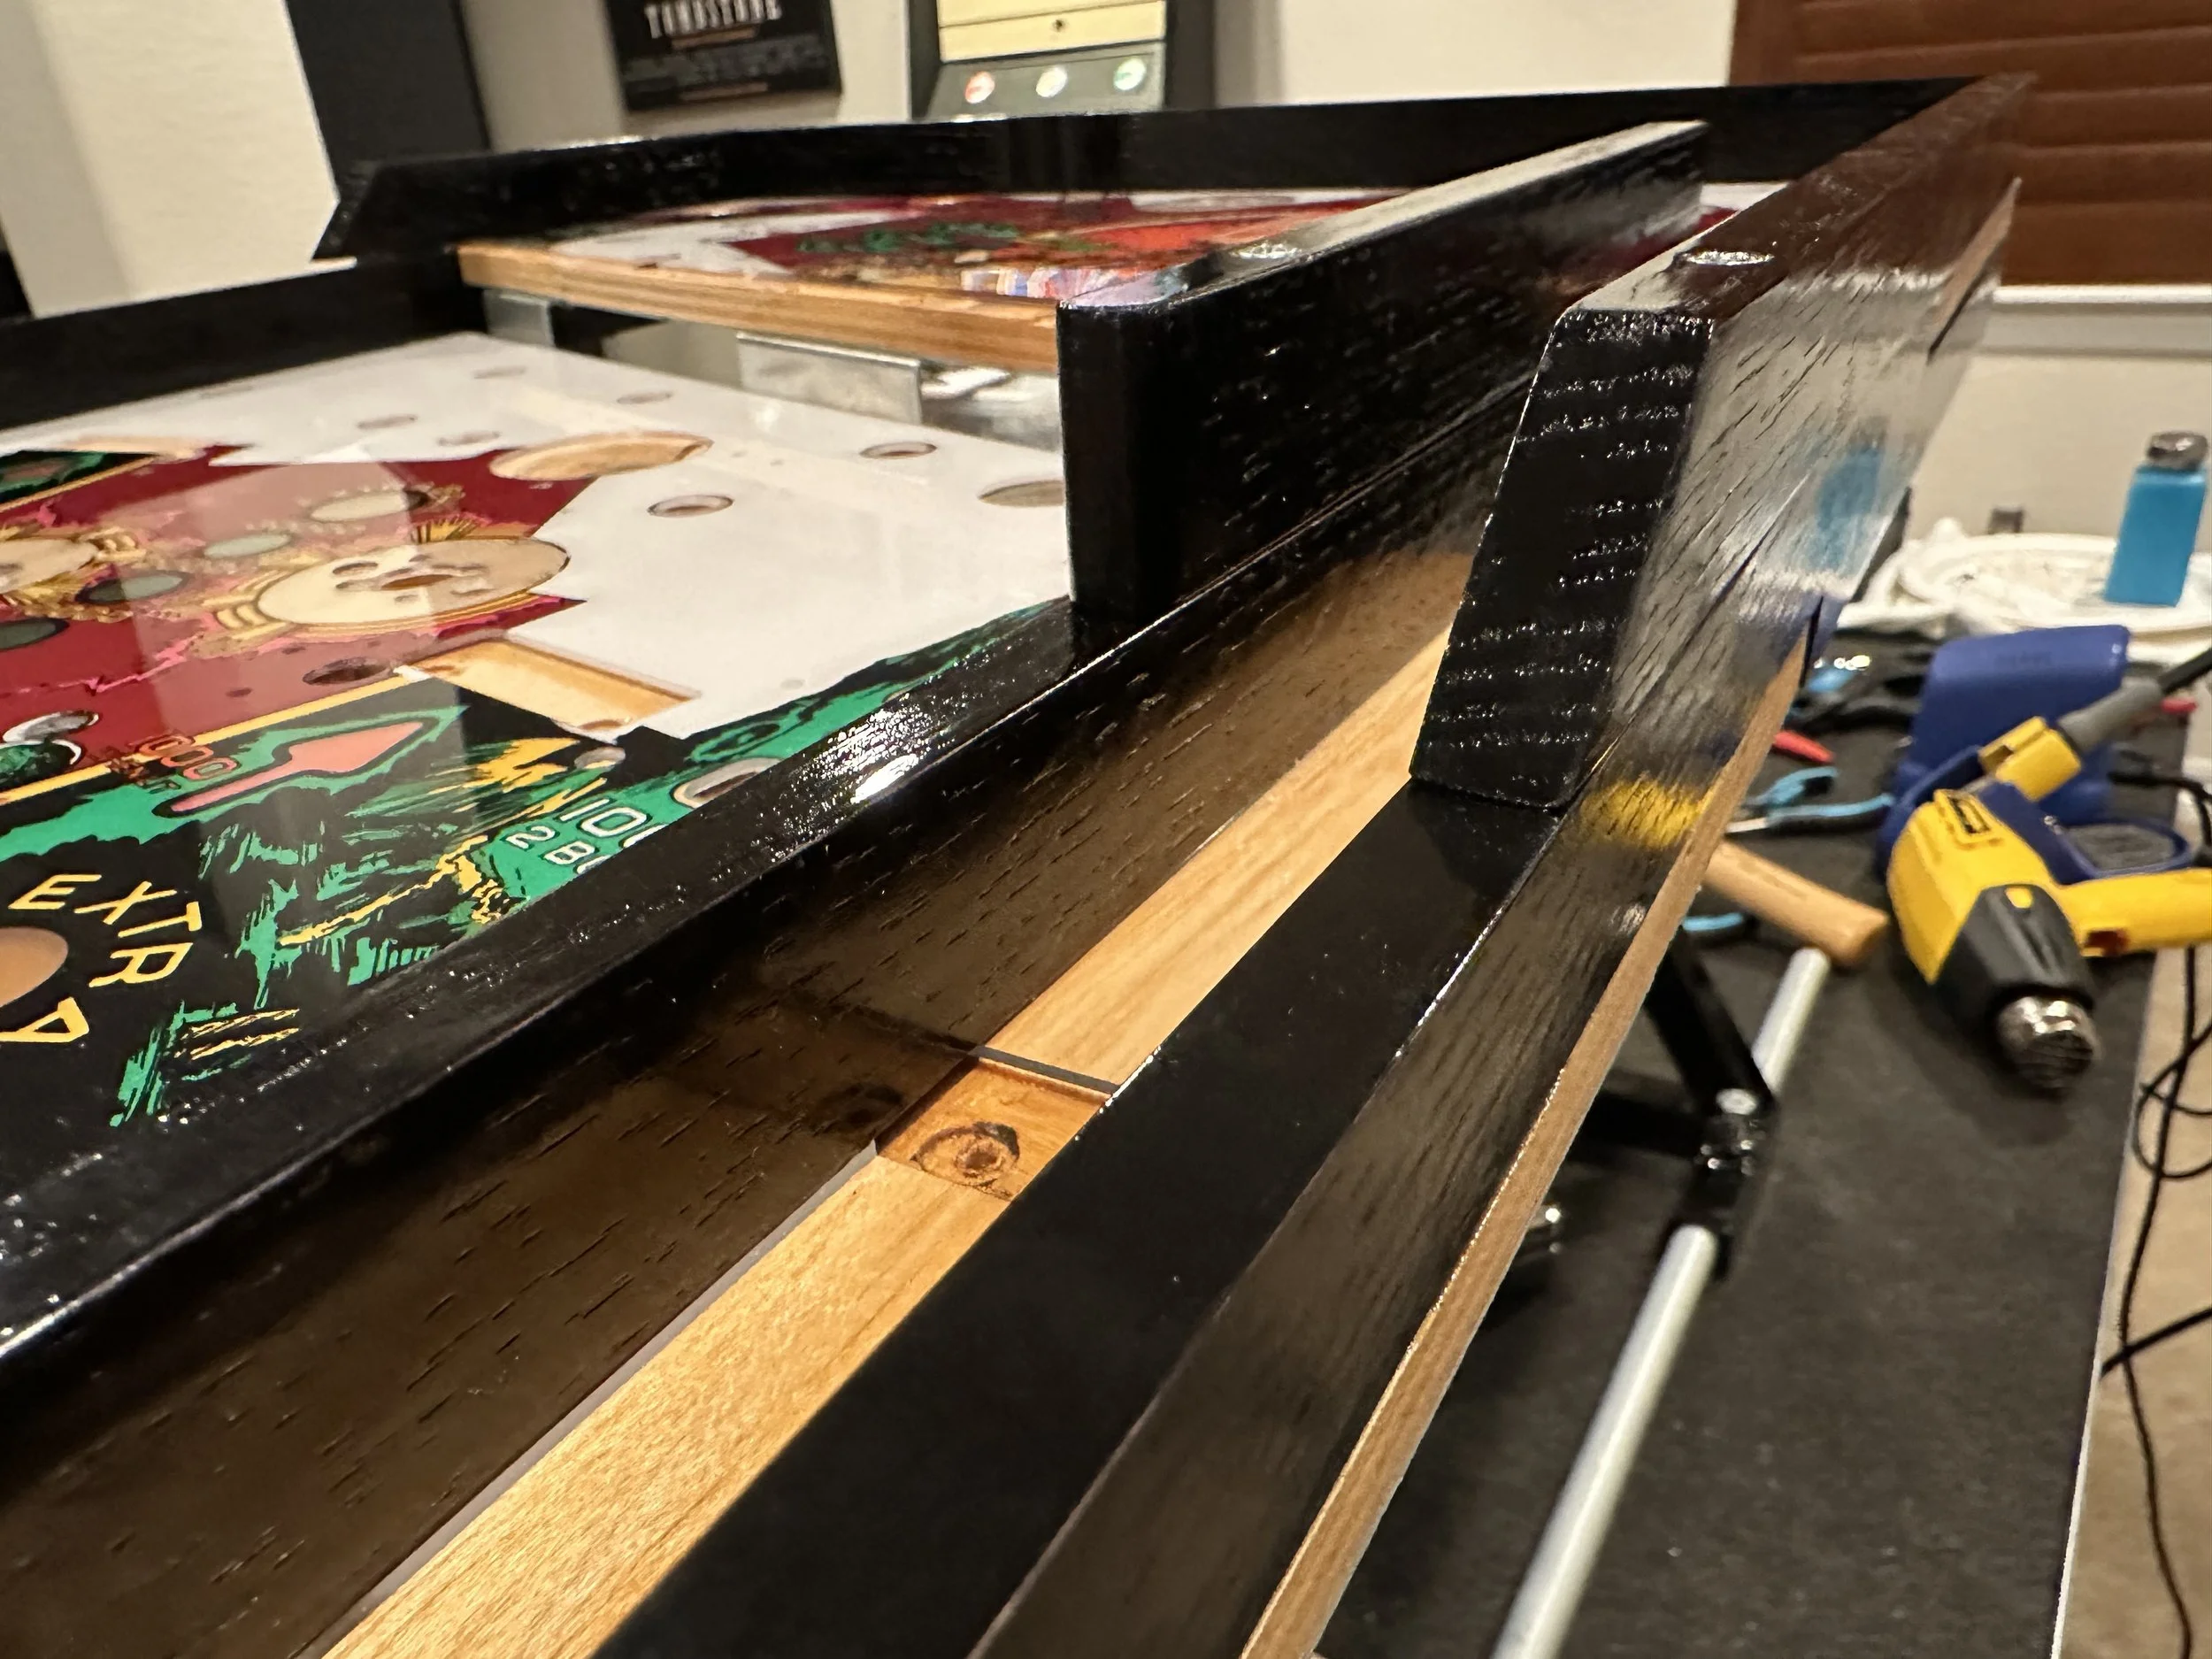
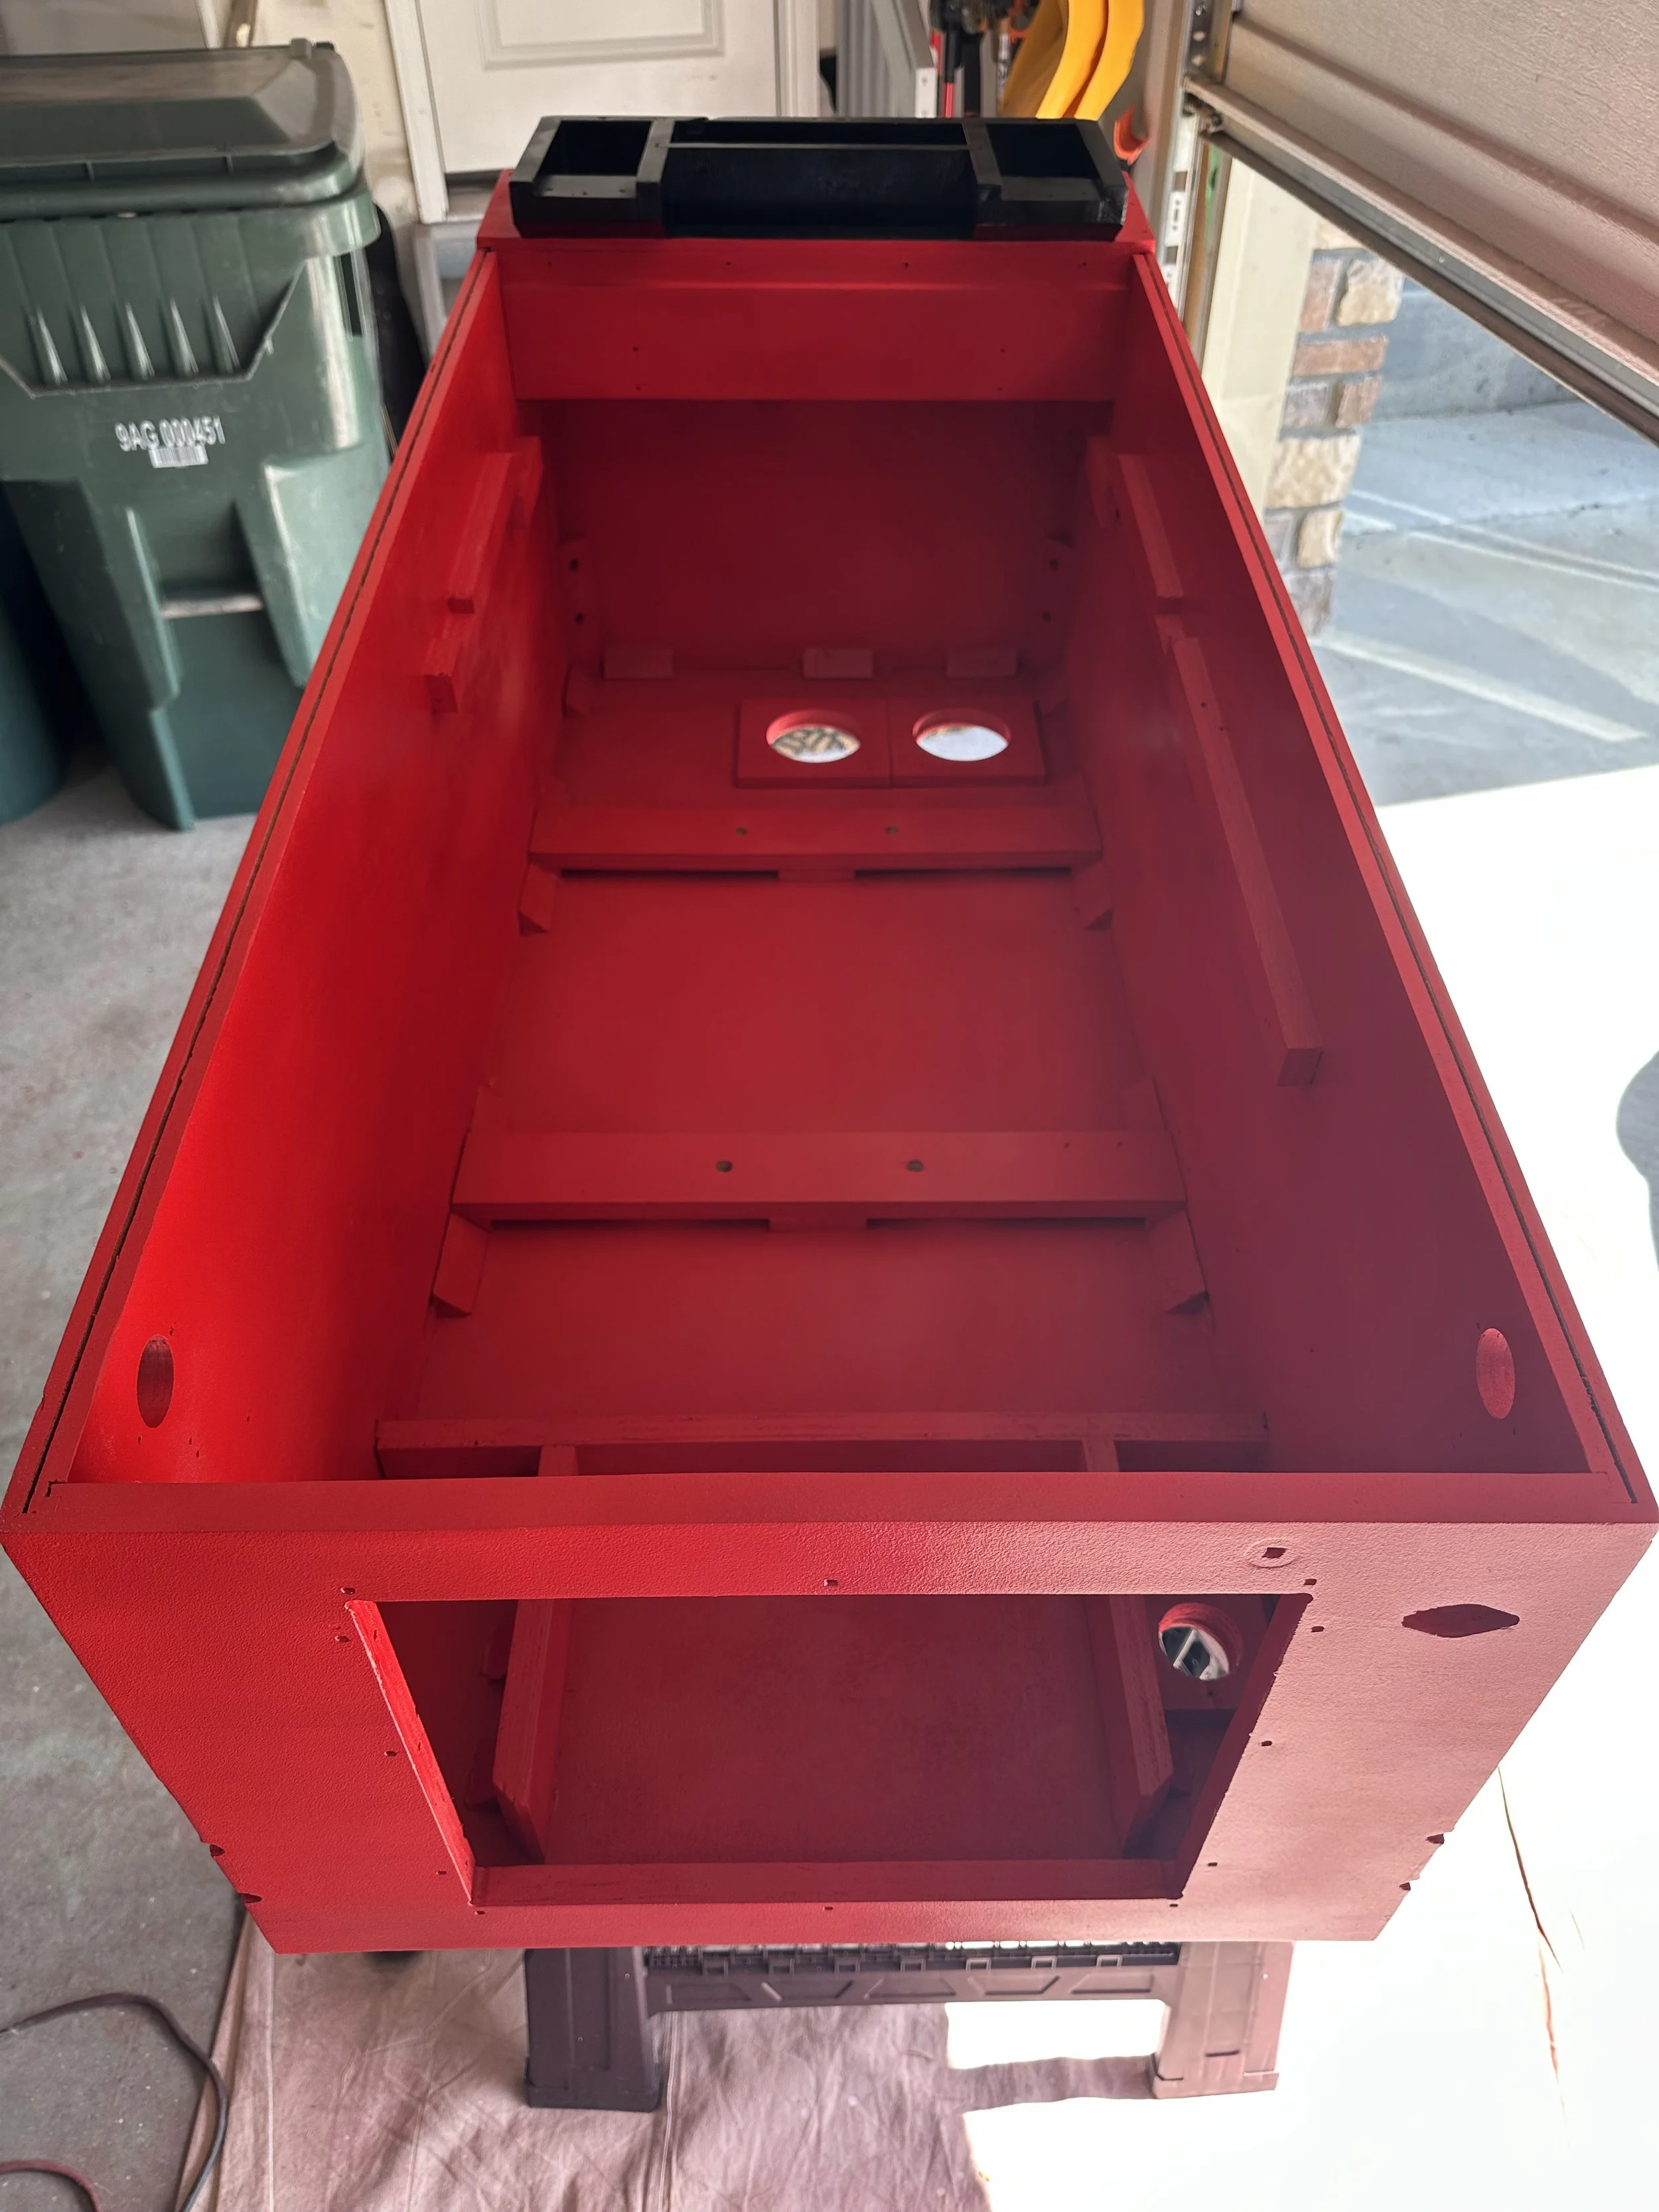
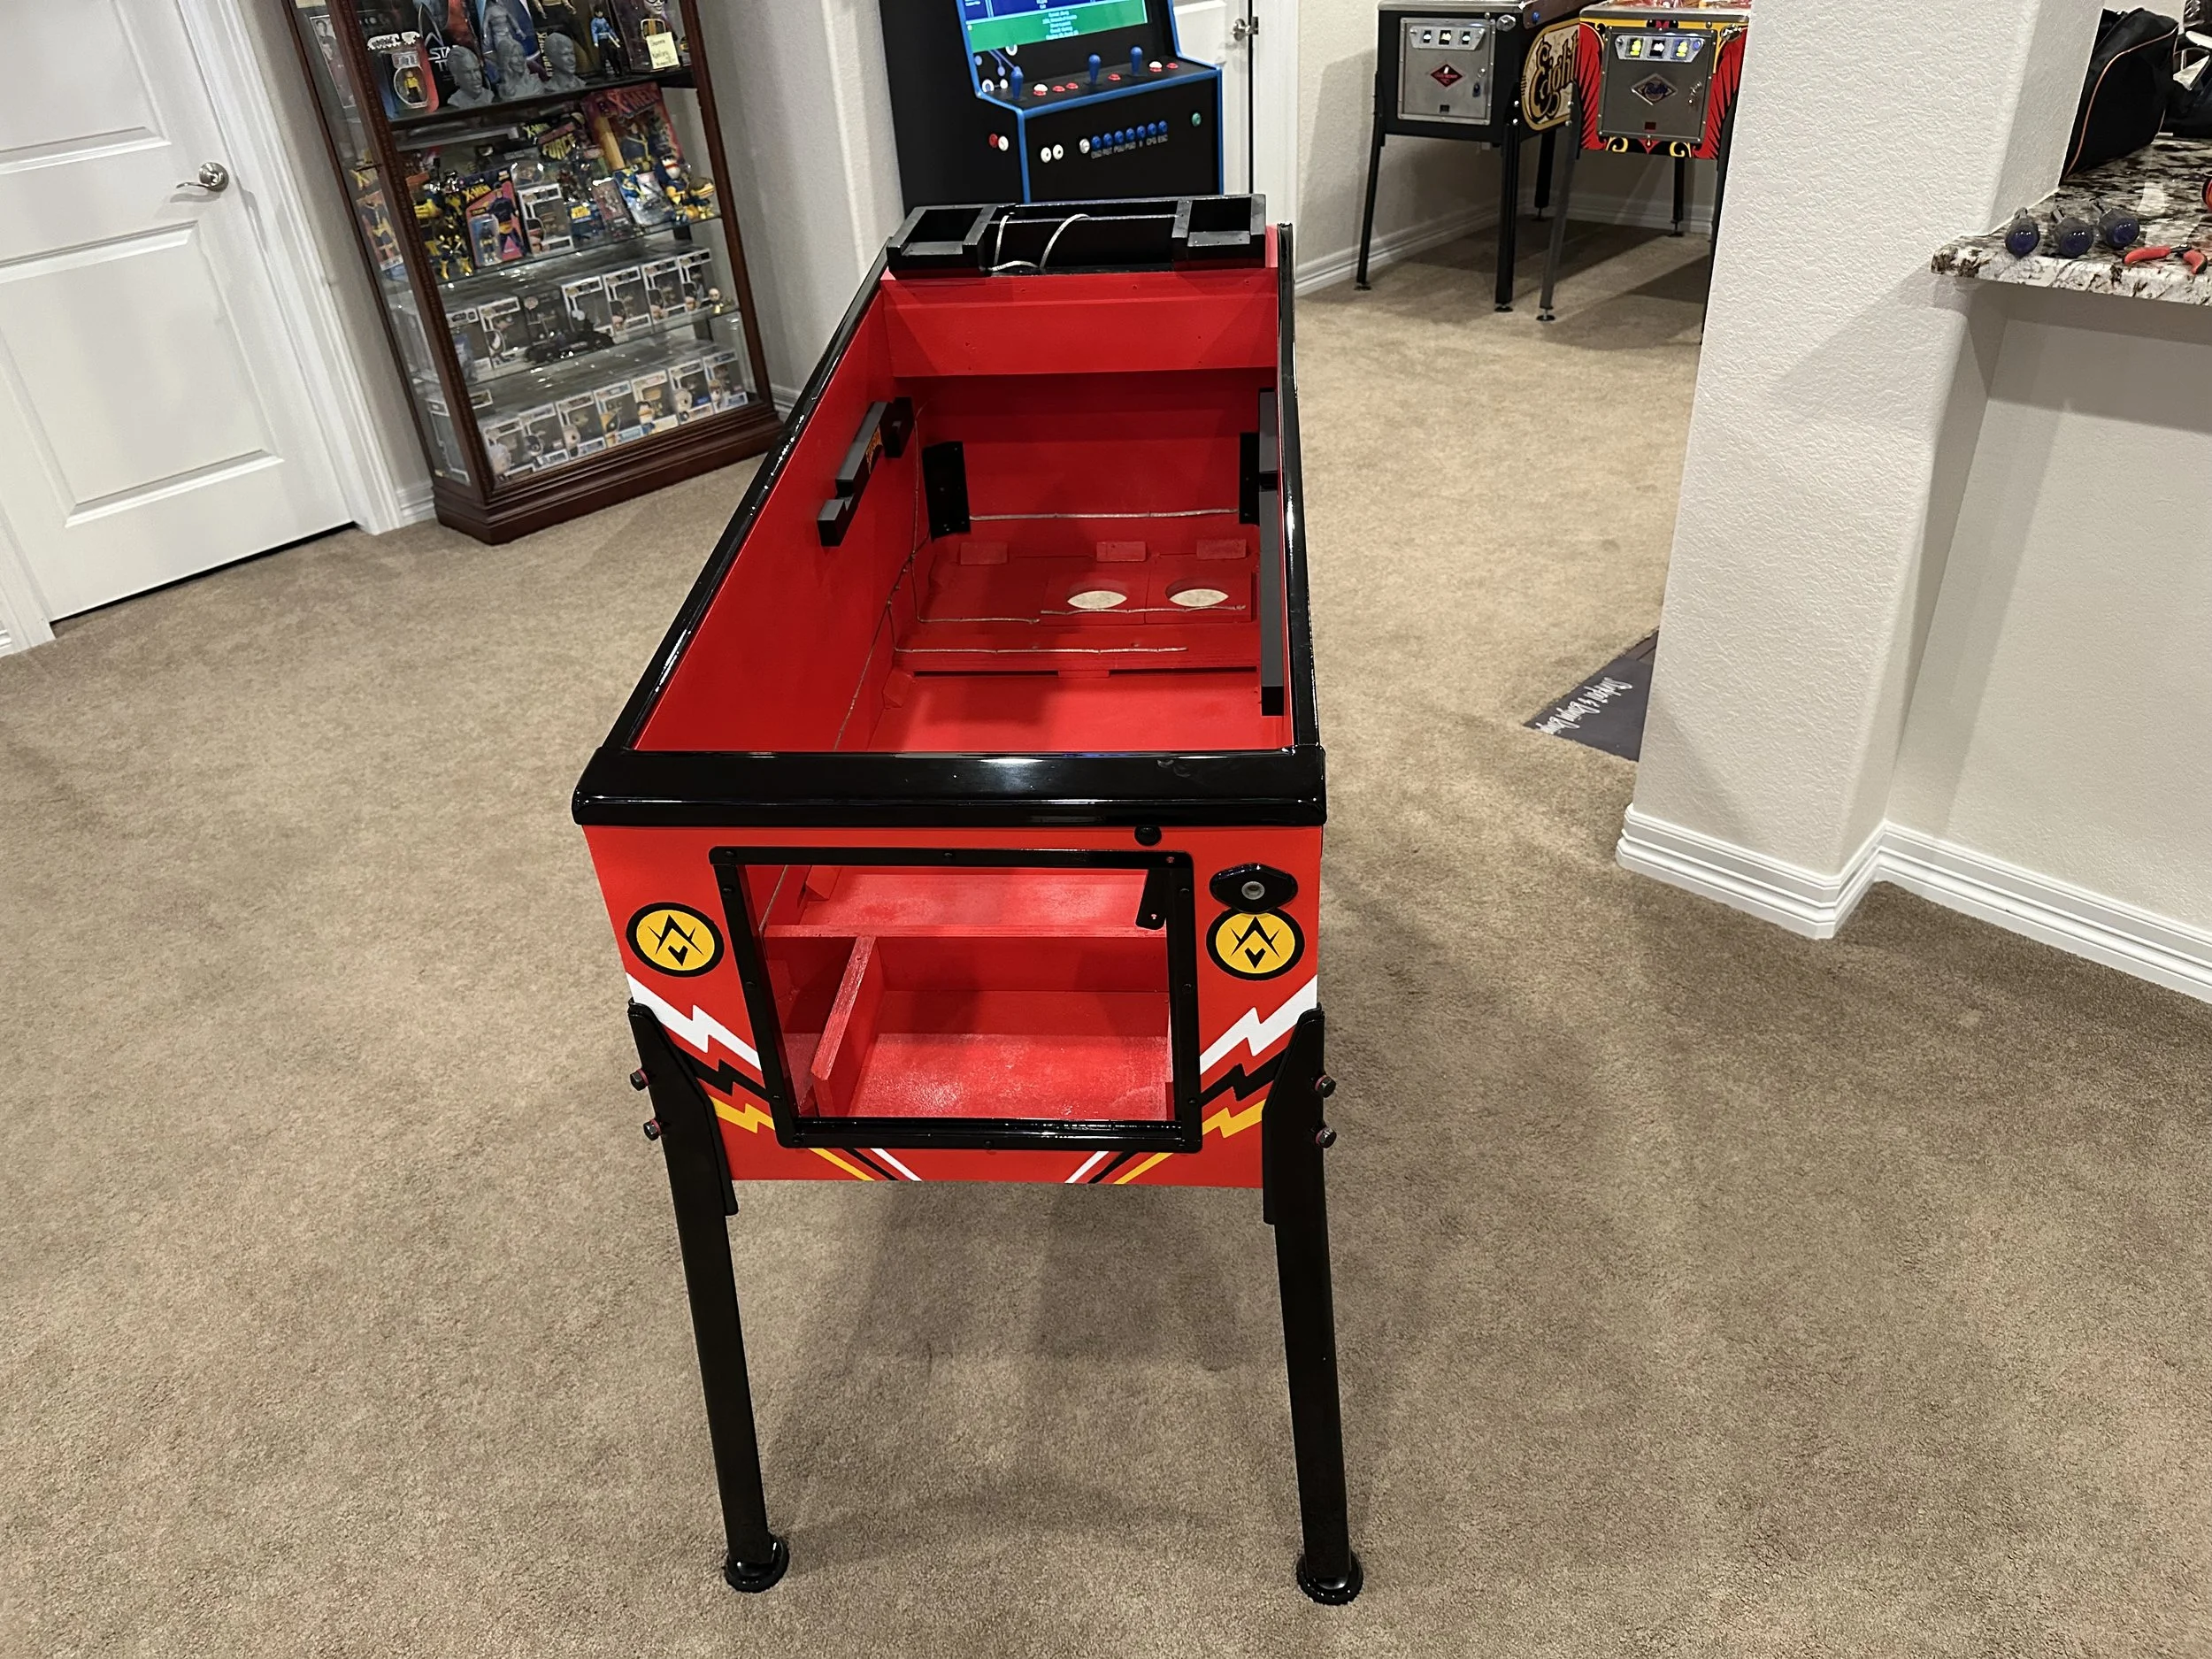
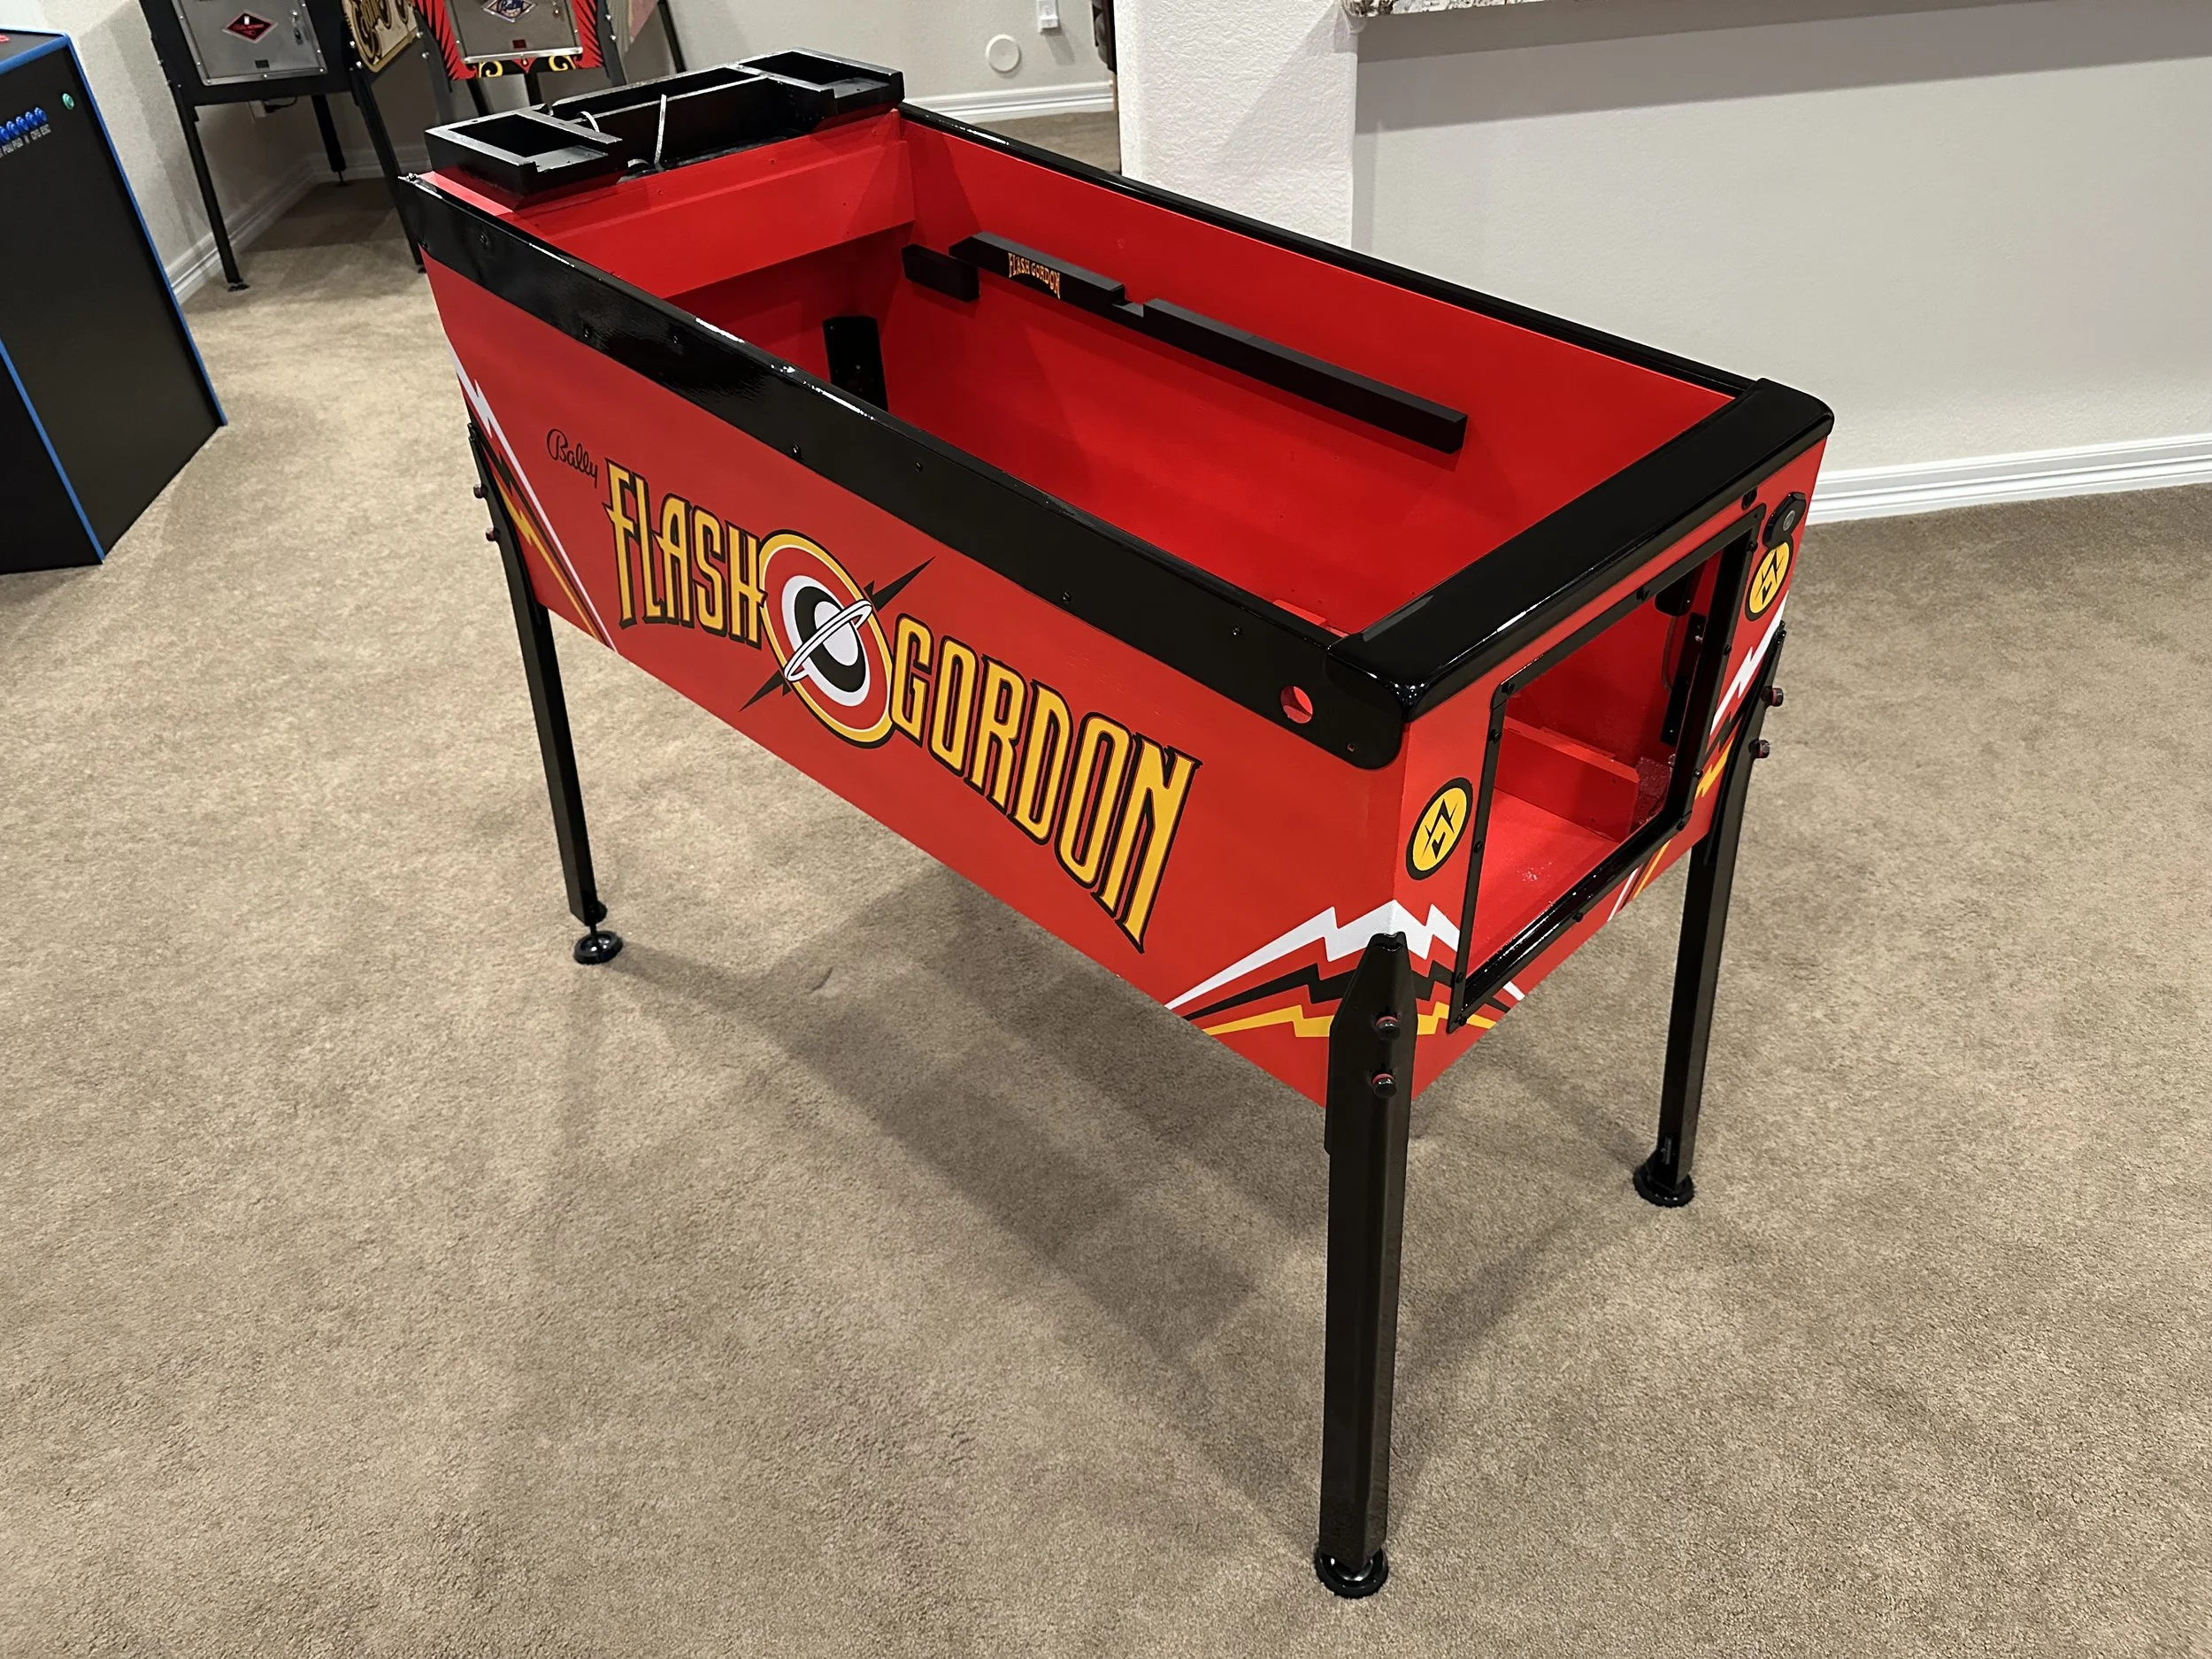
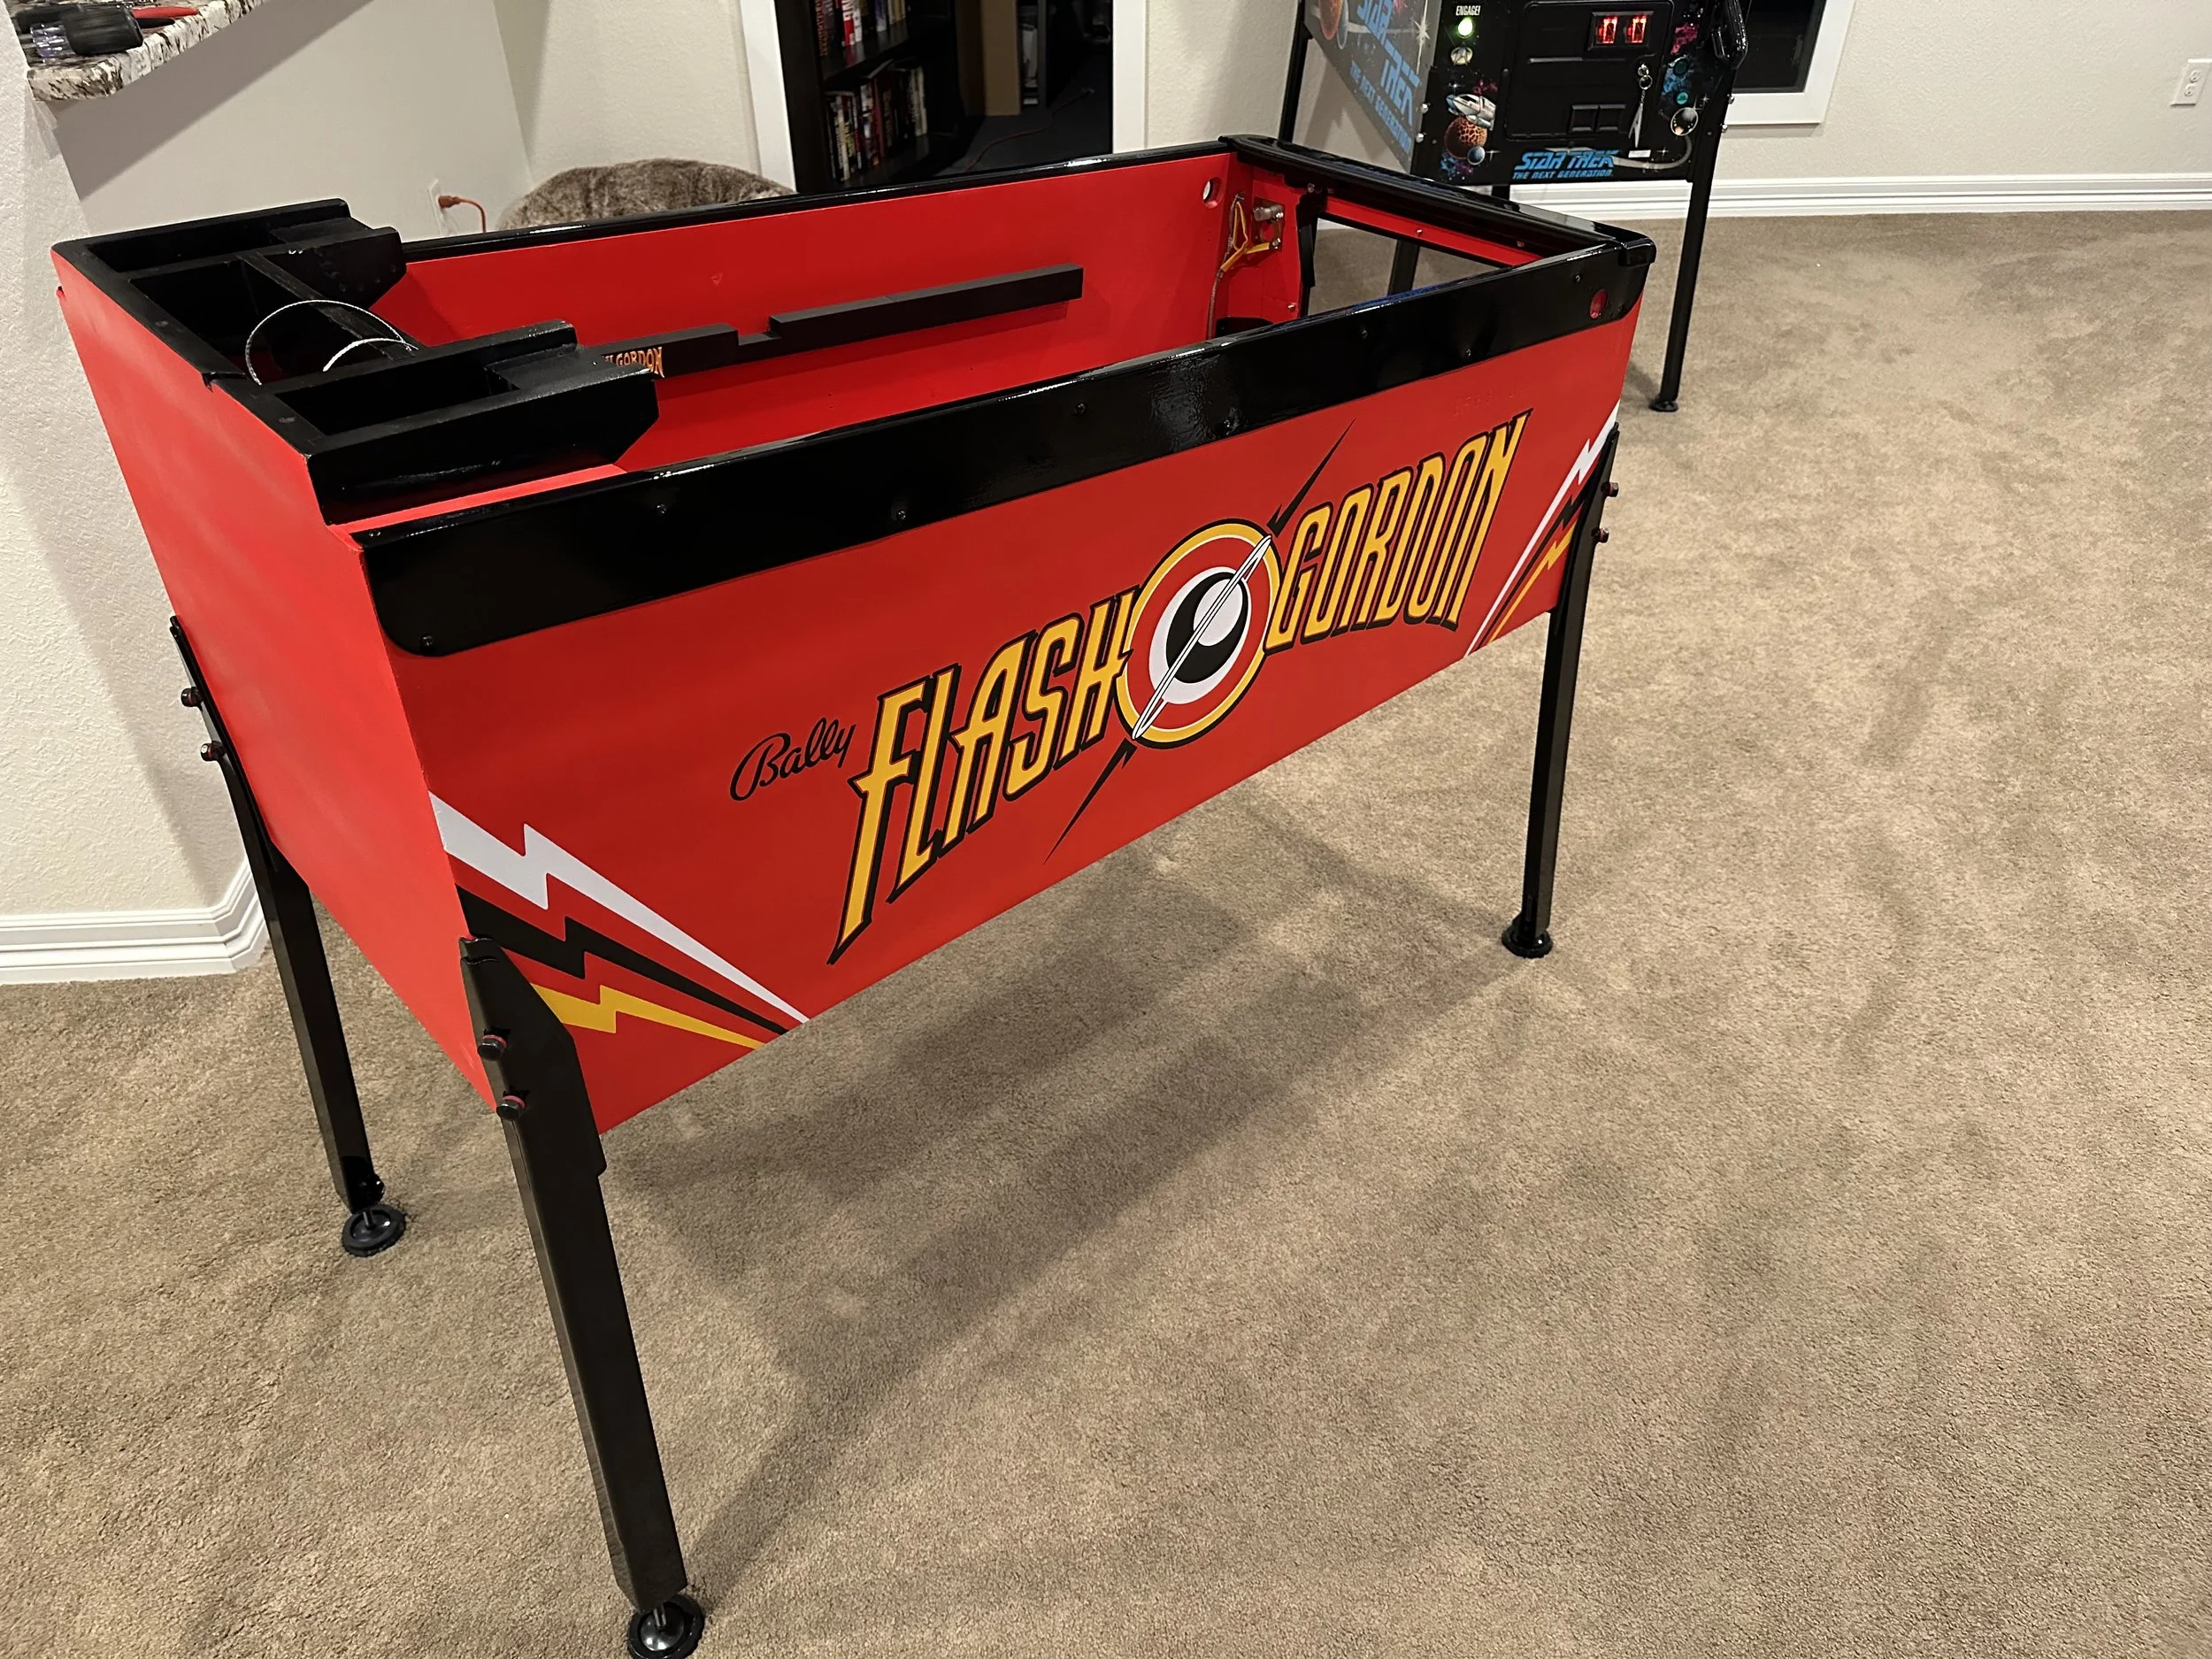
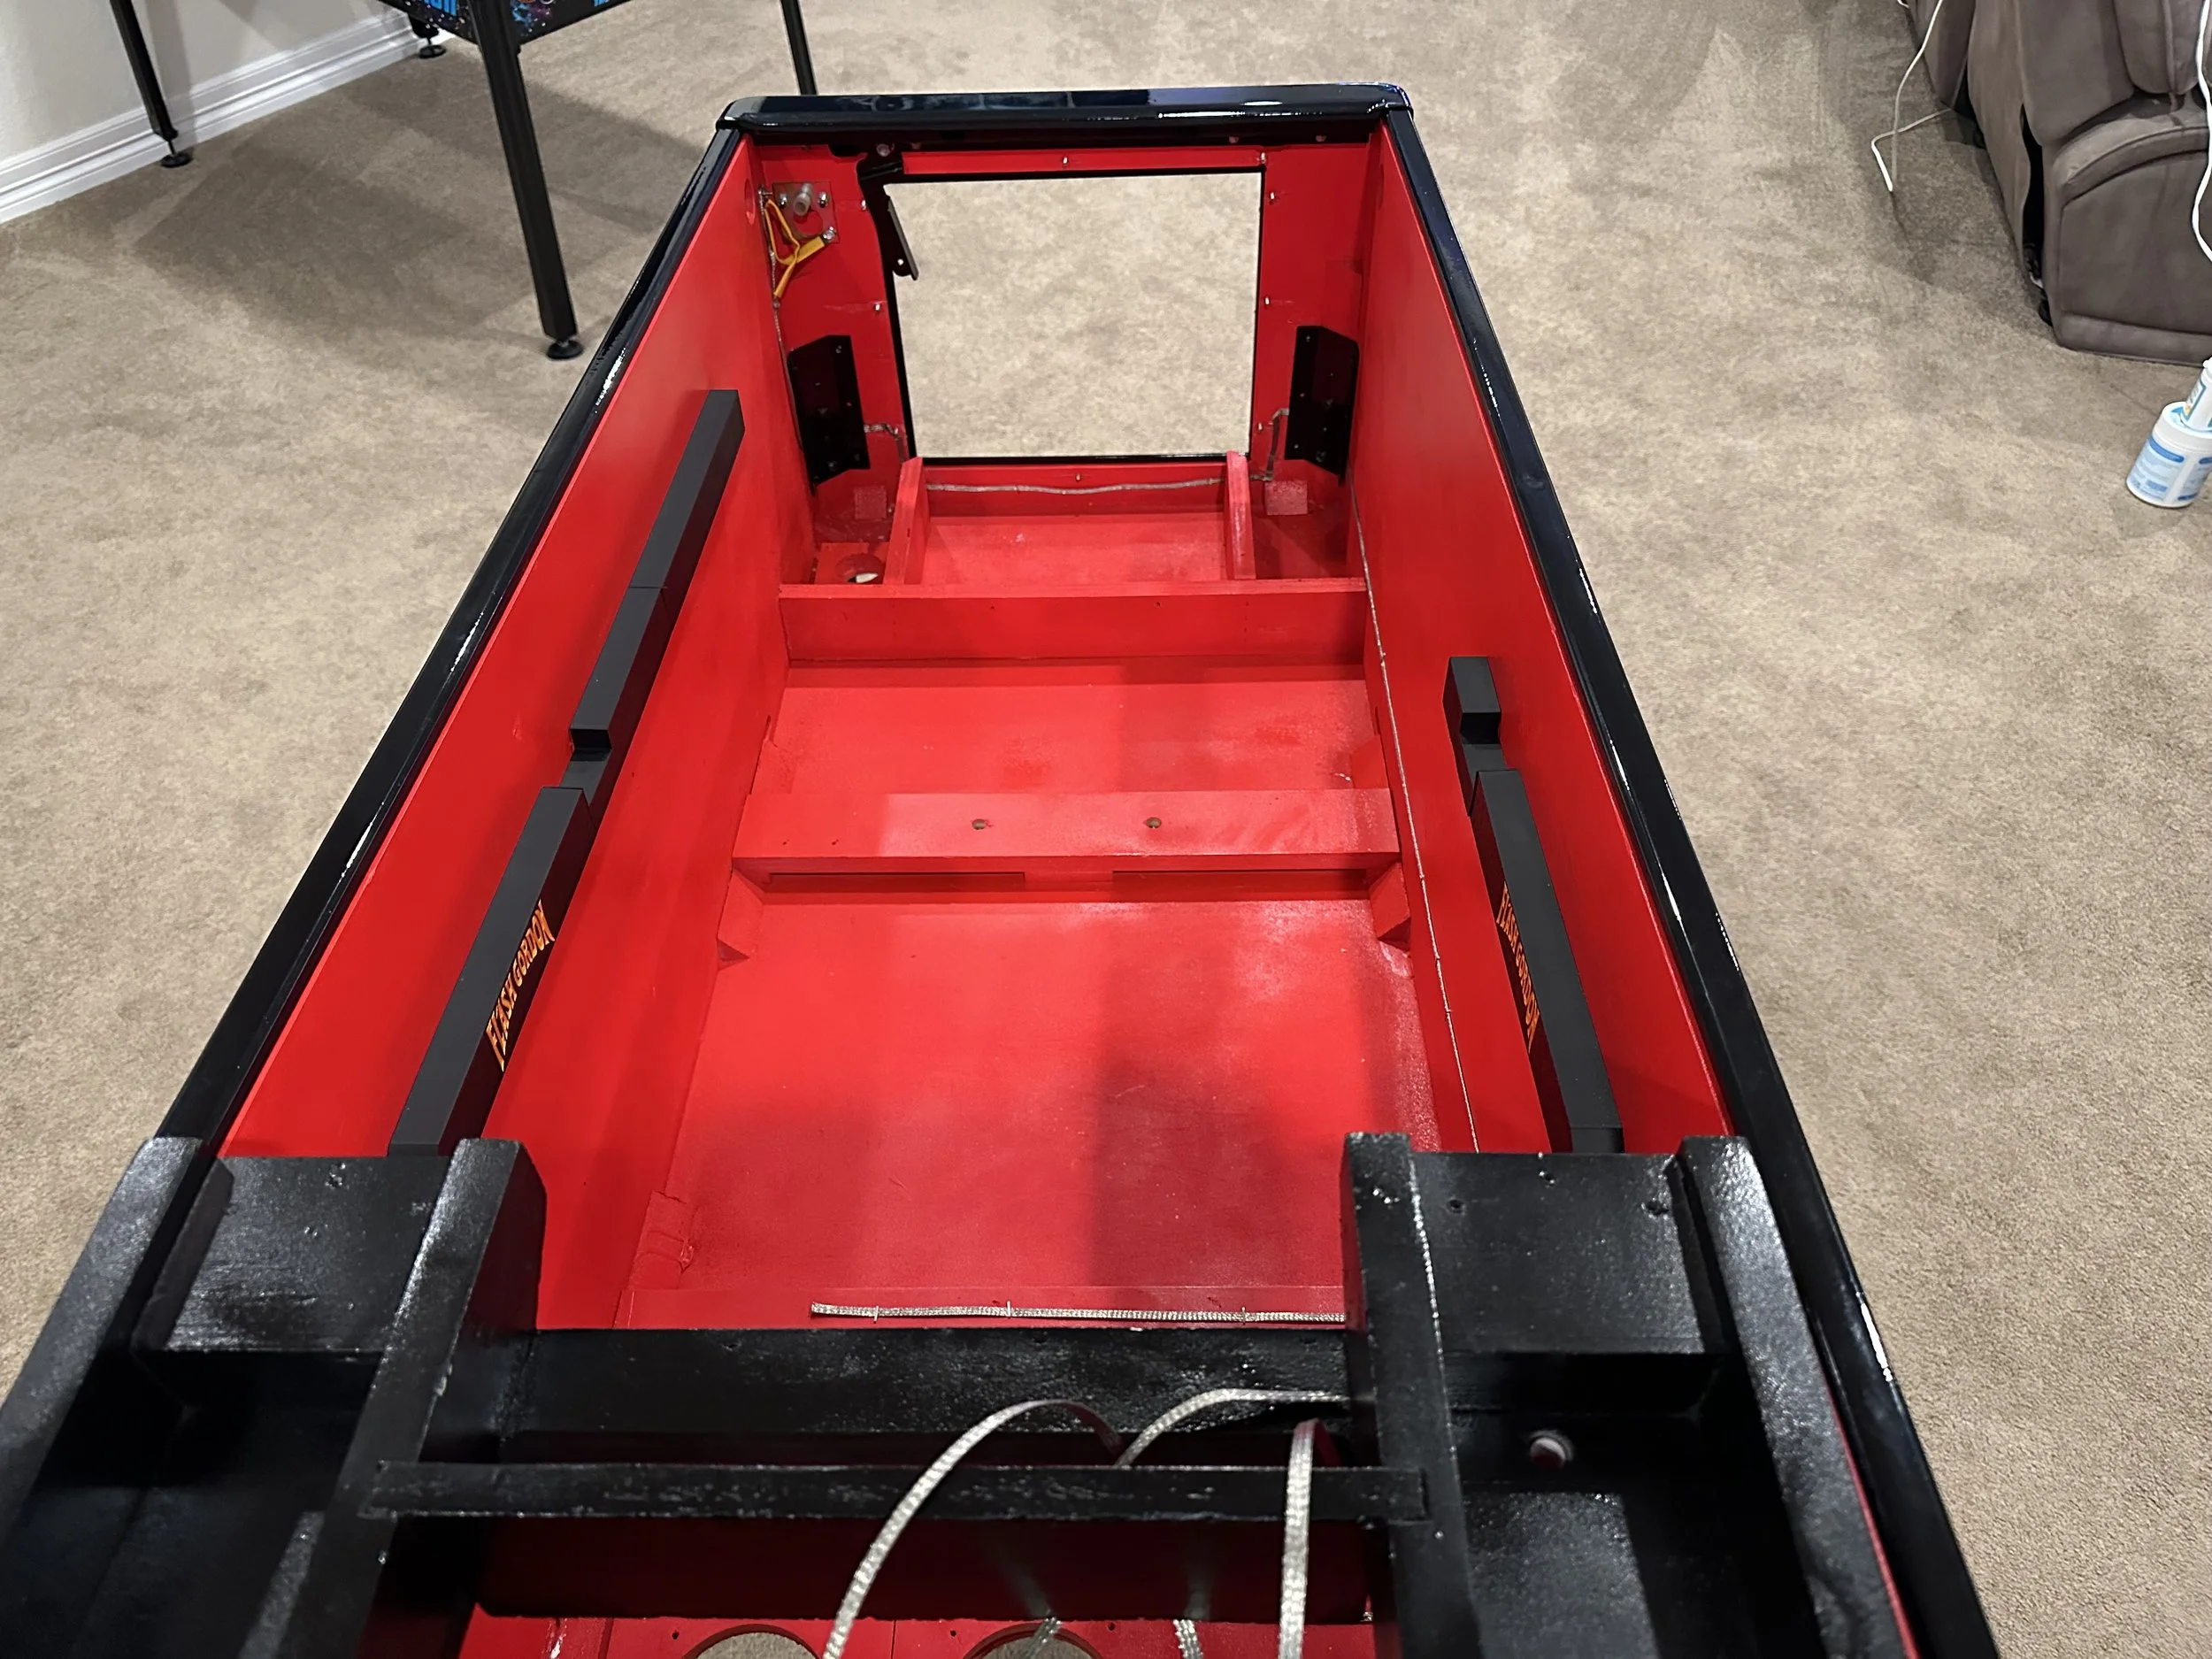
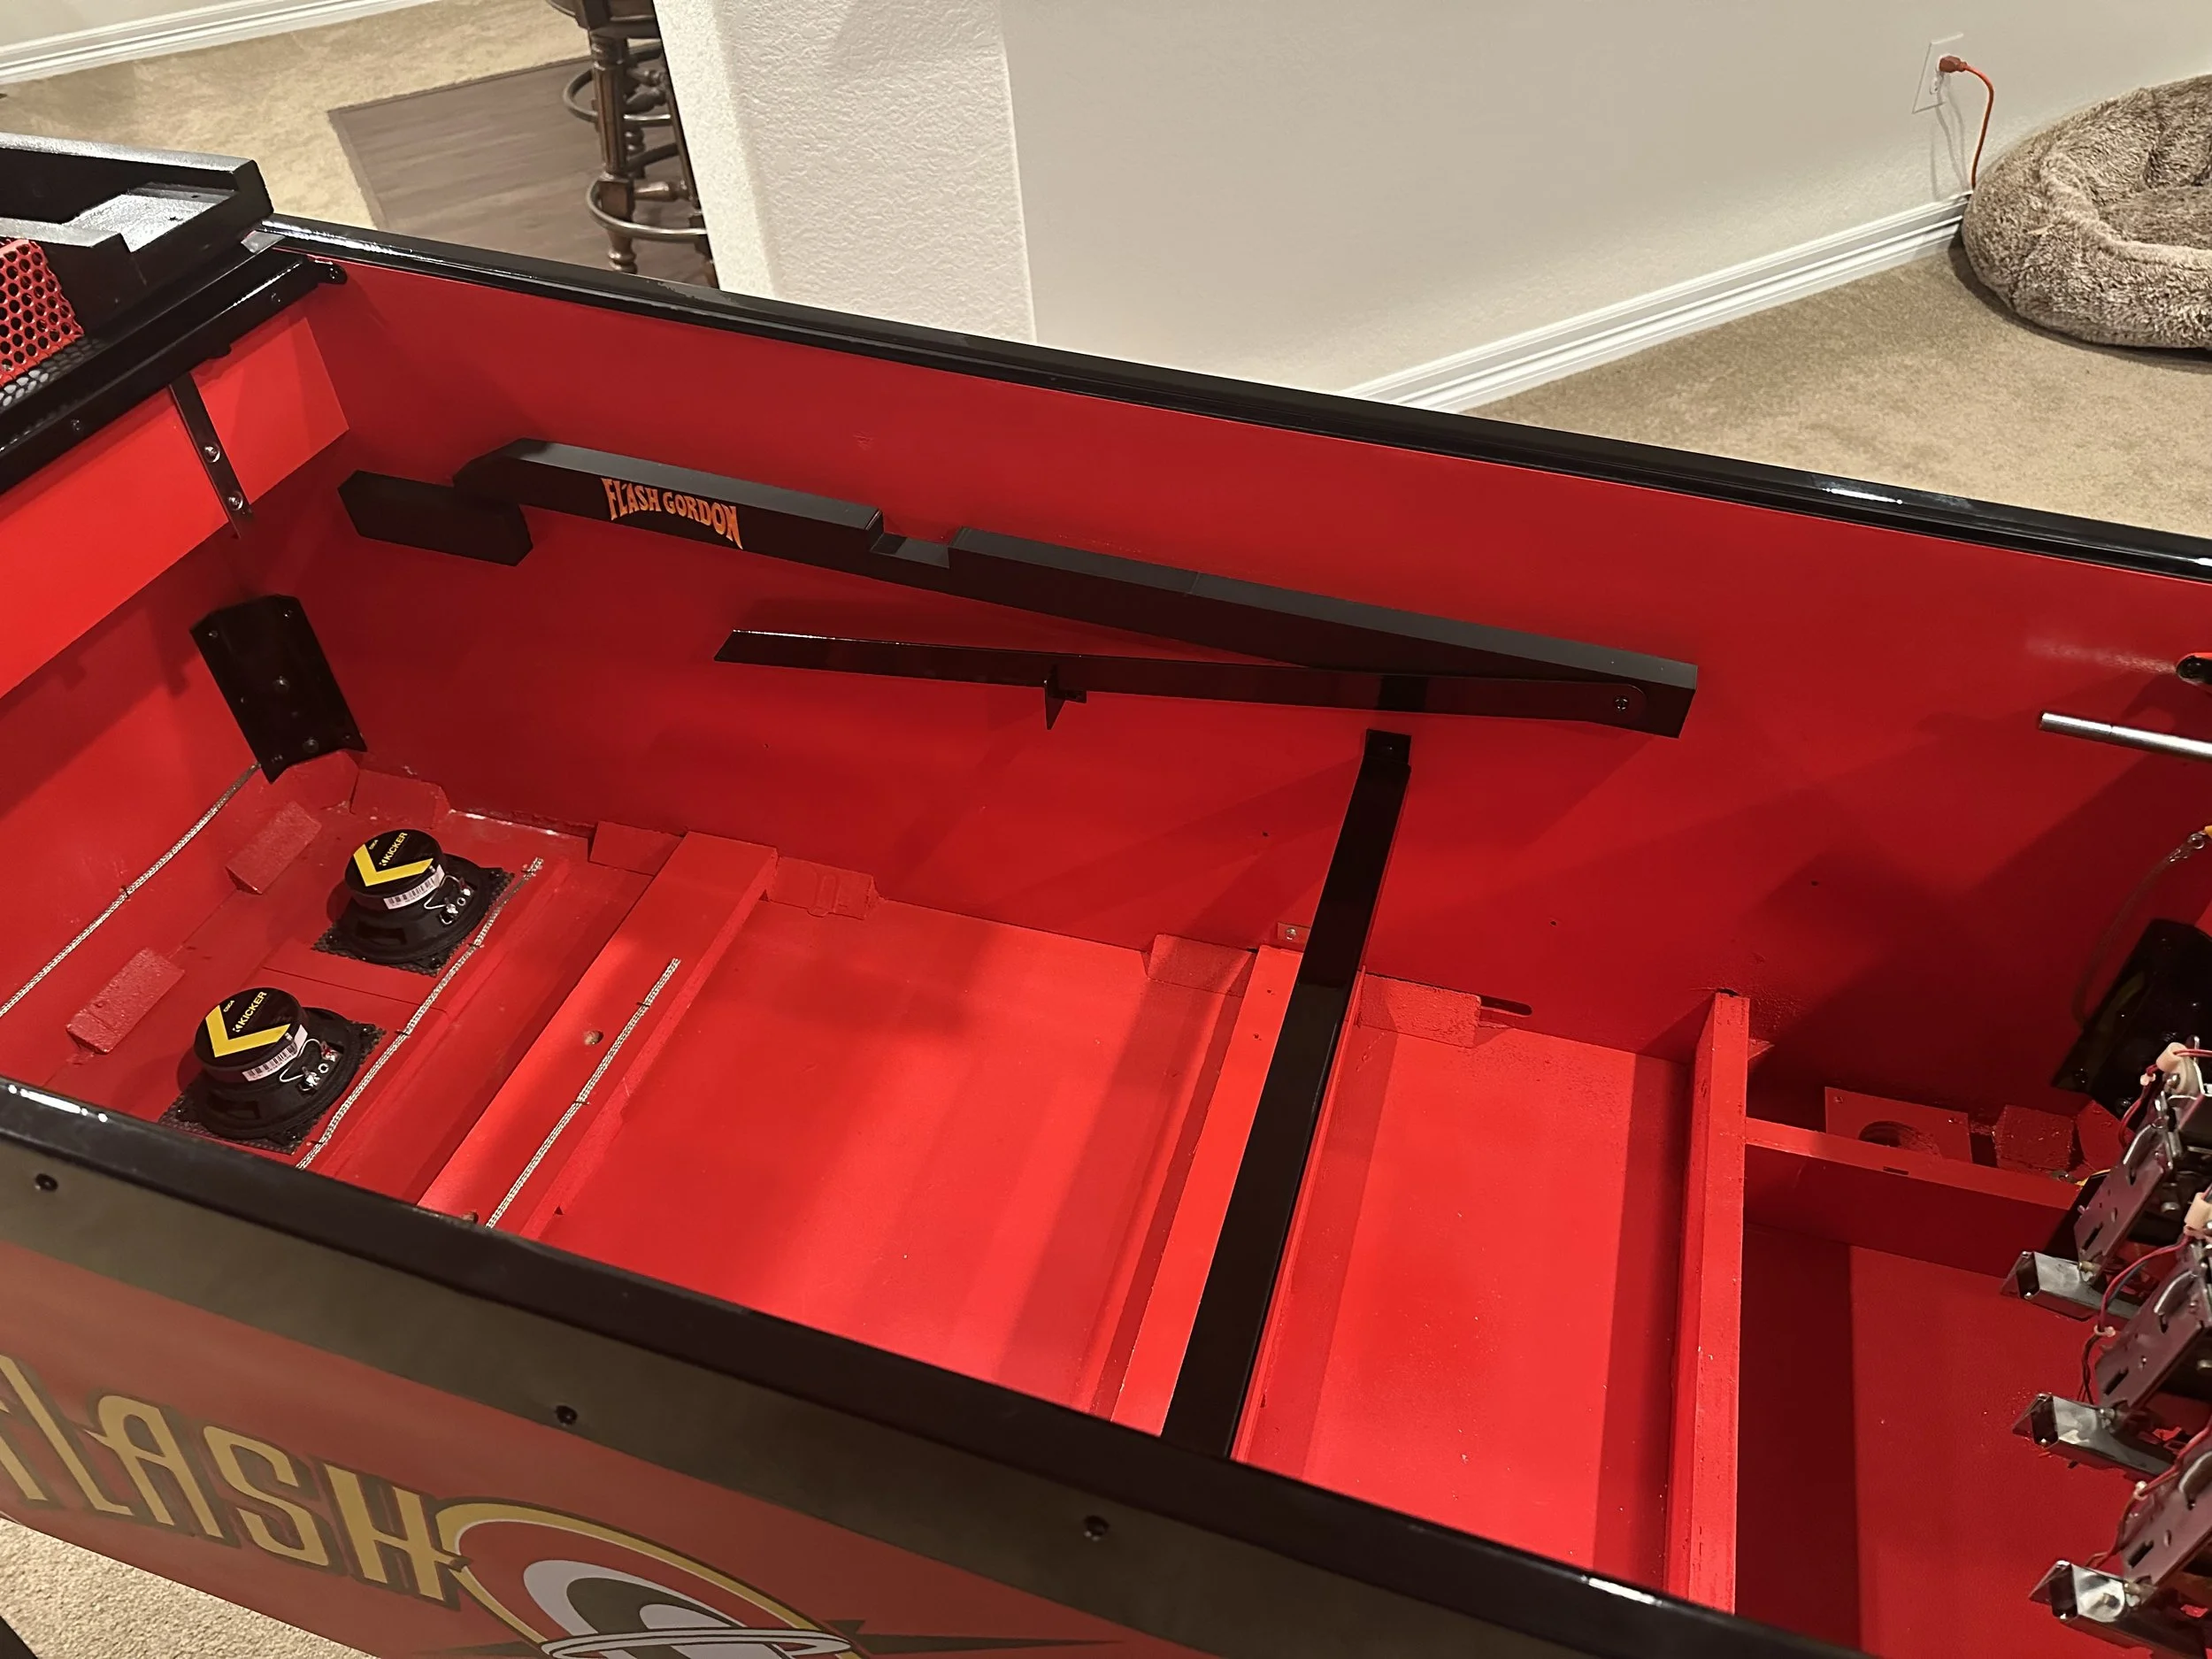
Covers for the cabinet rails that hold the playfield. Cleans up the interior and has some Flash Gordon logo bling as well. Covers can be easily removed to revert back to a more factory look.
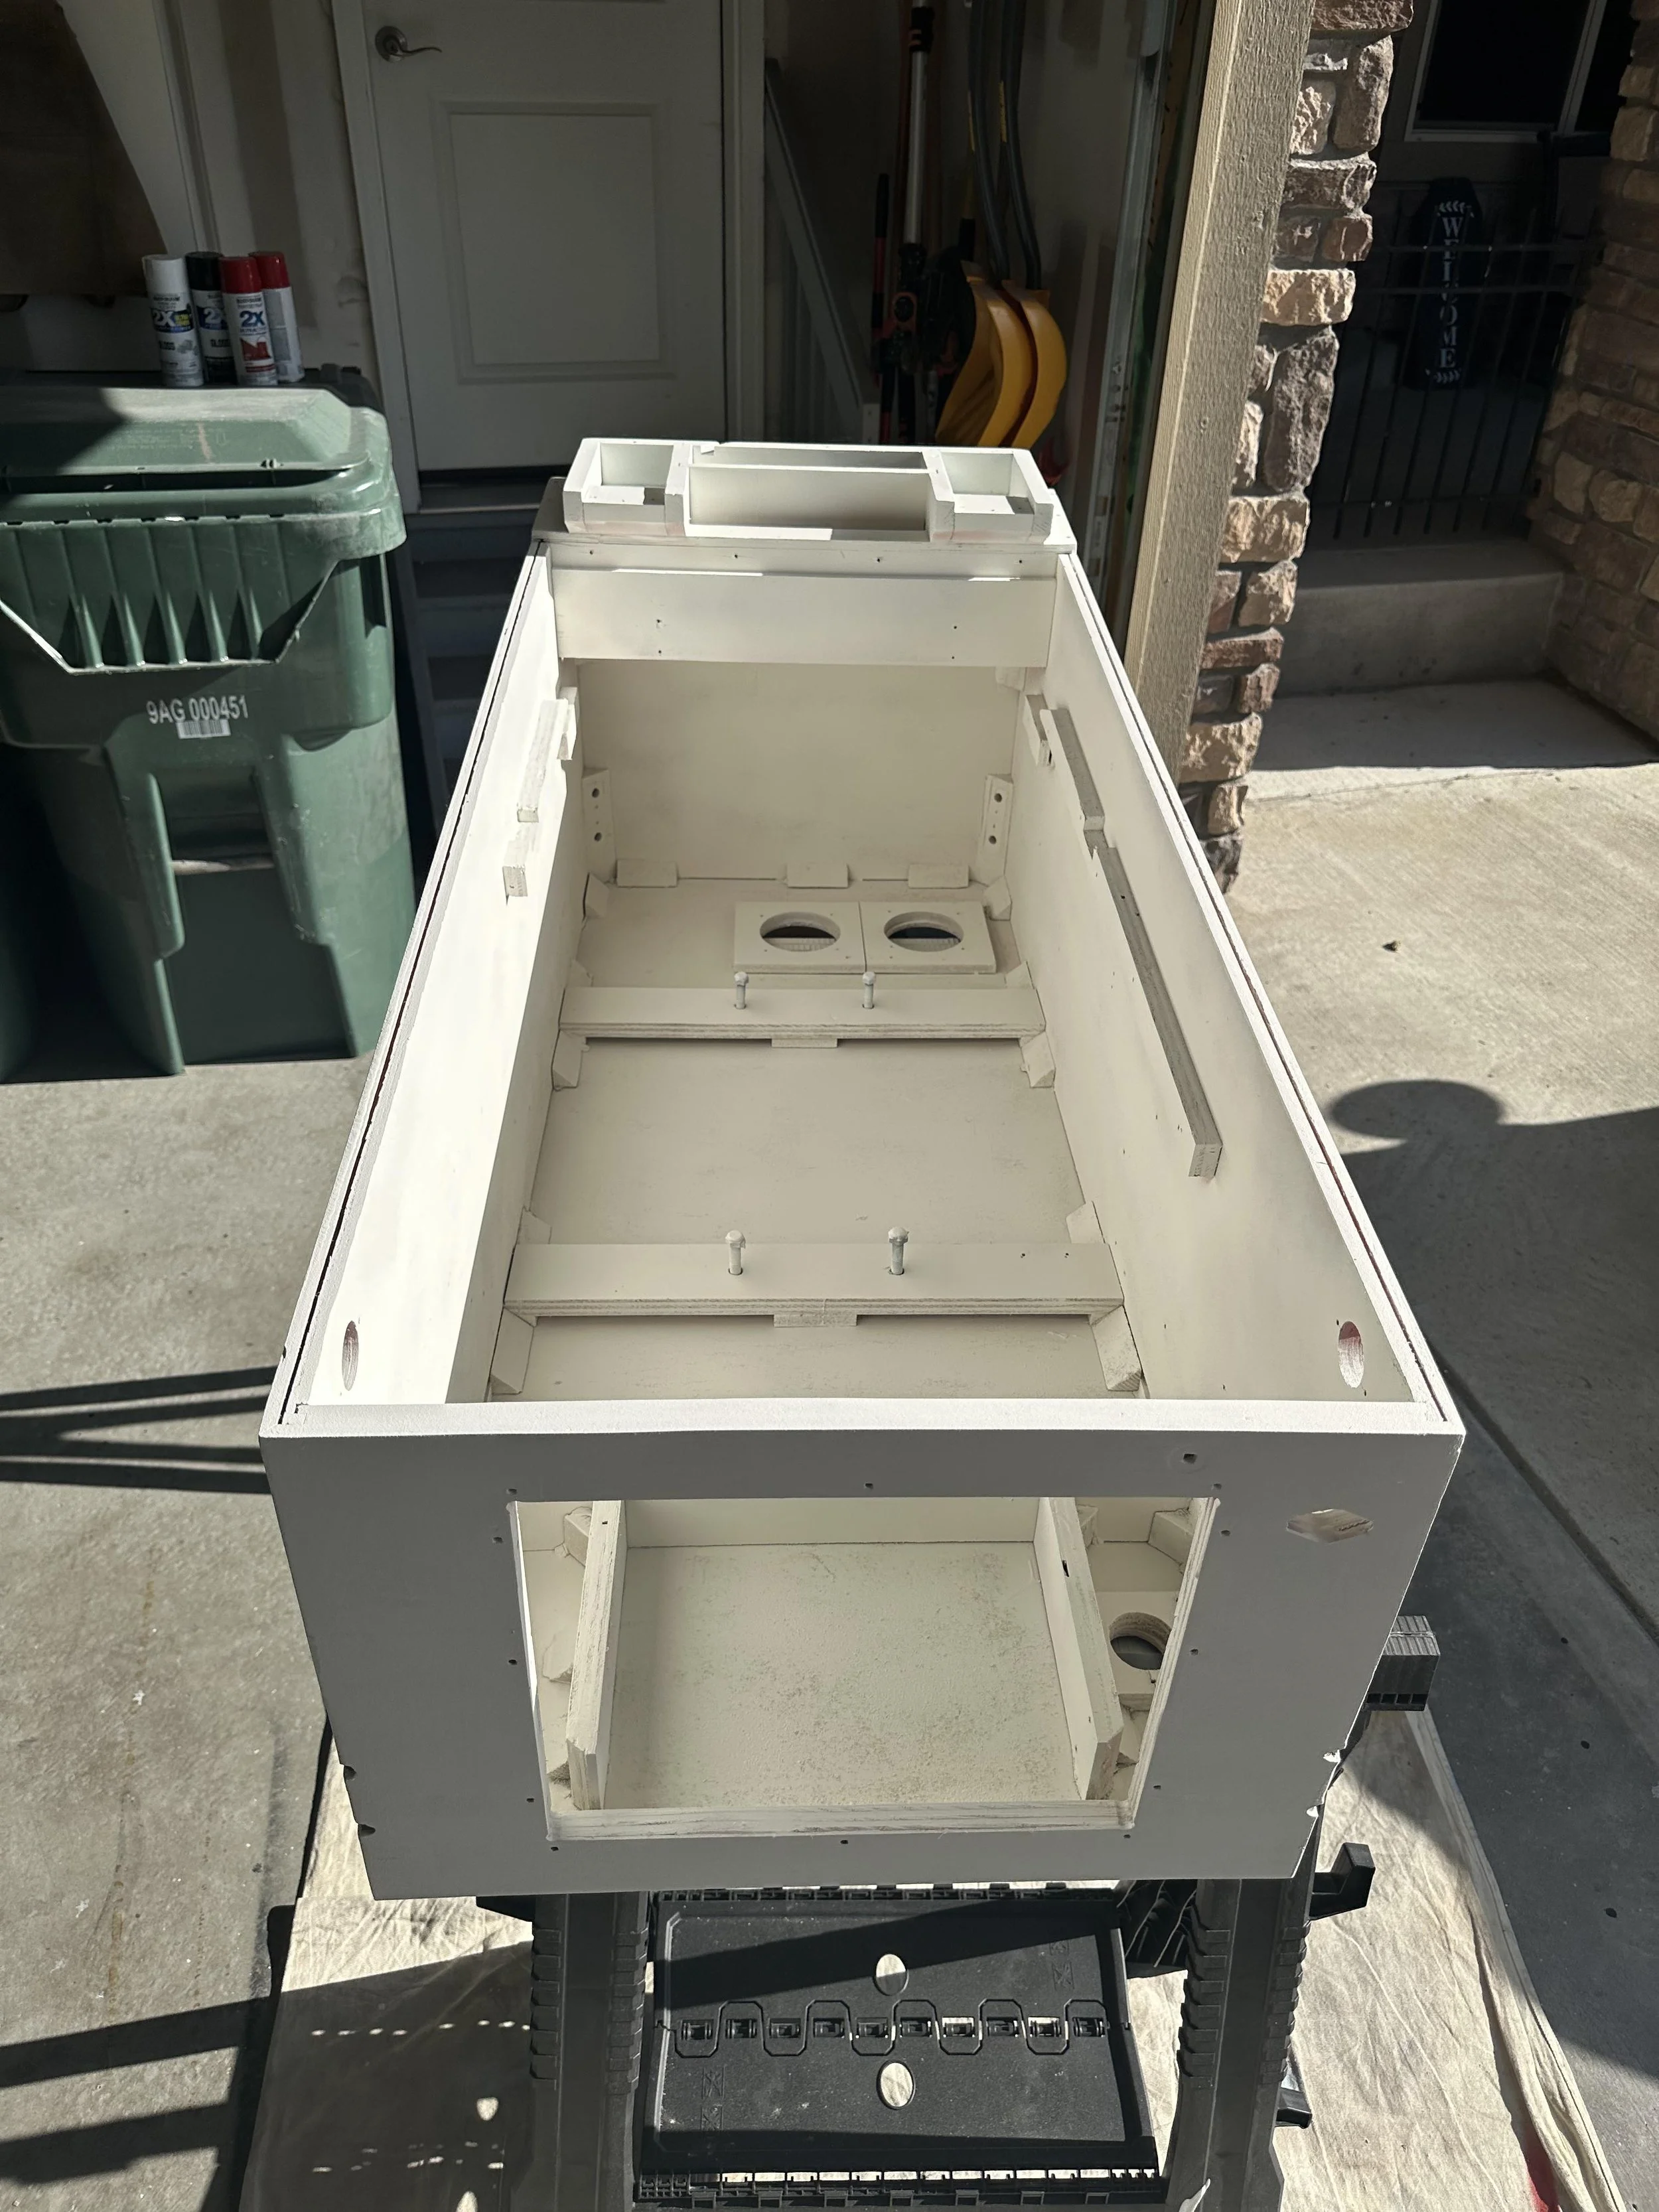
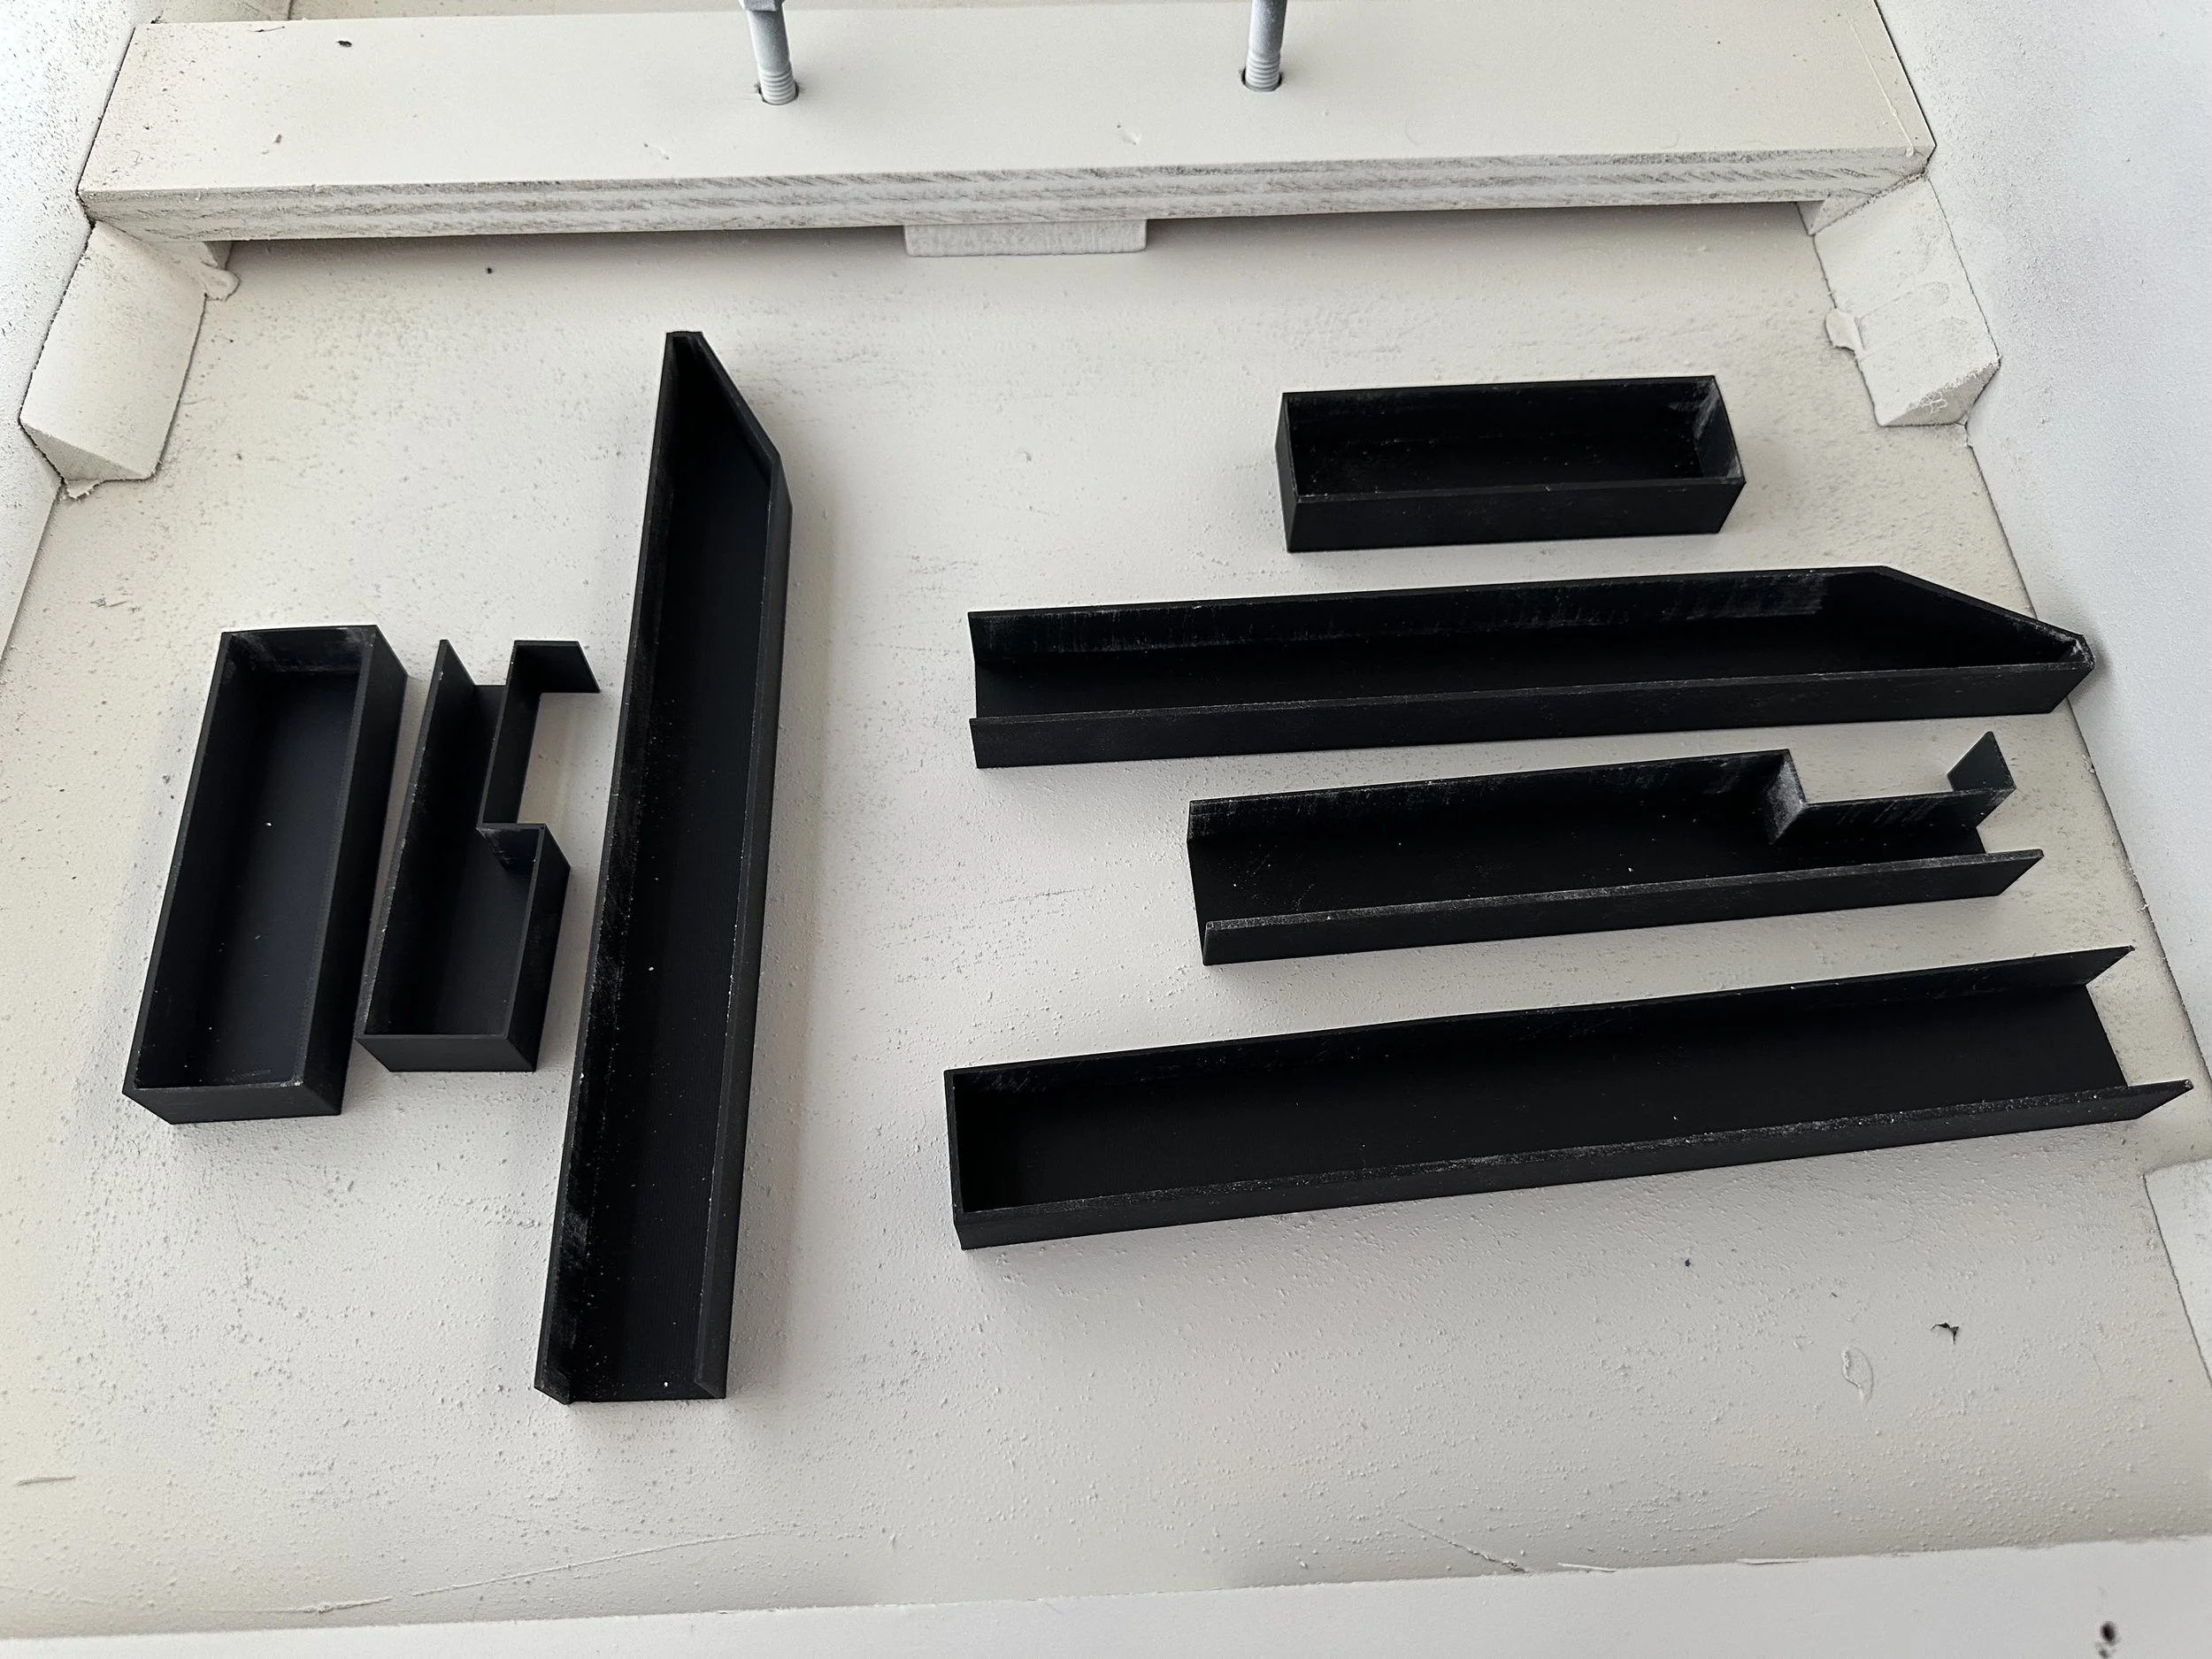
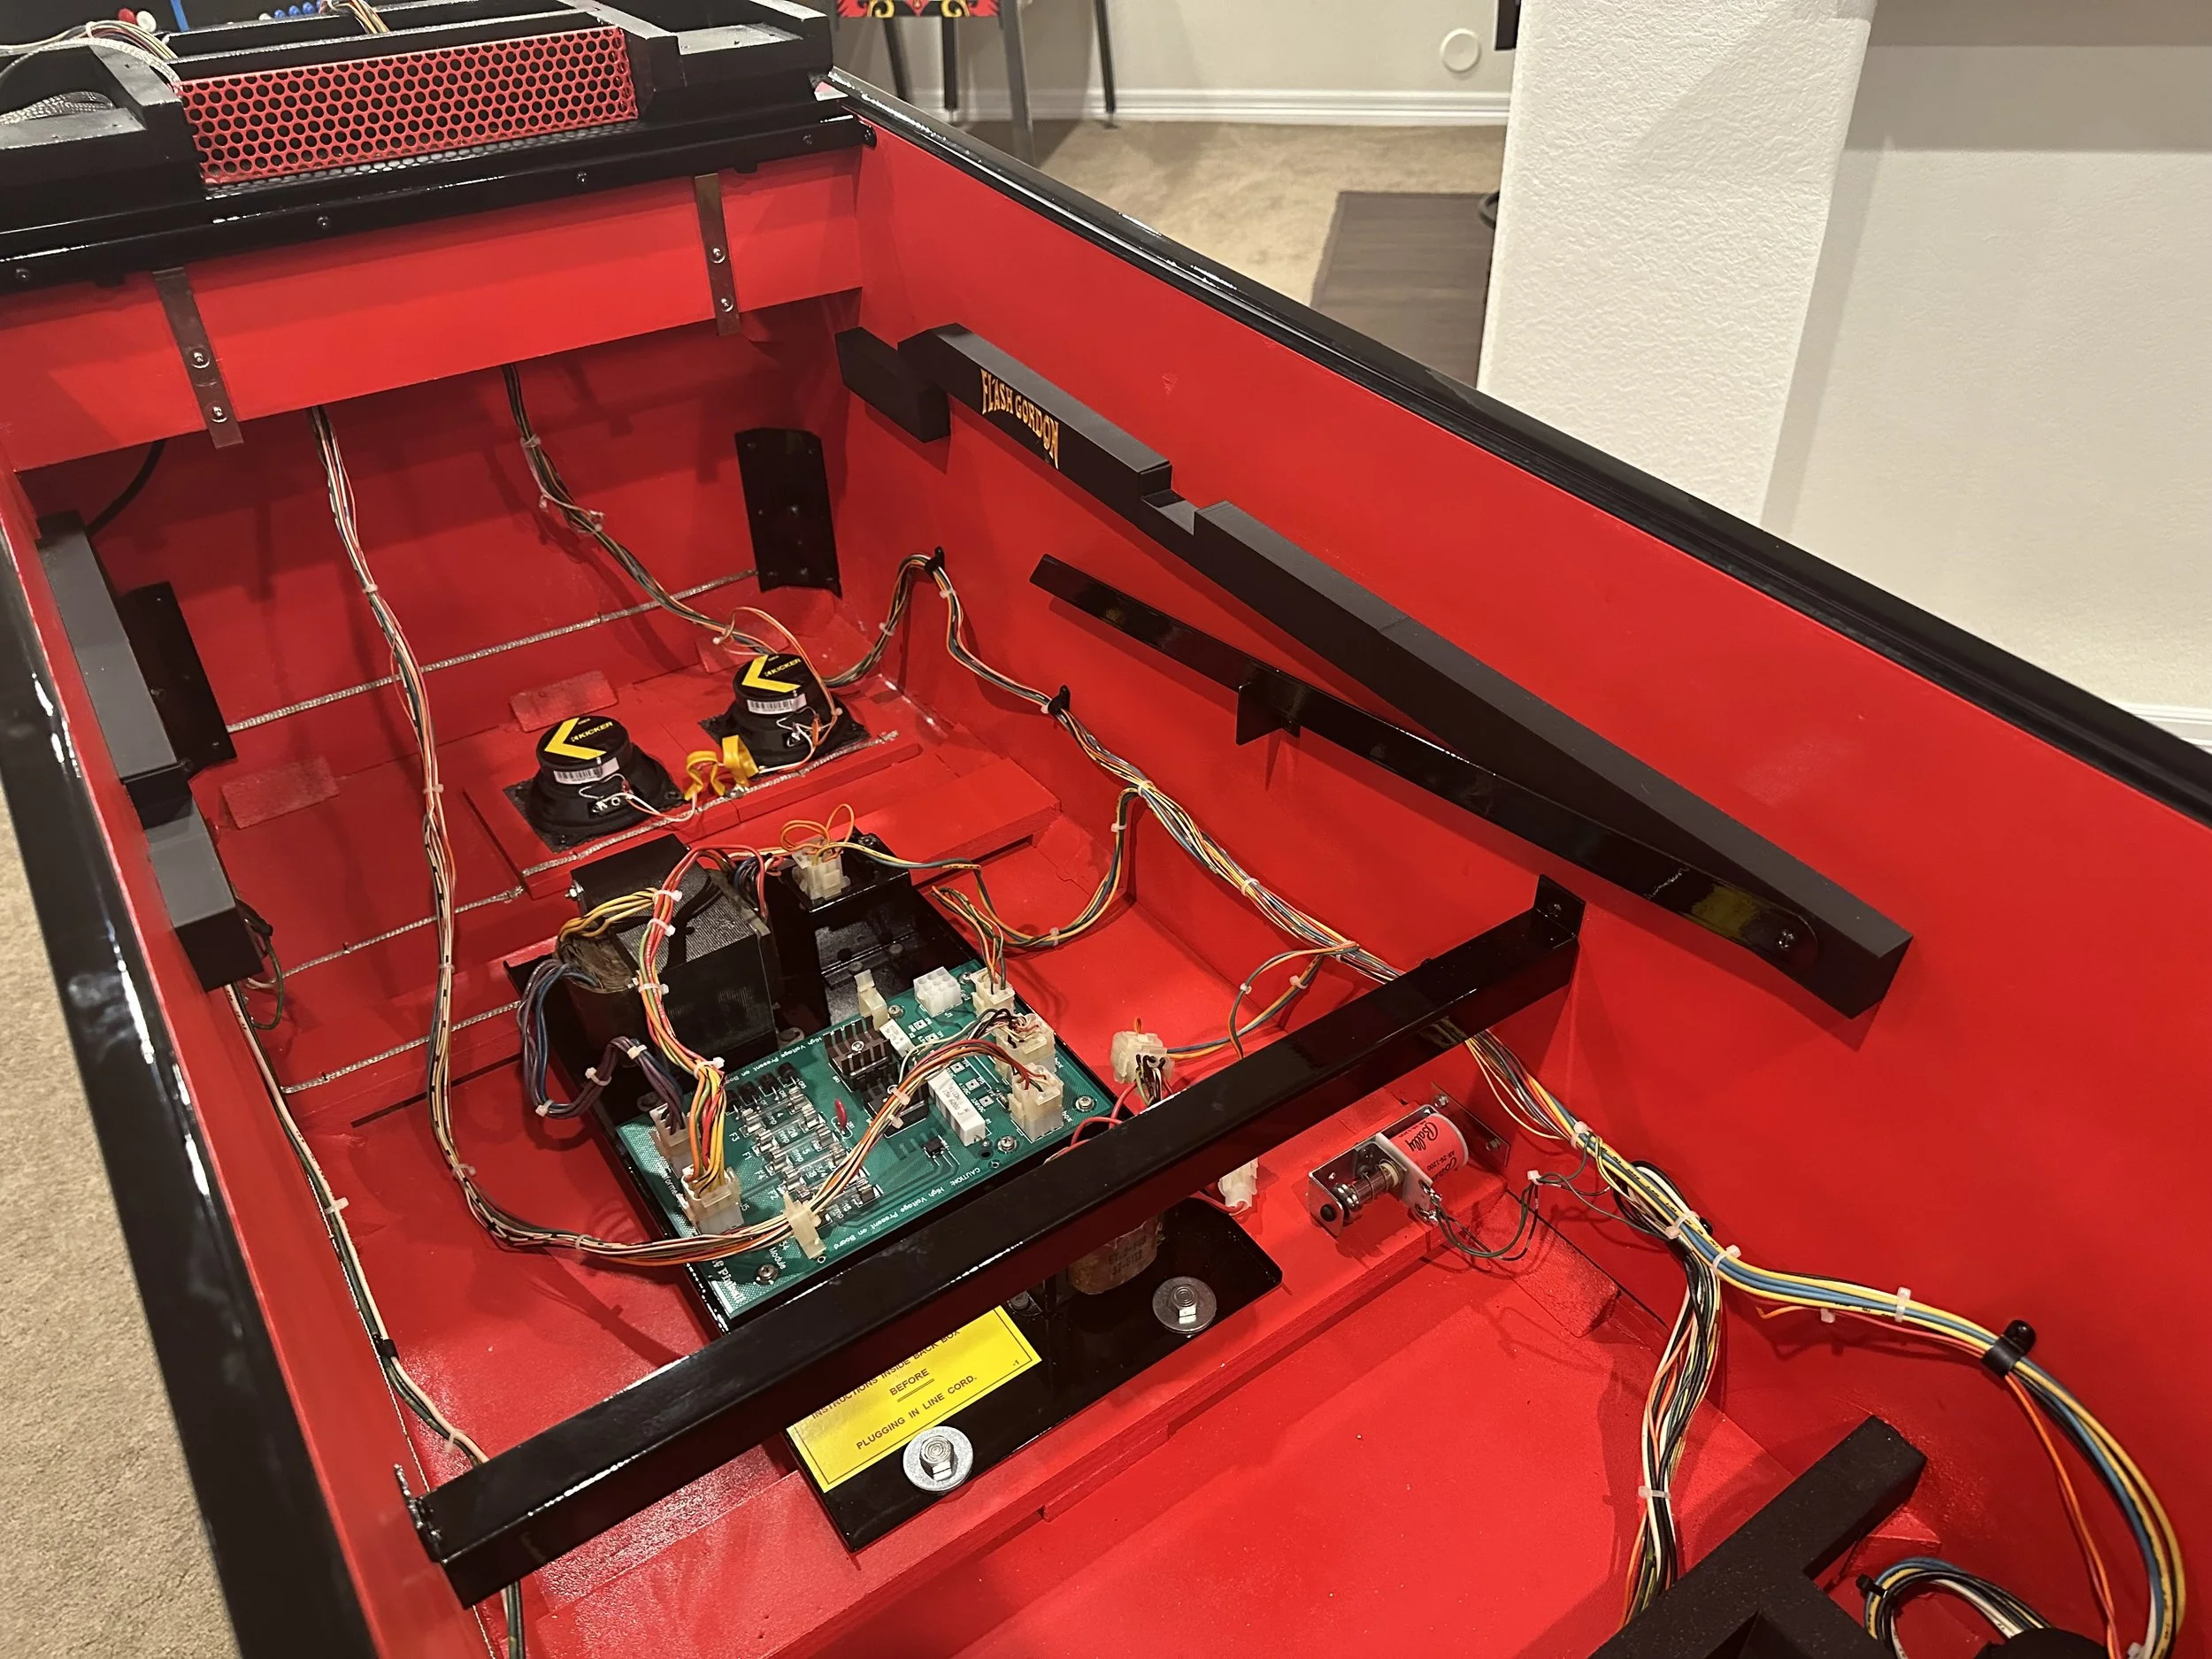
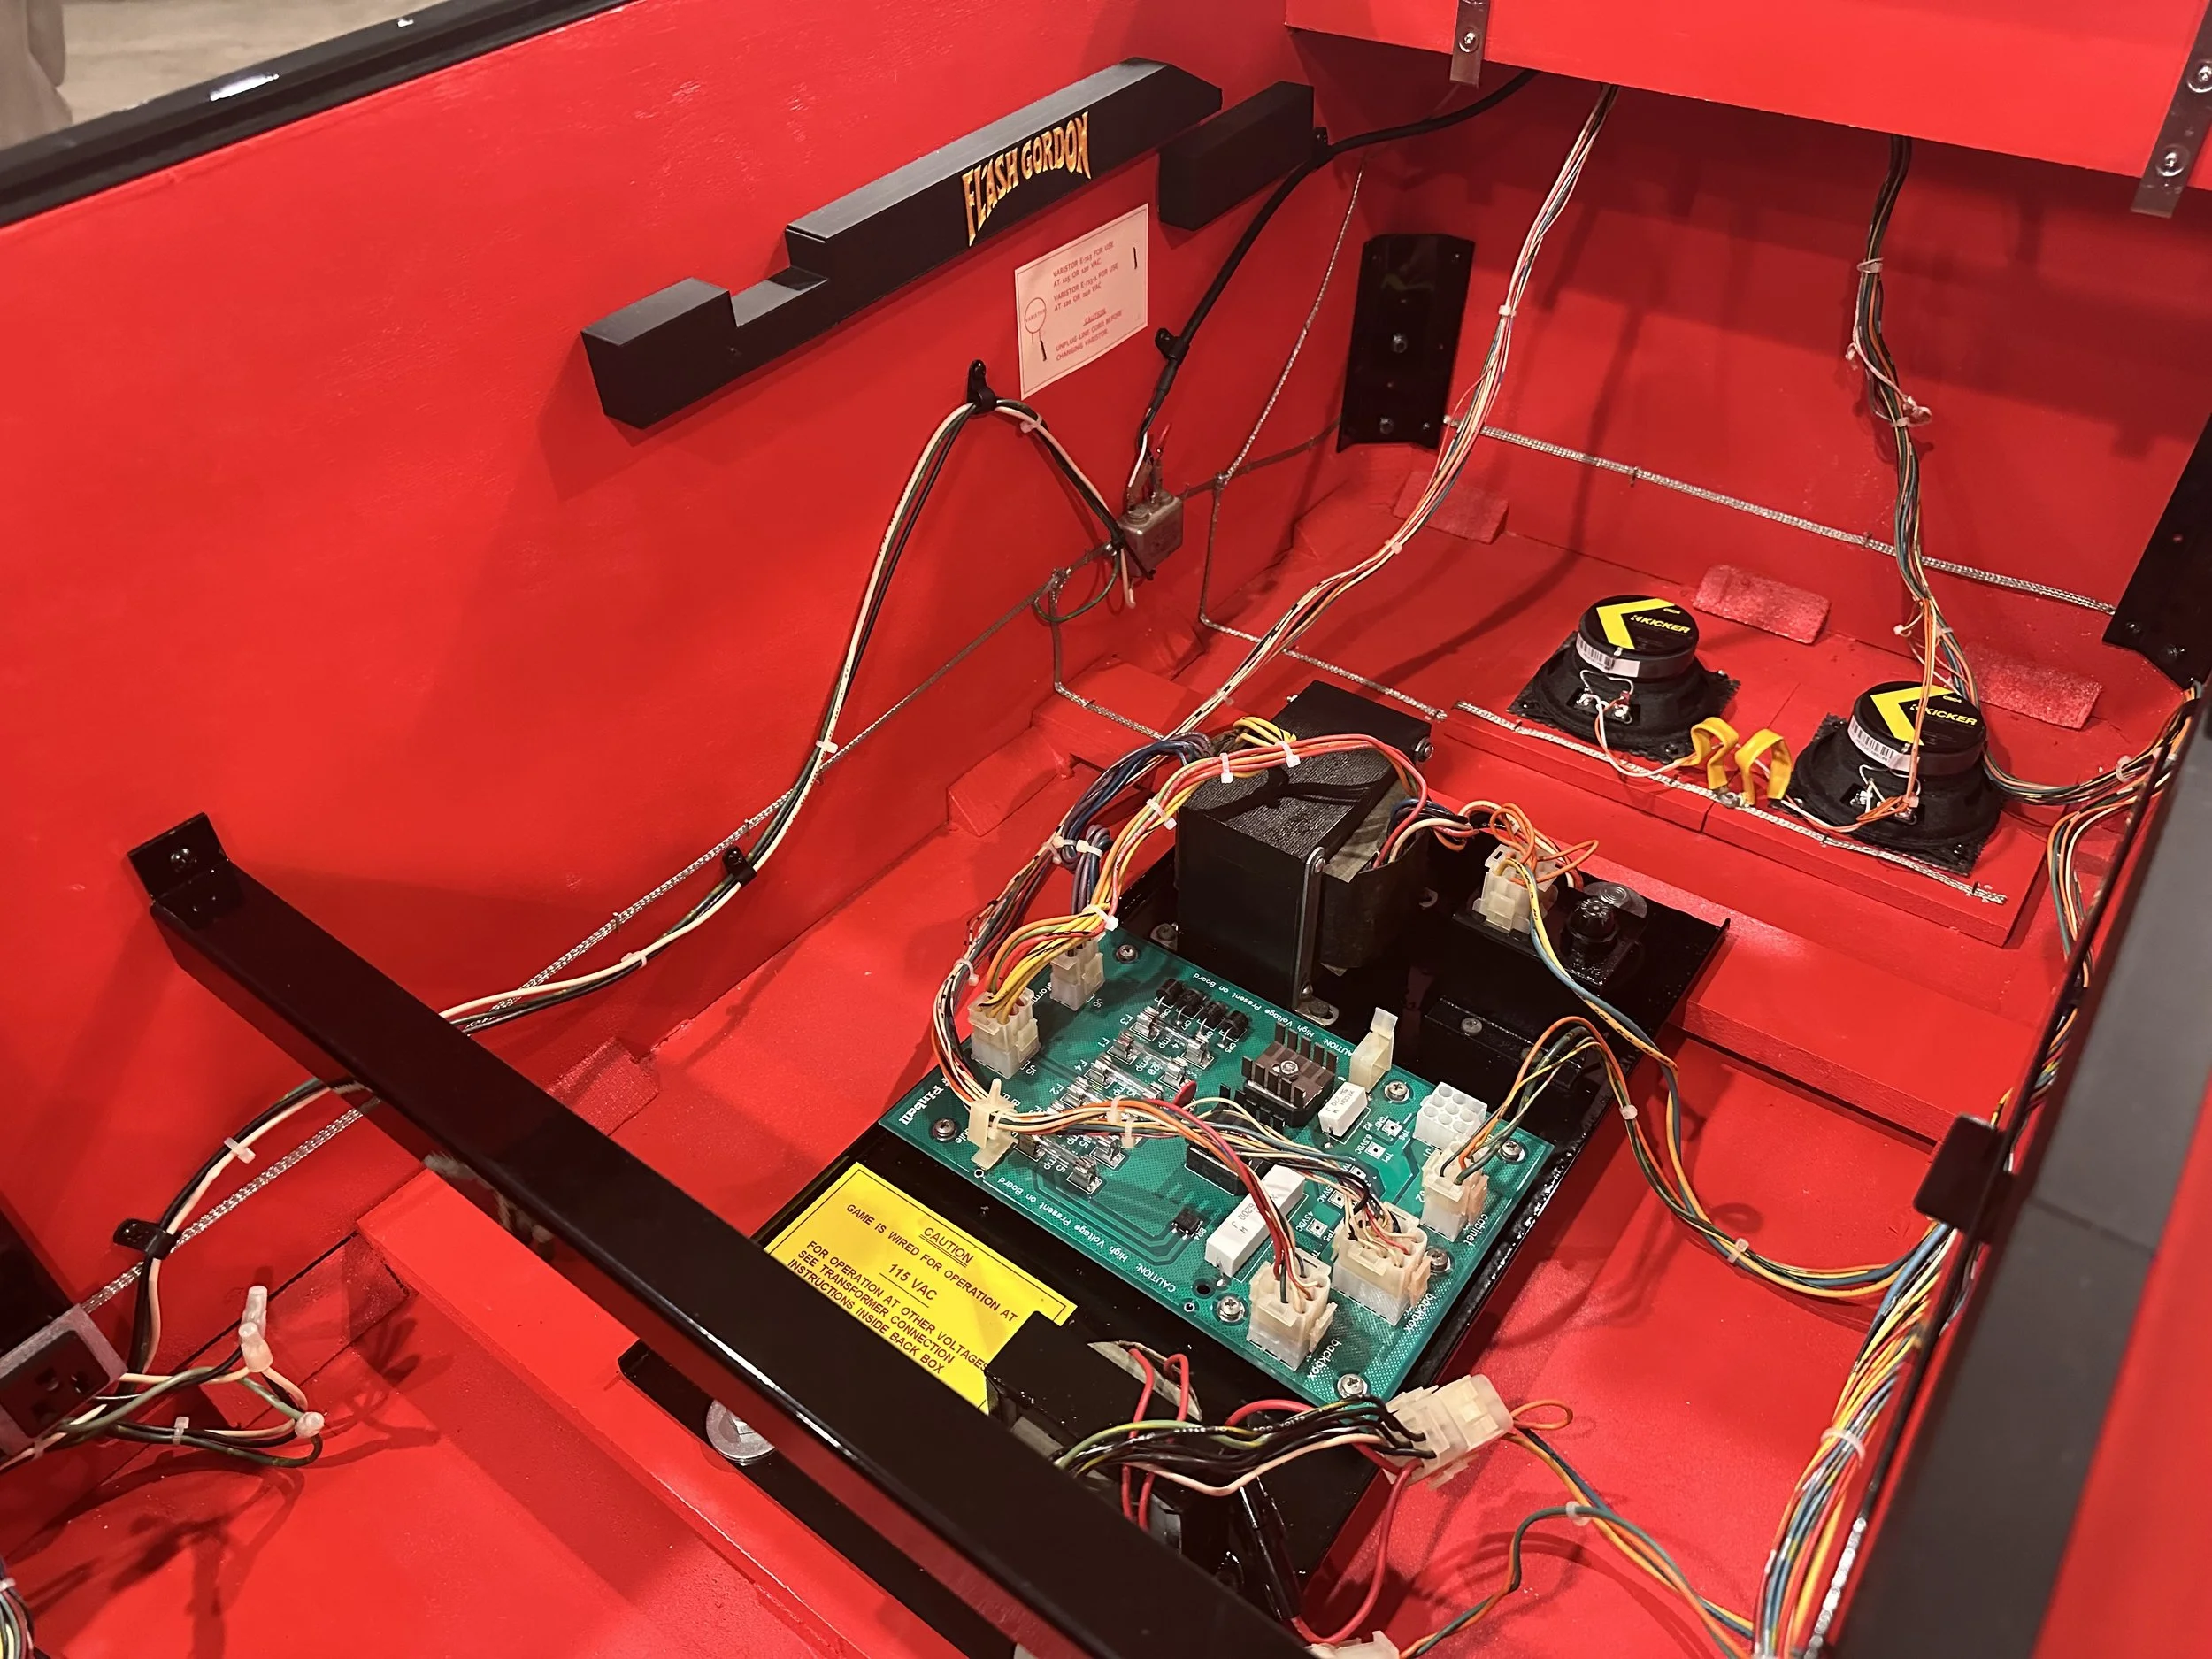
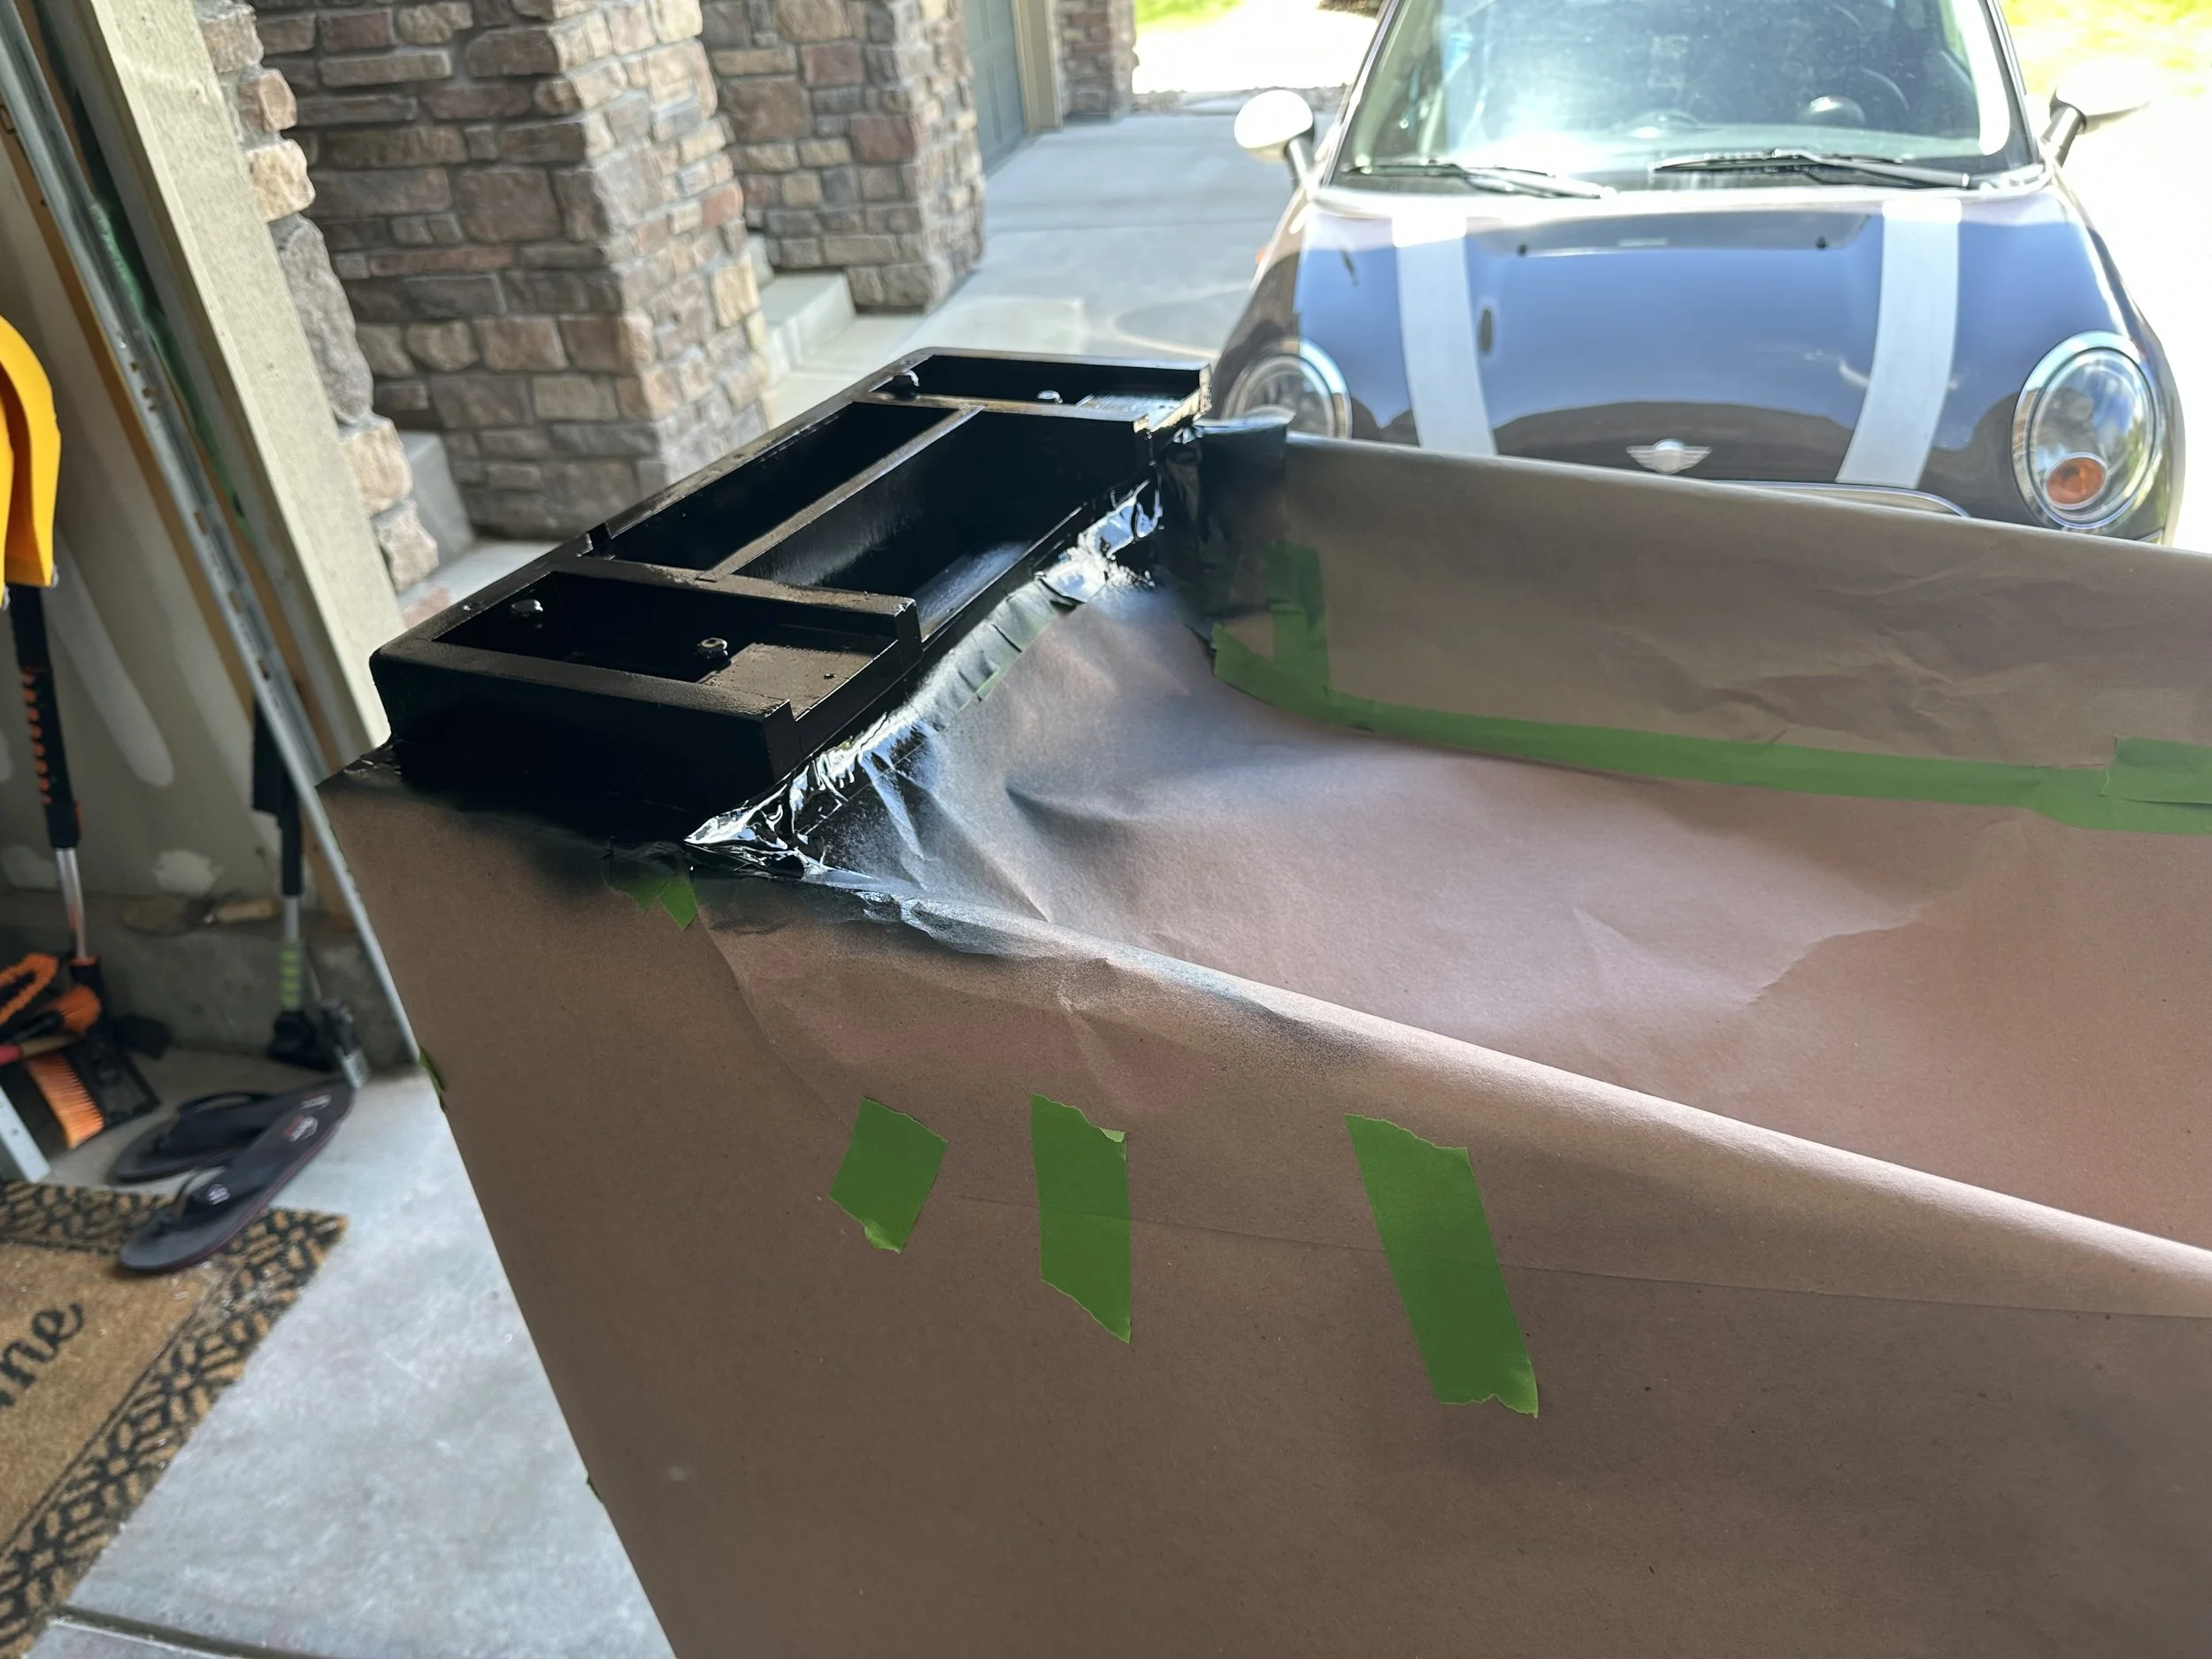
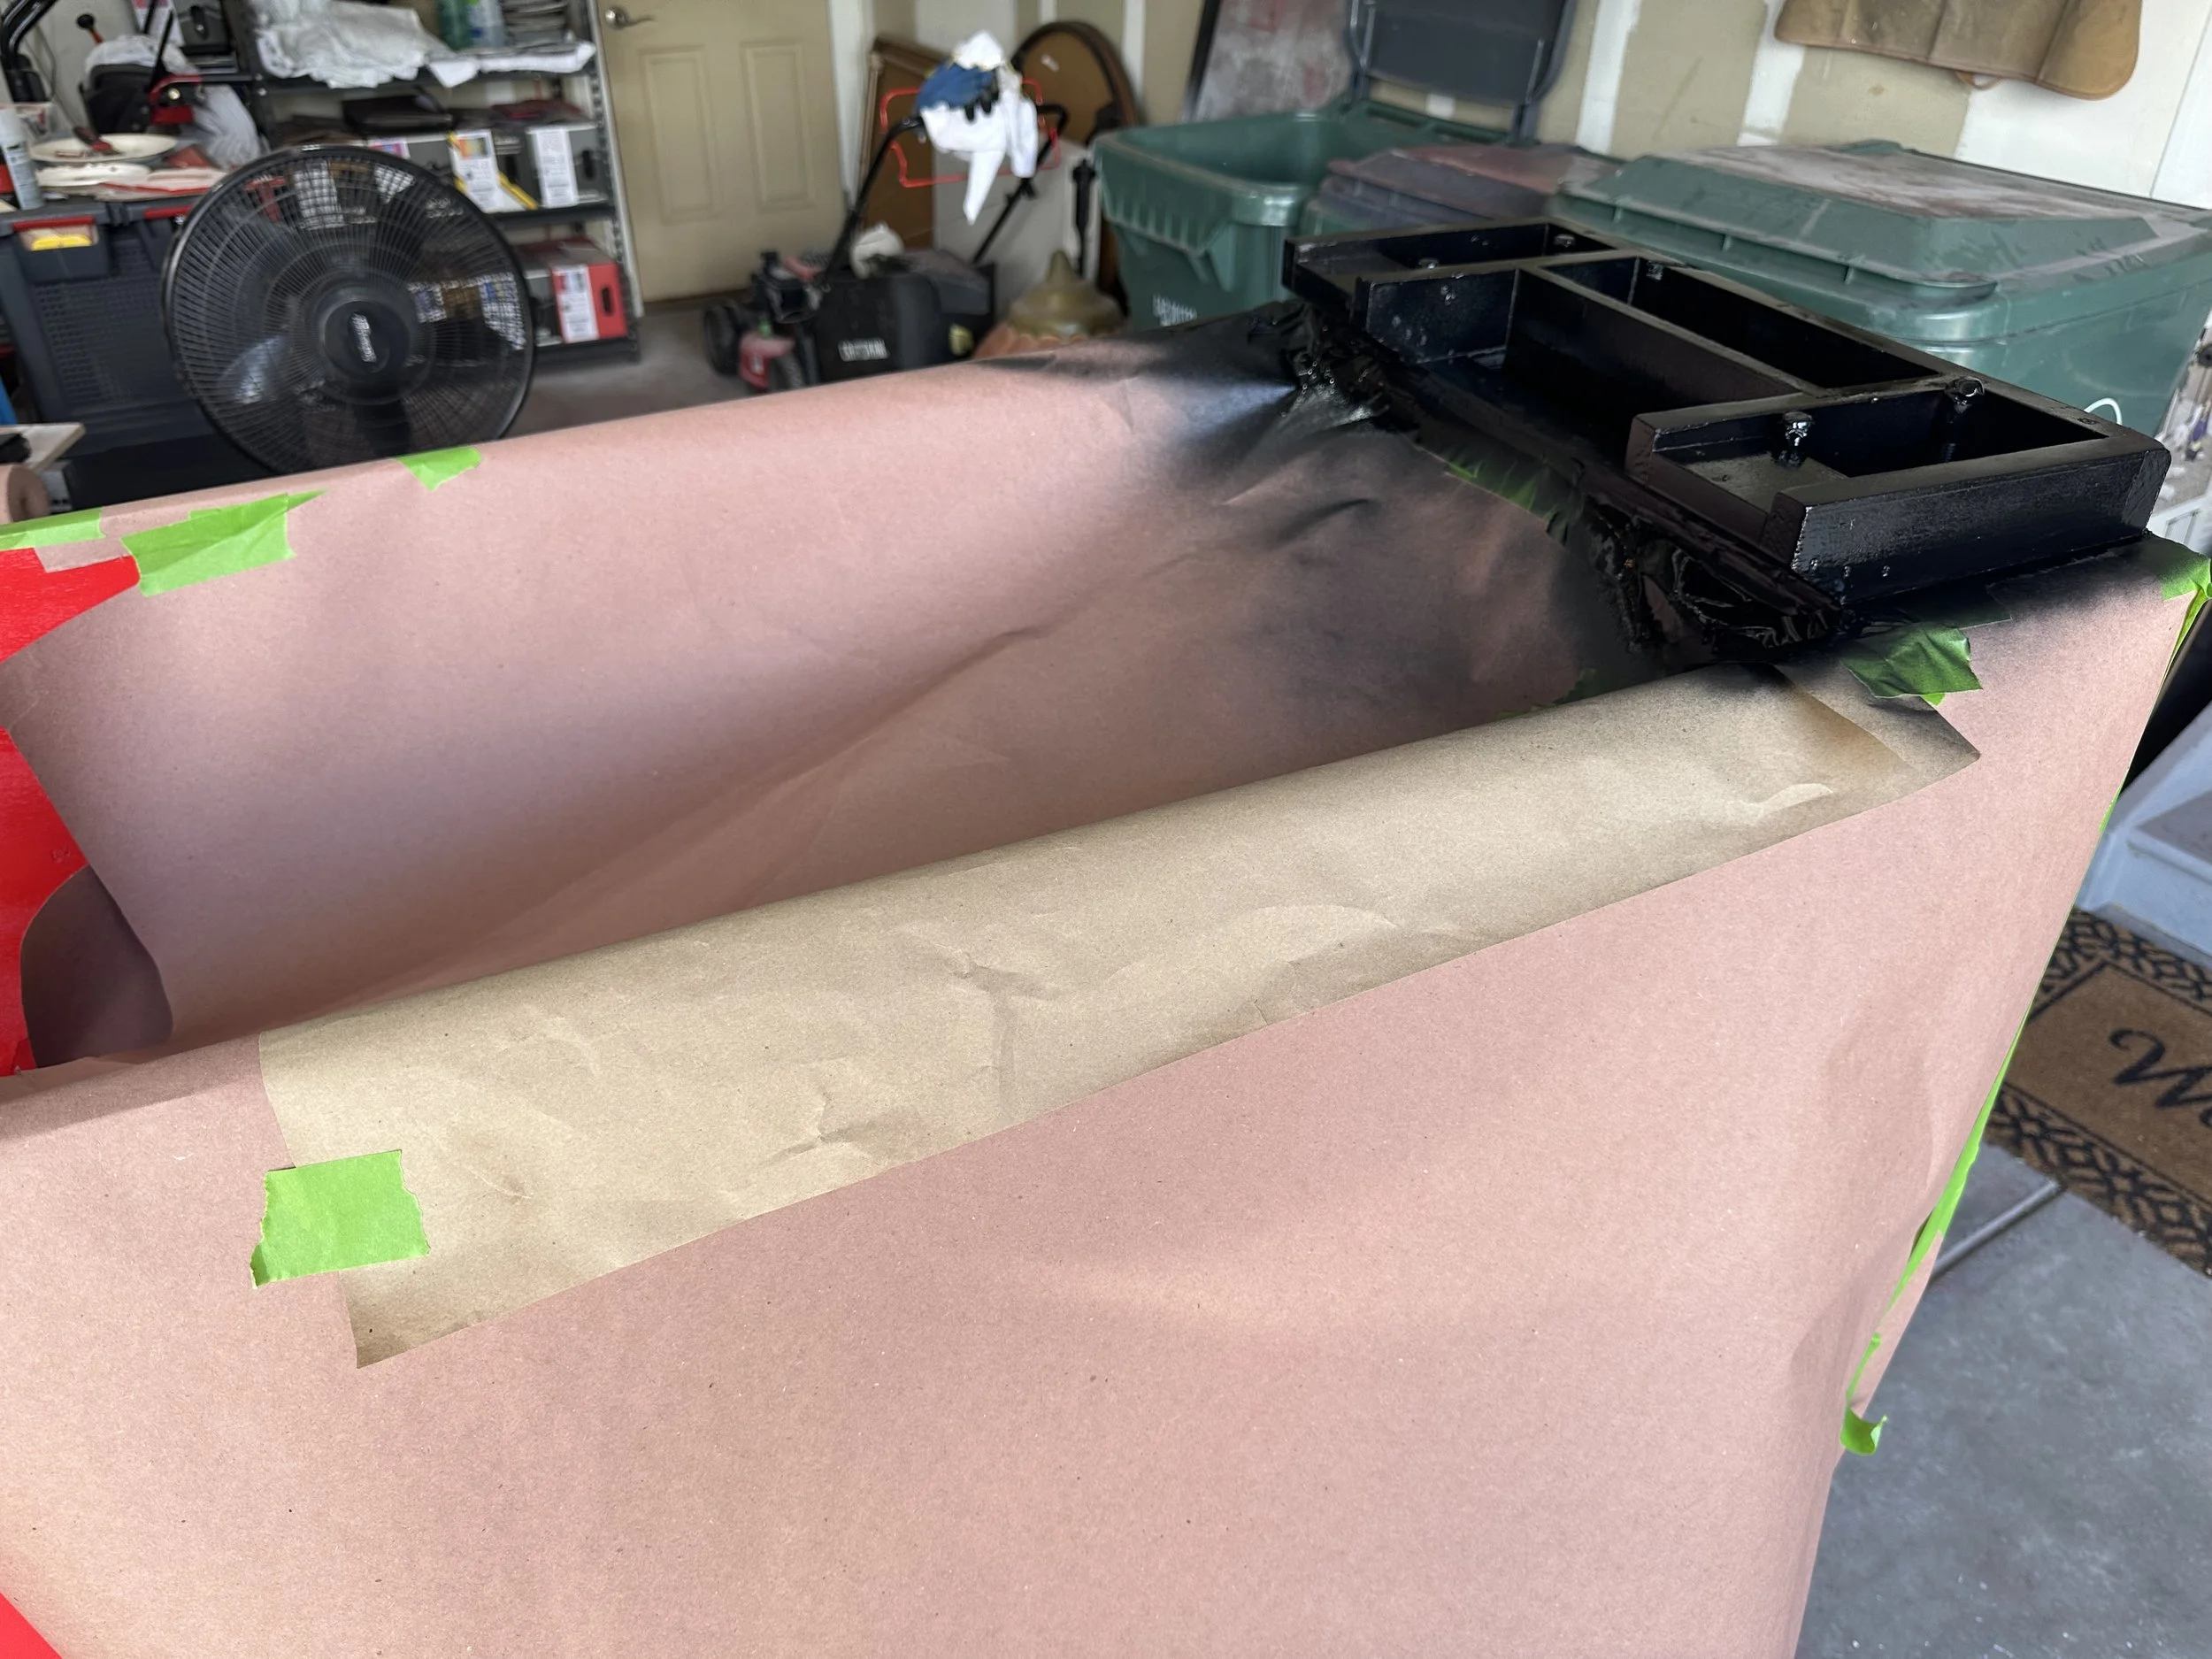
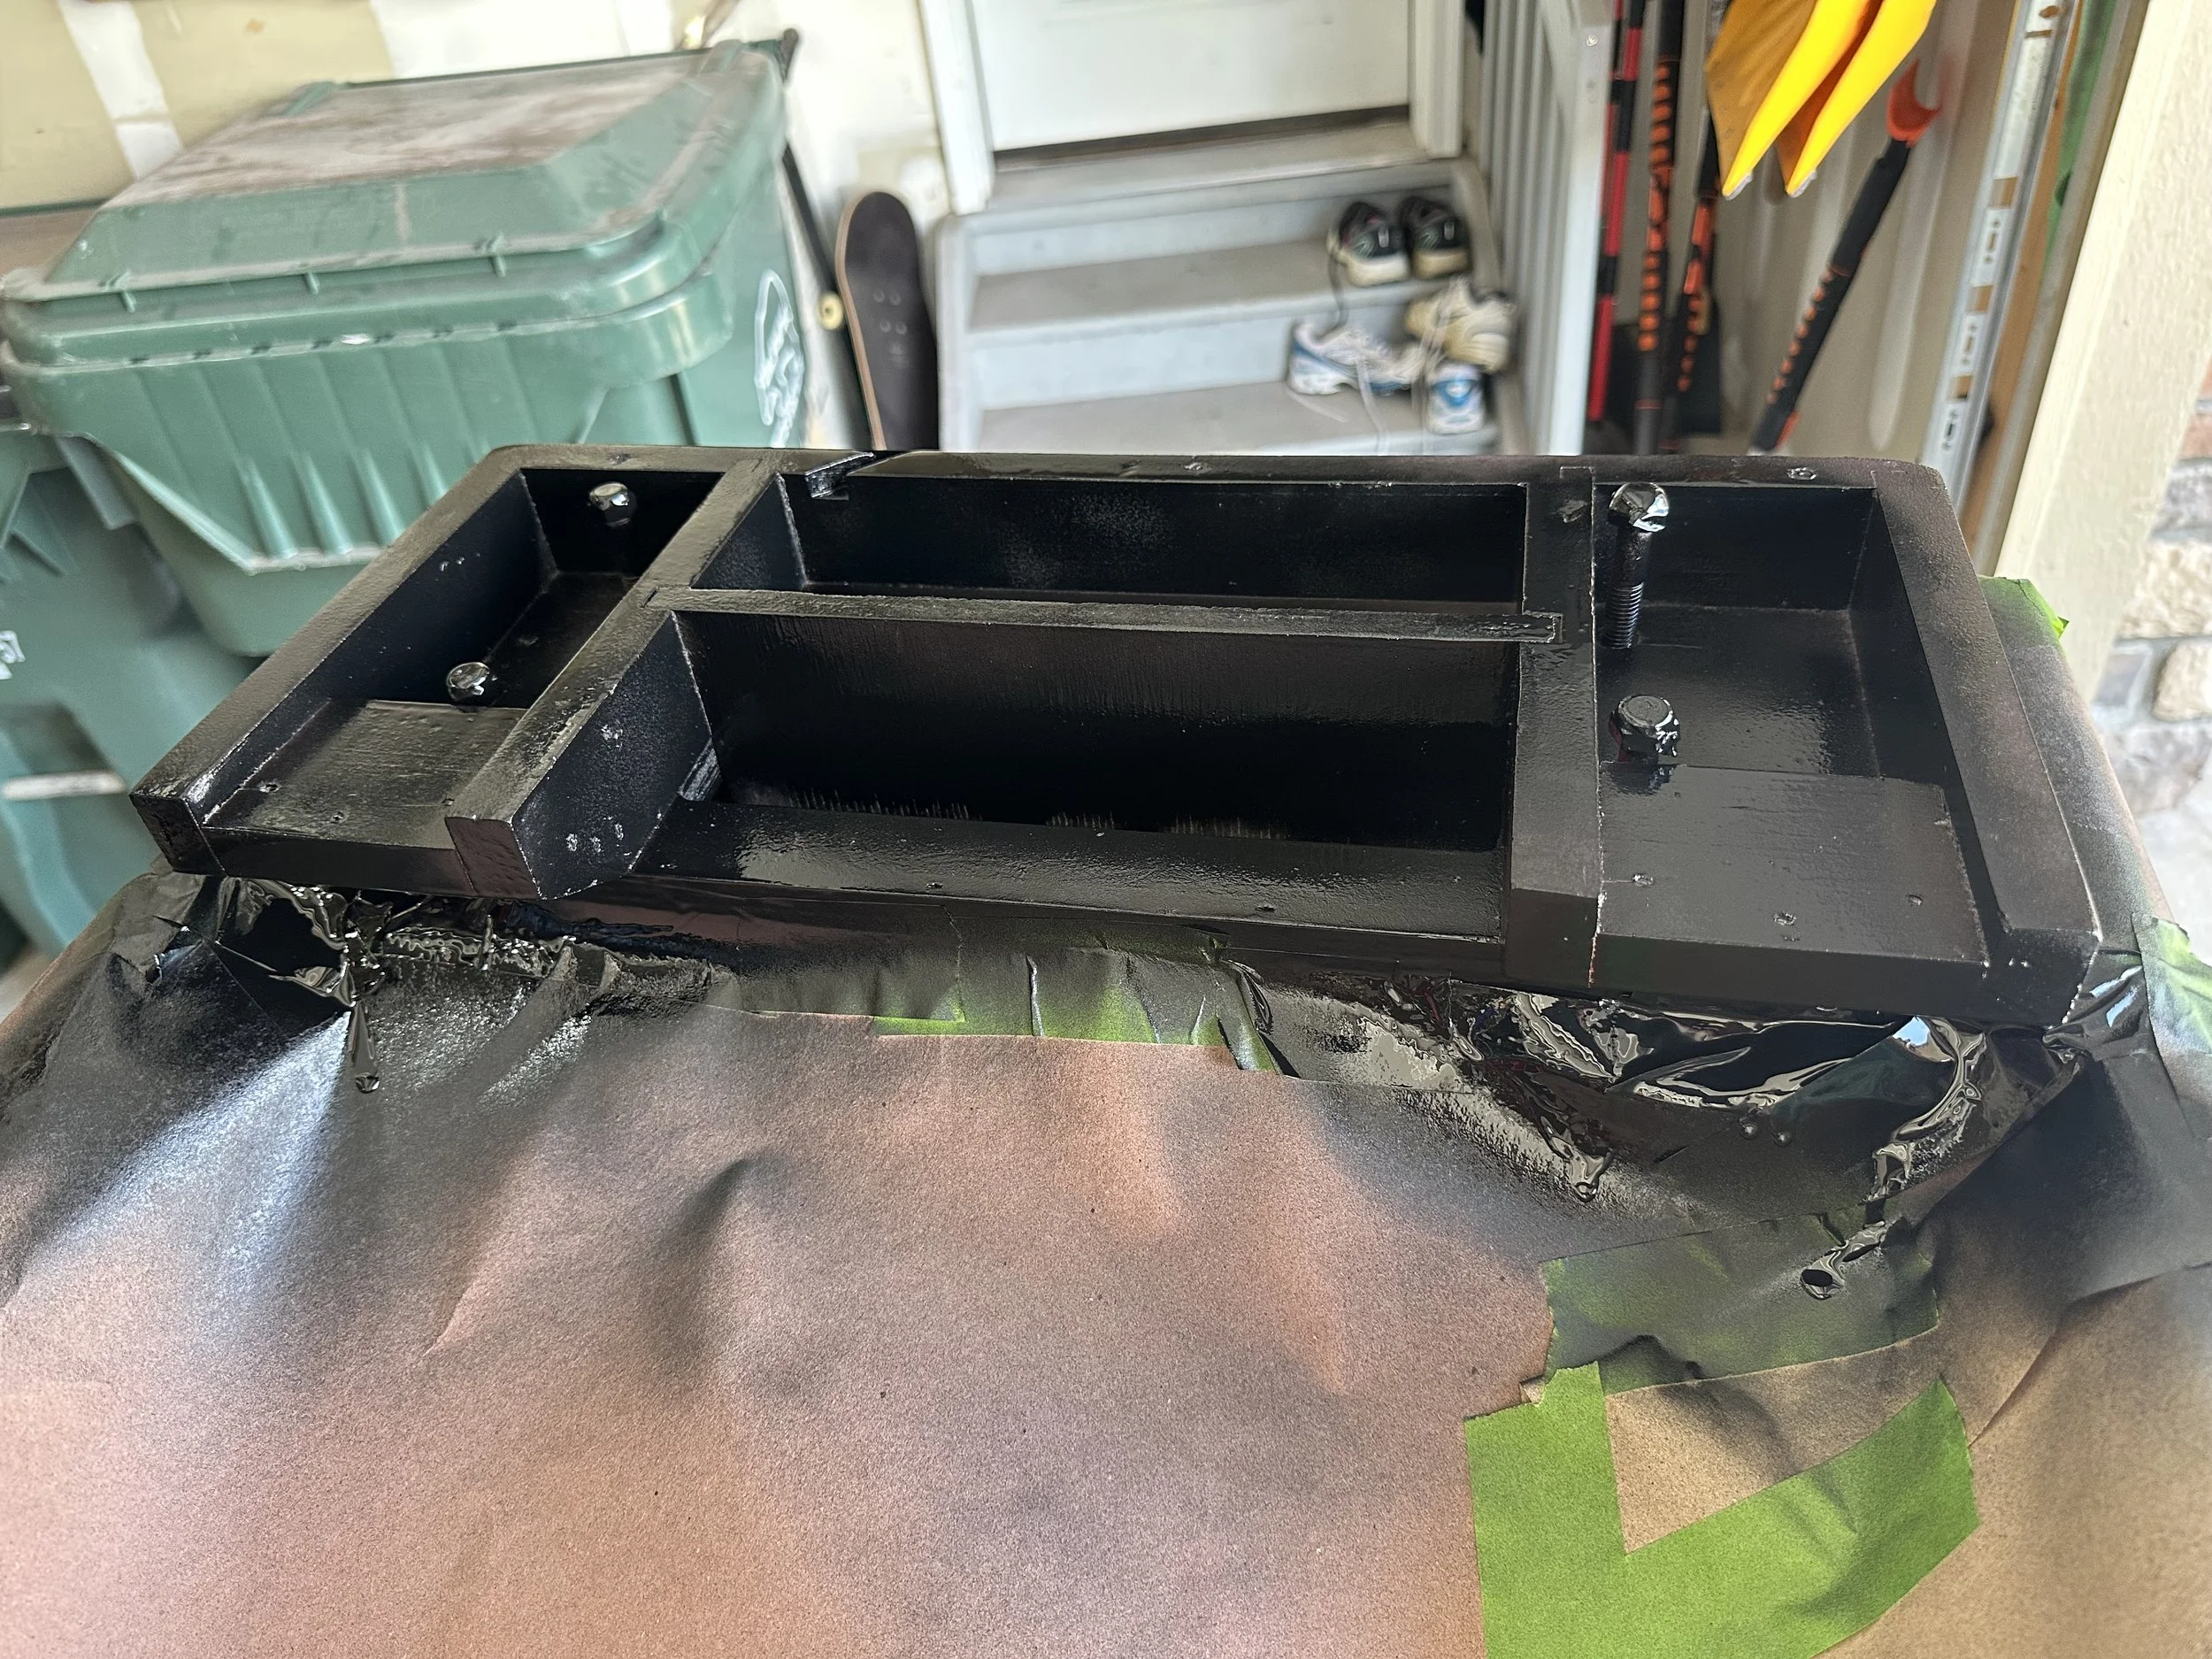
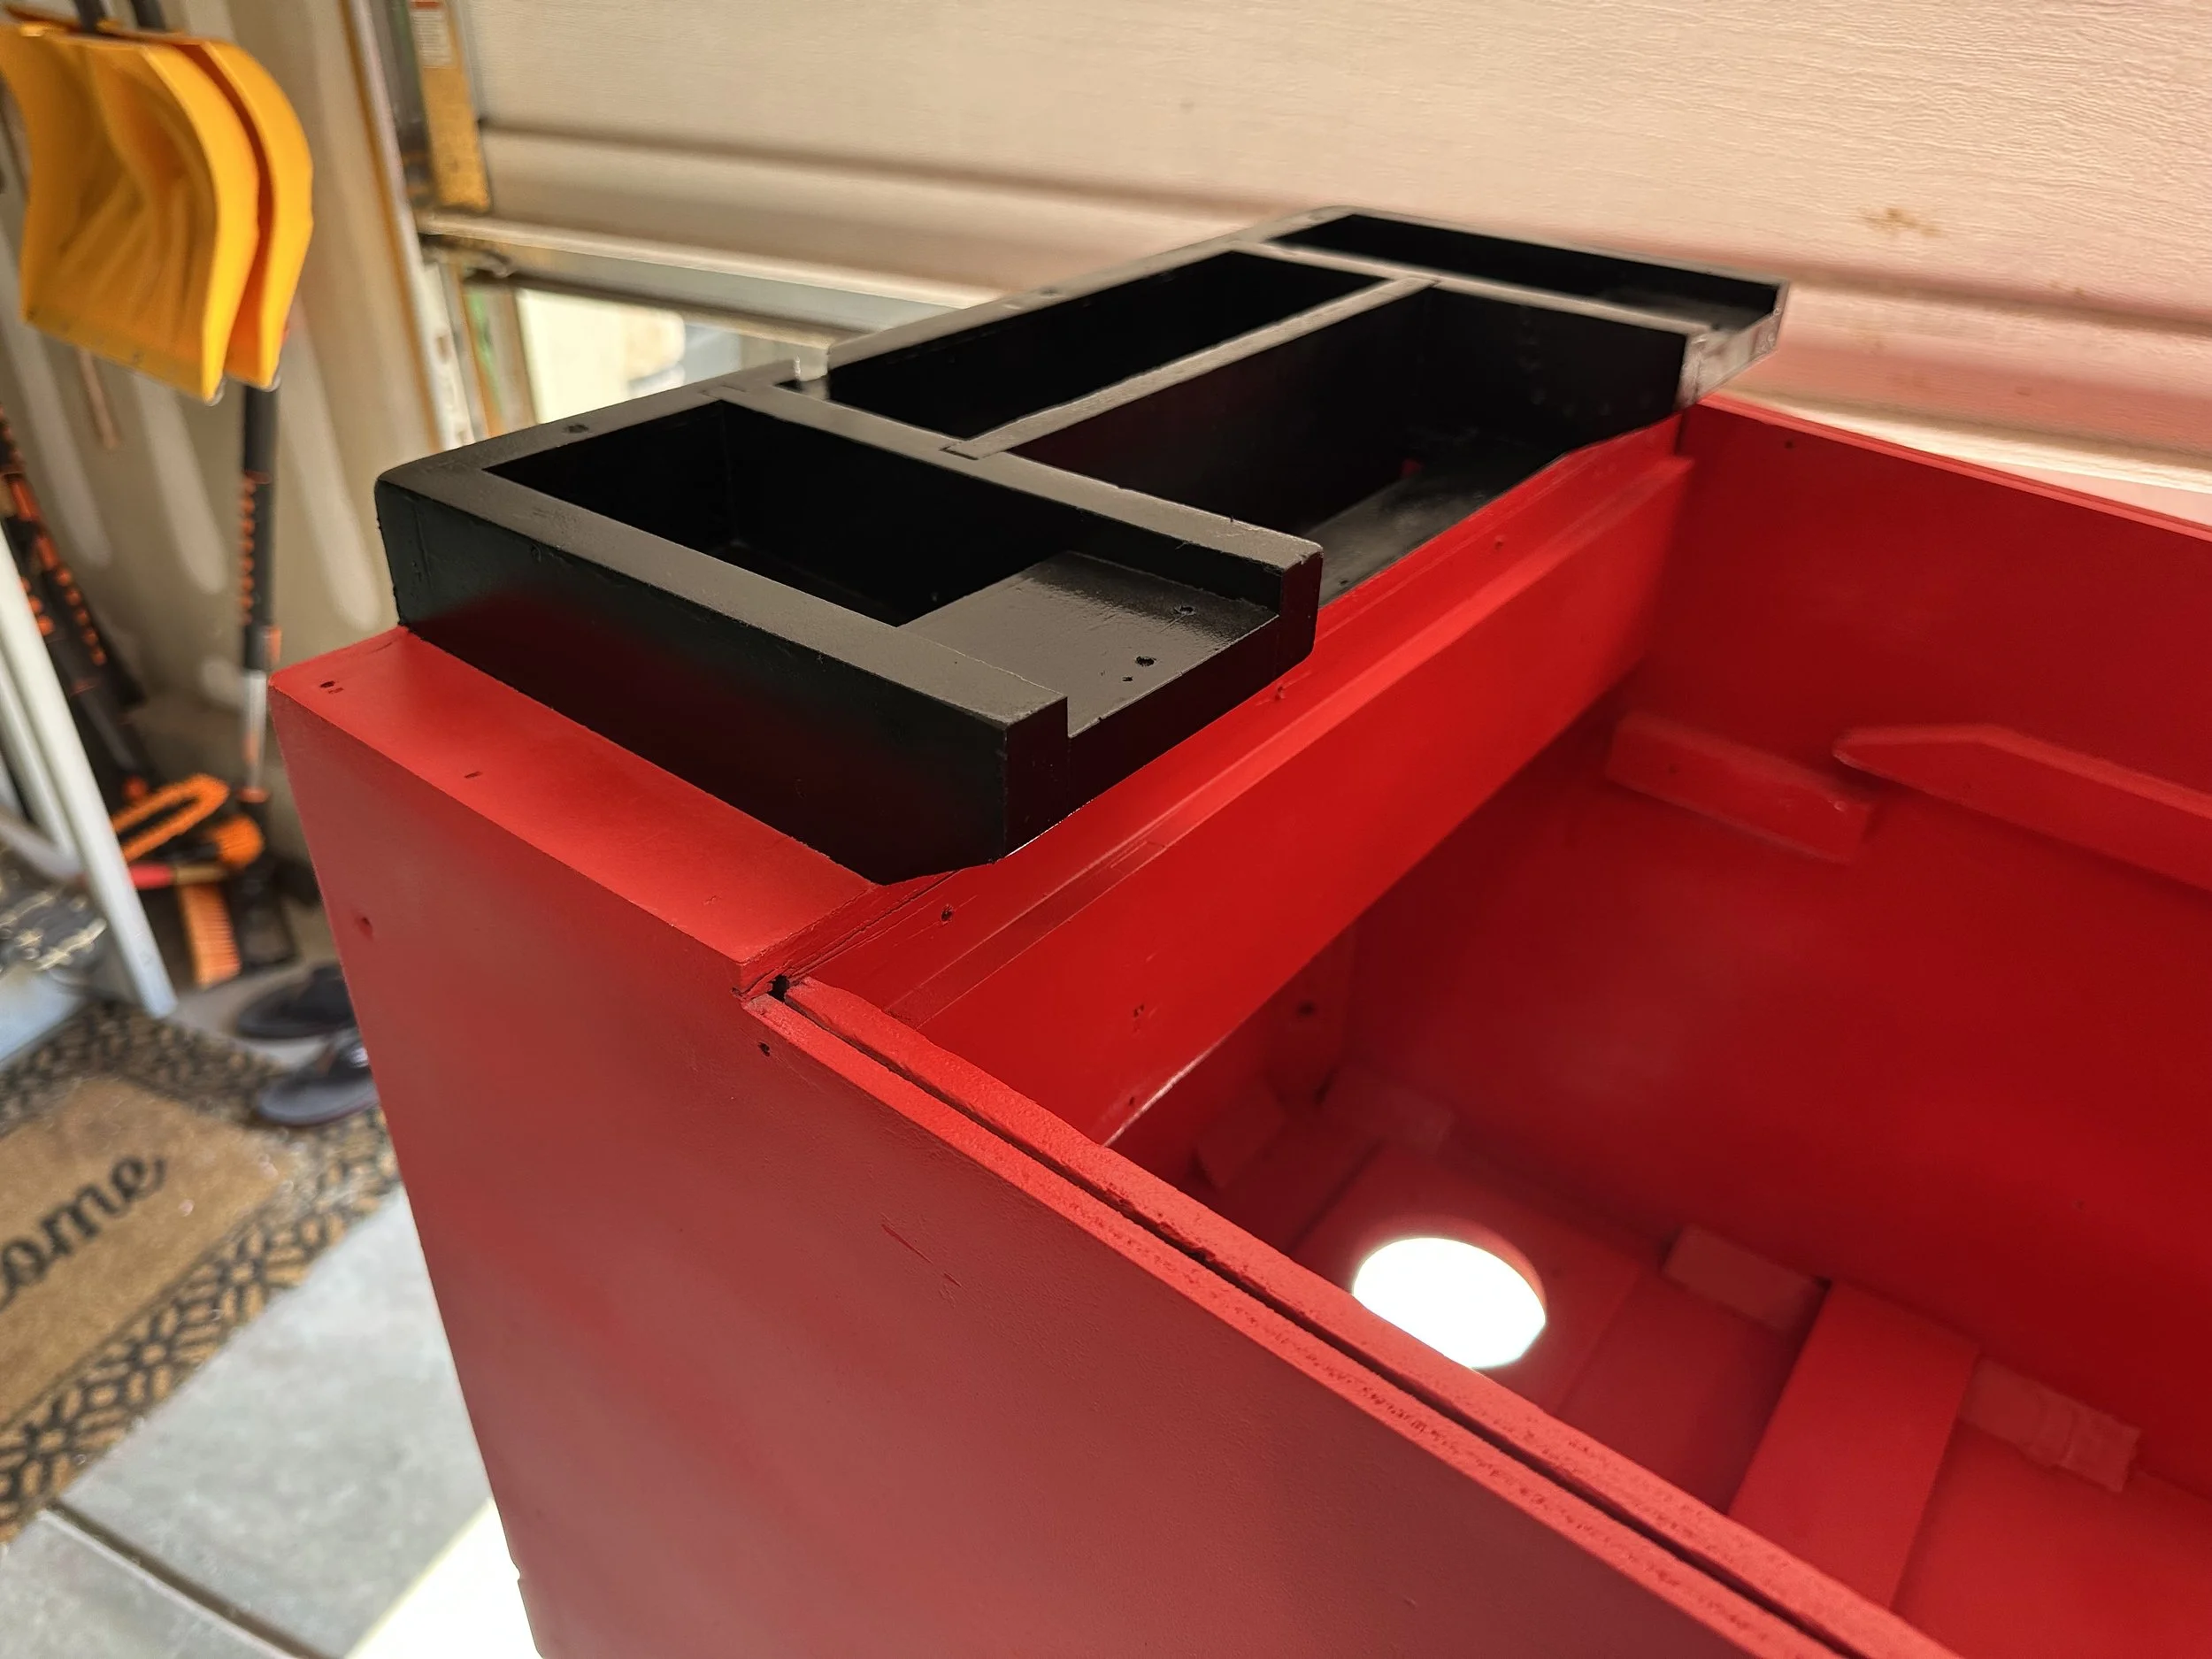
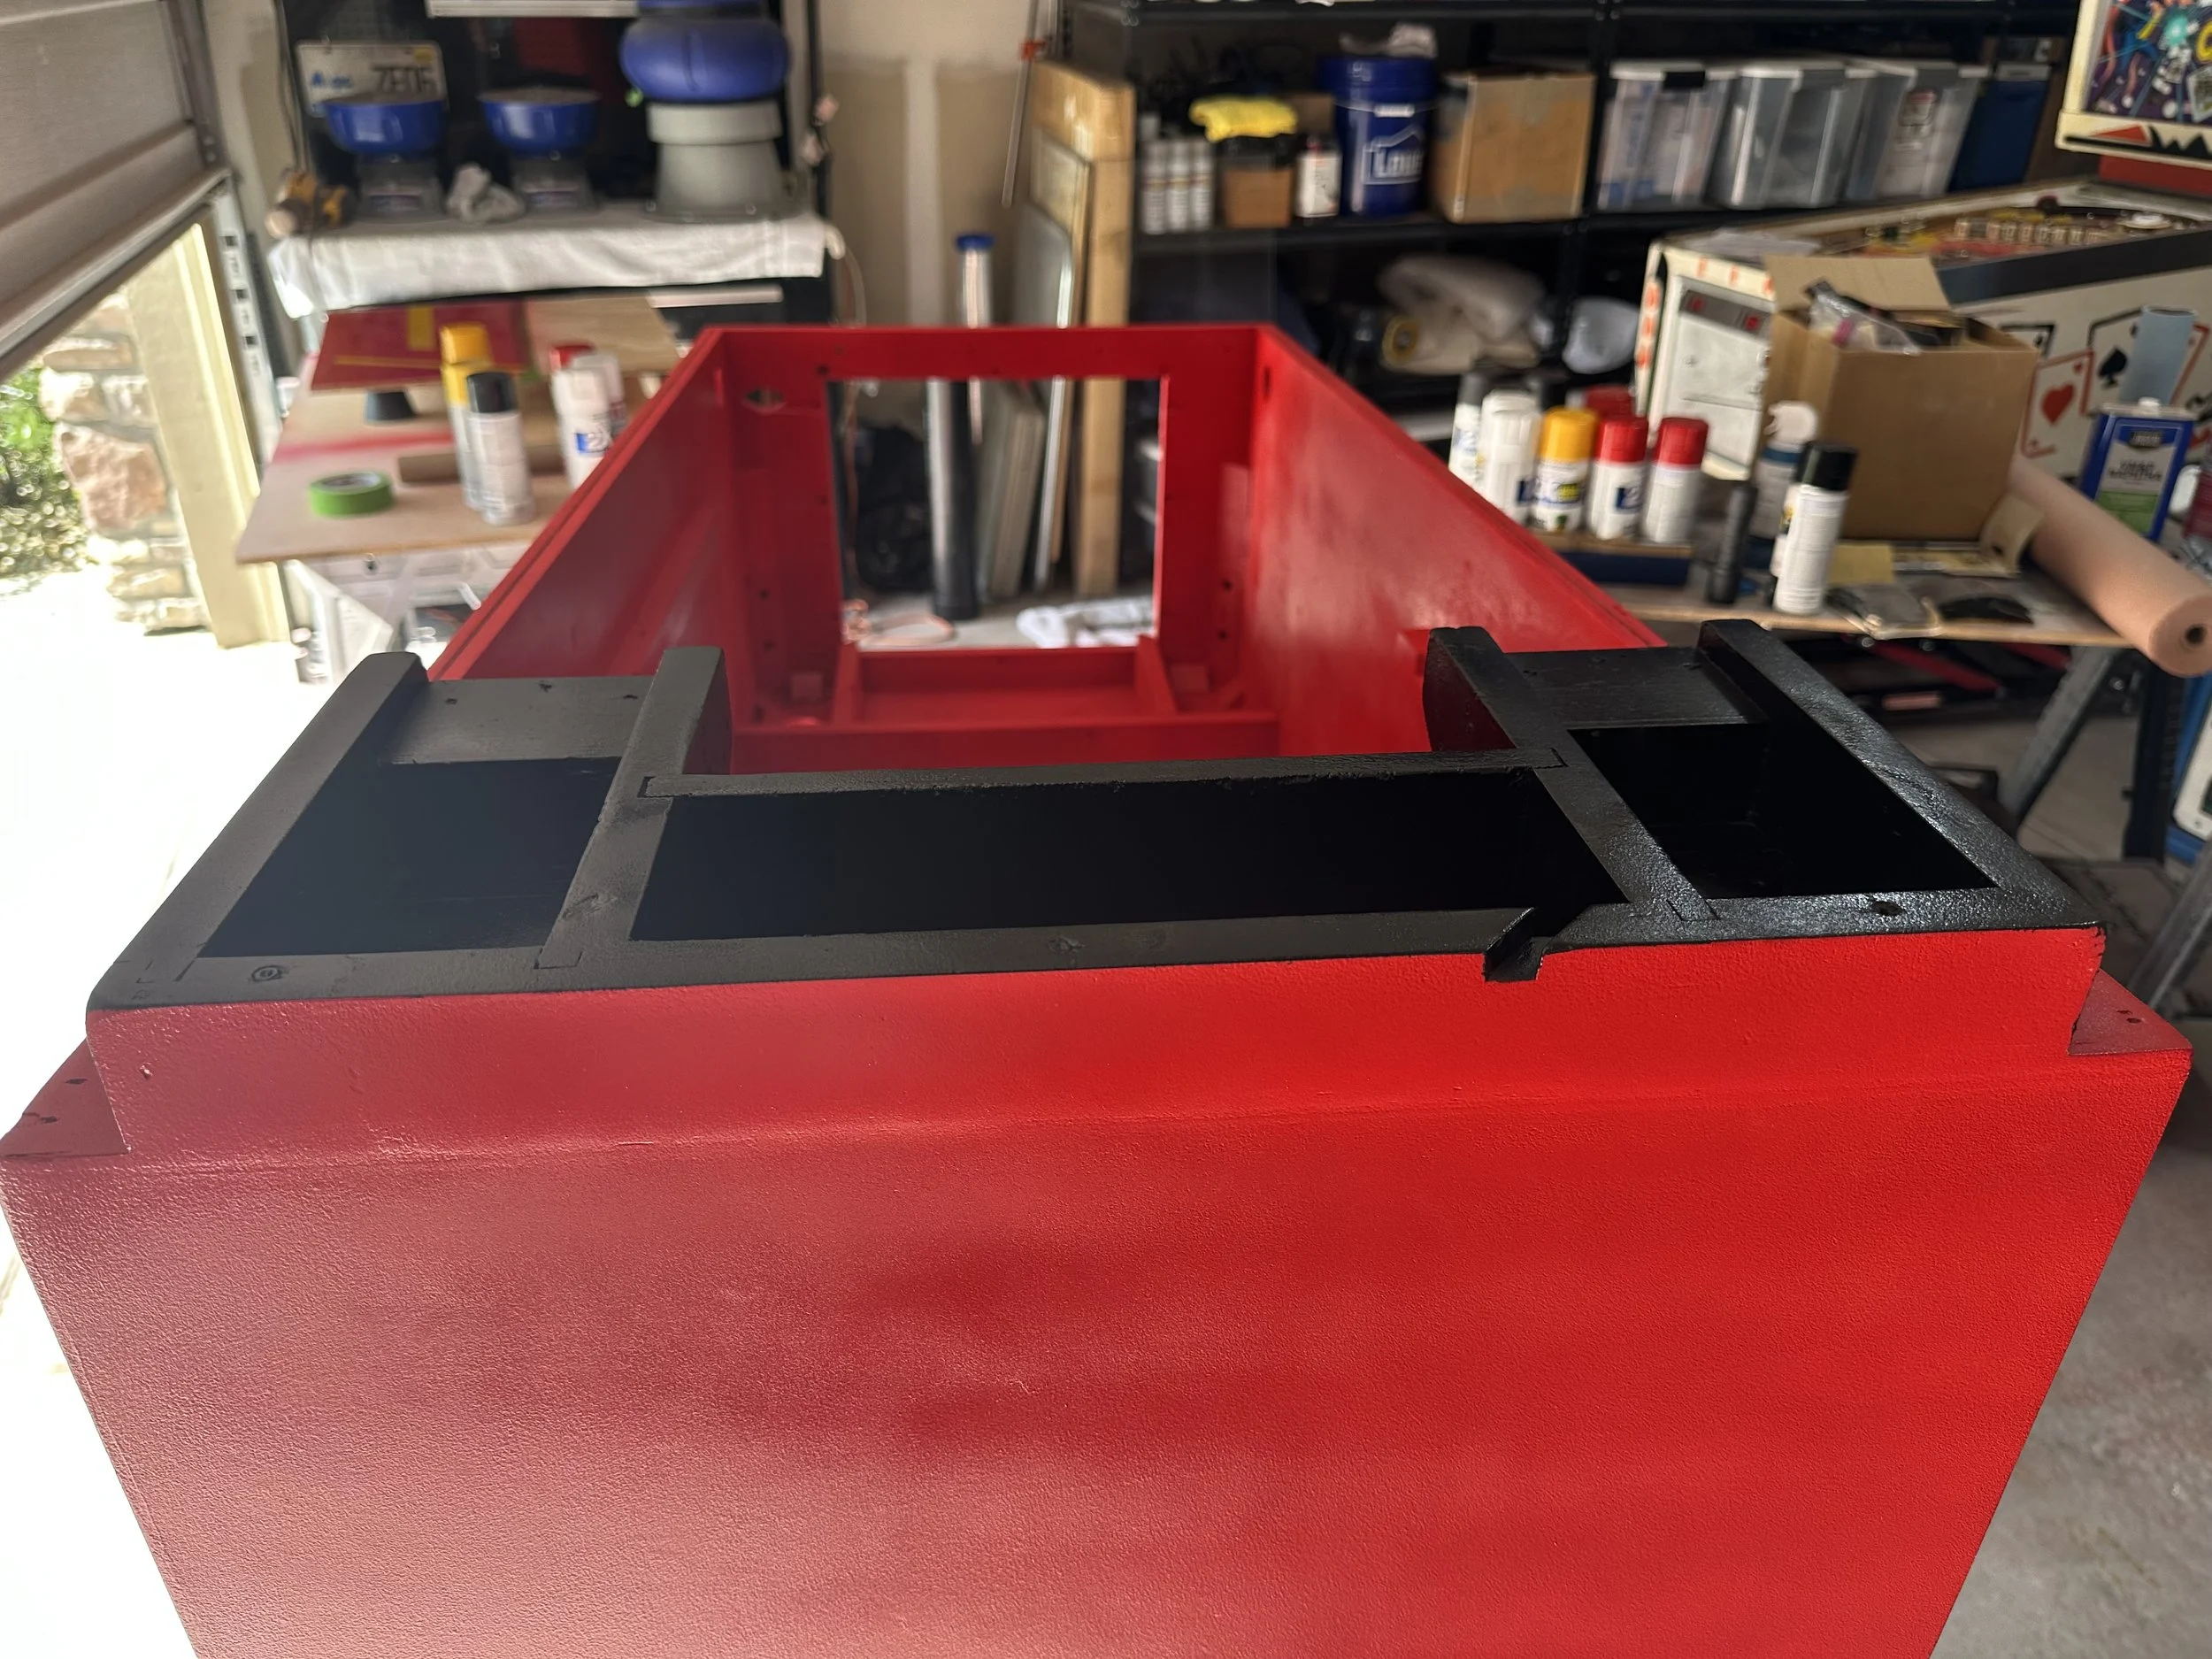
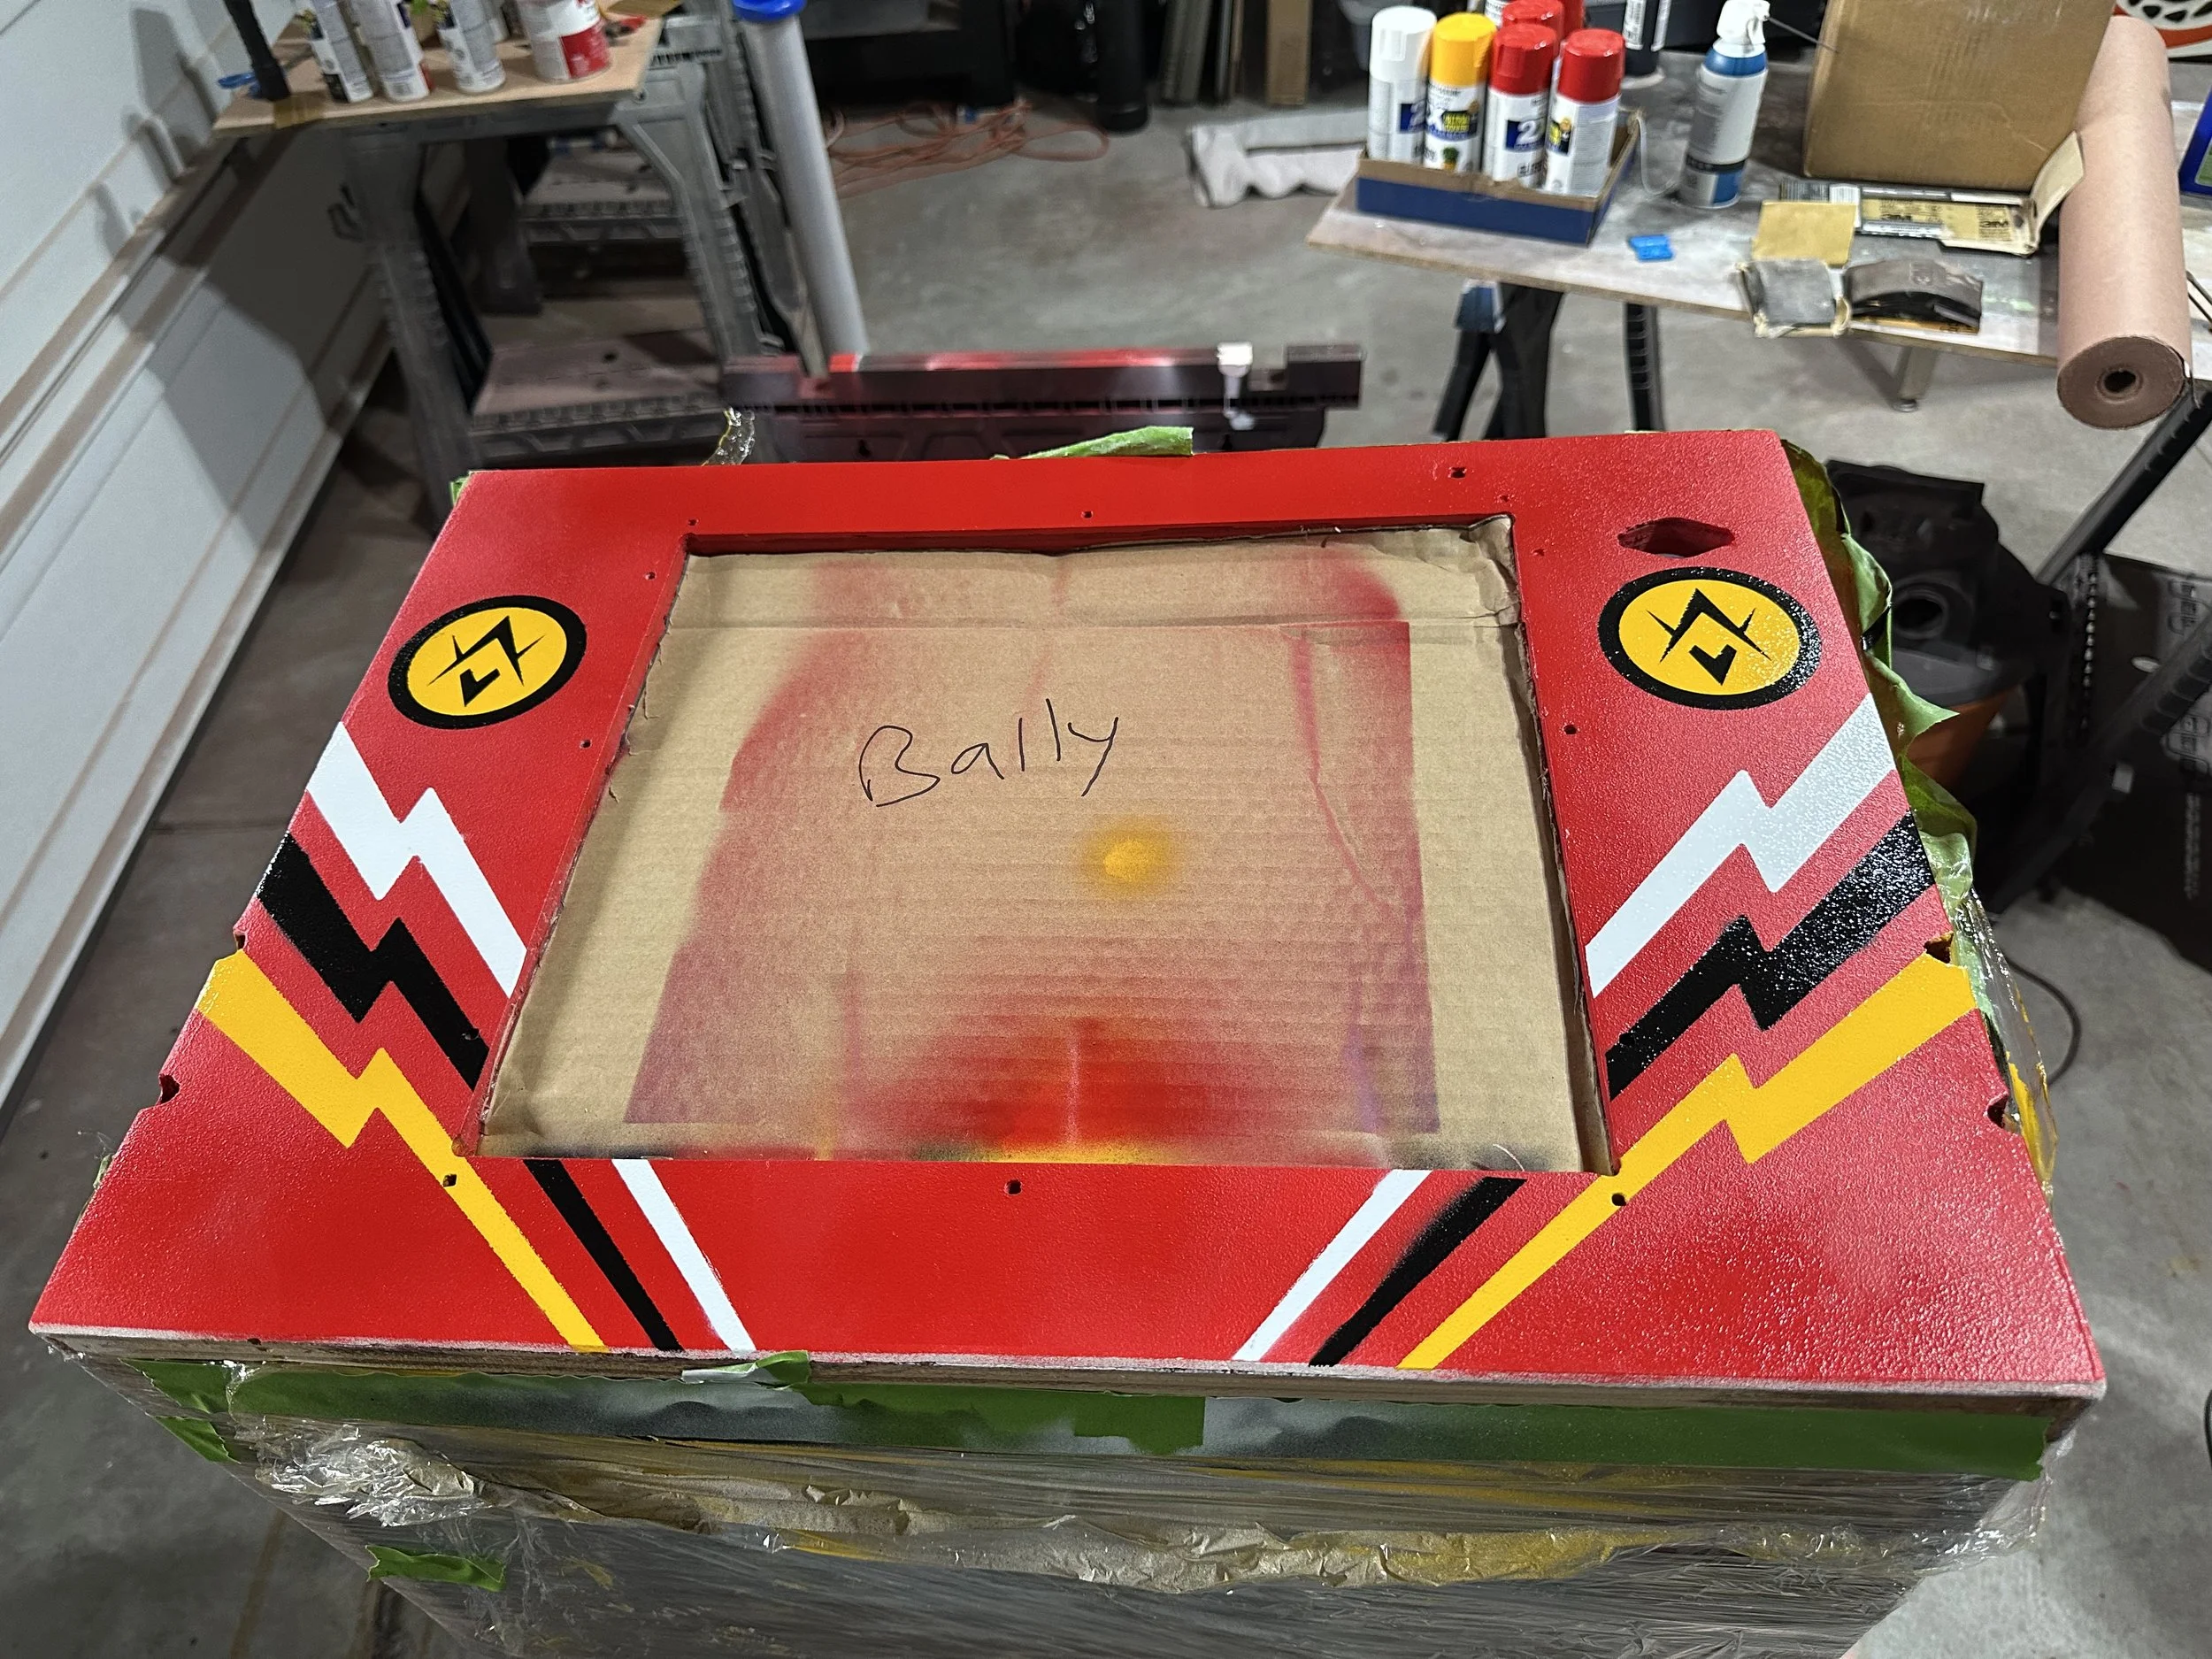
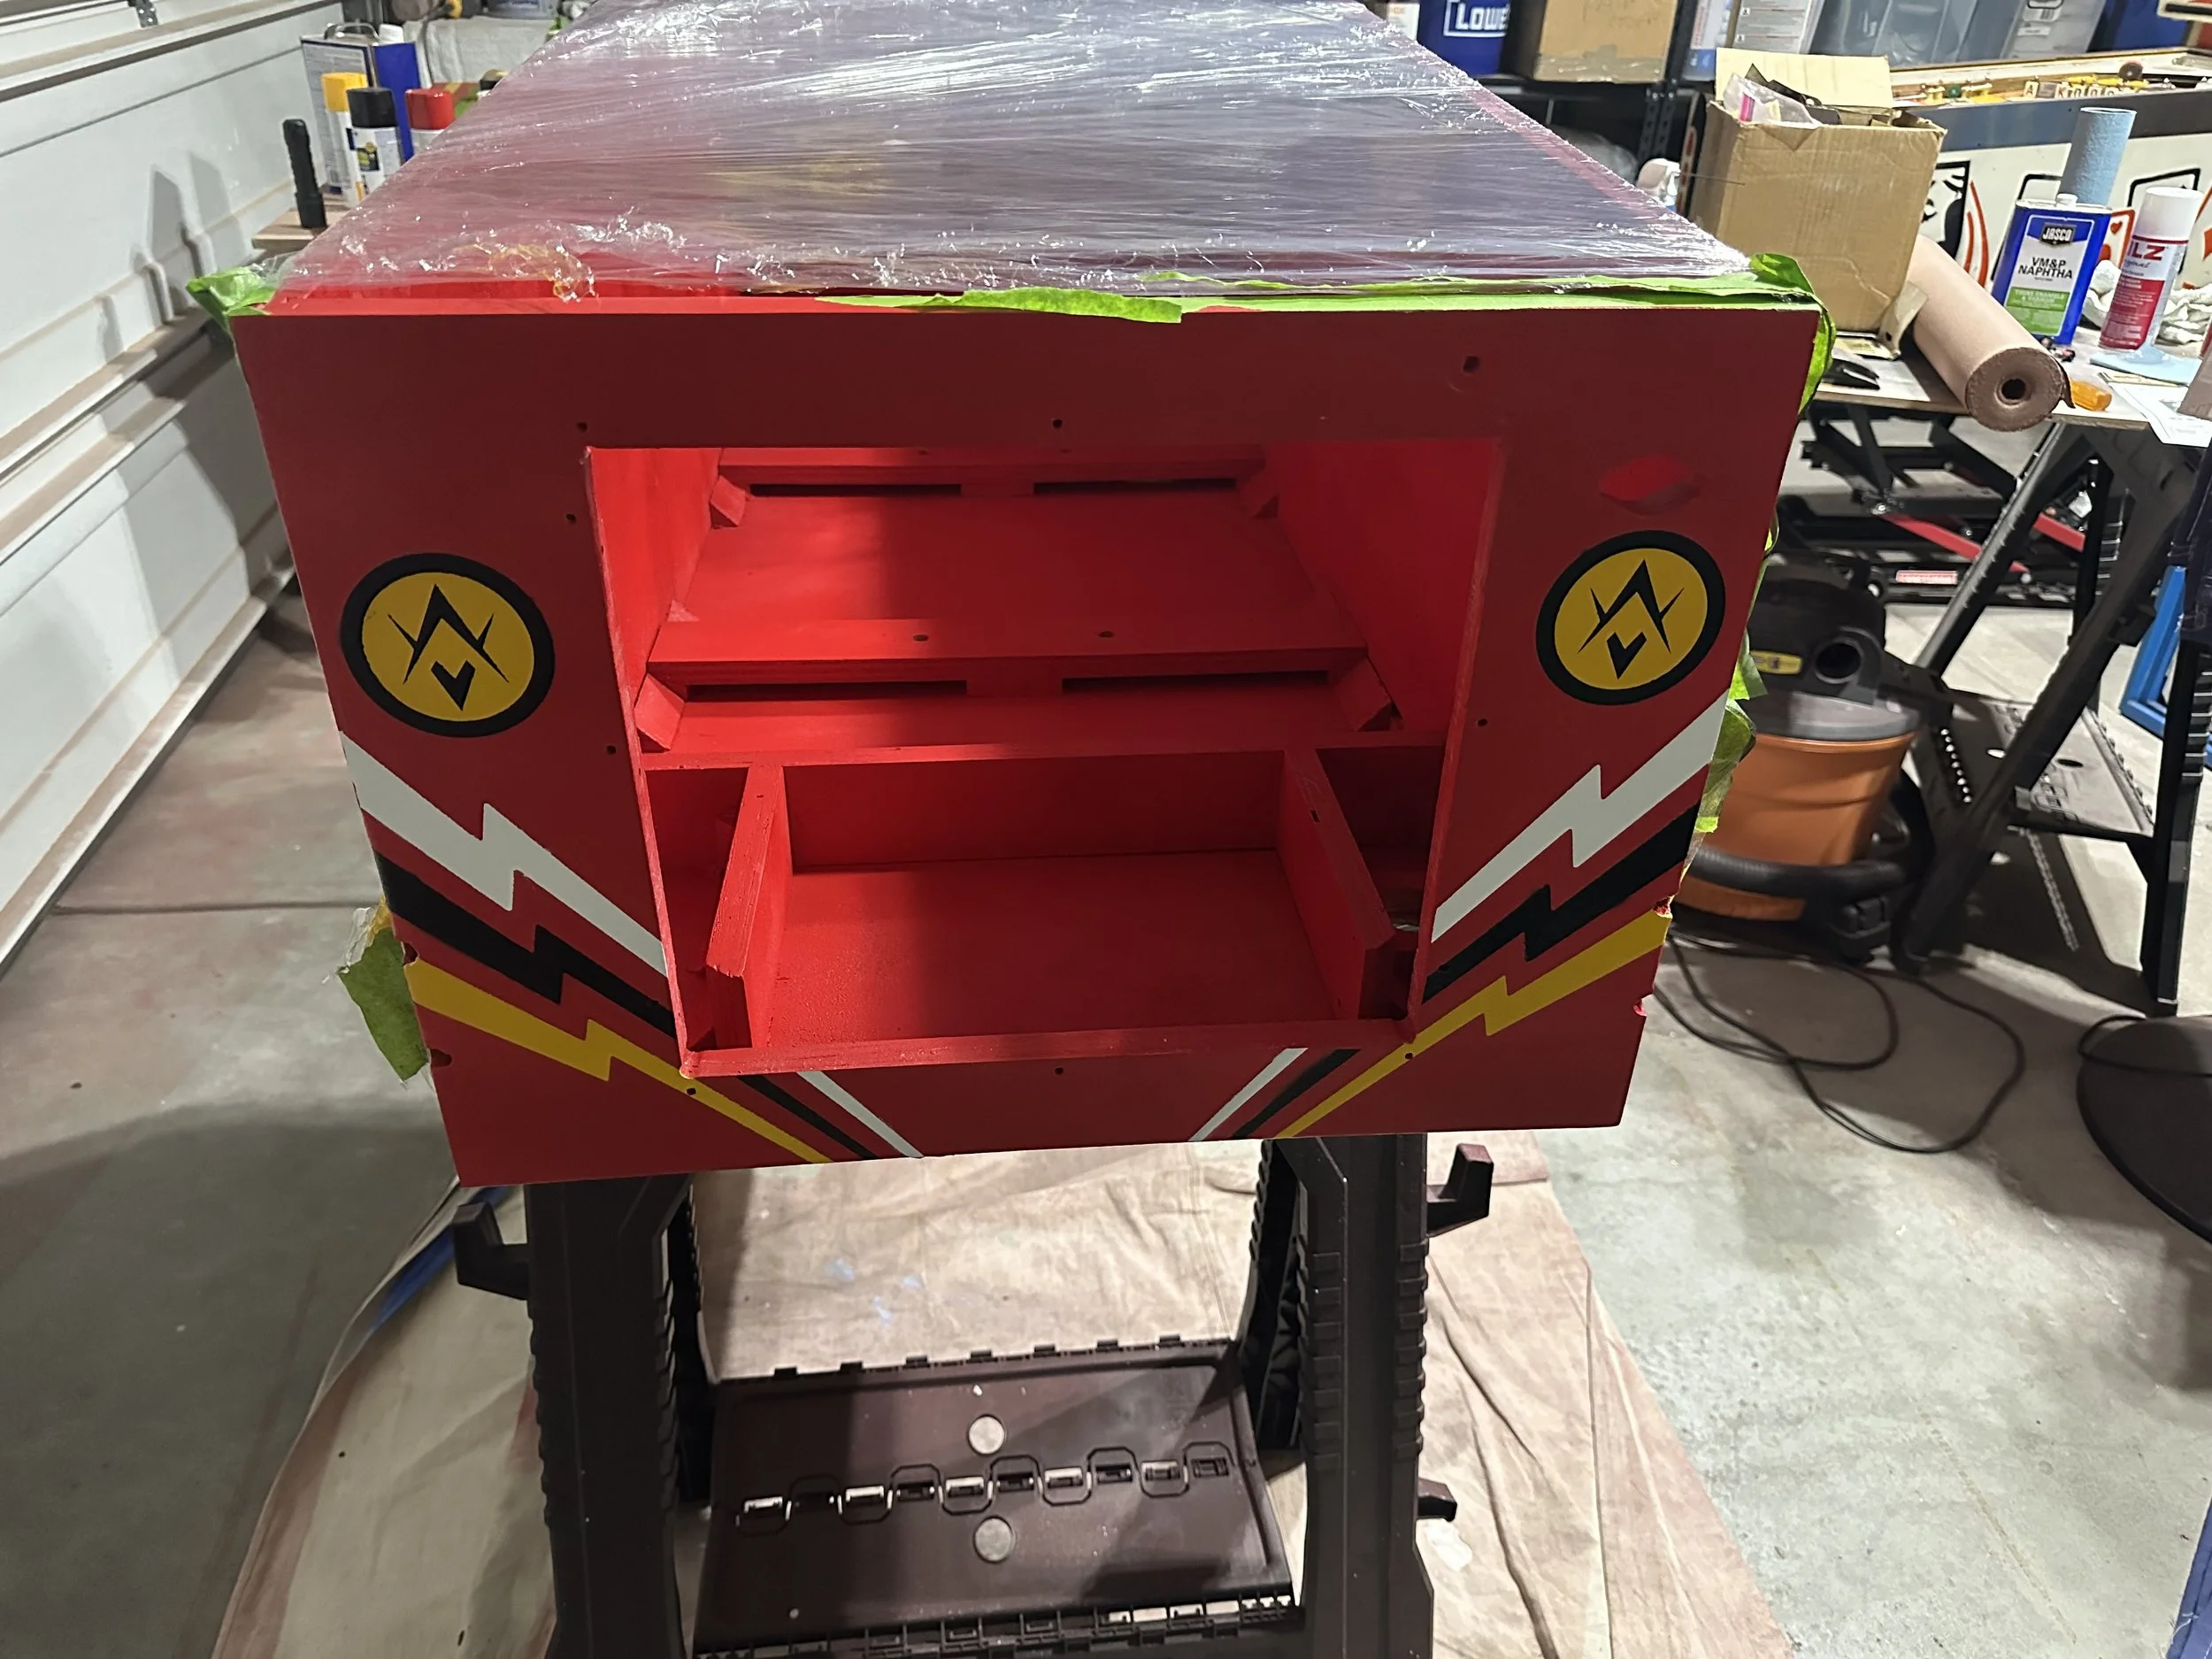
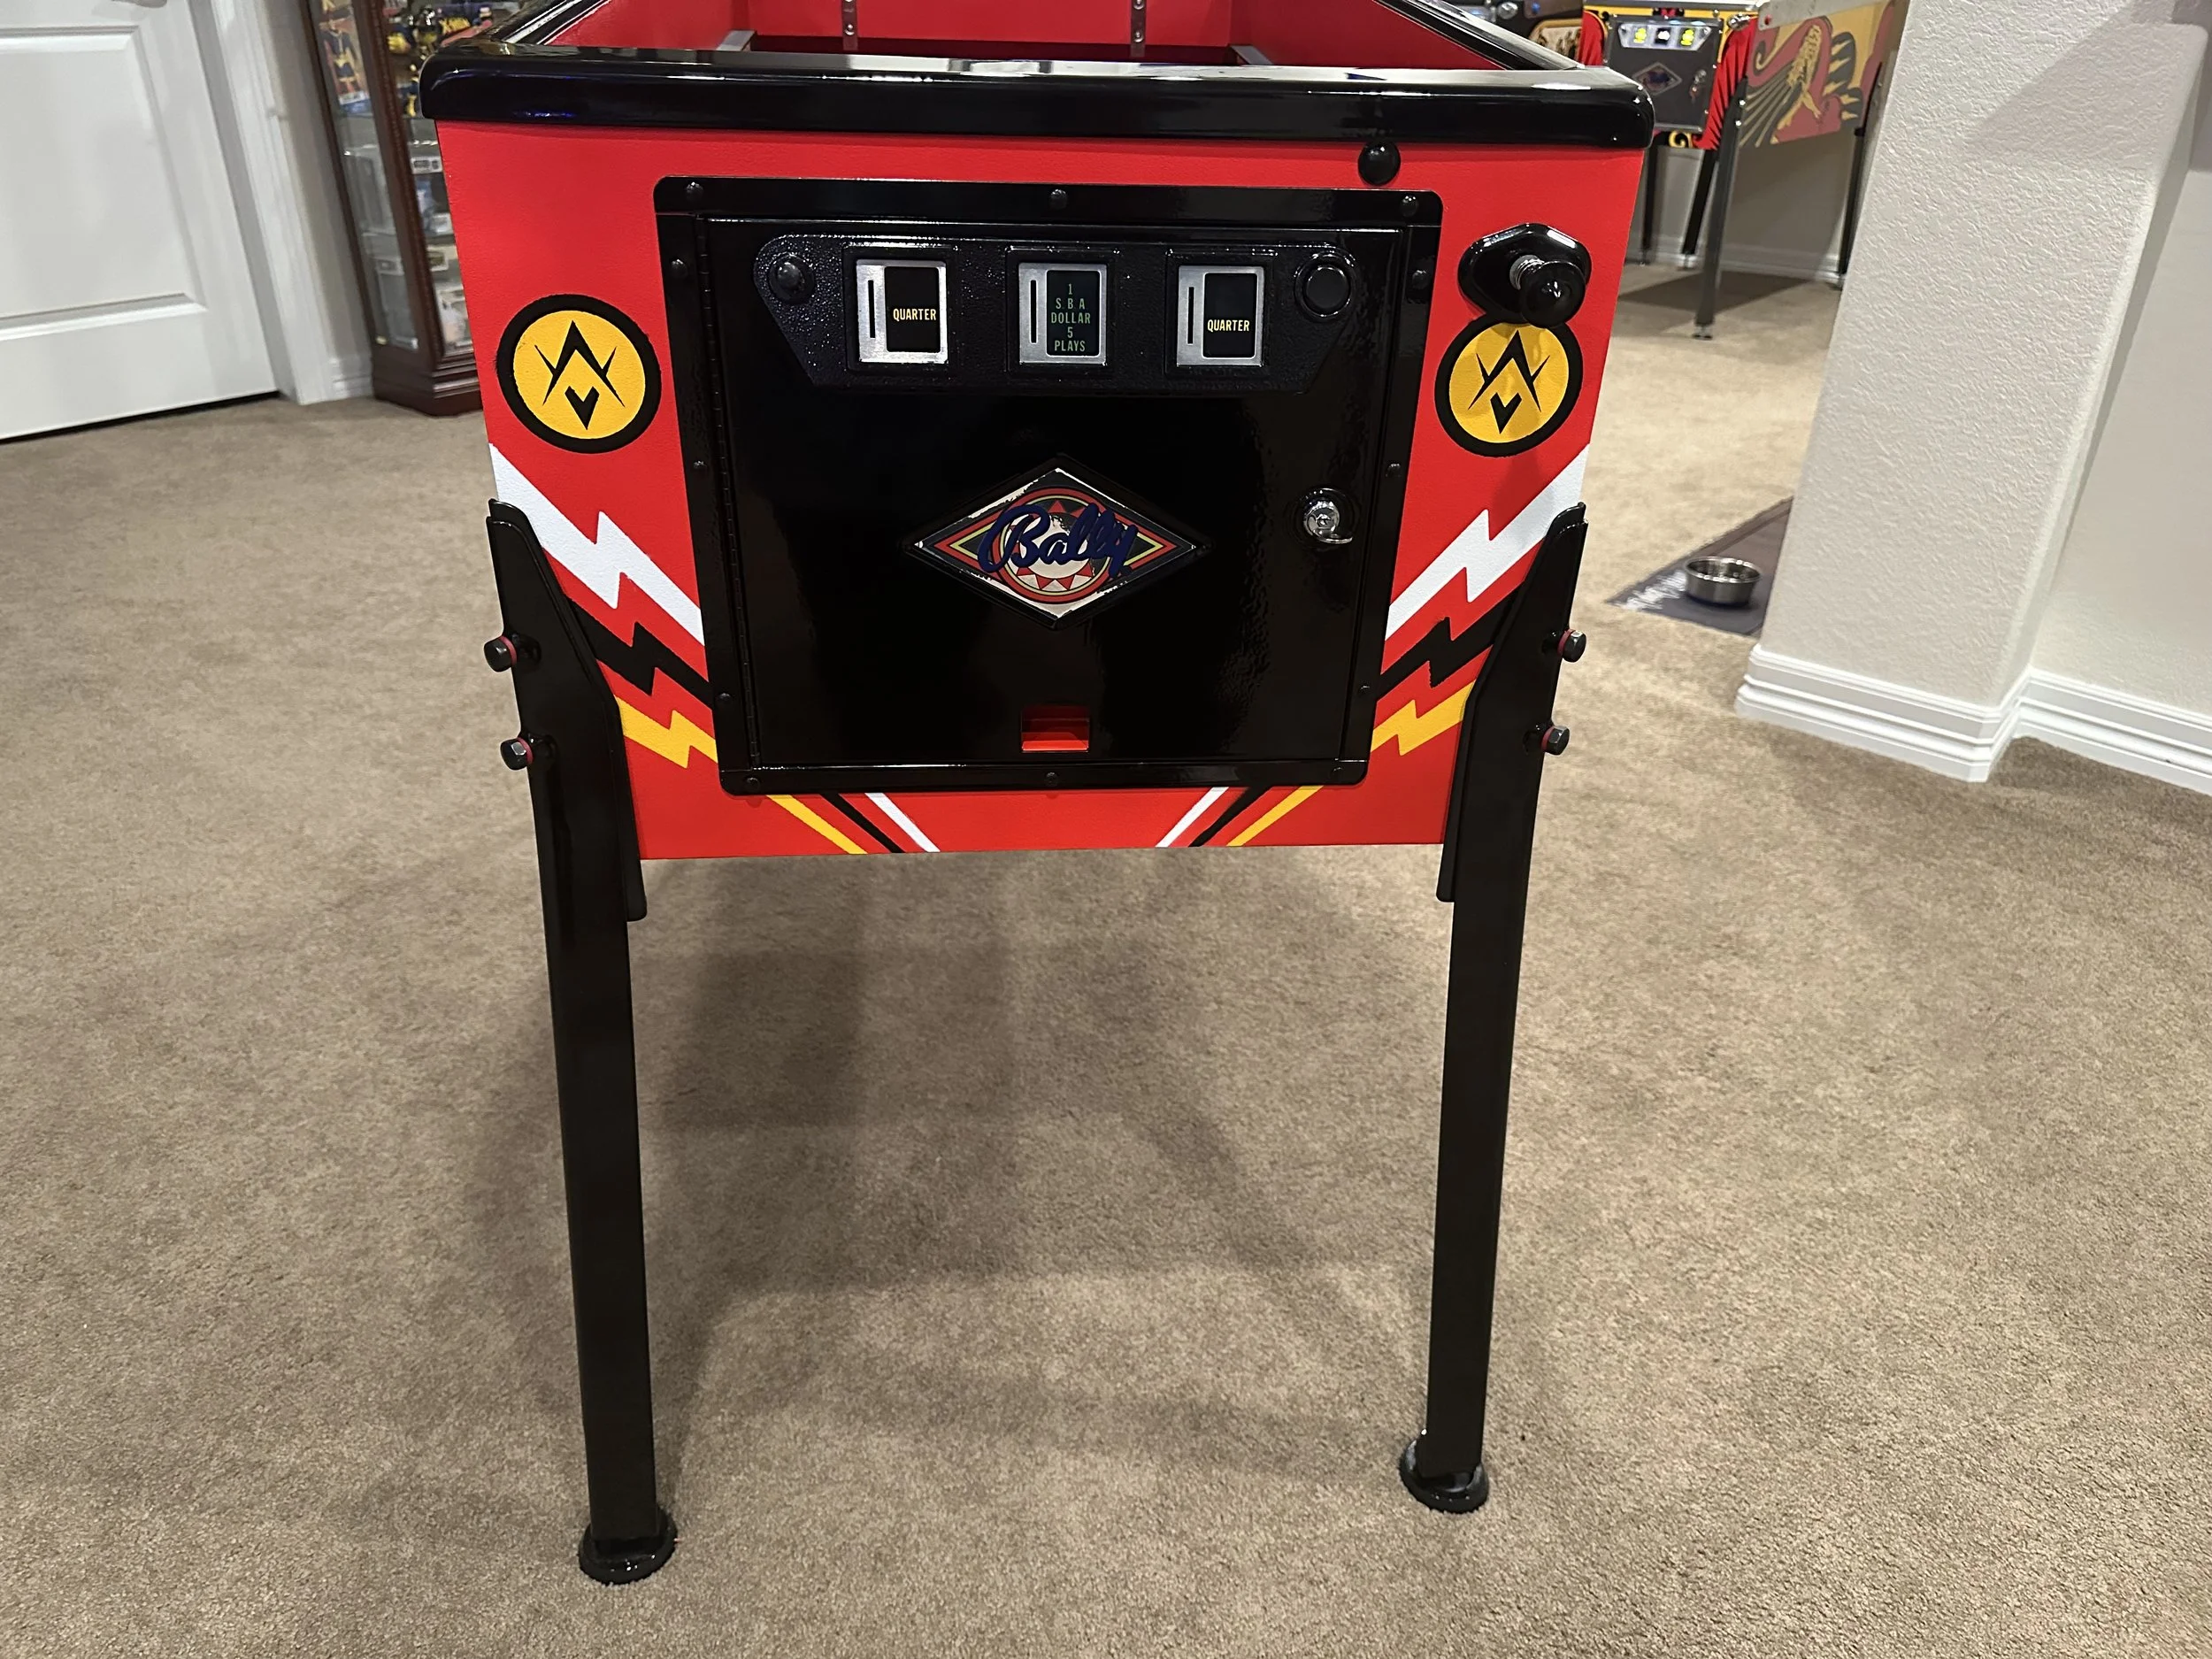
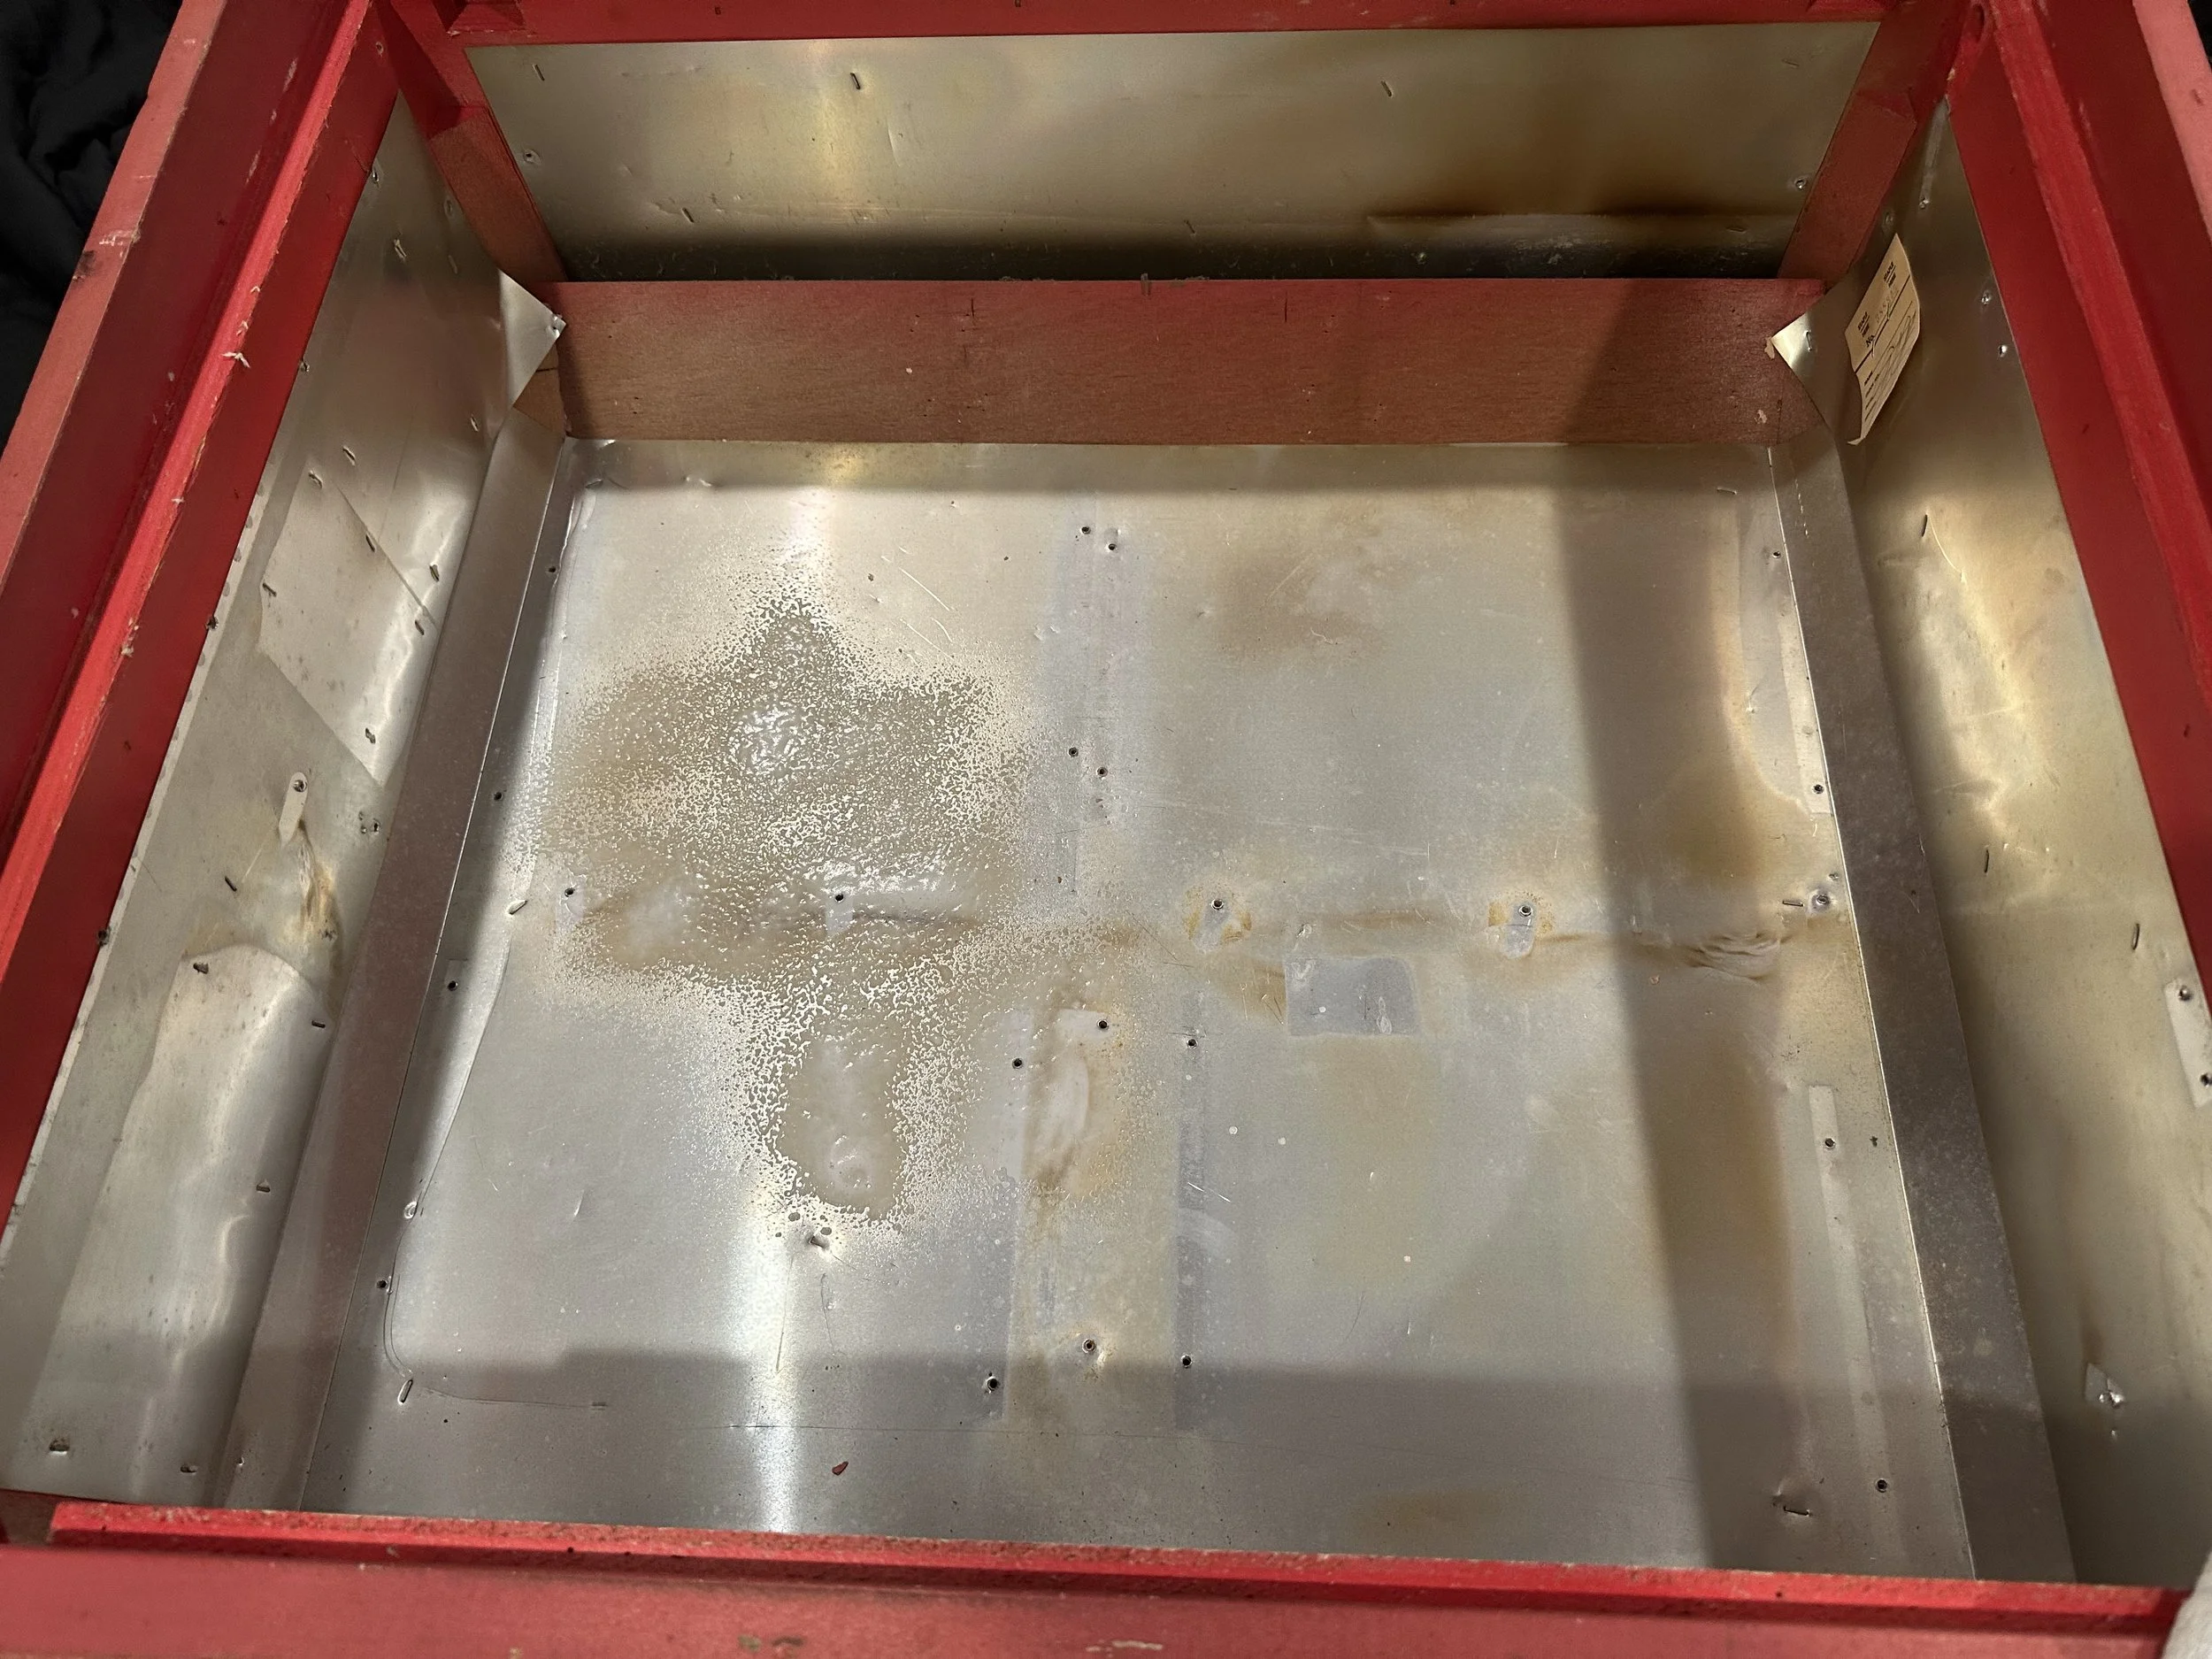
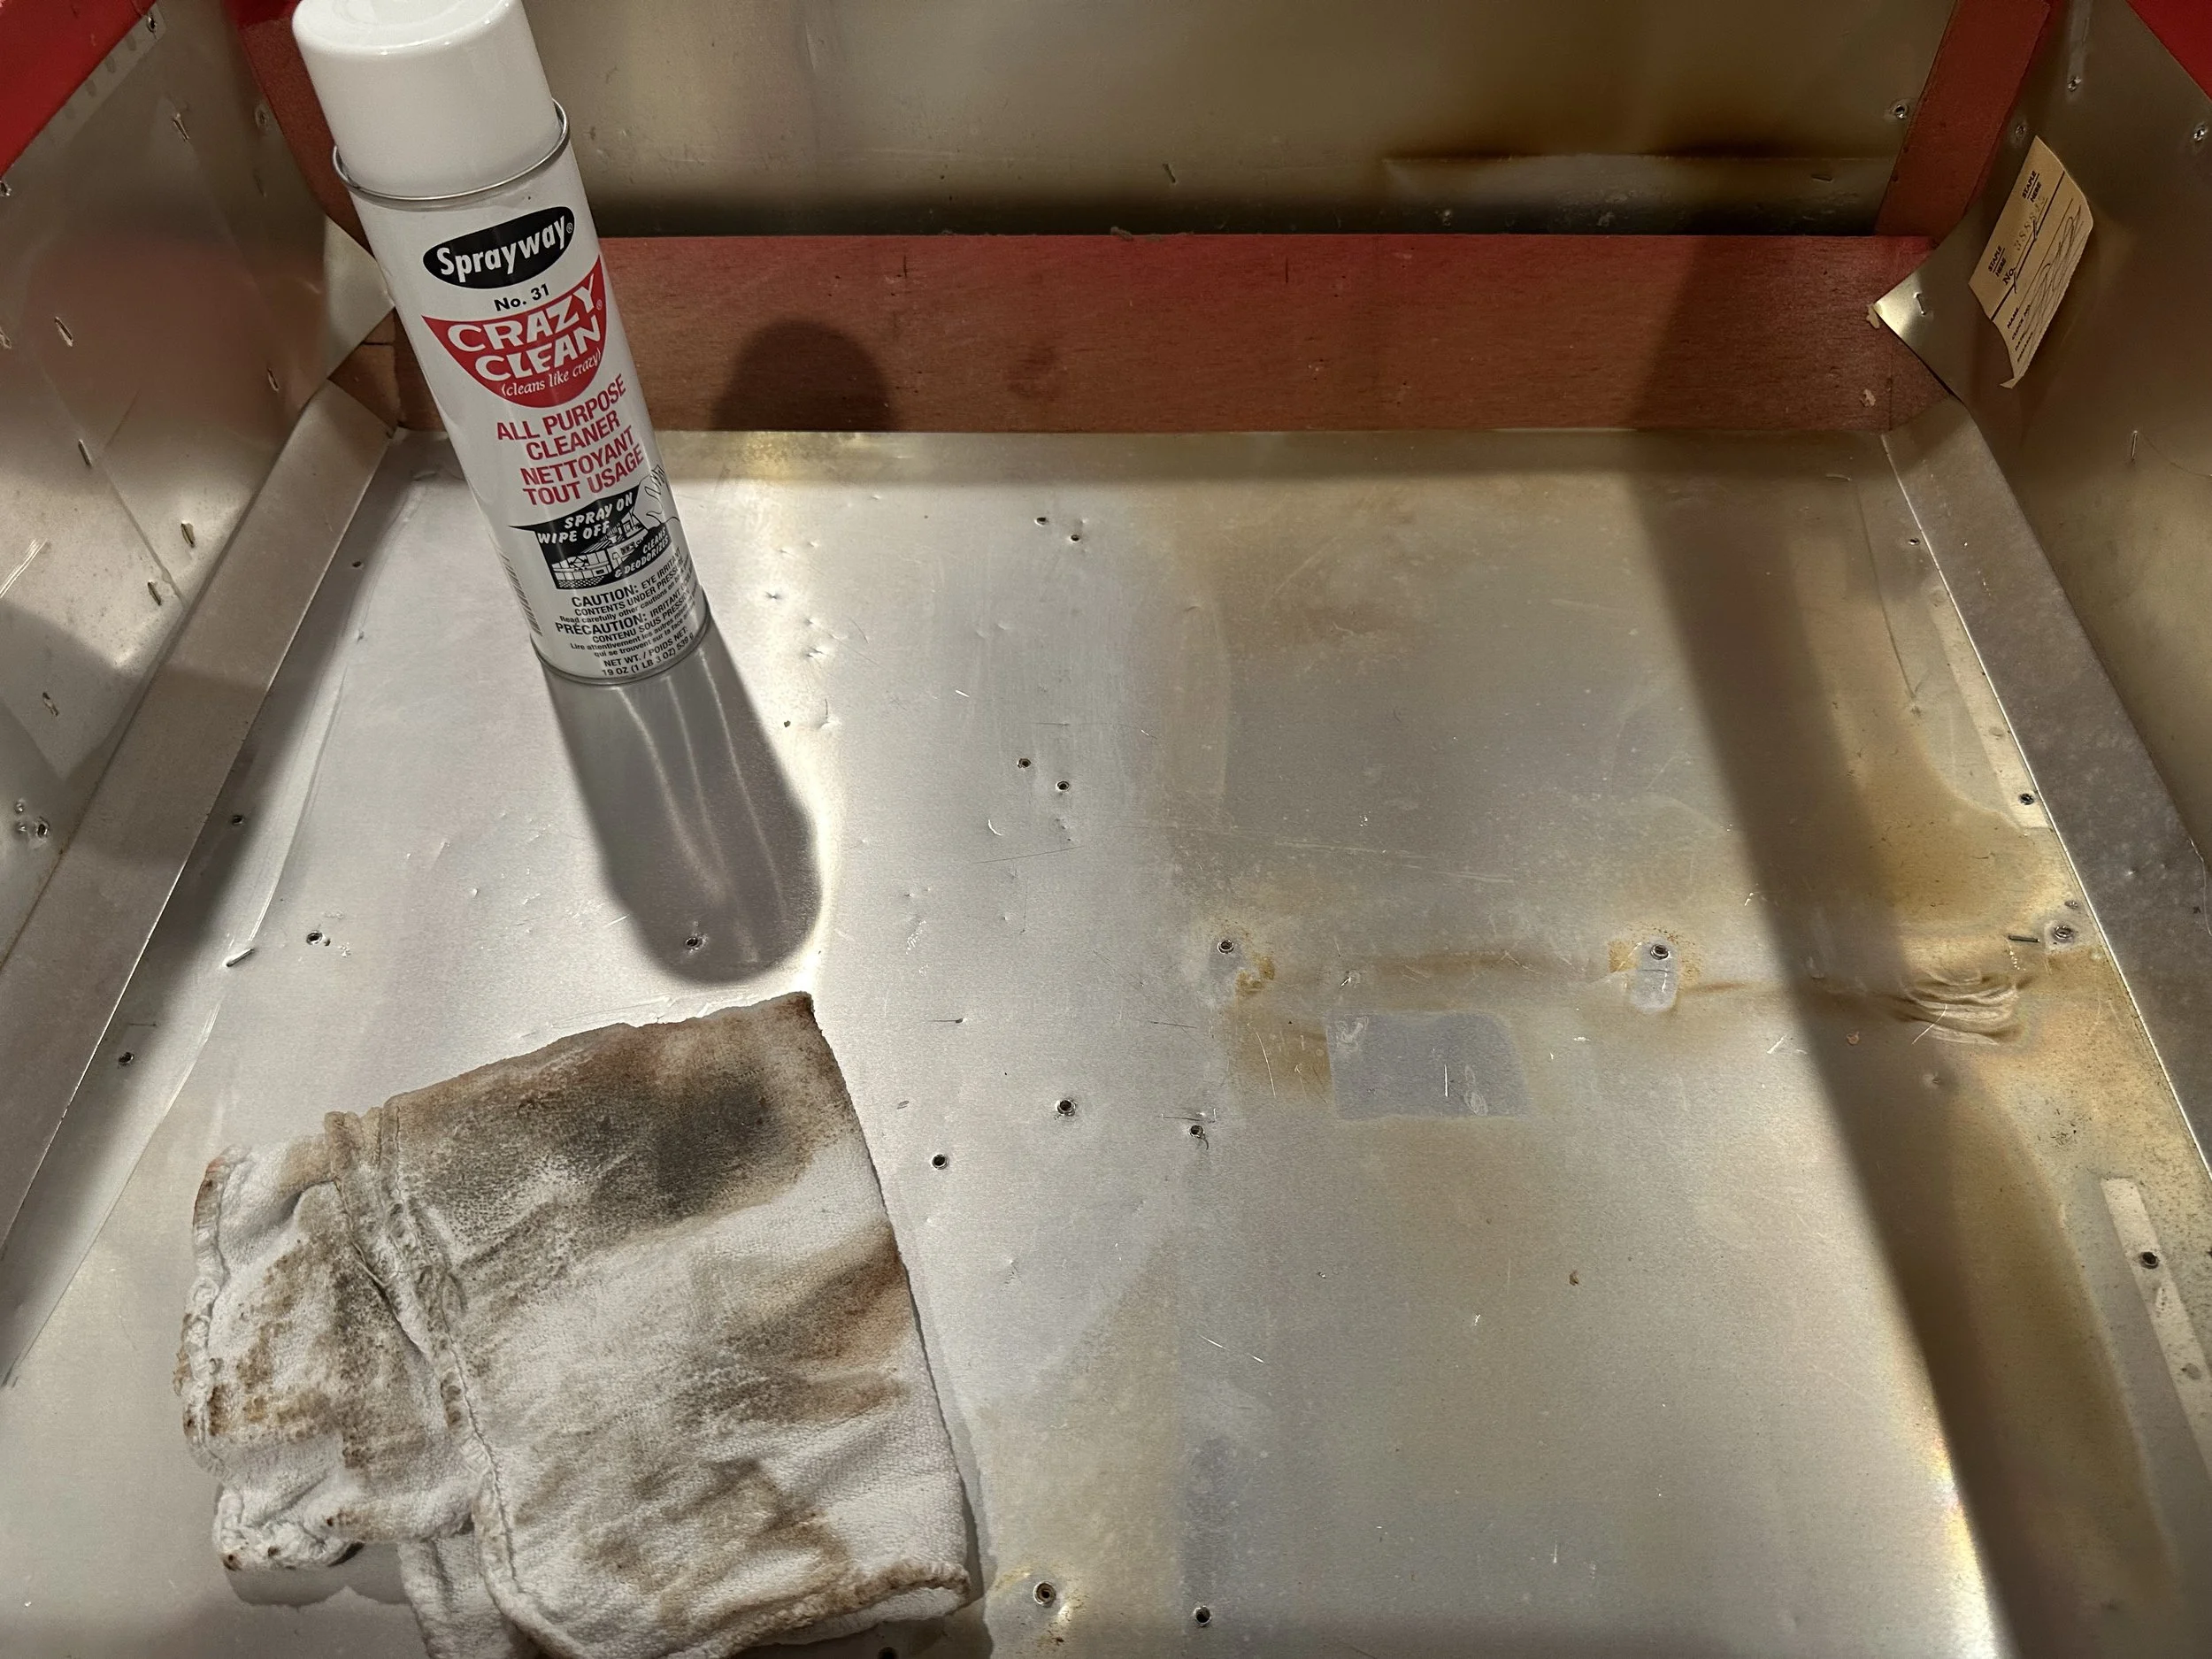
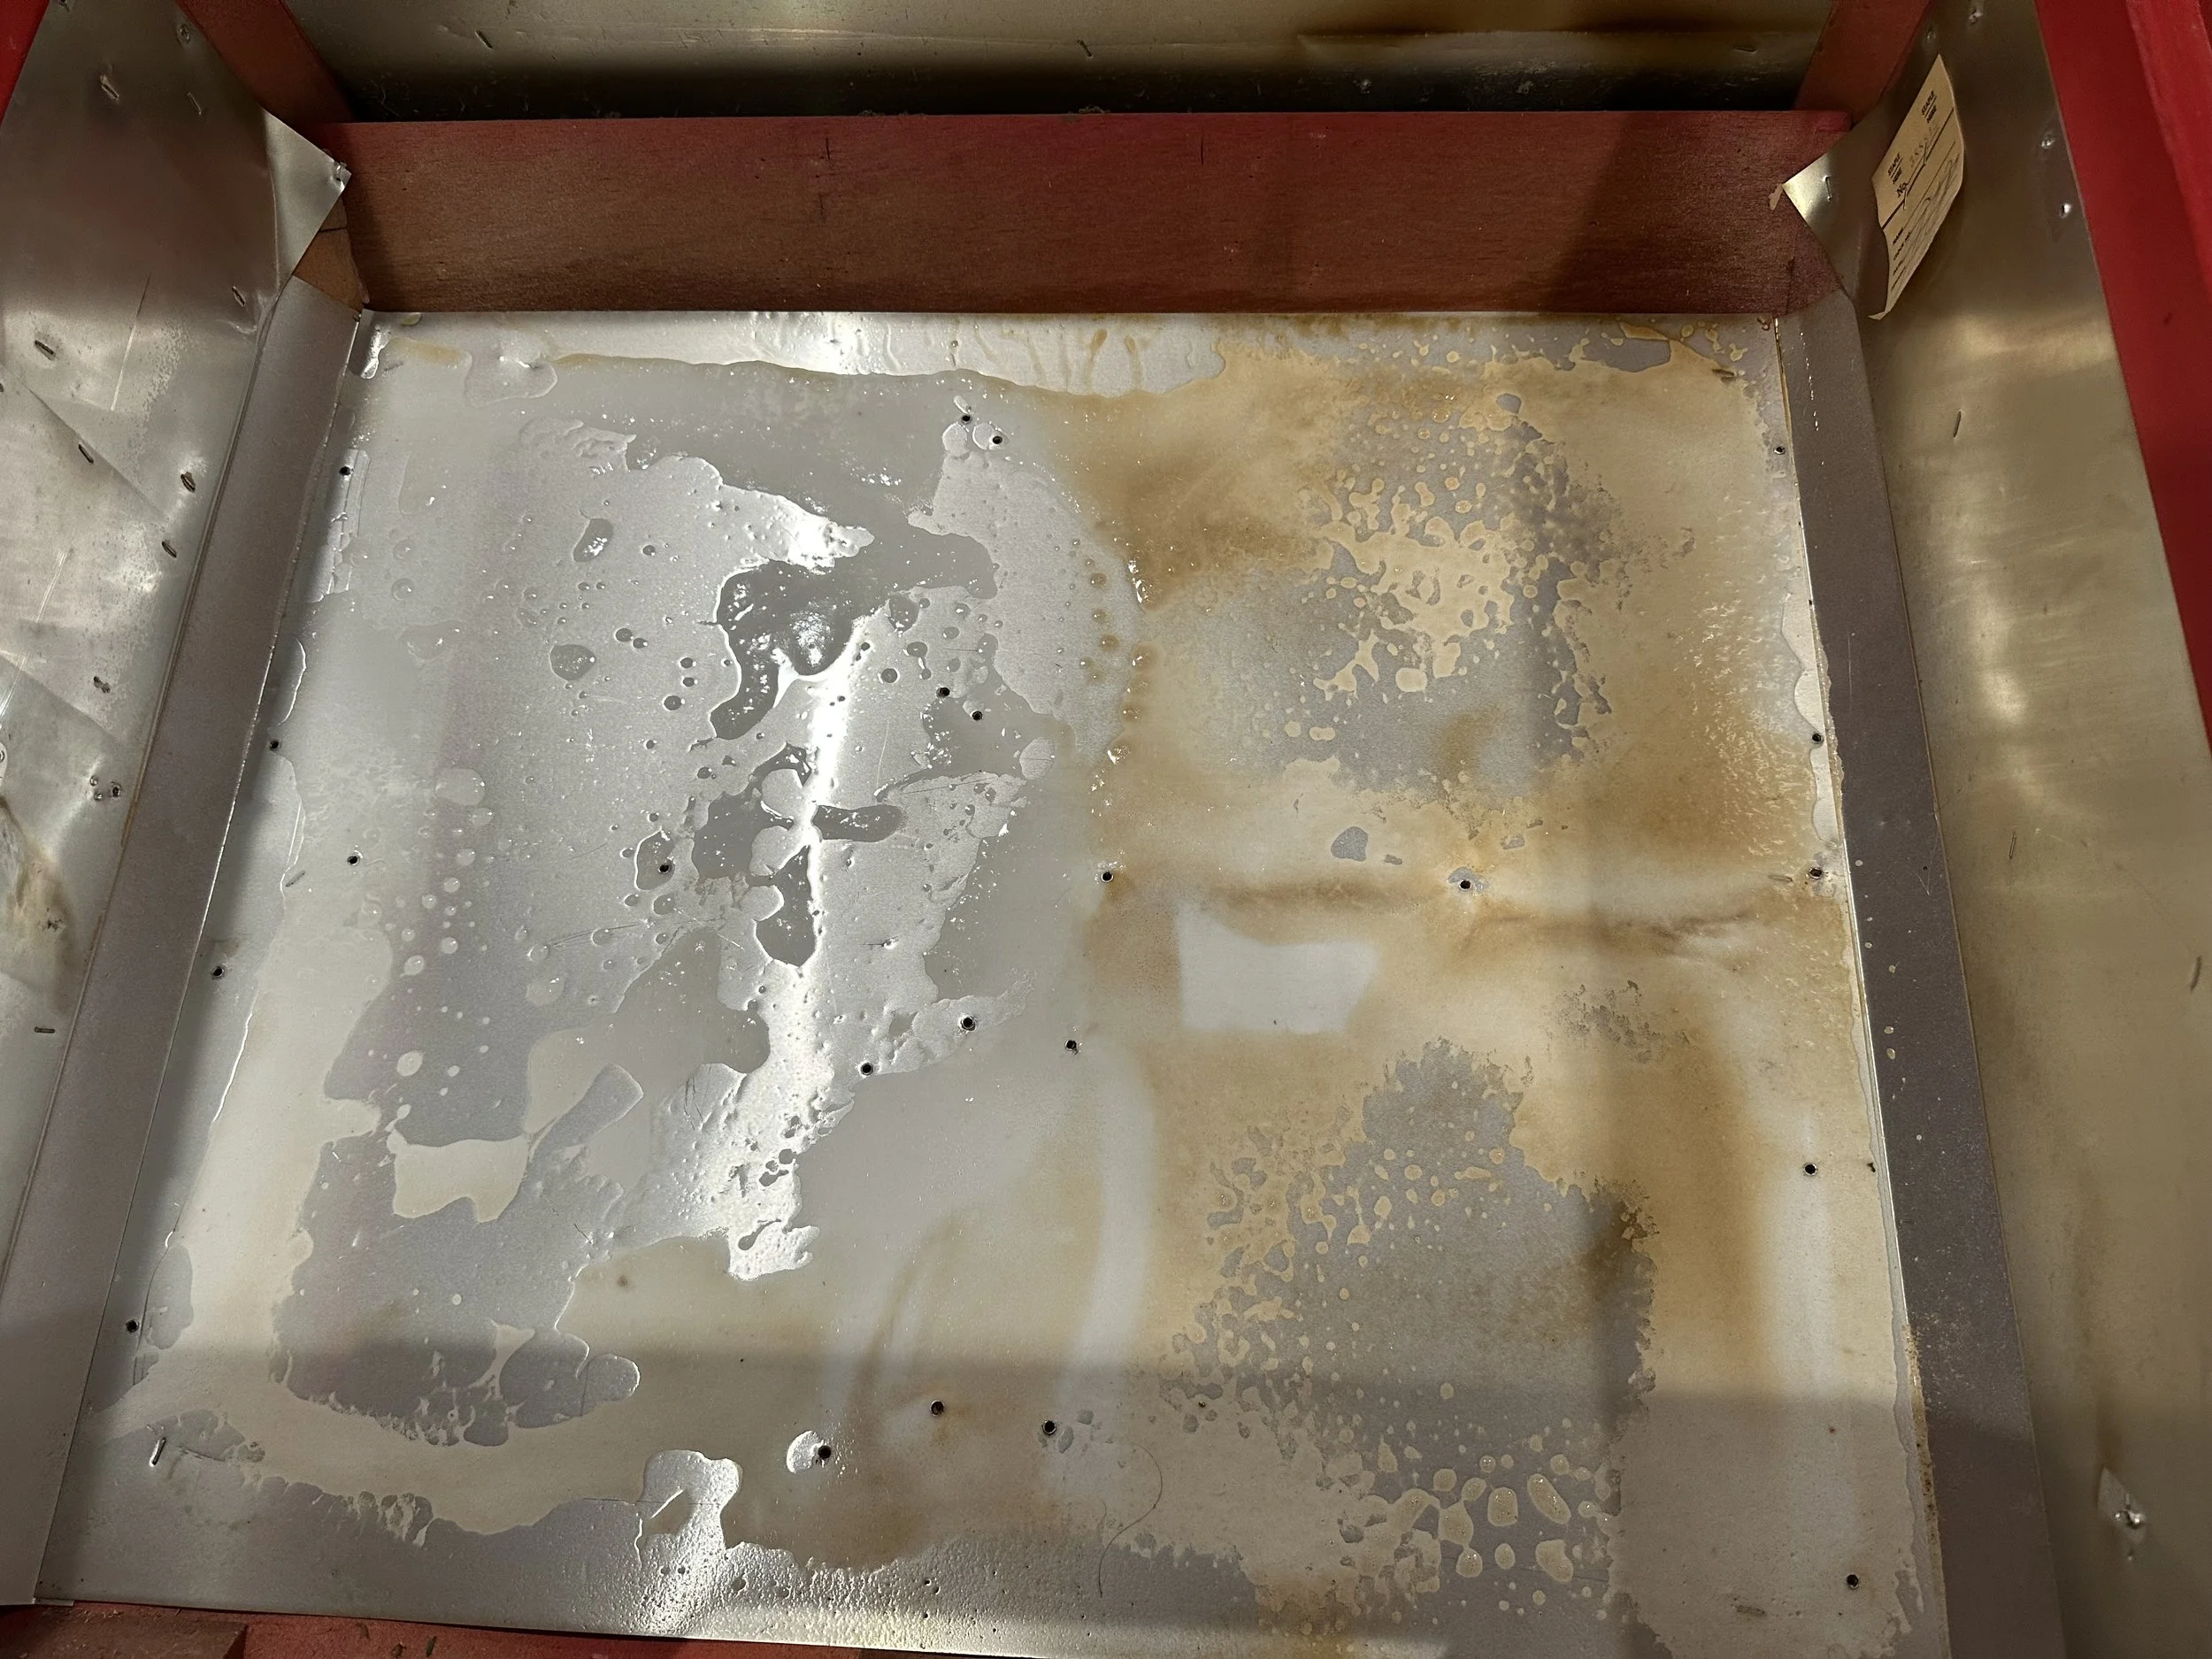
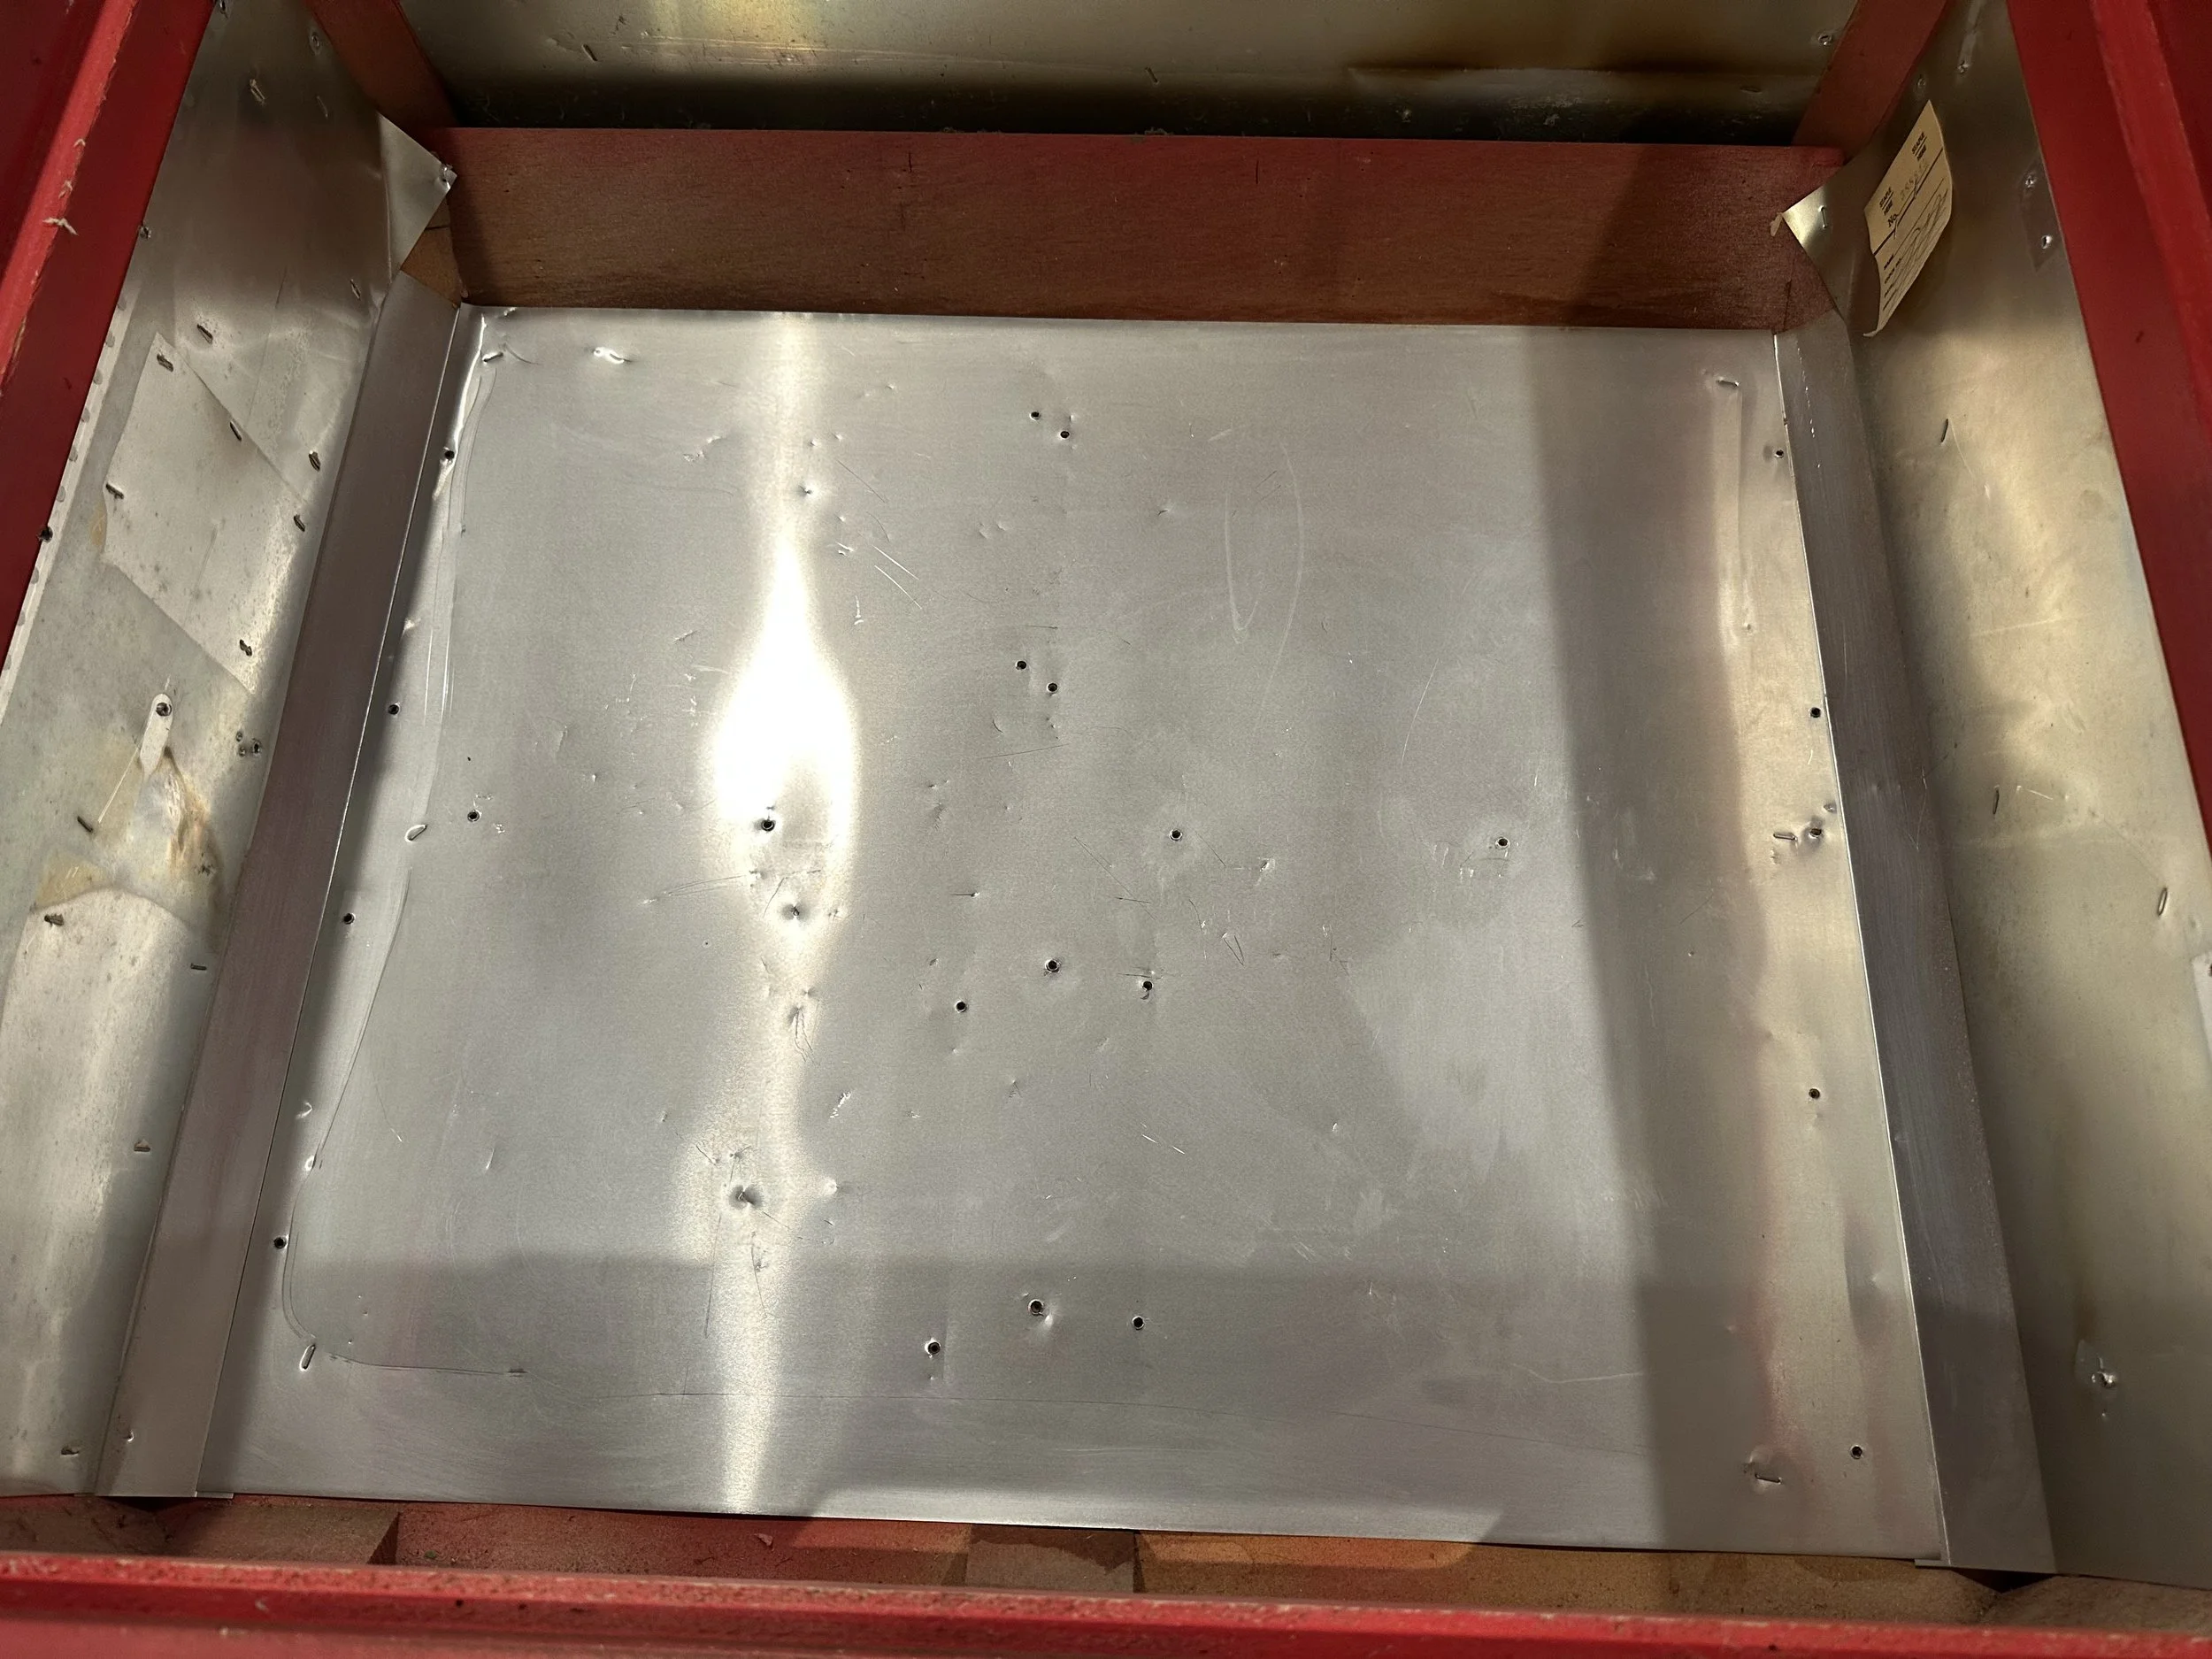
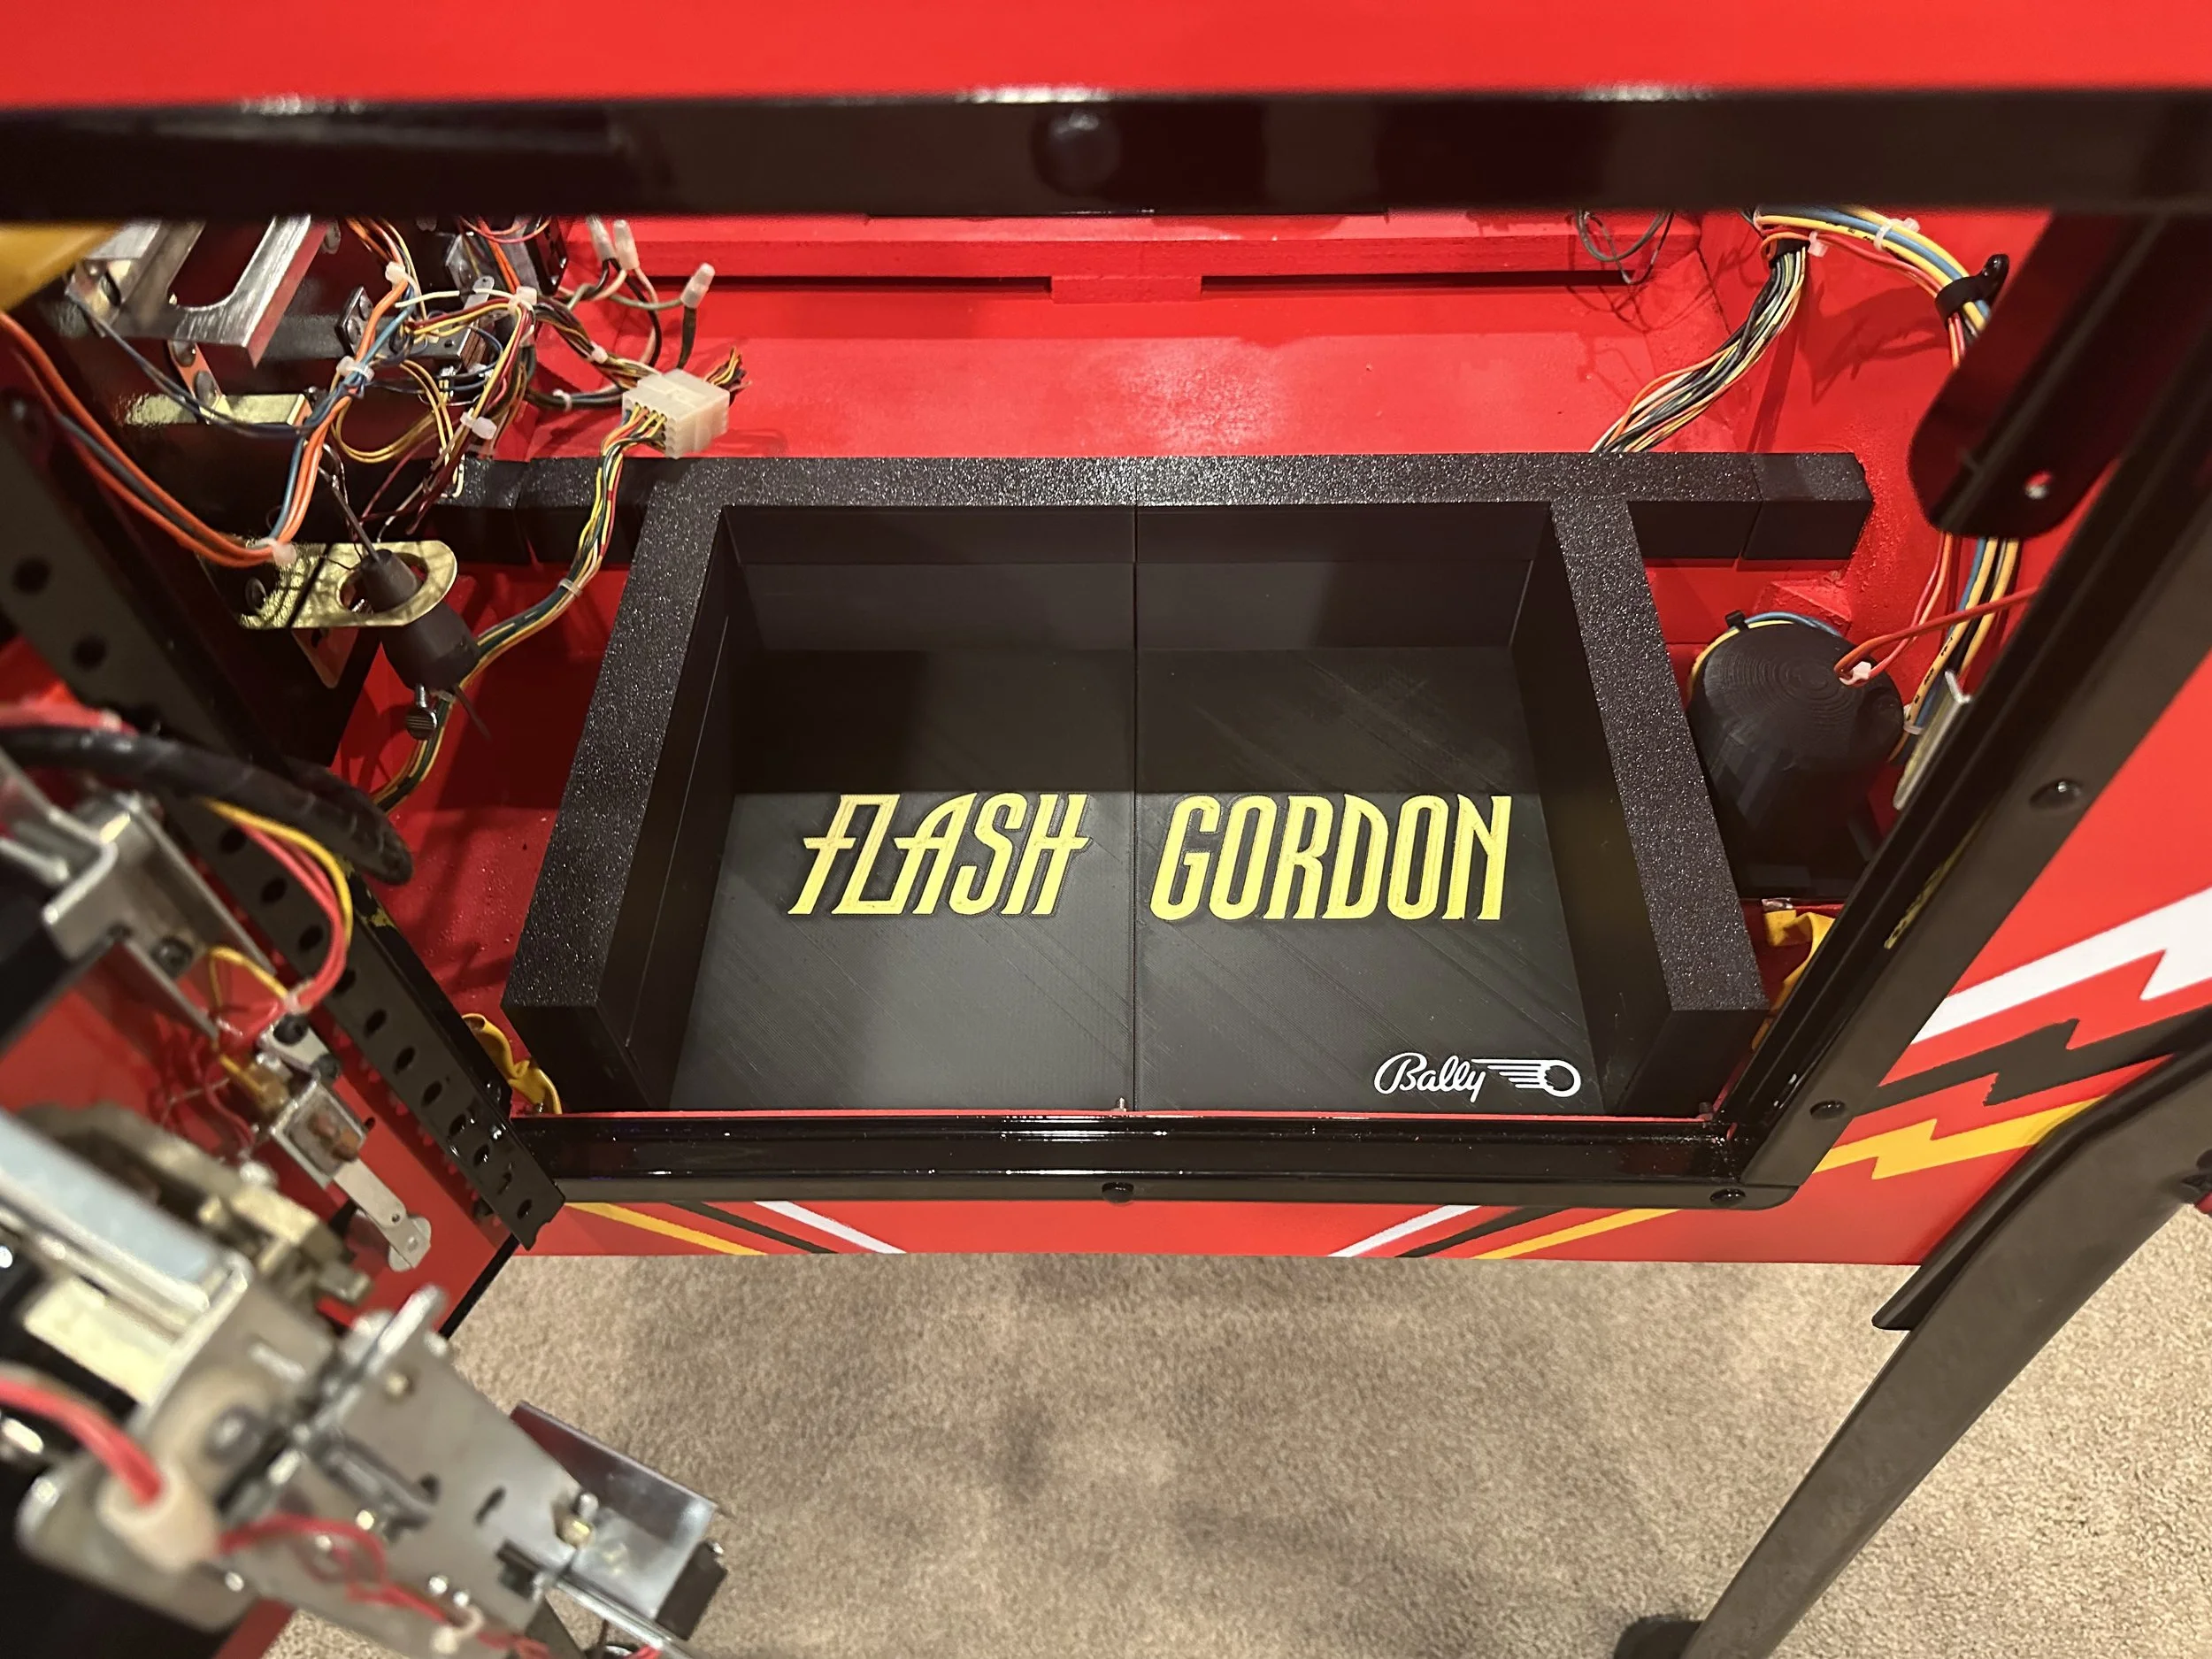
Rail covers and a protective tray (with Flash Gordon and Bally logos) for the coin box area which, like the cabinet rails, gives the interior a cleaner, customized look. Covers and tray can be easily removed to revert back to a more factory look.
Power Switch cover for the cabinet floor.
Finned posts, spools, and spacers (in black) for the playfield
Lamp panel door trays for LED Score Displays
Light baffles for the lamp panel door.
Light baffle for the apron credit LED.
If you’re interested in any pinball-related parts I’ve designed and want to print them yourself, they’re posted on www.printables.com.