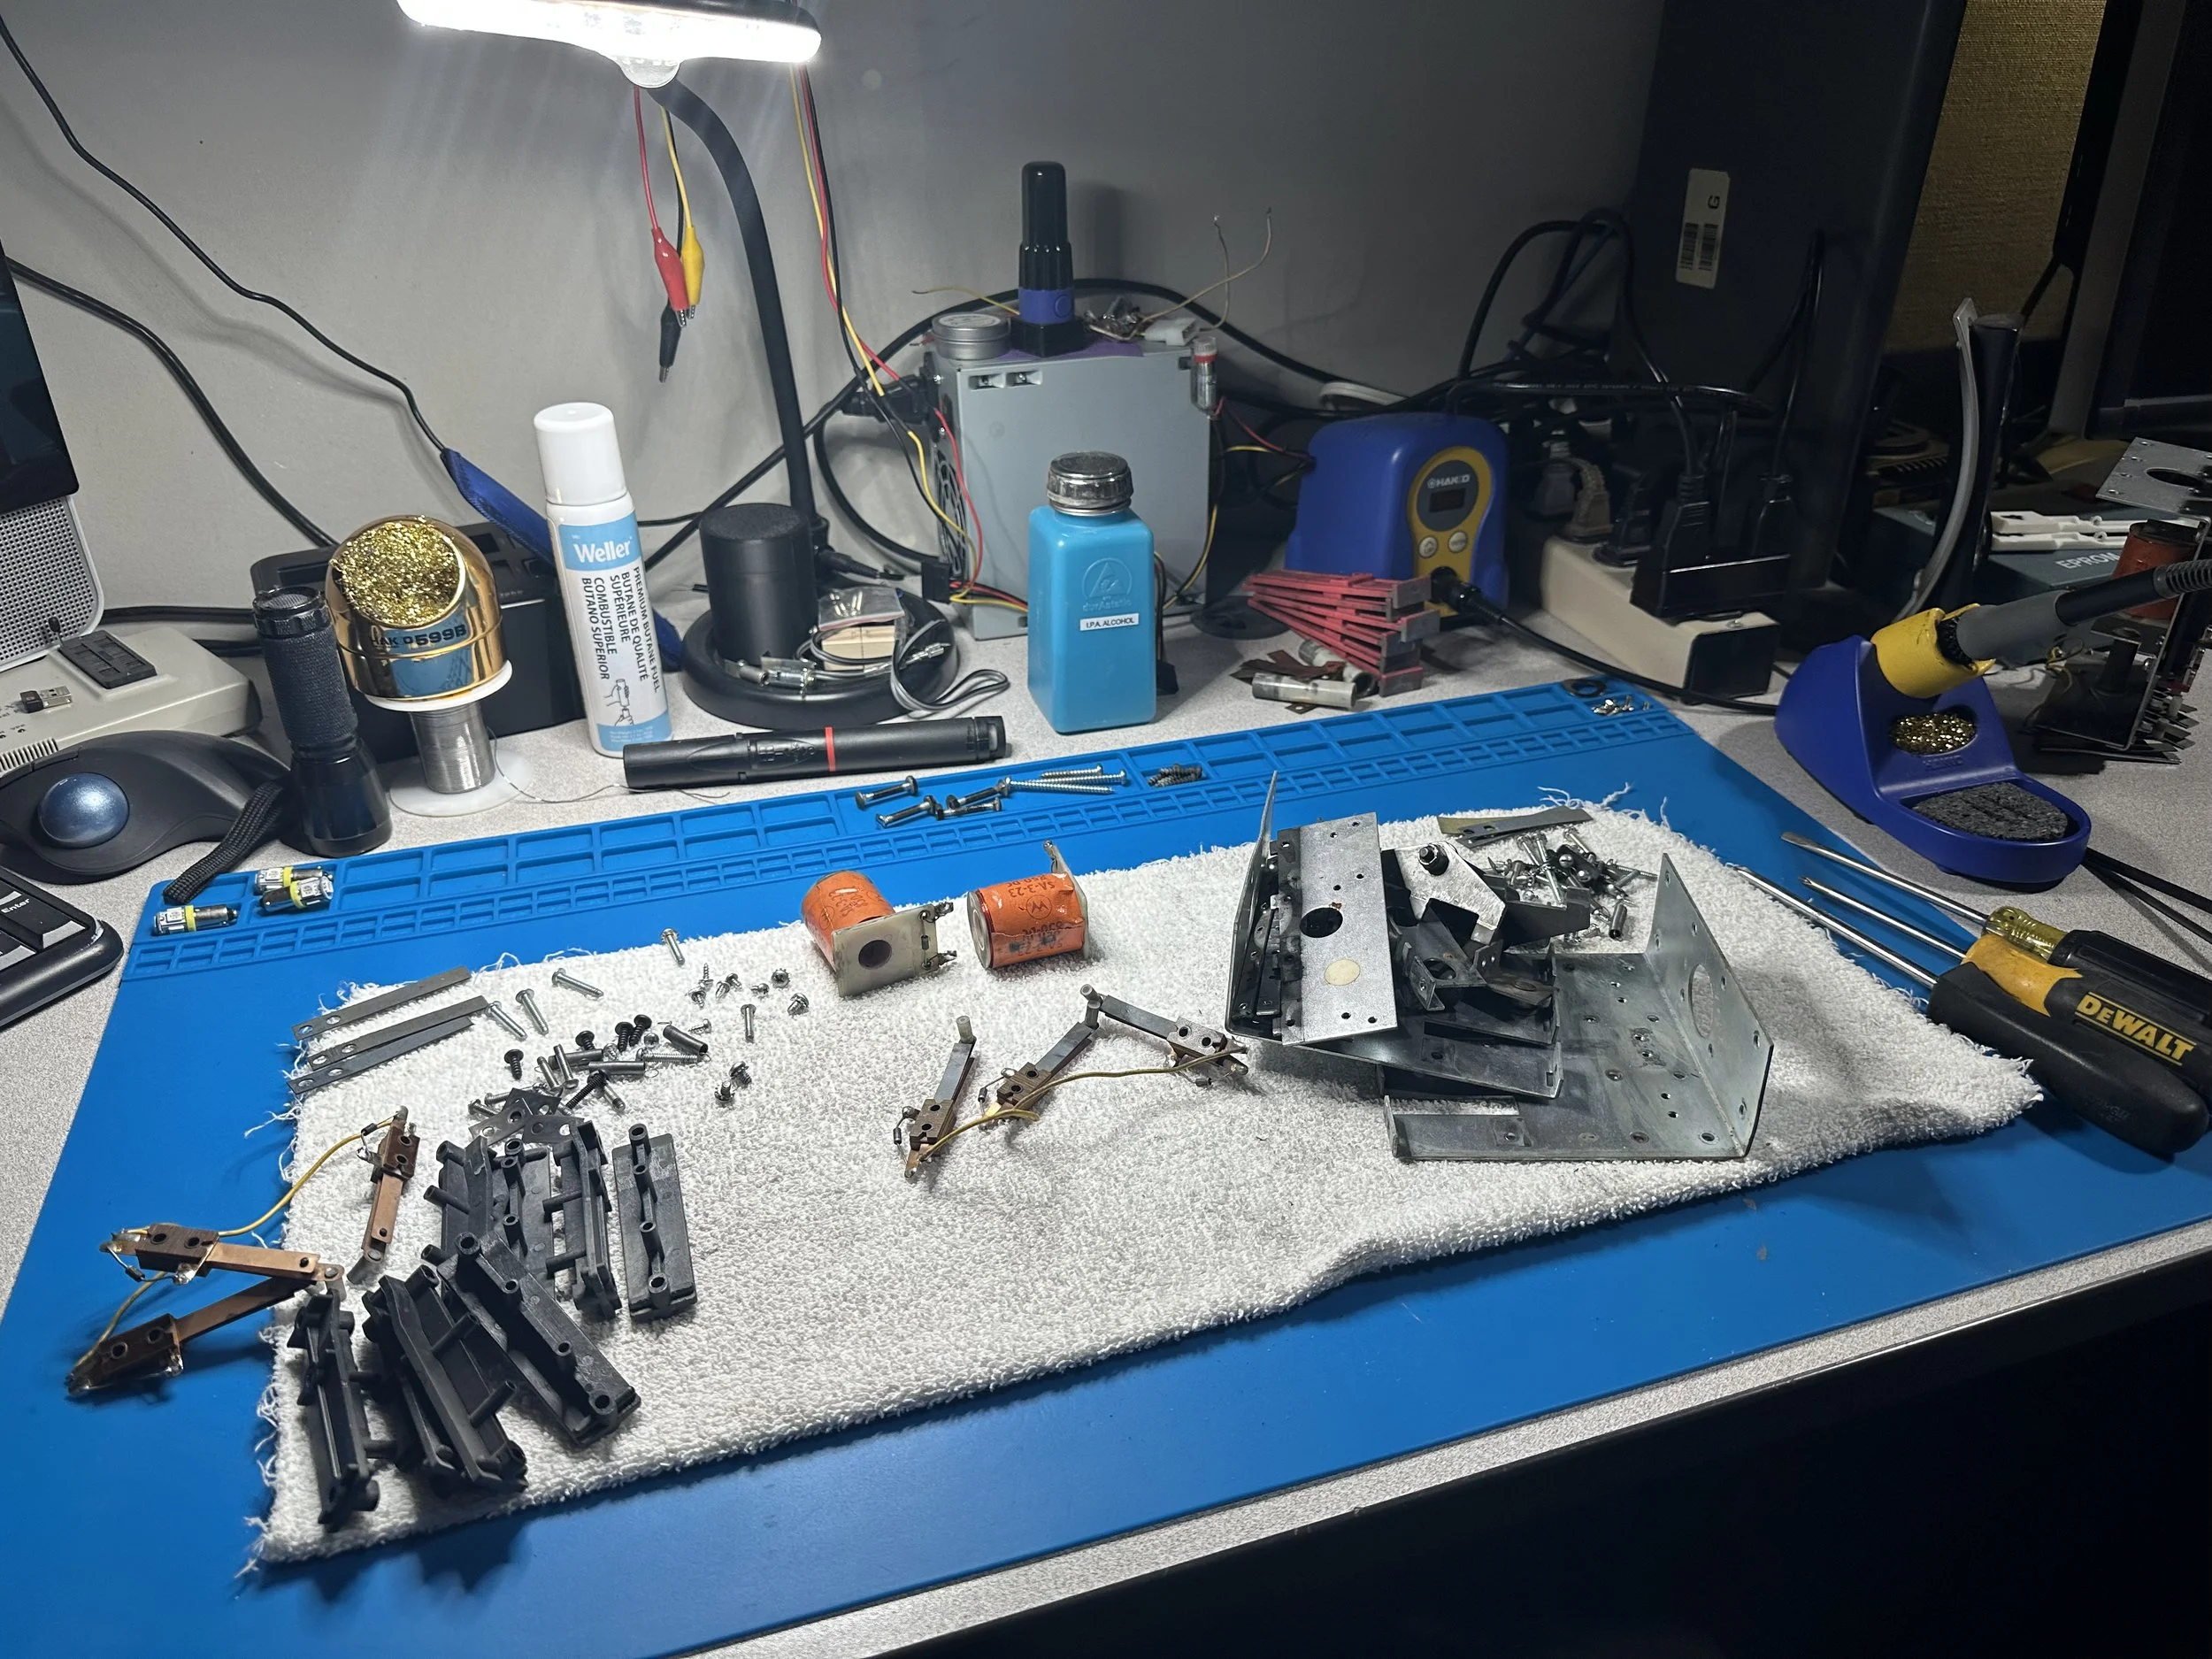
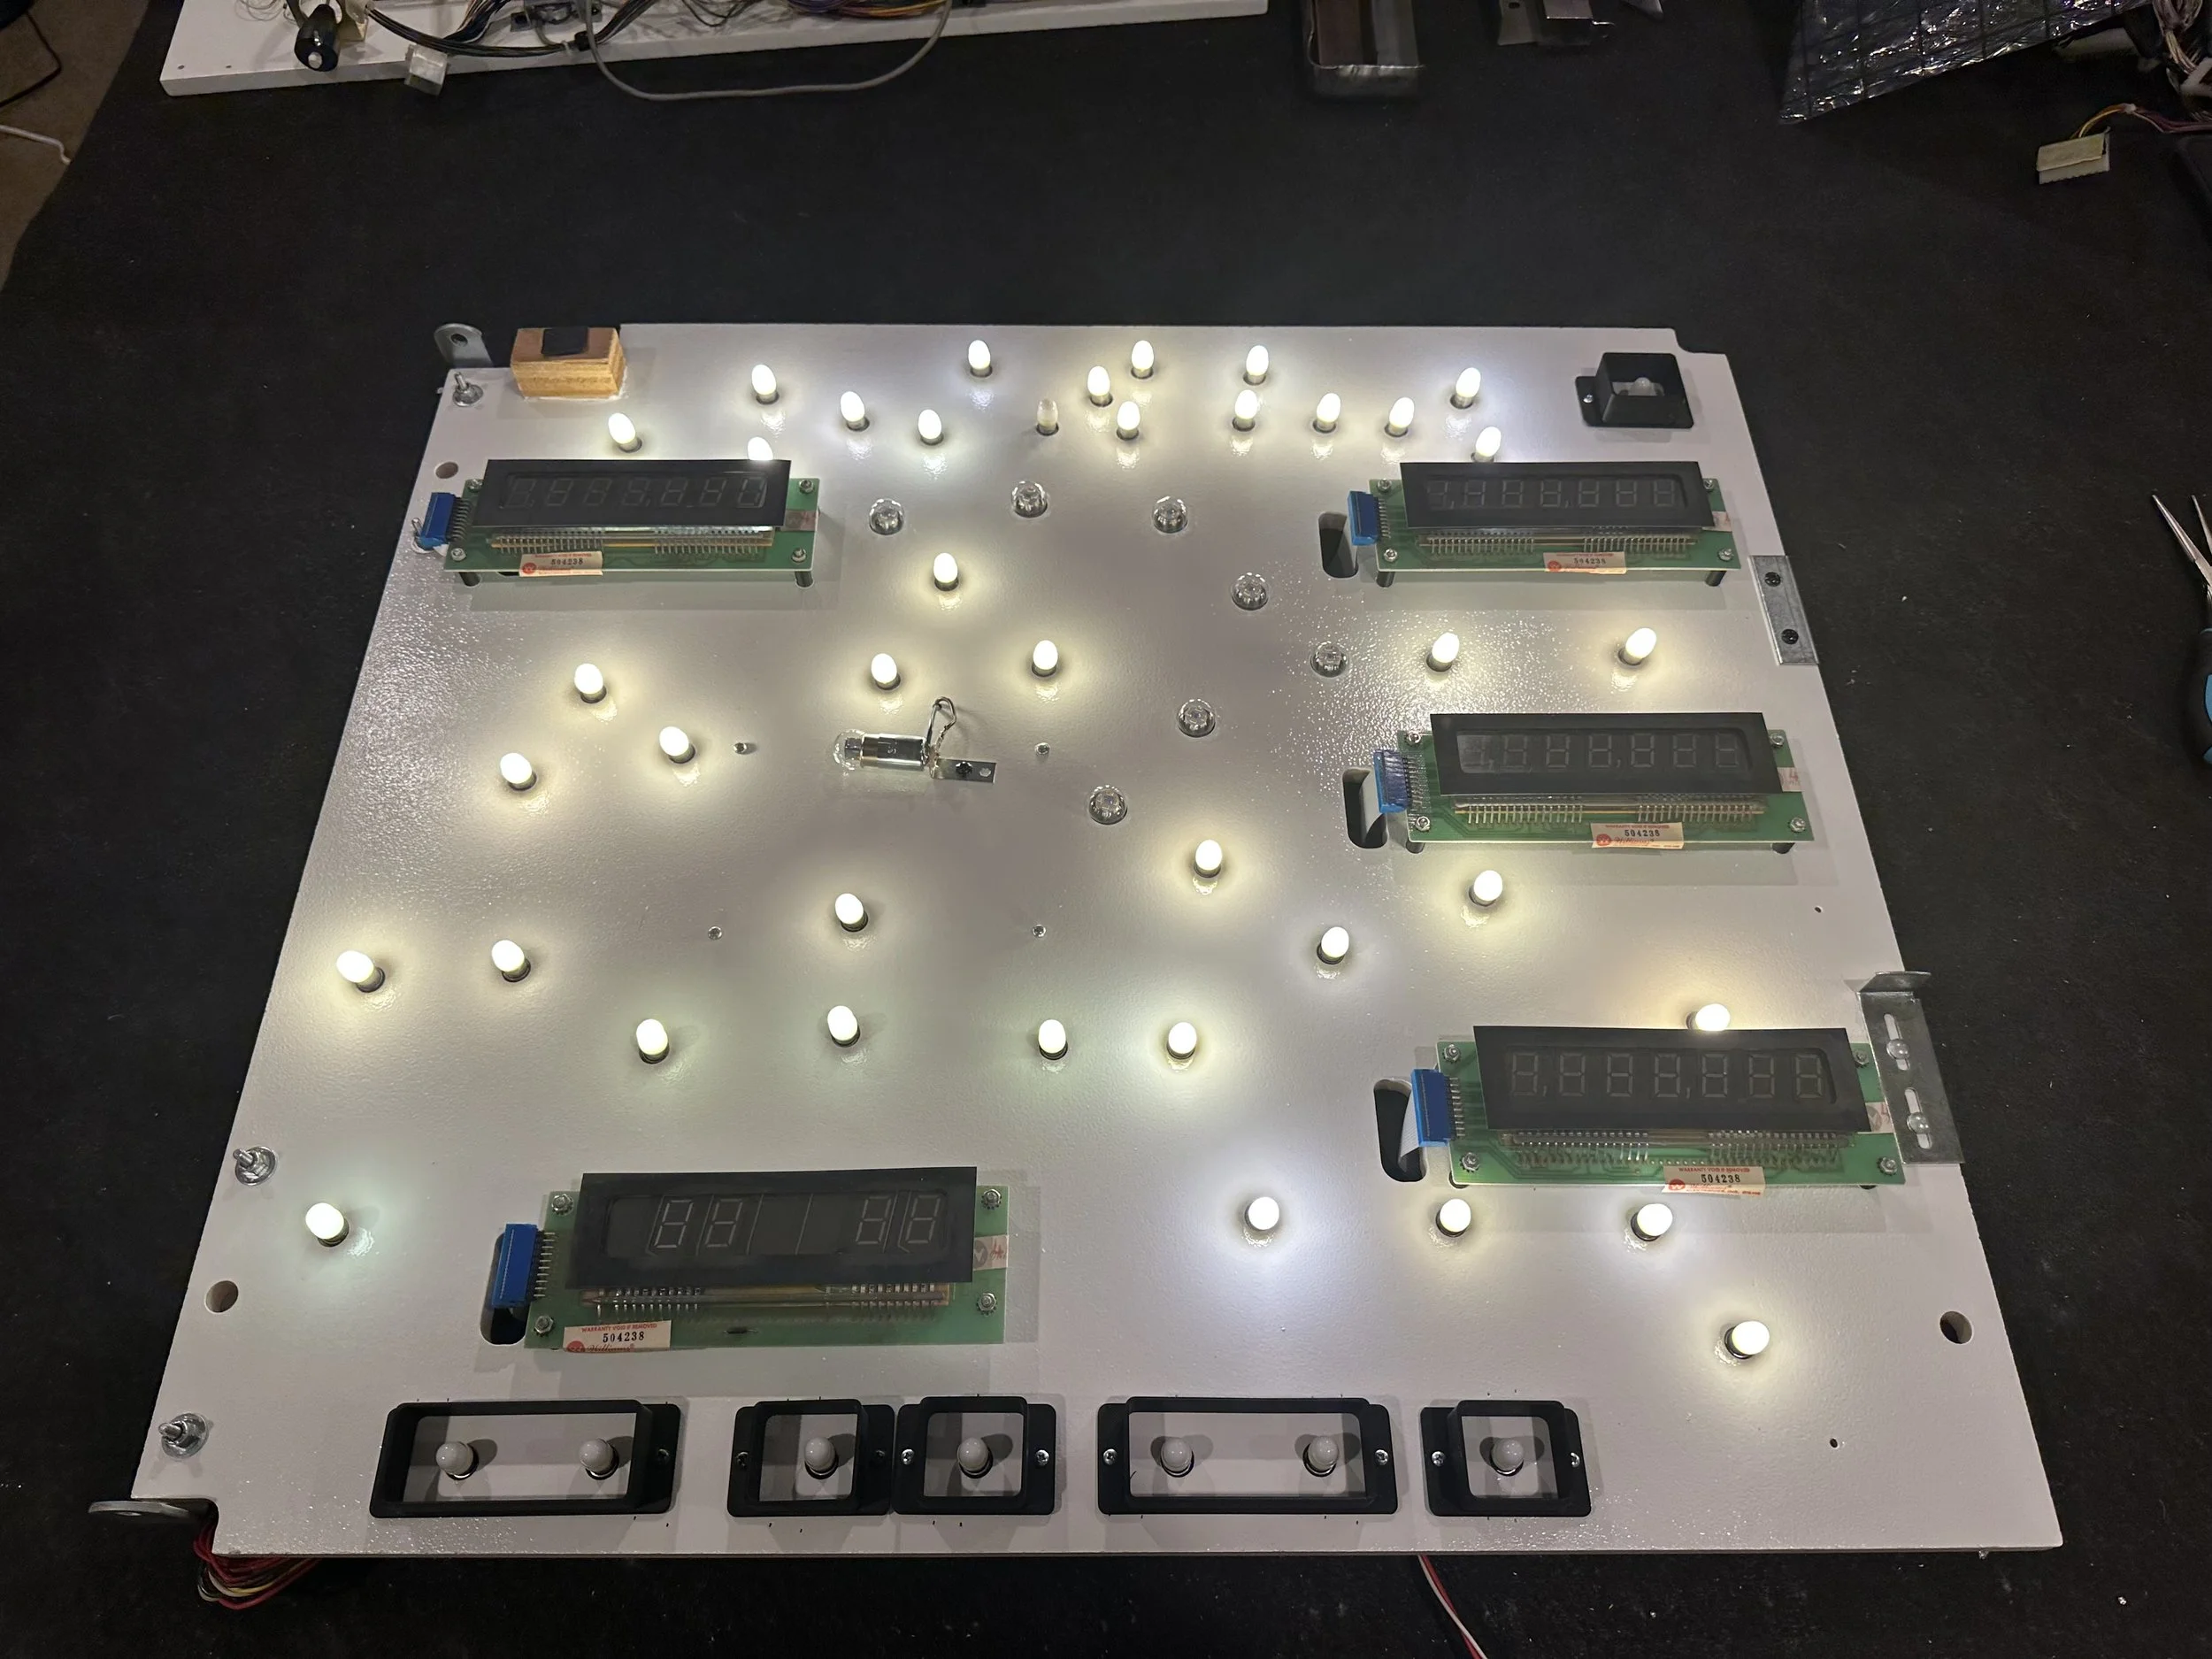
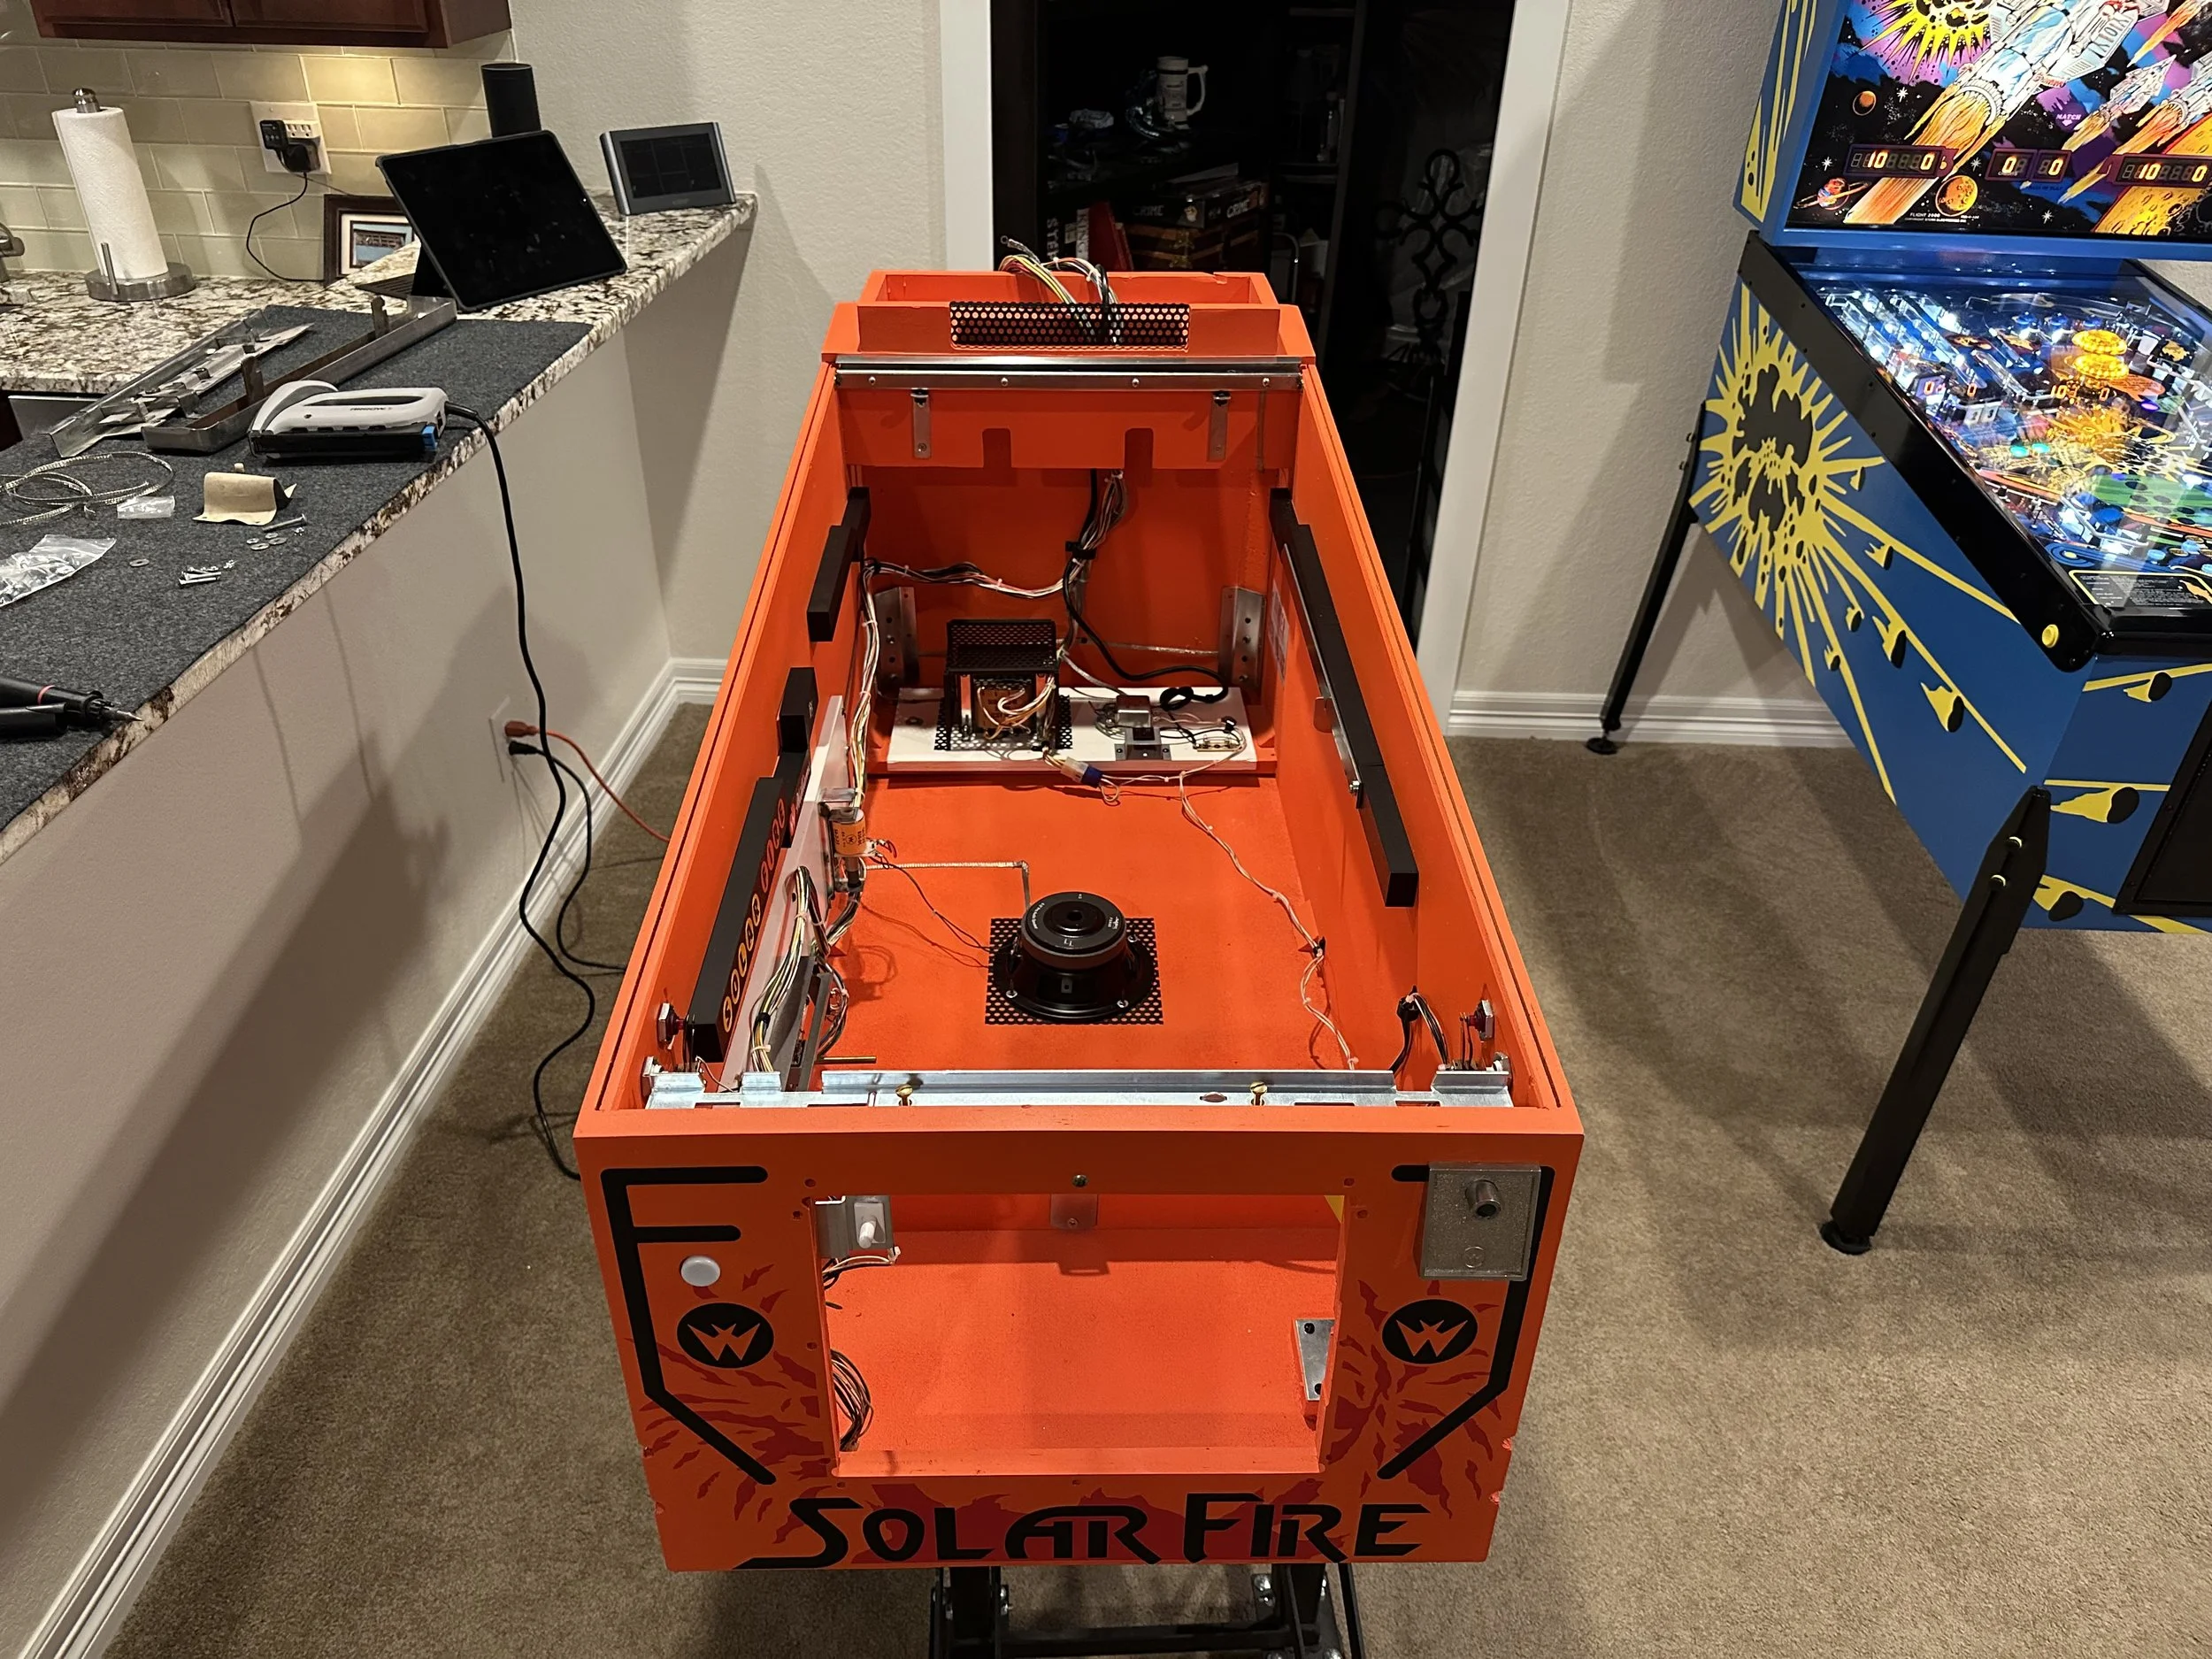
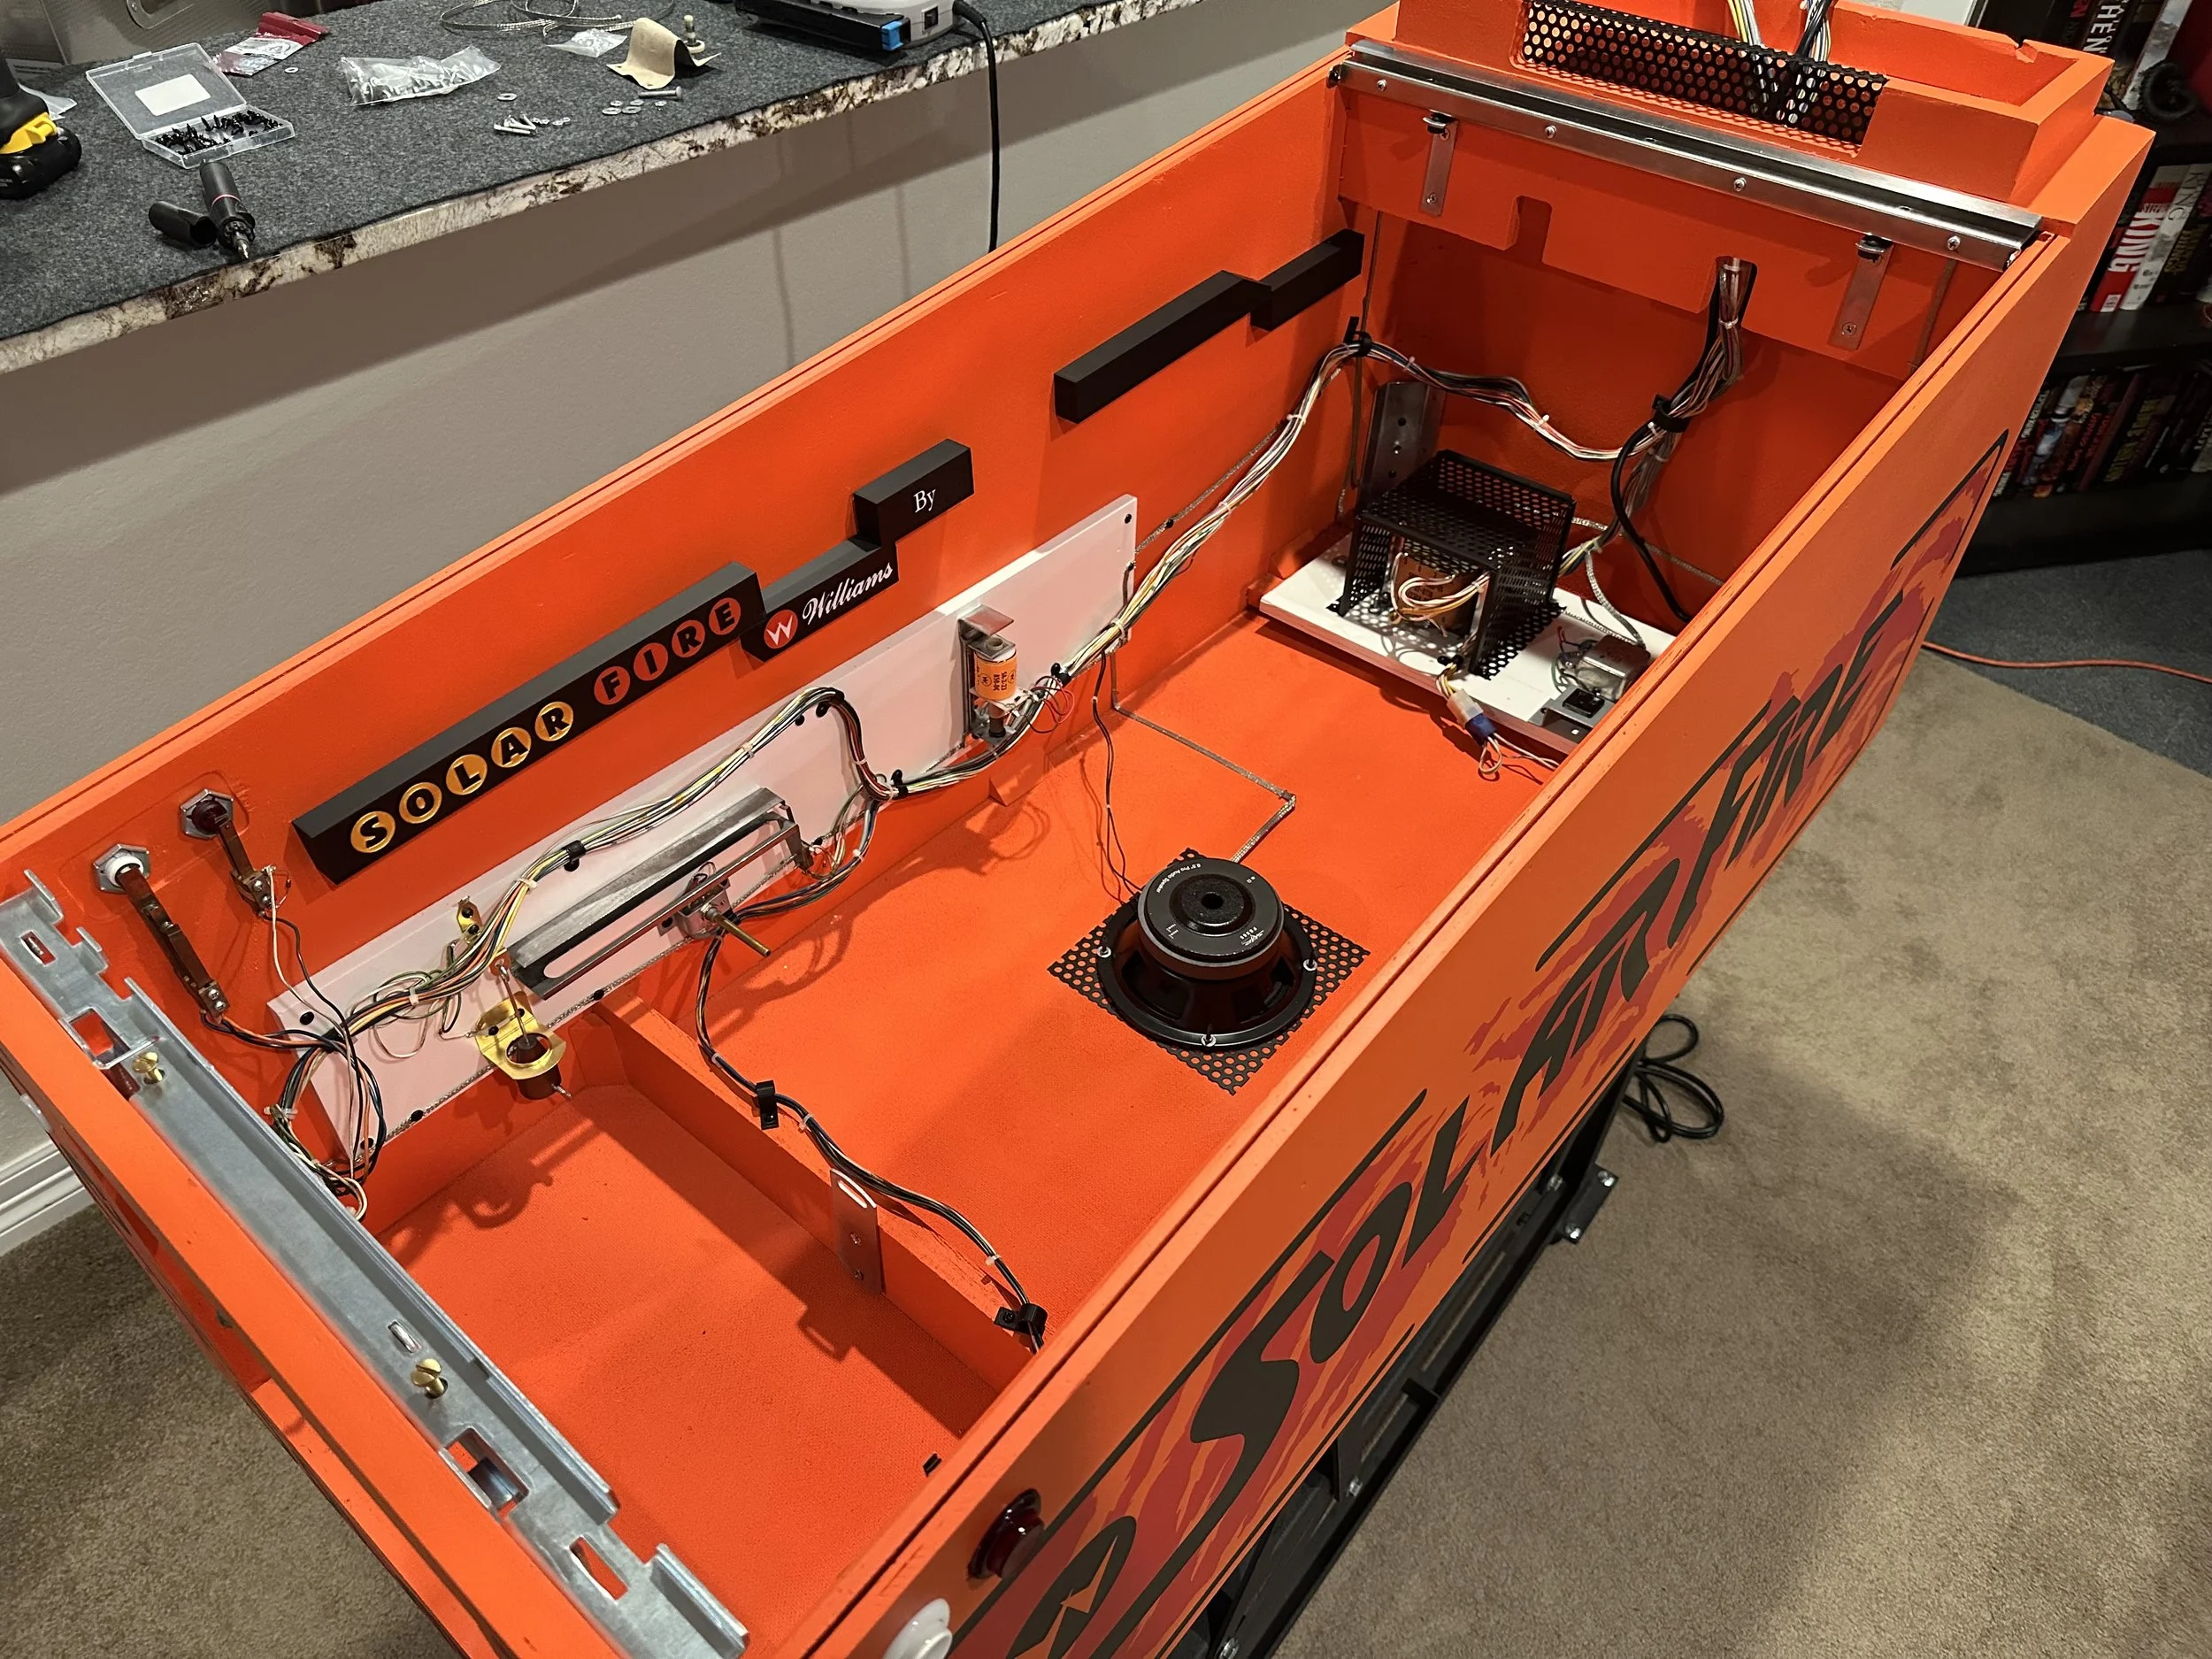
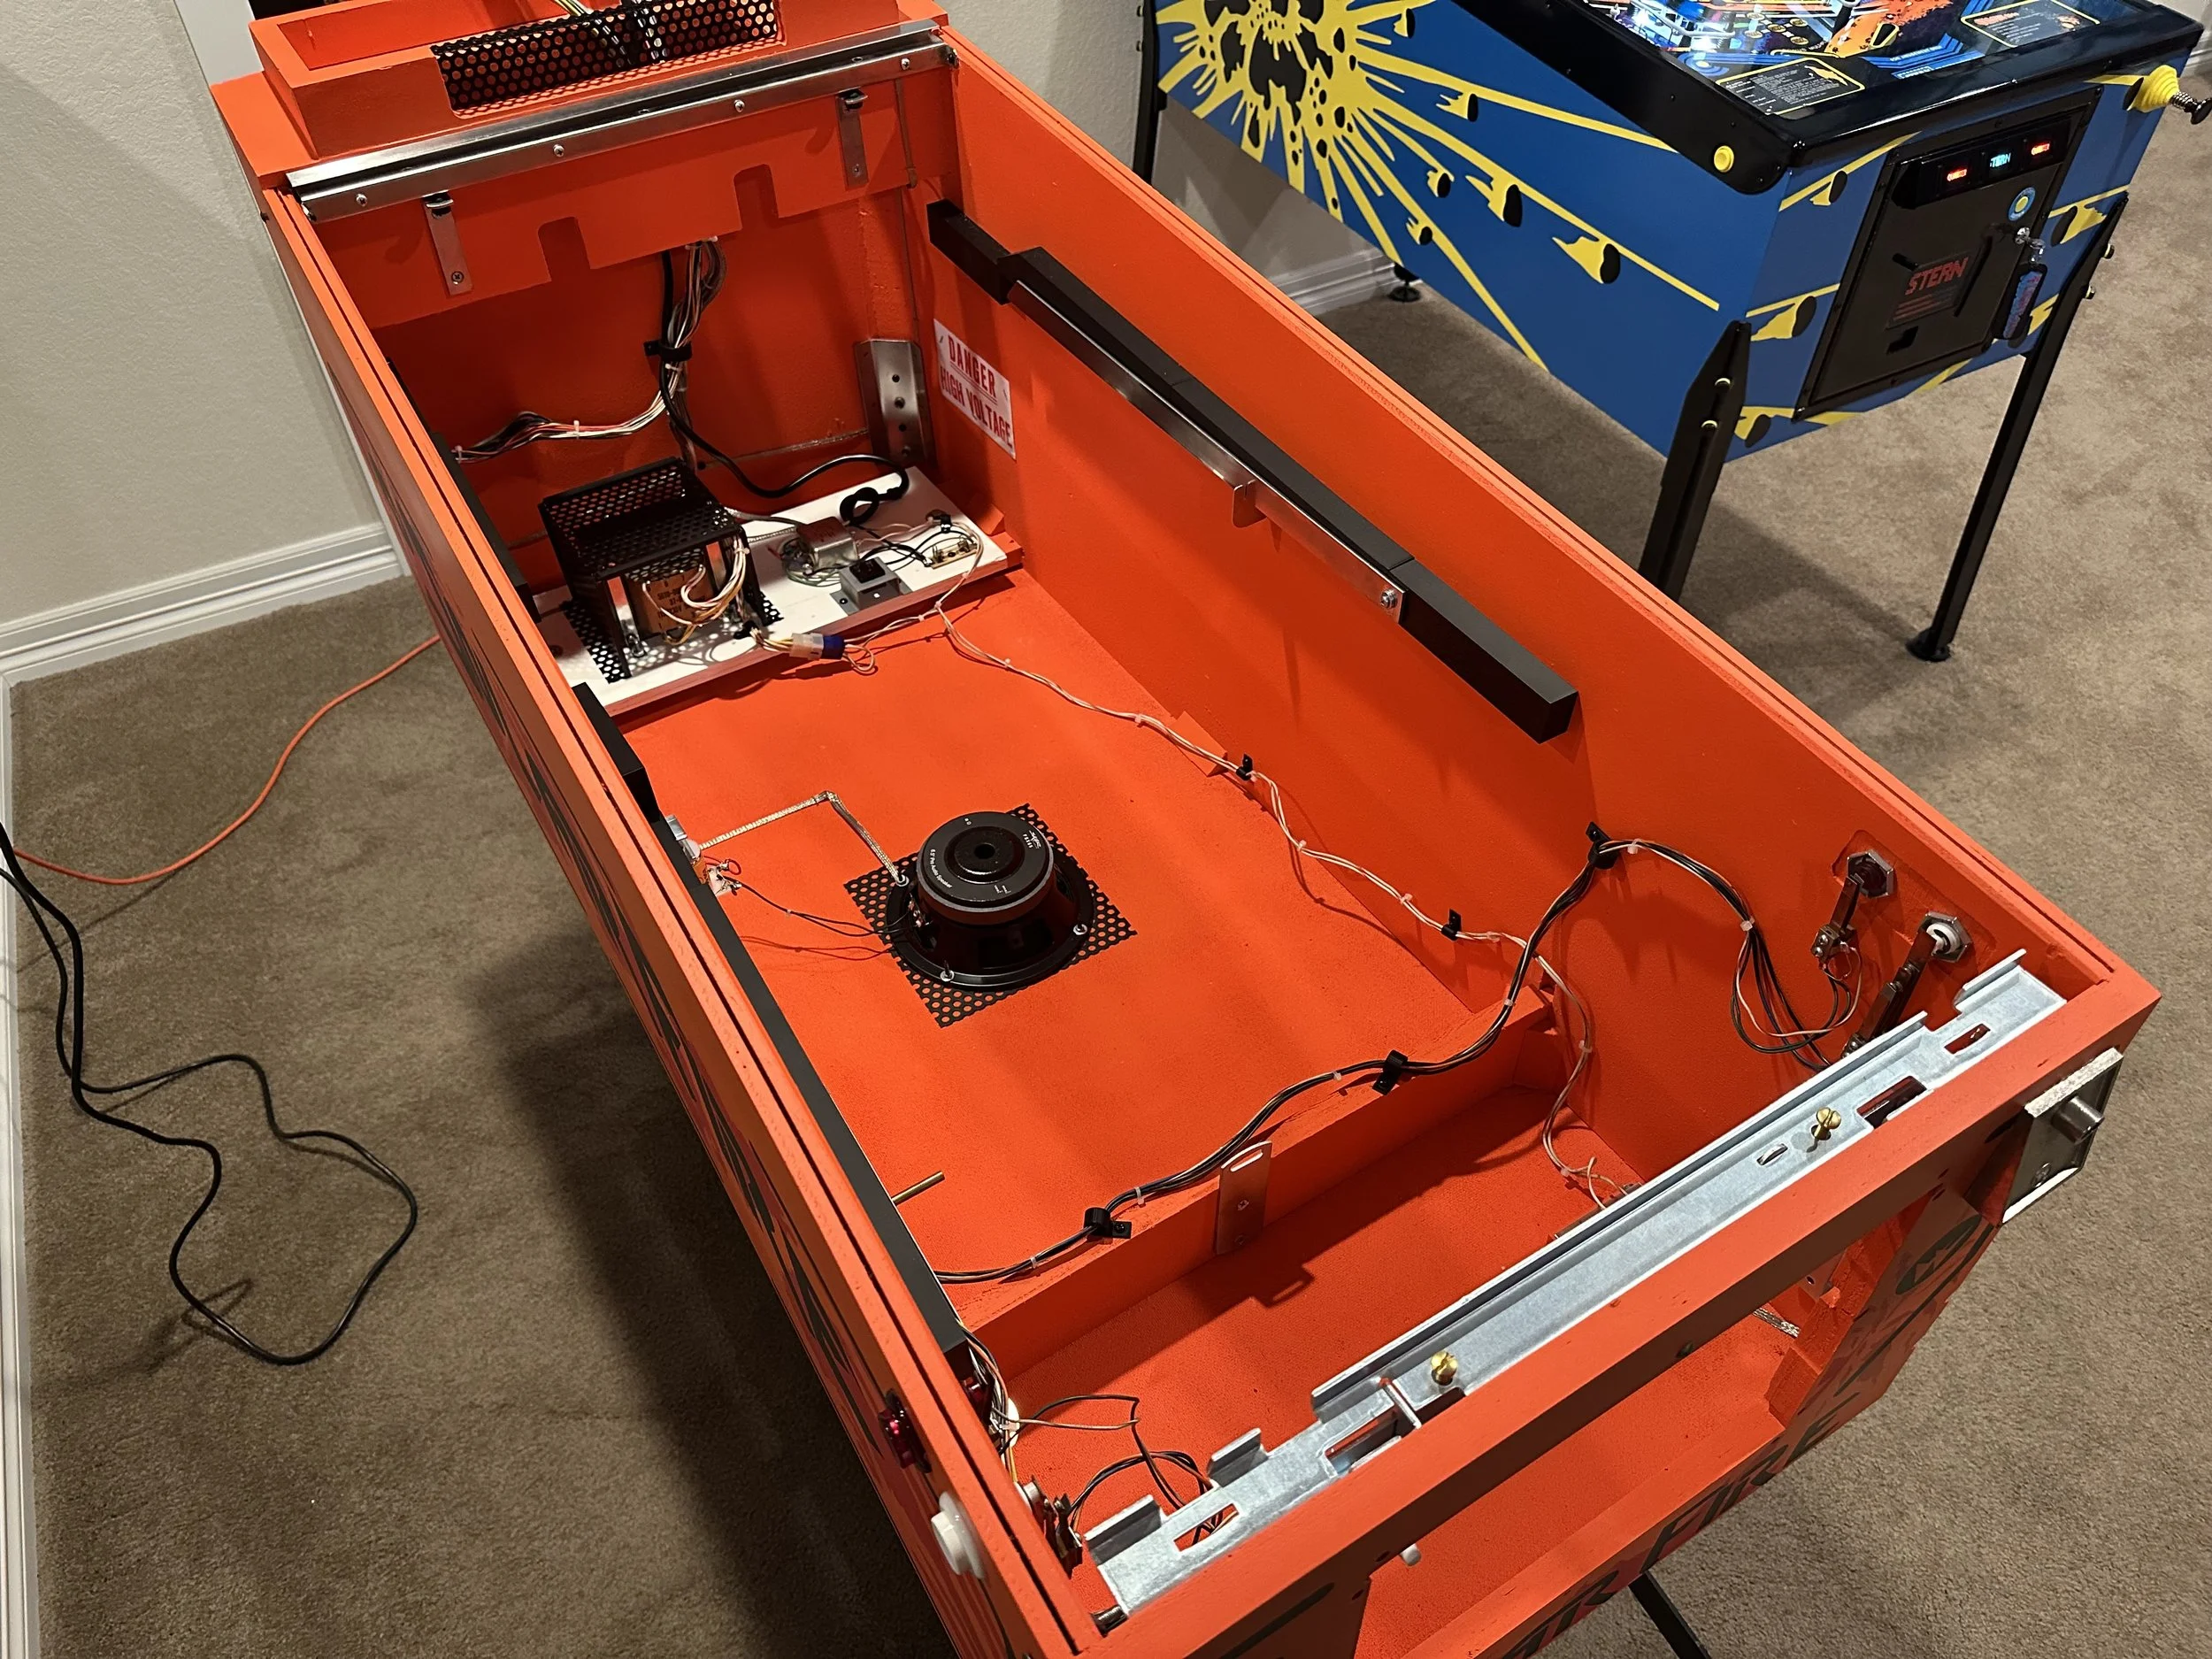
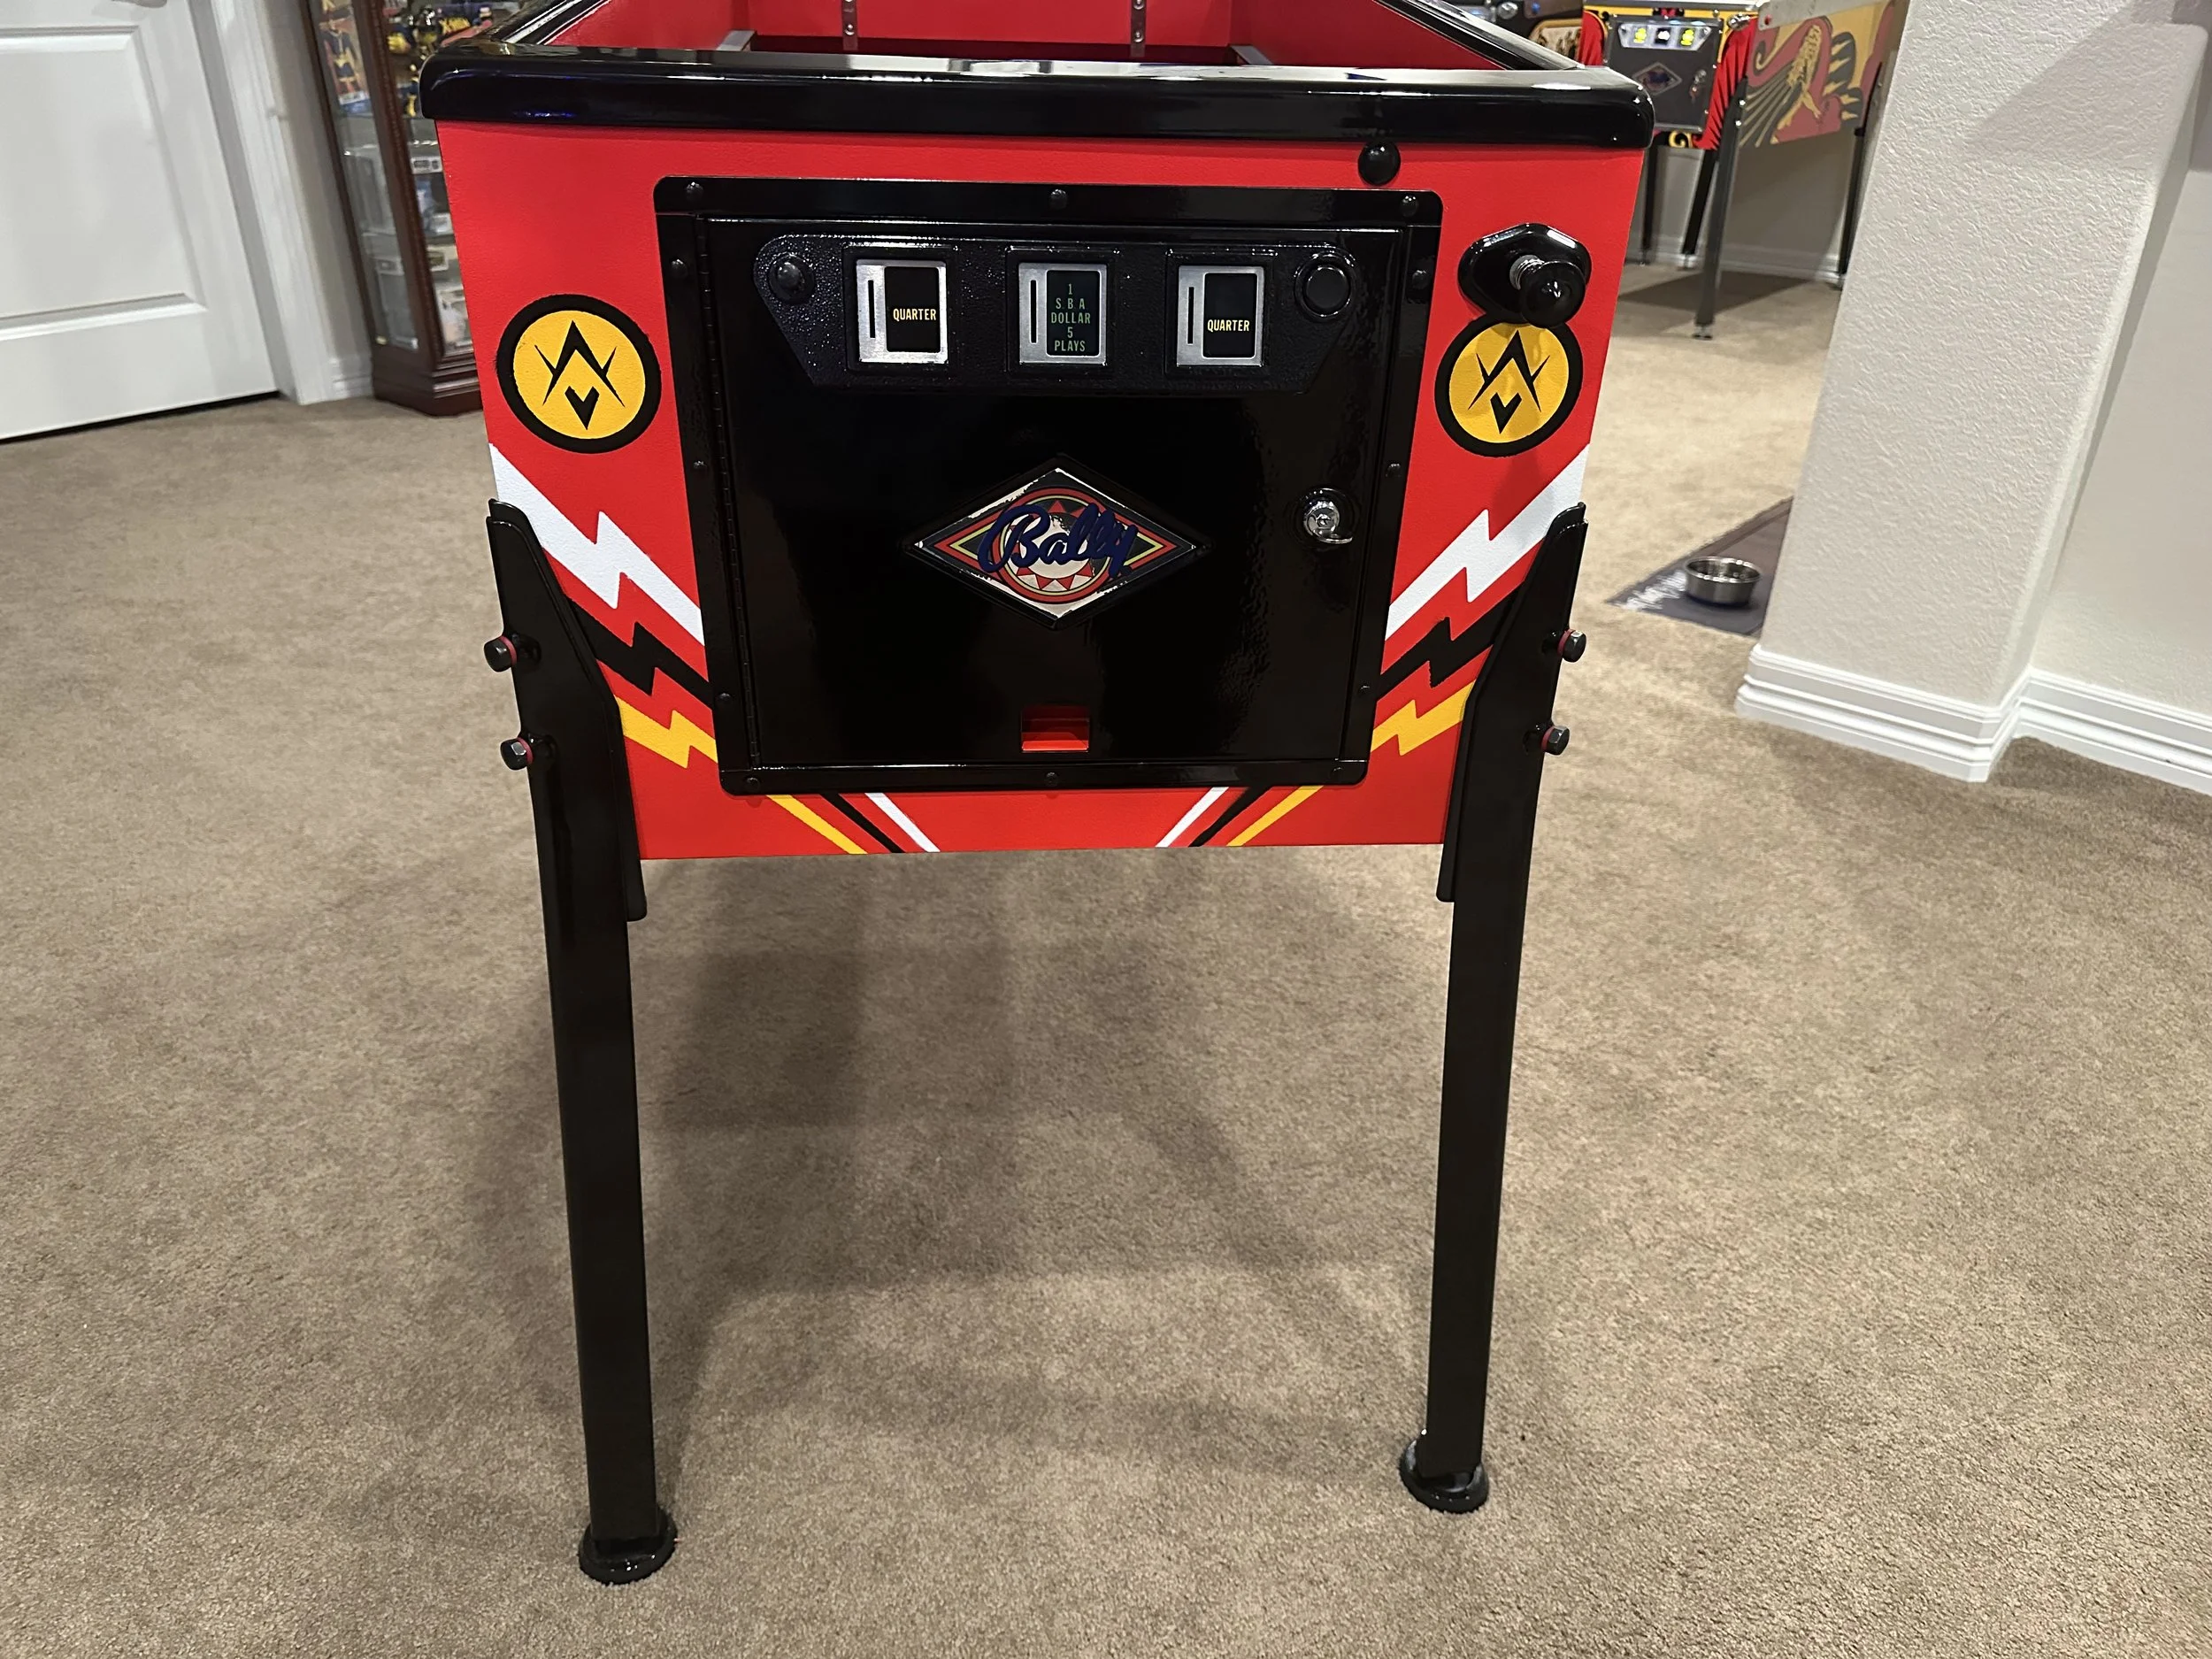
1981 Williams Solar Fire SS
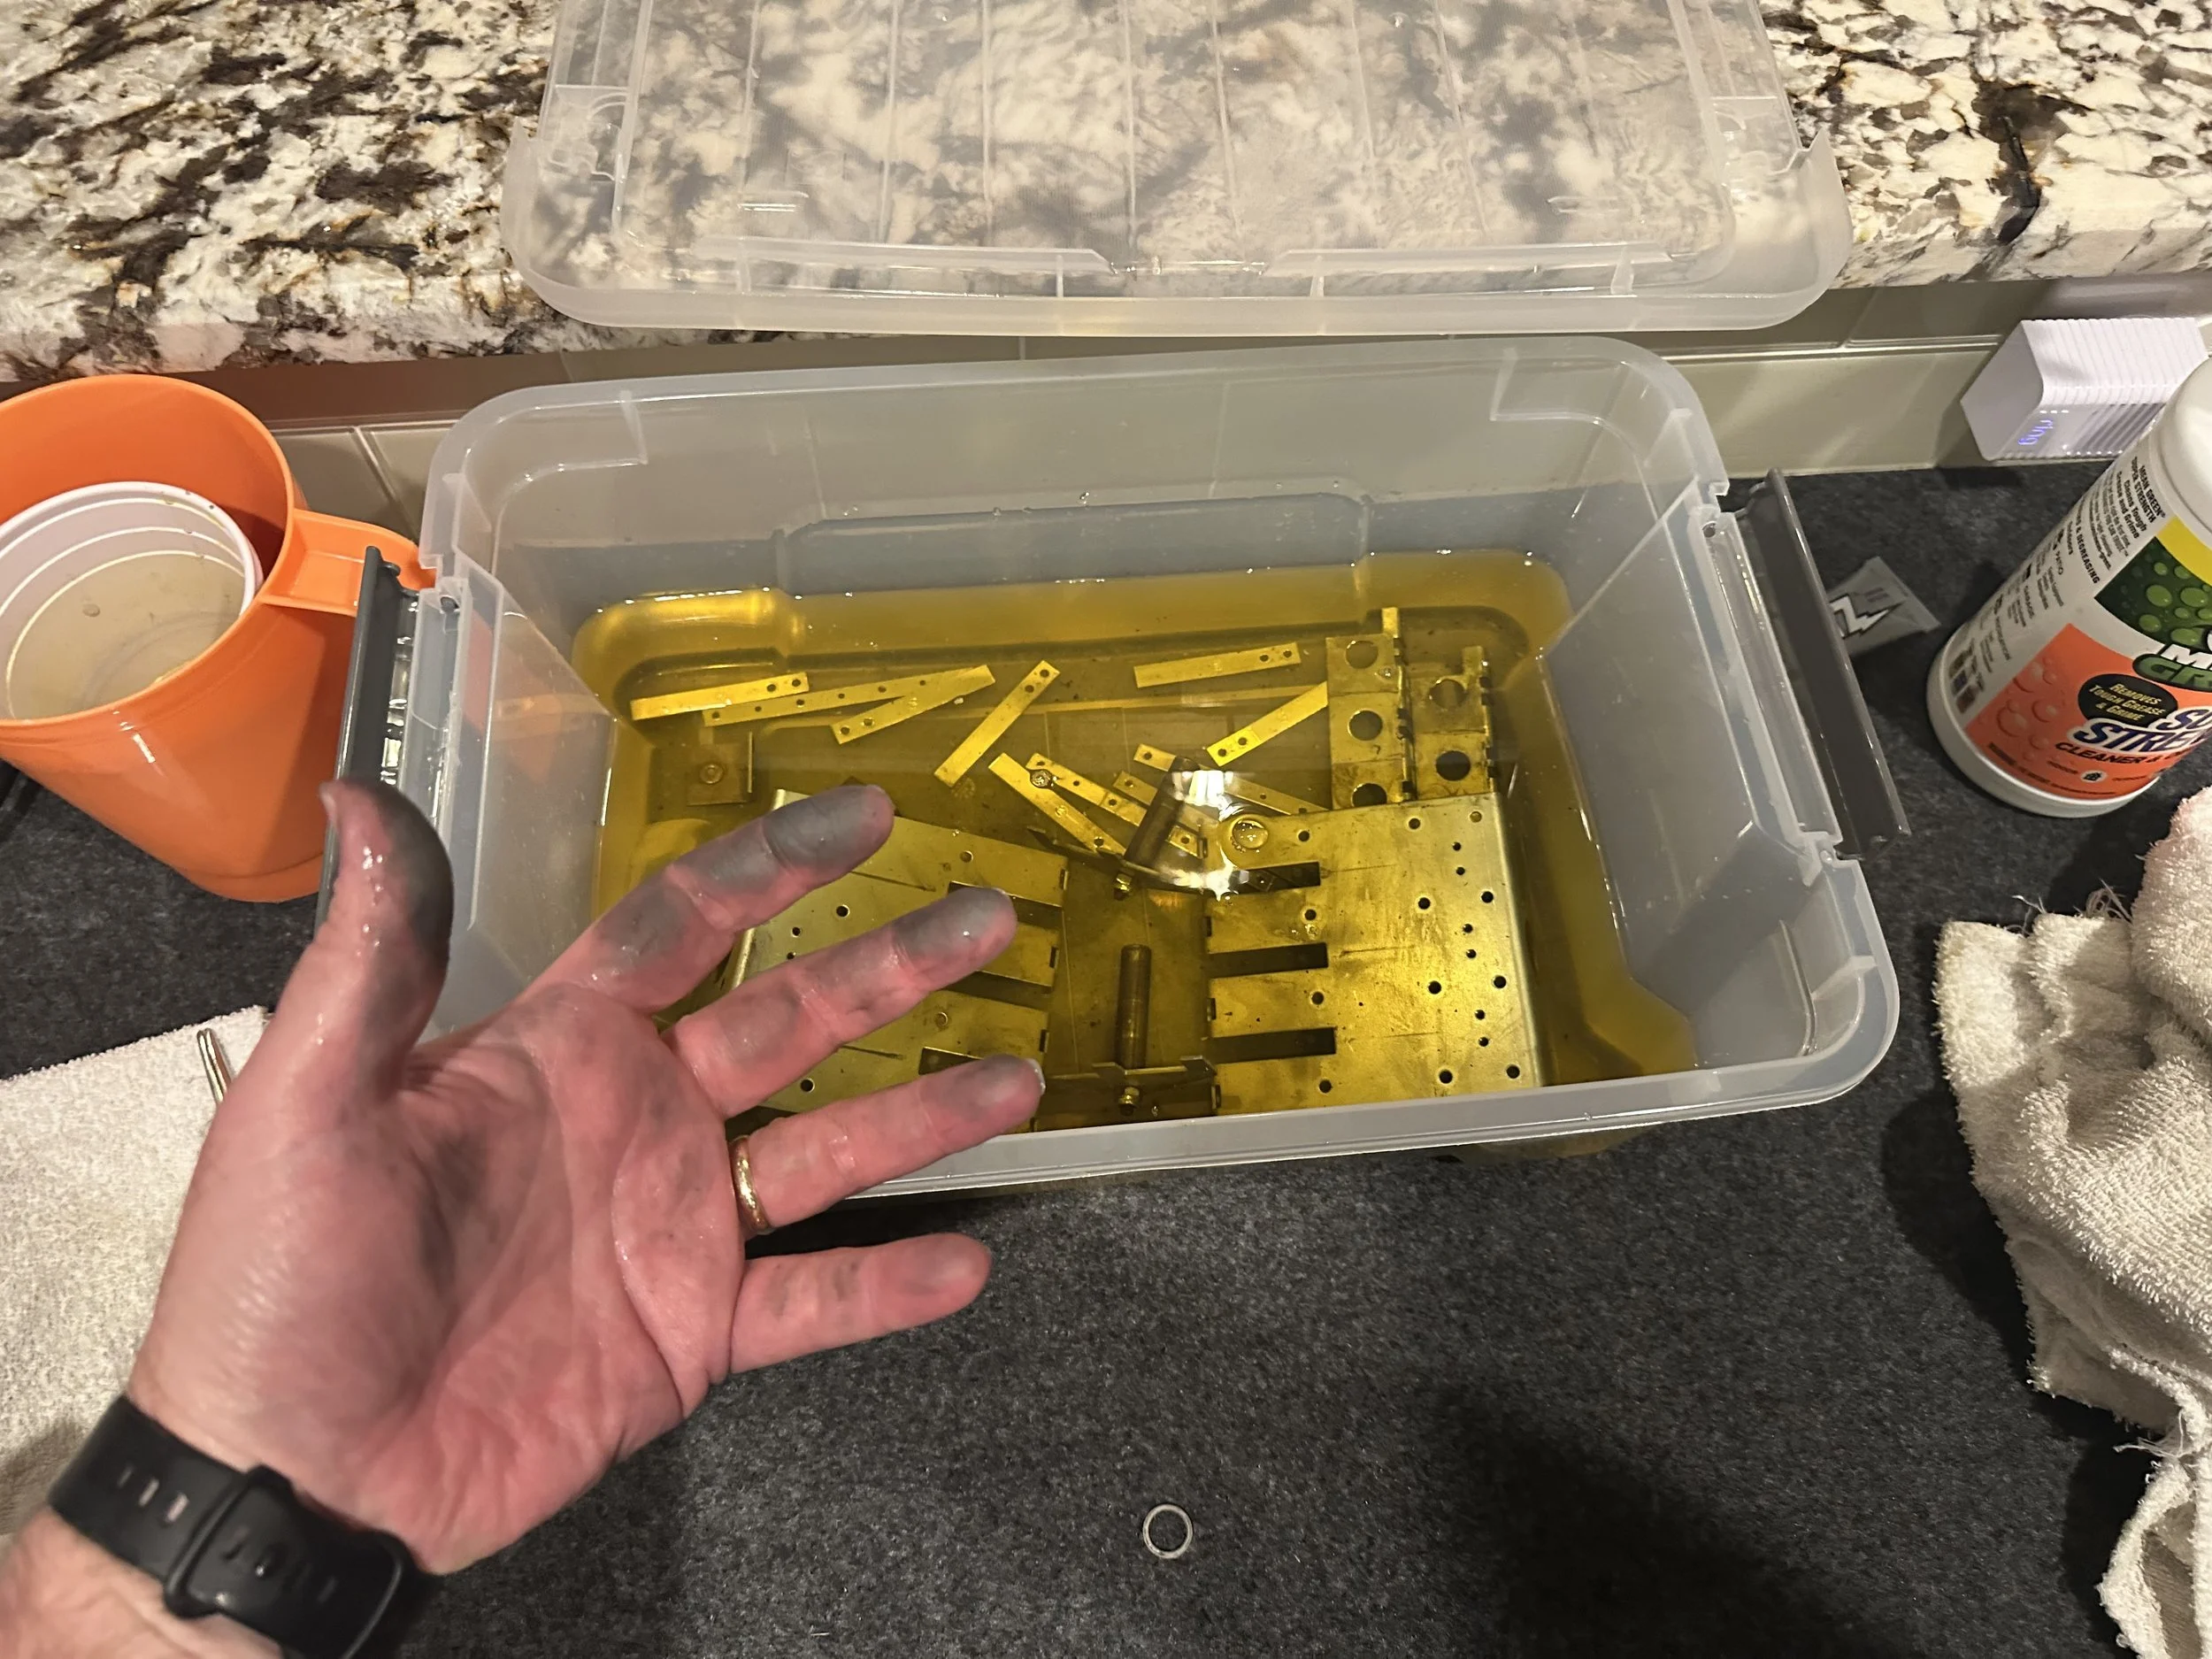
Rebuild
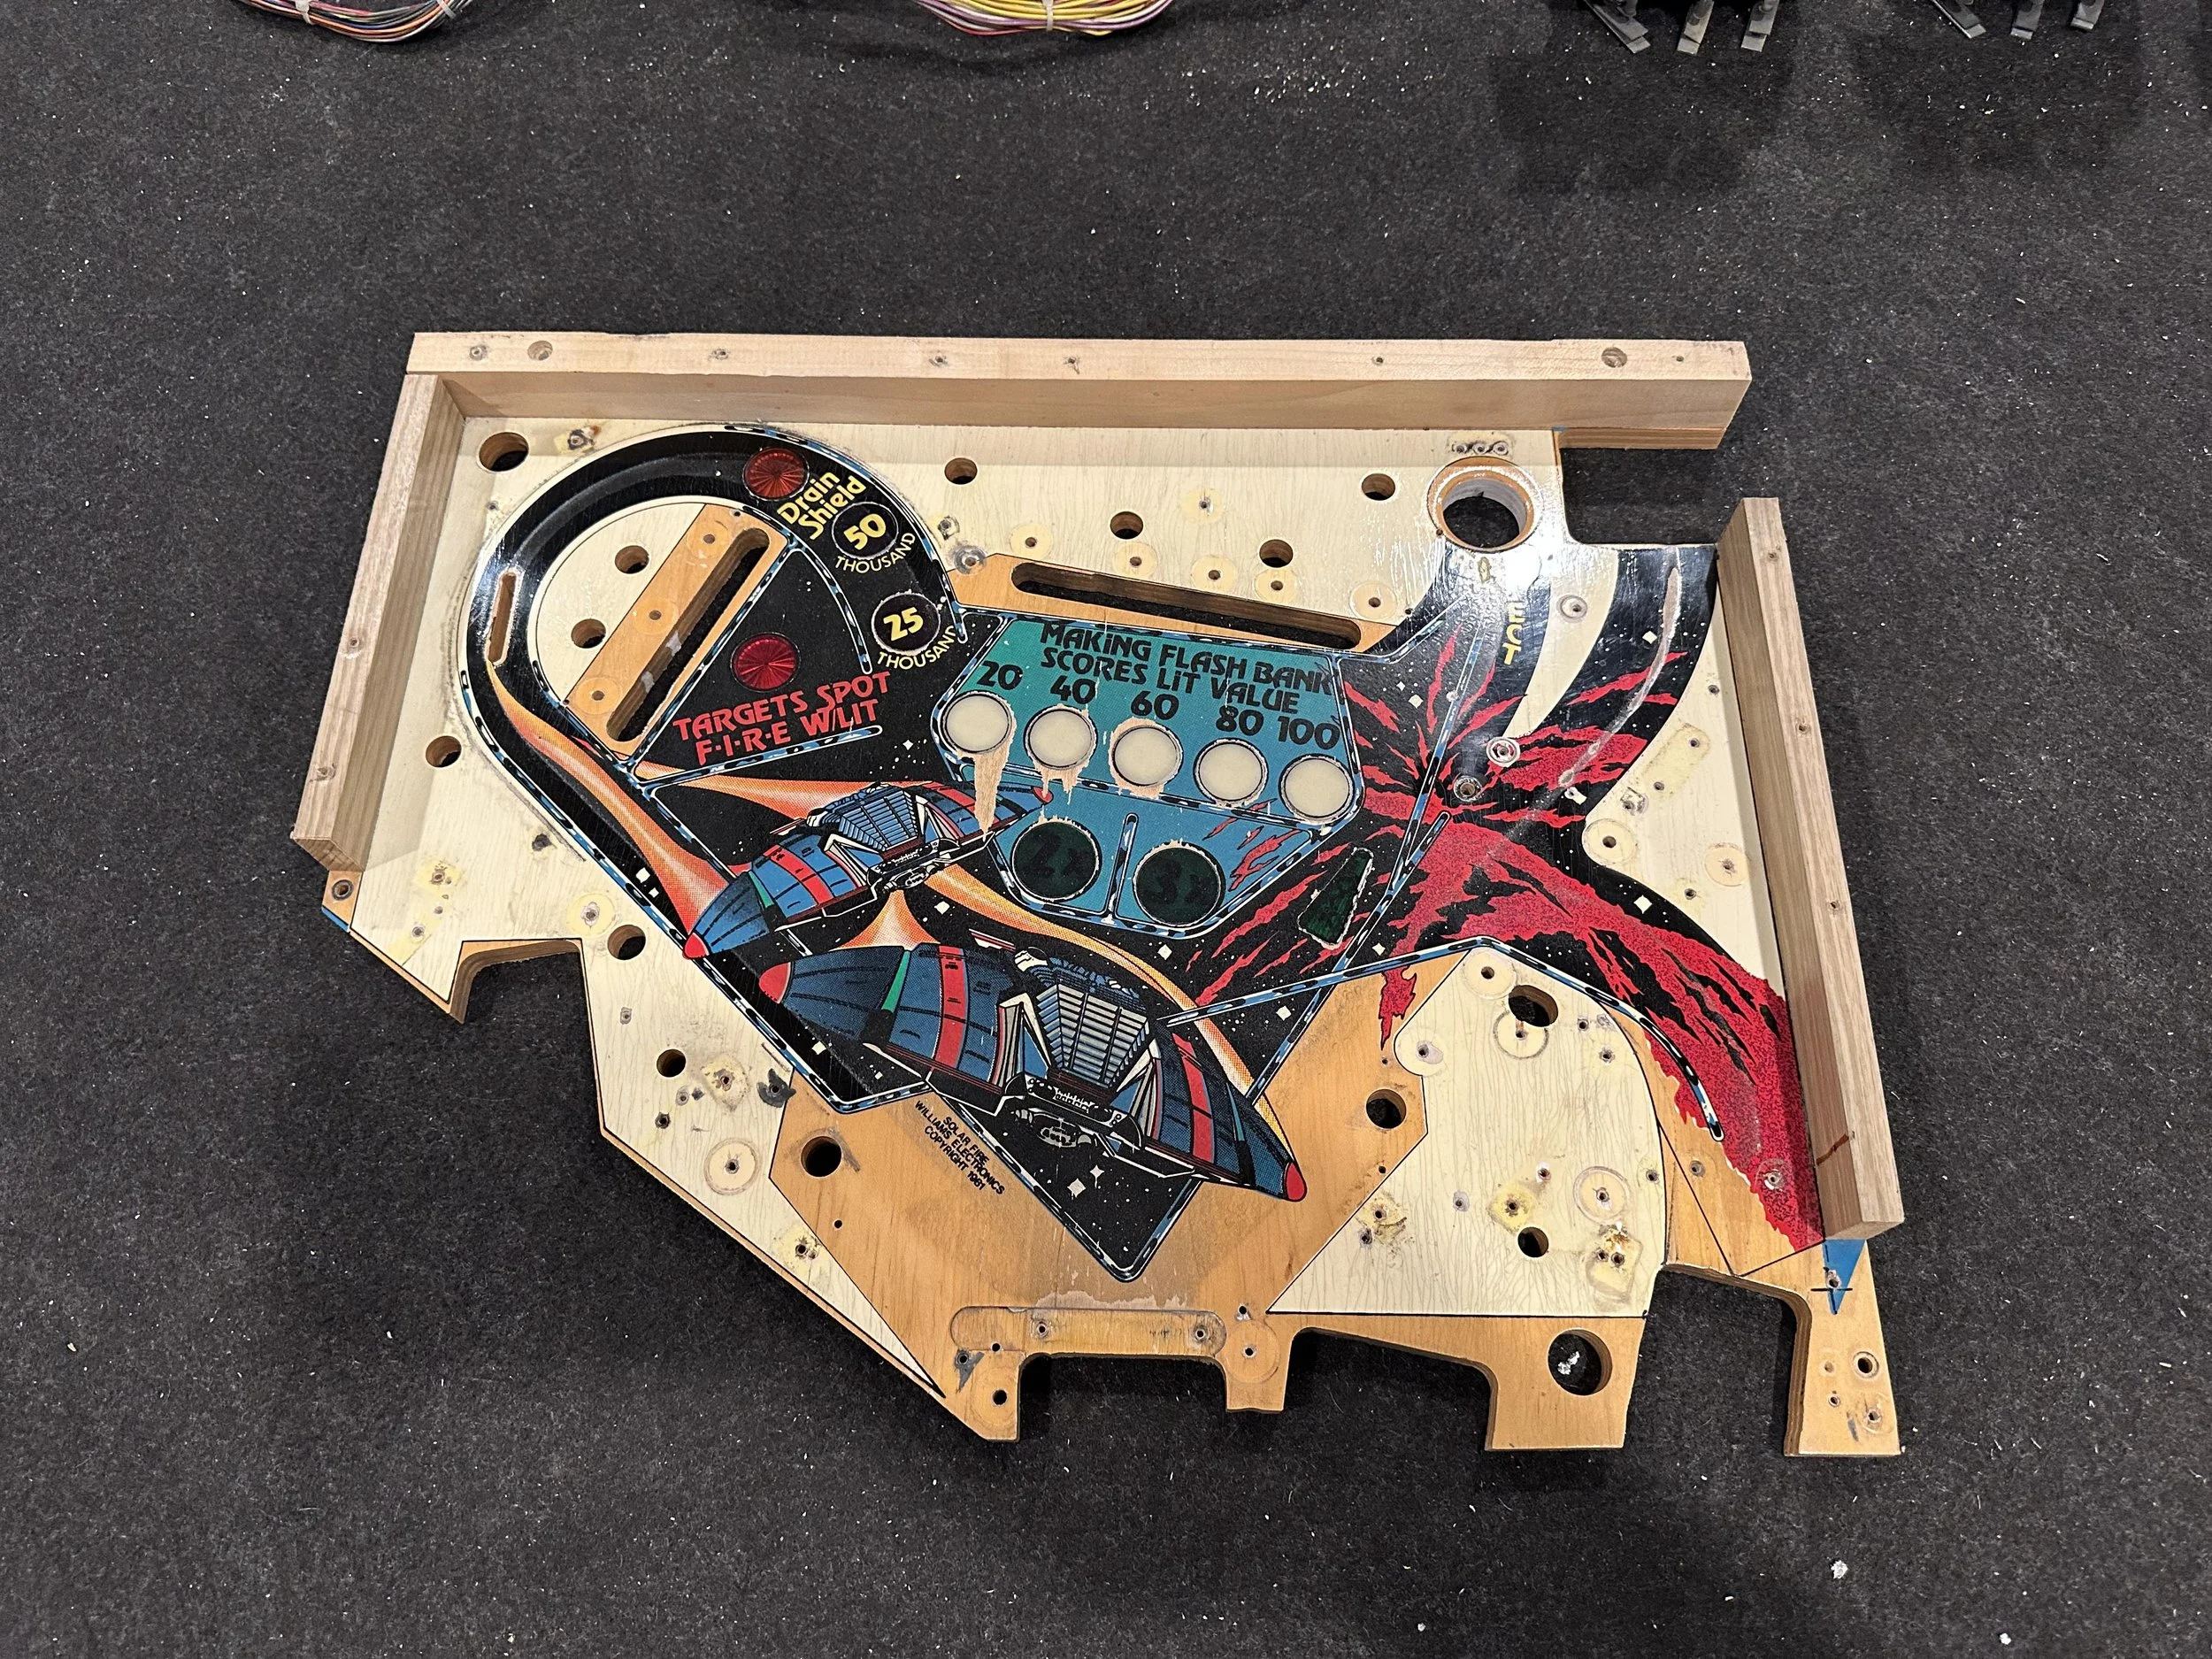
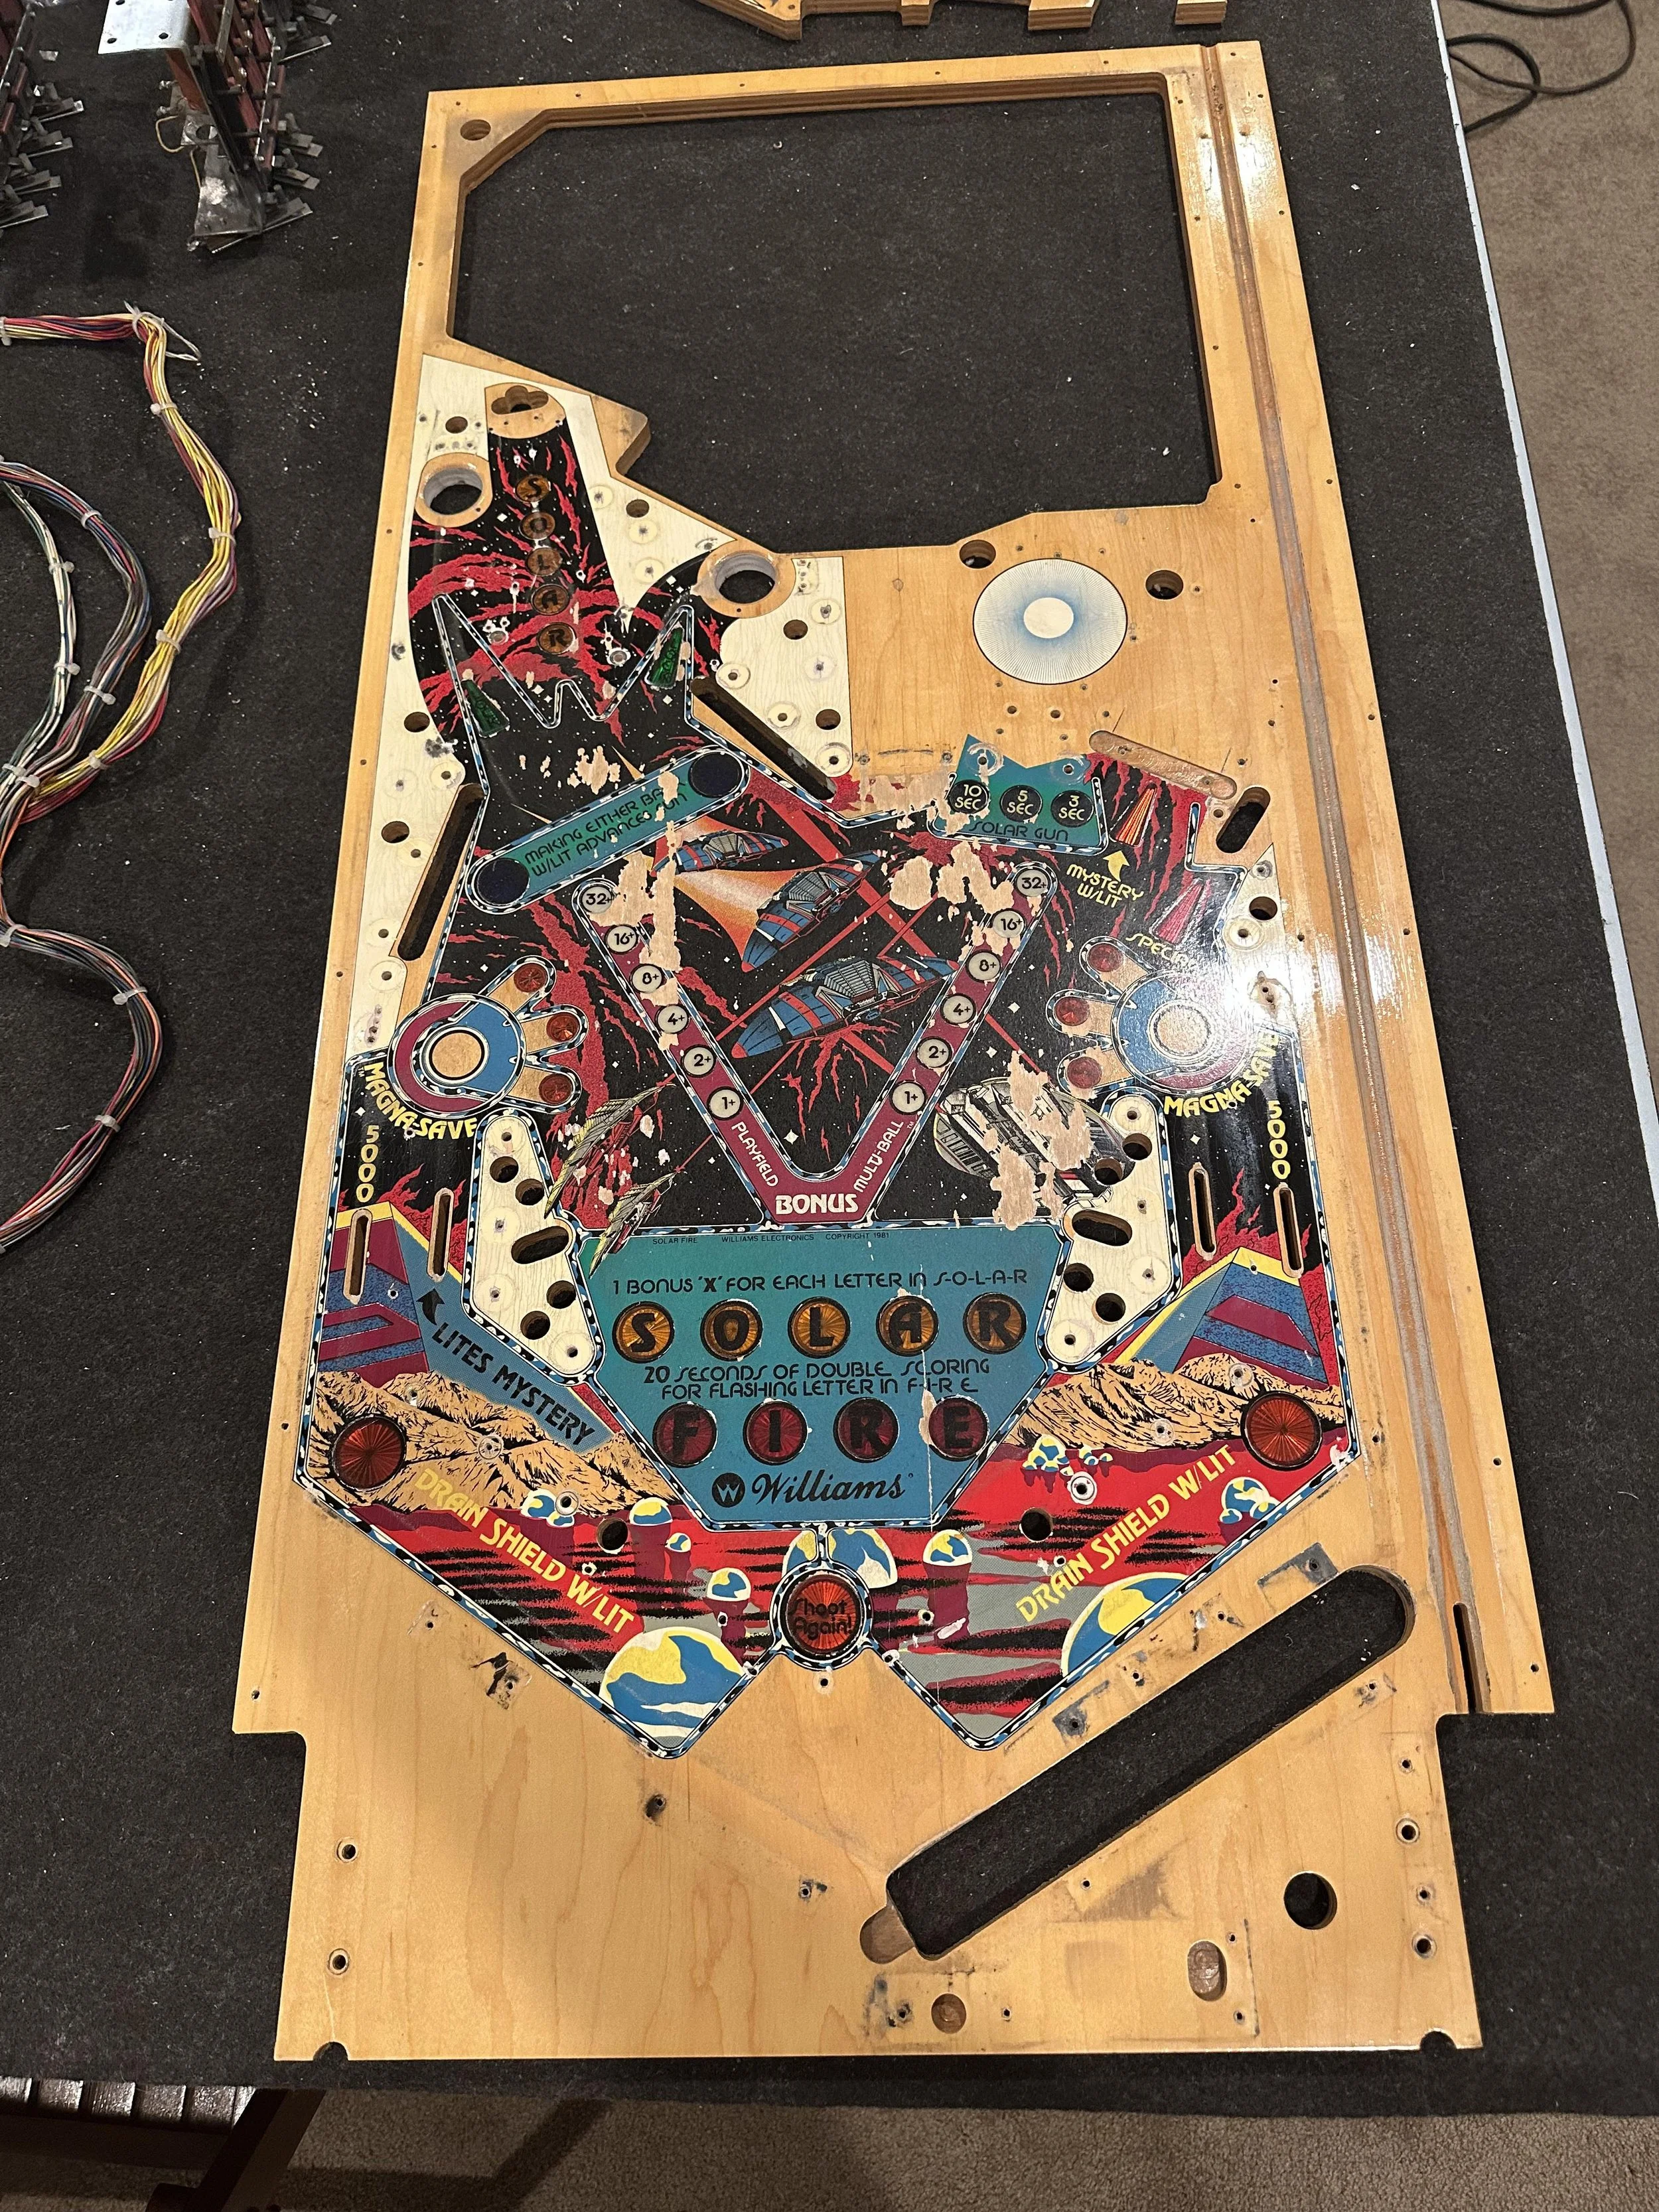
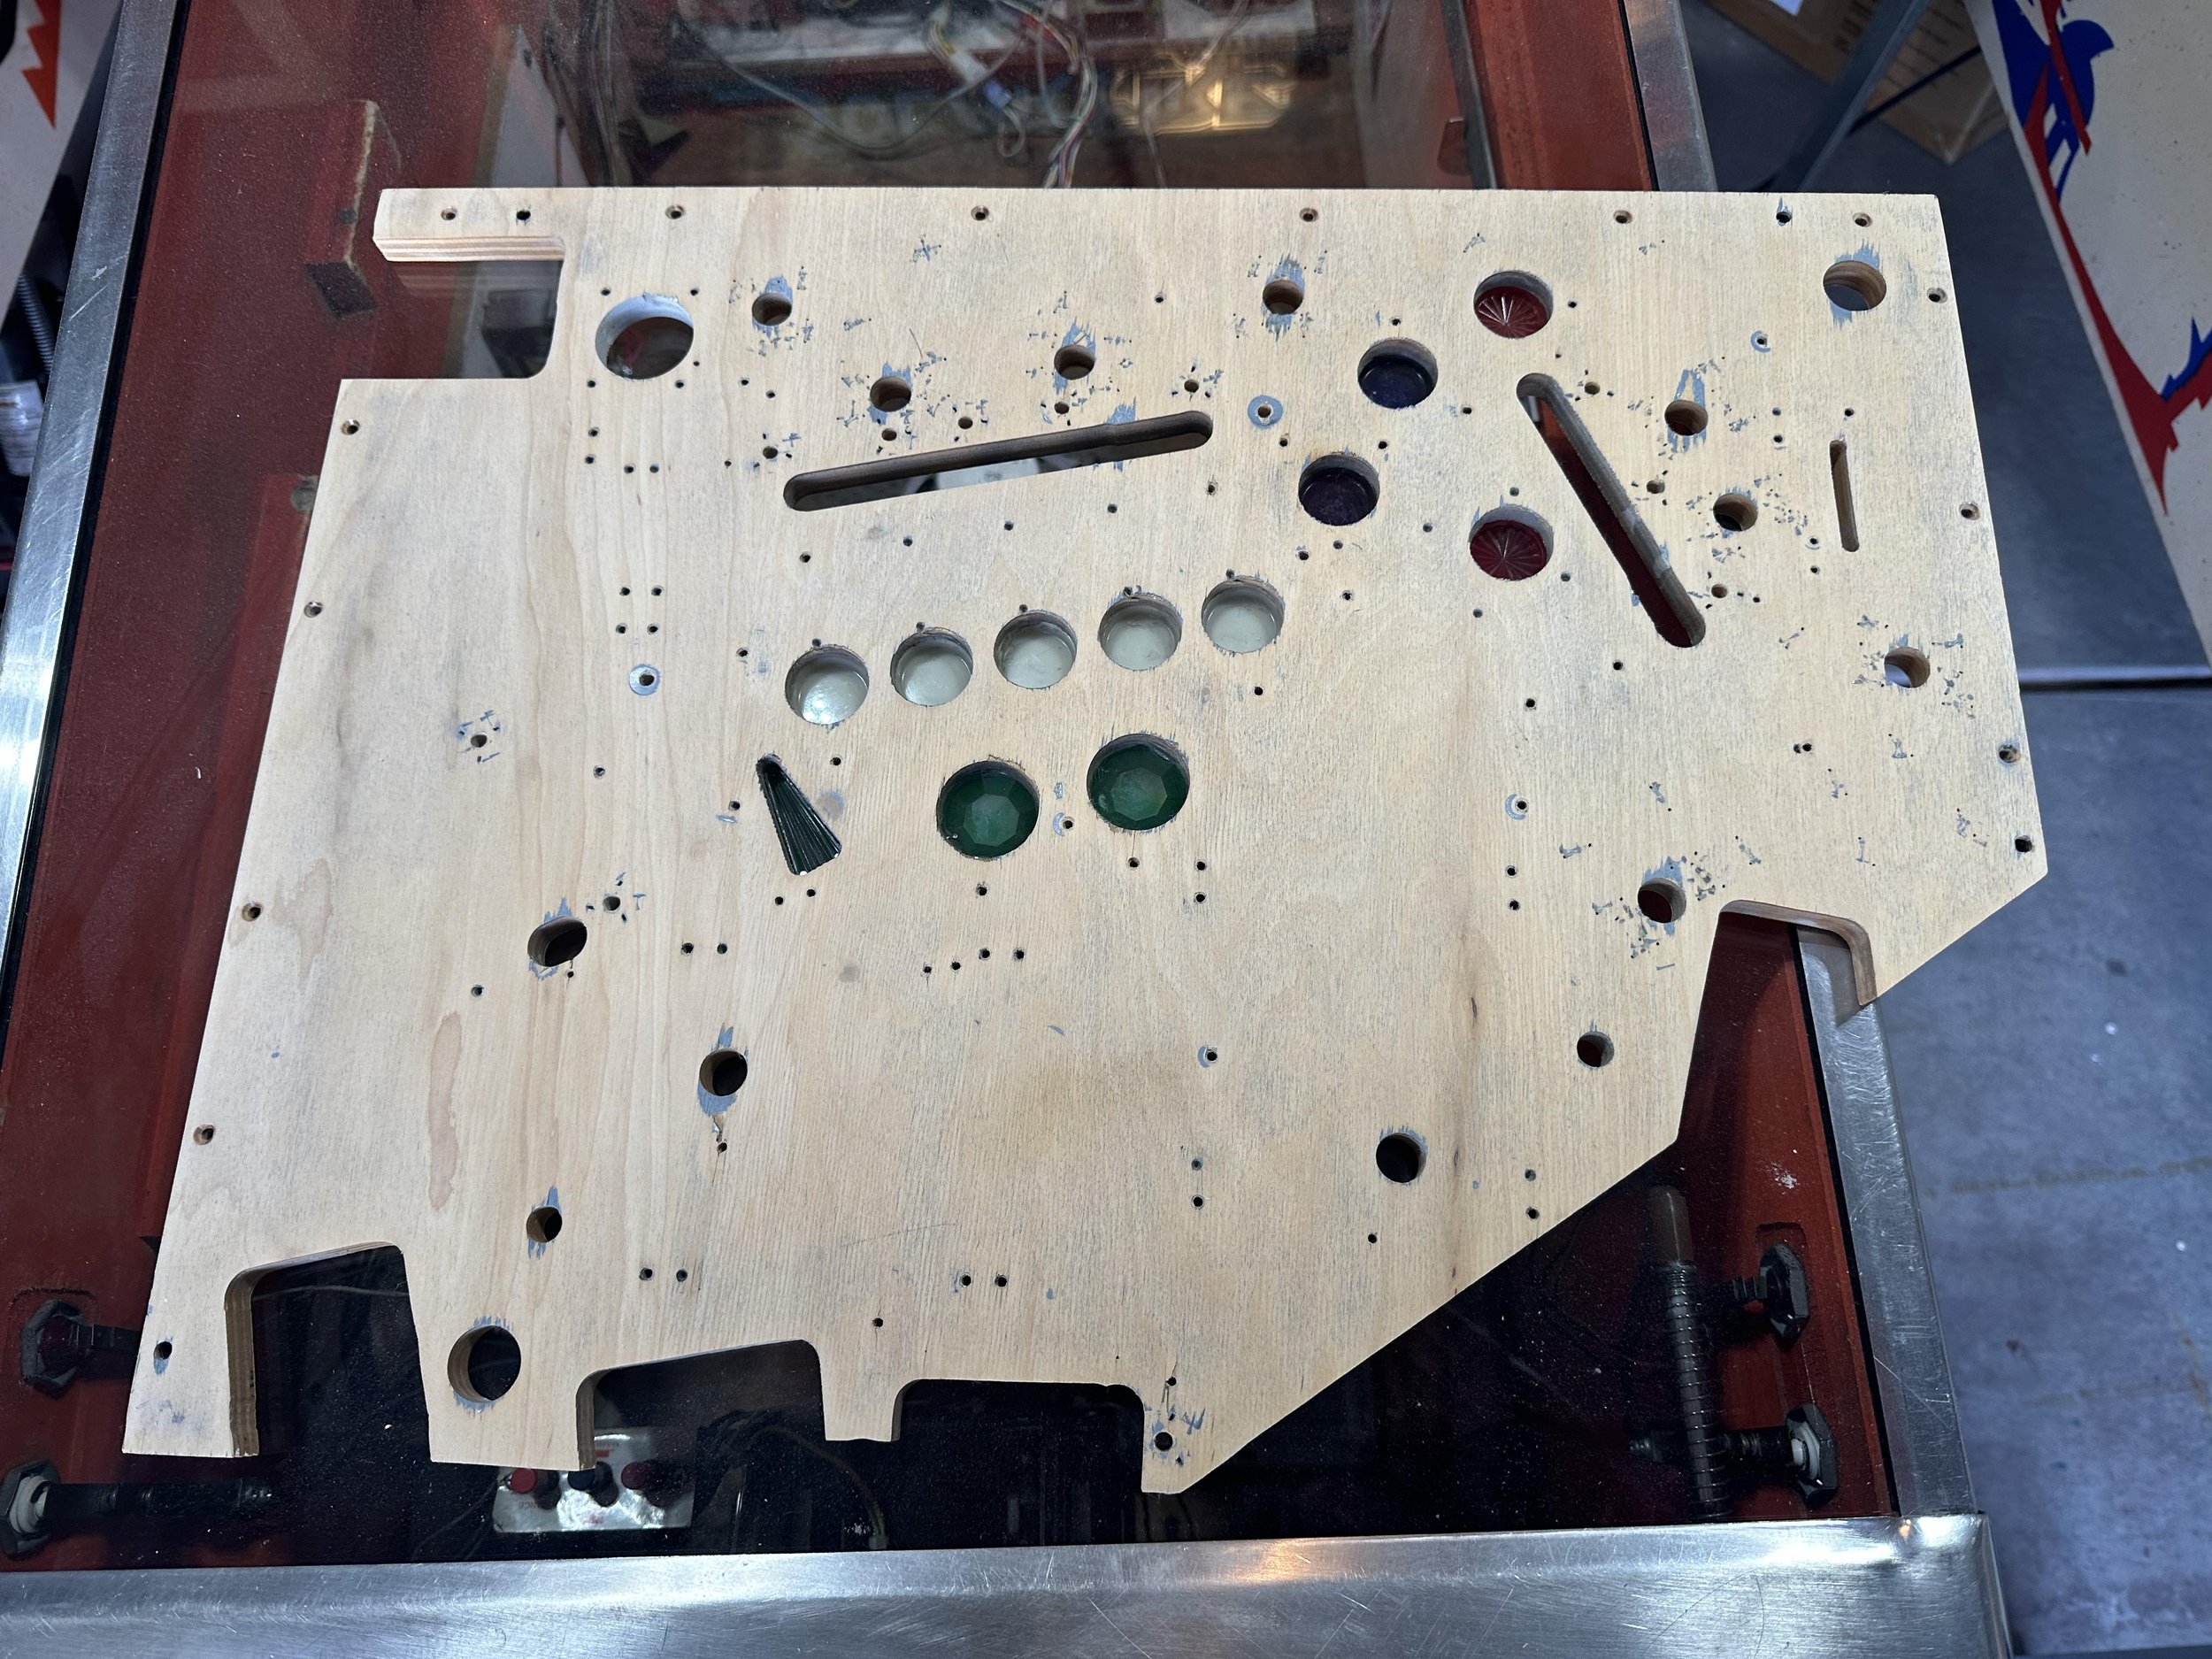
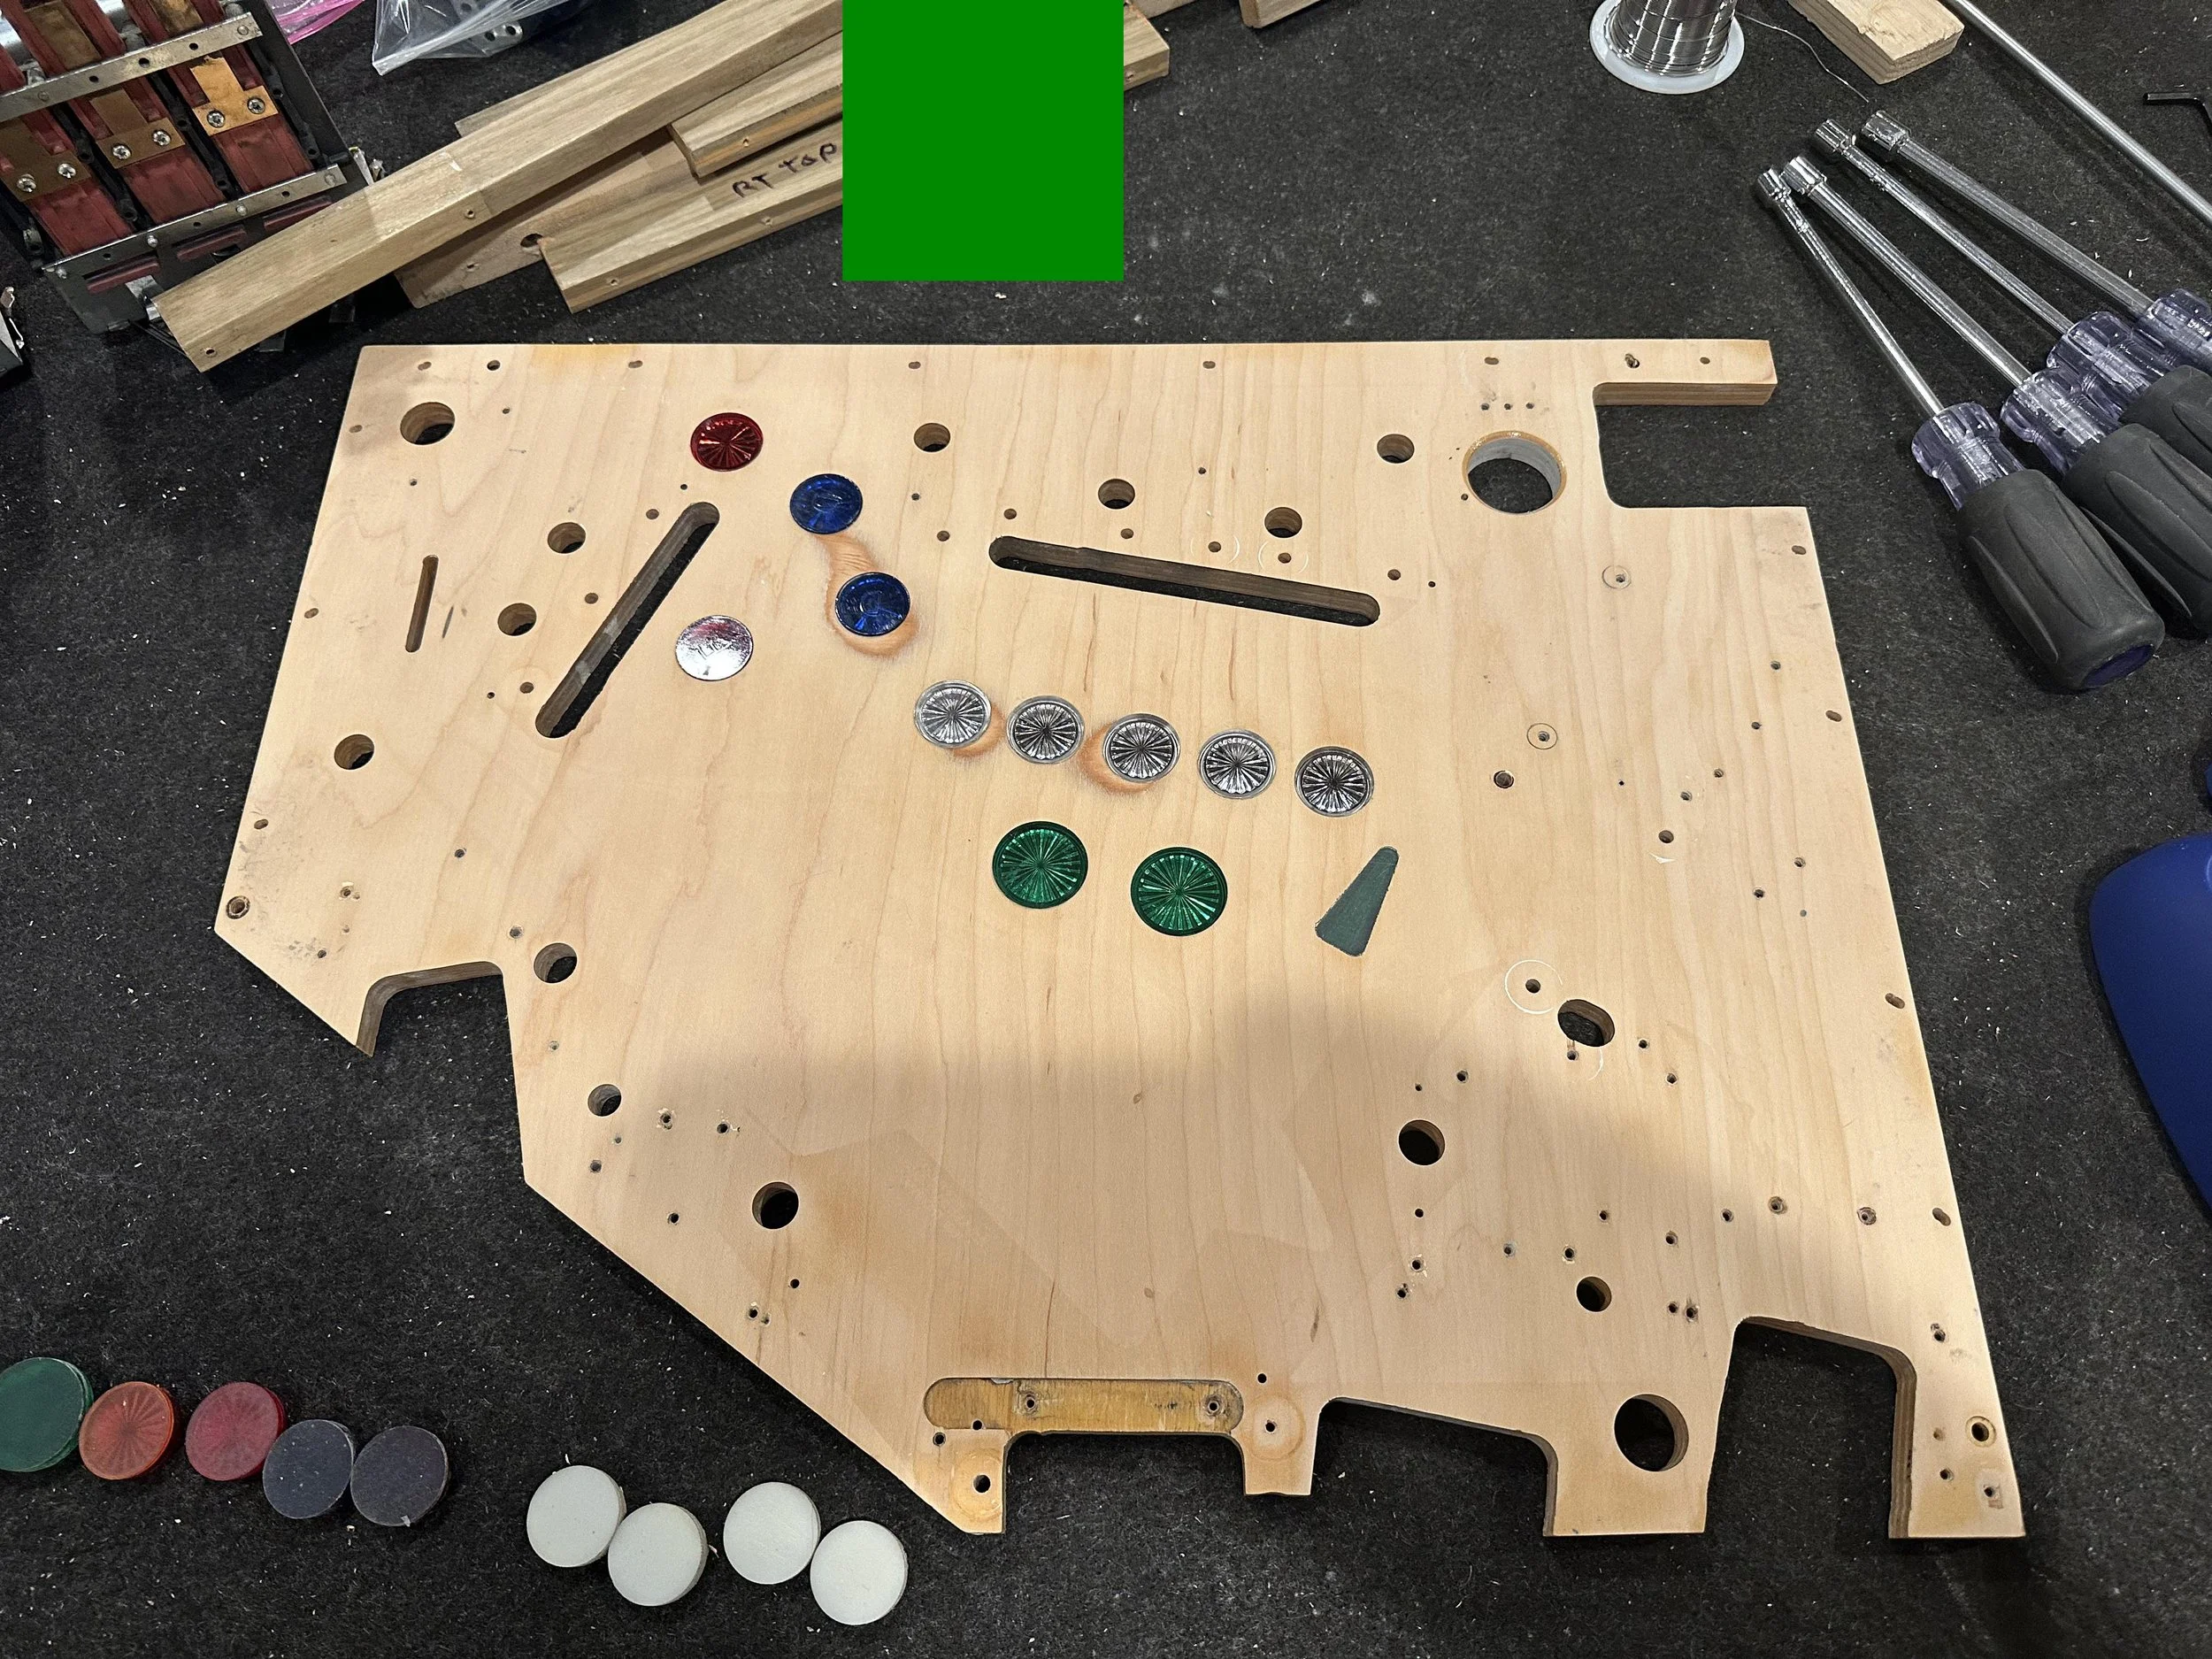
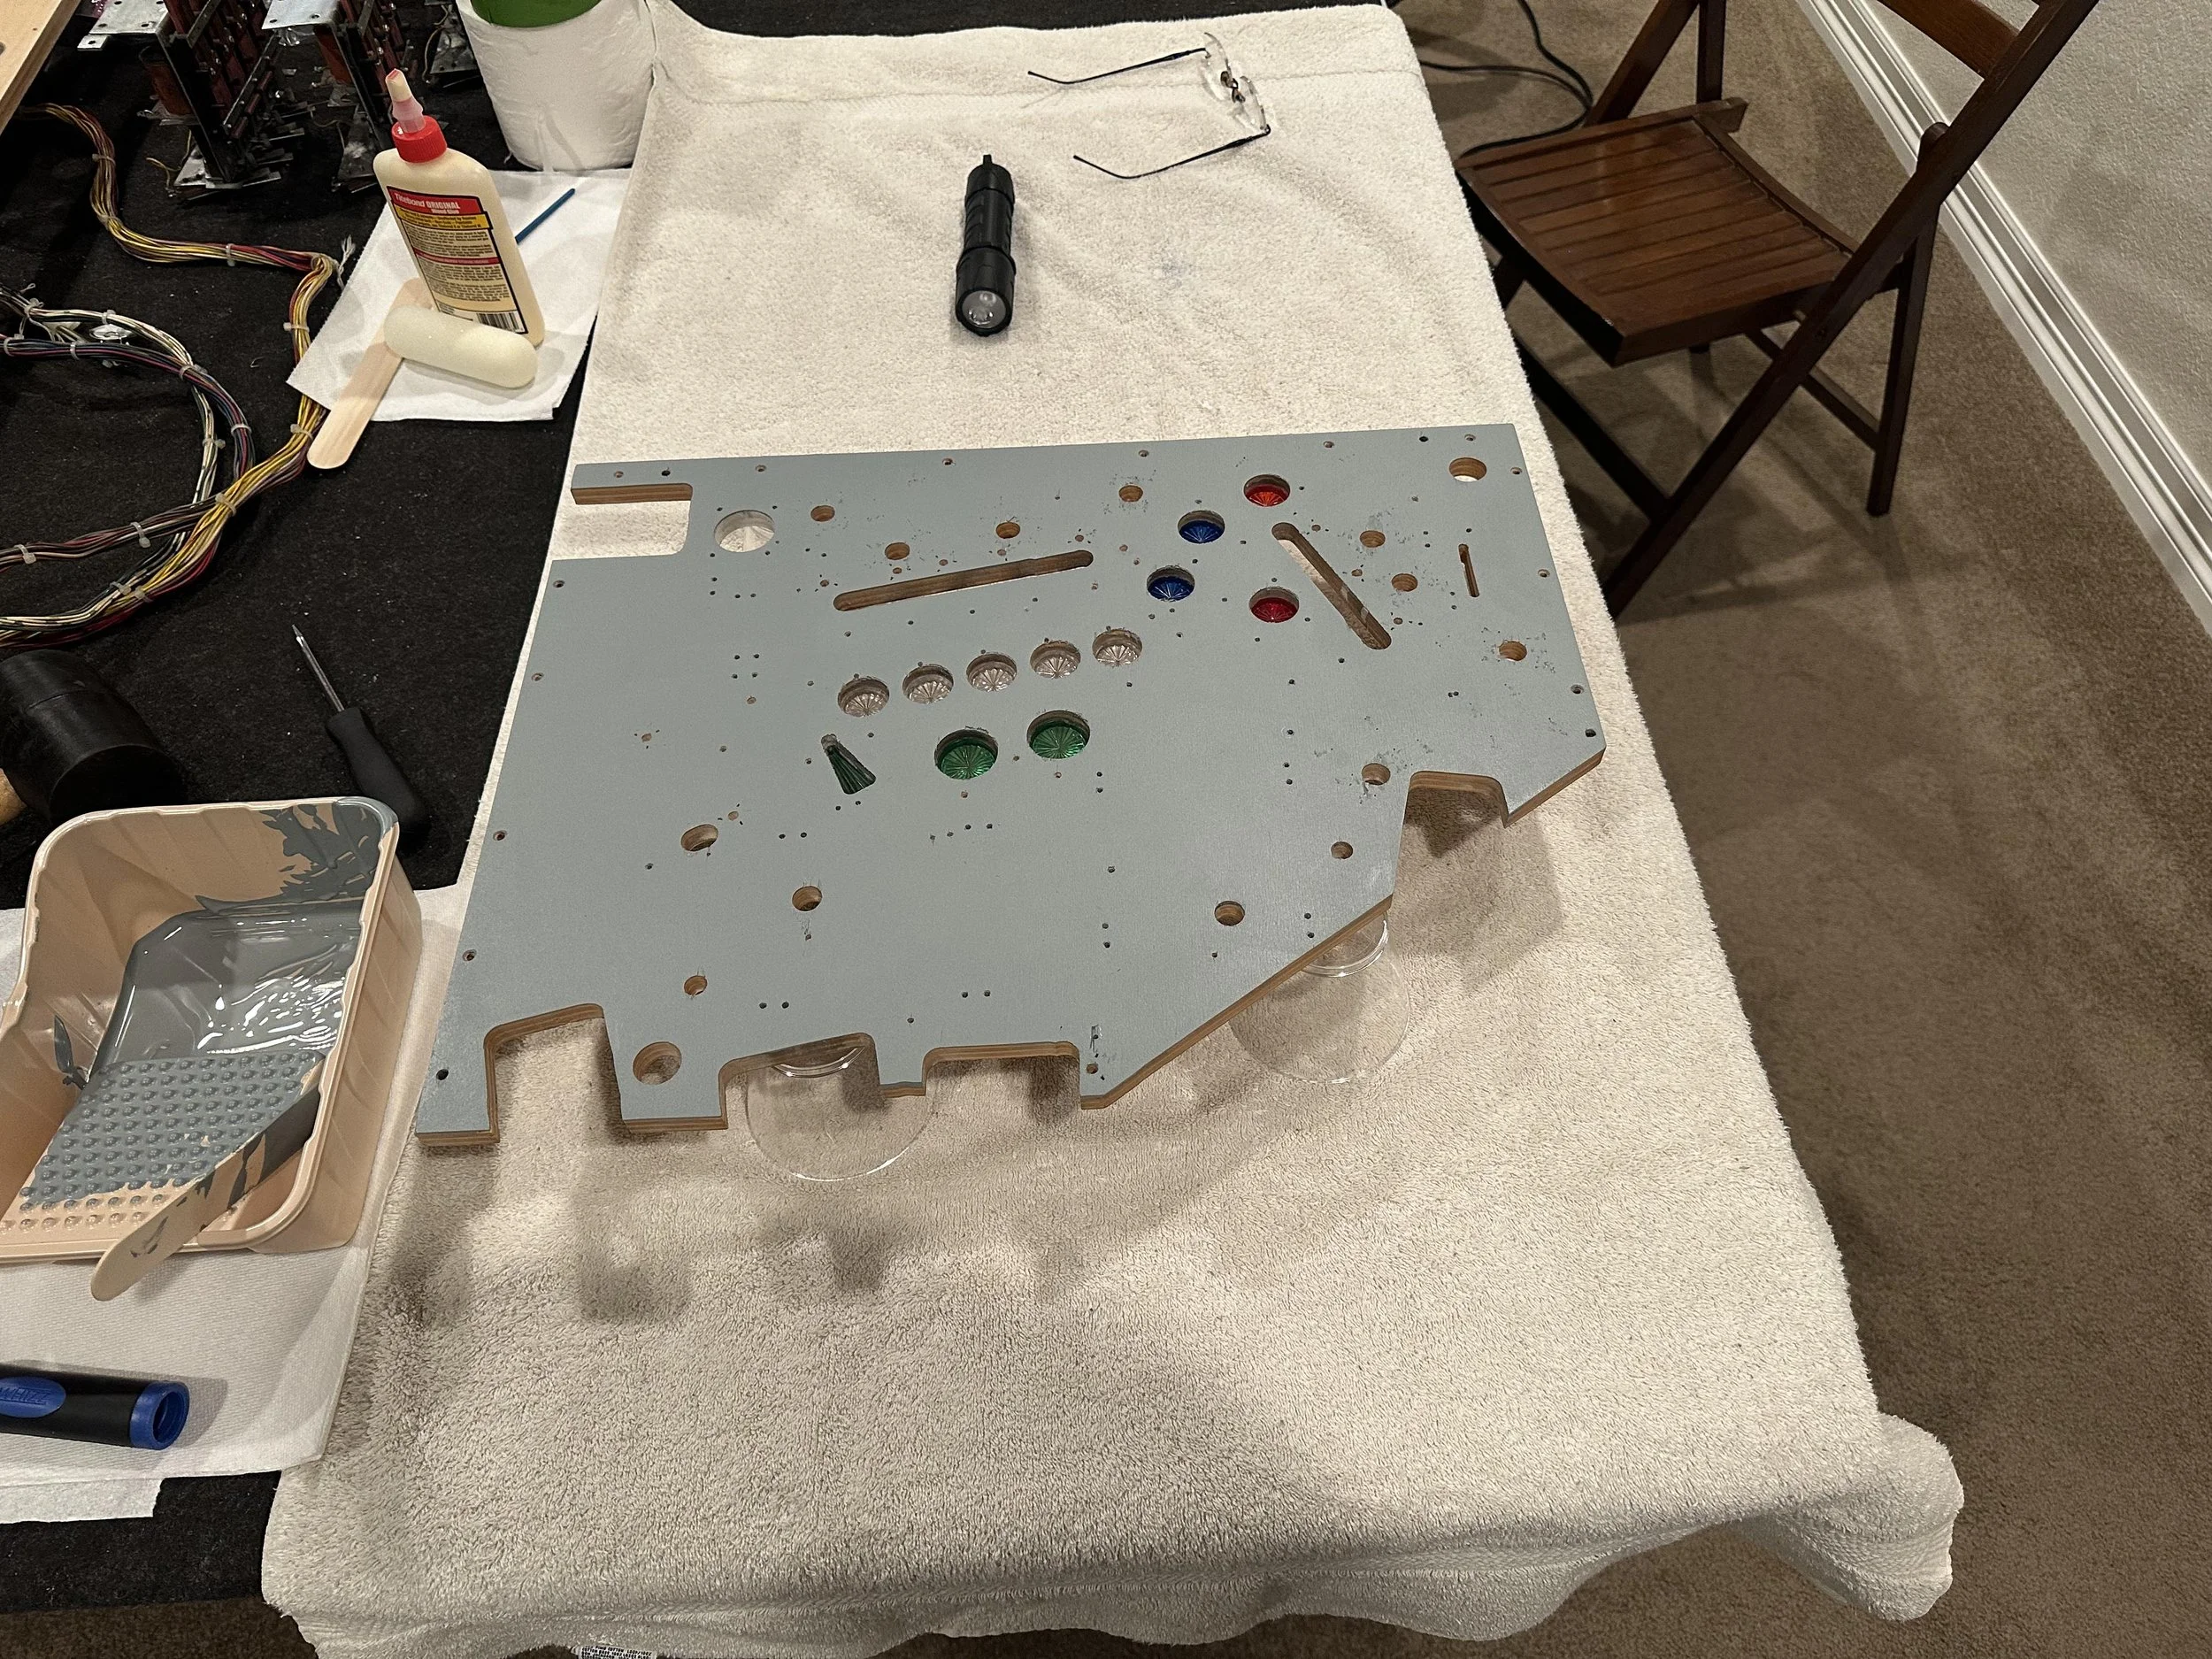
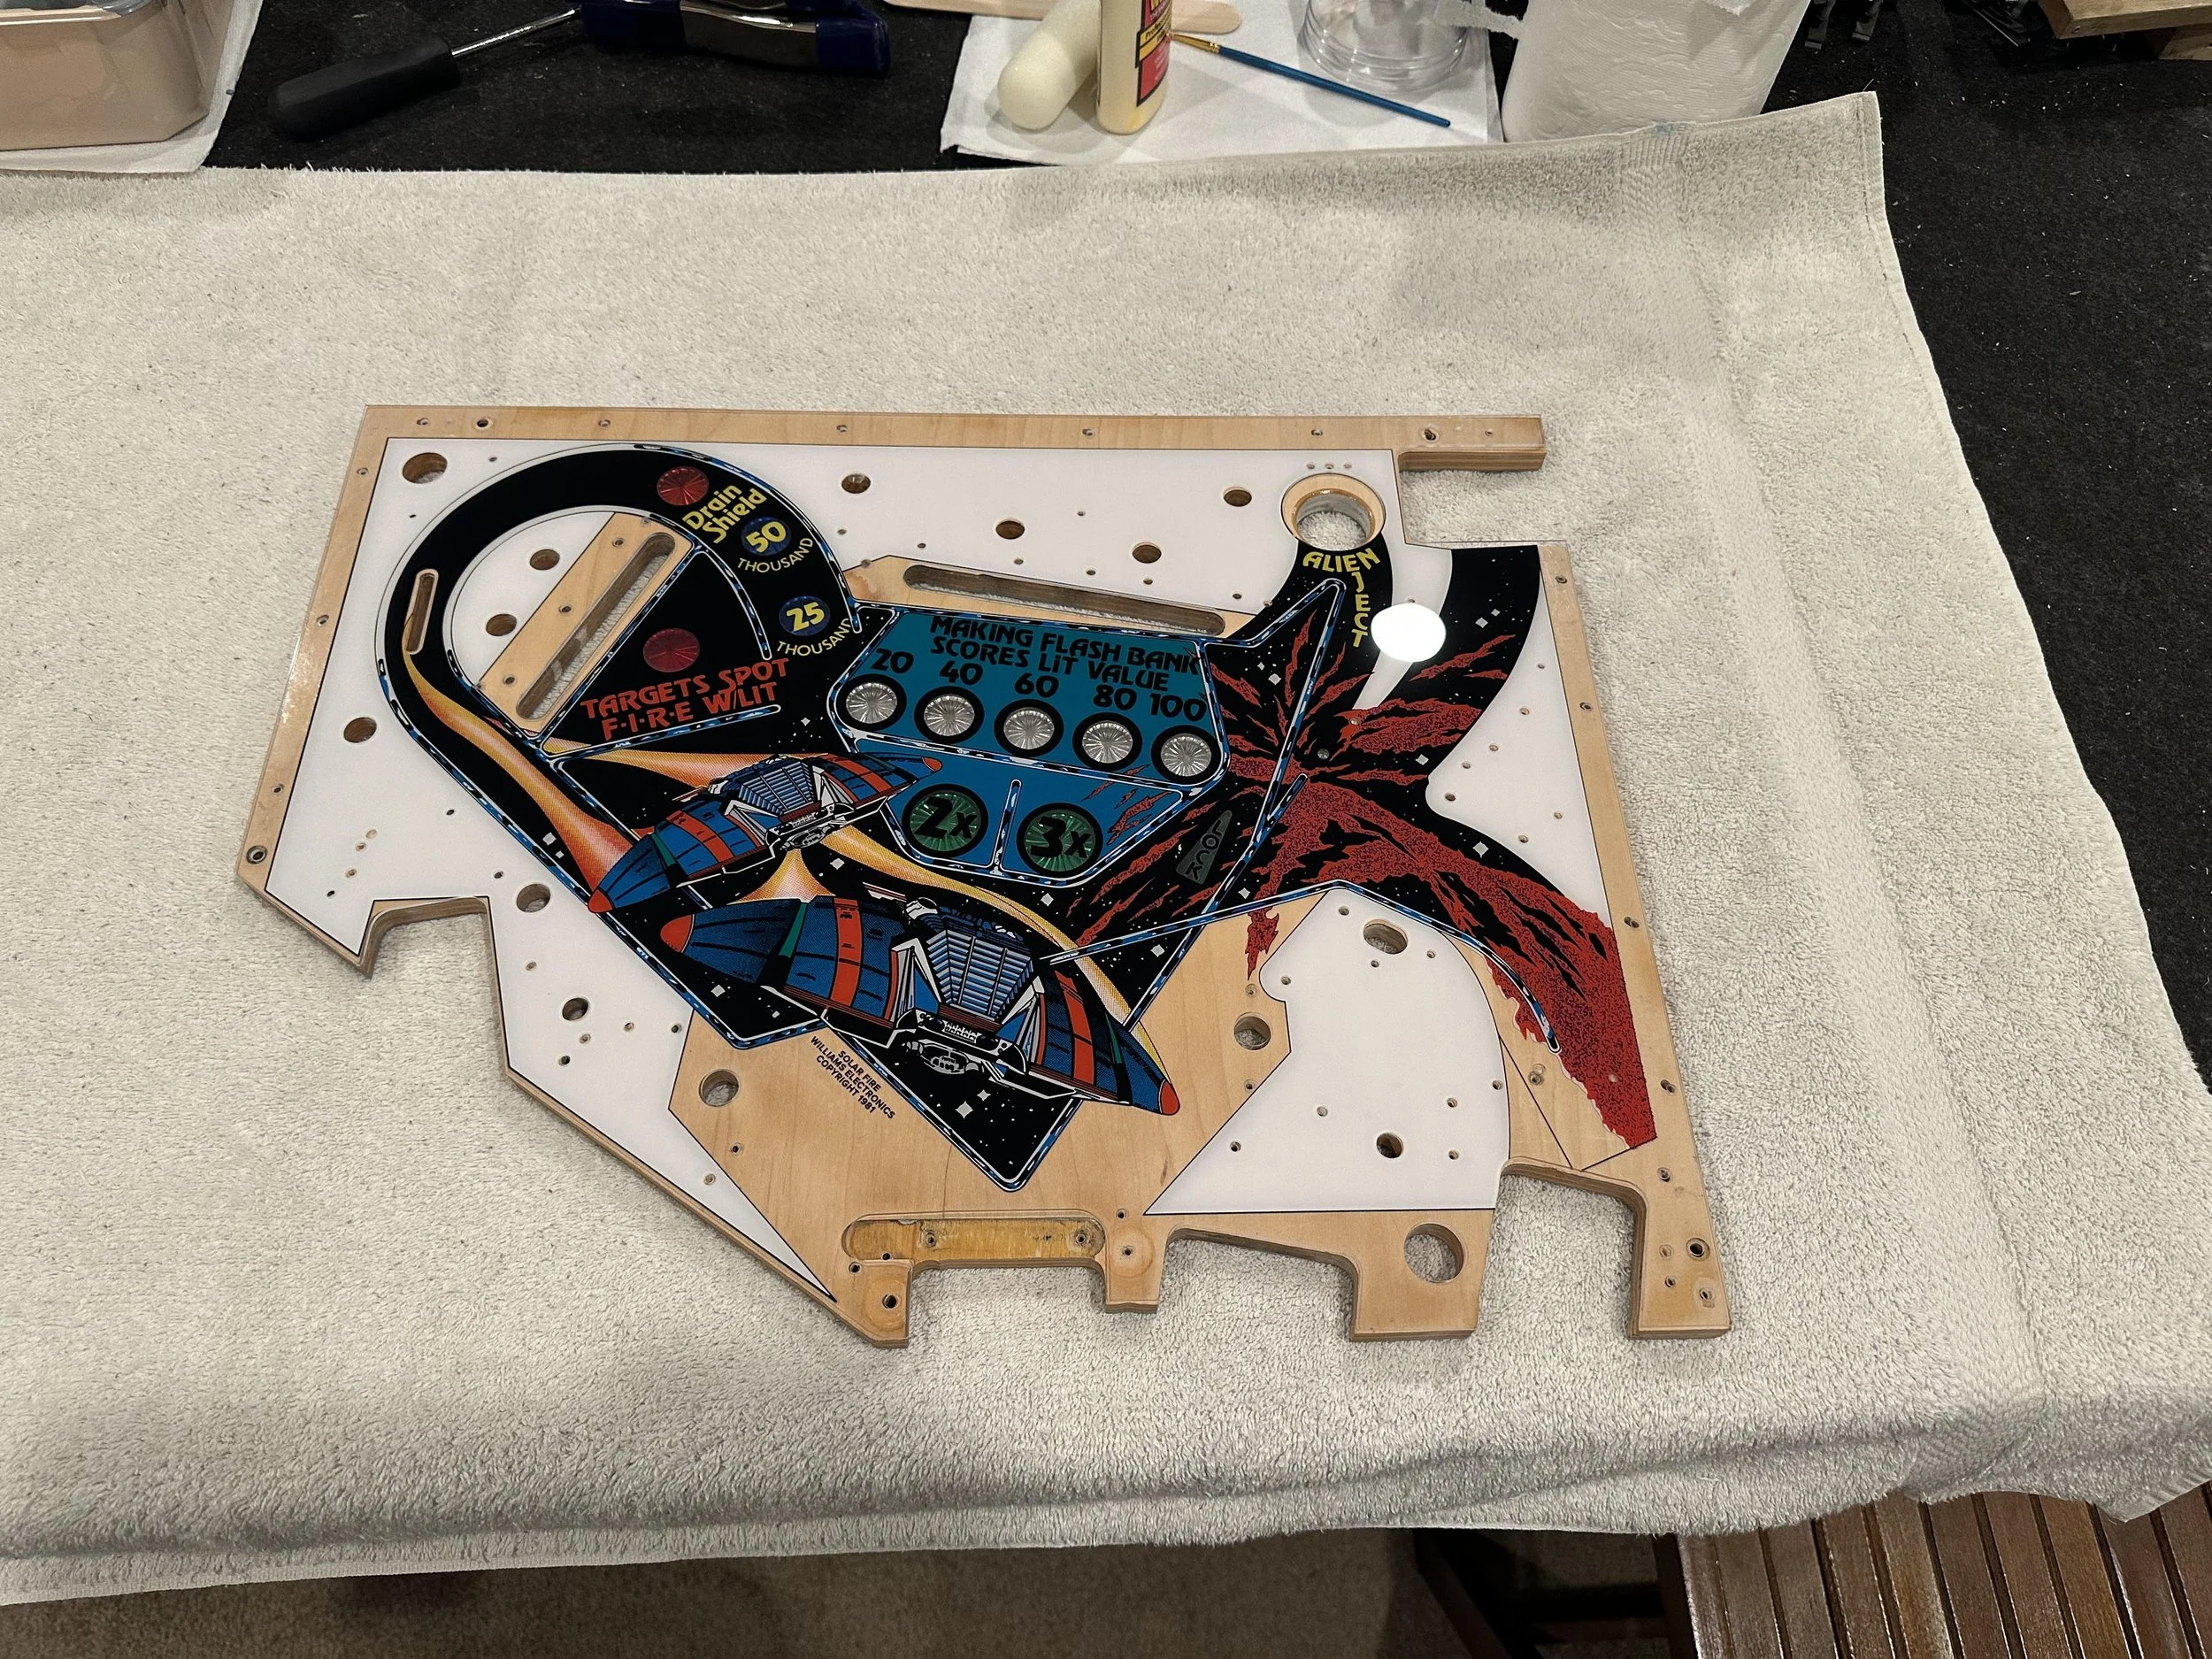
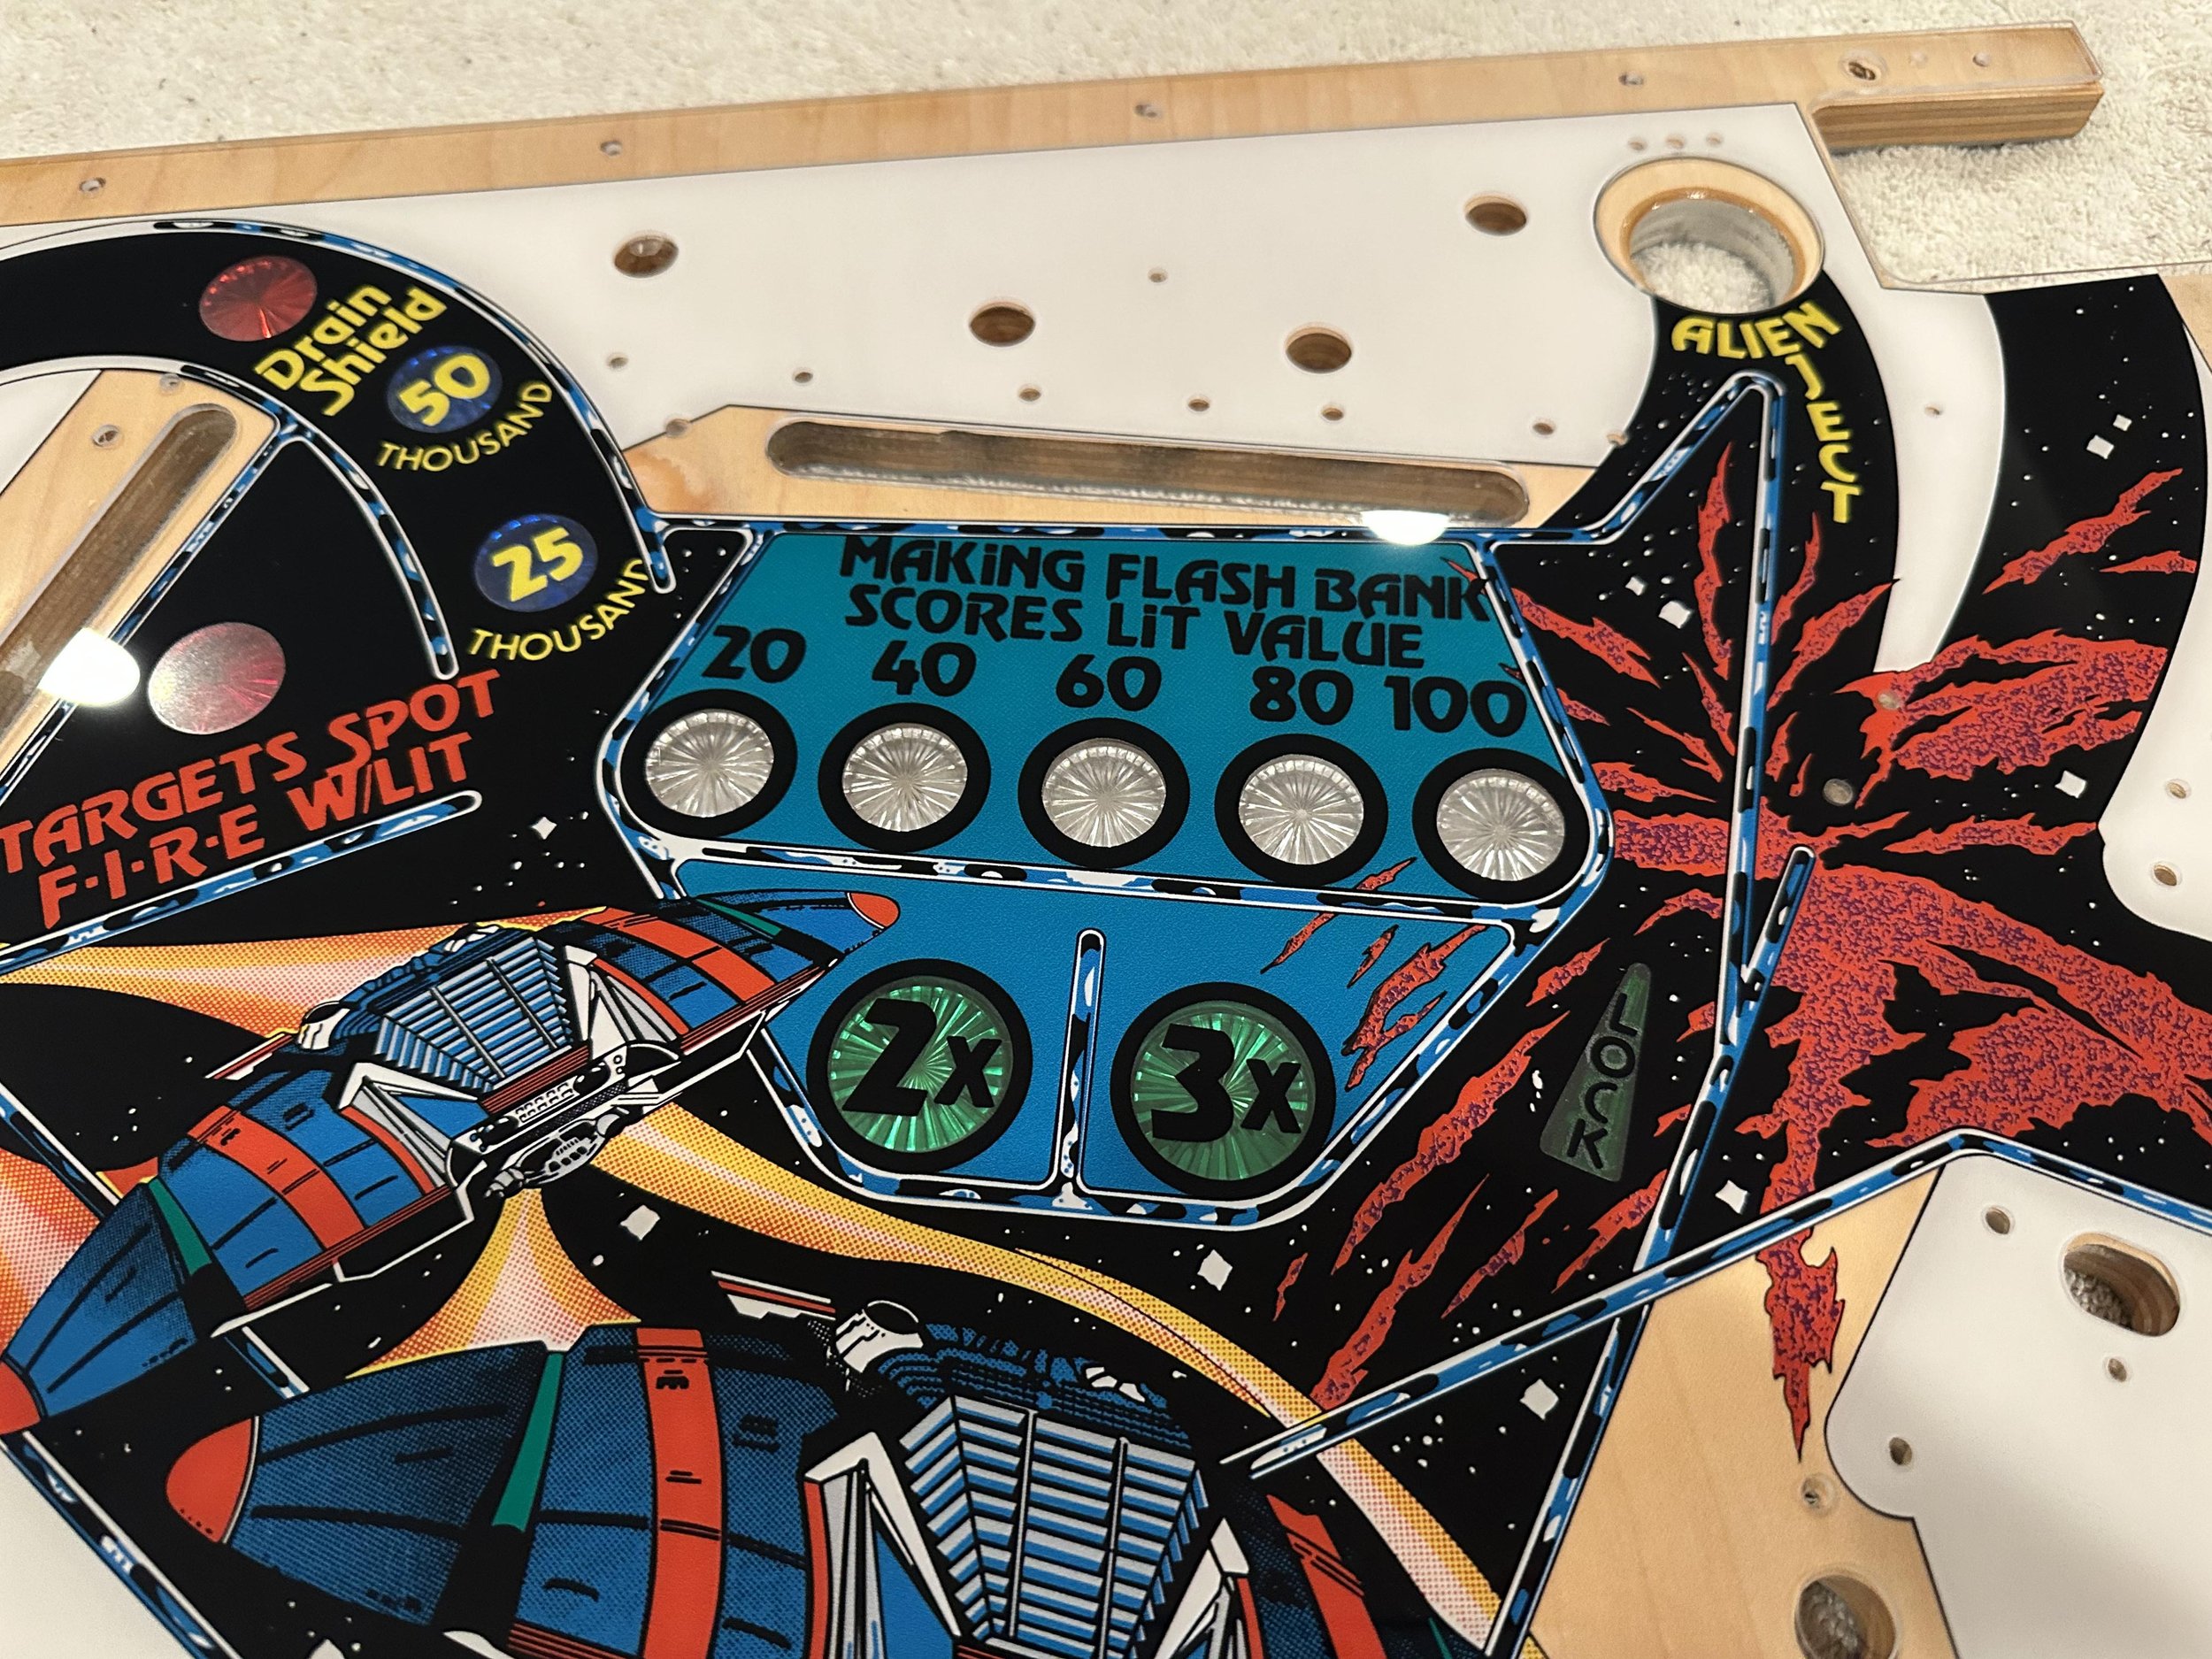
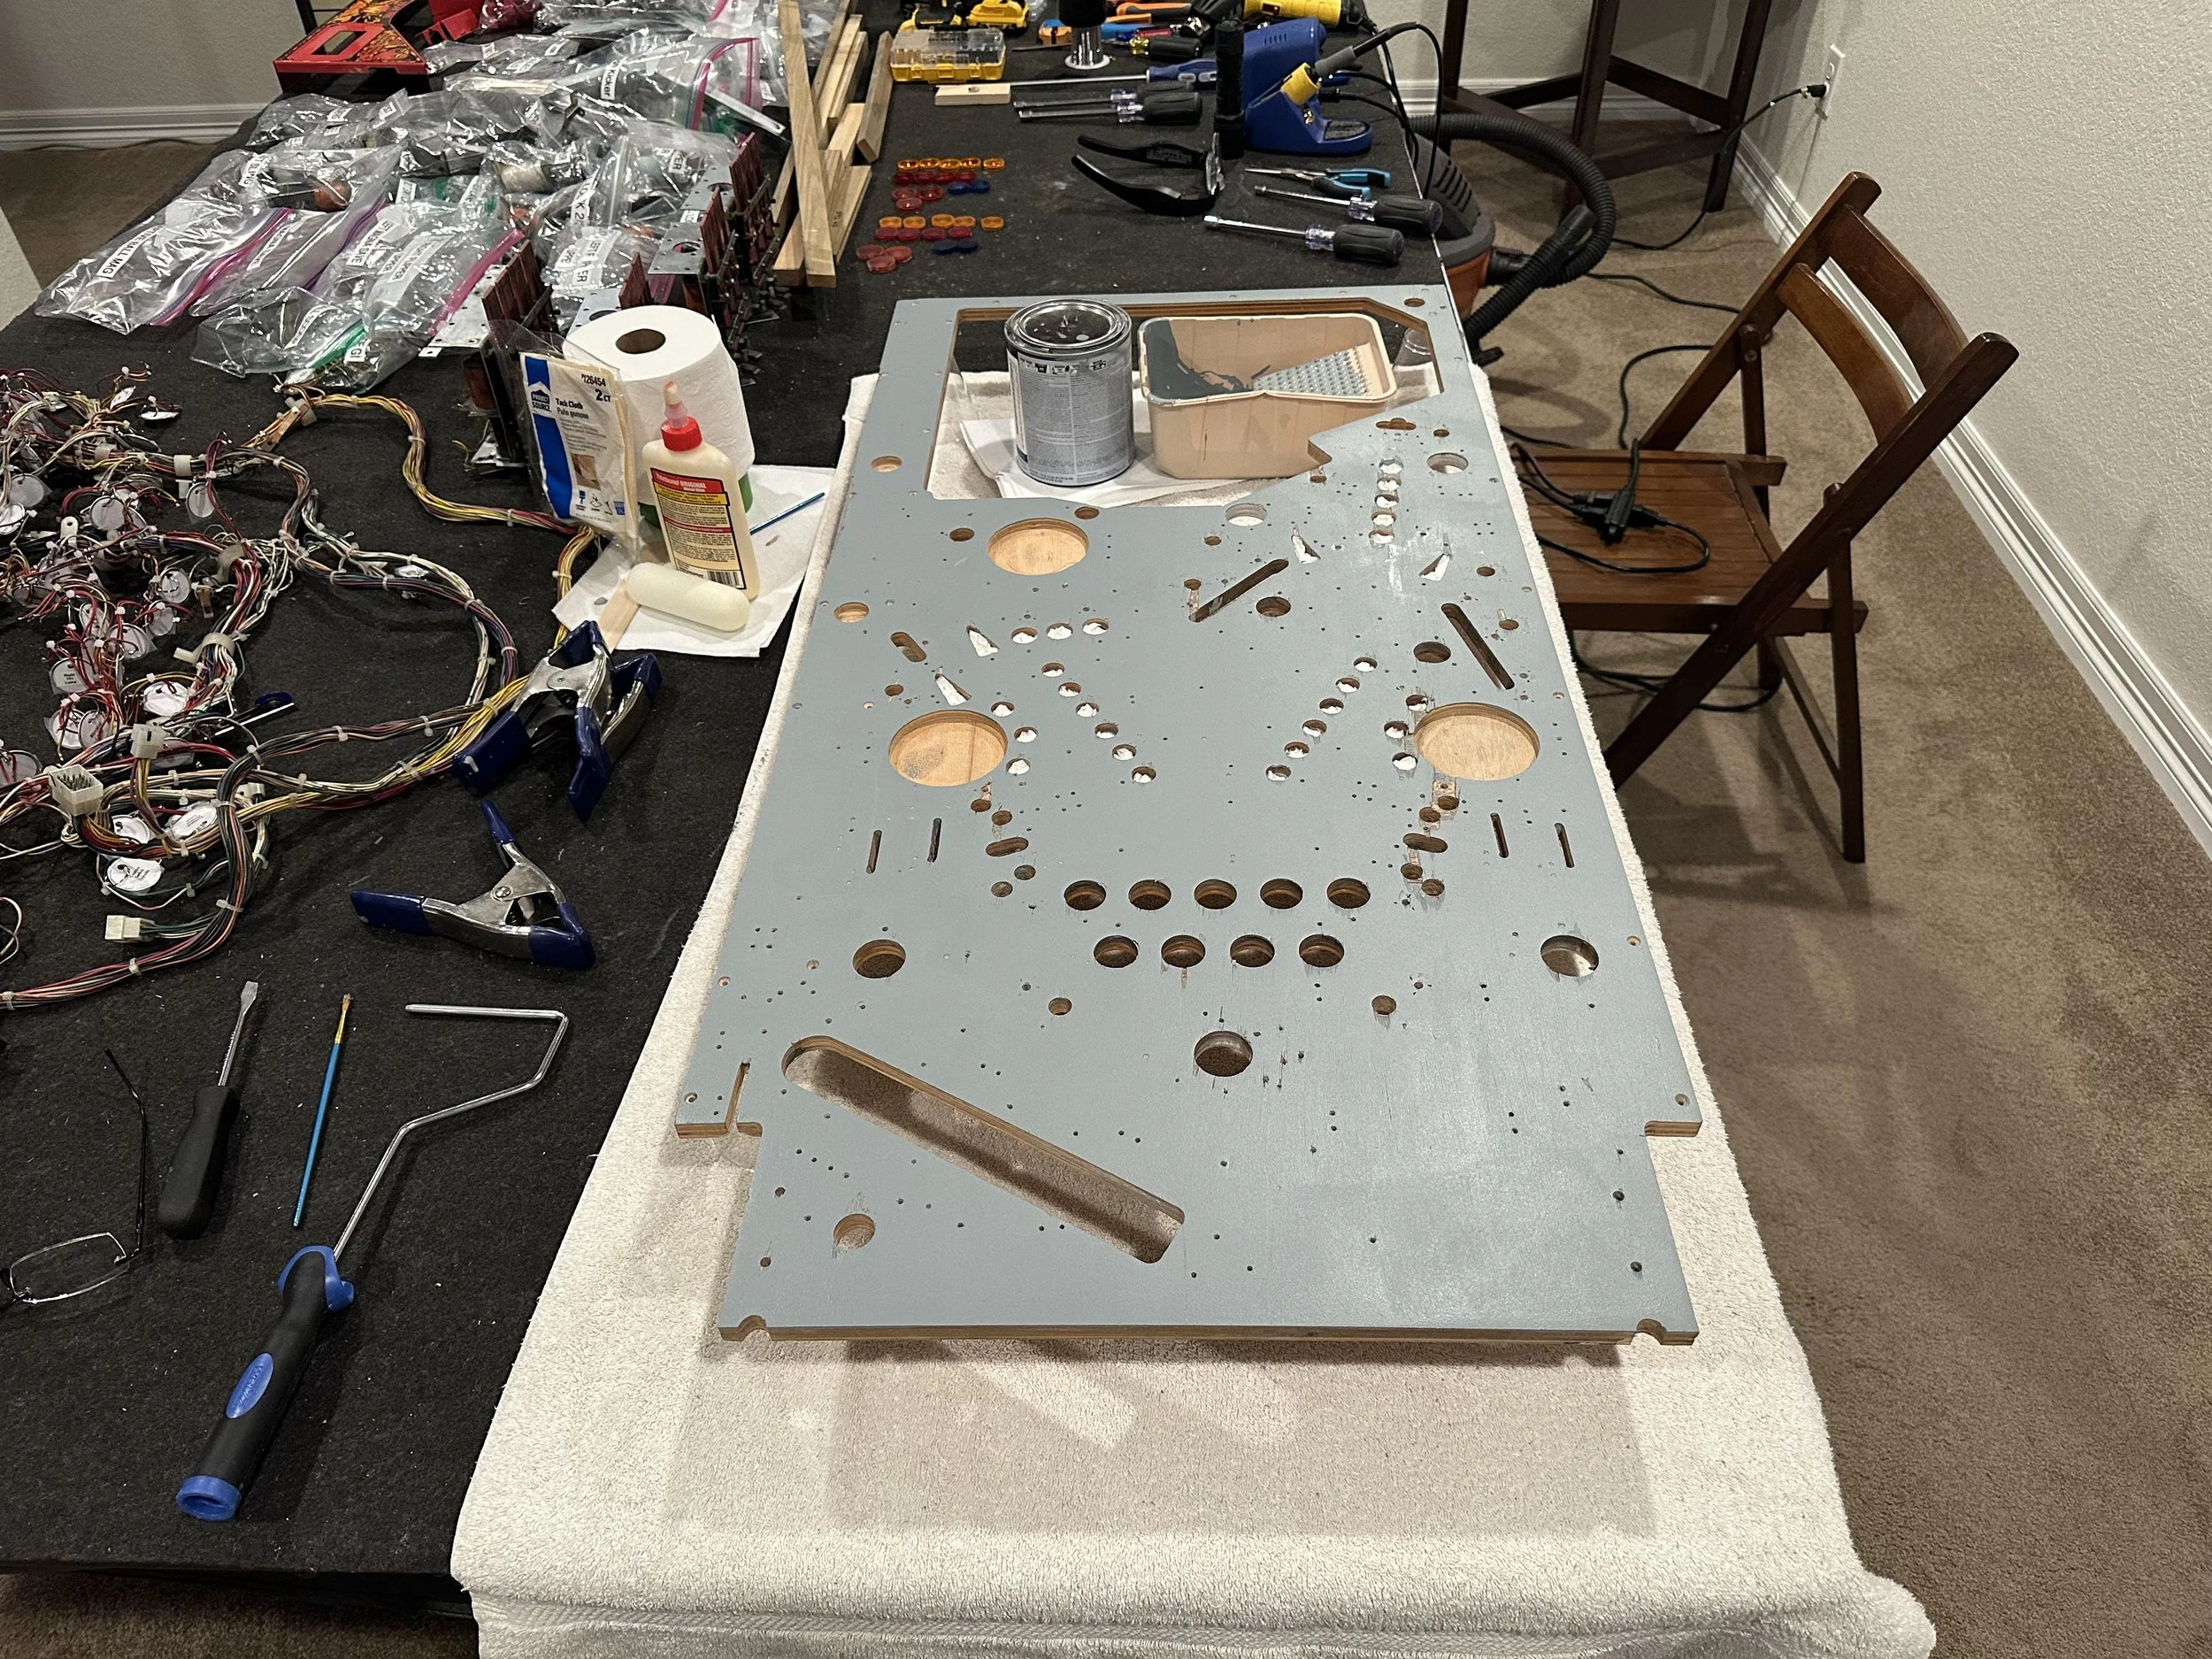
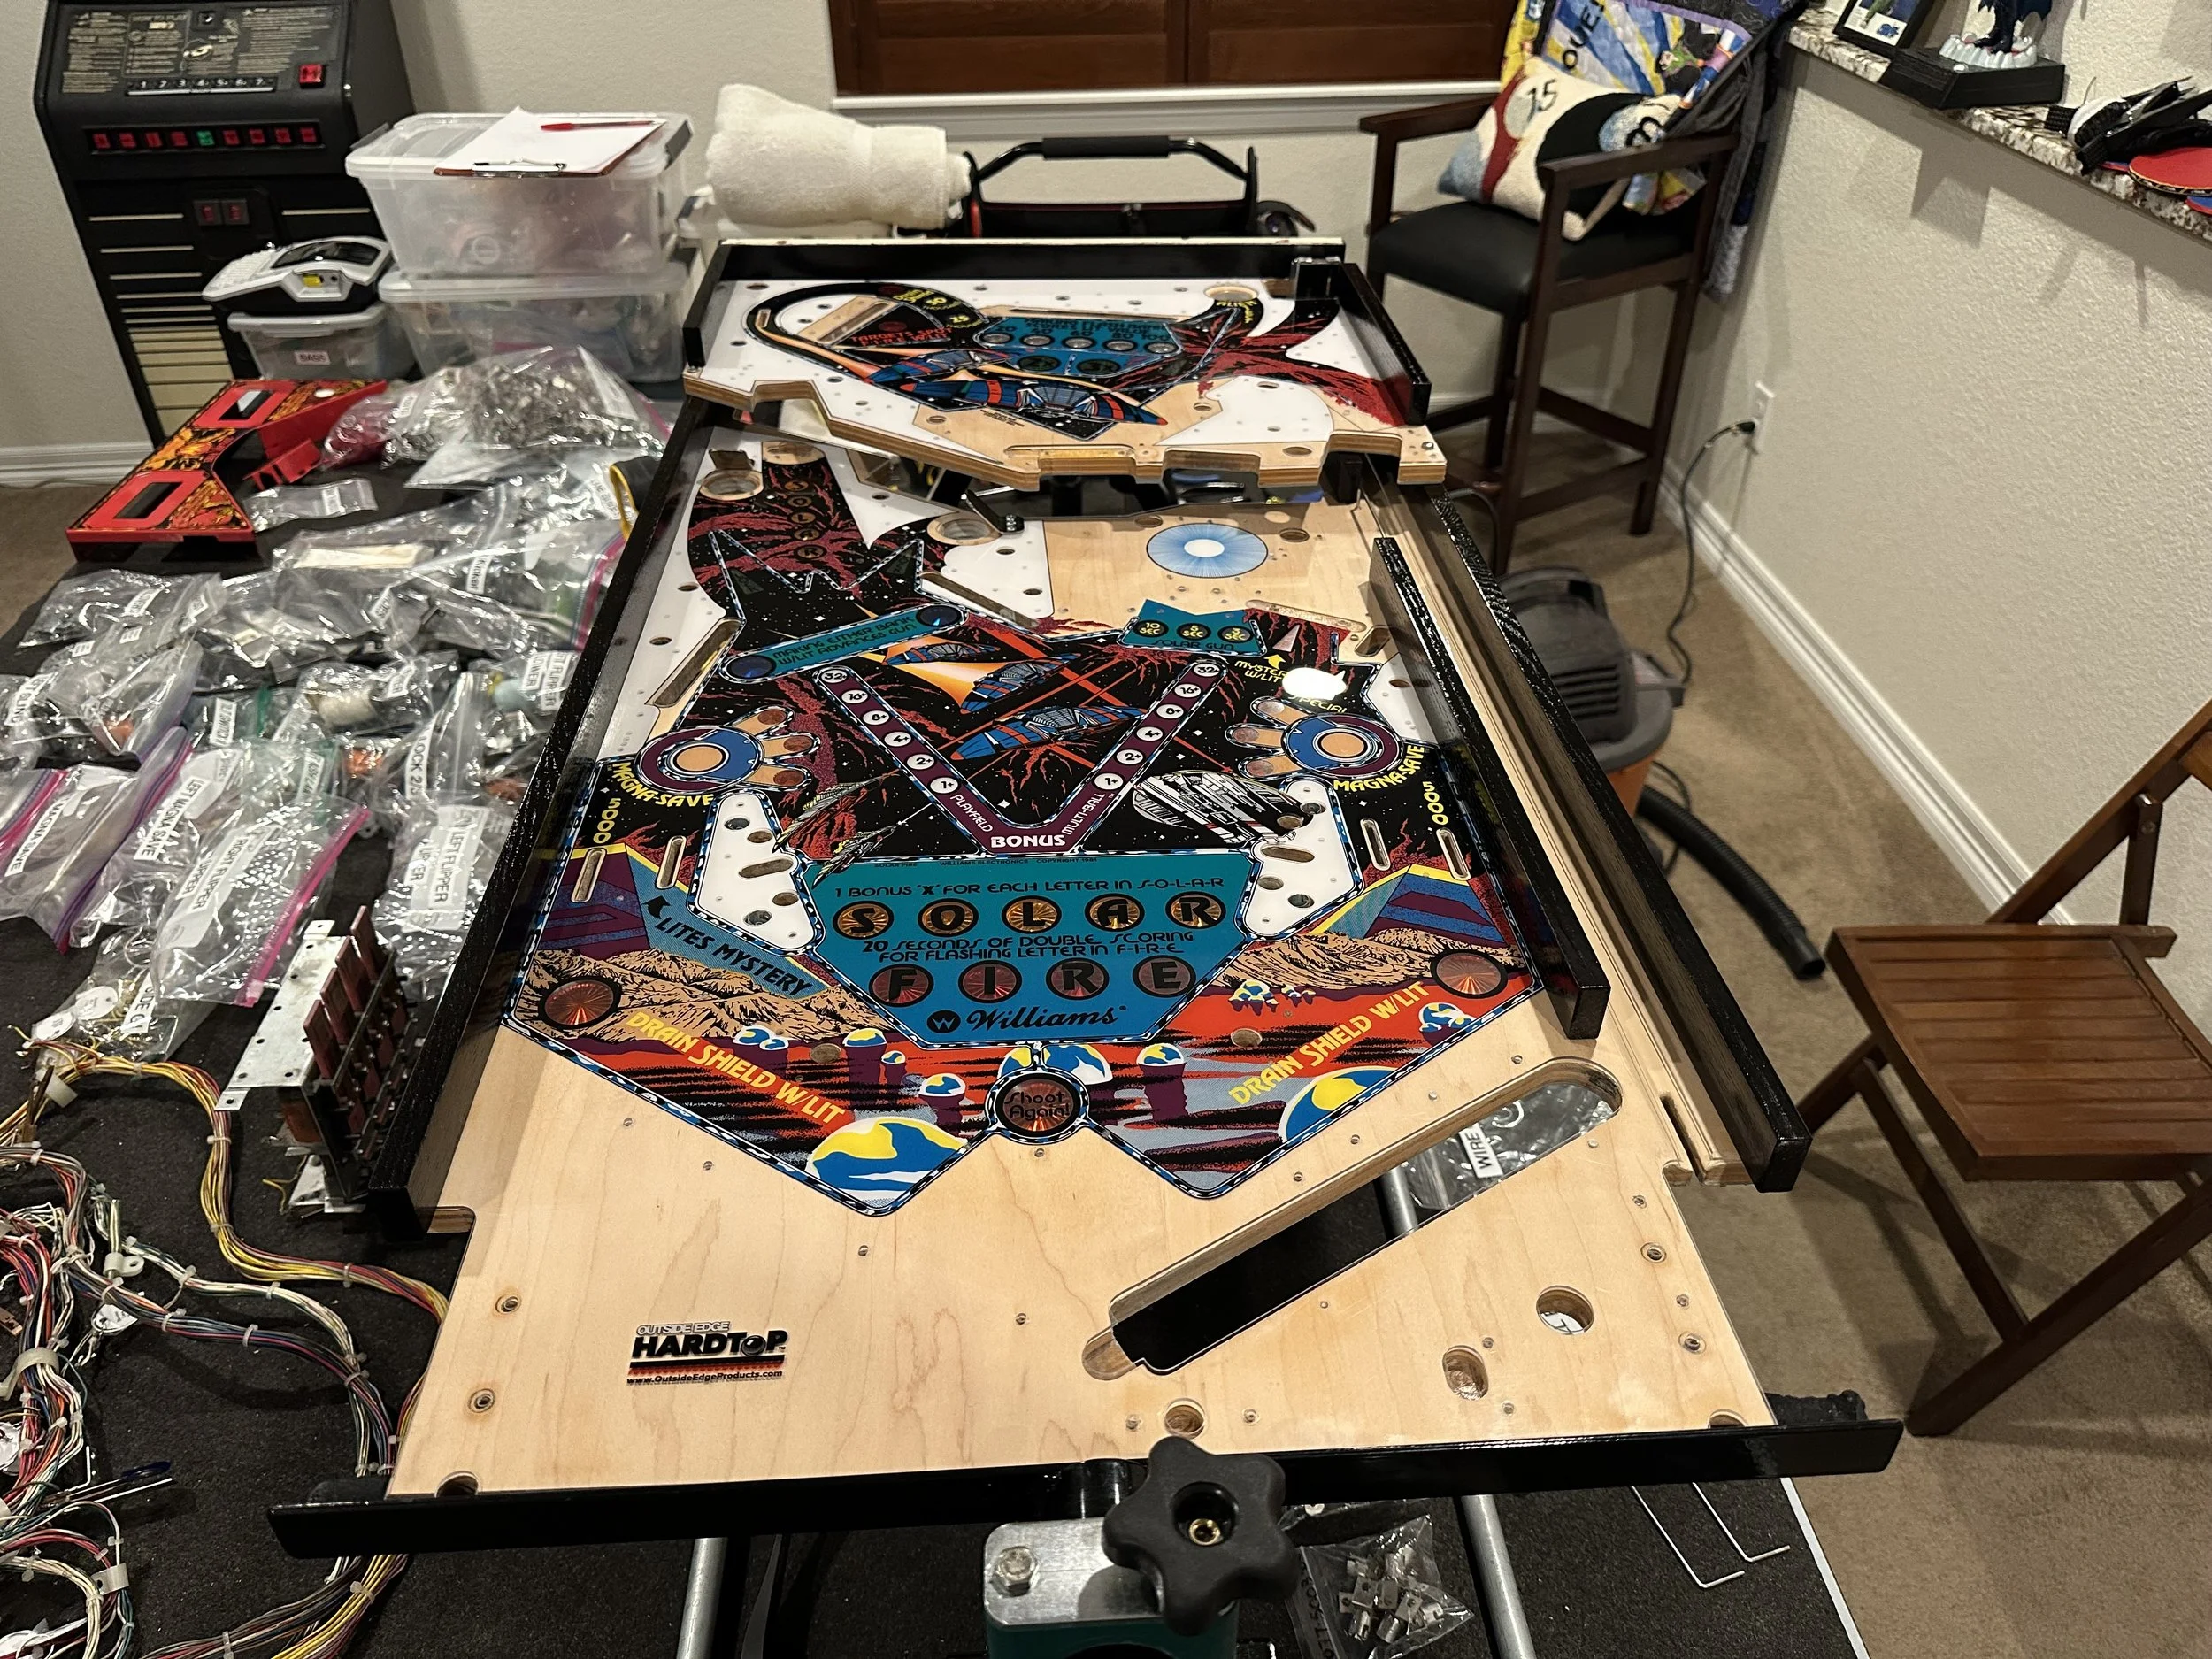
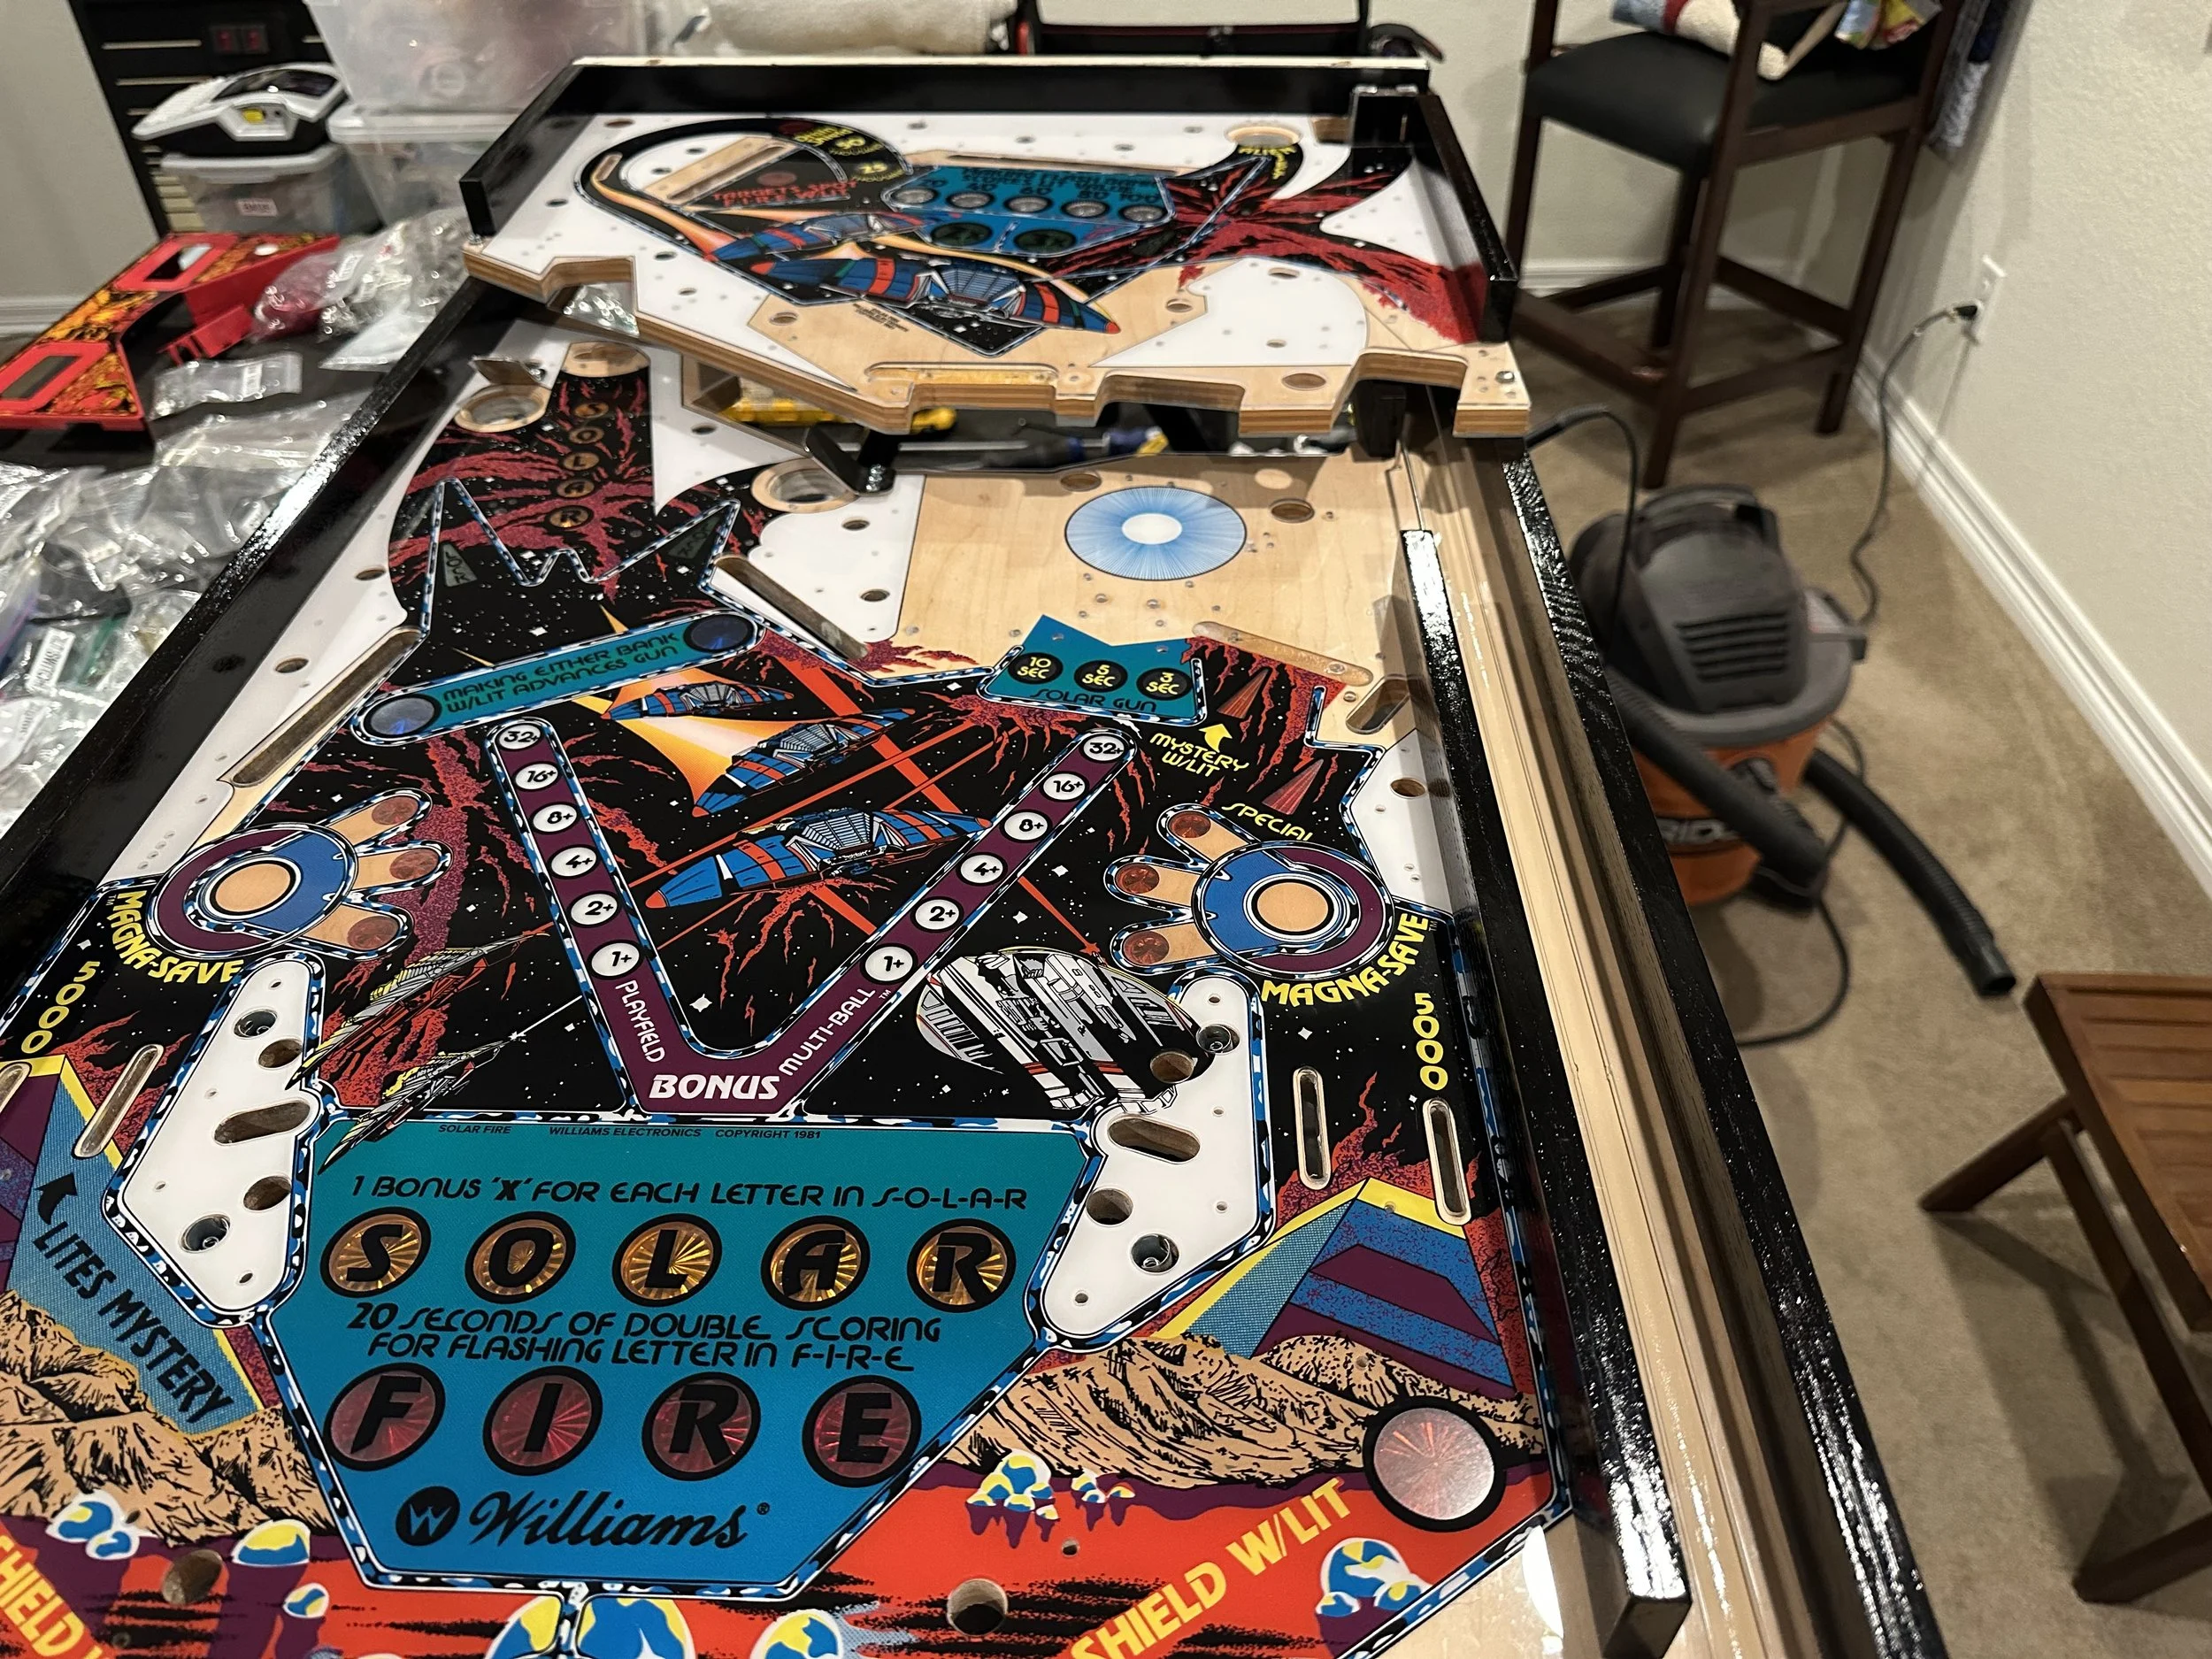
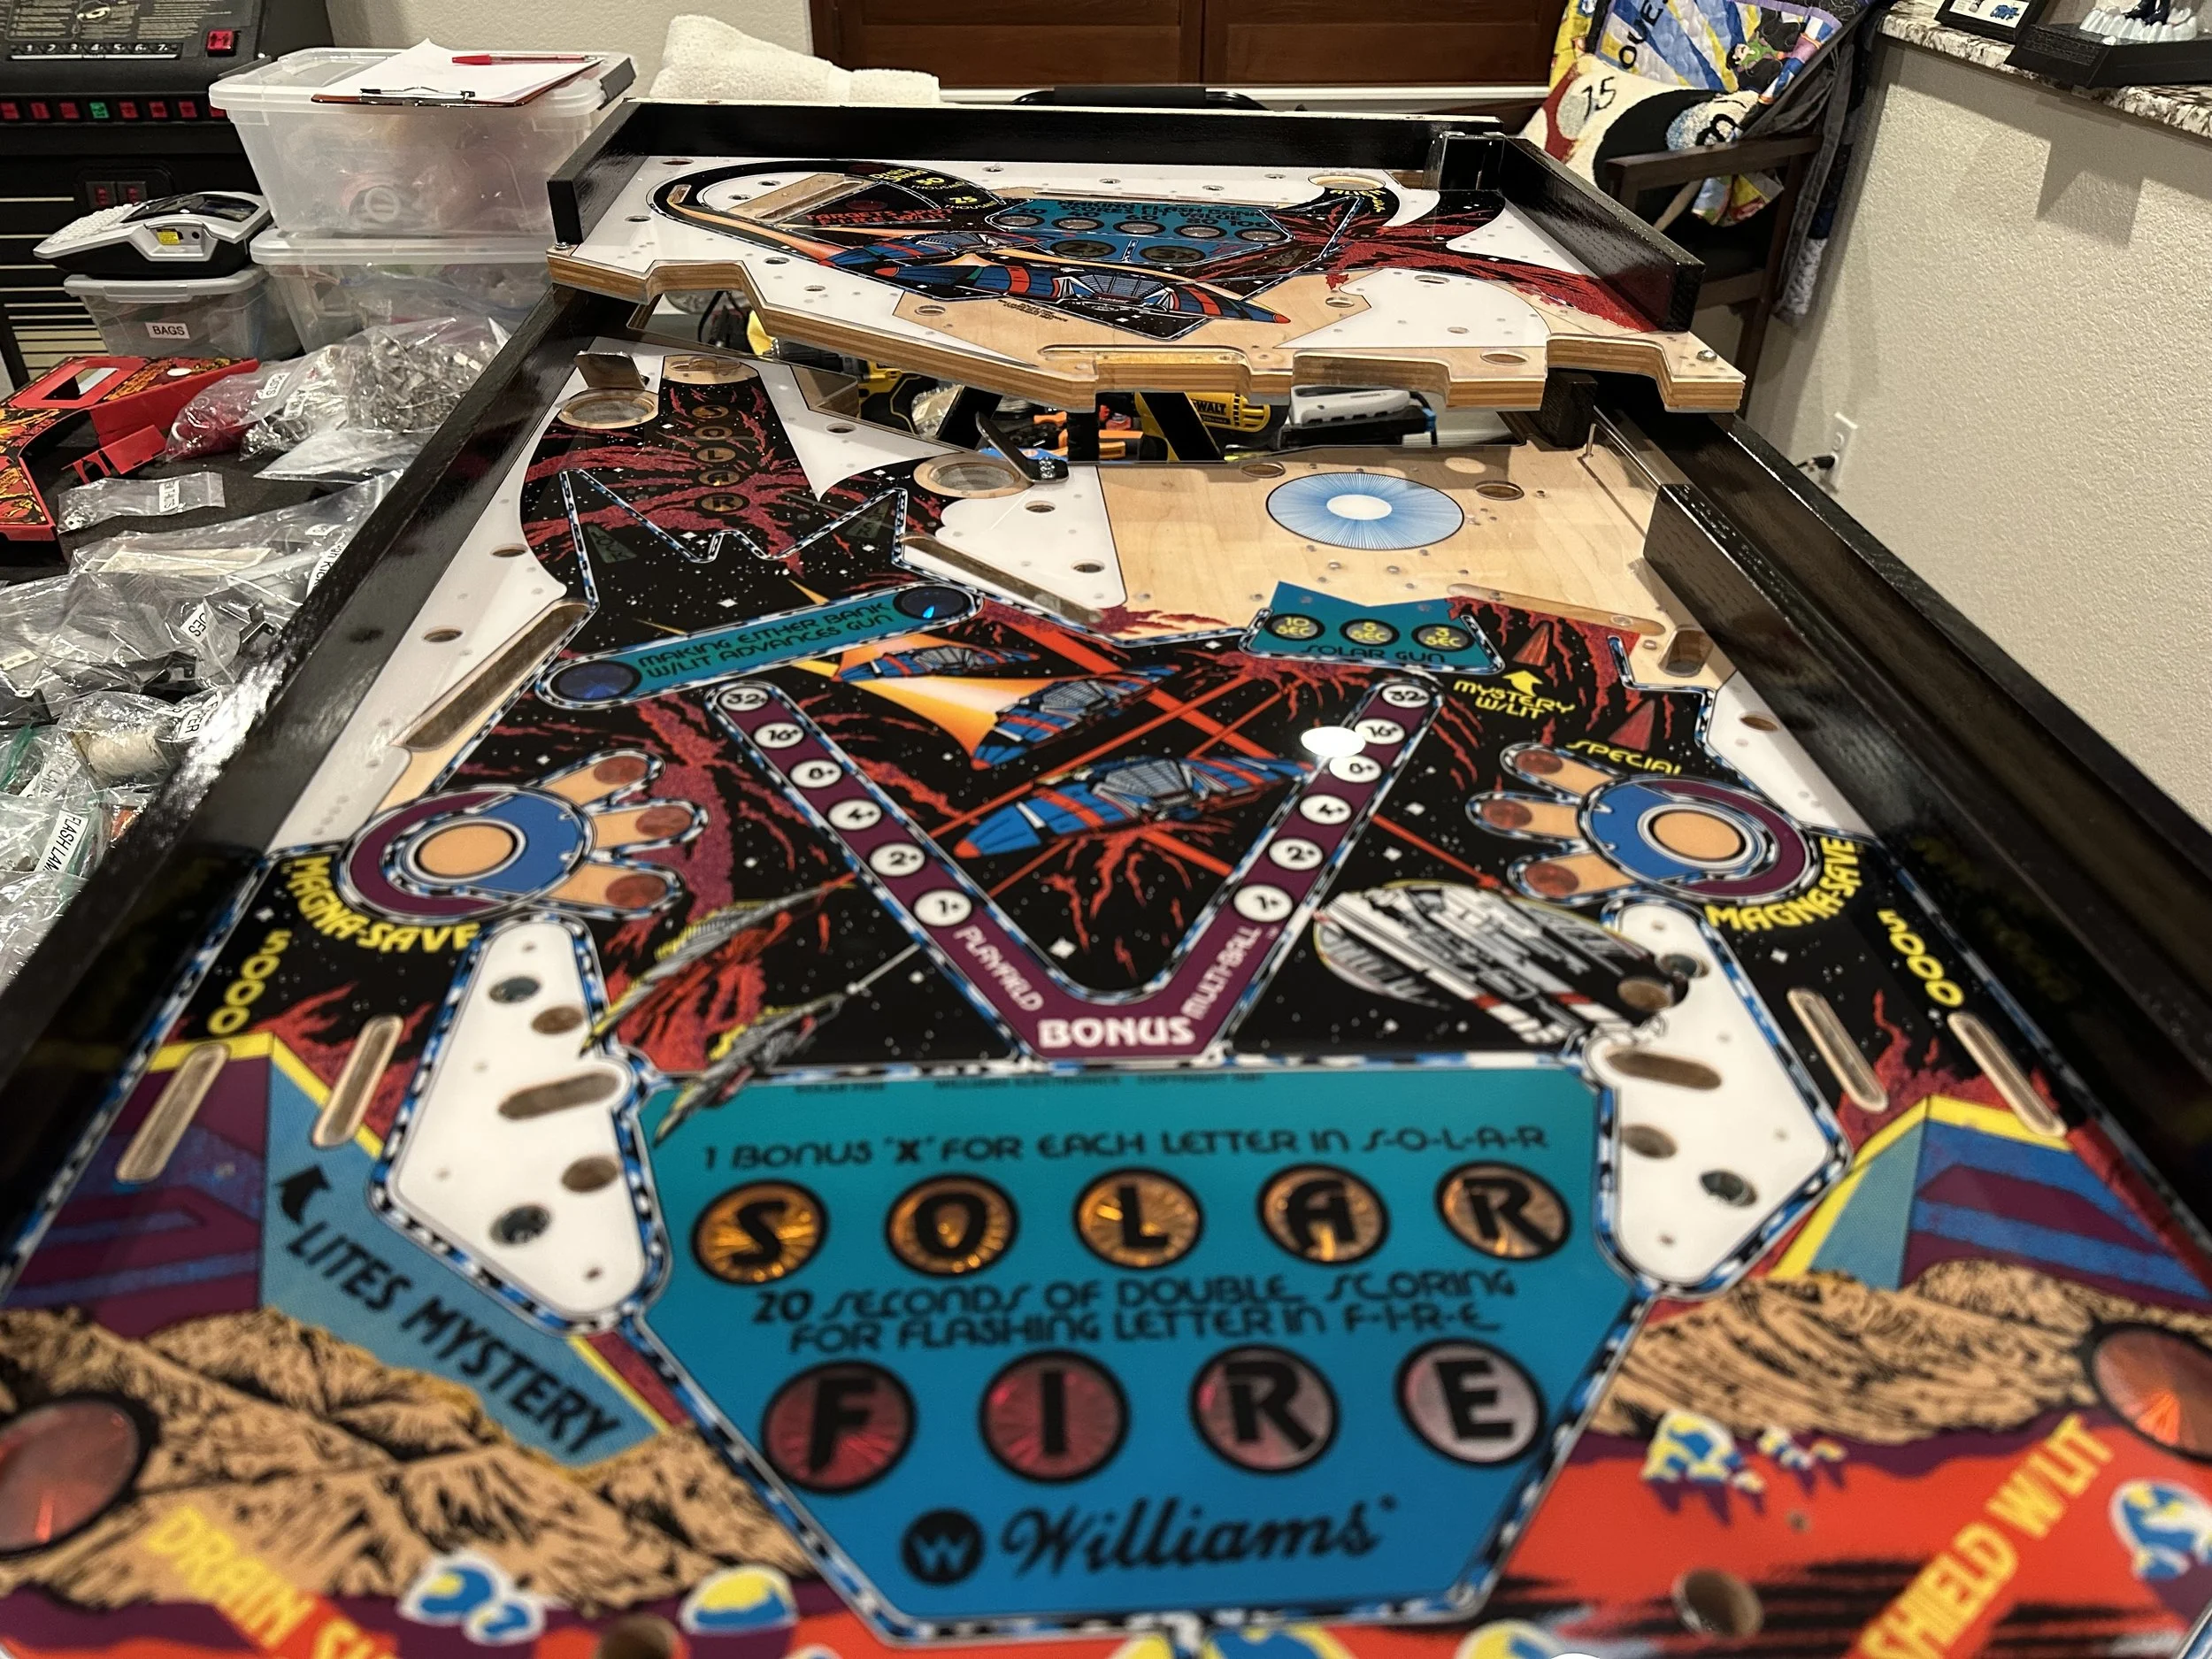
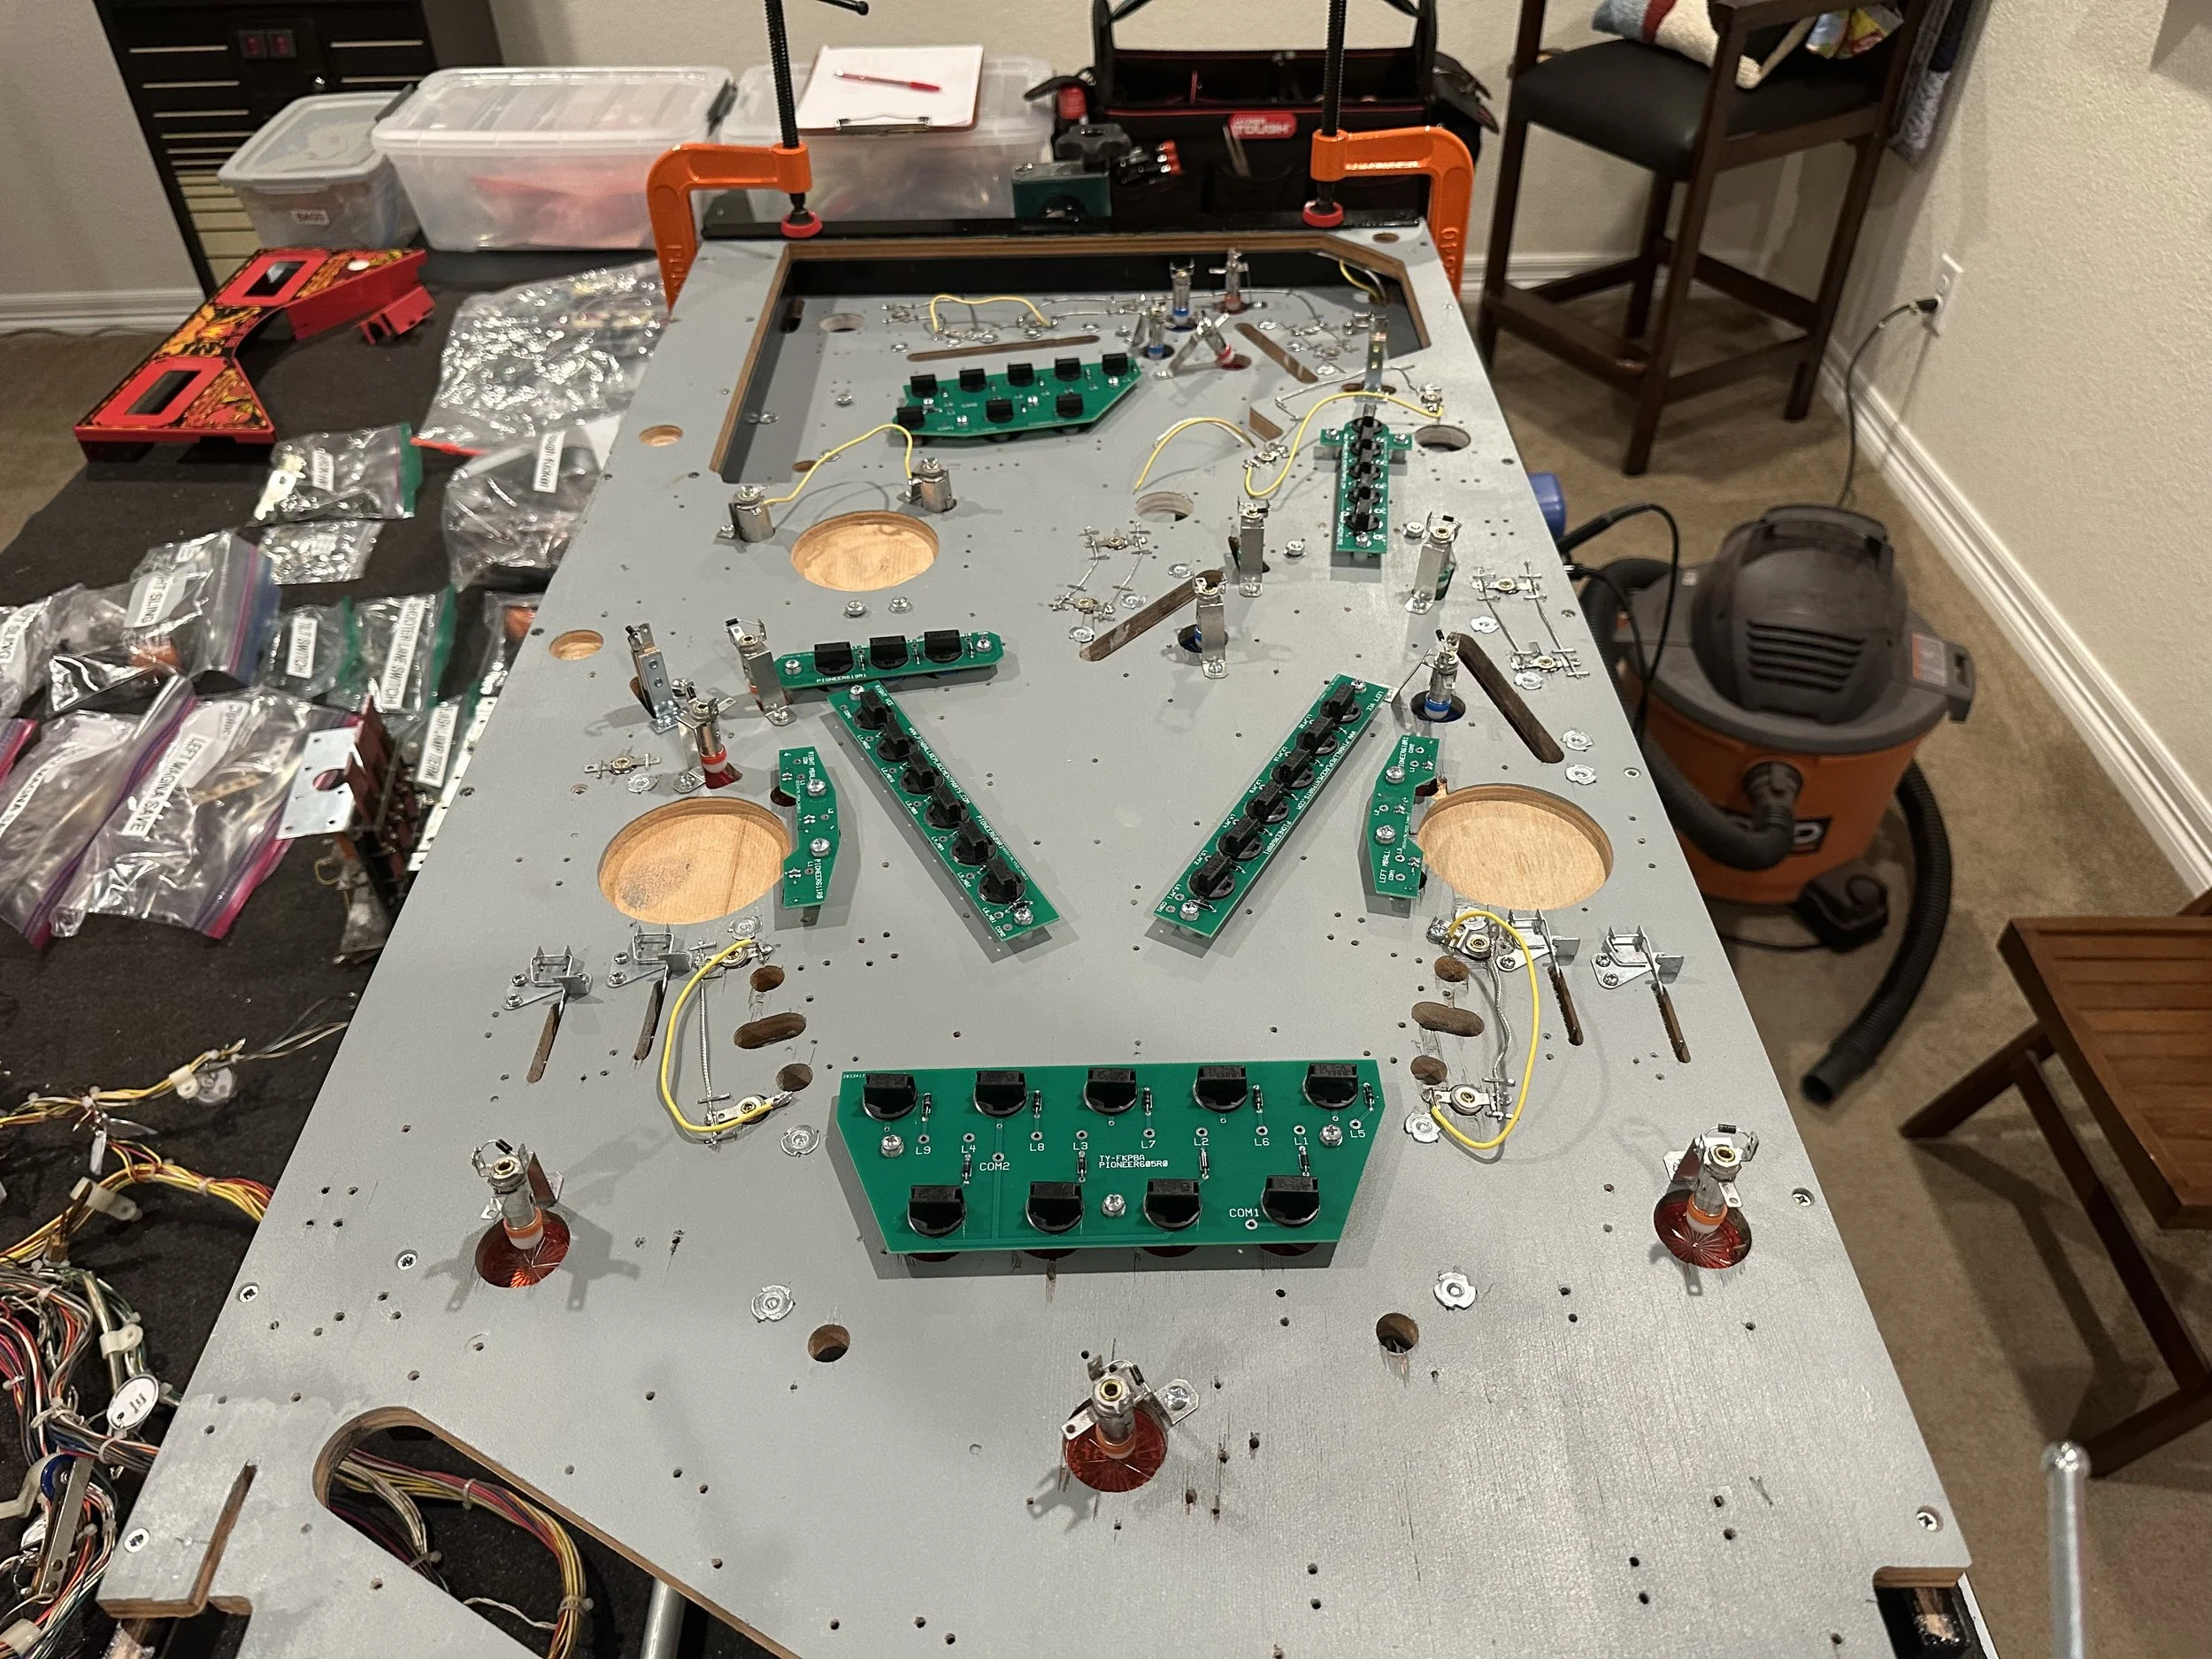
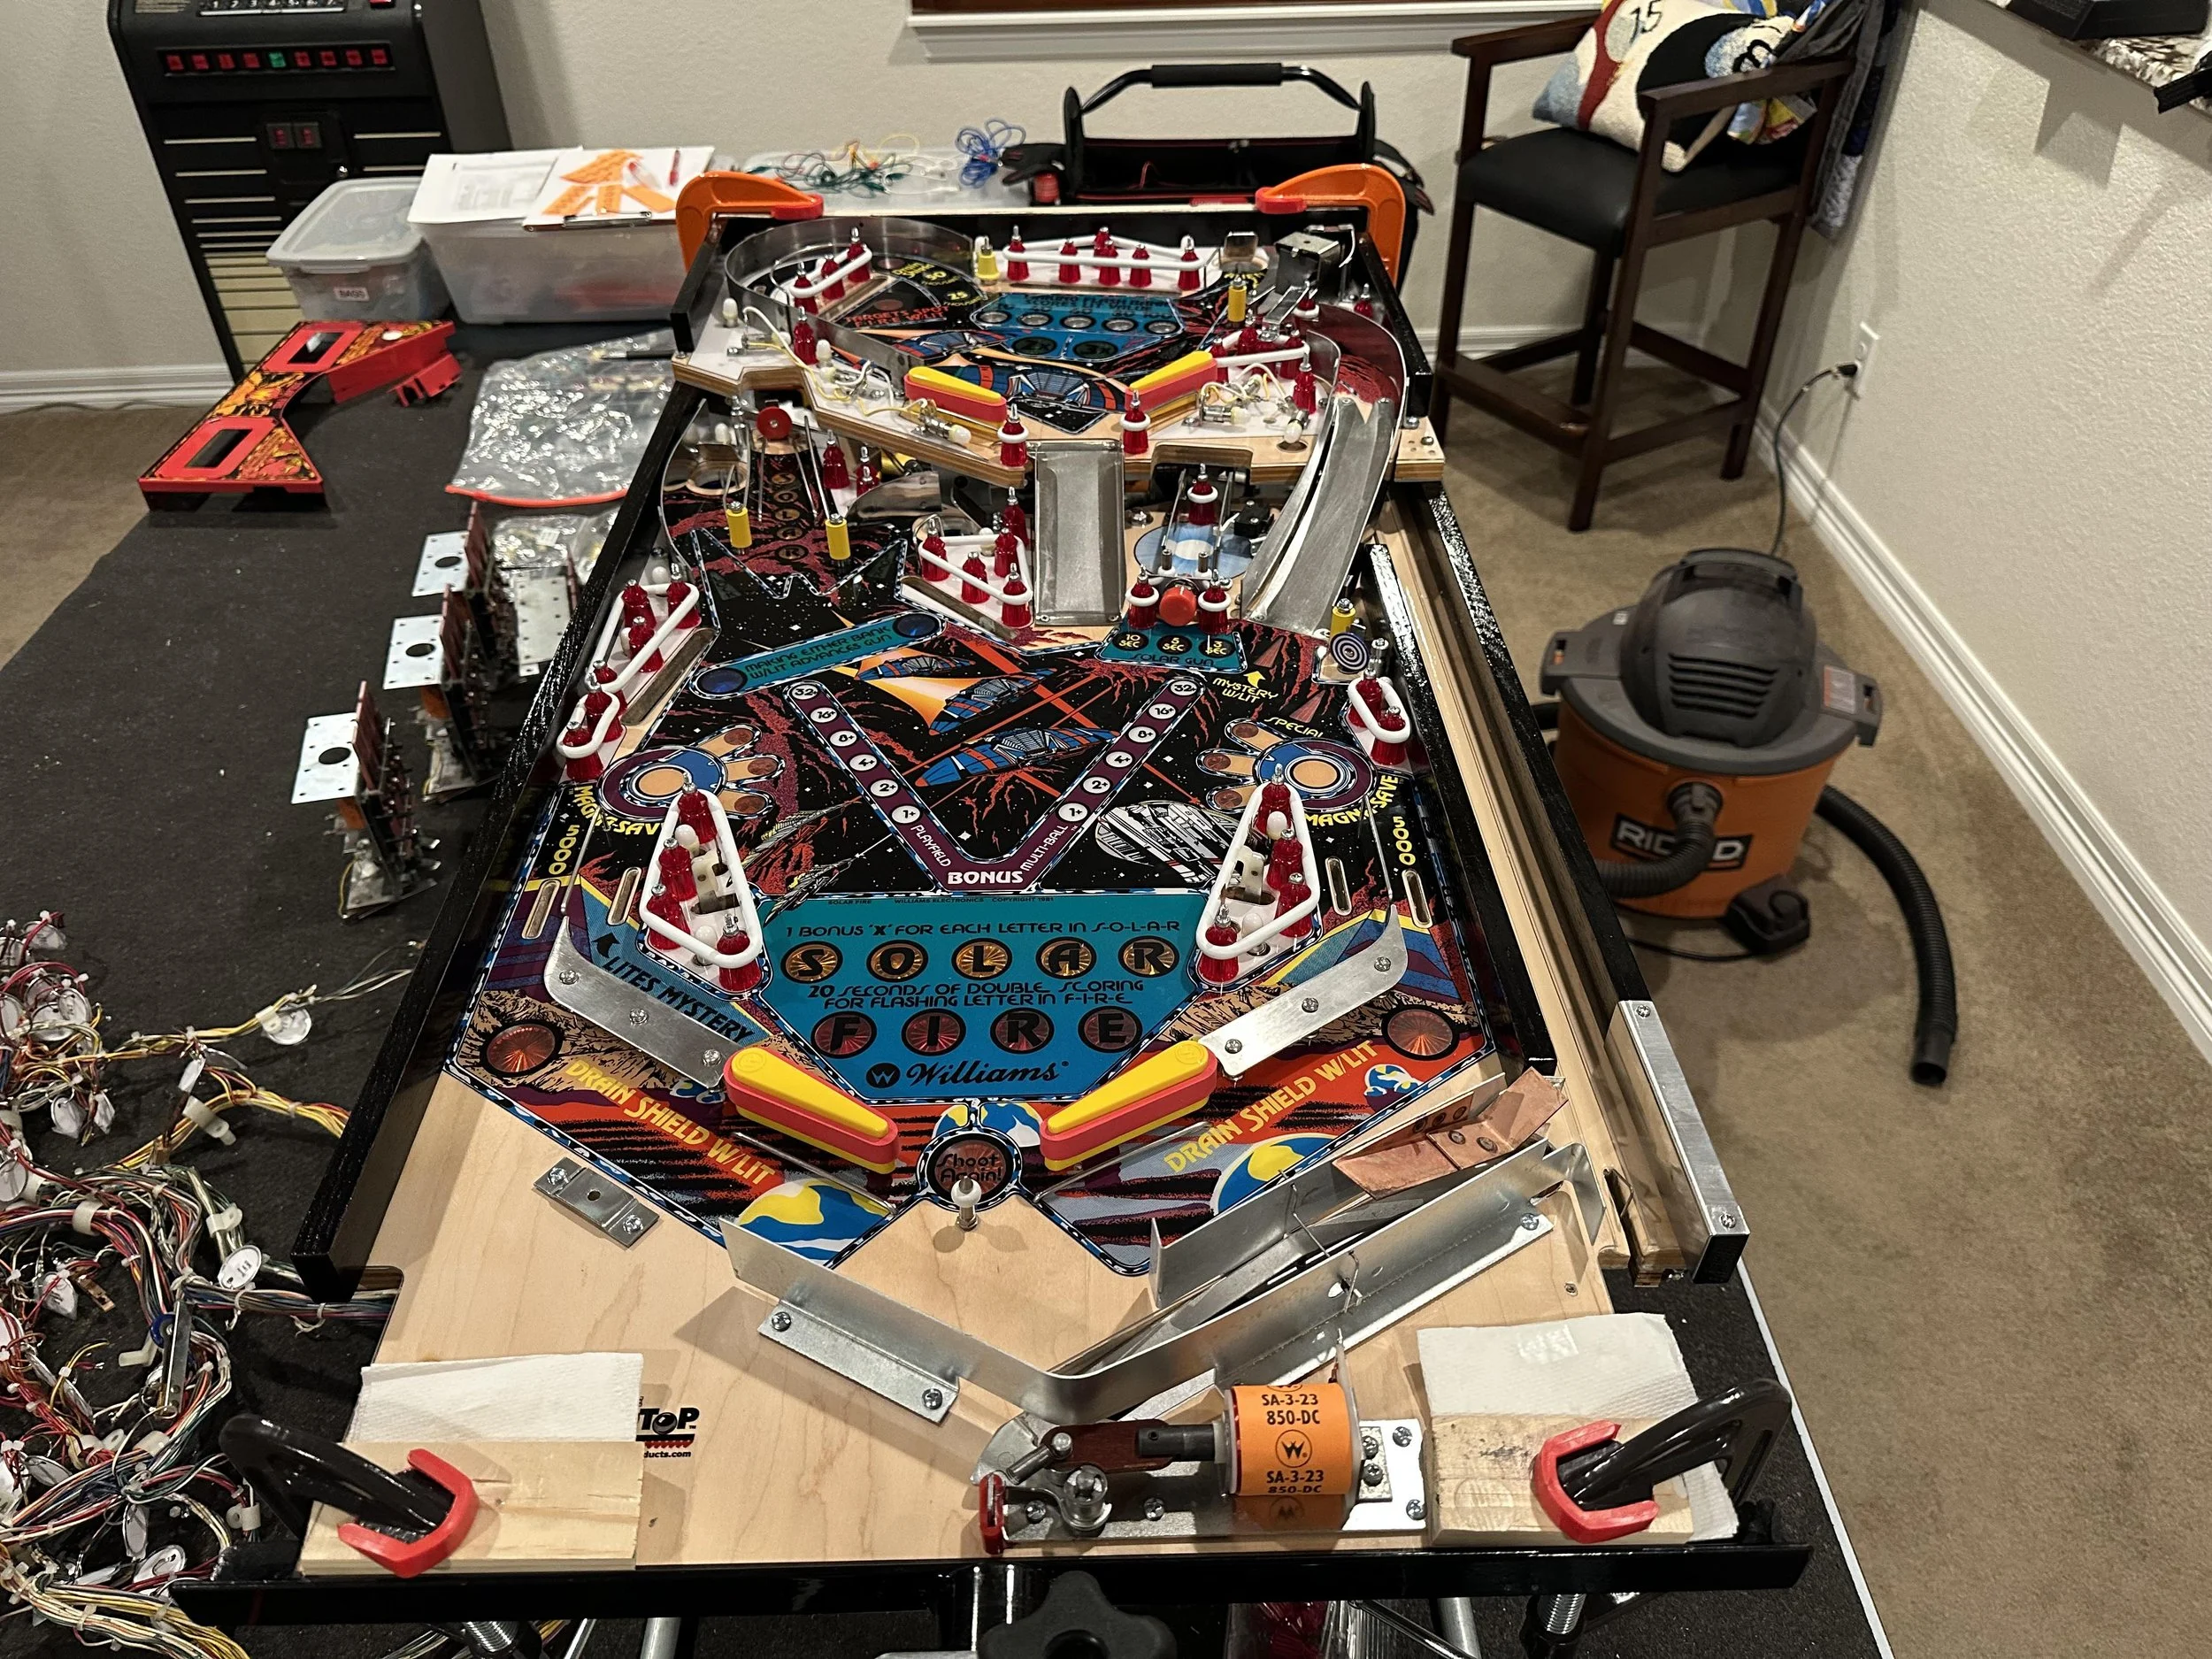
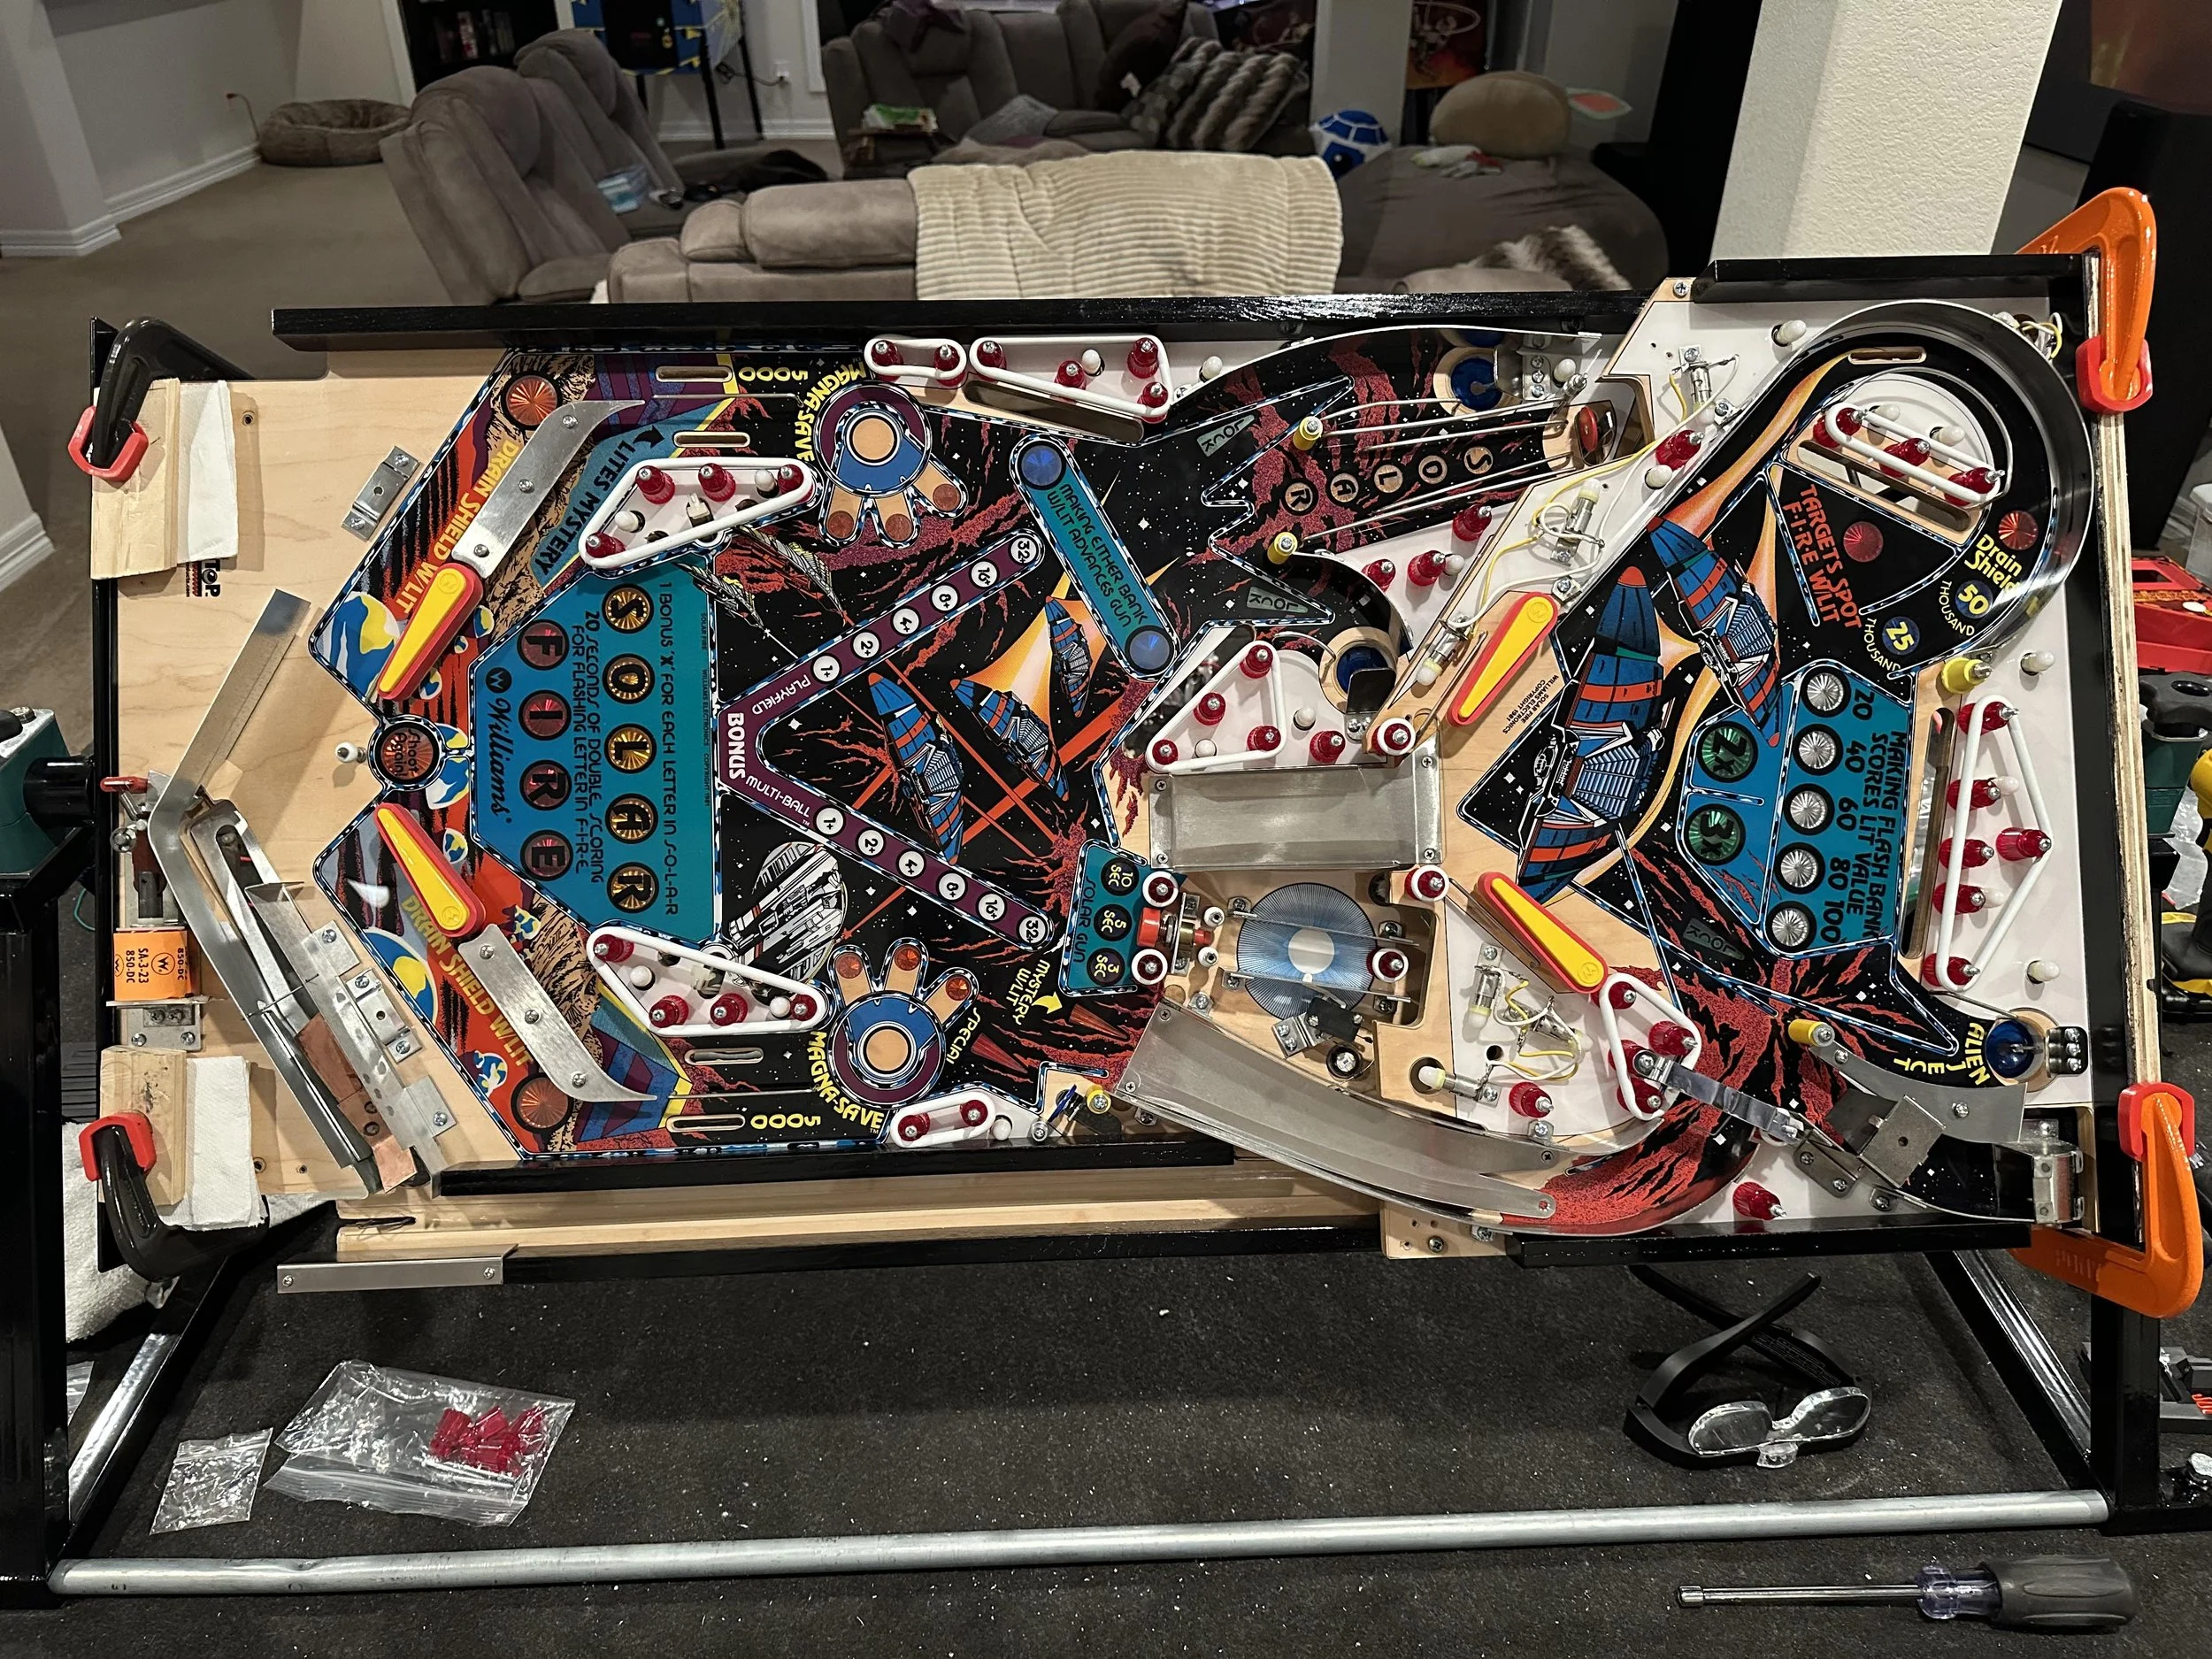
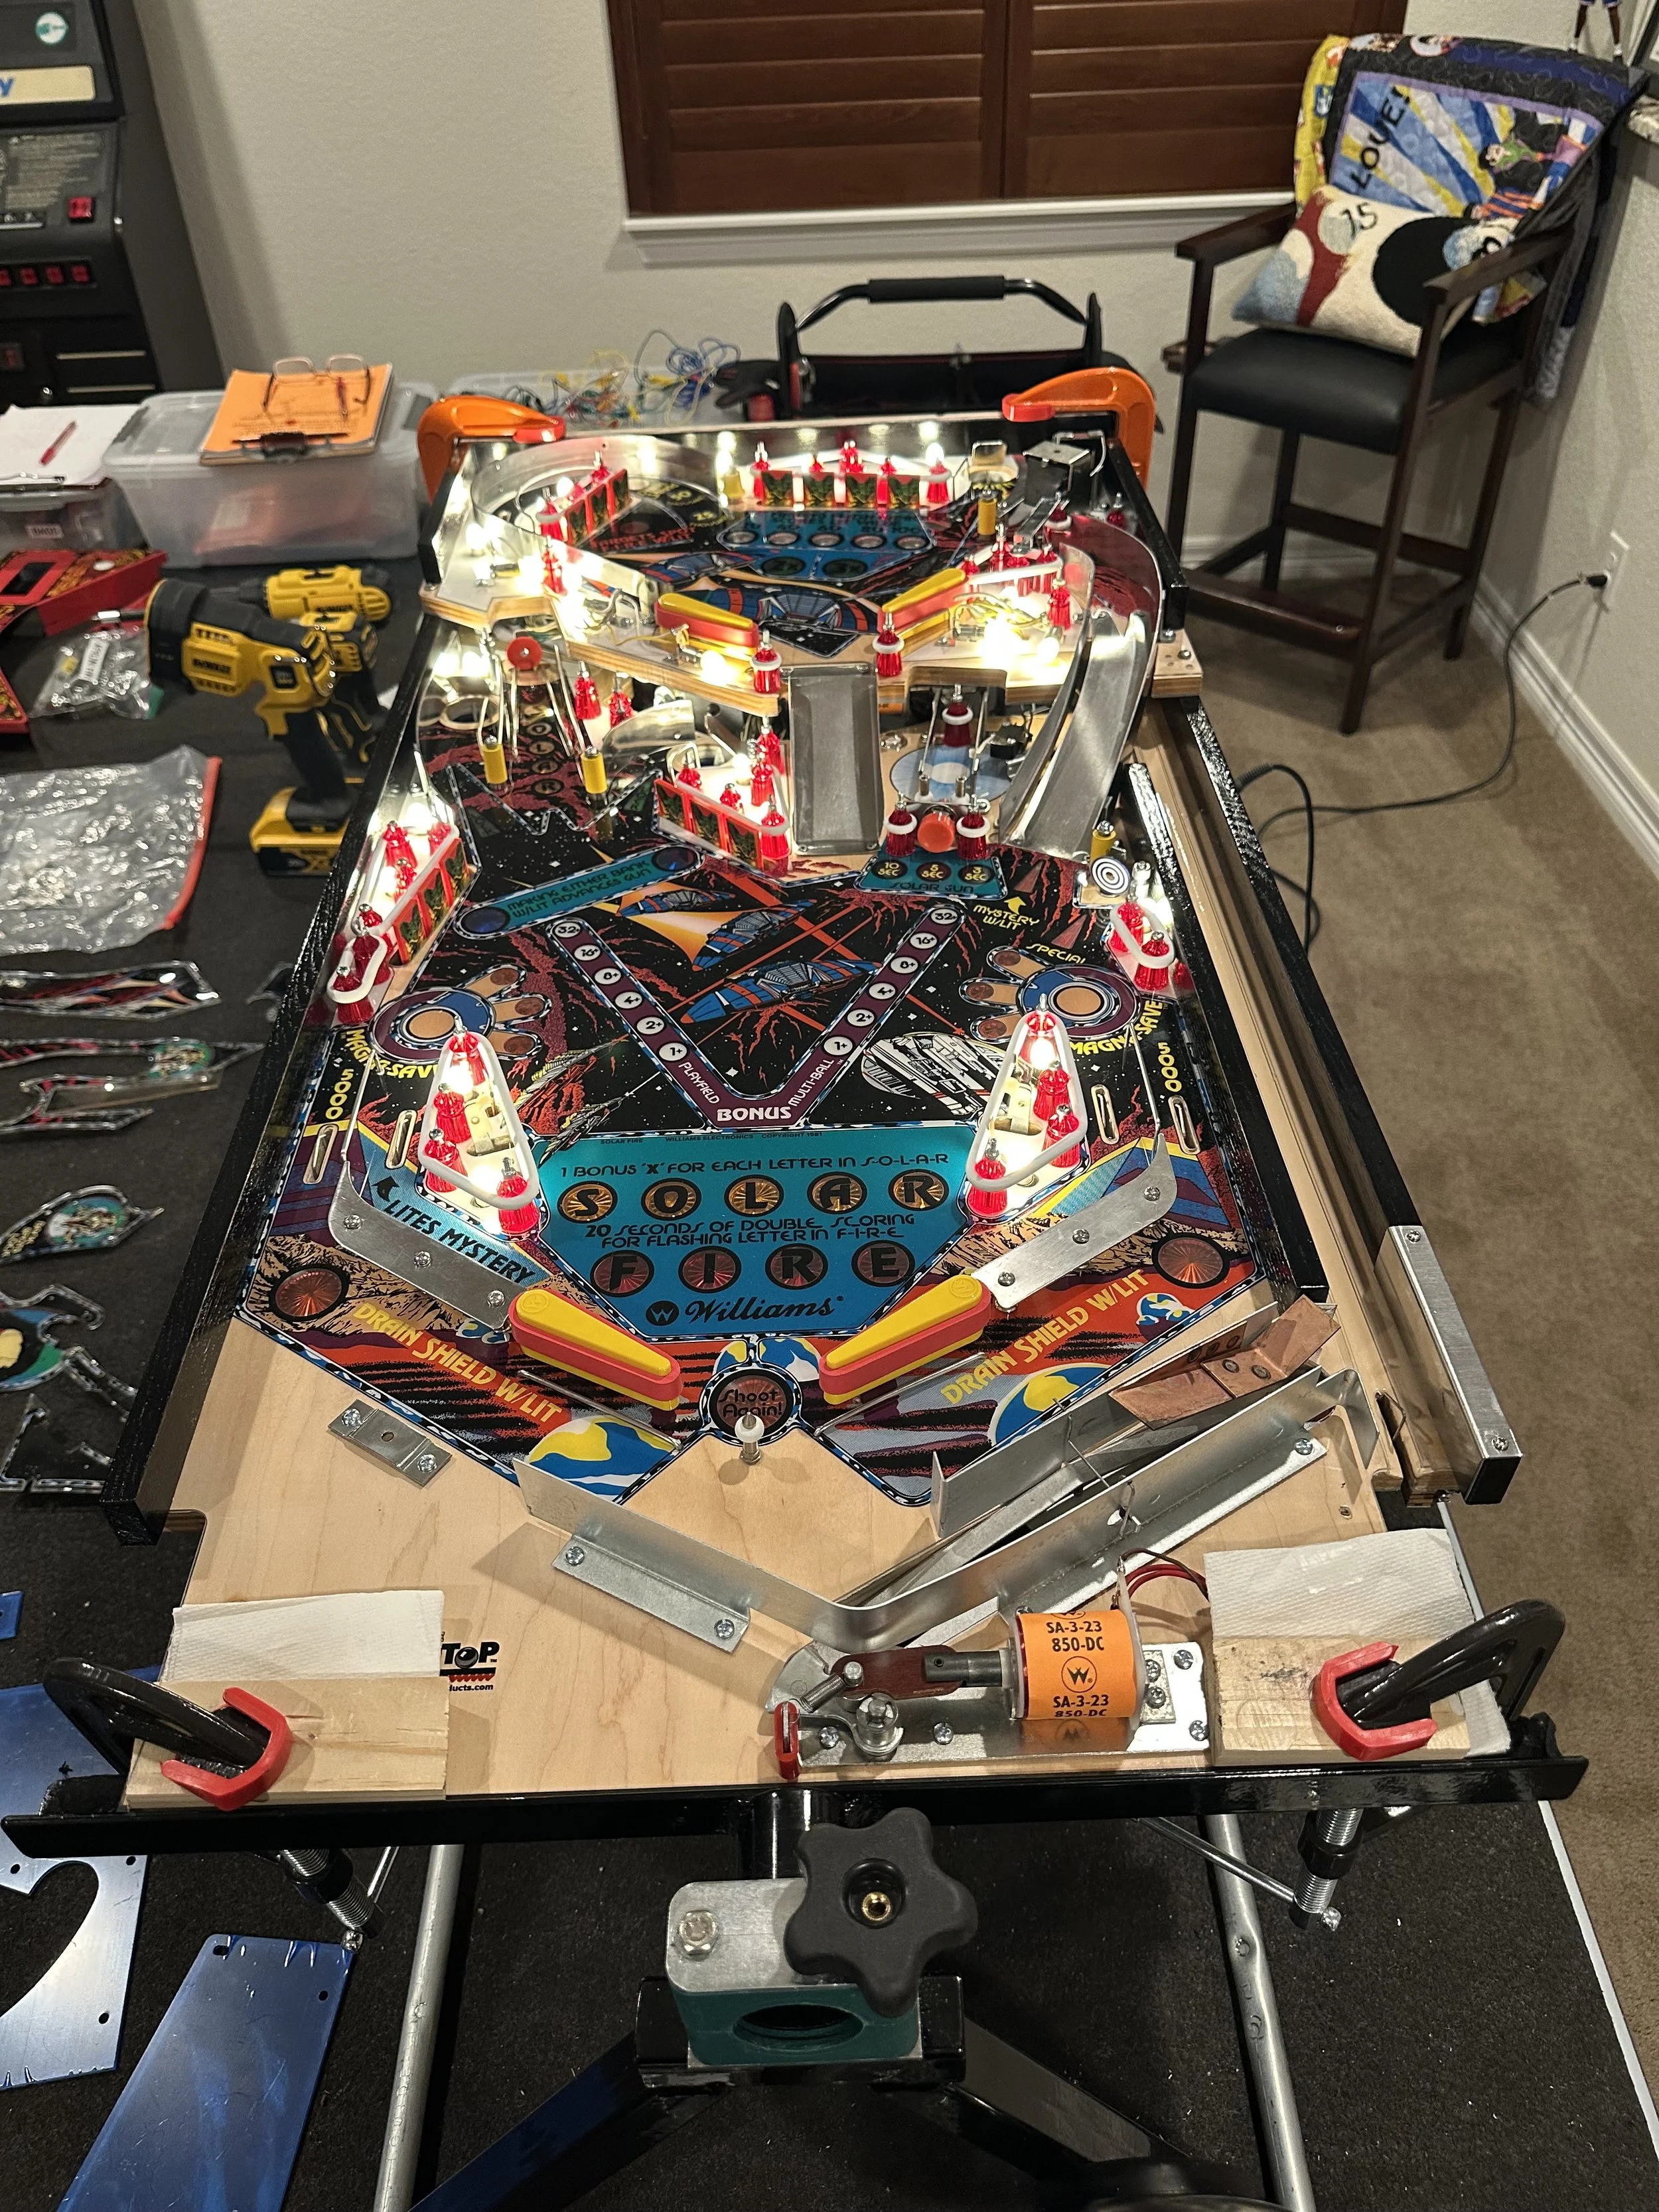
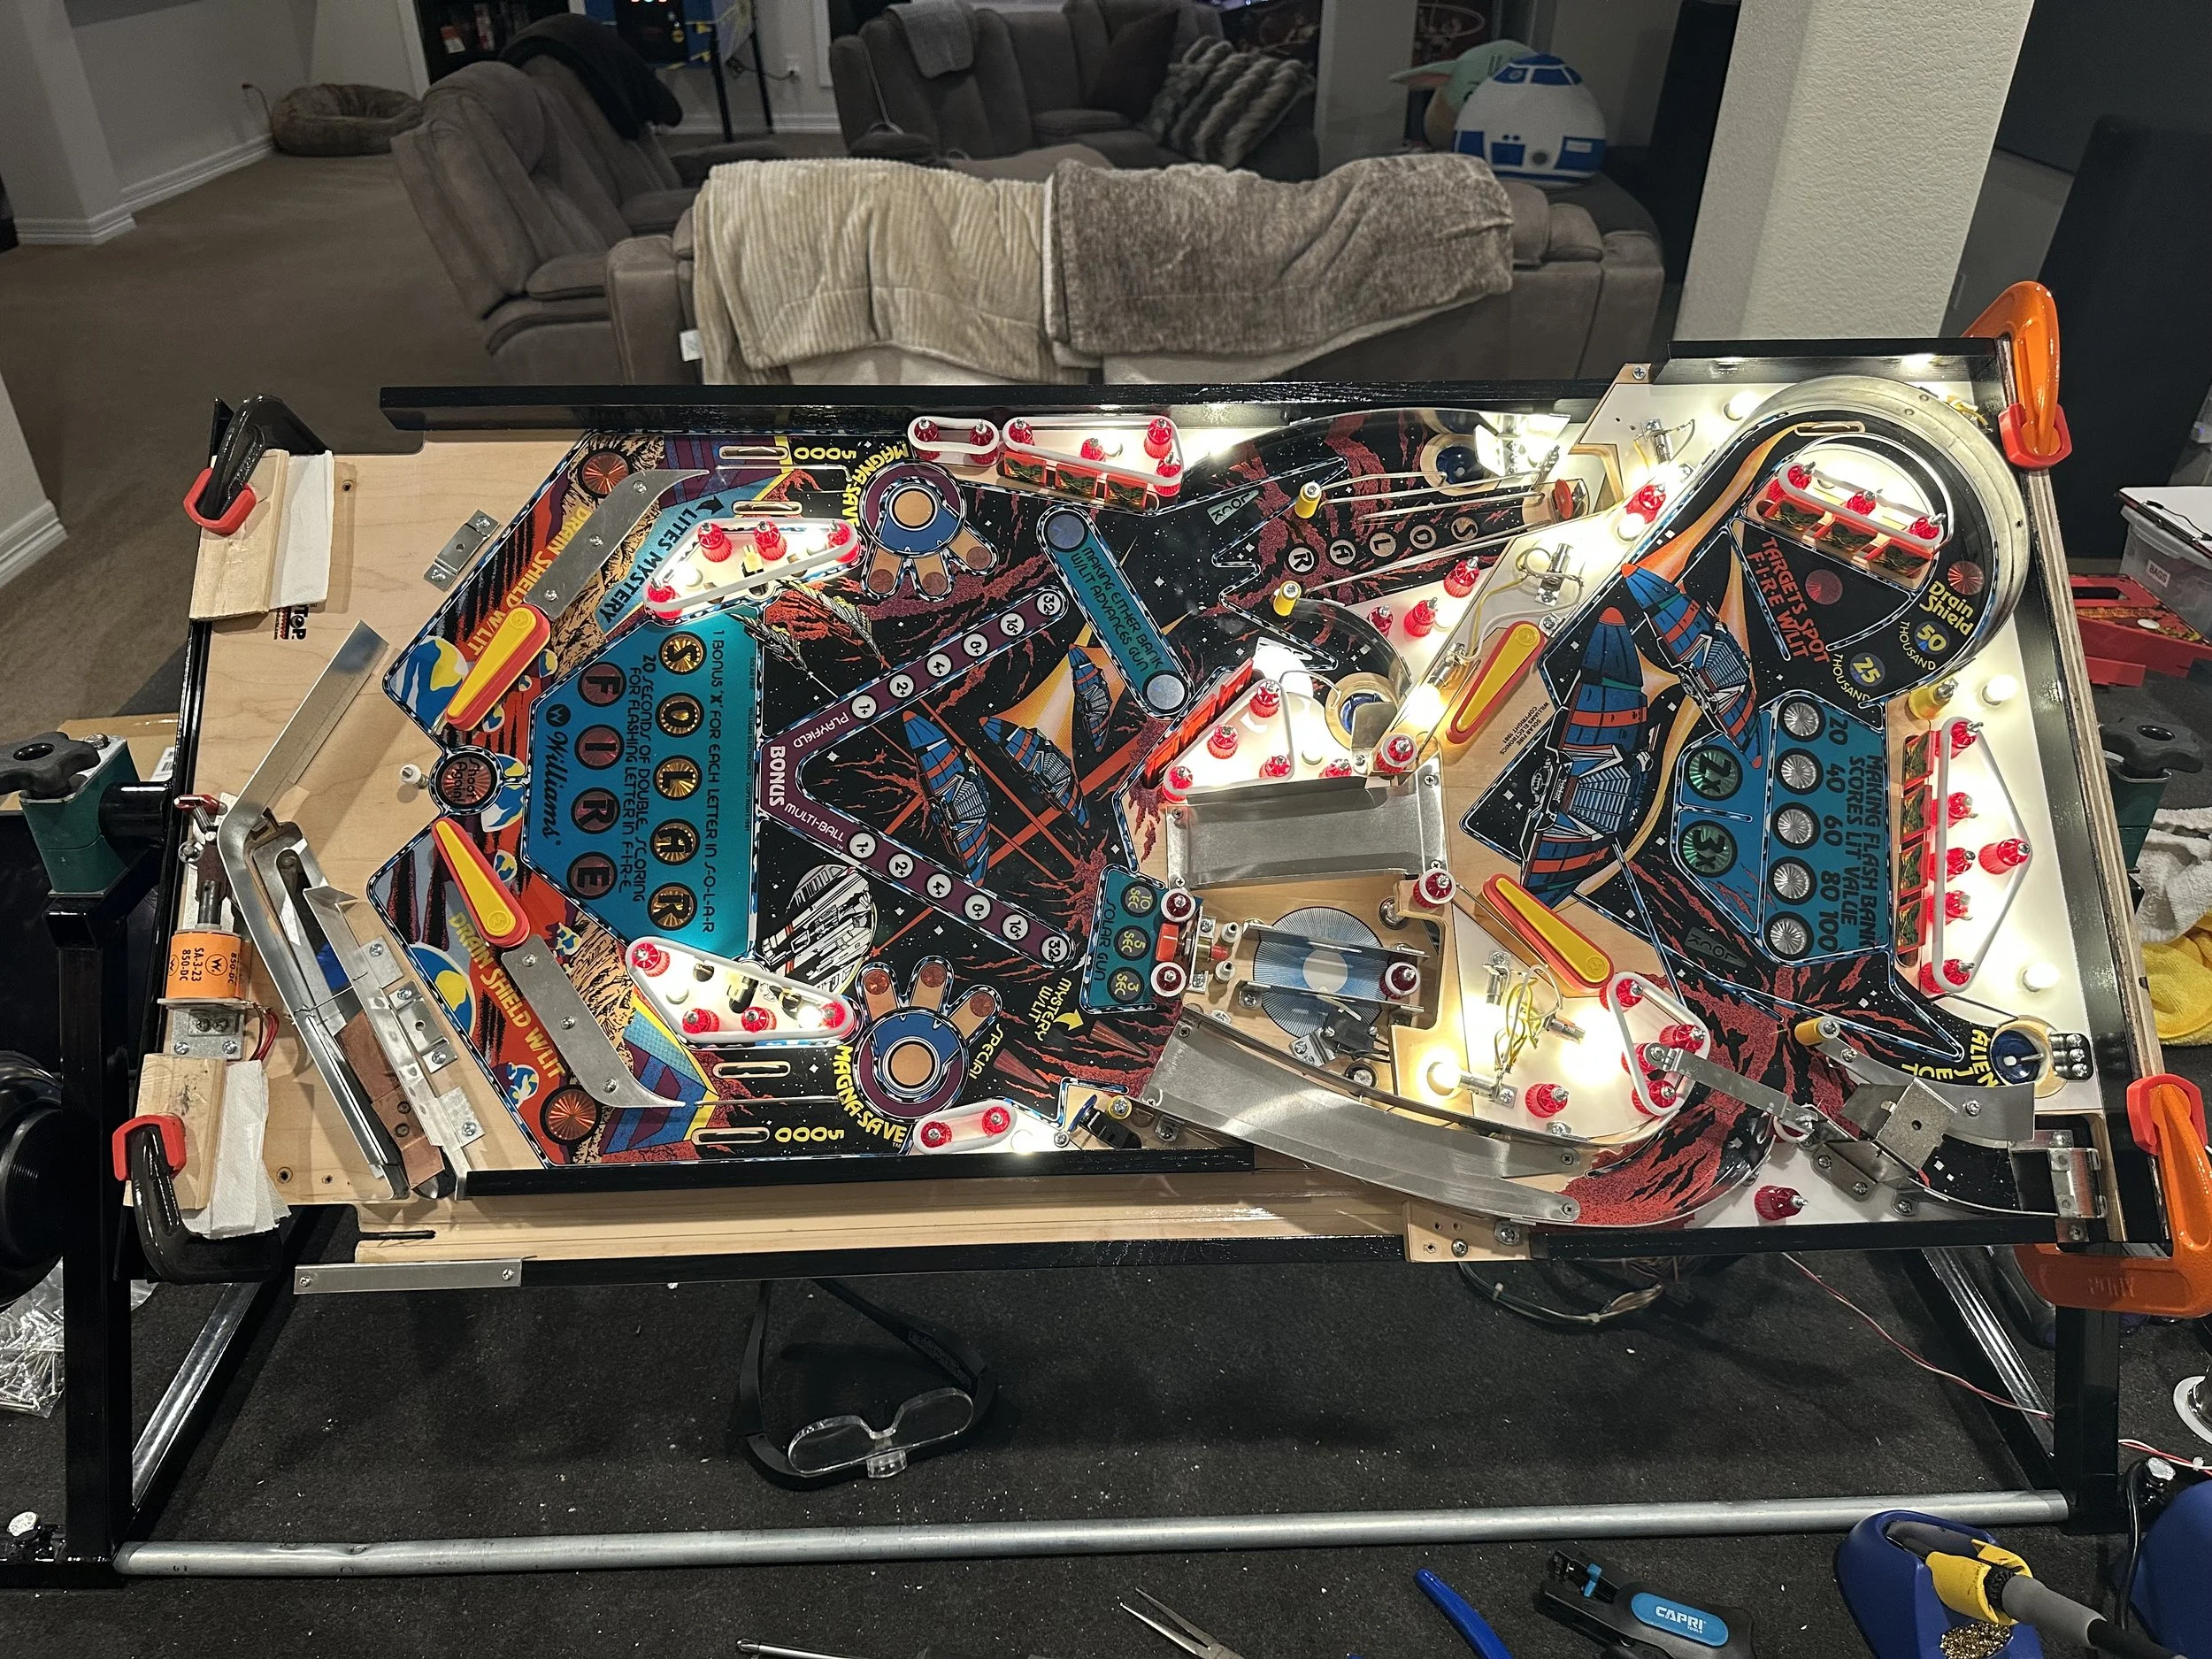
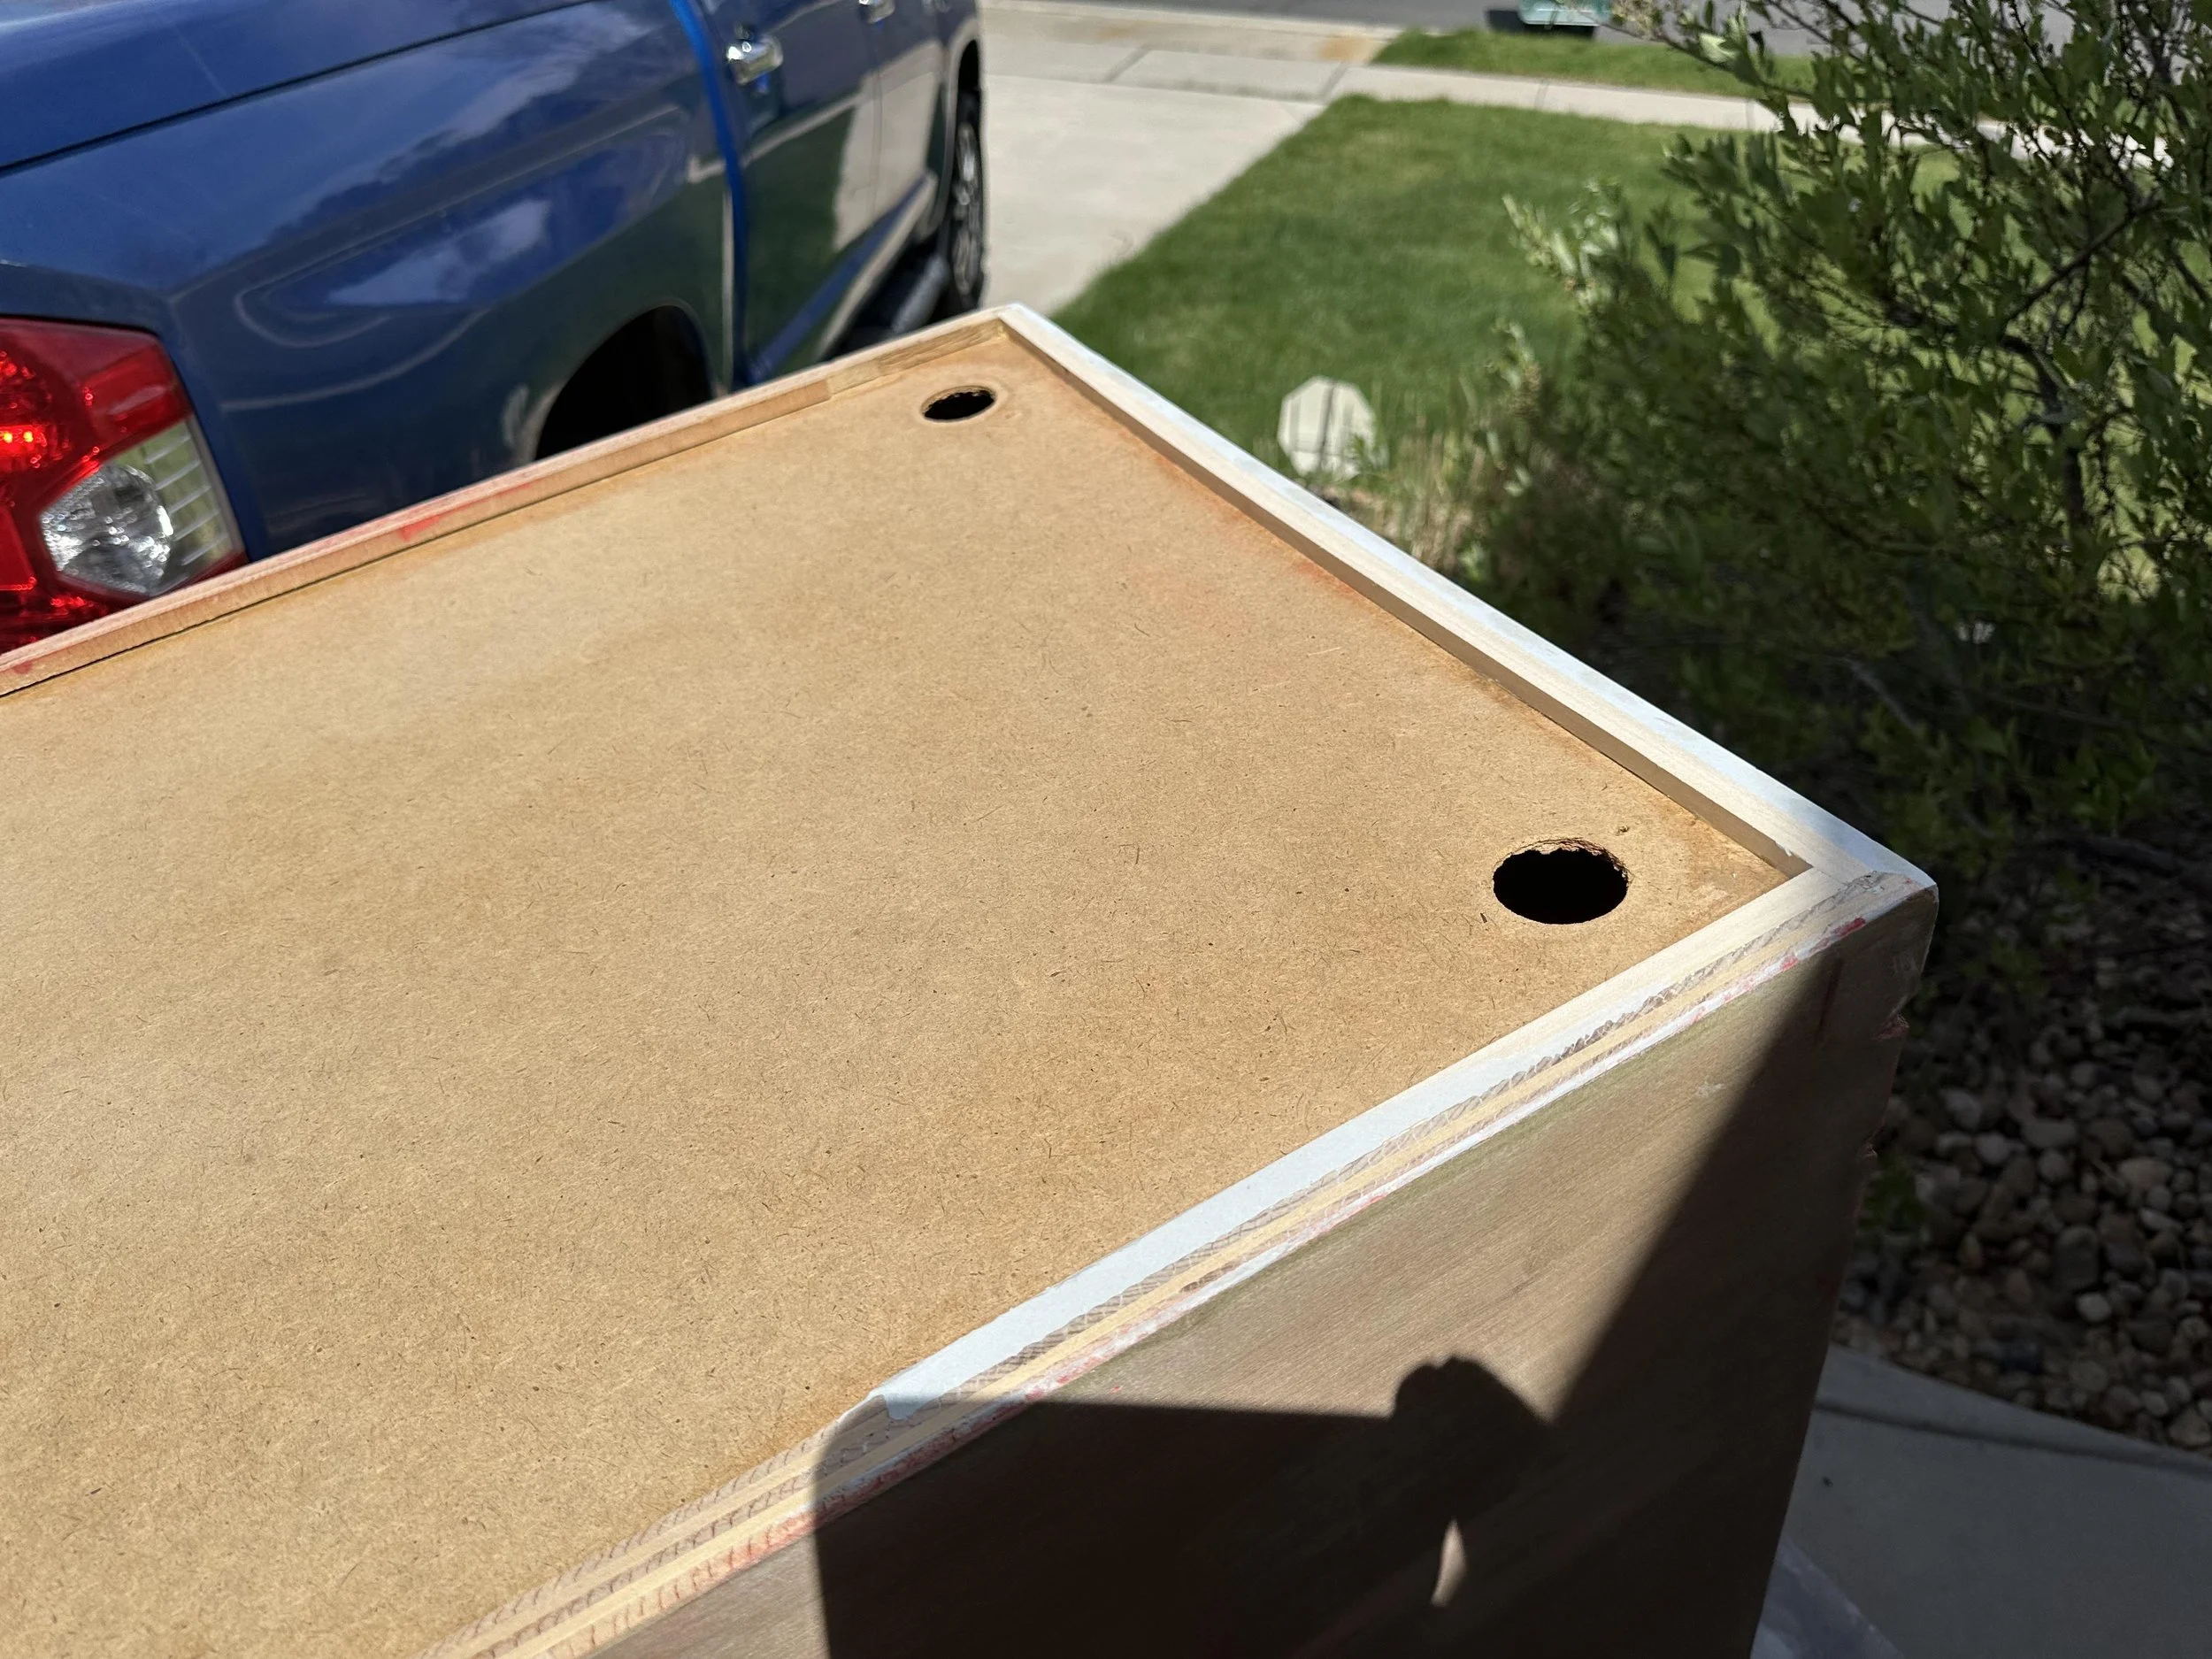
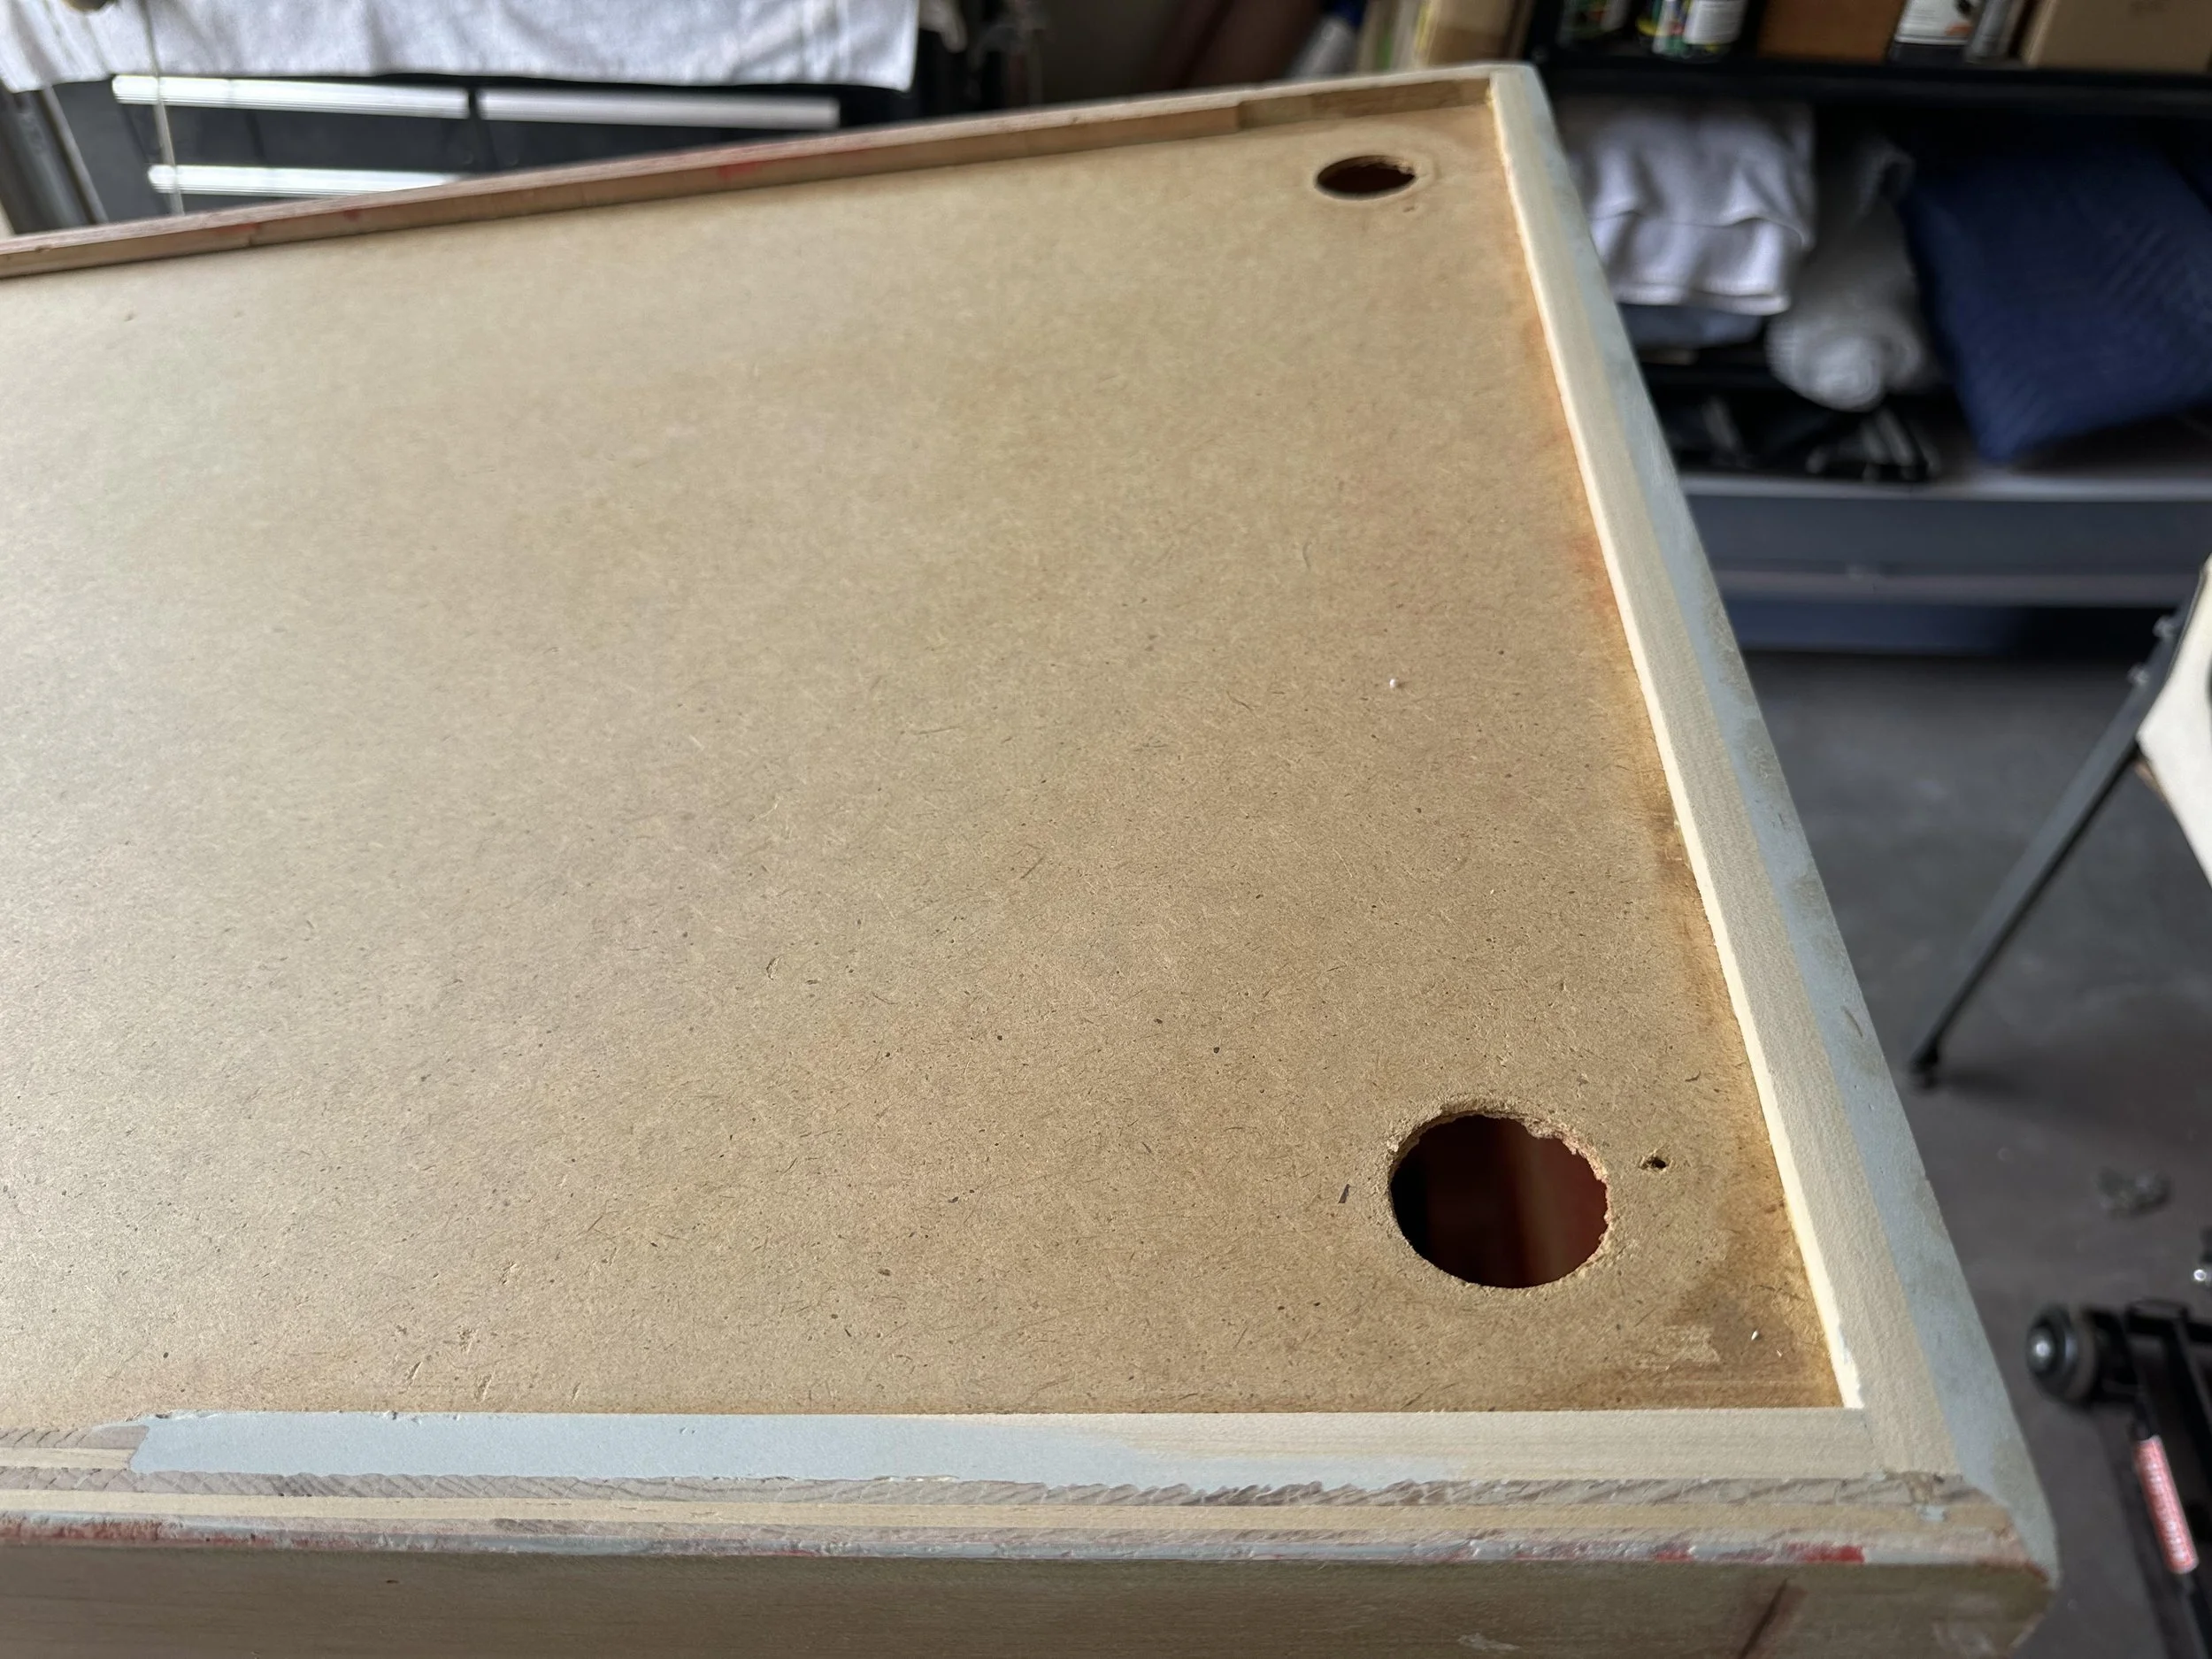
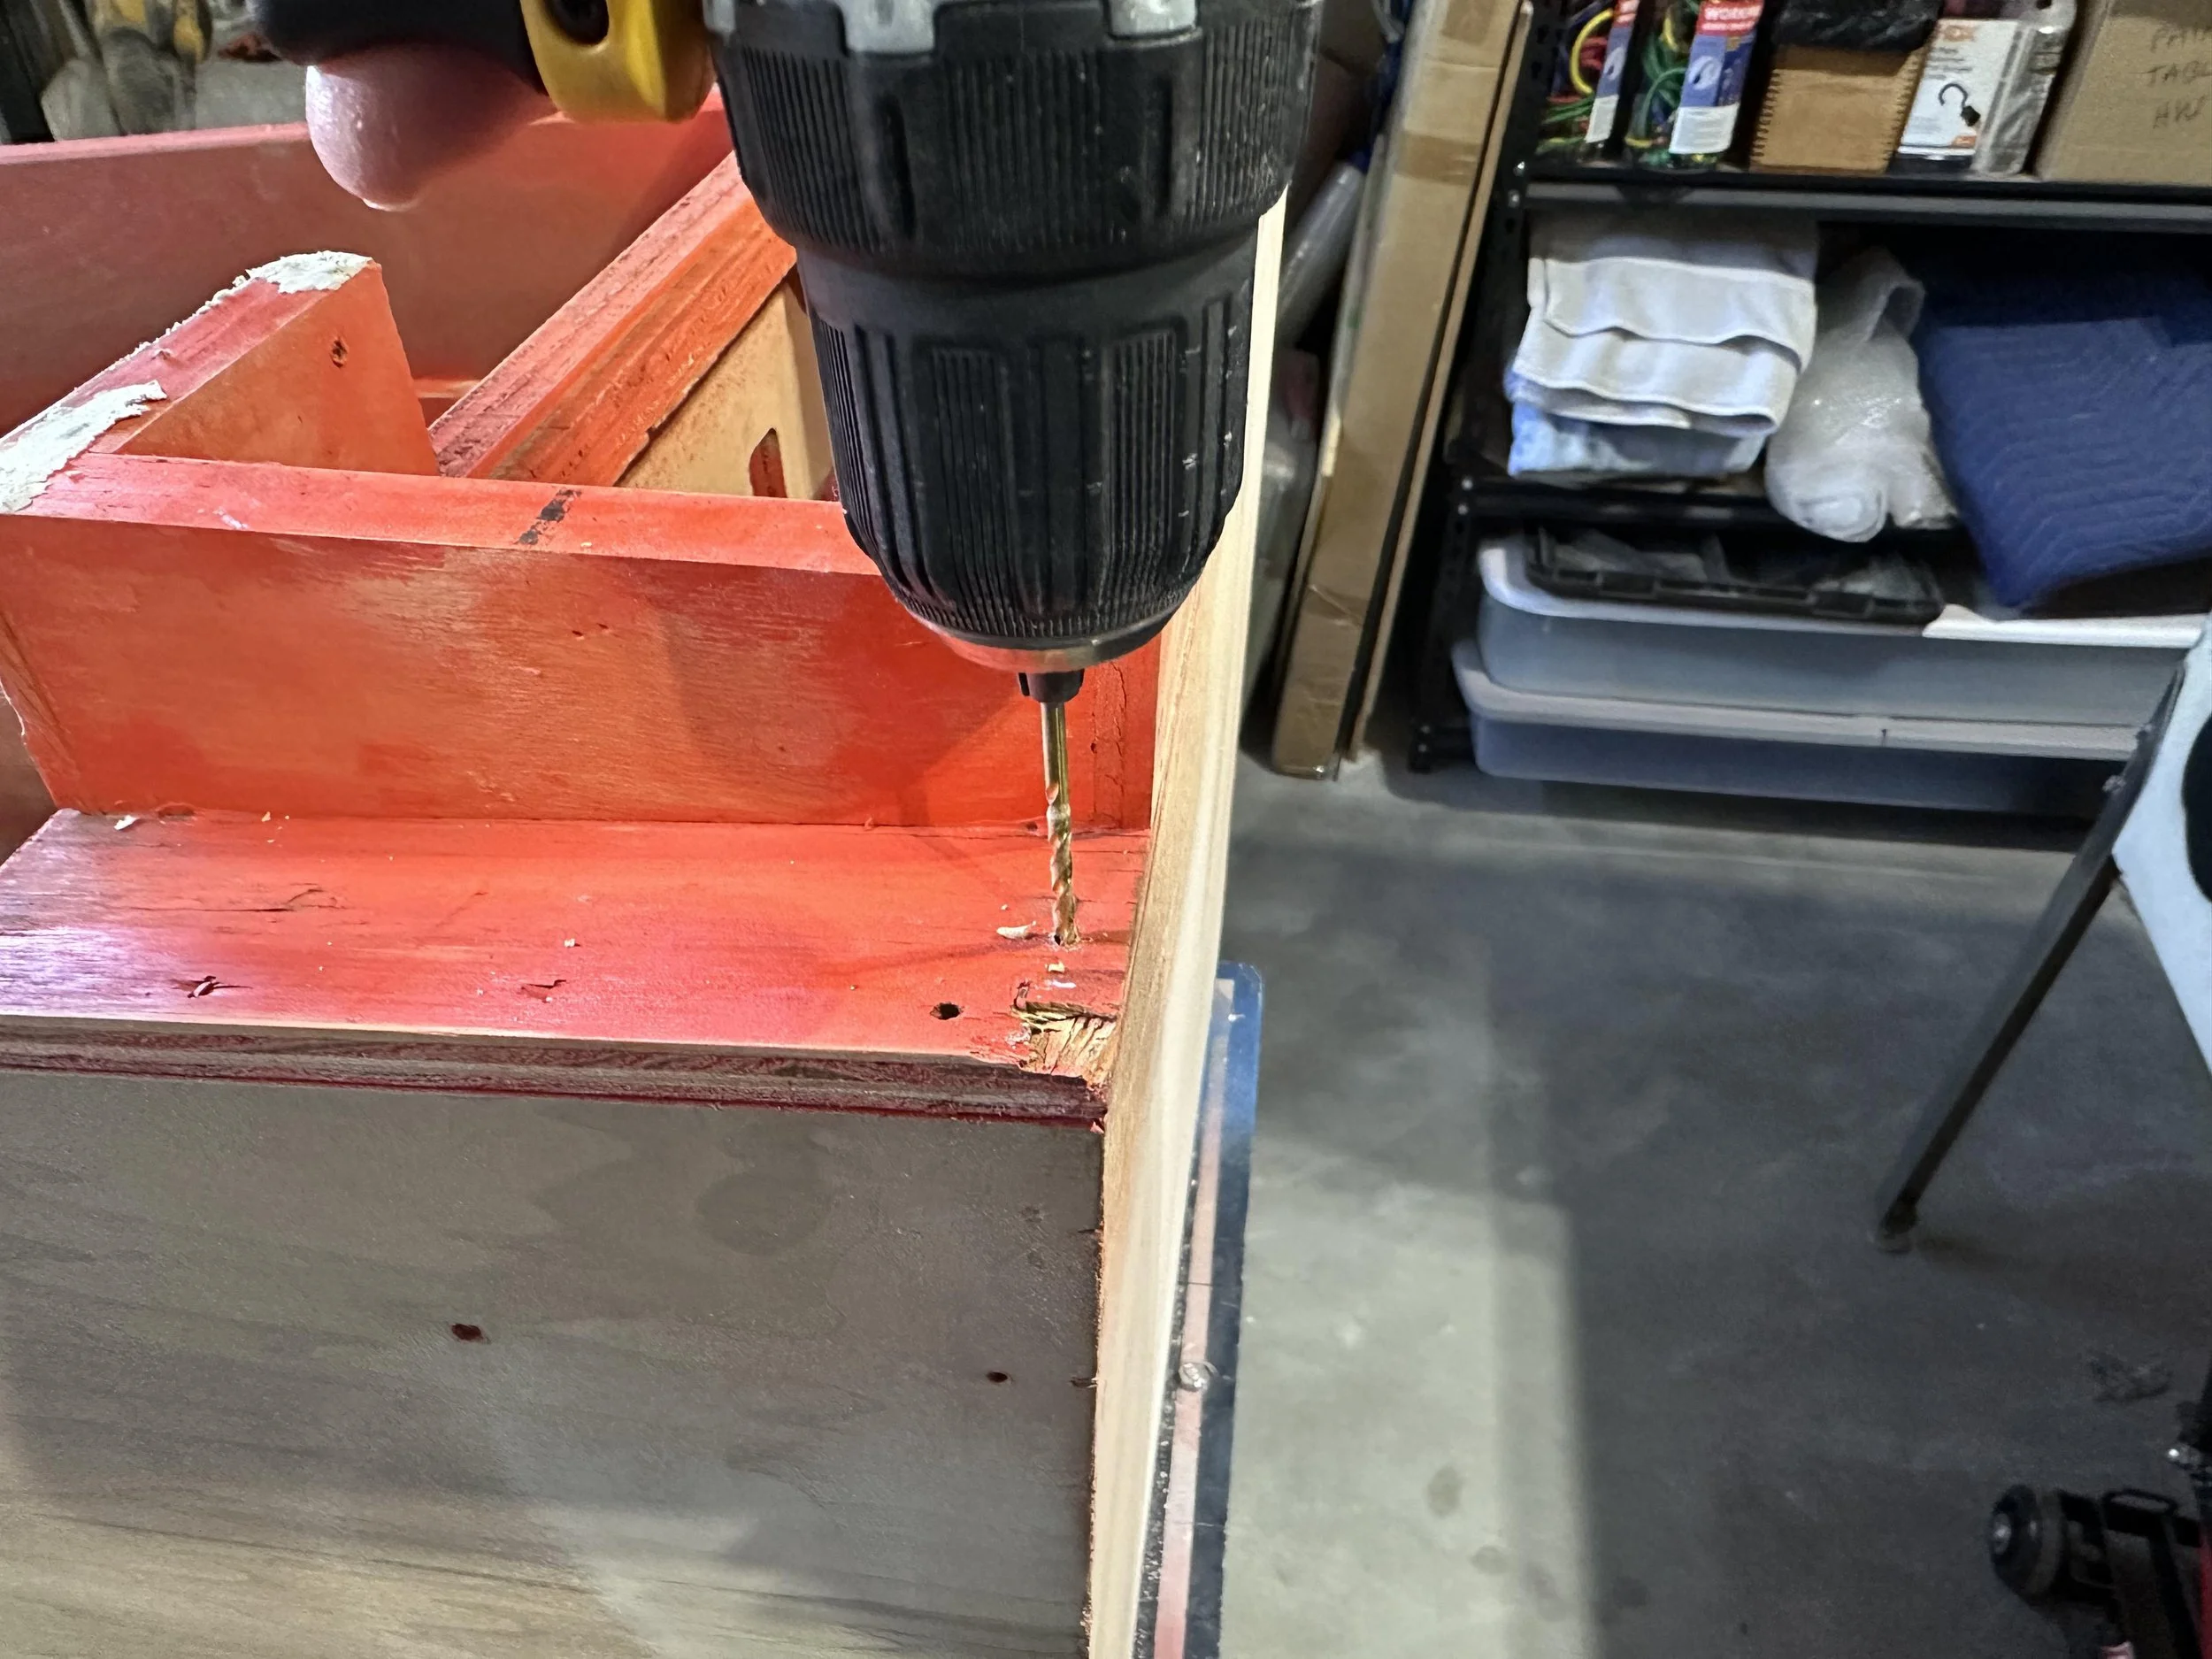
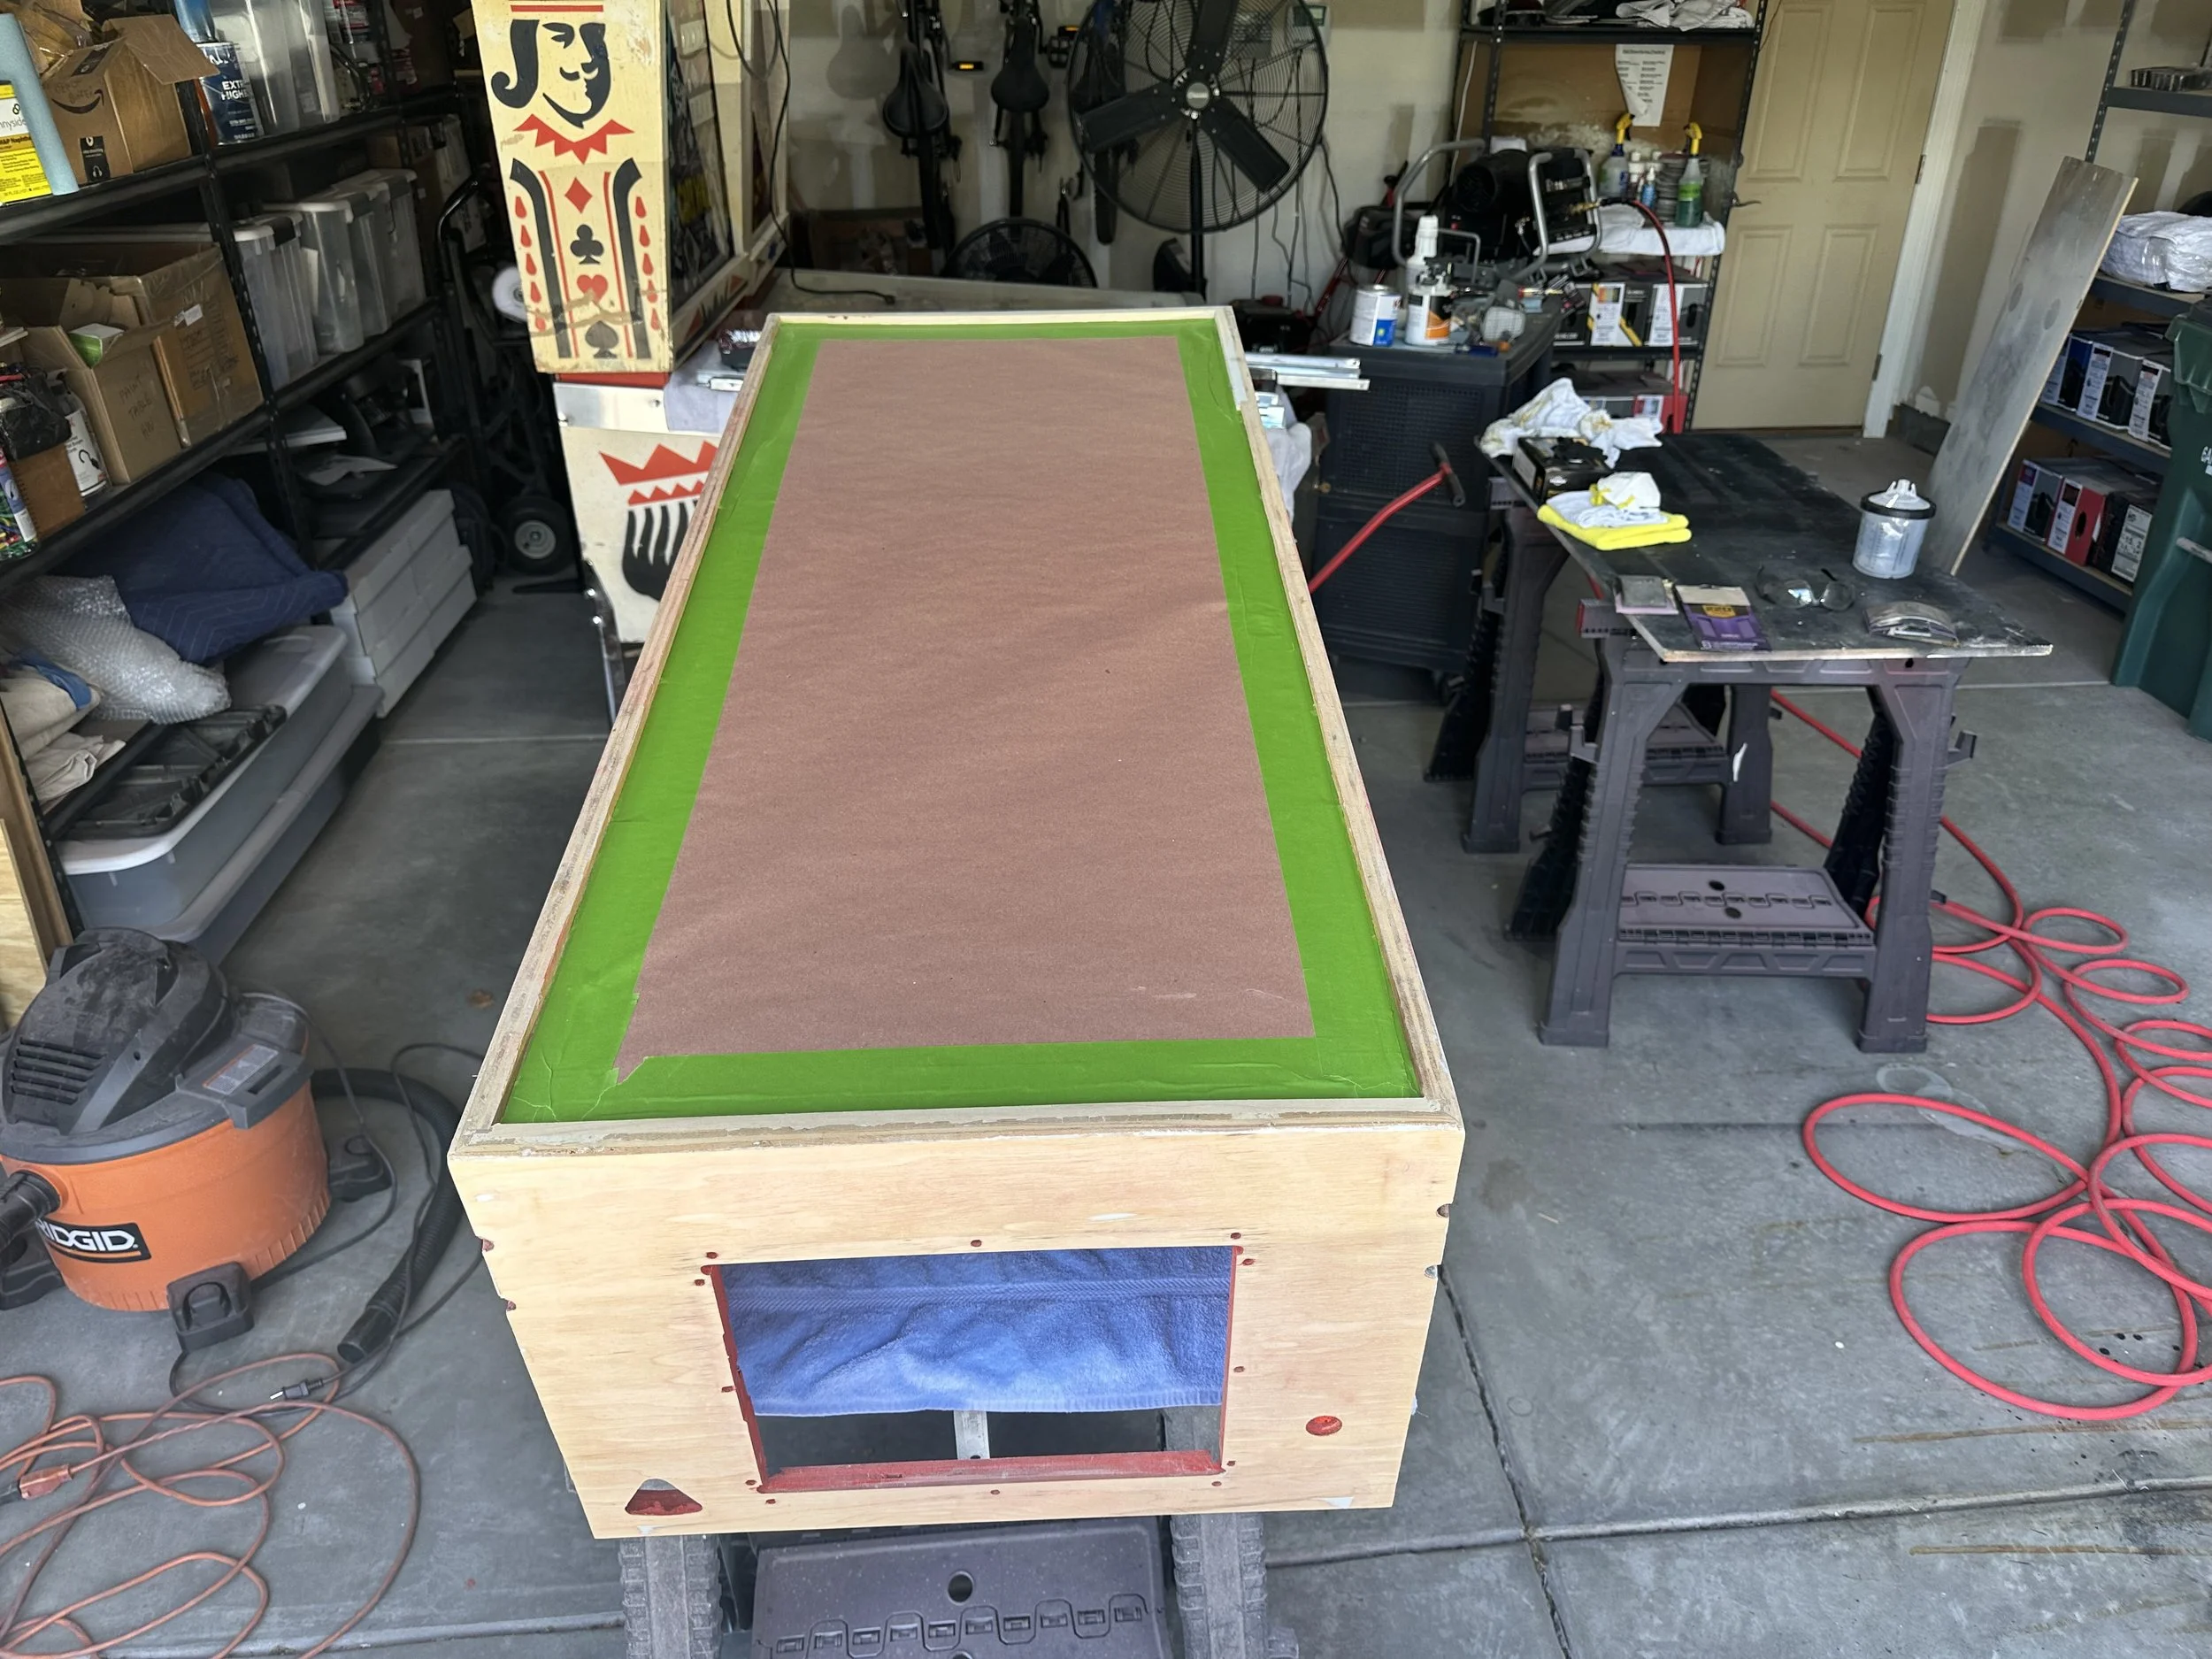
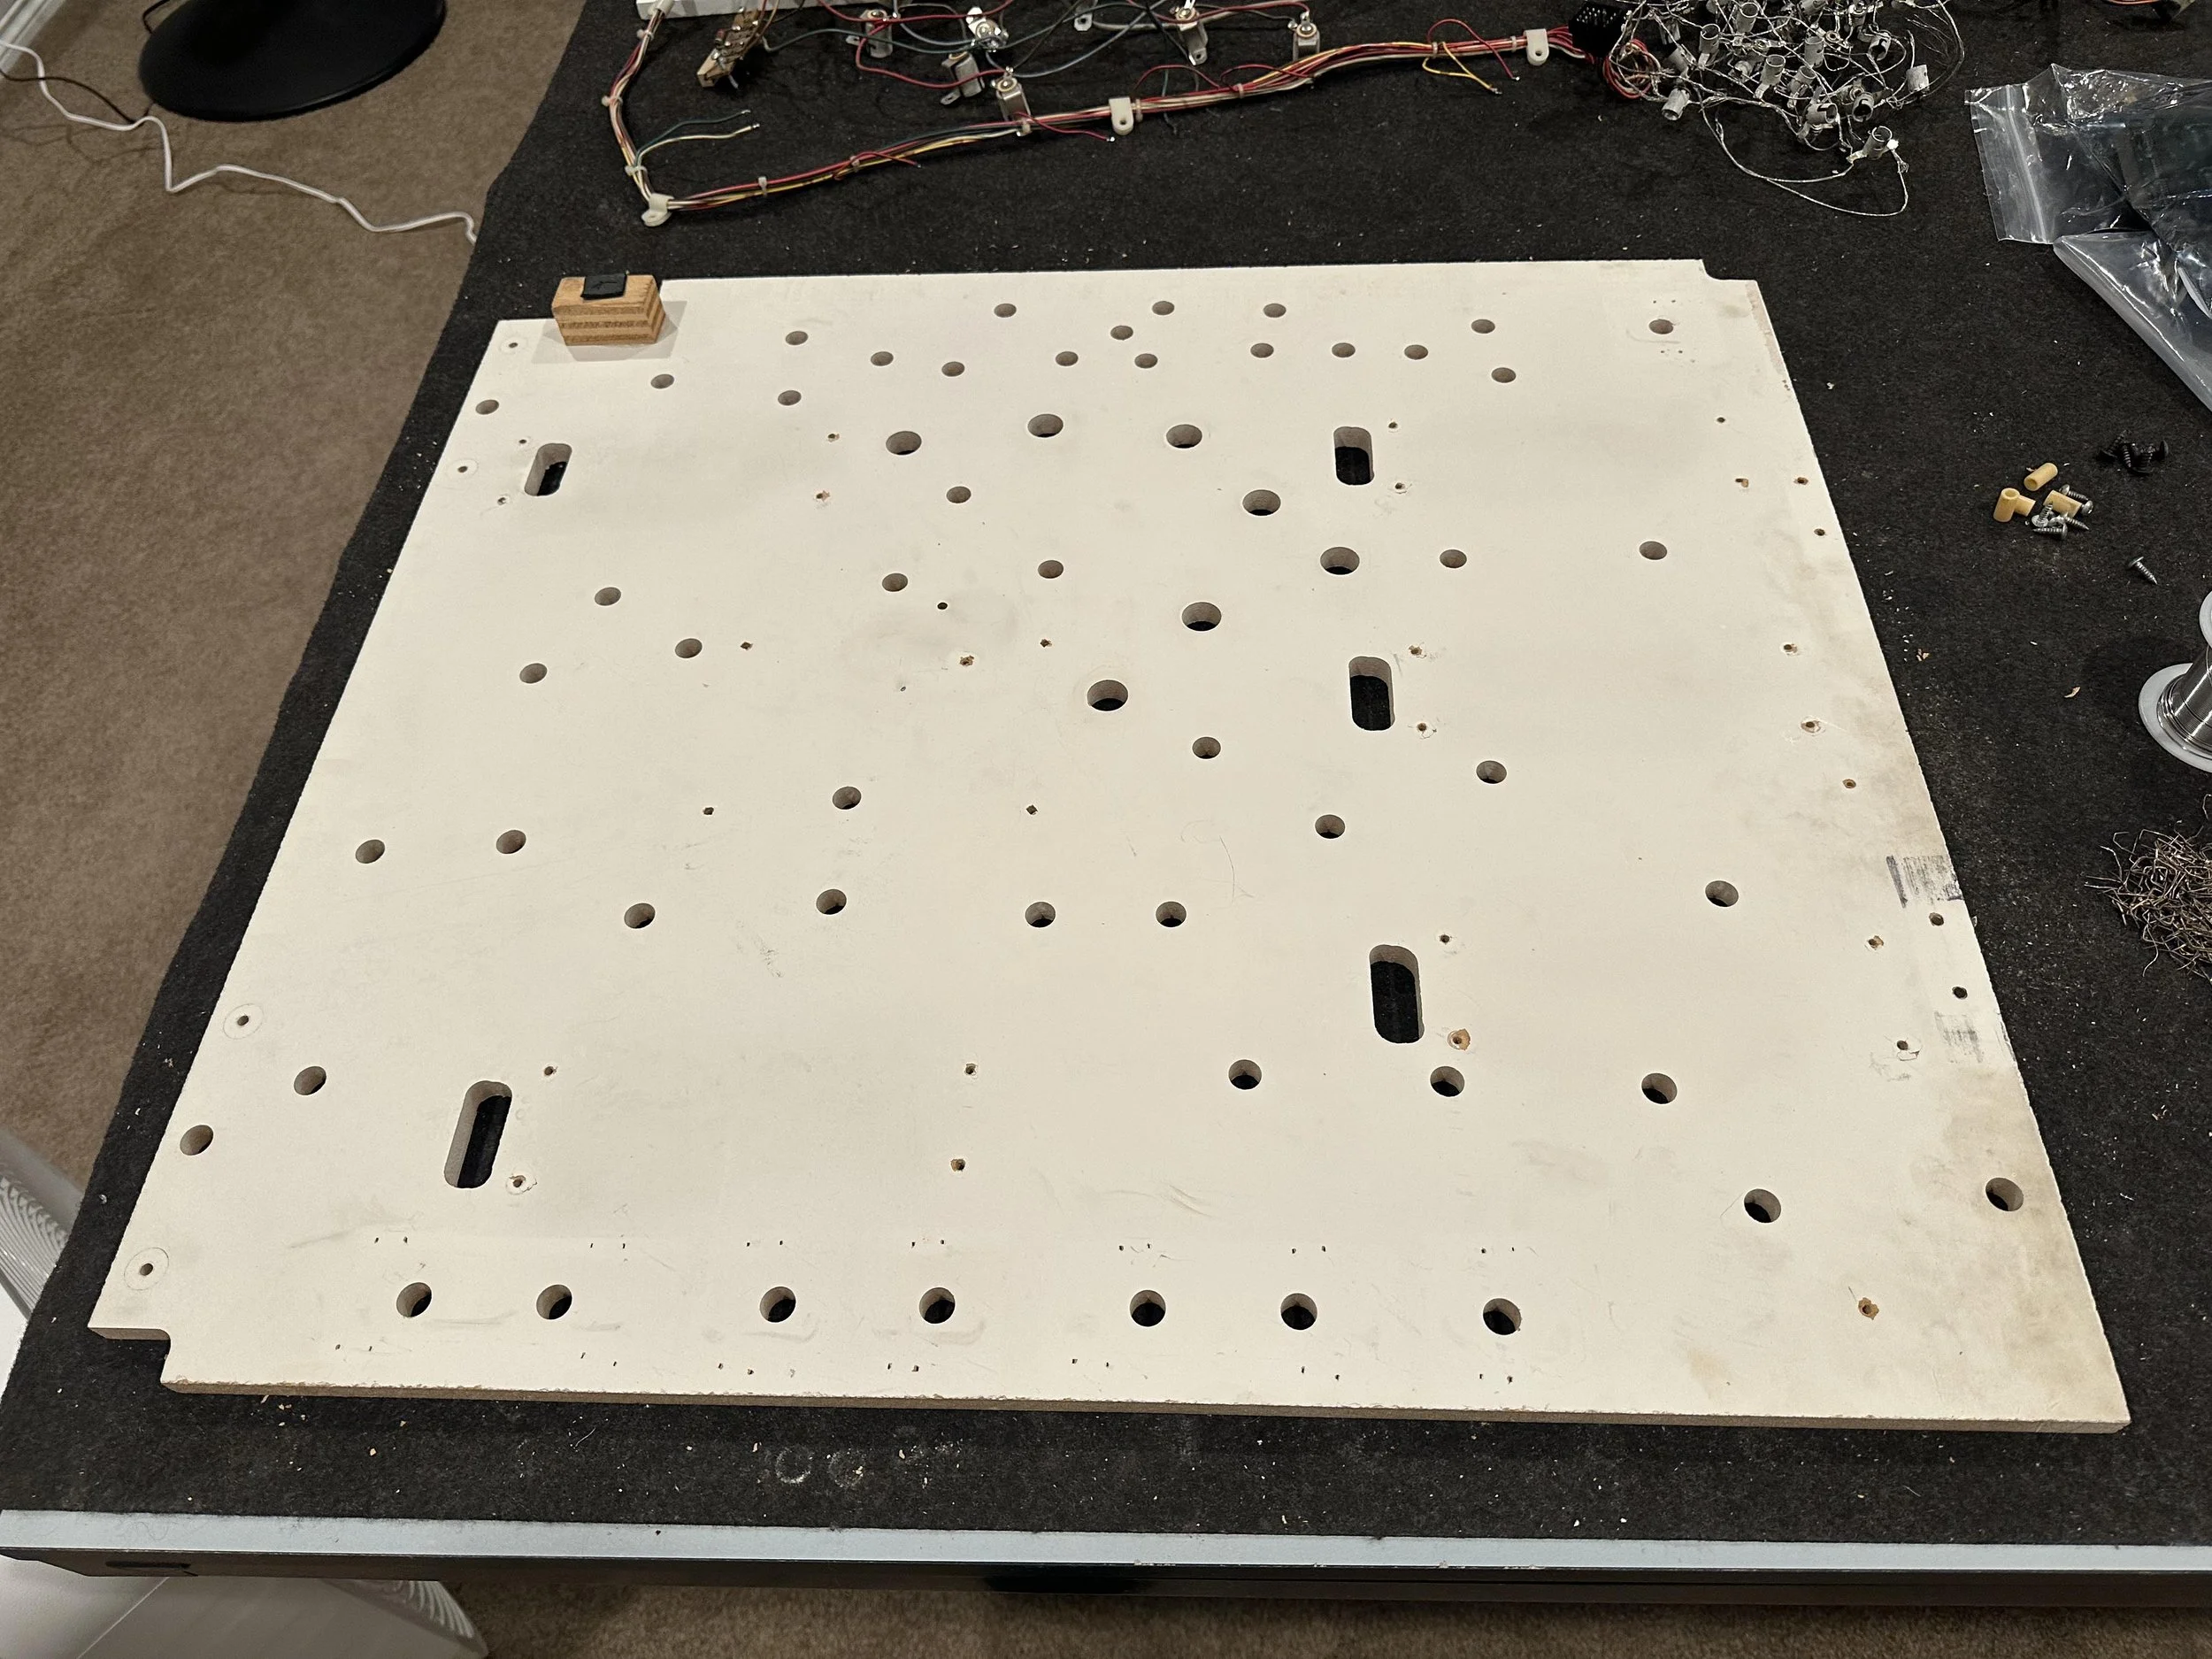
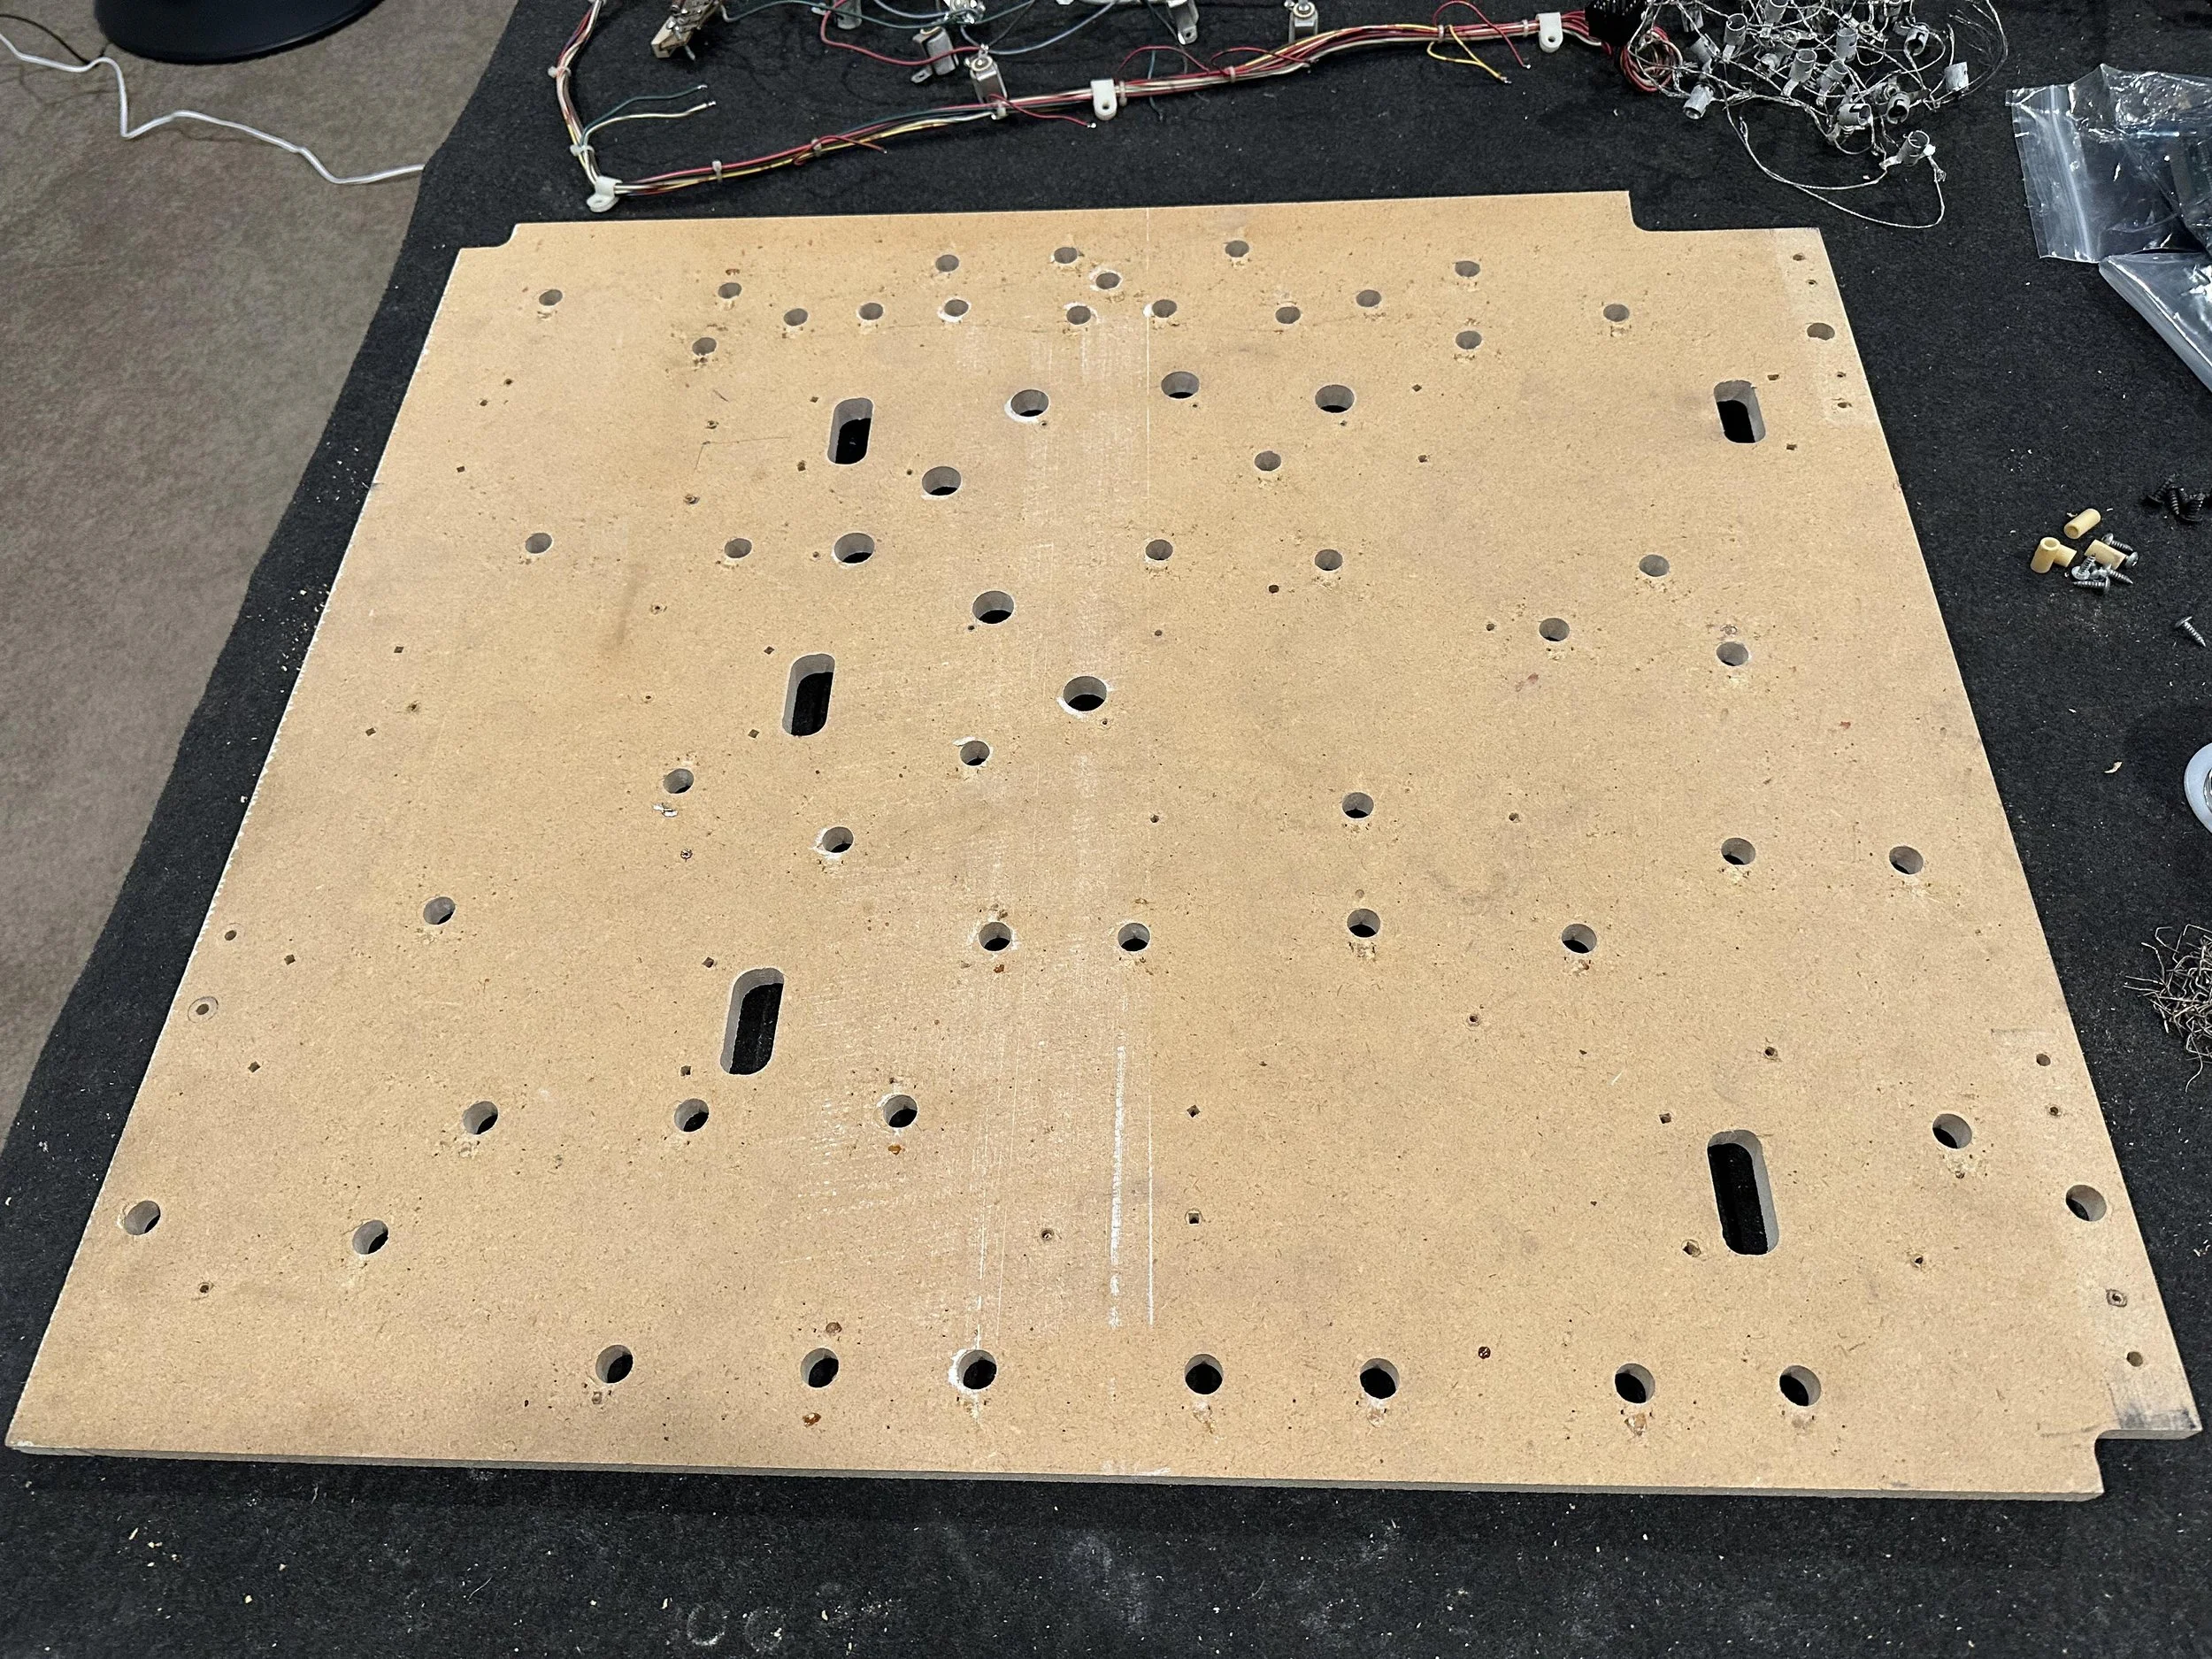
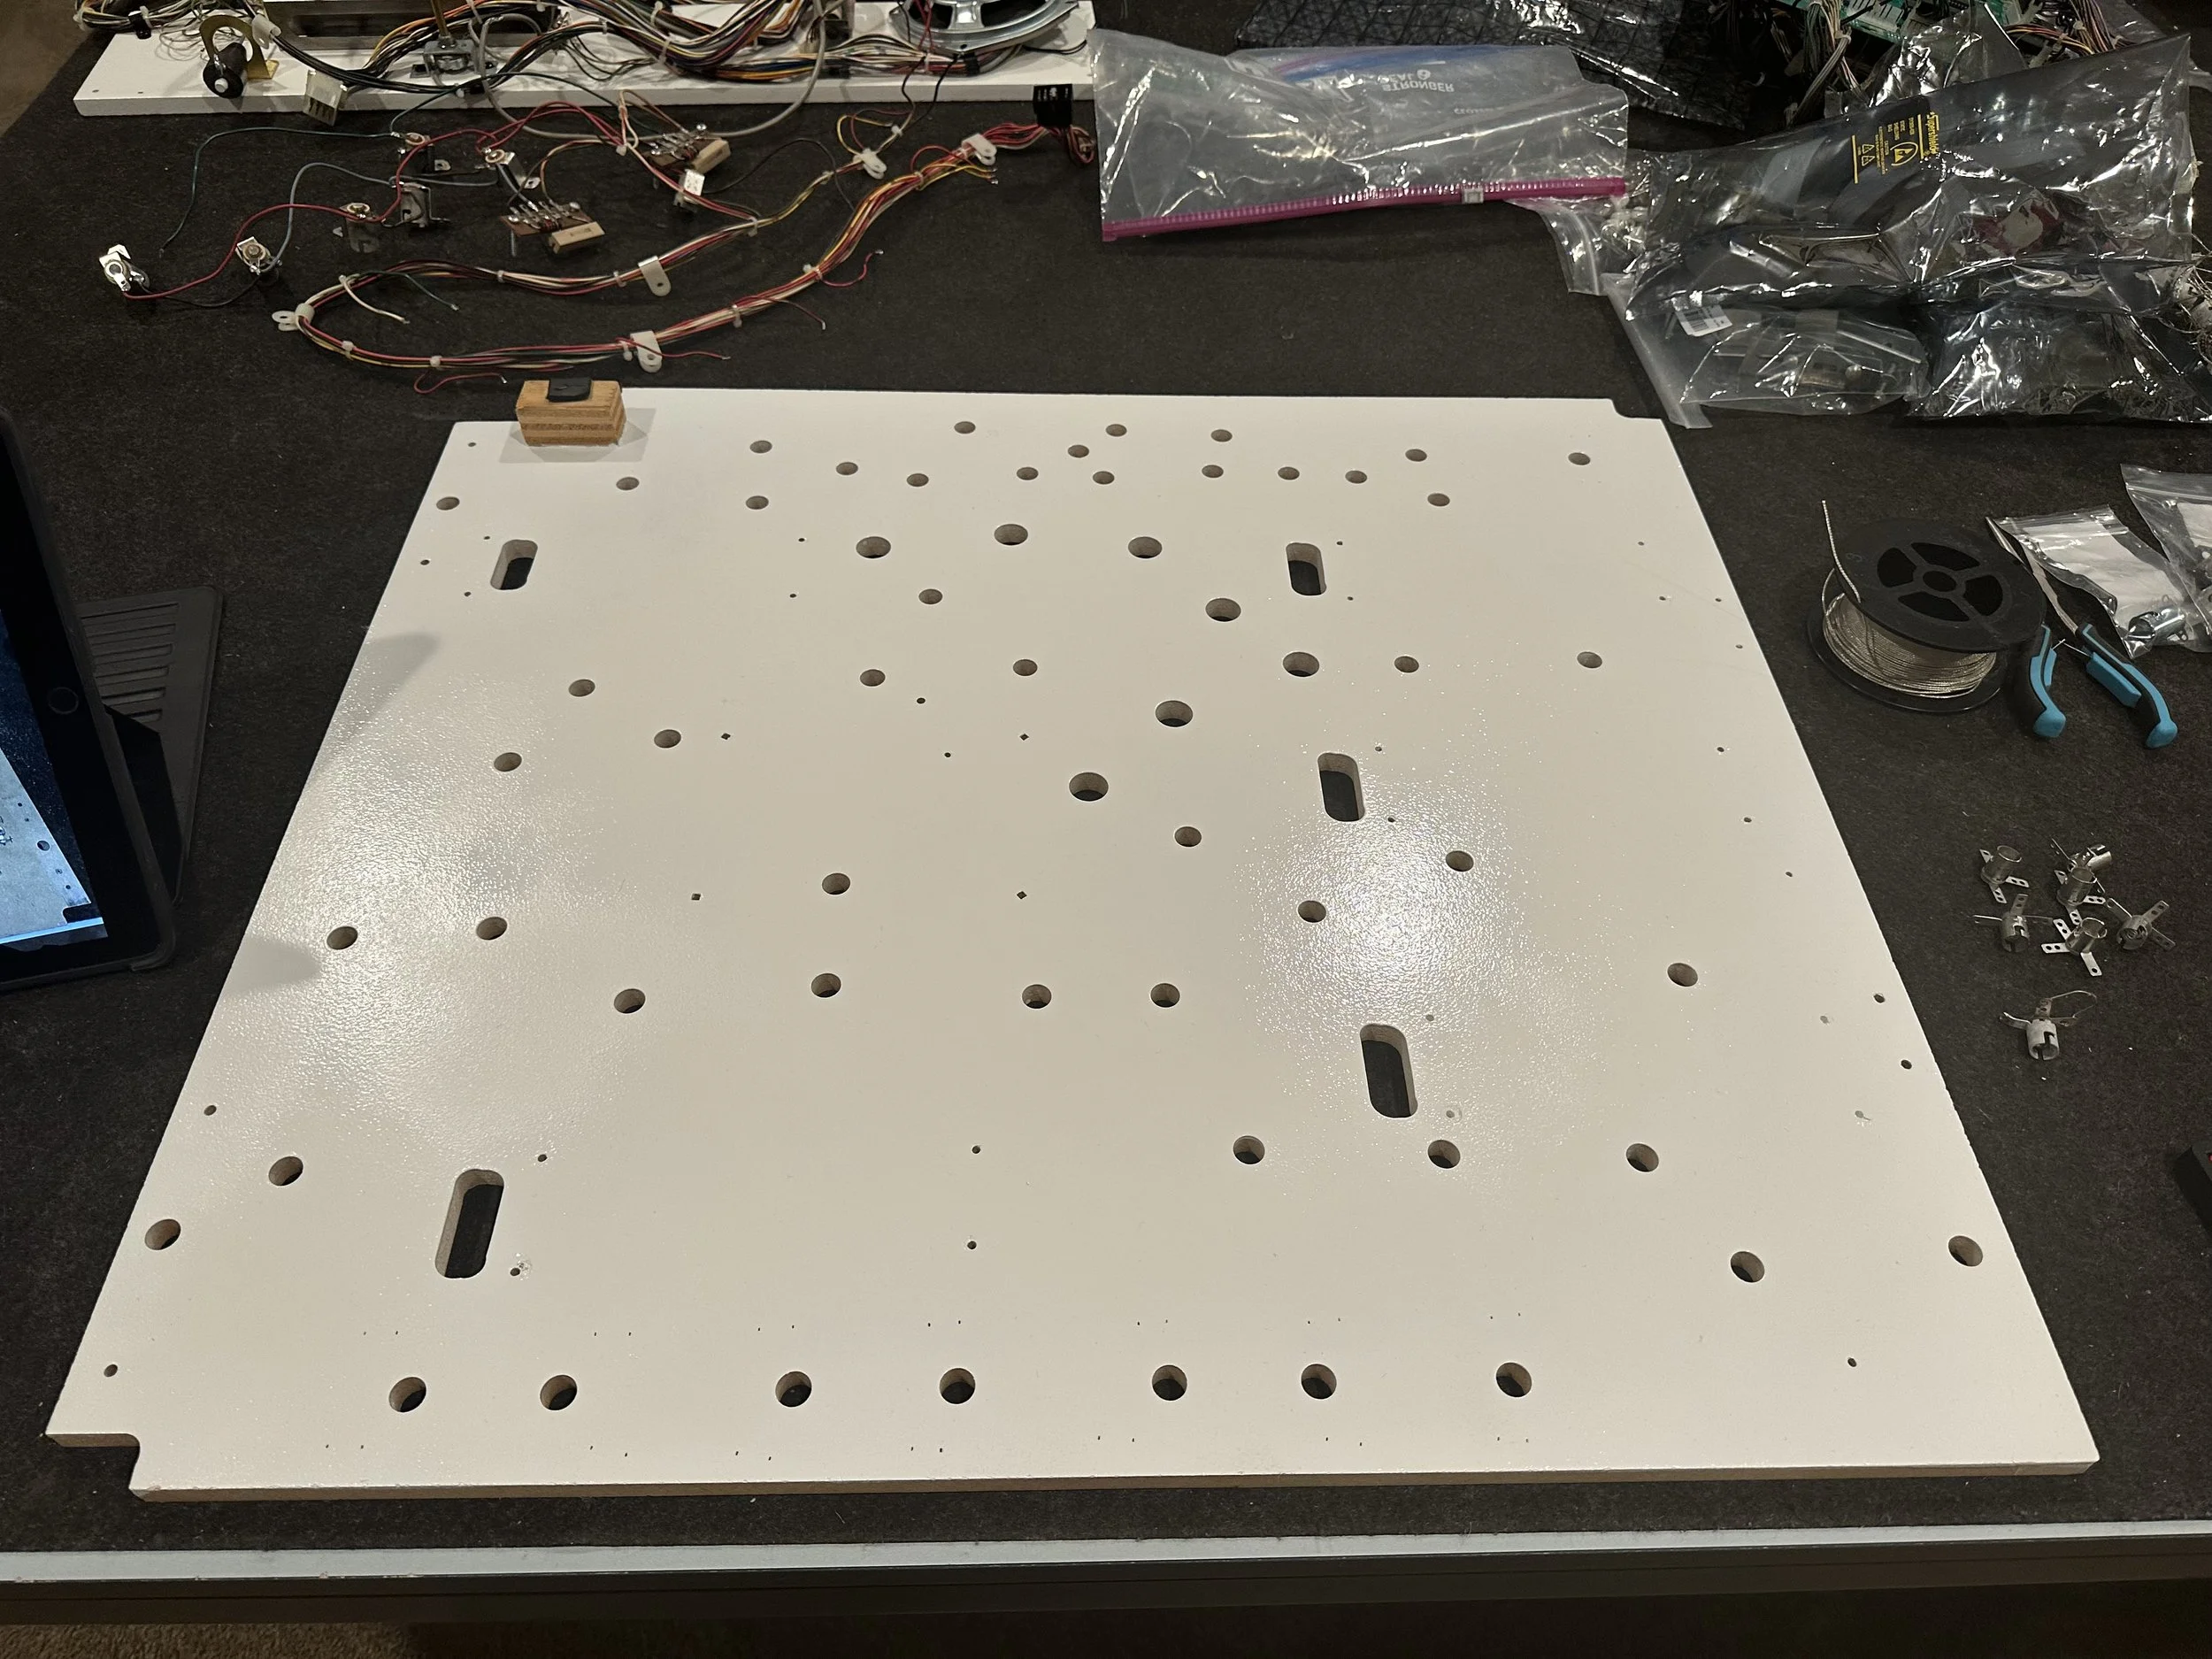
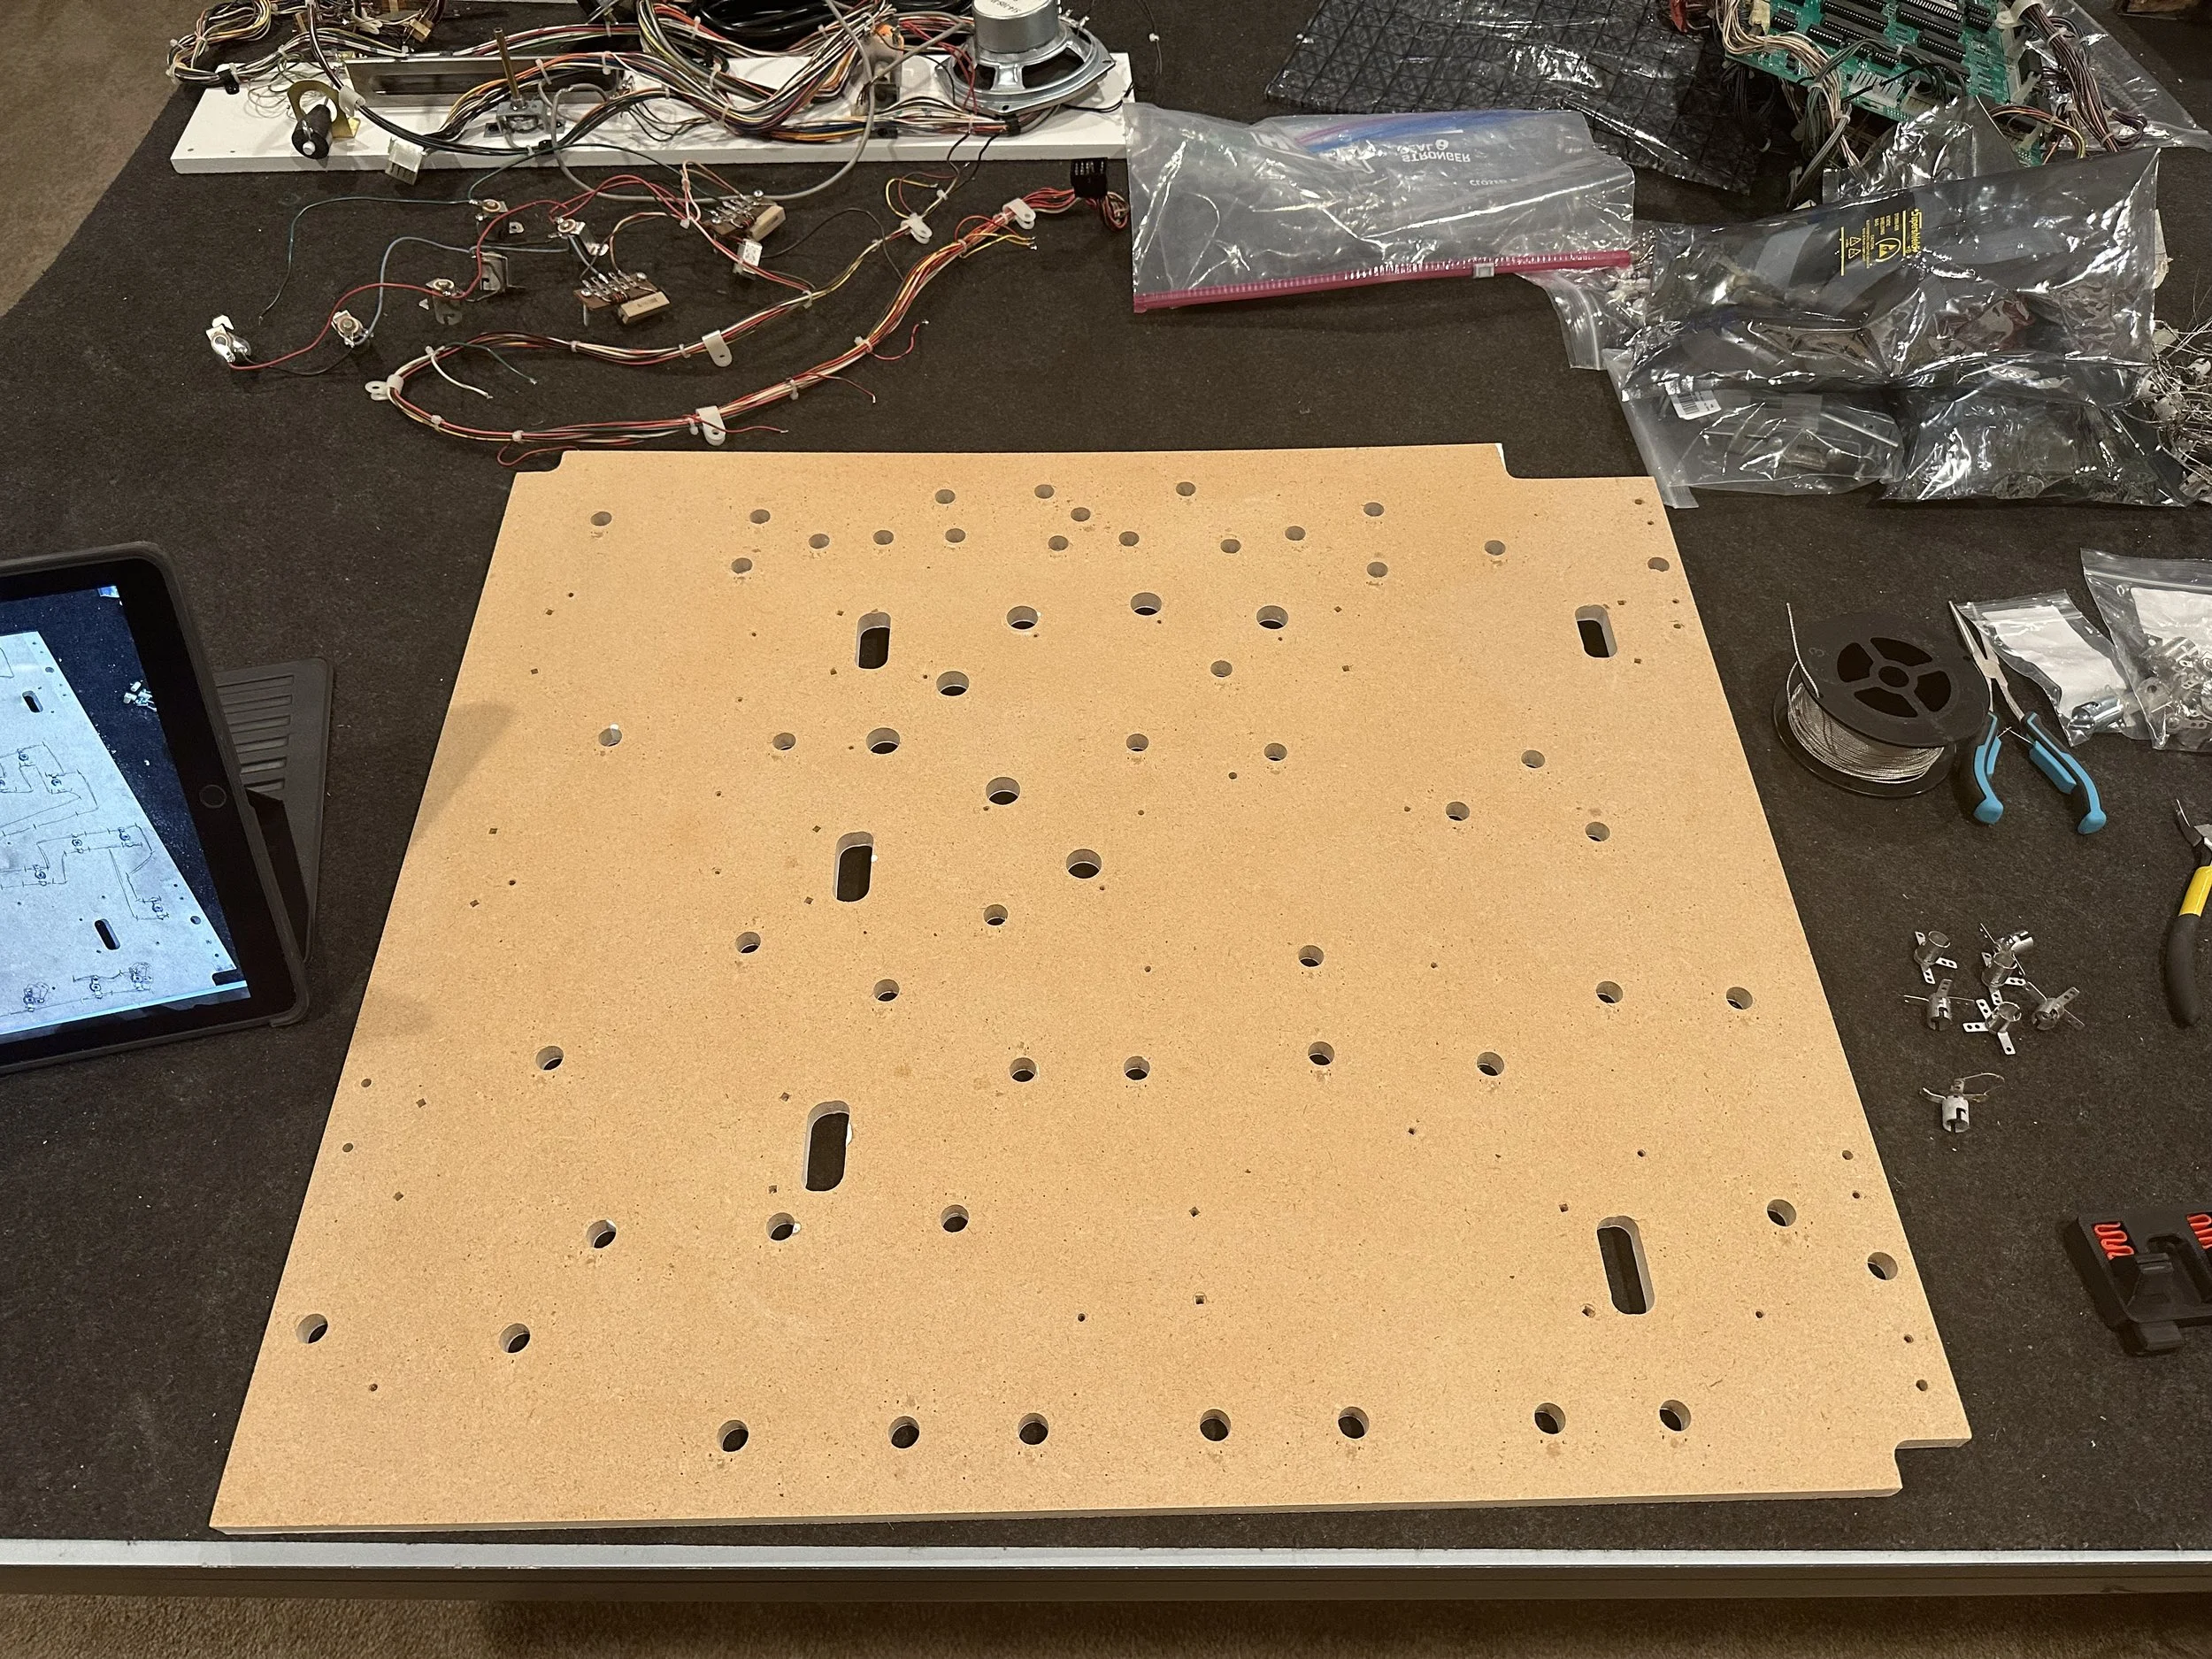
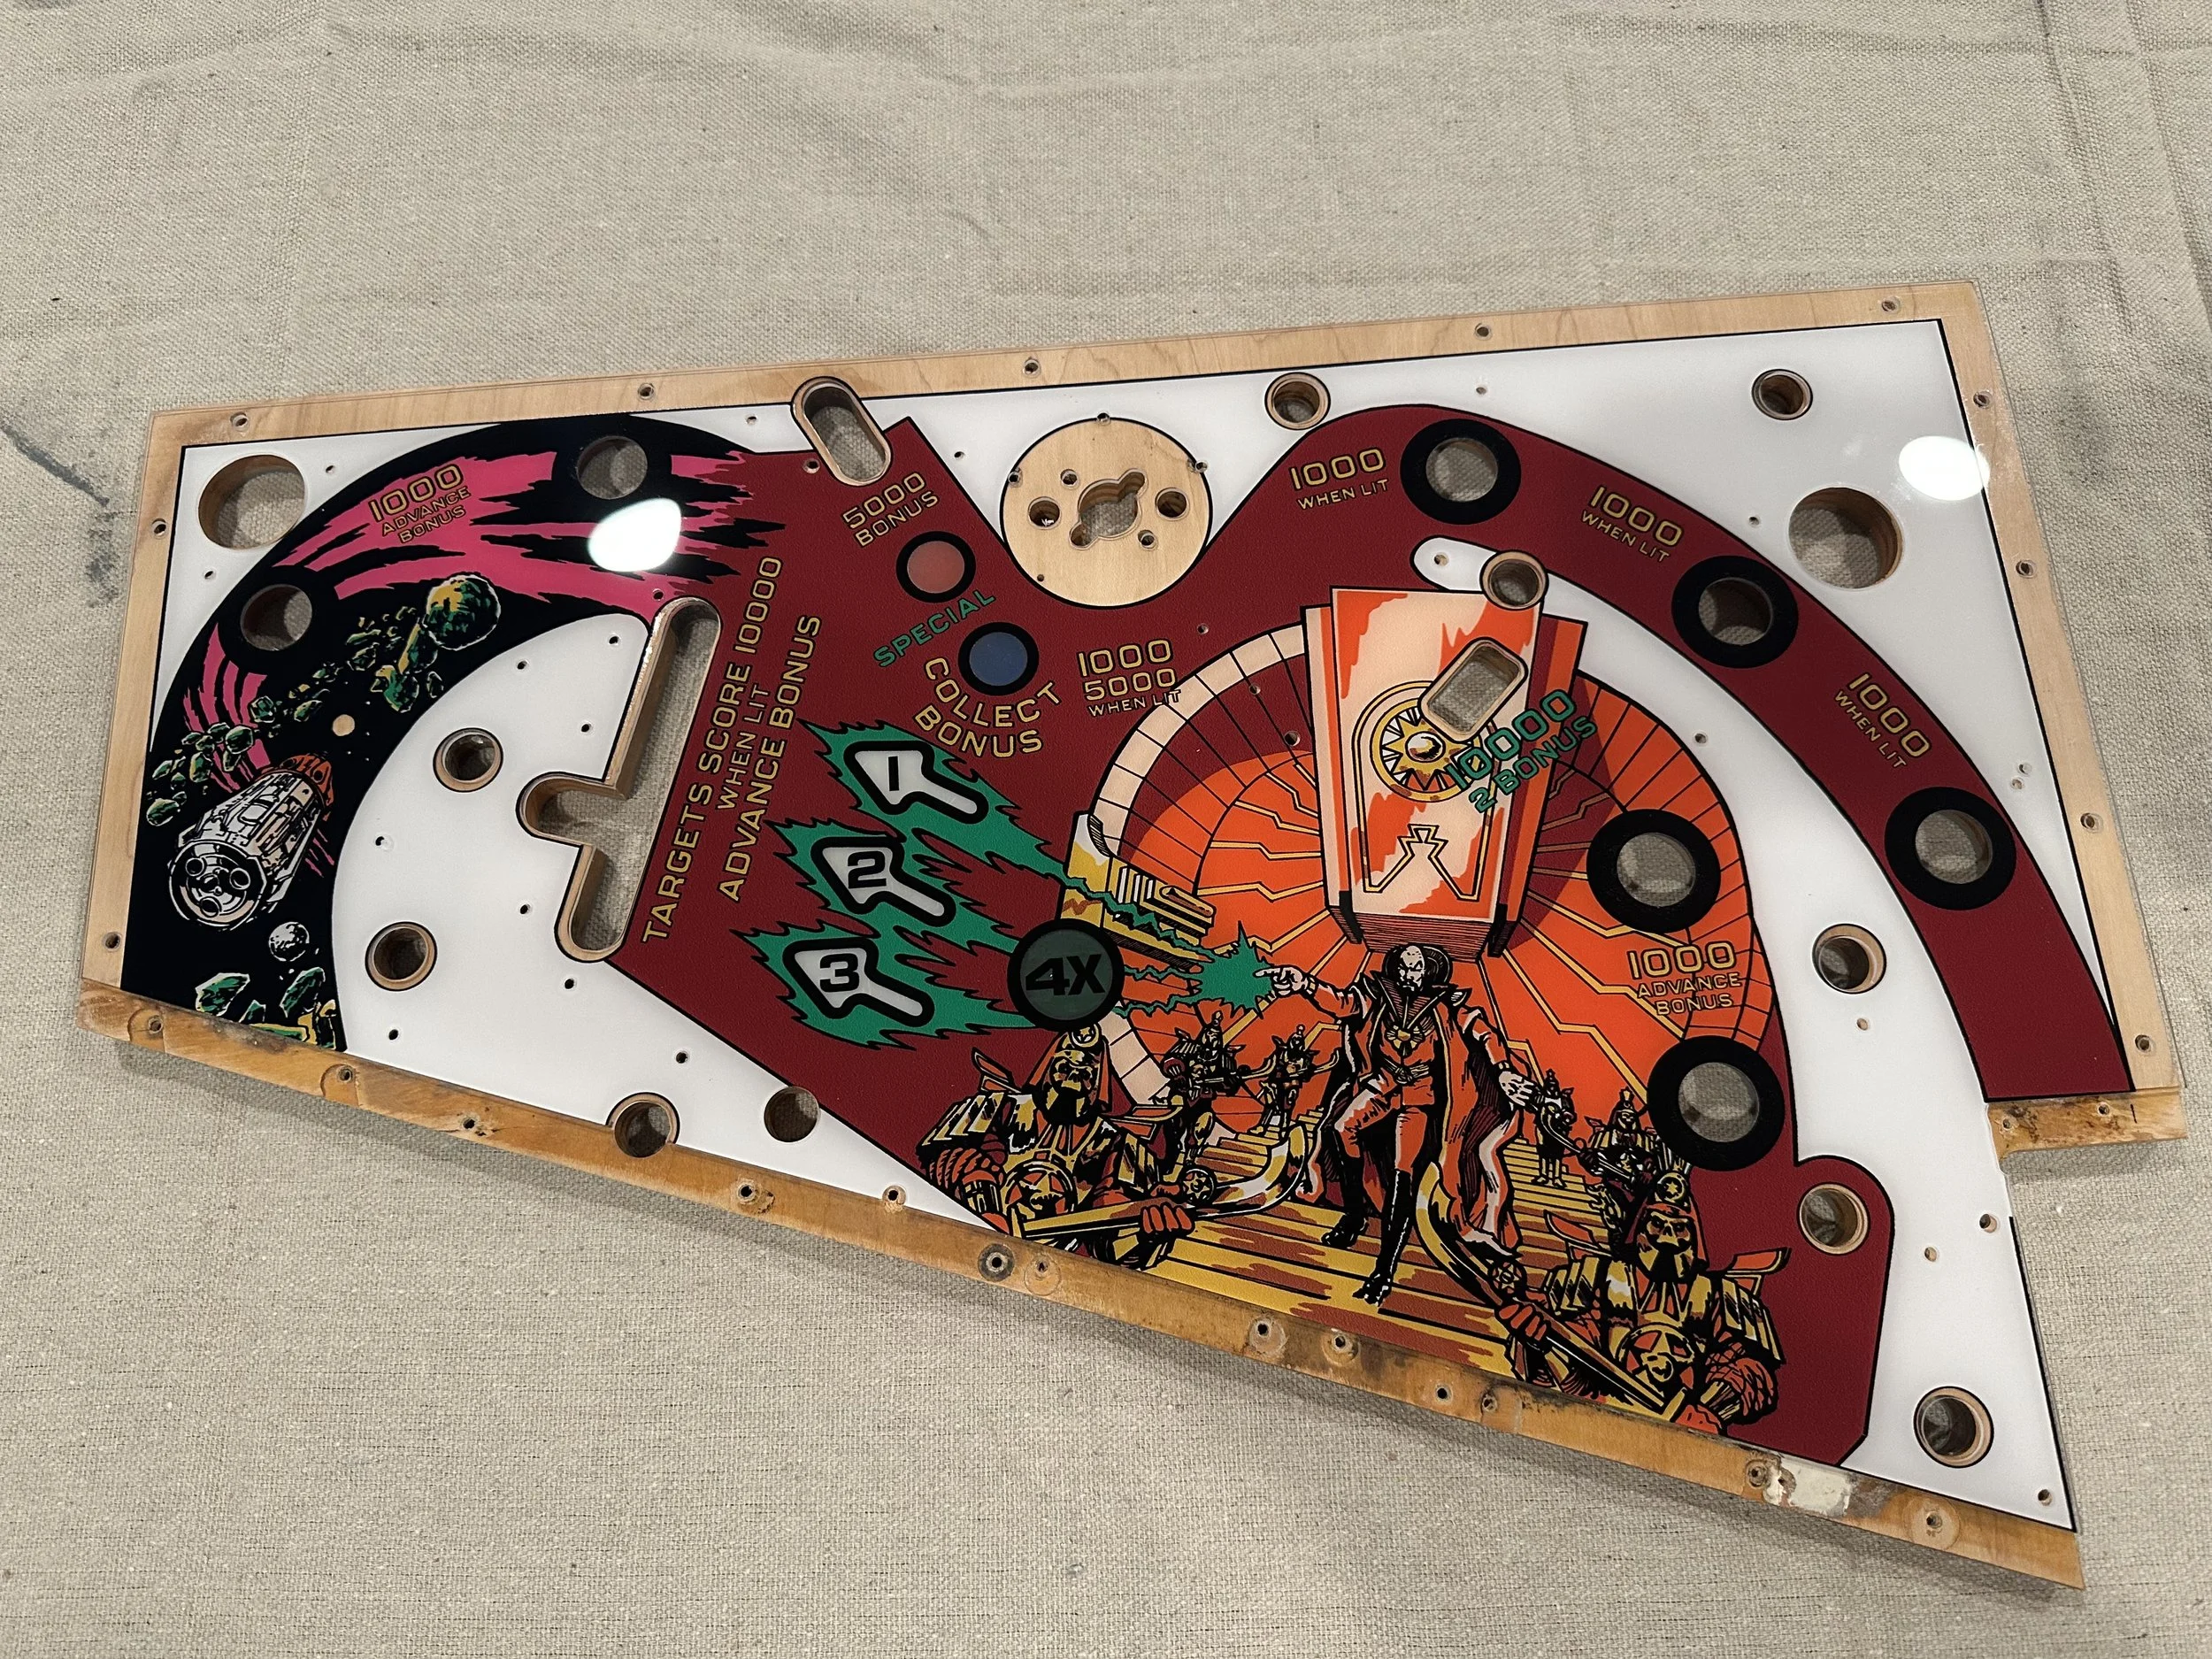
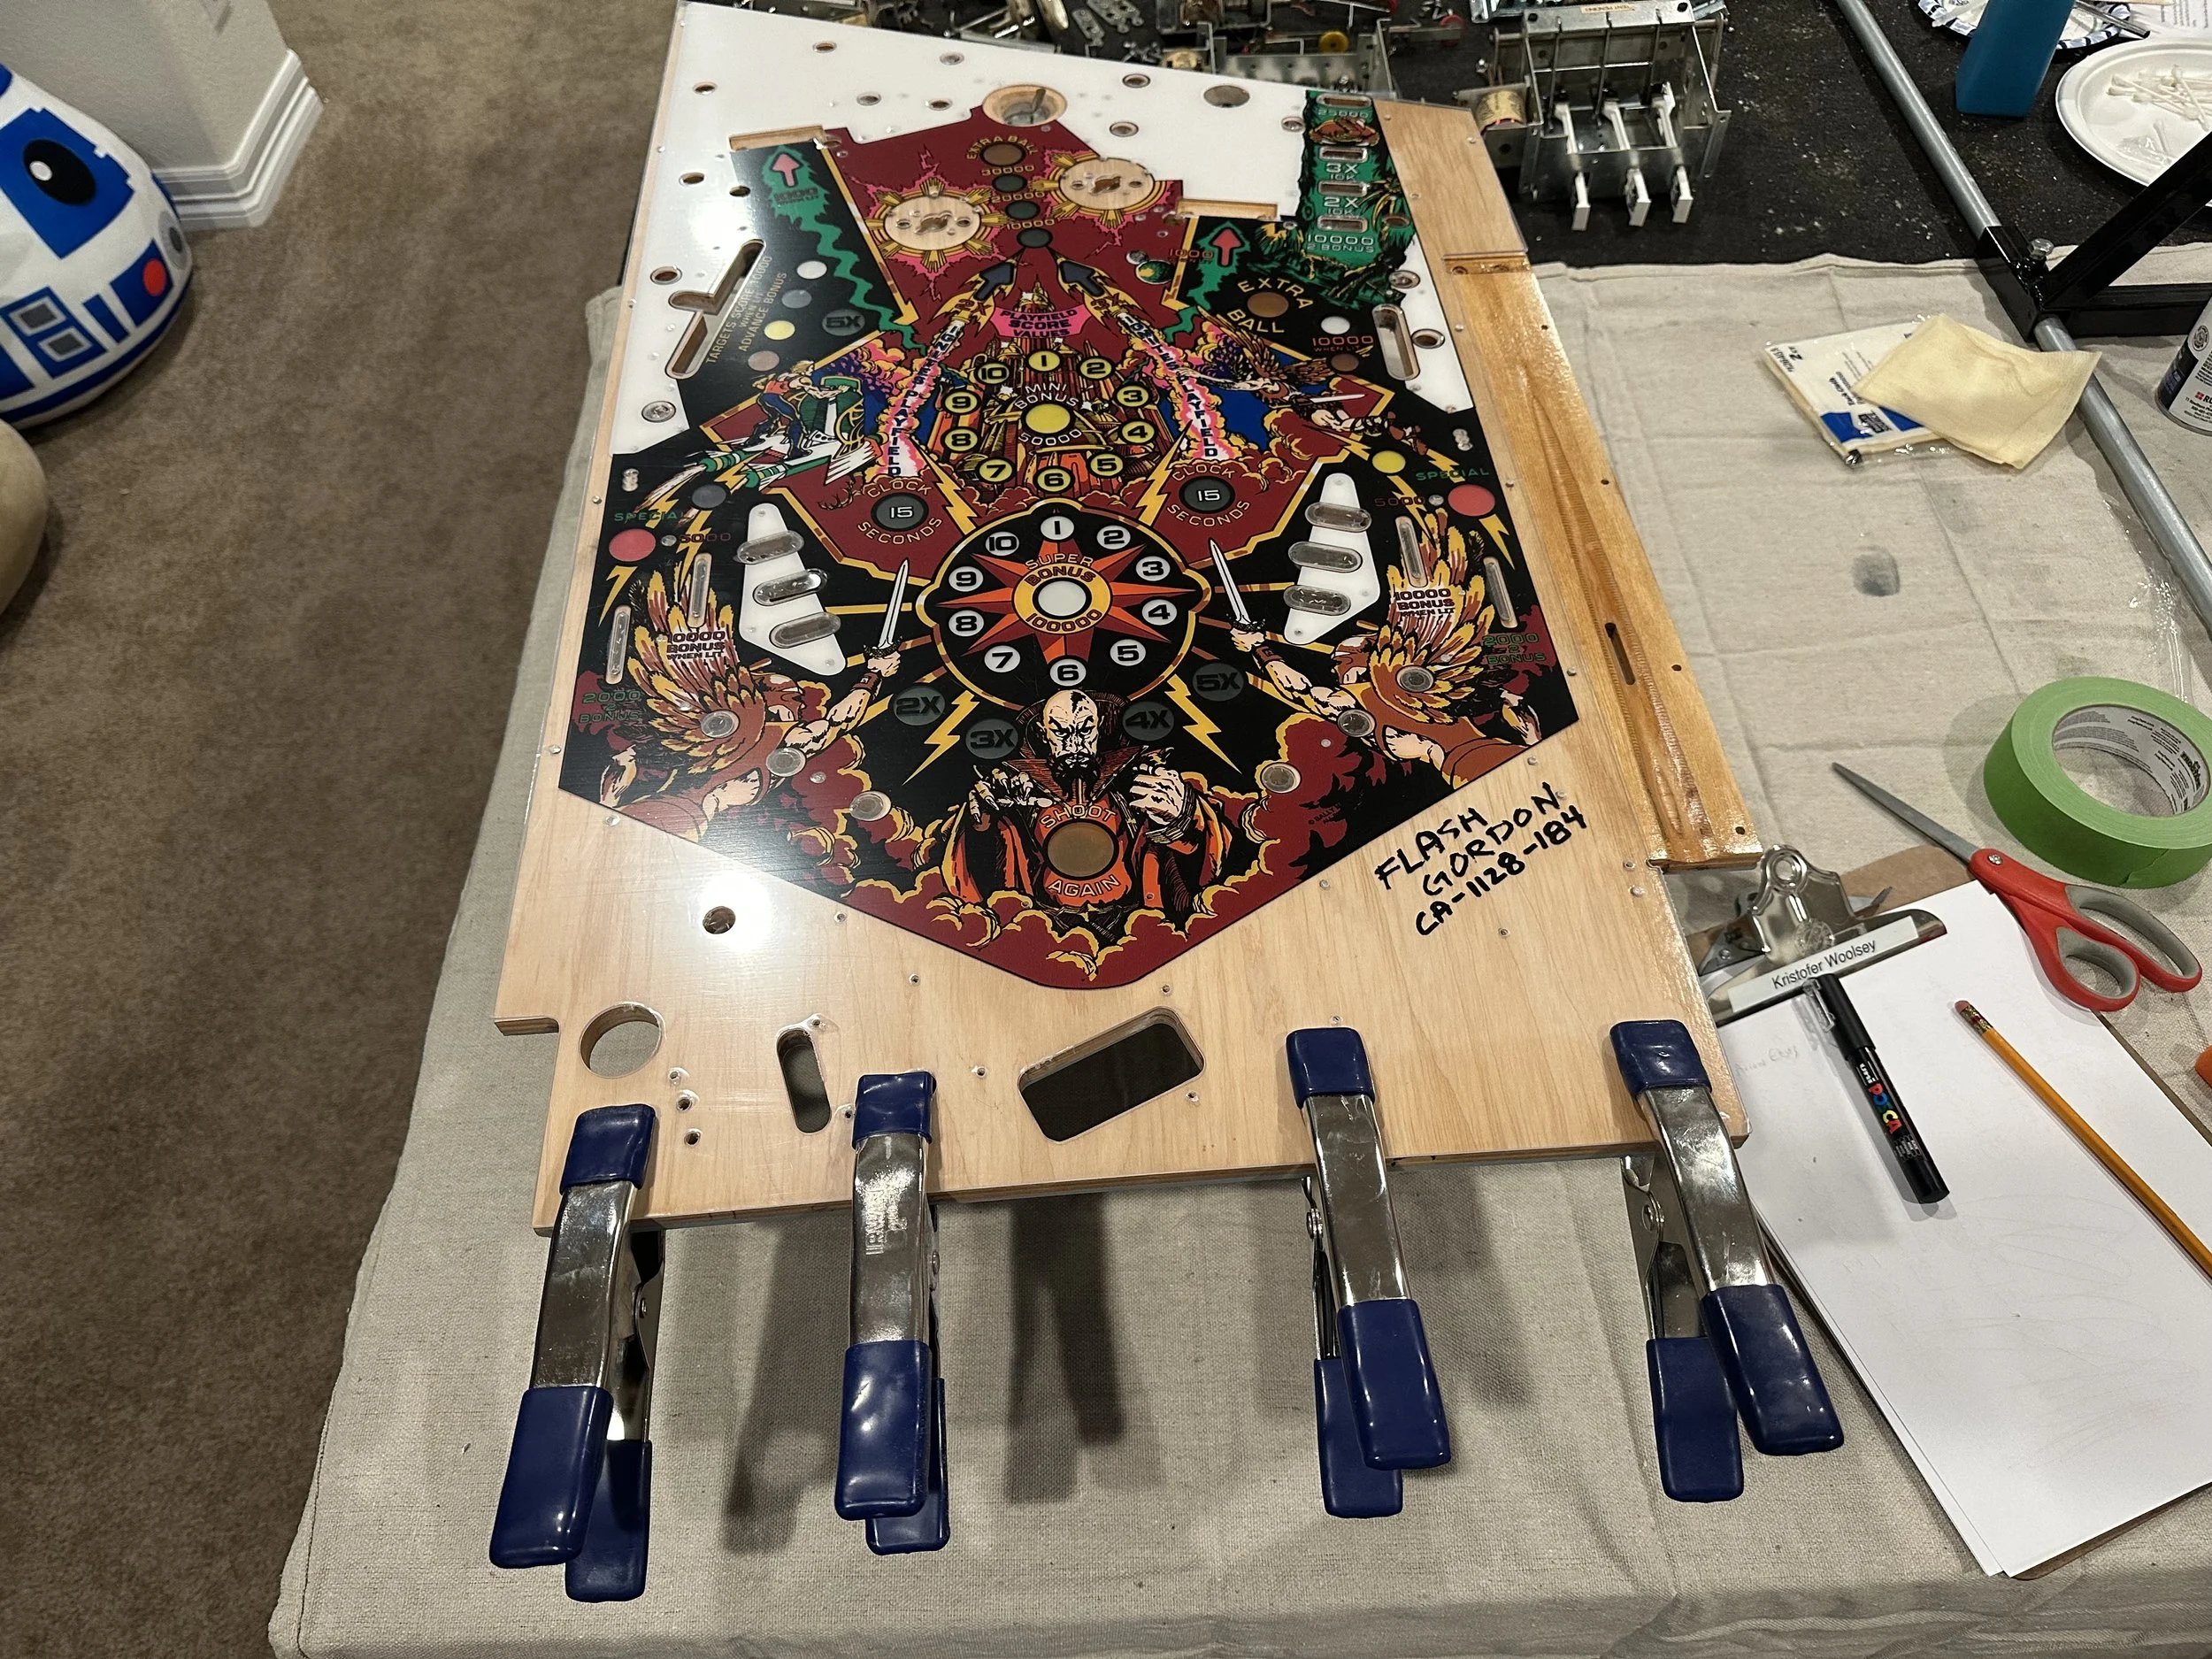
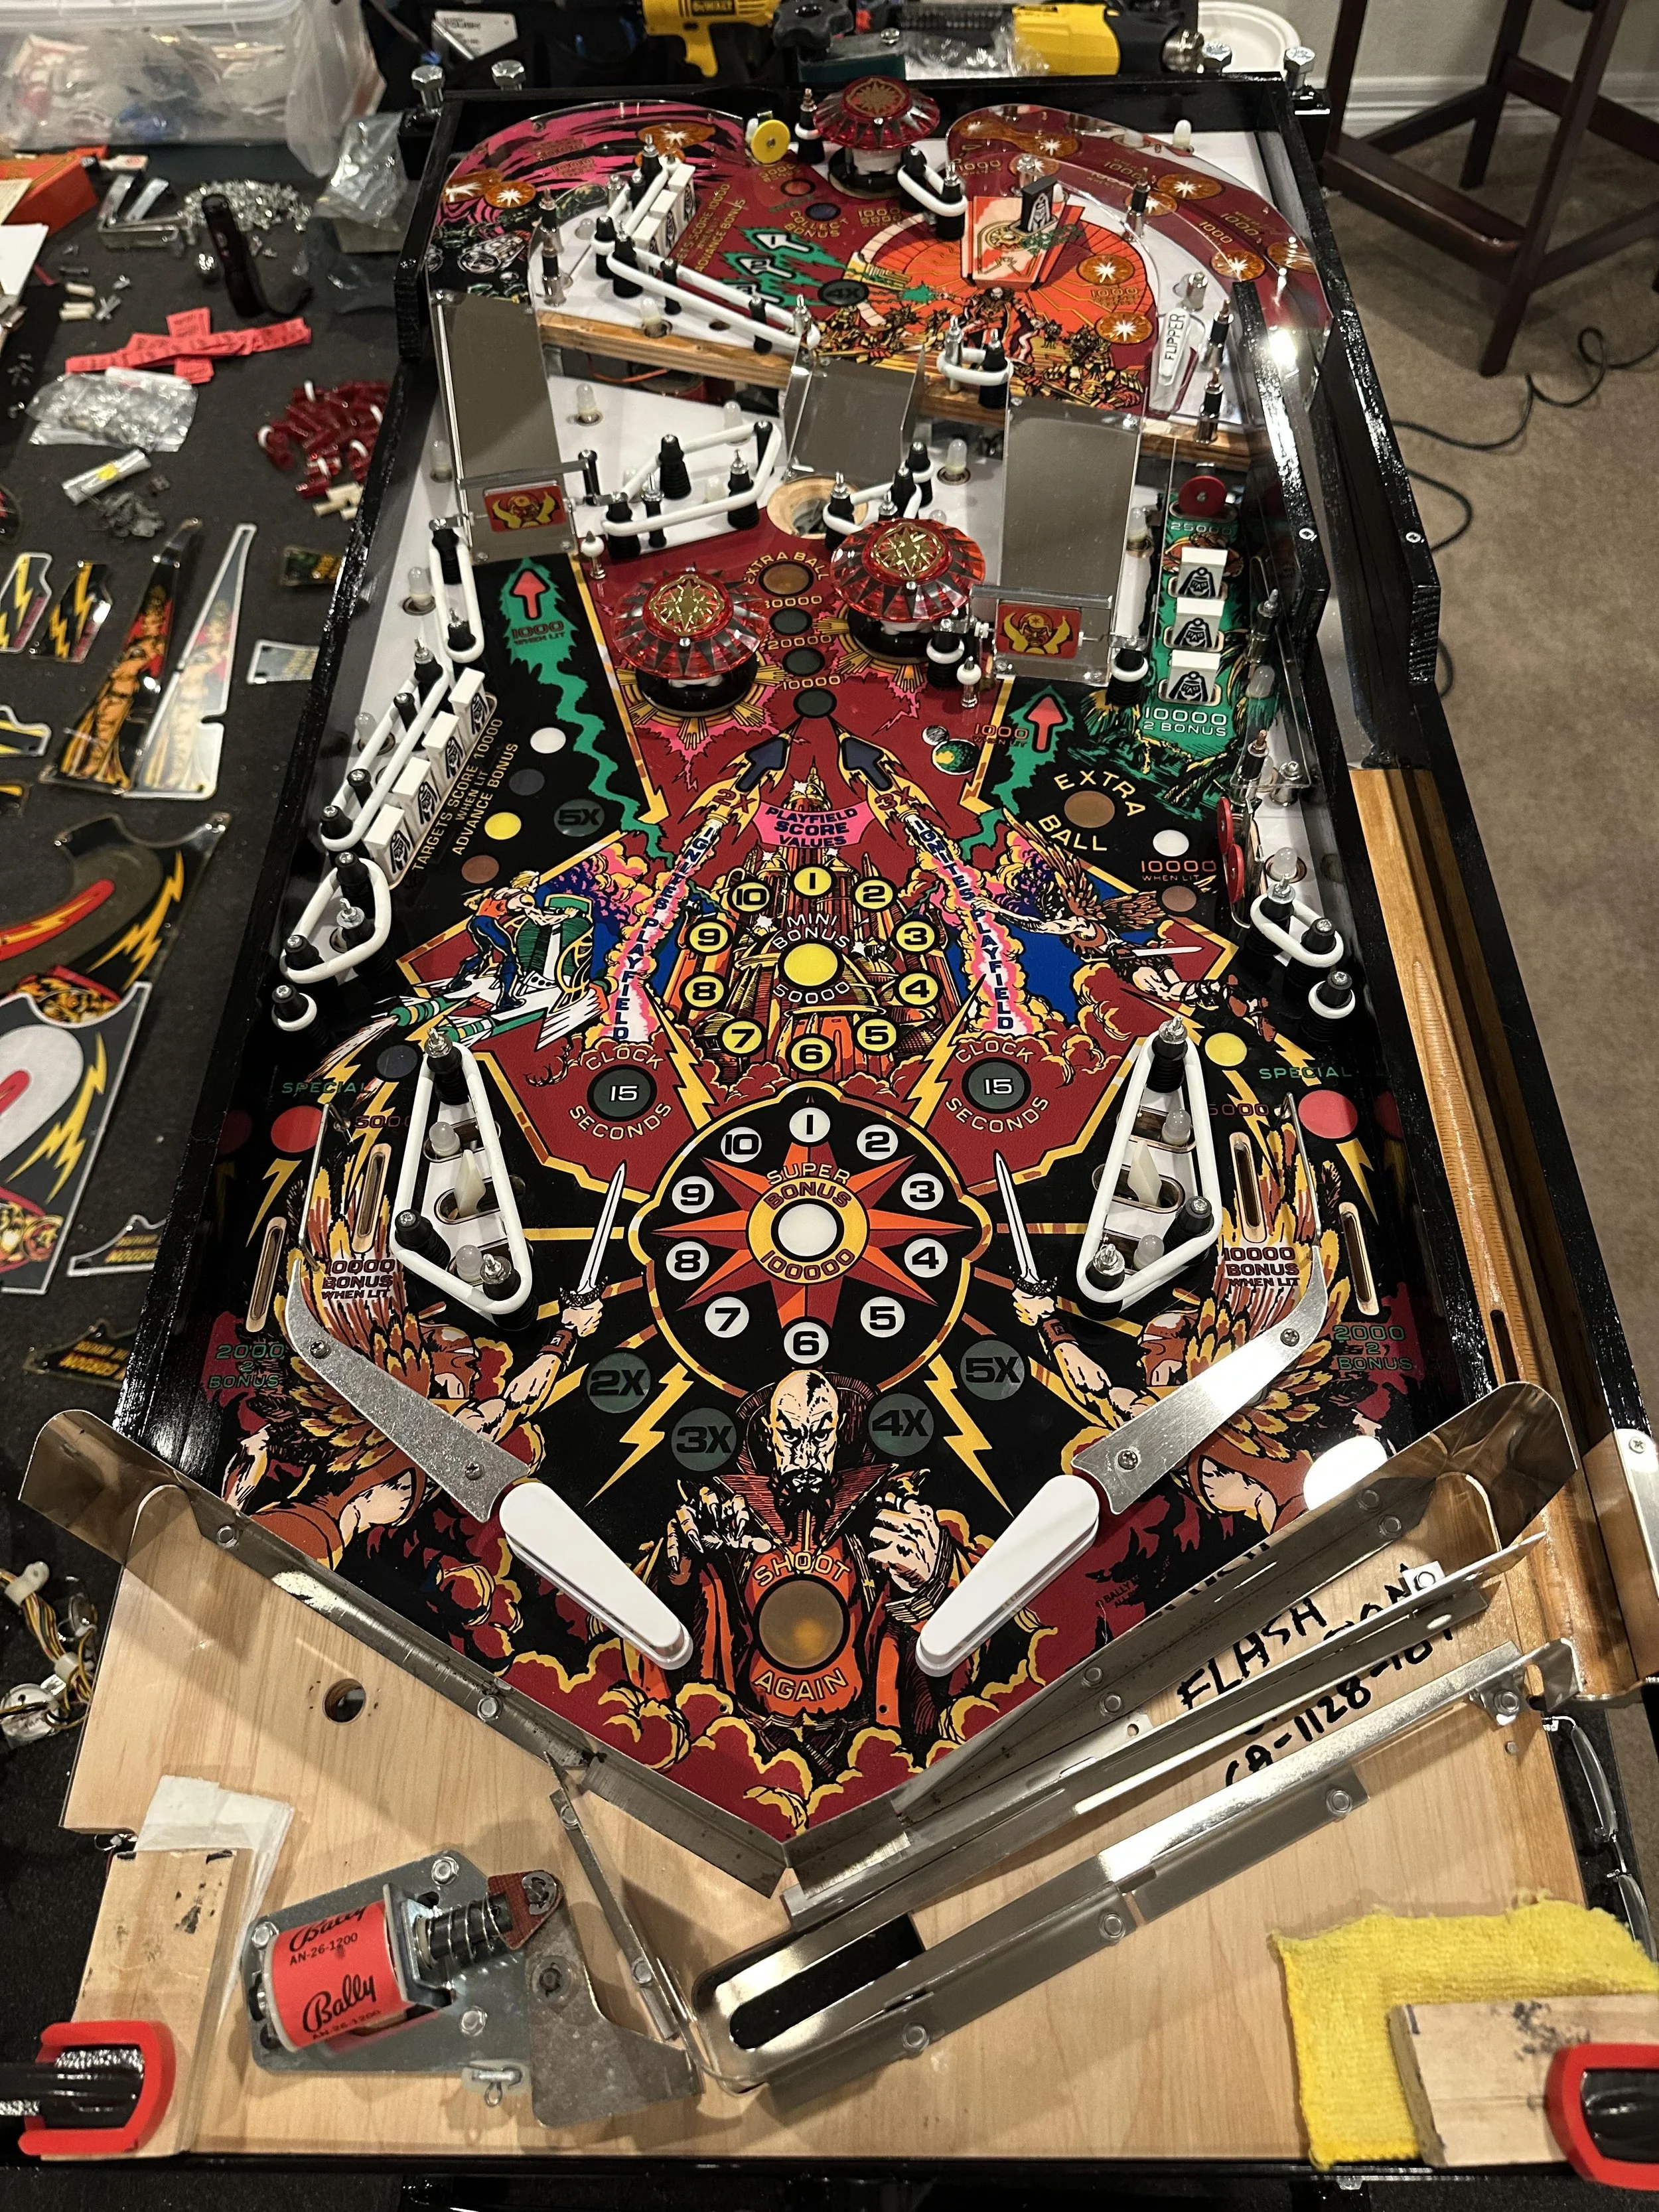
The hardtop went on pretty easy - no alignment issues at all. There were a couple of holes missing for the right outline and return lane guides that I had to guess at before drilling new ones. Had I noticed before the hardtop went down, it would've been easy. Unfortunately, I didn't notice the missing holes until after the hardtop was down - if I couldn't find the original hole under the hardtop, it could've been ugly. It all worked out - my measurements and guess work using the art helped me locate the original hole underneath. Good think the artwork was accurate!
Rejuvenating the shooter lane was tricky as well. It was pretty messed up - took lots of sanding (but not too much that would've misshapen the groove) along with some color-matching paint and clear coat. There was a lot of hit and miss as I experimented with getting it looking right - took a couple of weeks.
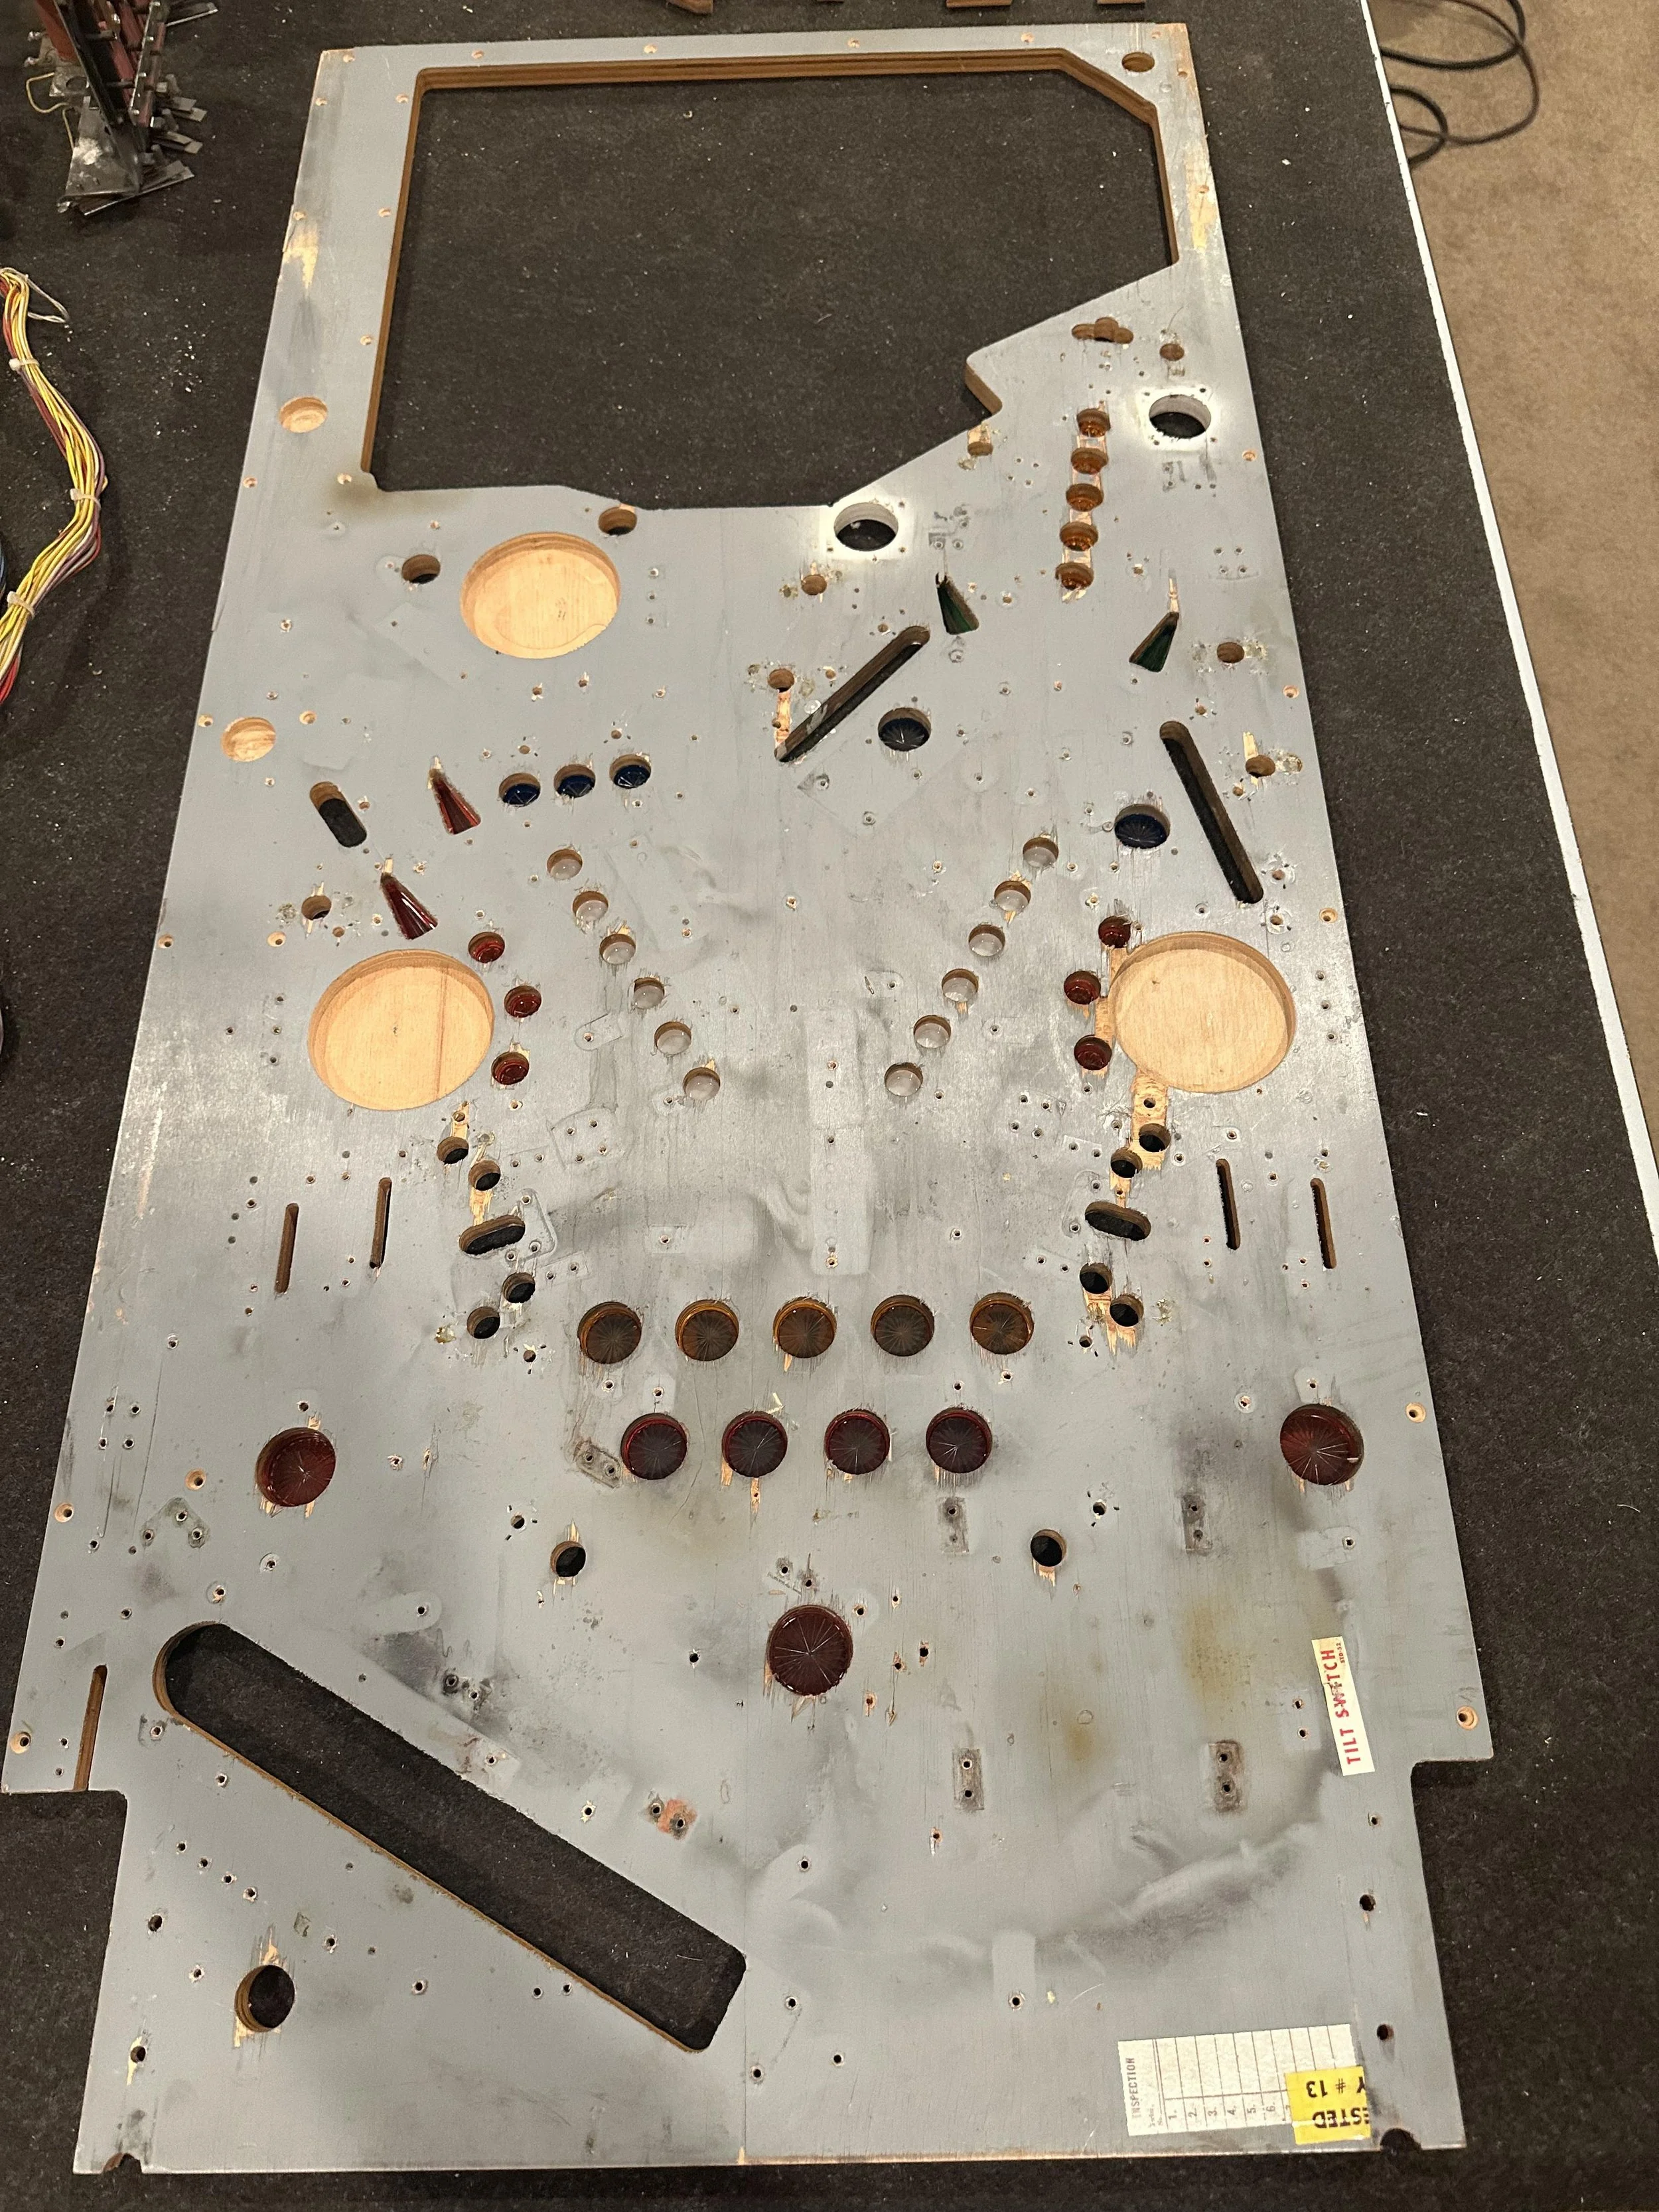
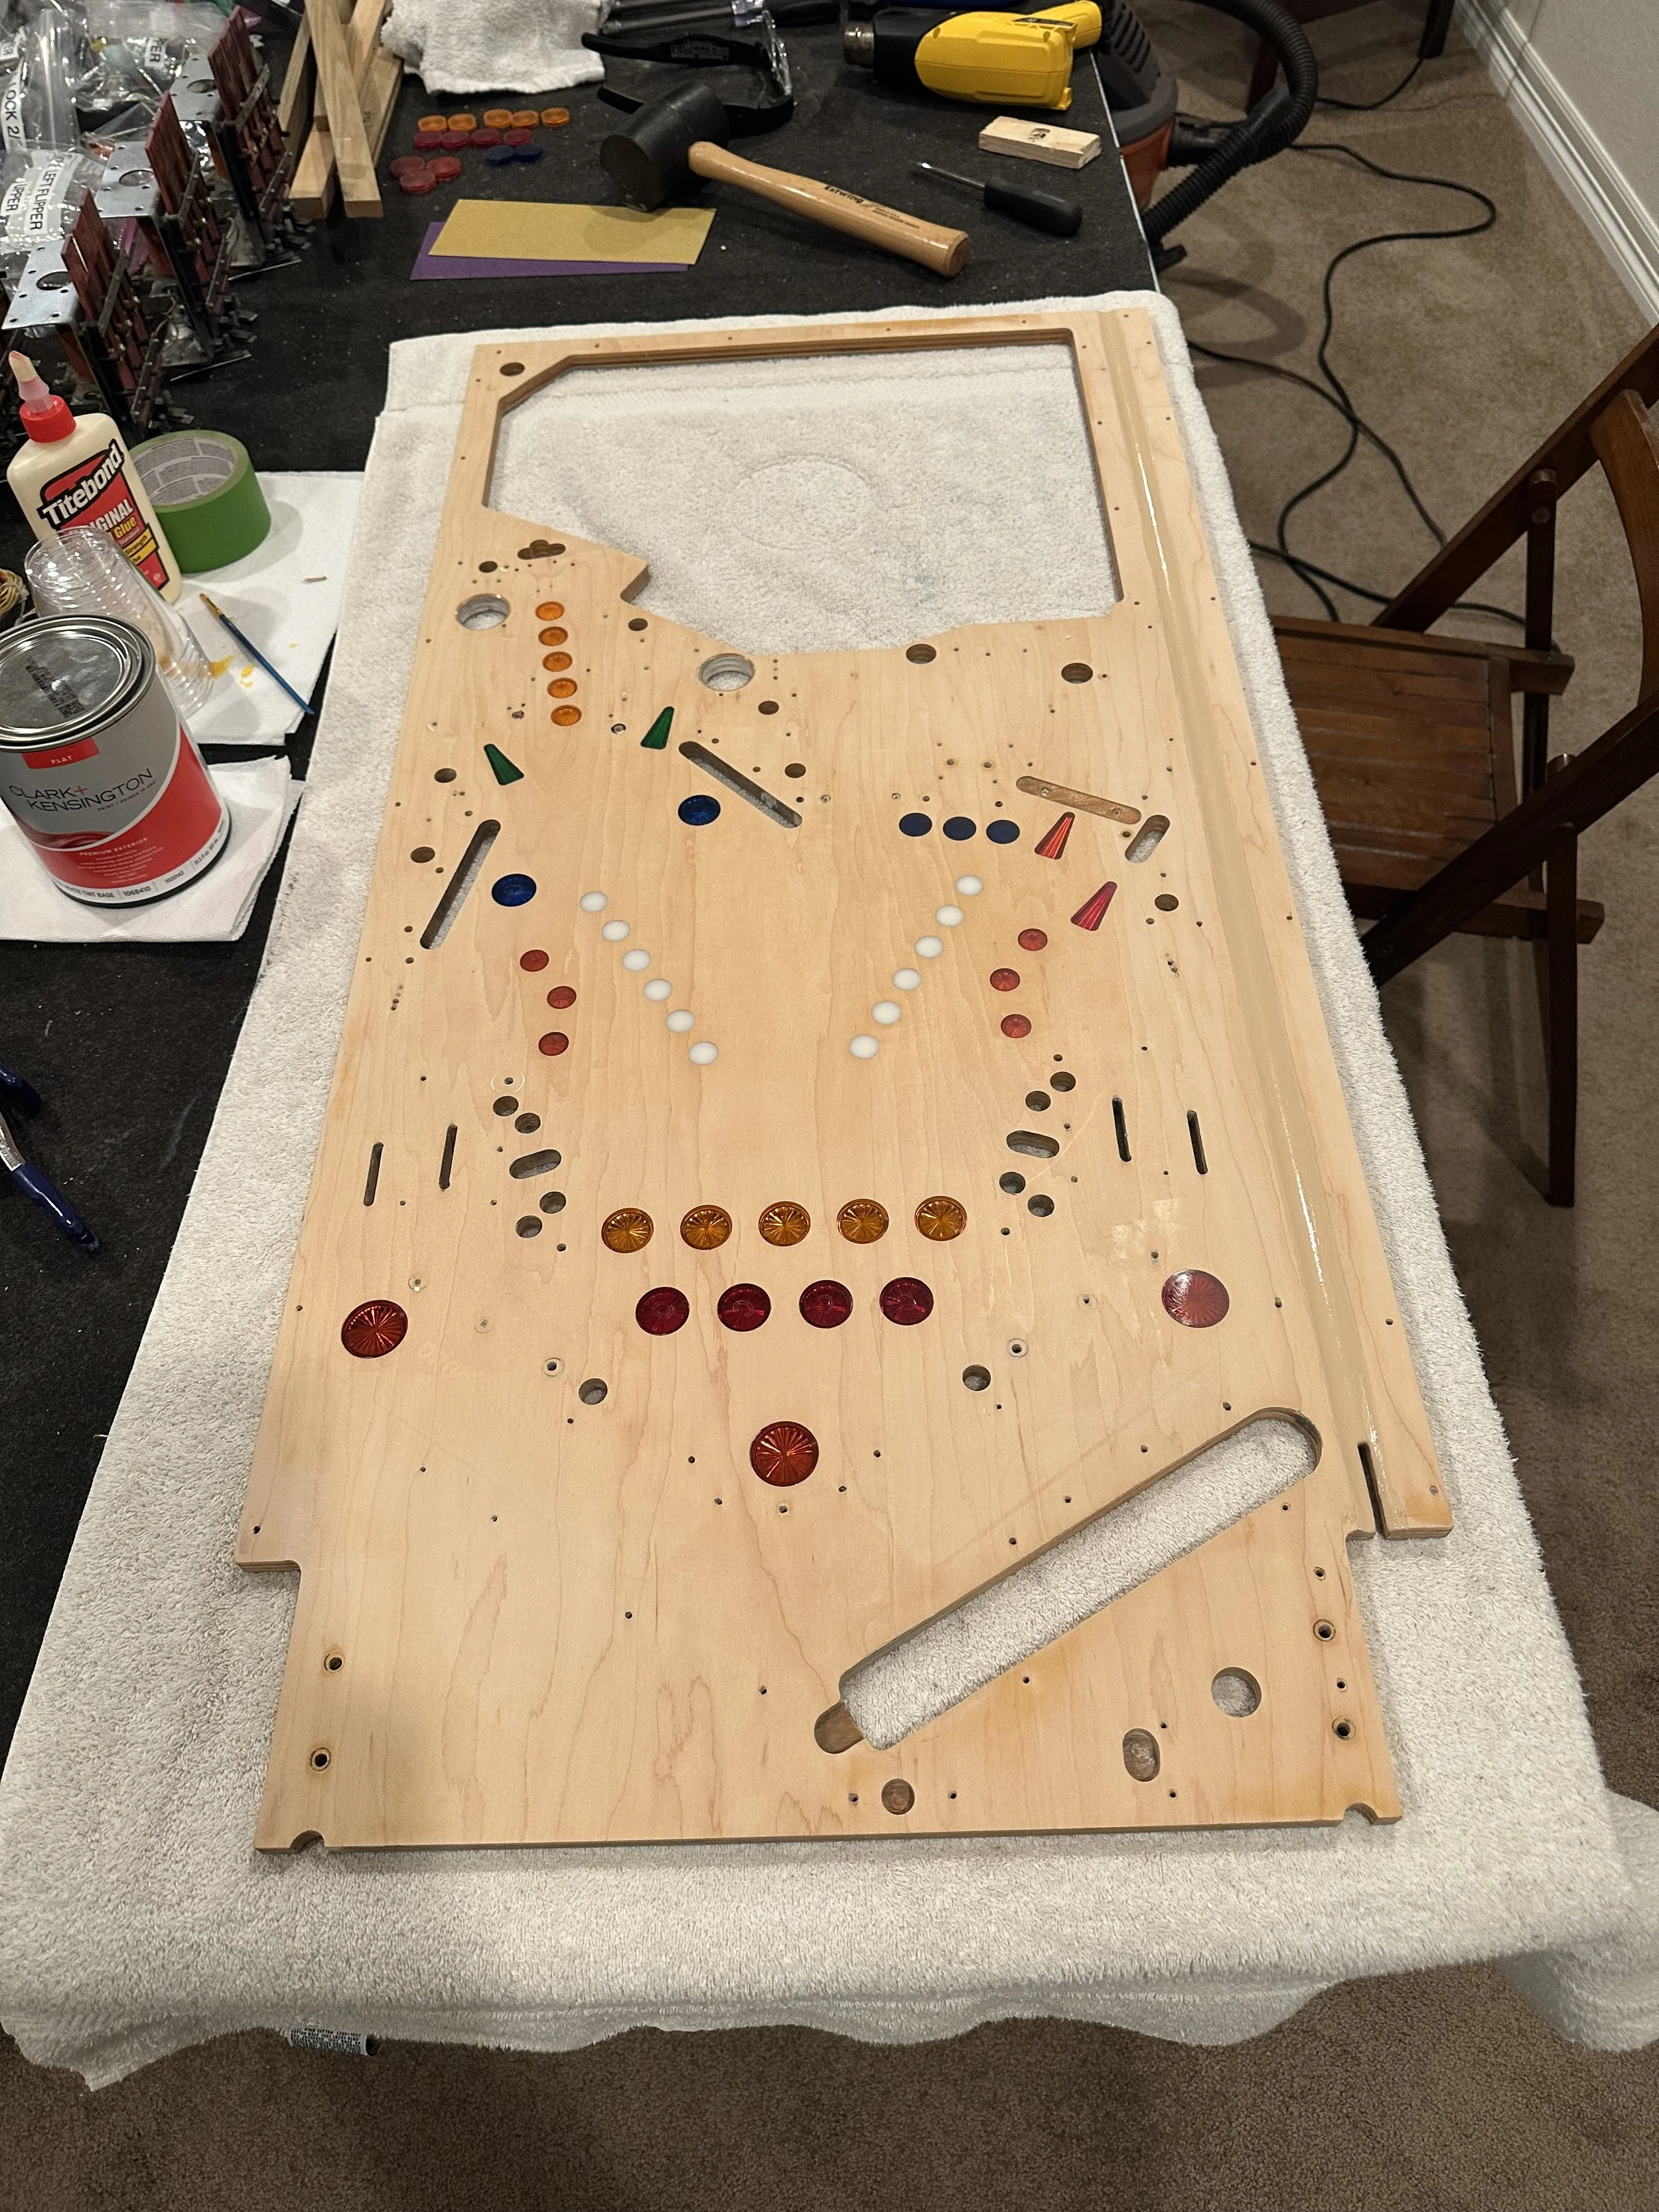
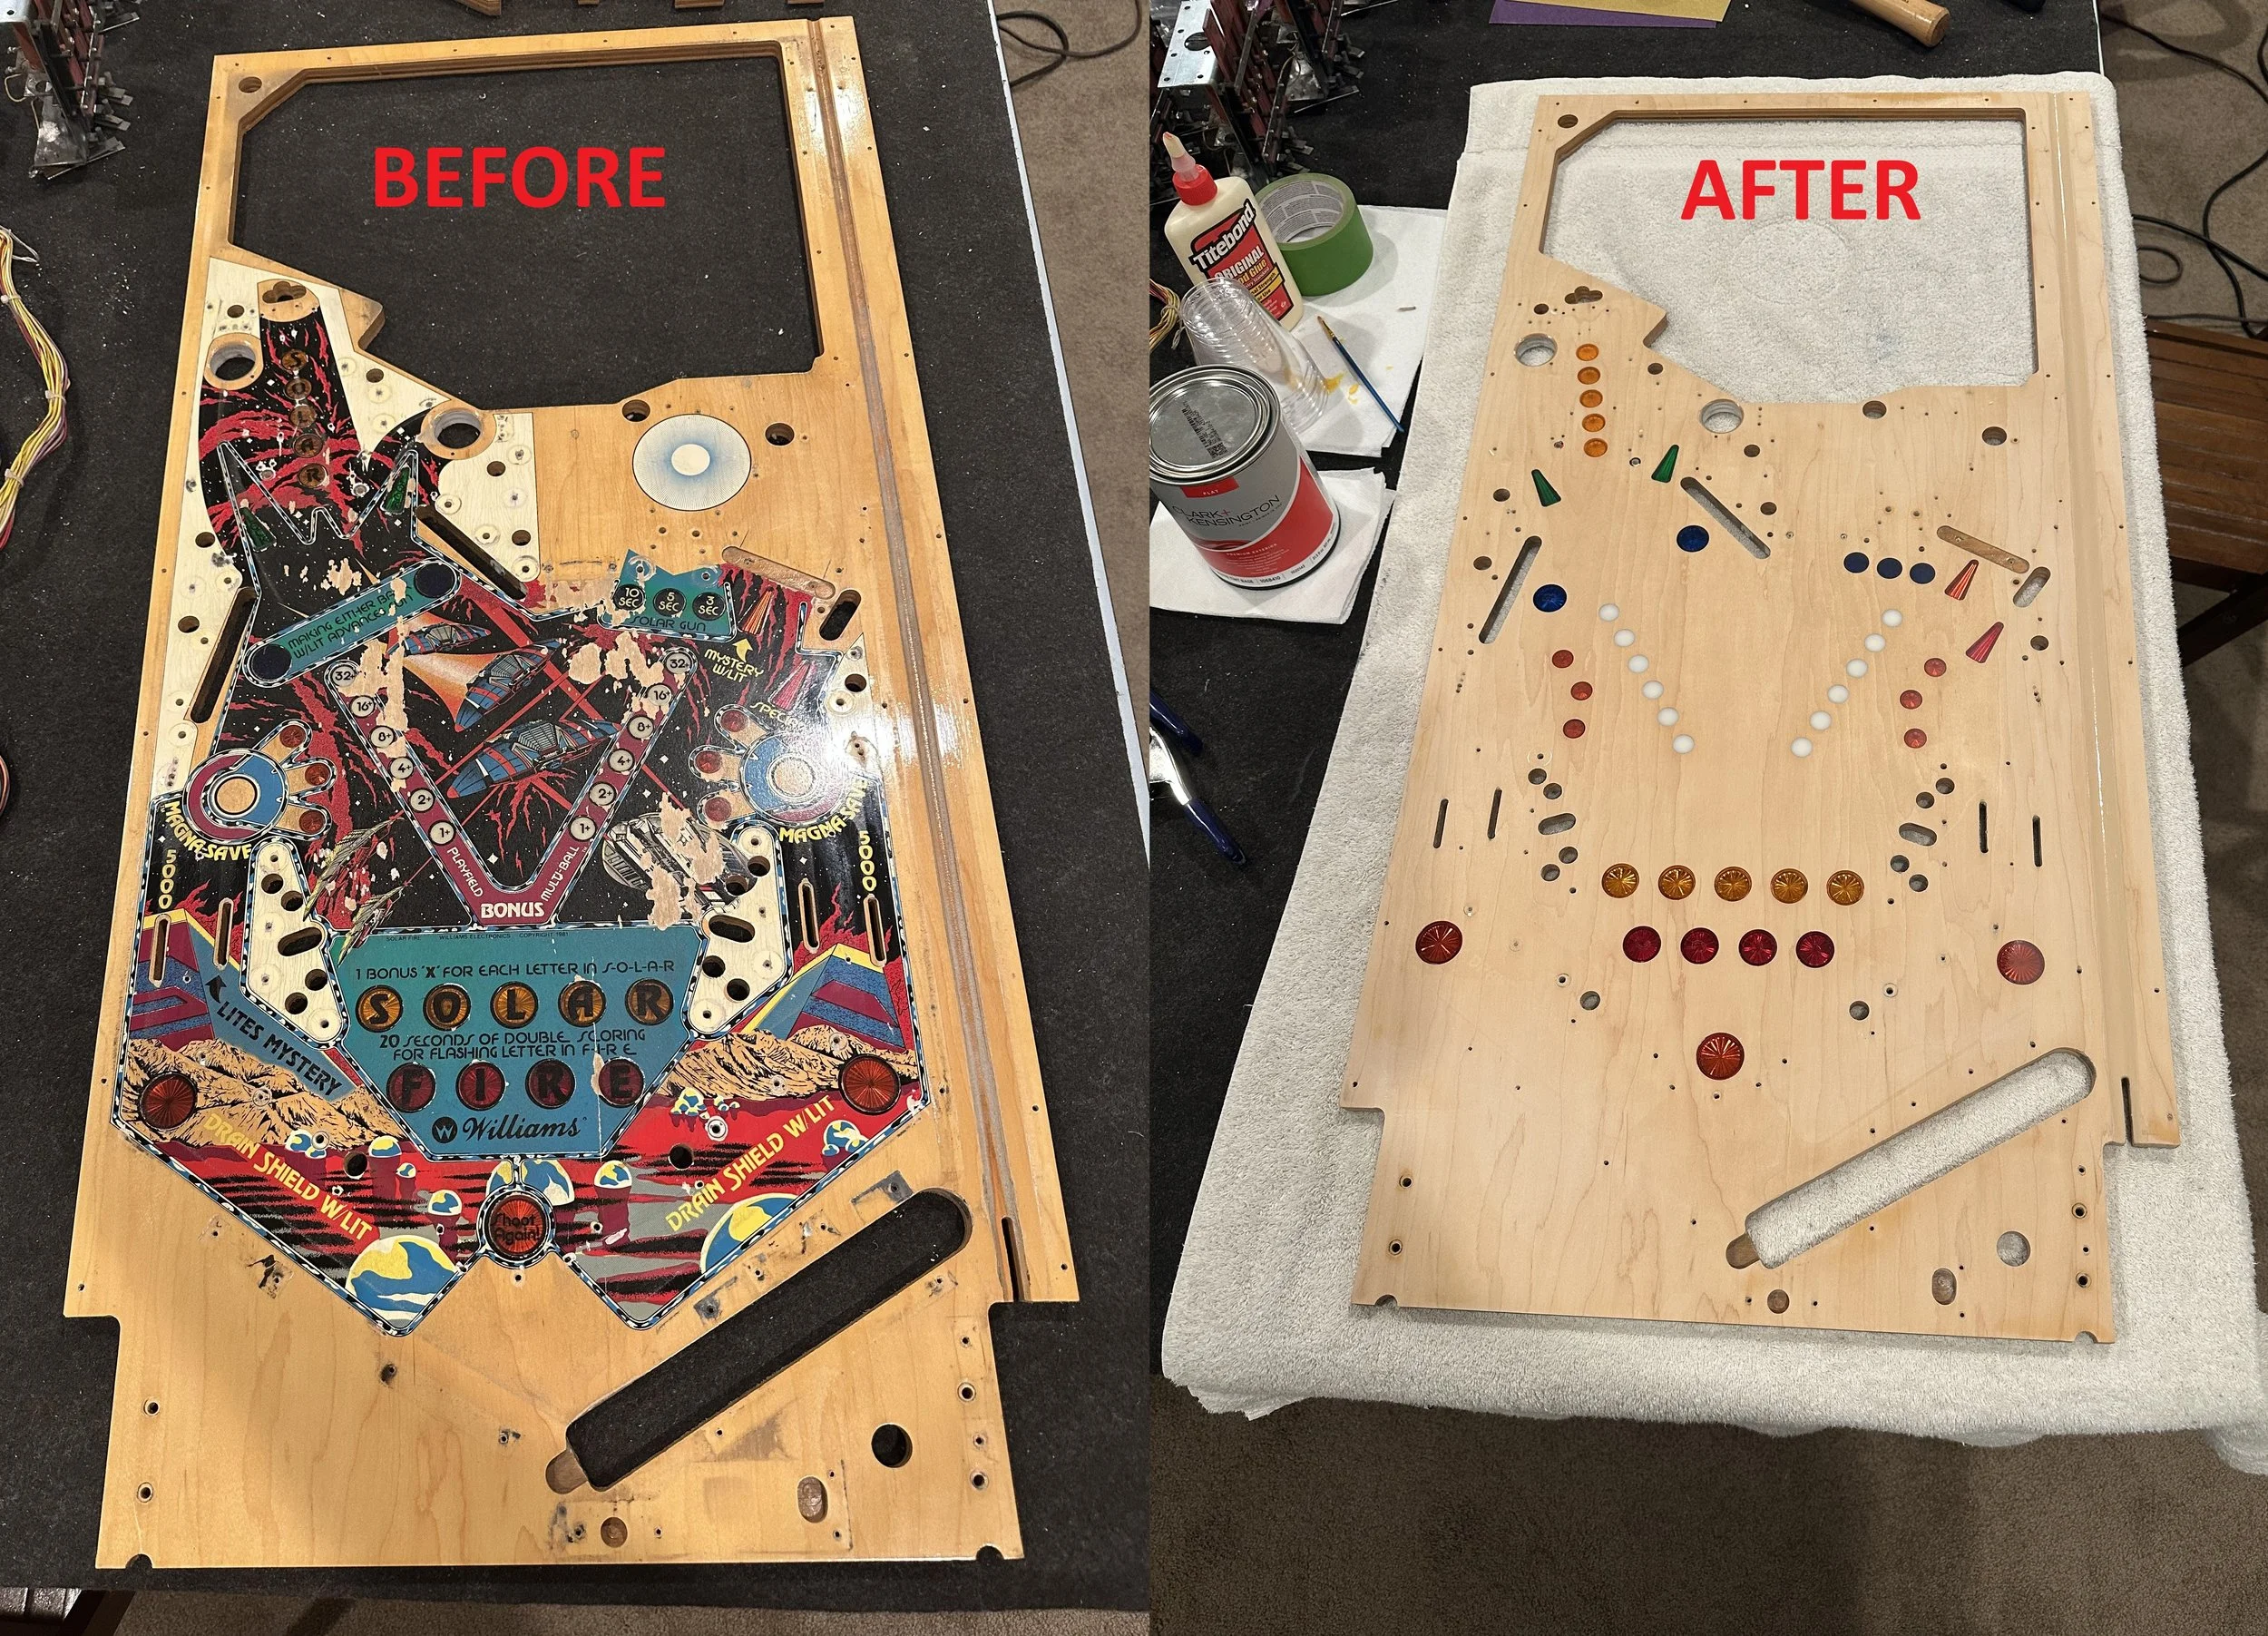
The new inserts look great - since I was sanding off all of the playfield artwork anyway in preparation of the hardtop install, I was able to sand down level and polish up the new inserts to be flush with the playfield surface.
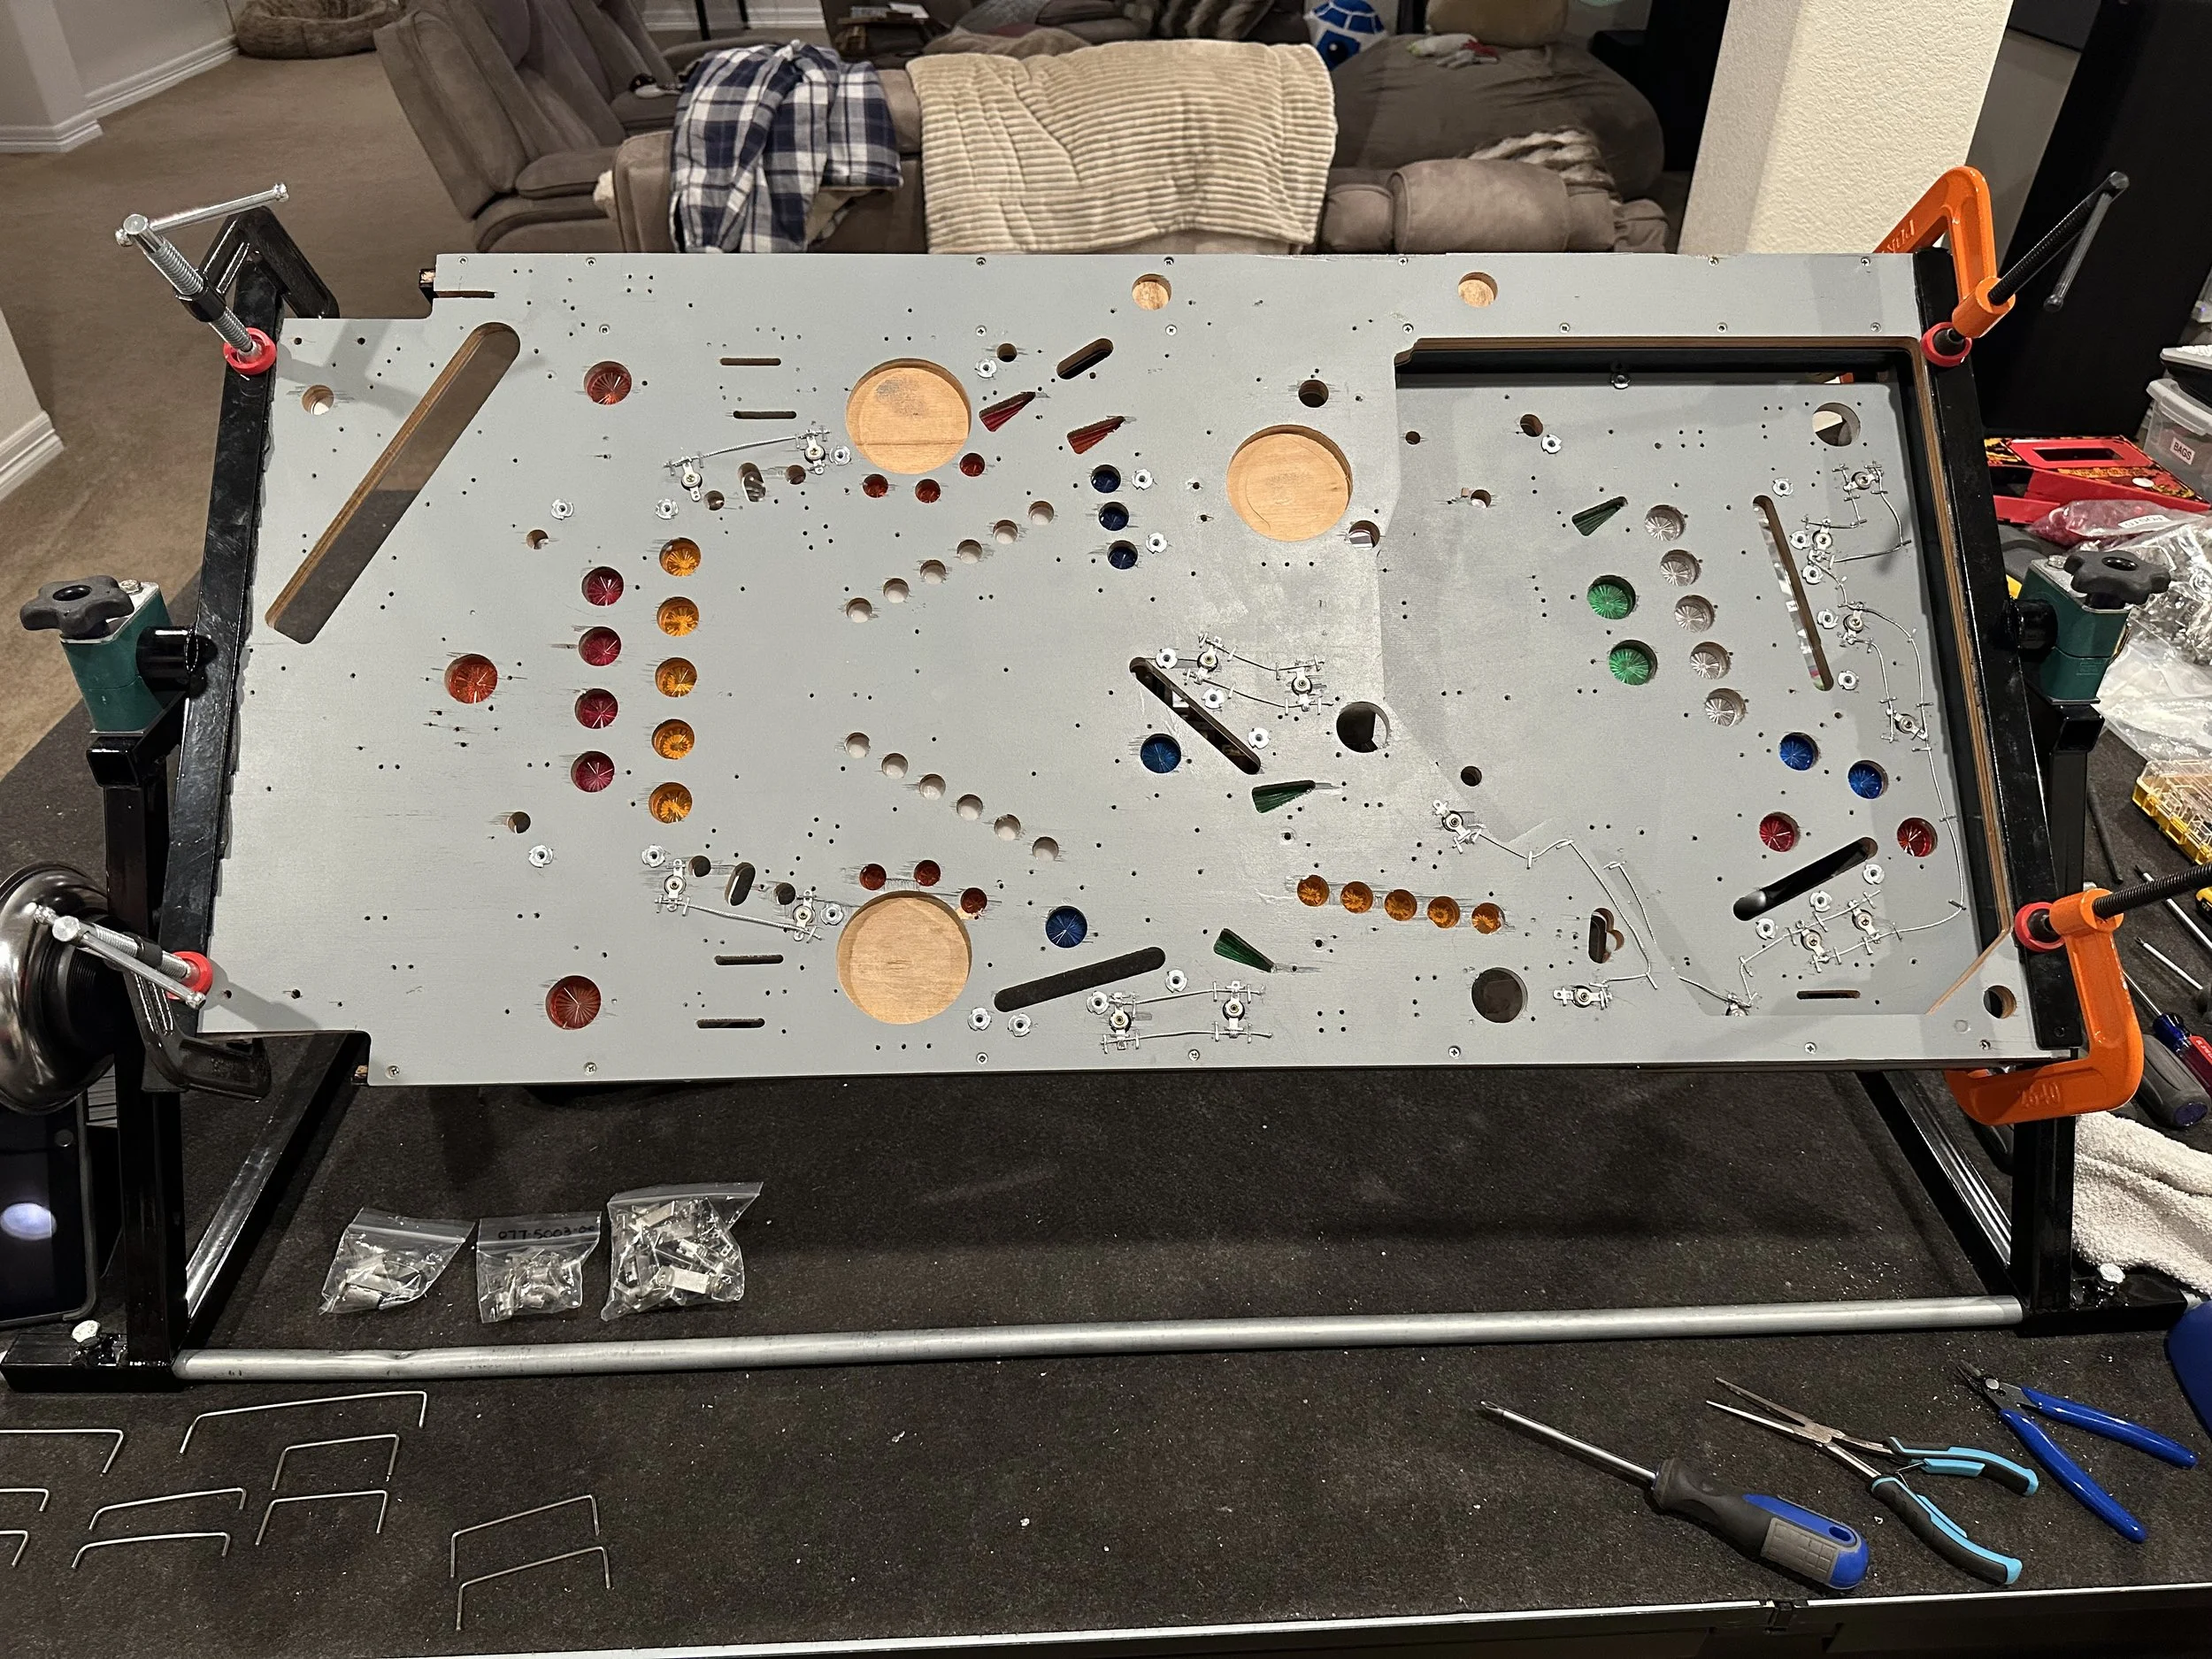
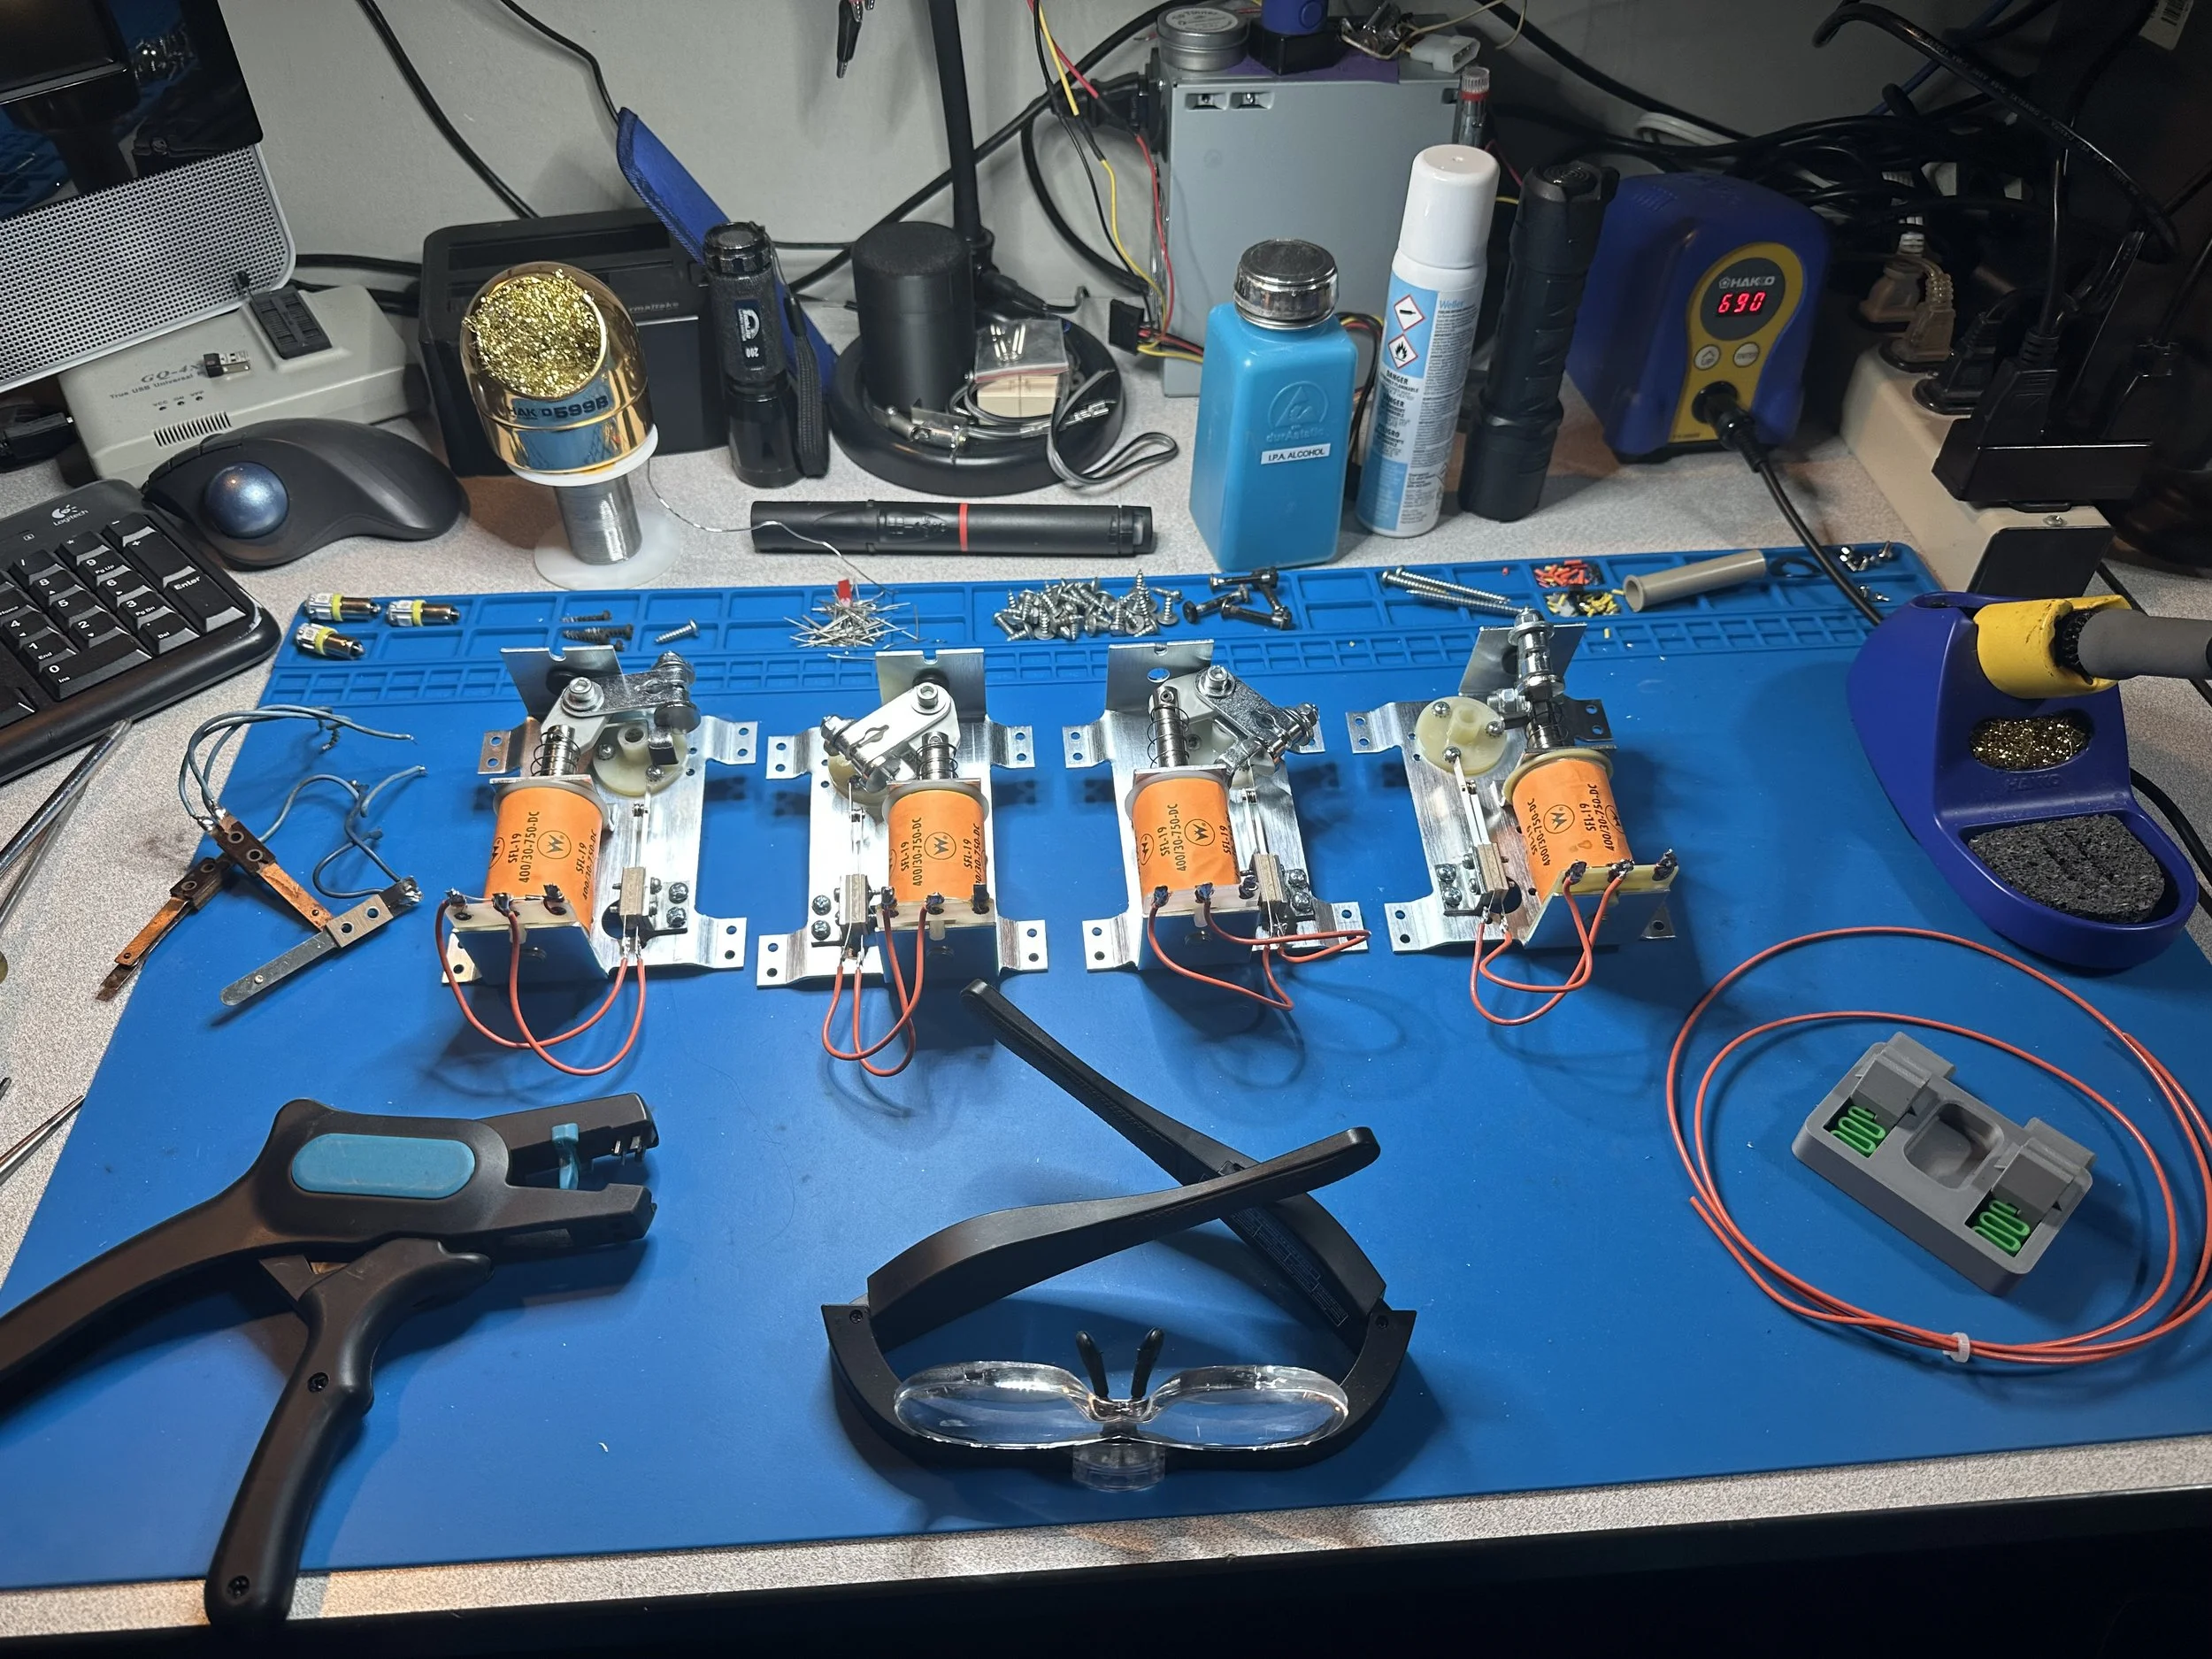
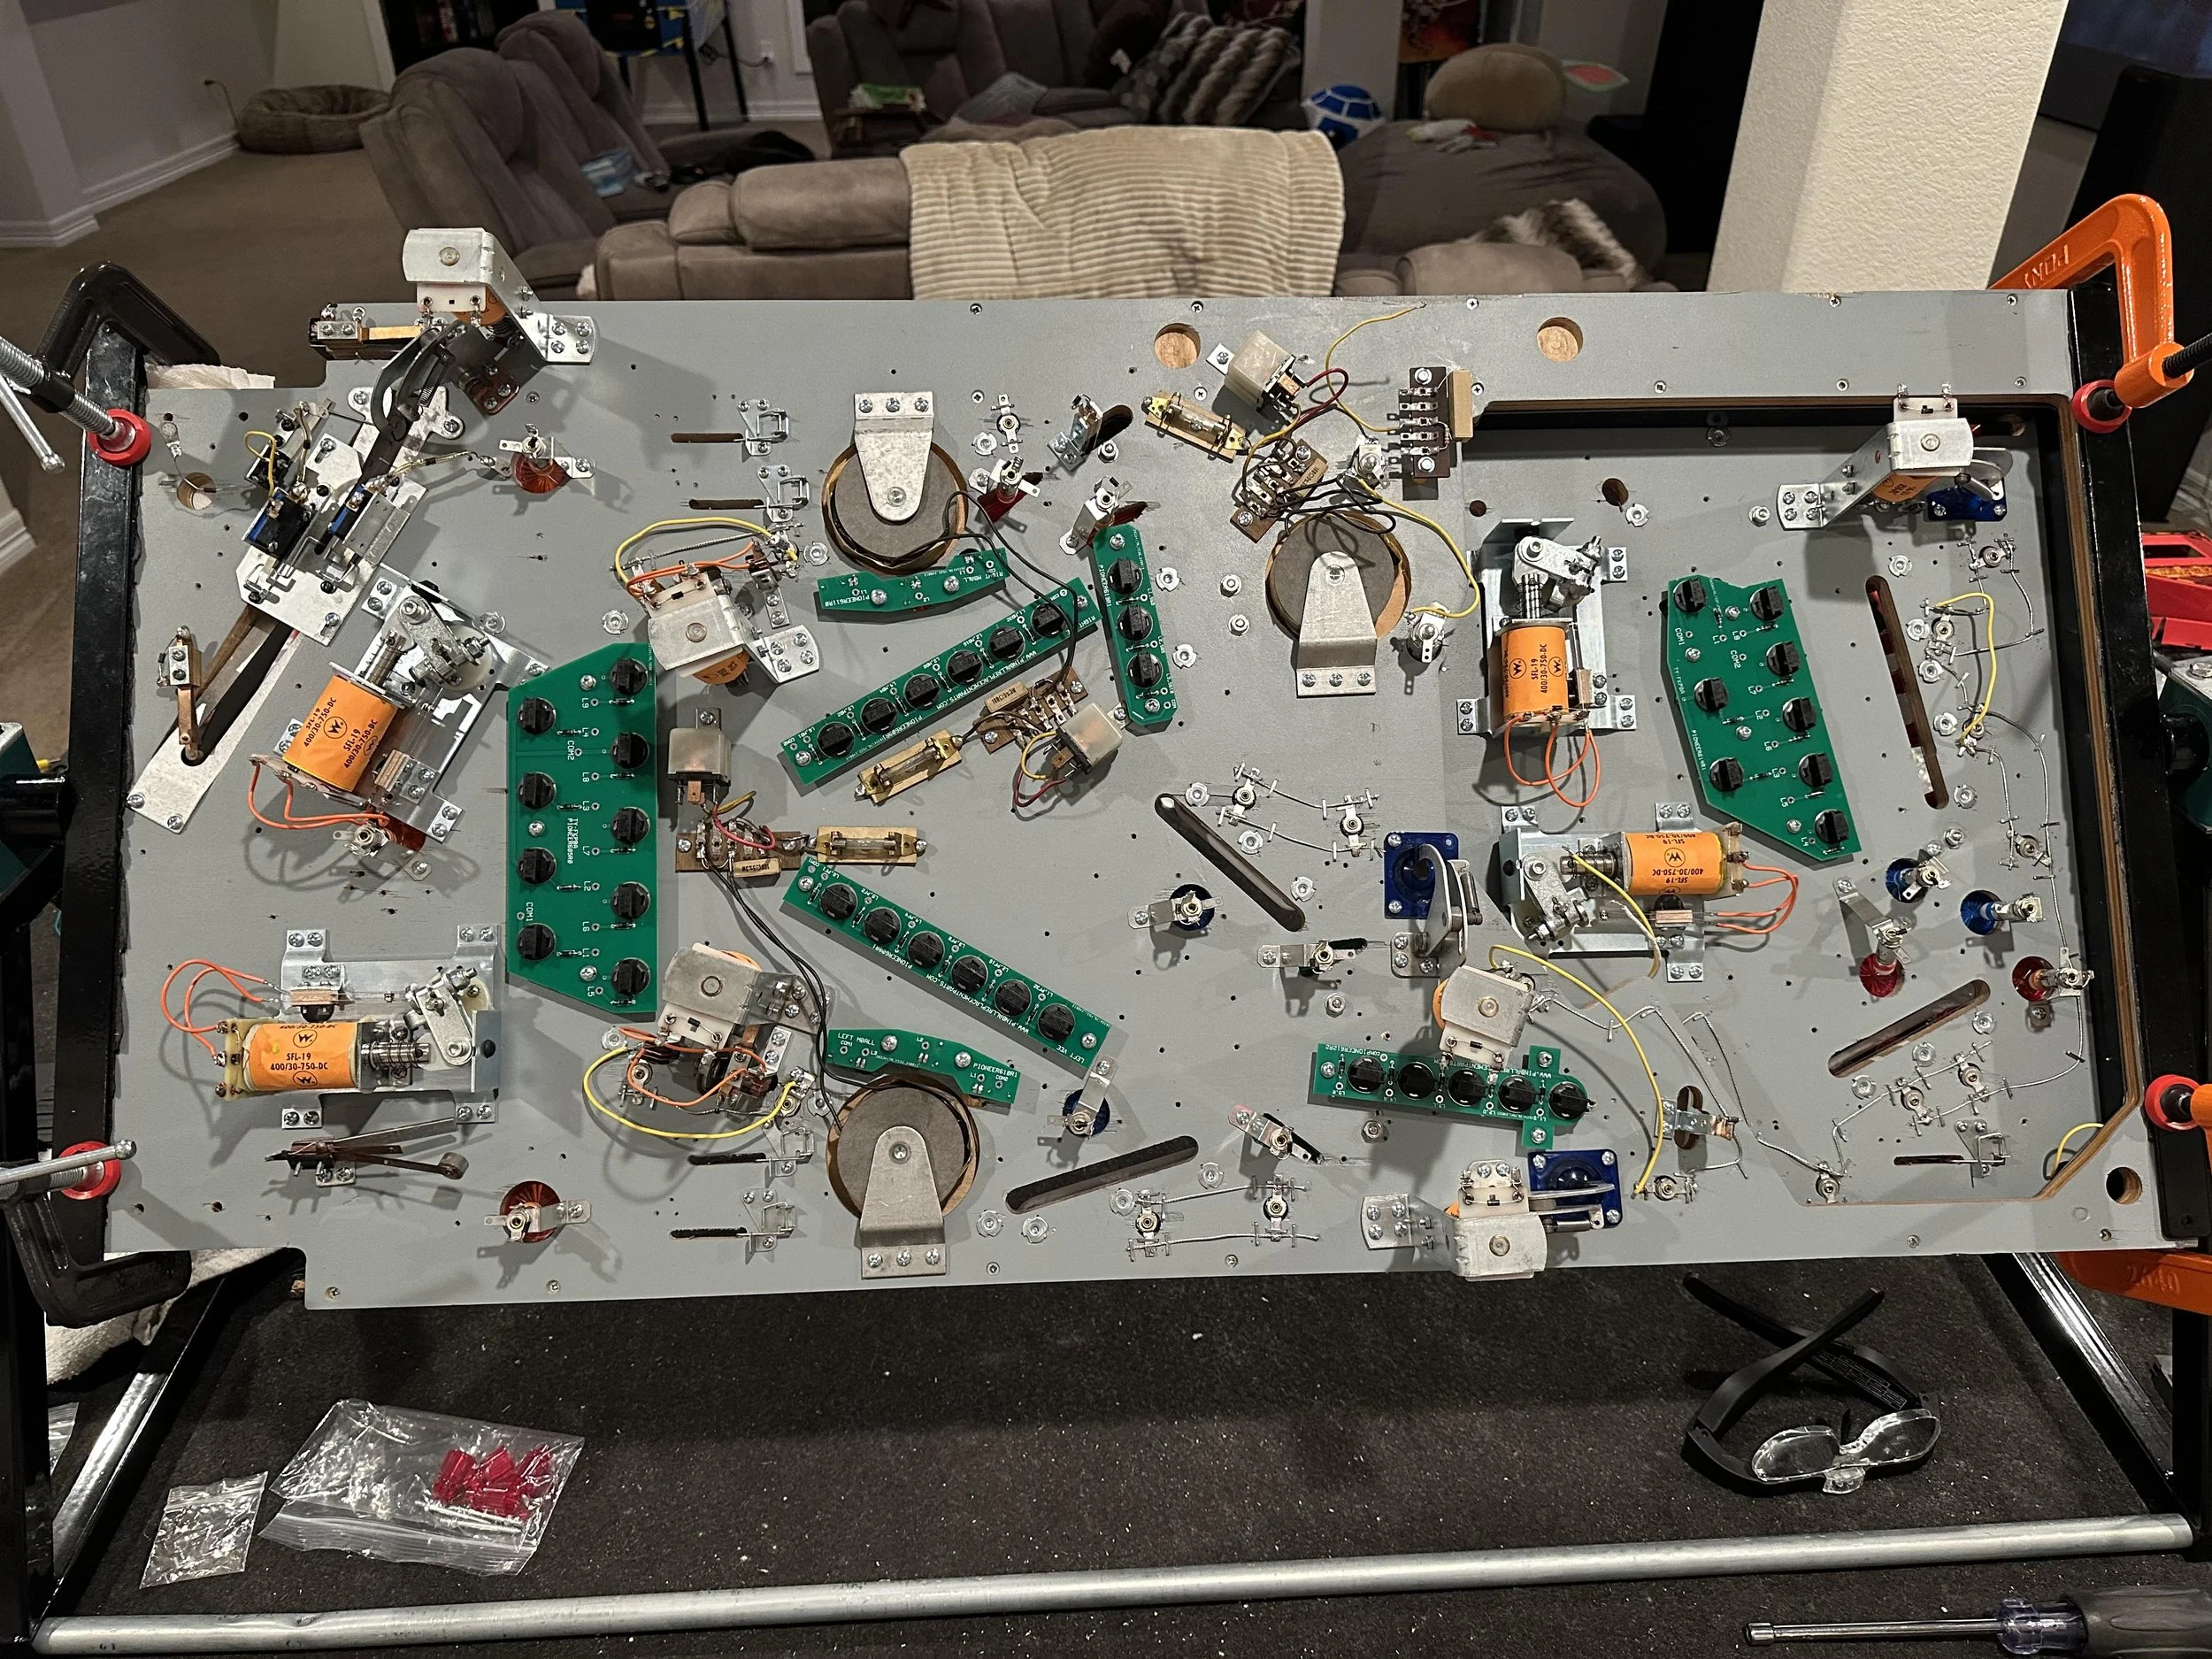
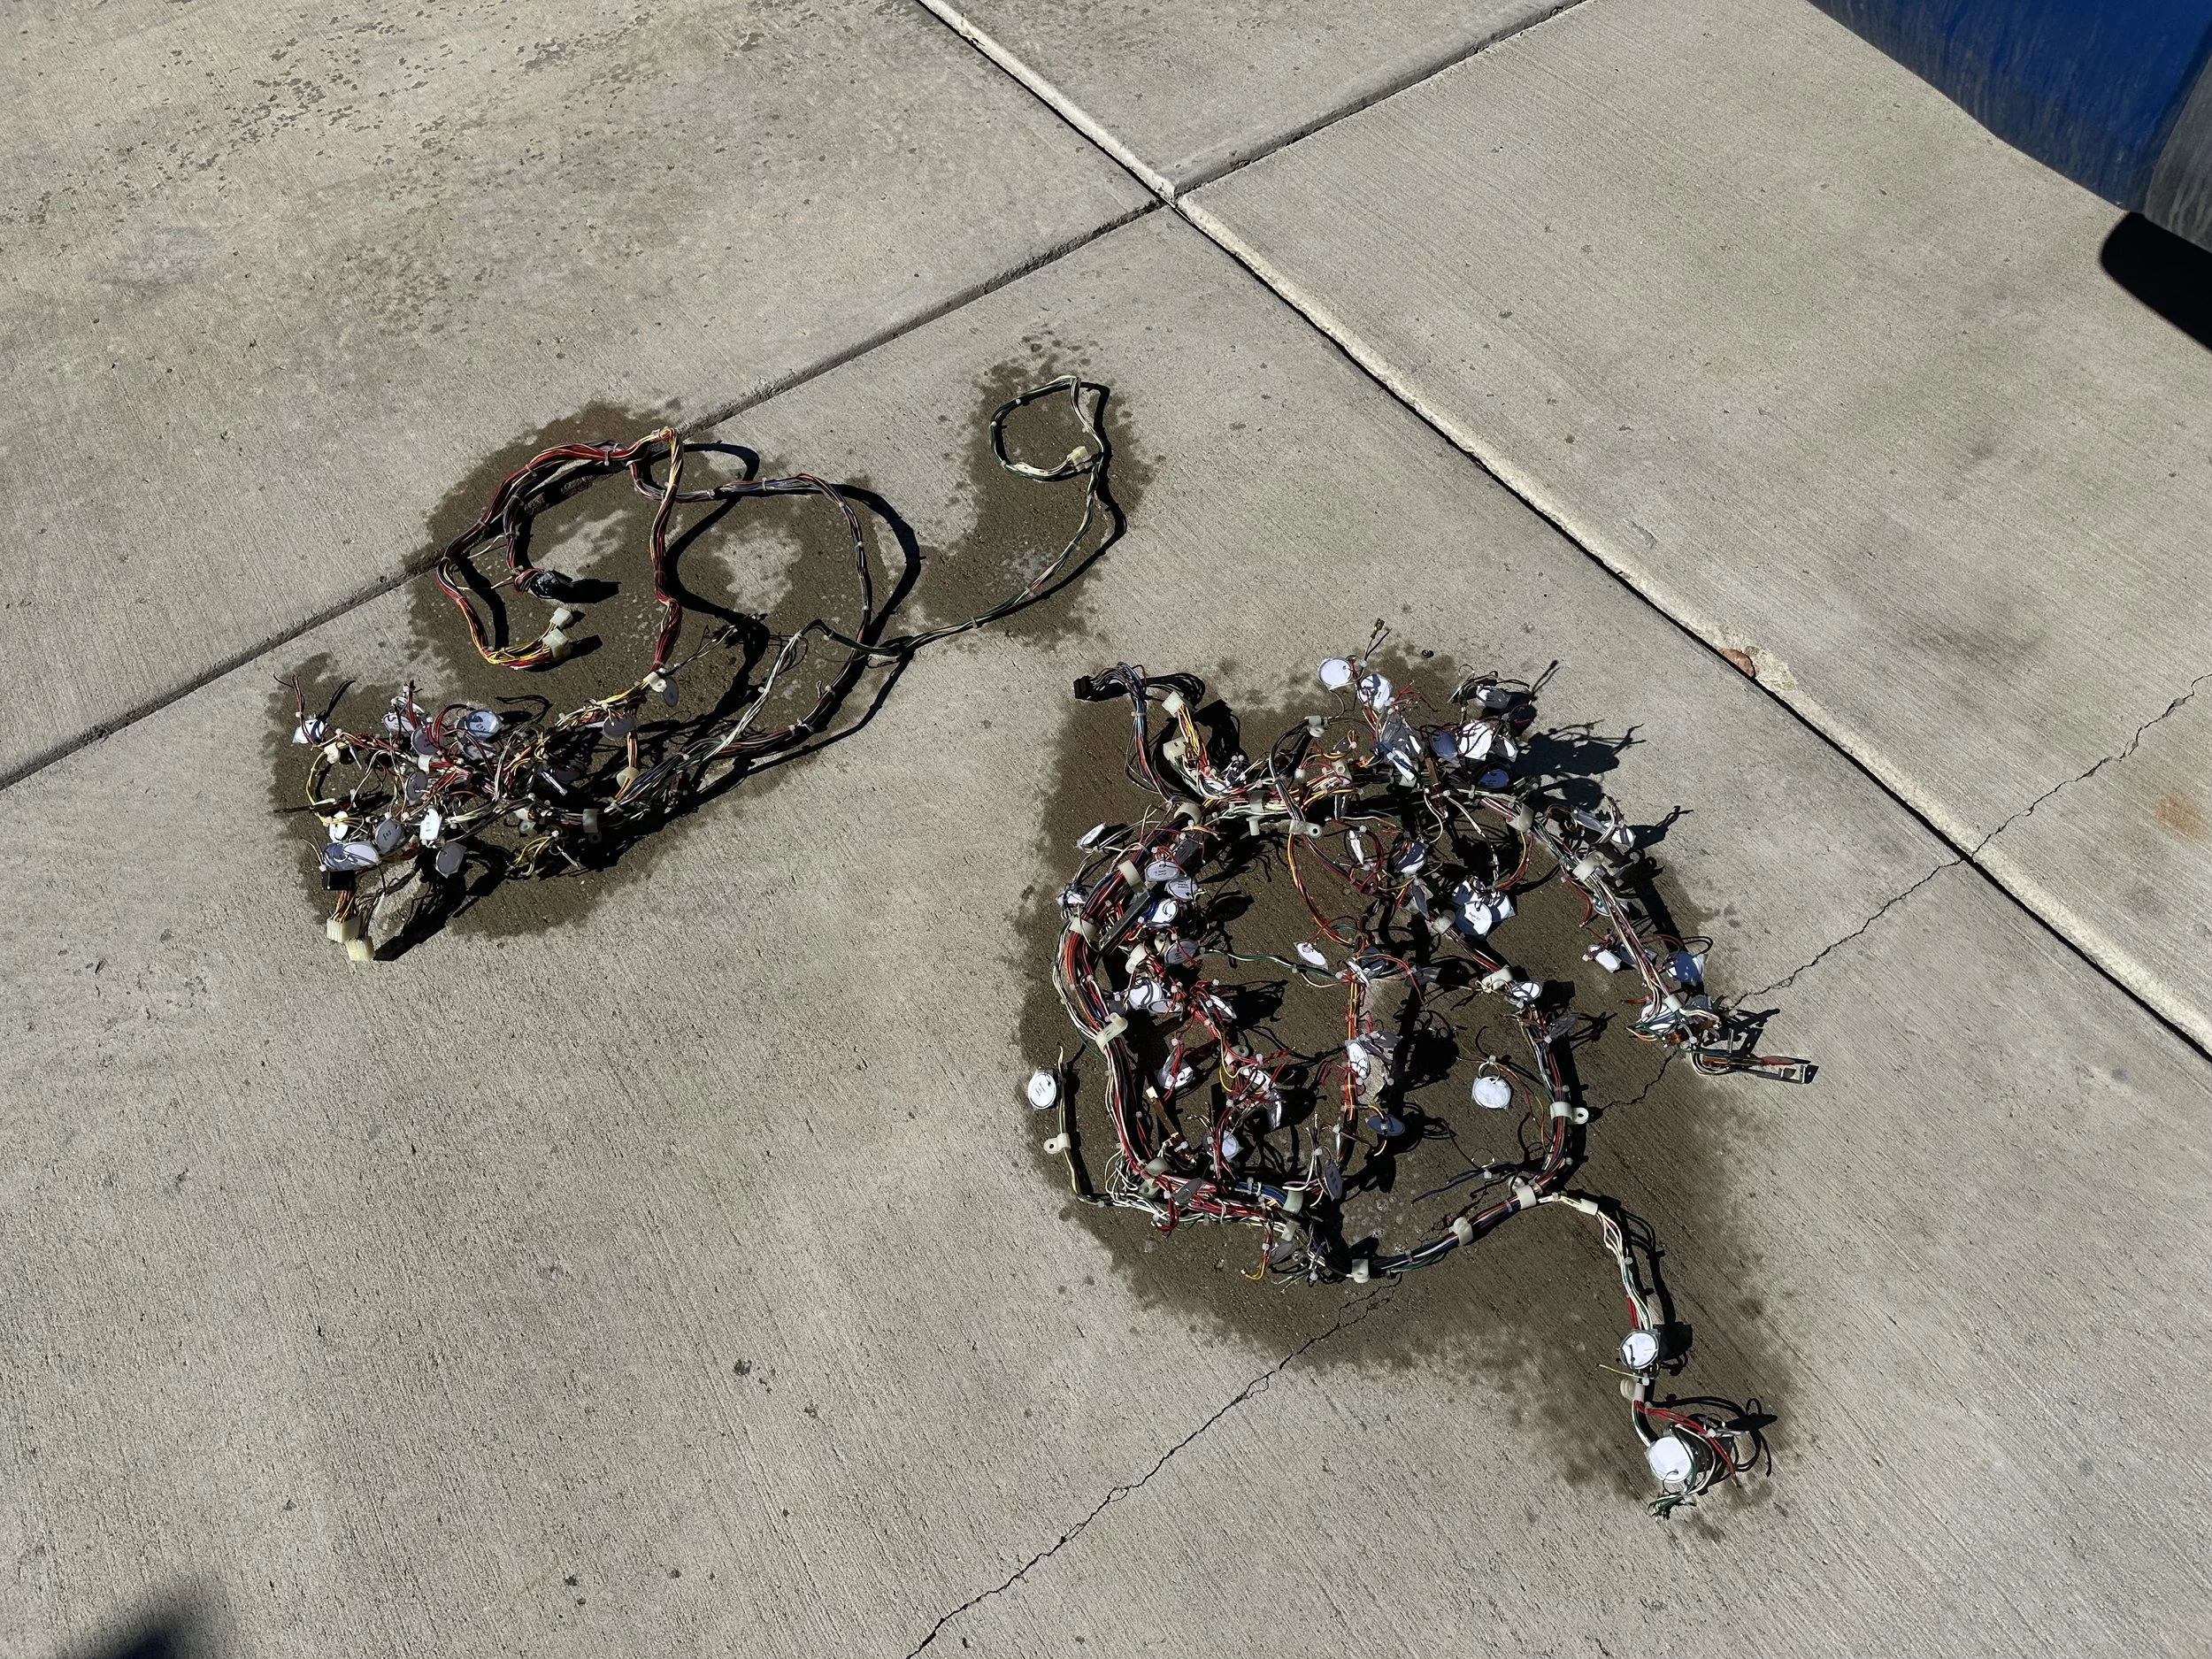
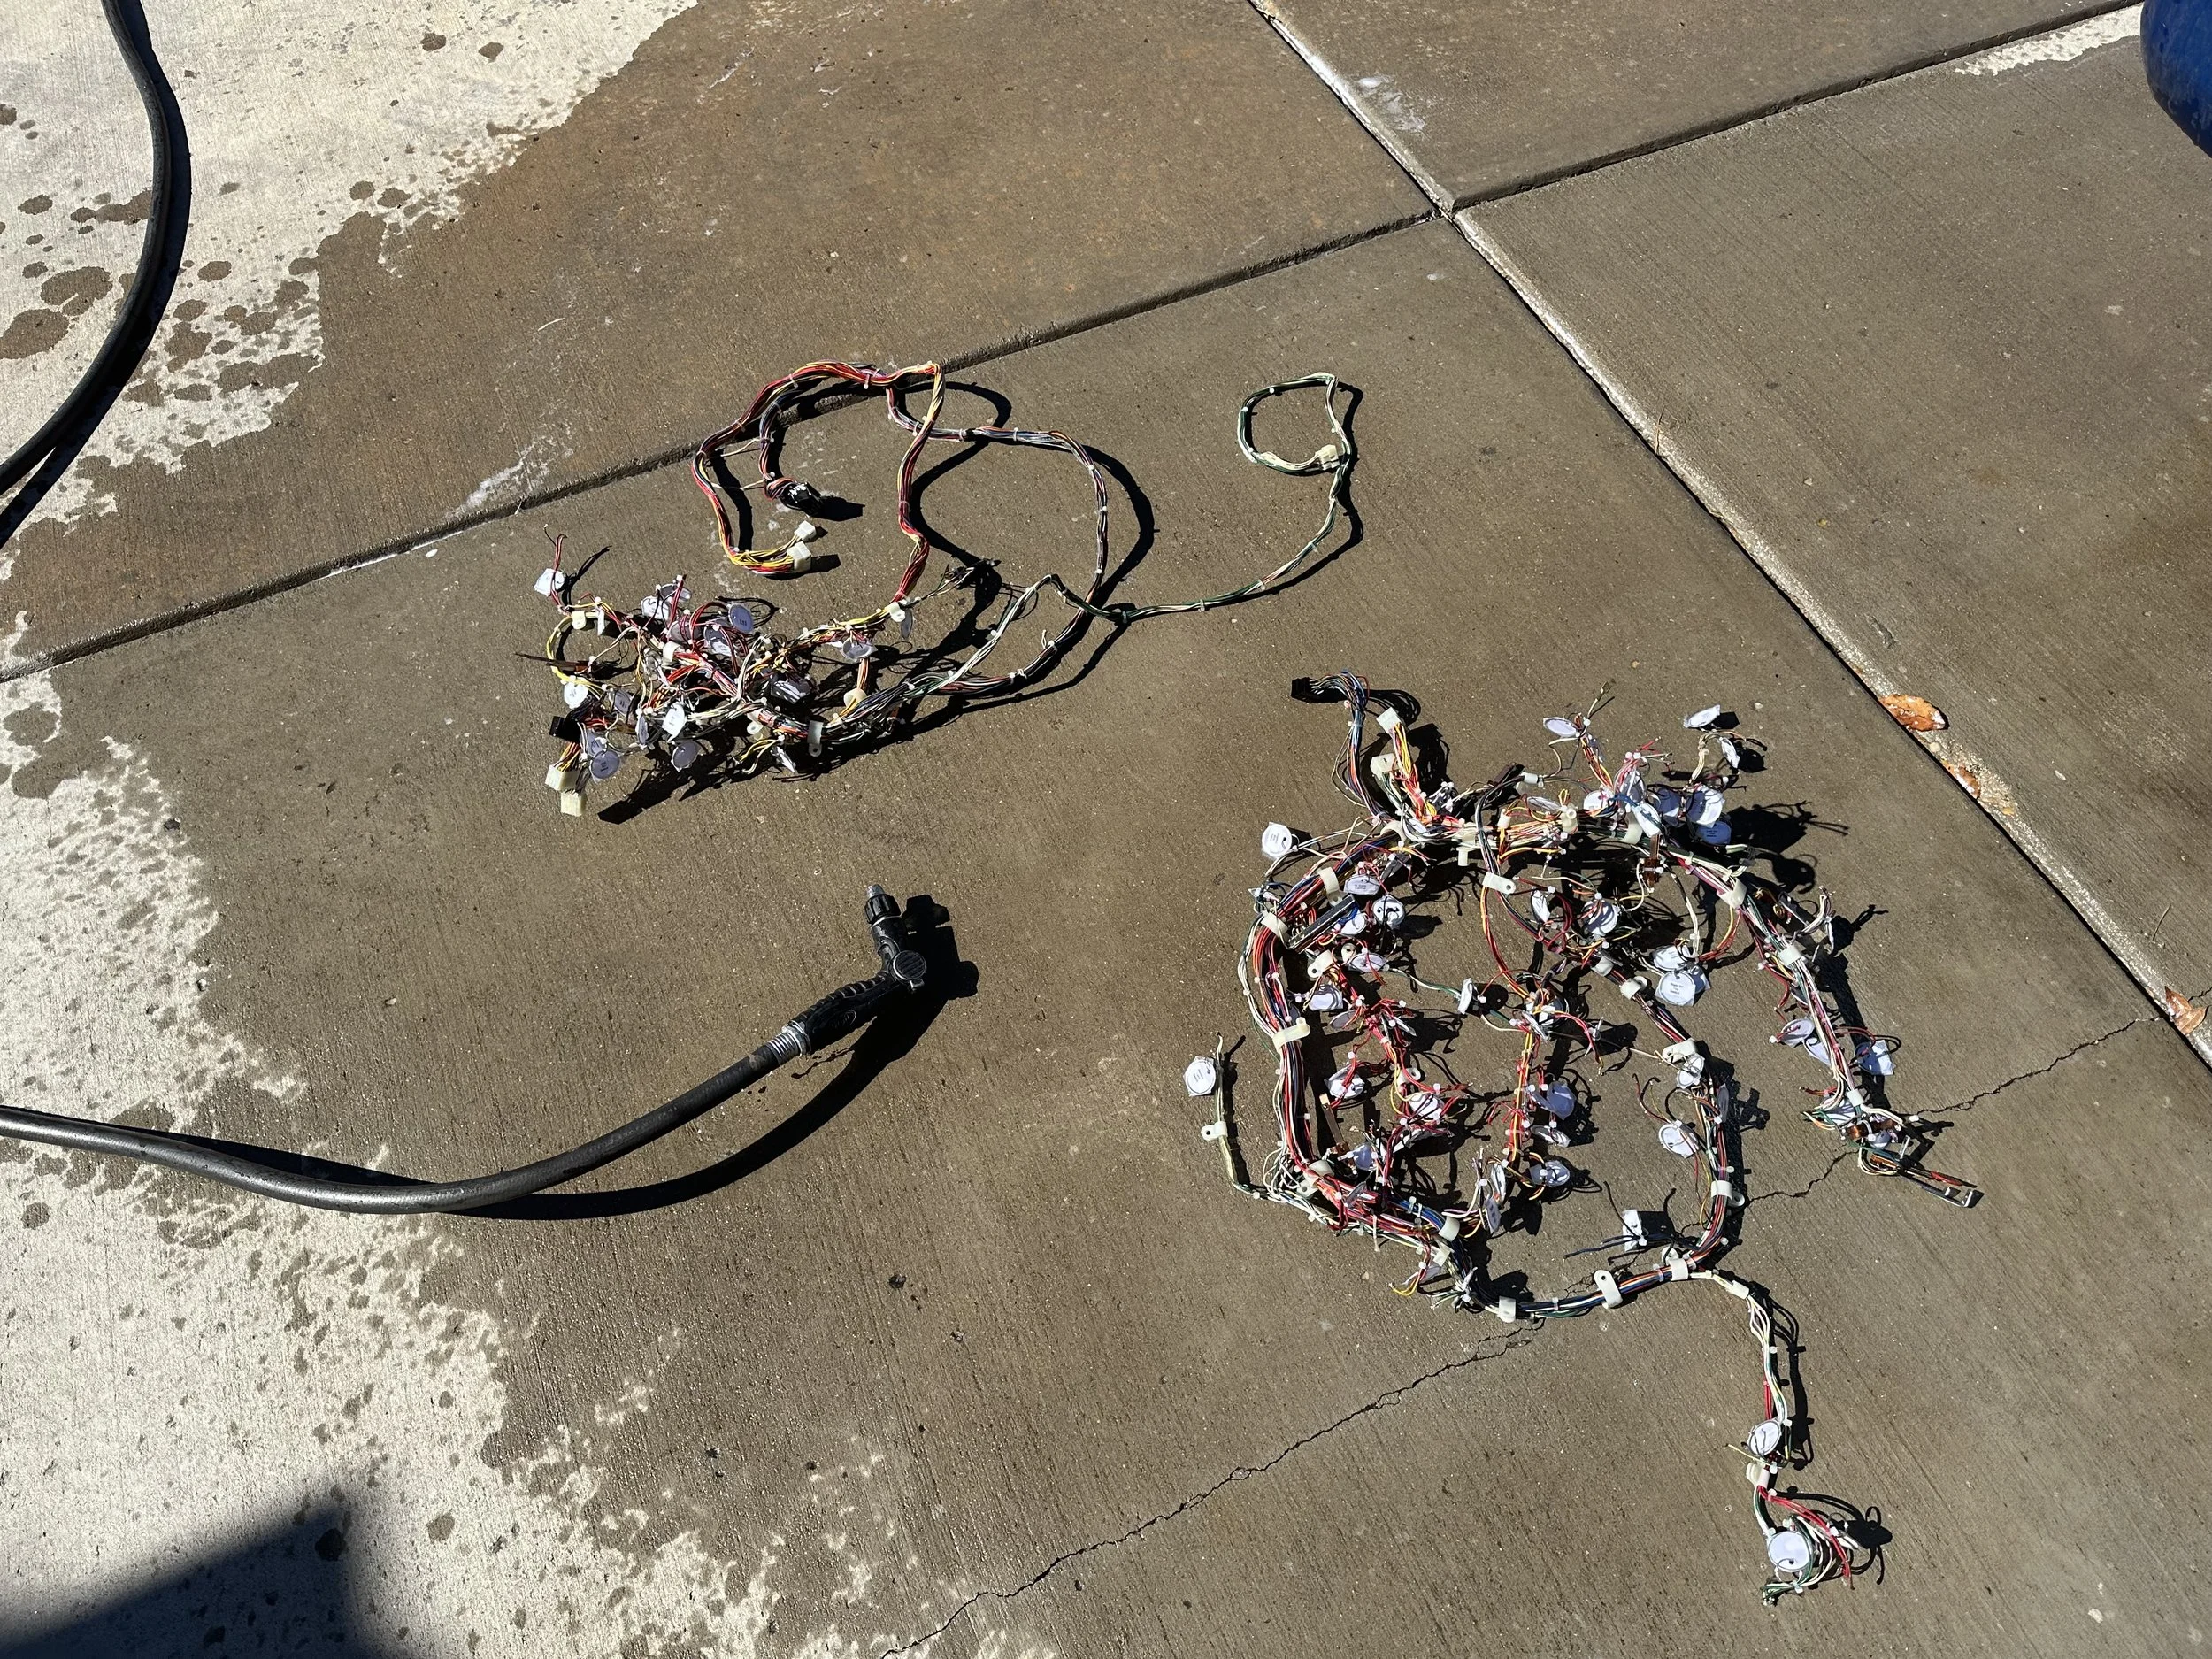
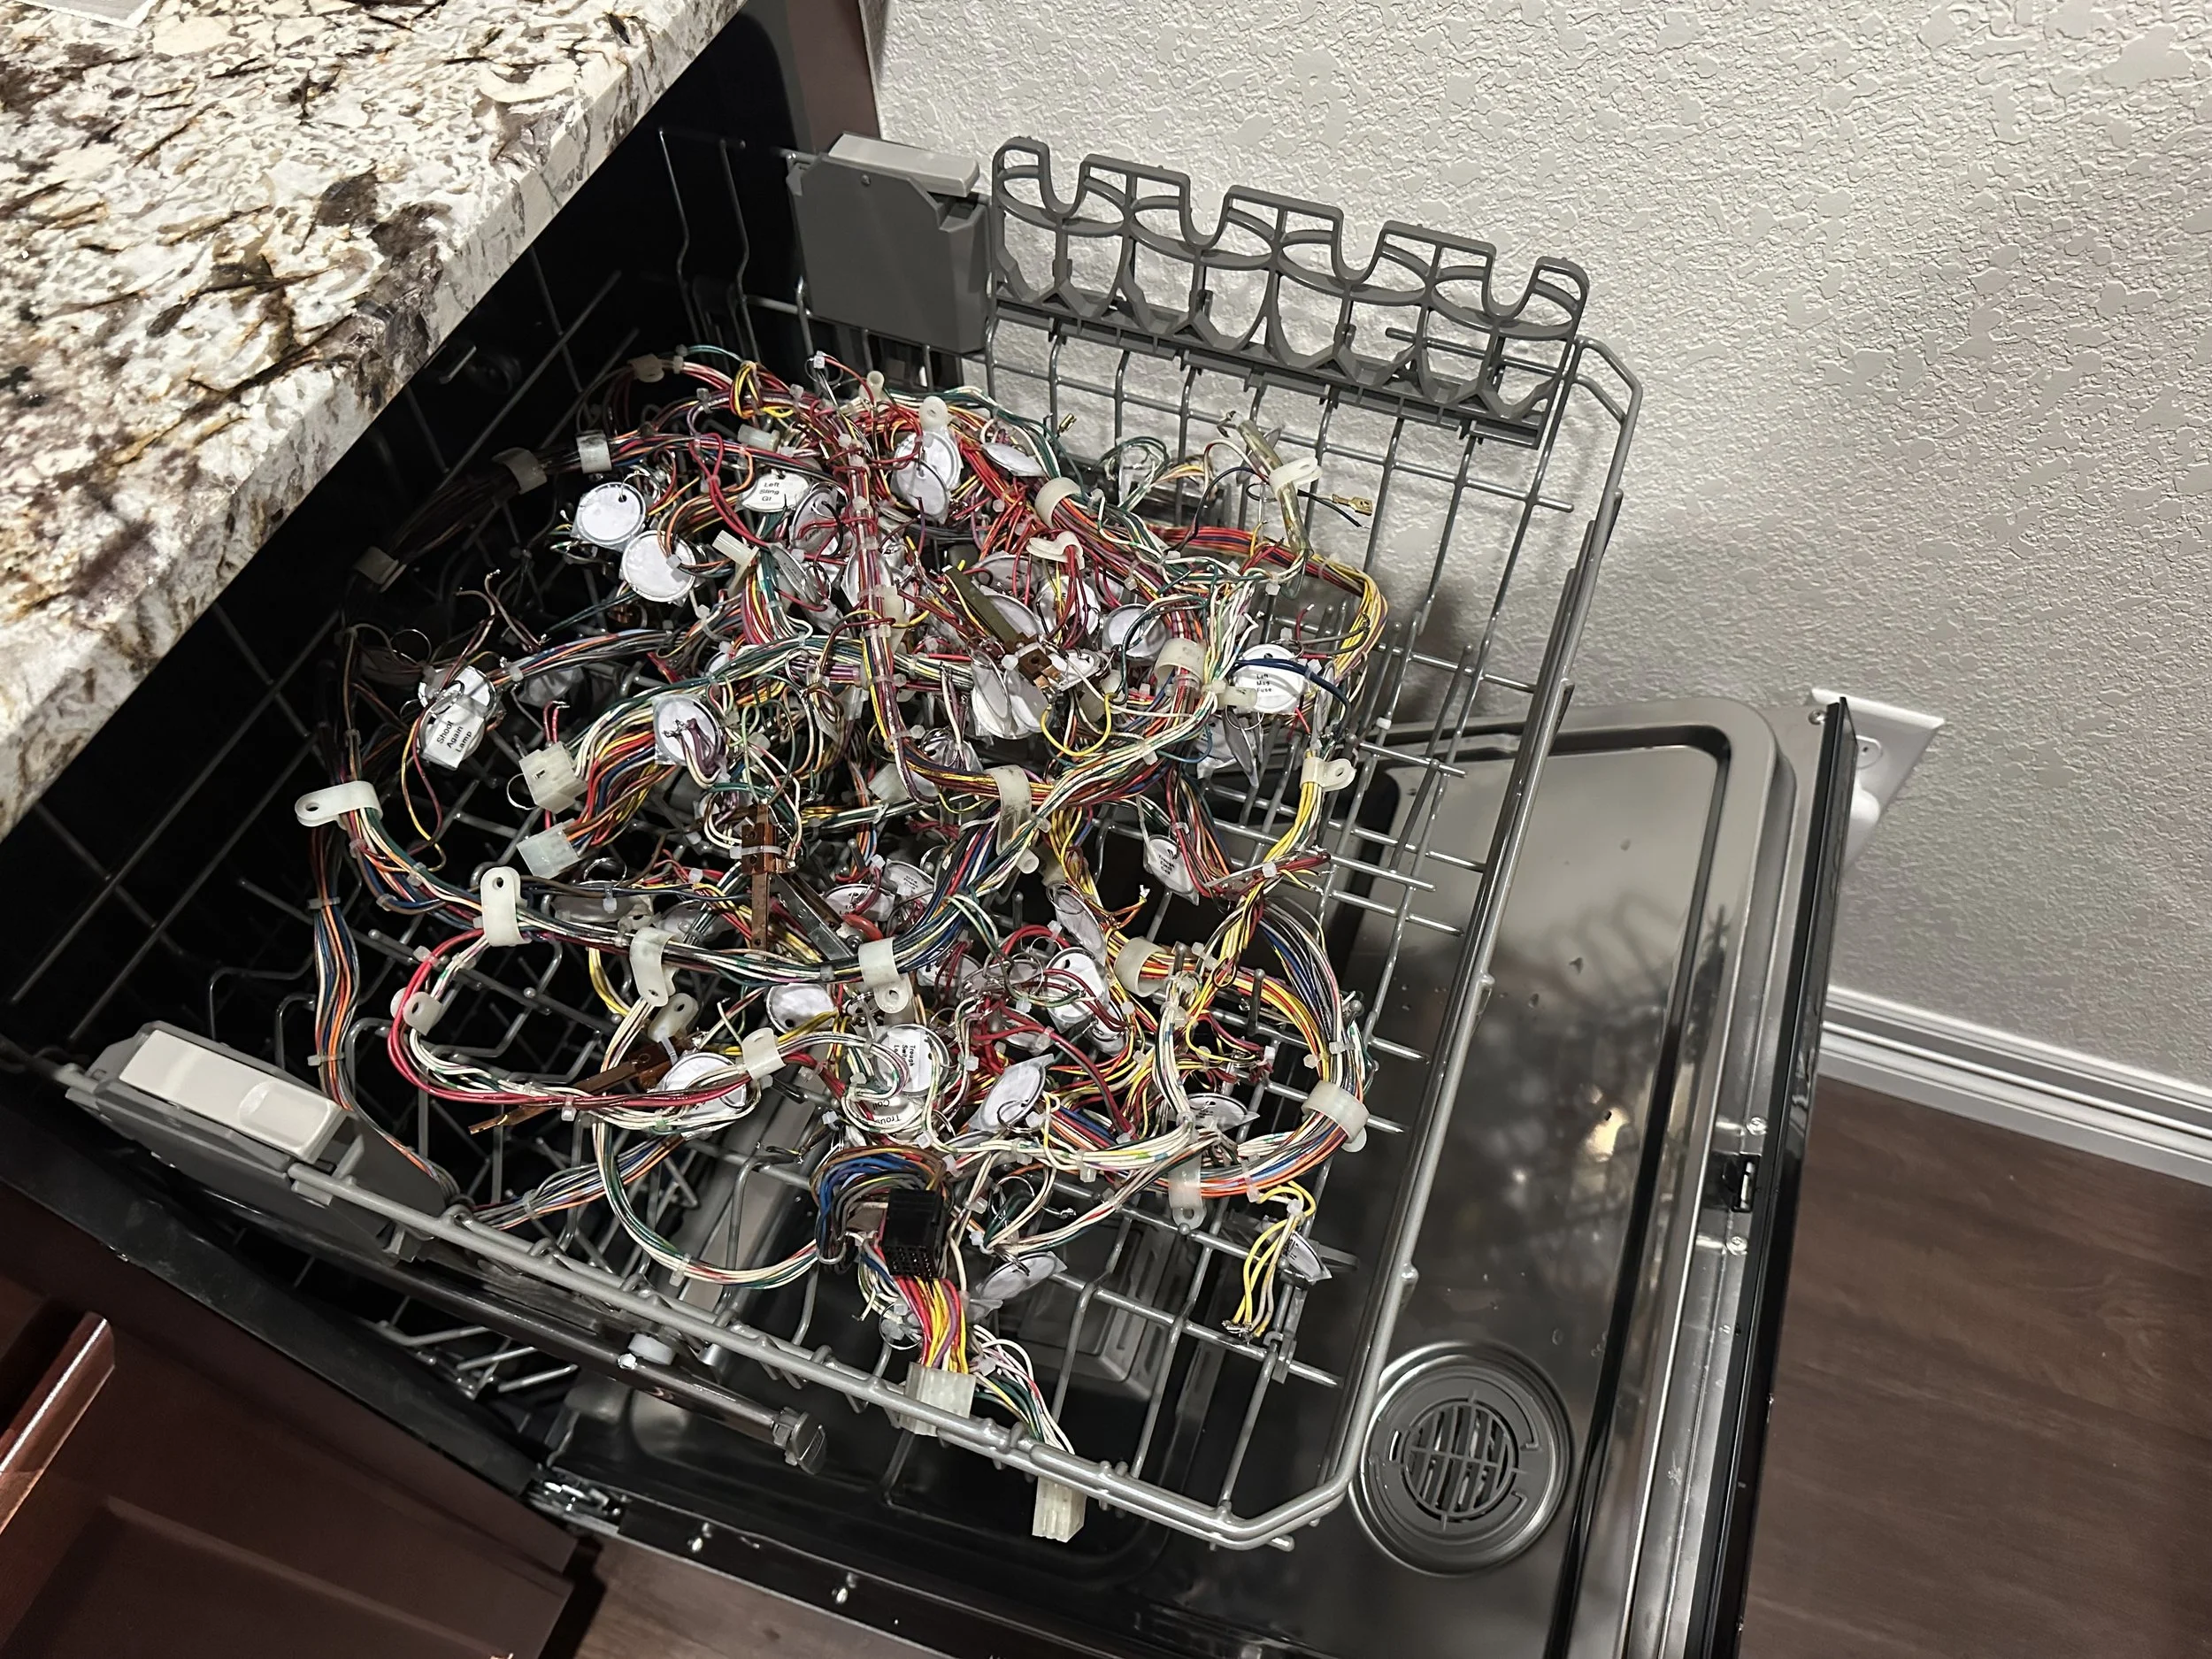
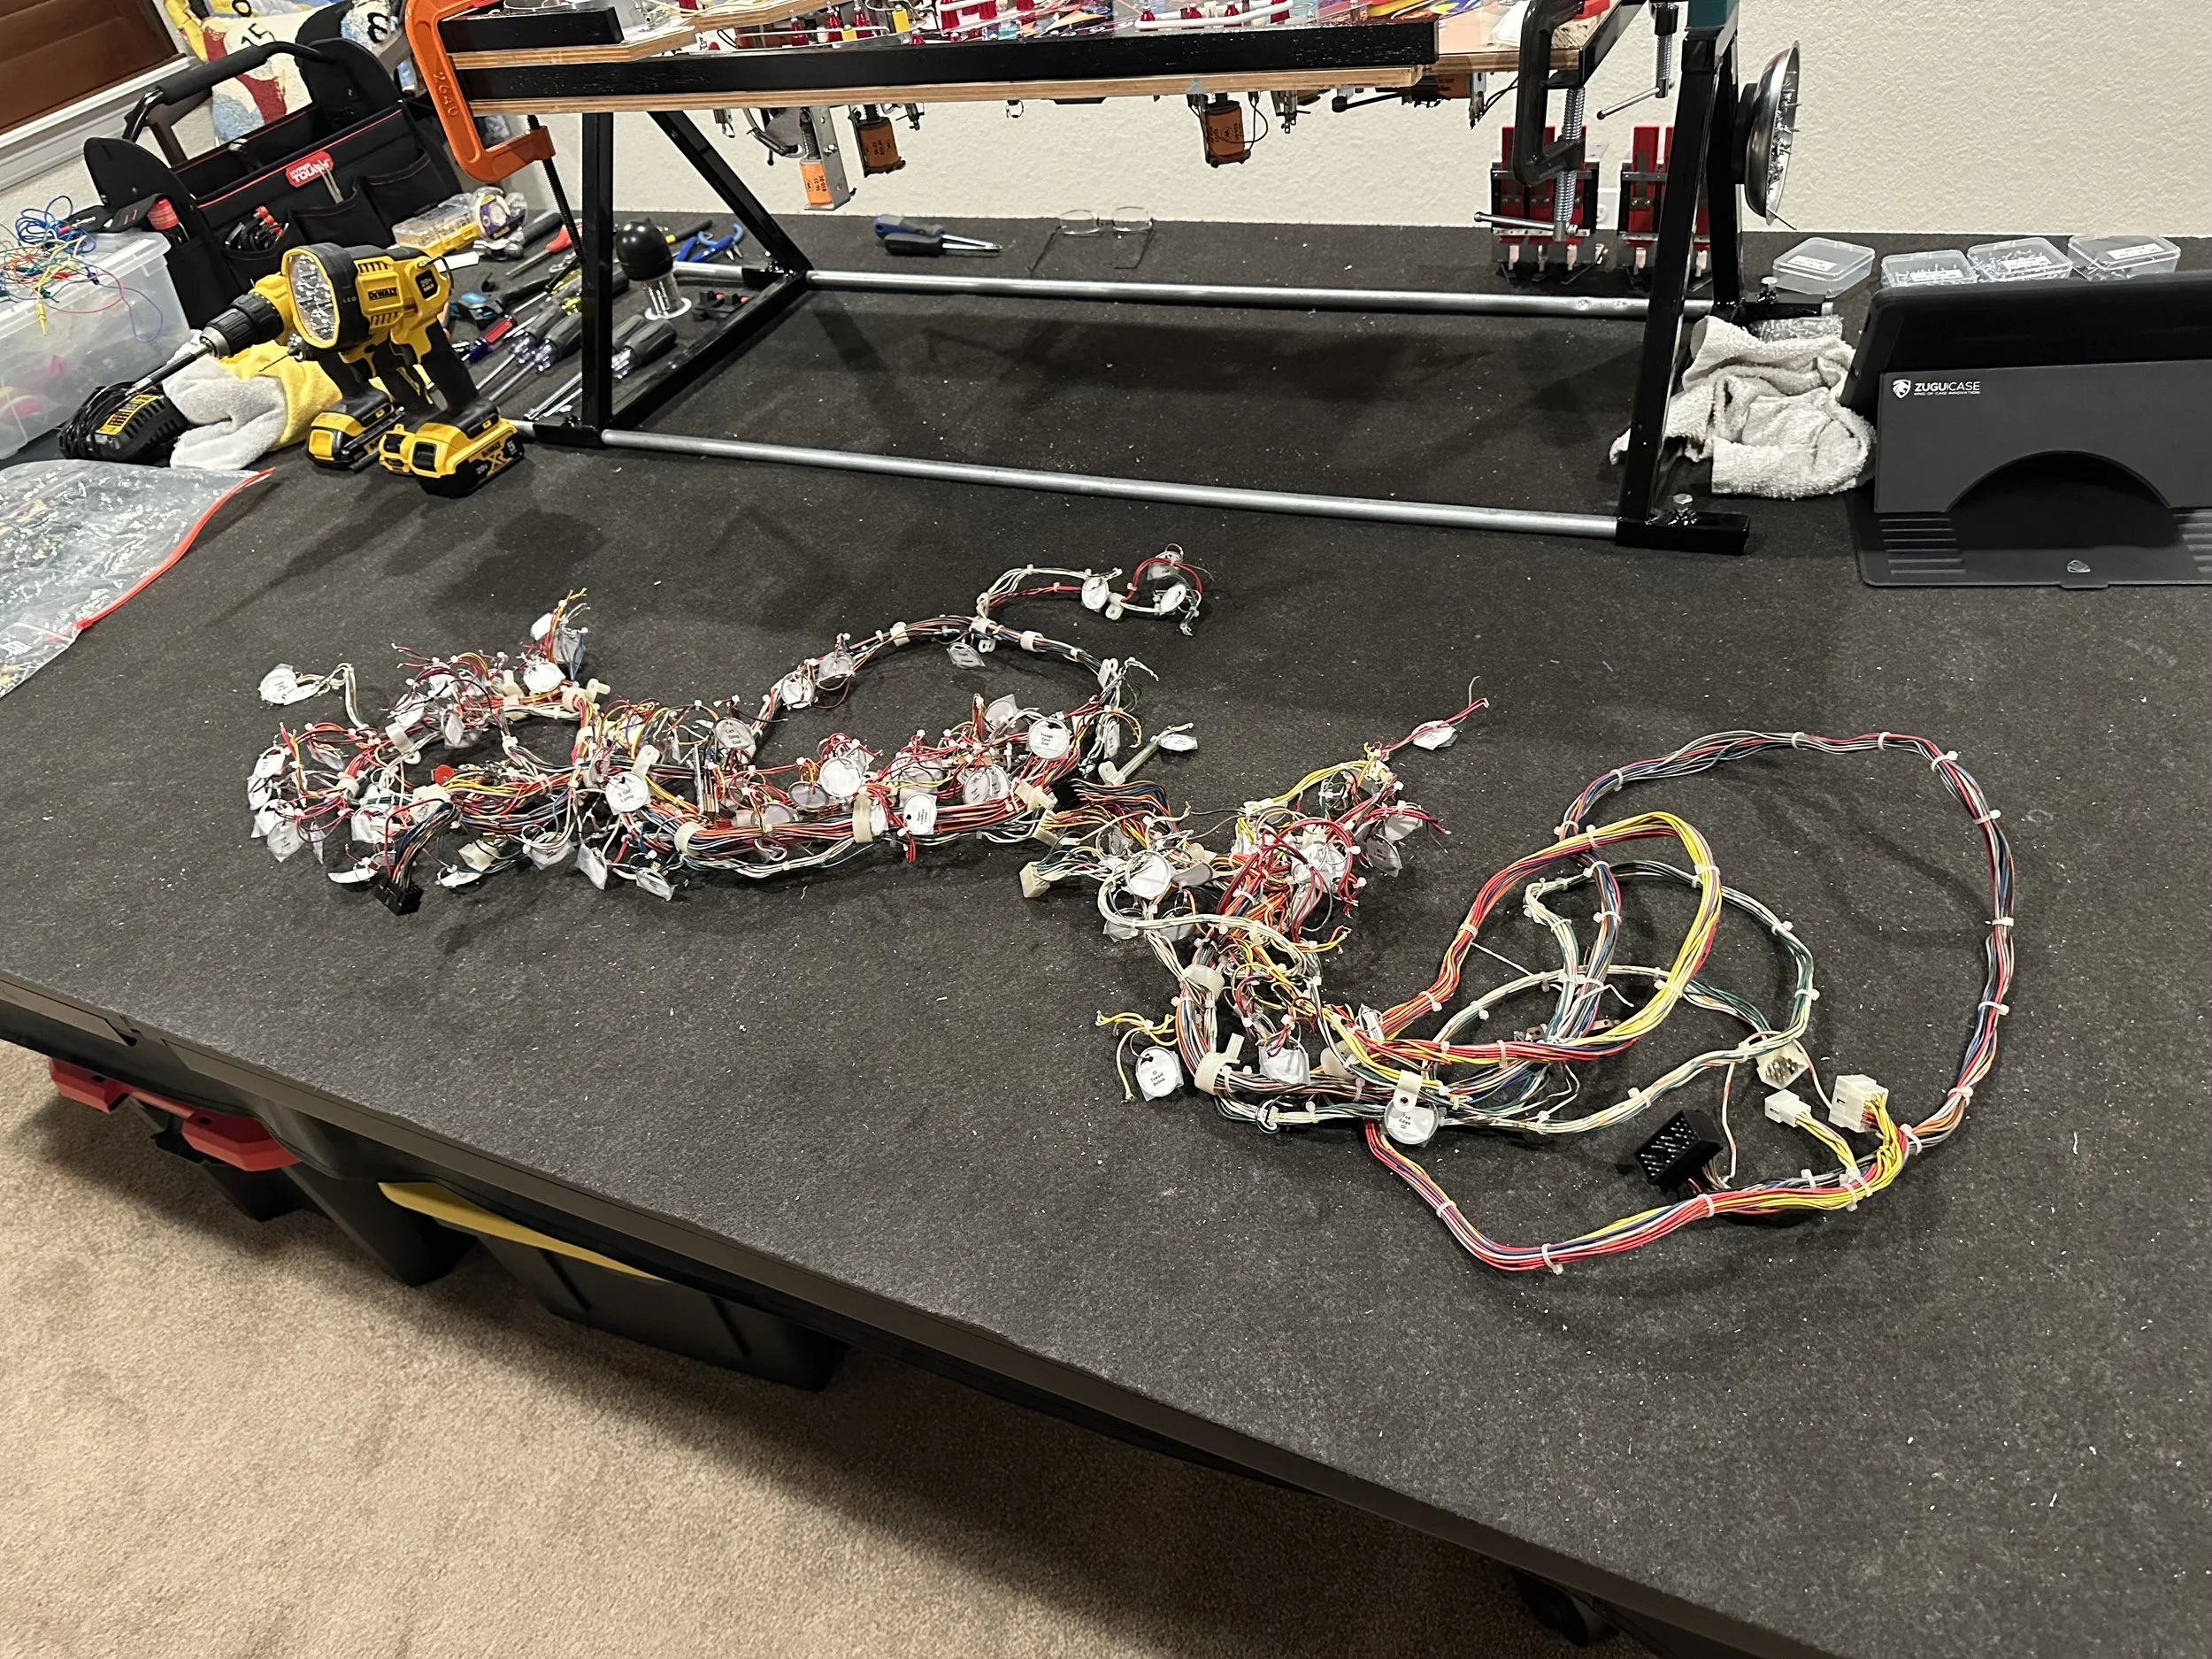
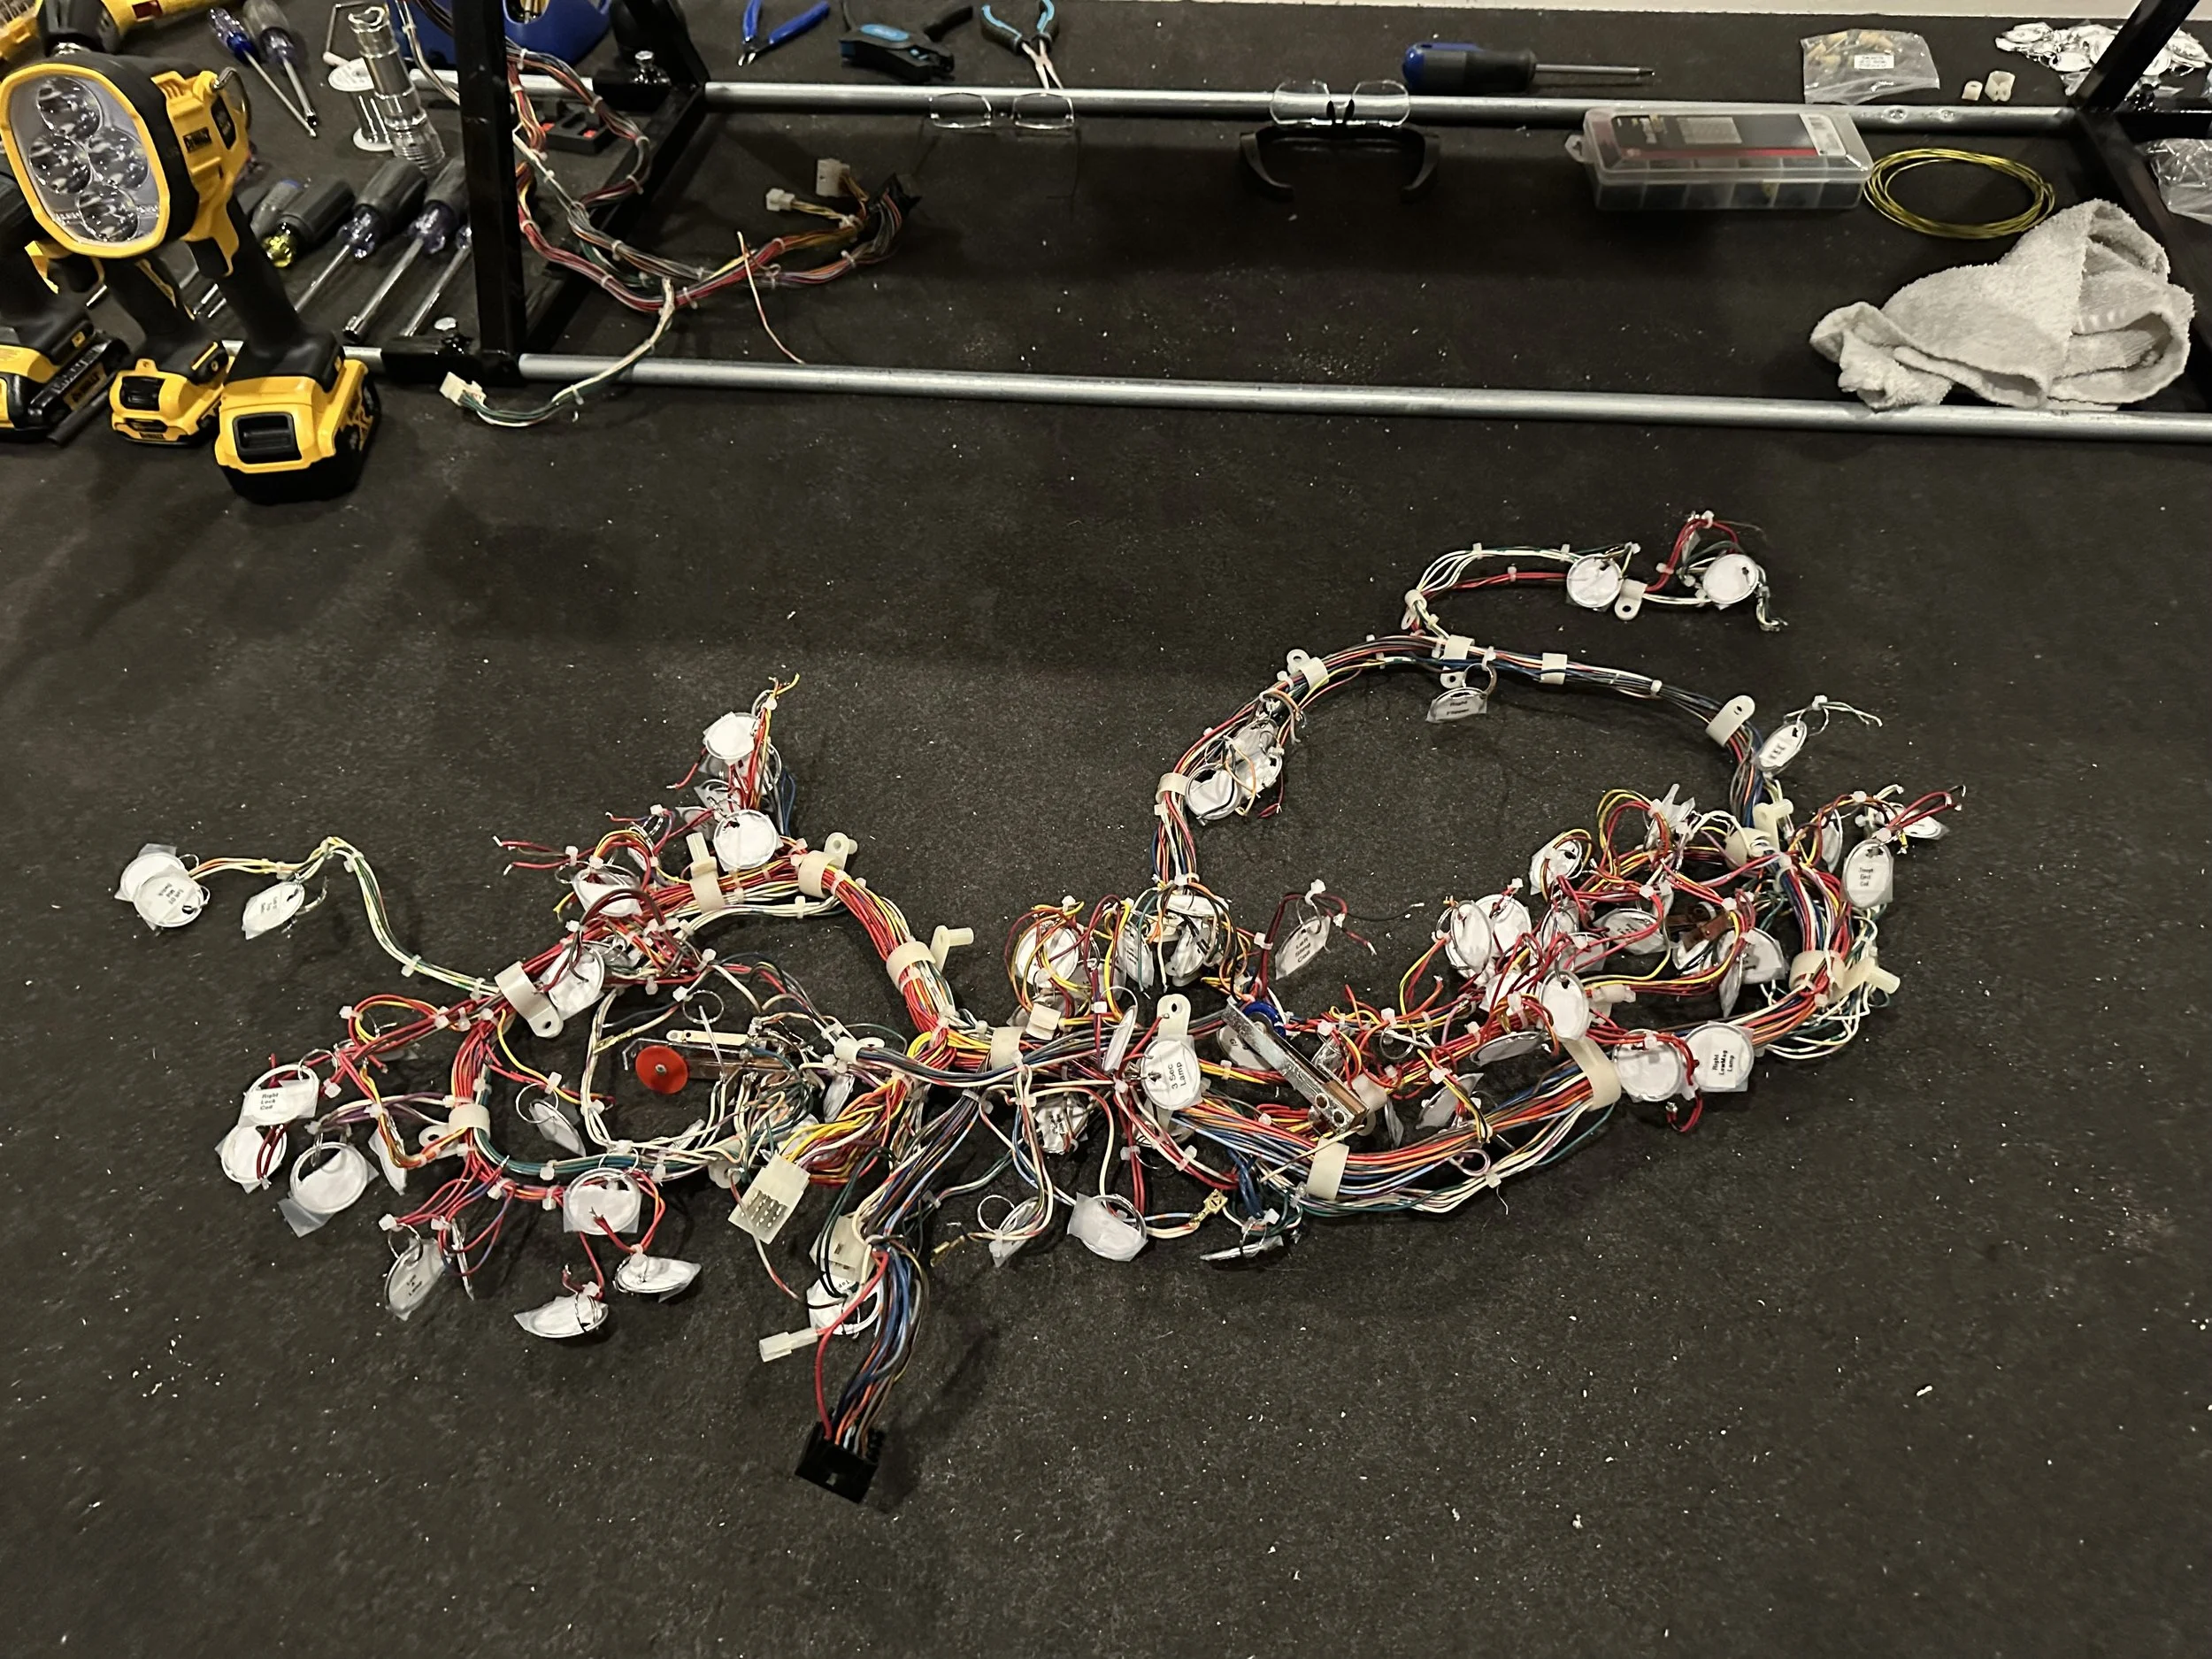
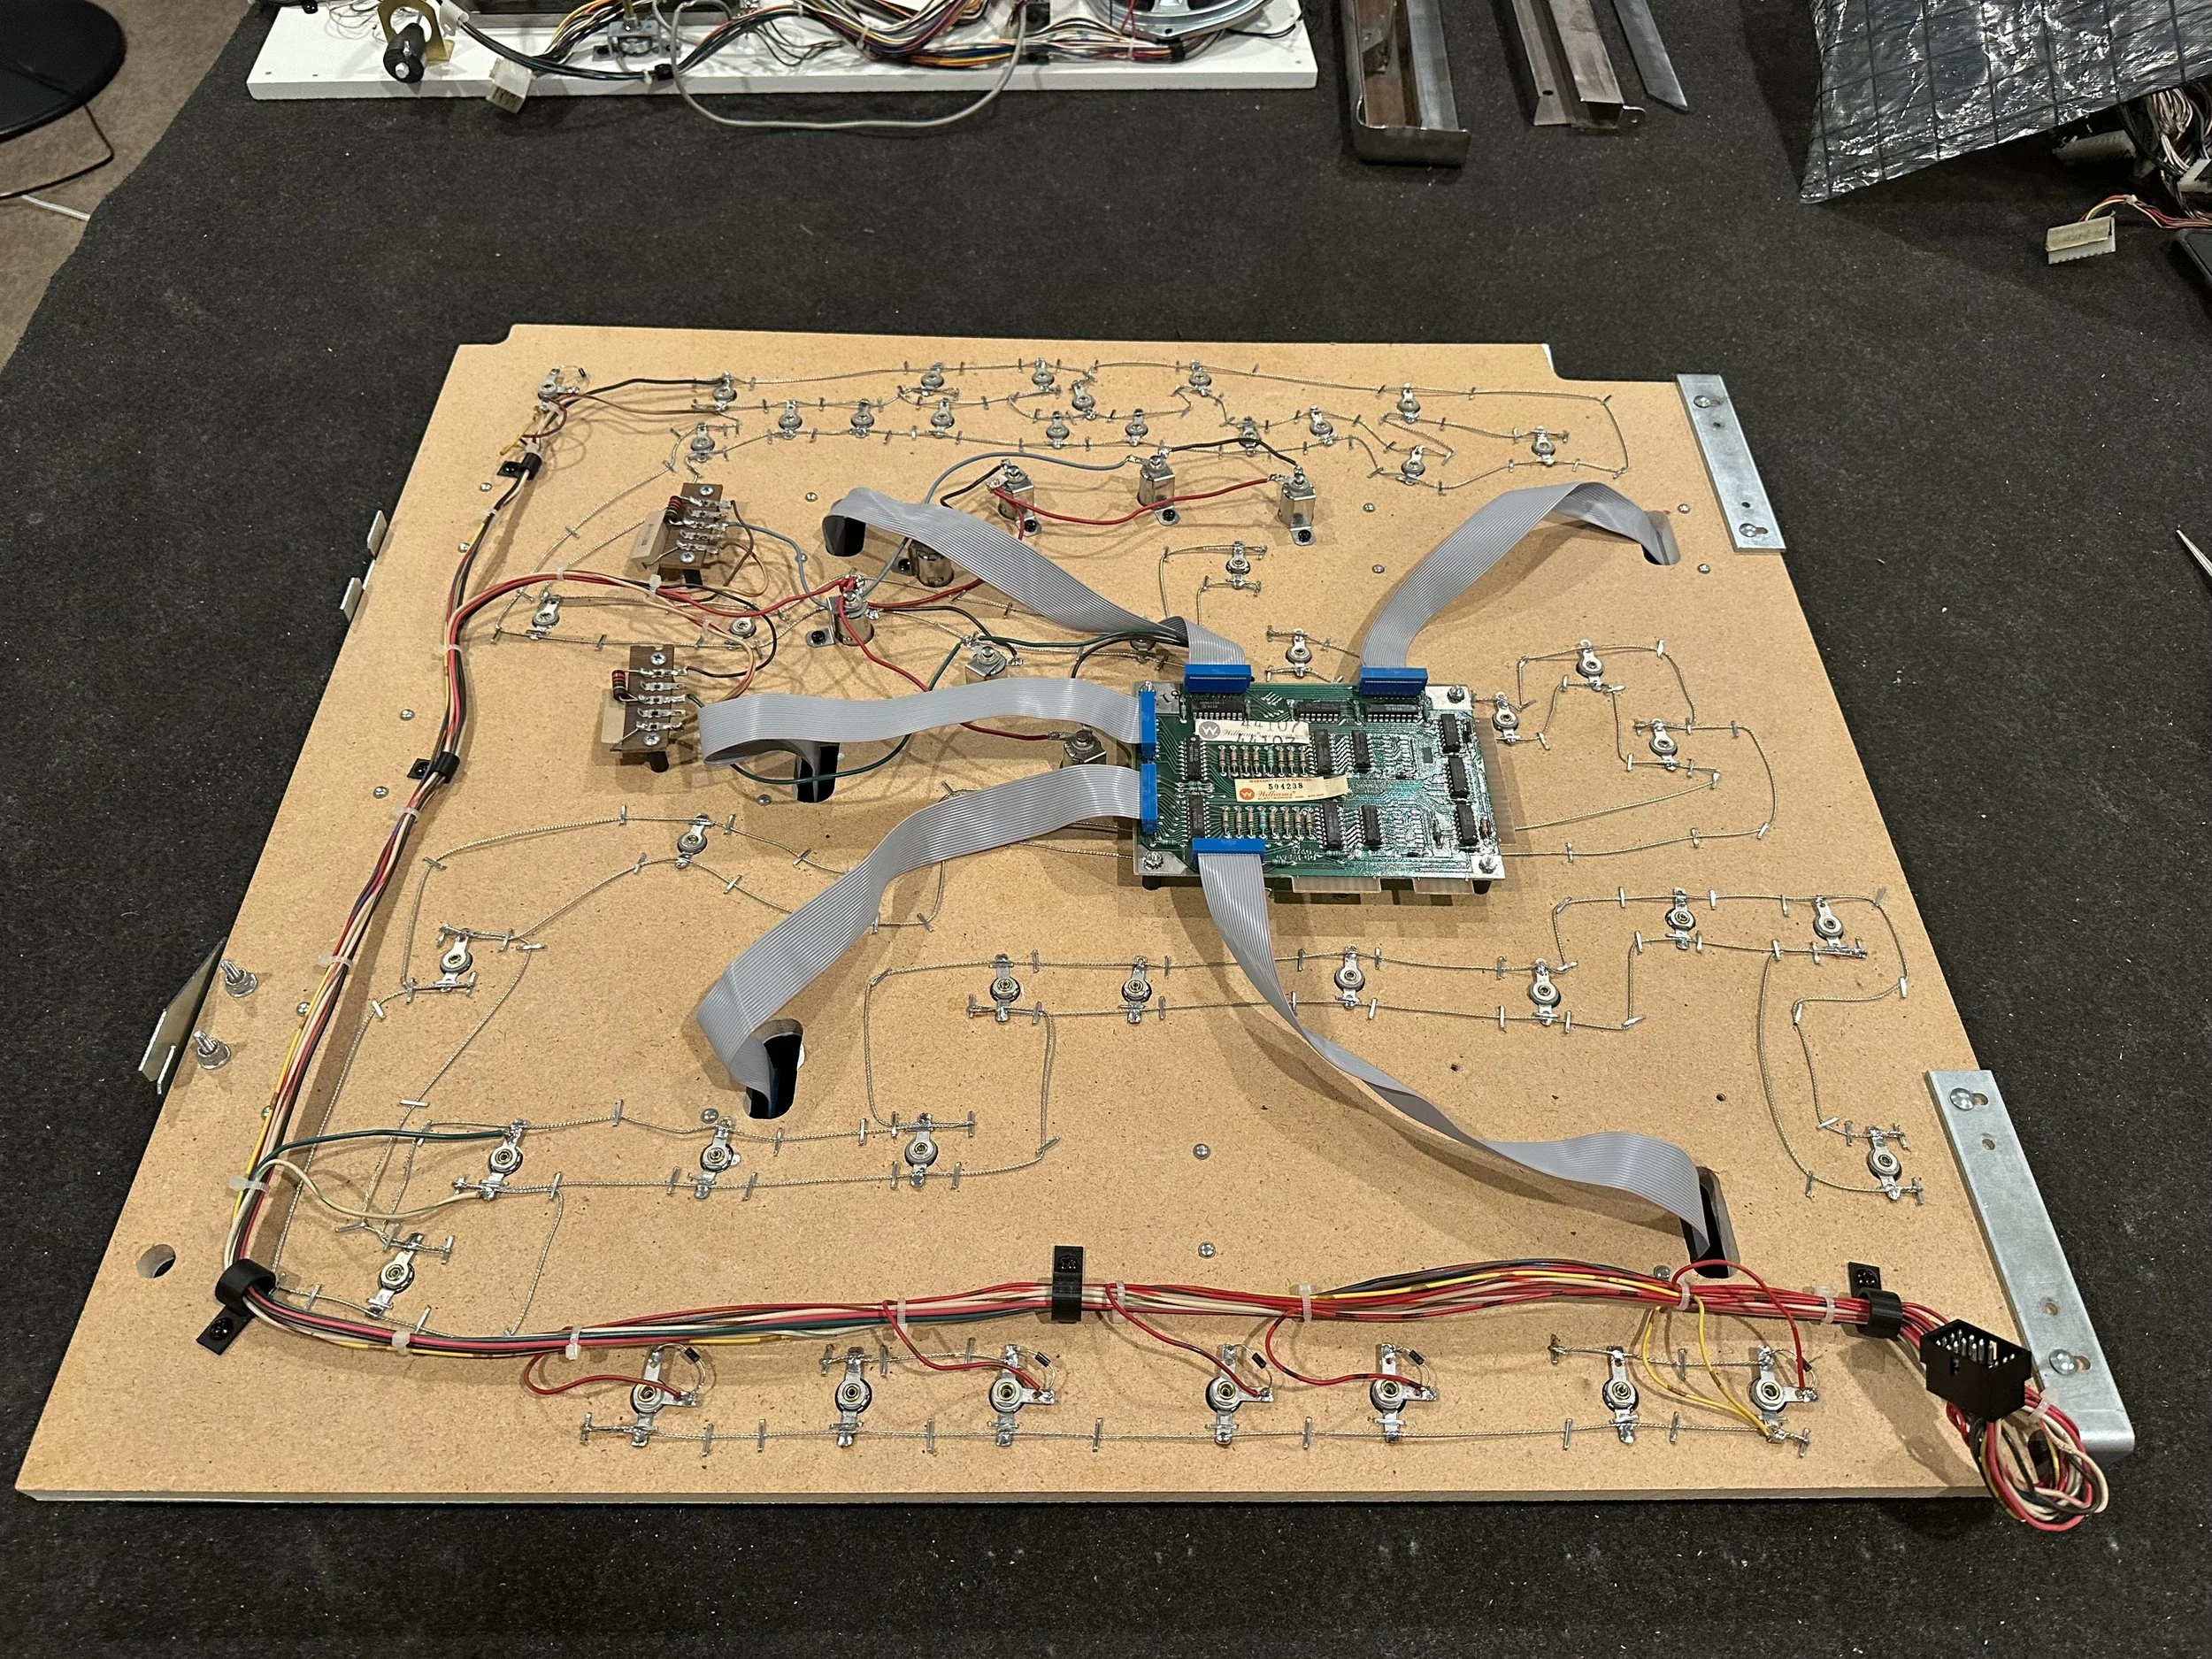
Found and repair several wire hacks in the playfield harness, mostly bad splices (twist nuts and tape!). Properly repaired with correct-color wires soldered and heat shrunk.
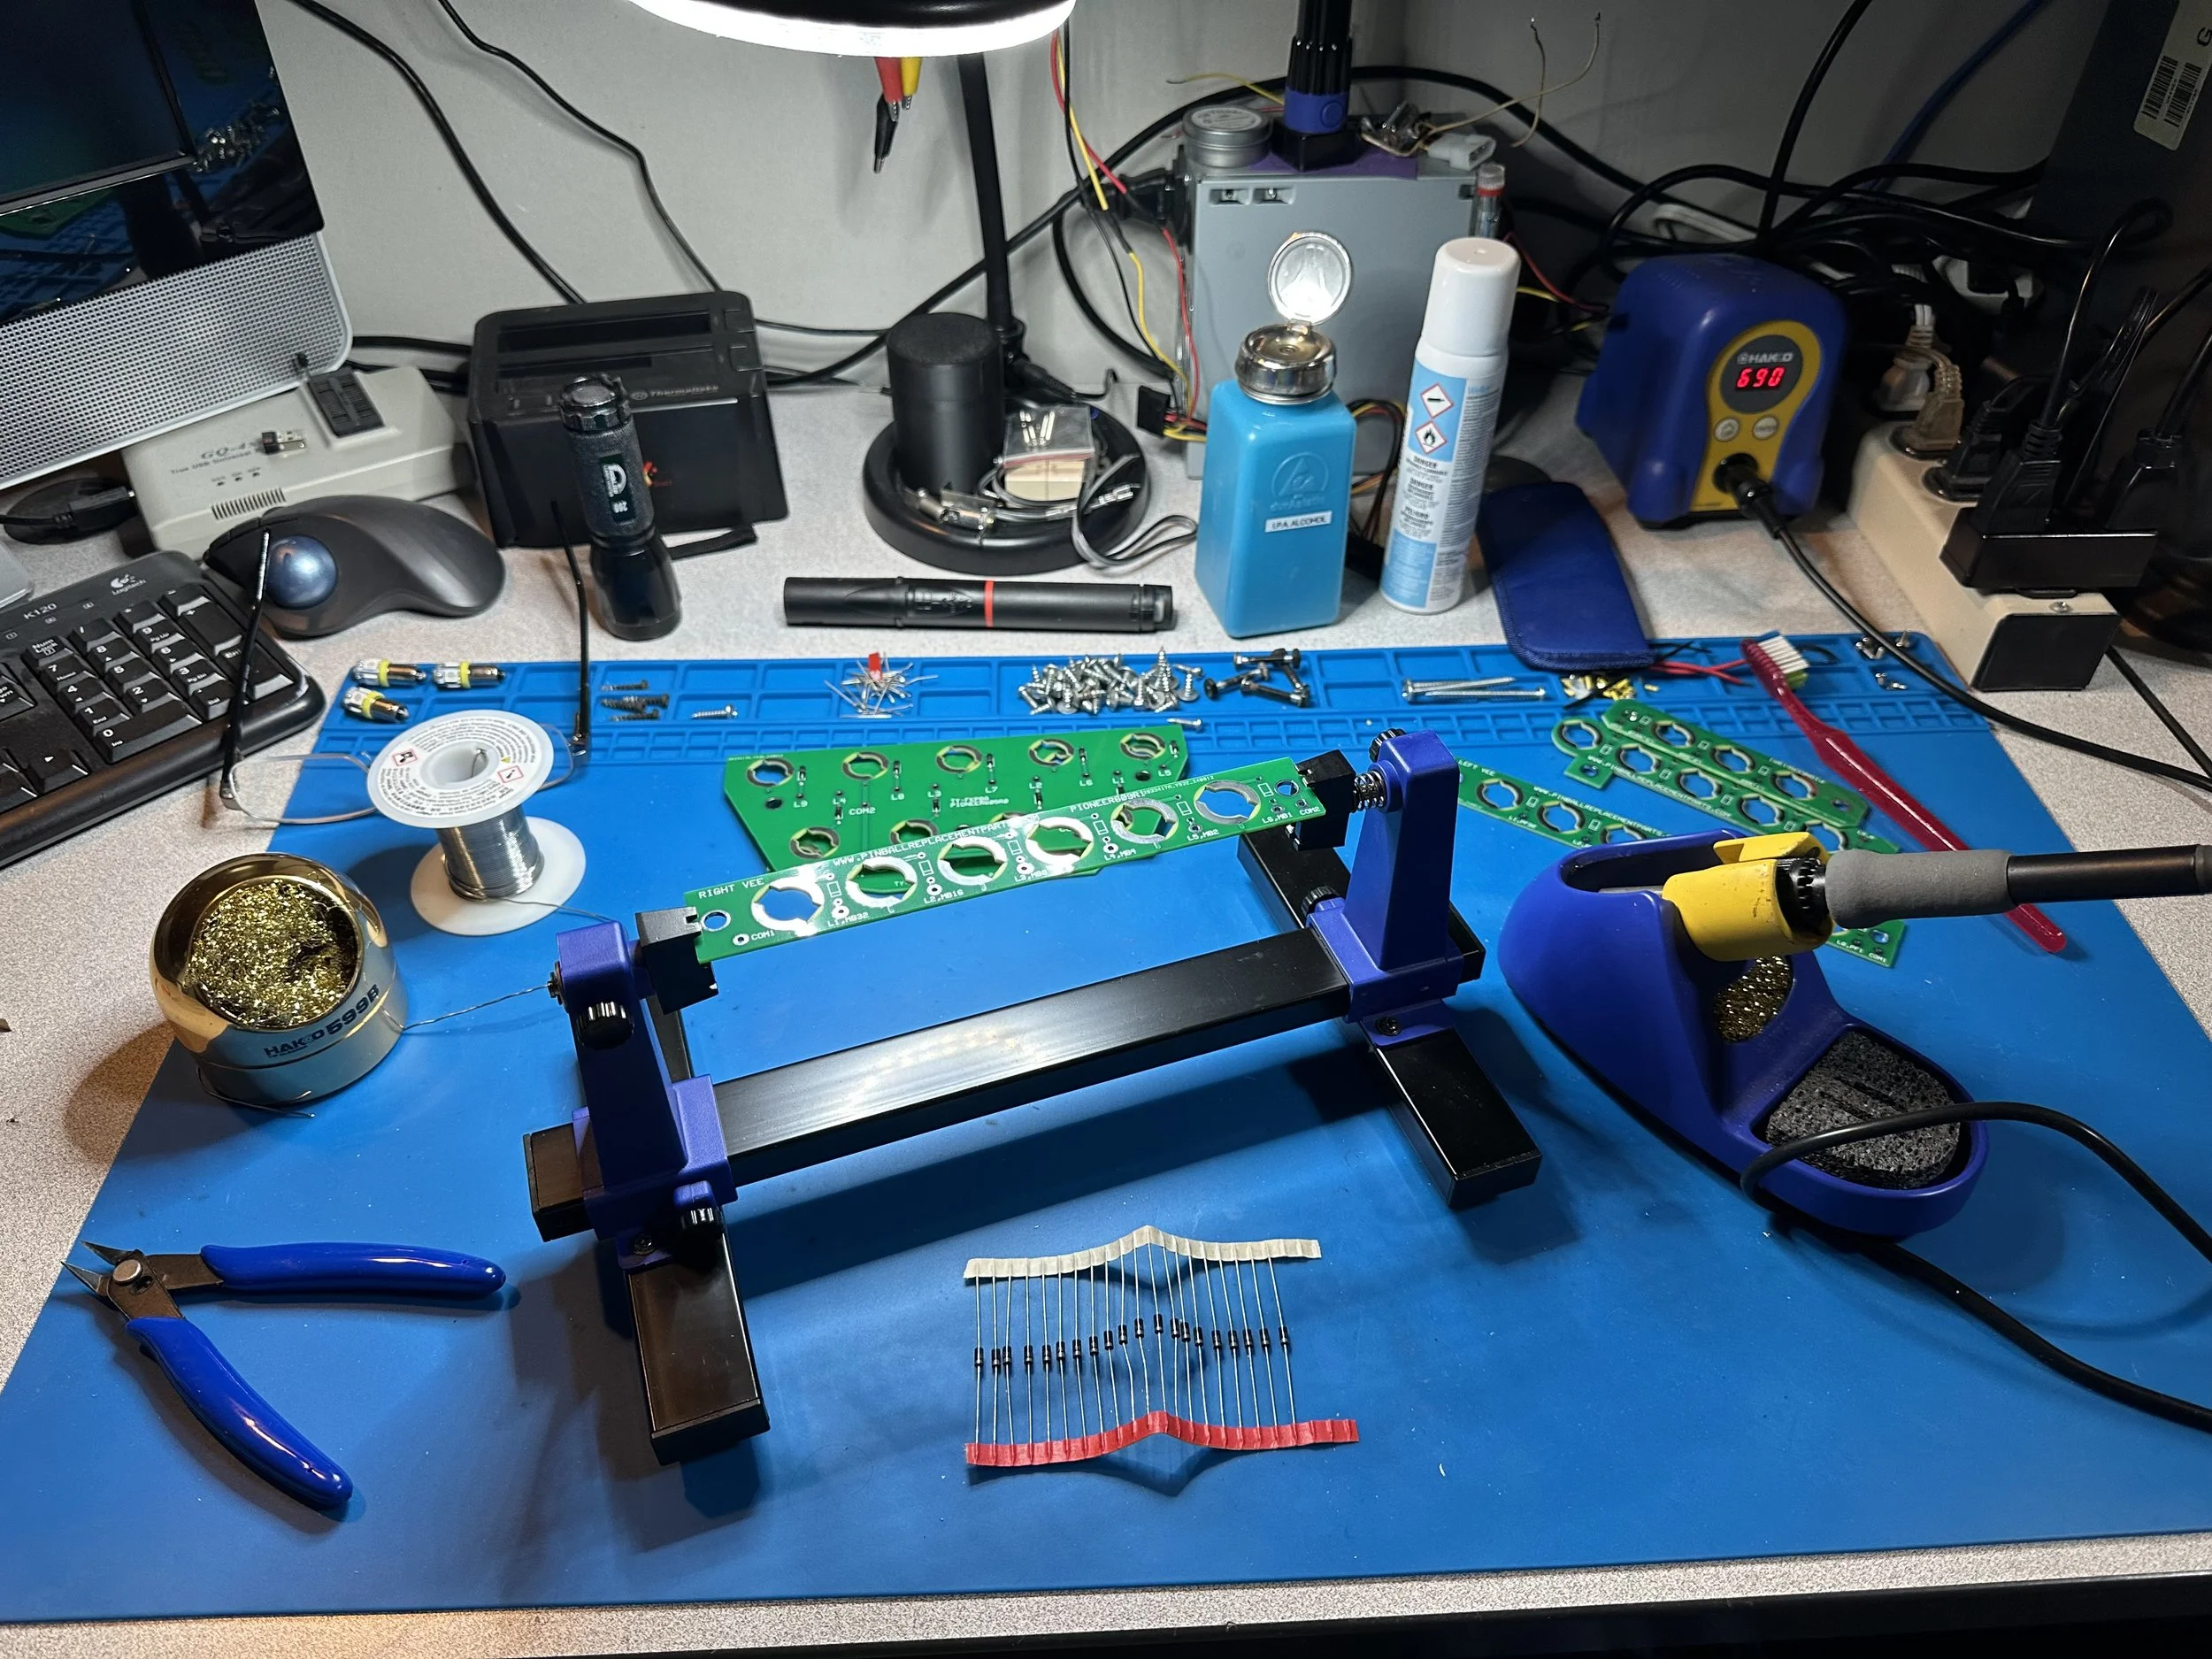
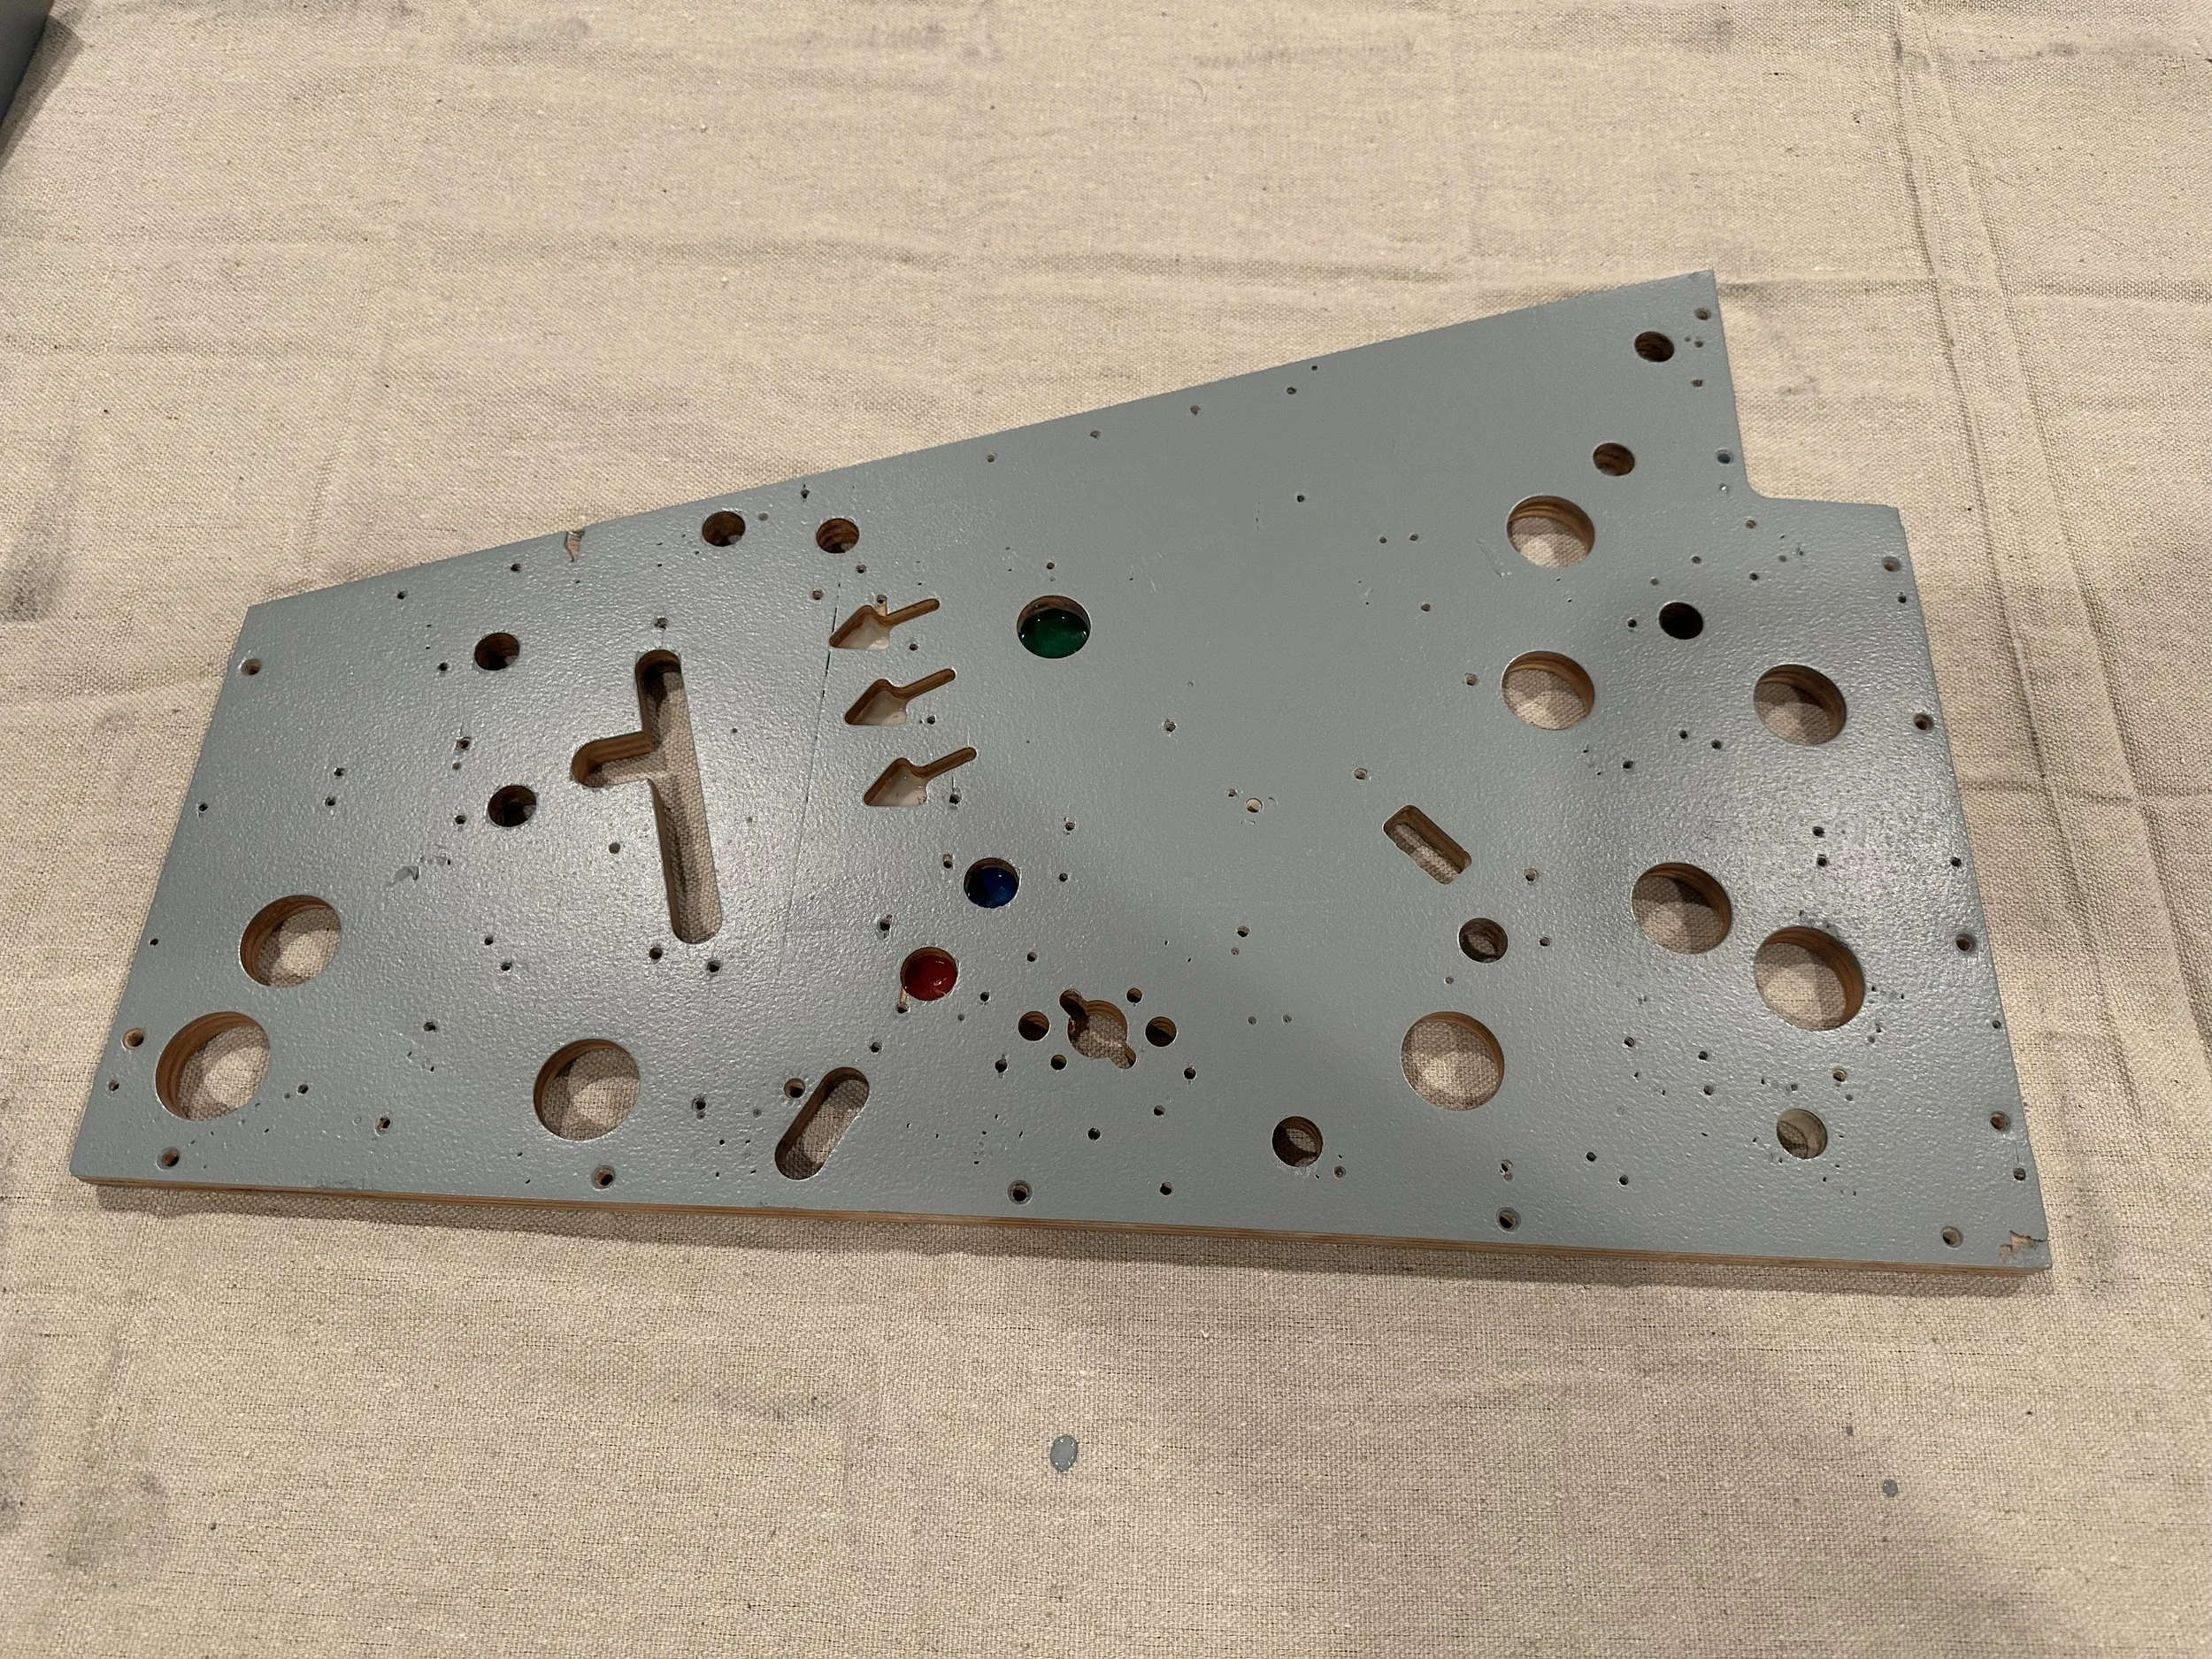
The lamp boards, which replace most of the feature lamp sockets, are really nice (I've used them in Flash Gordon and Flight 2000 as well). I did find a layout flaw on one of the boards where the traces stop short of the socket result in an inop lamp. The vendor acknowledged the problem, re-layed out that PCB, and sent me a replacement one after they came out of production. While I waited on that, I was able to fashion a work-around by using a regular socket with the bulb positioned over the "empty" socket on the PCB.
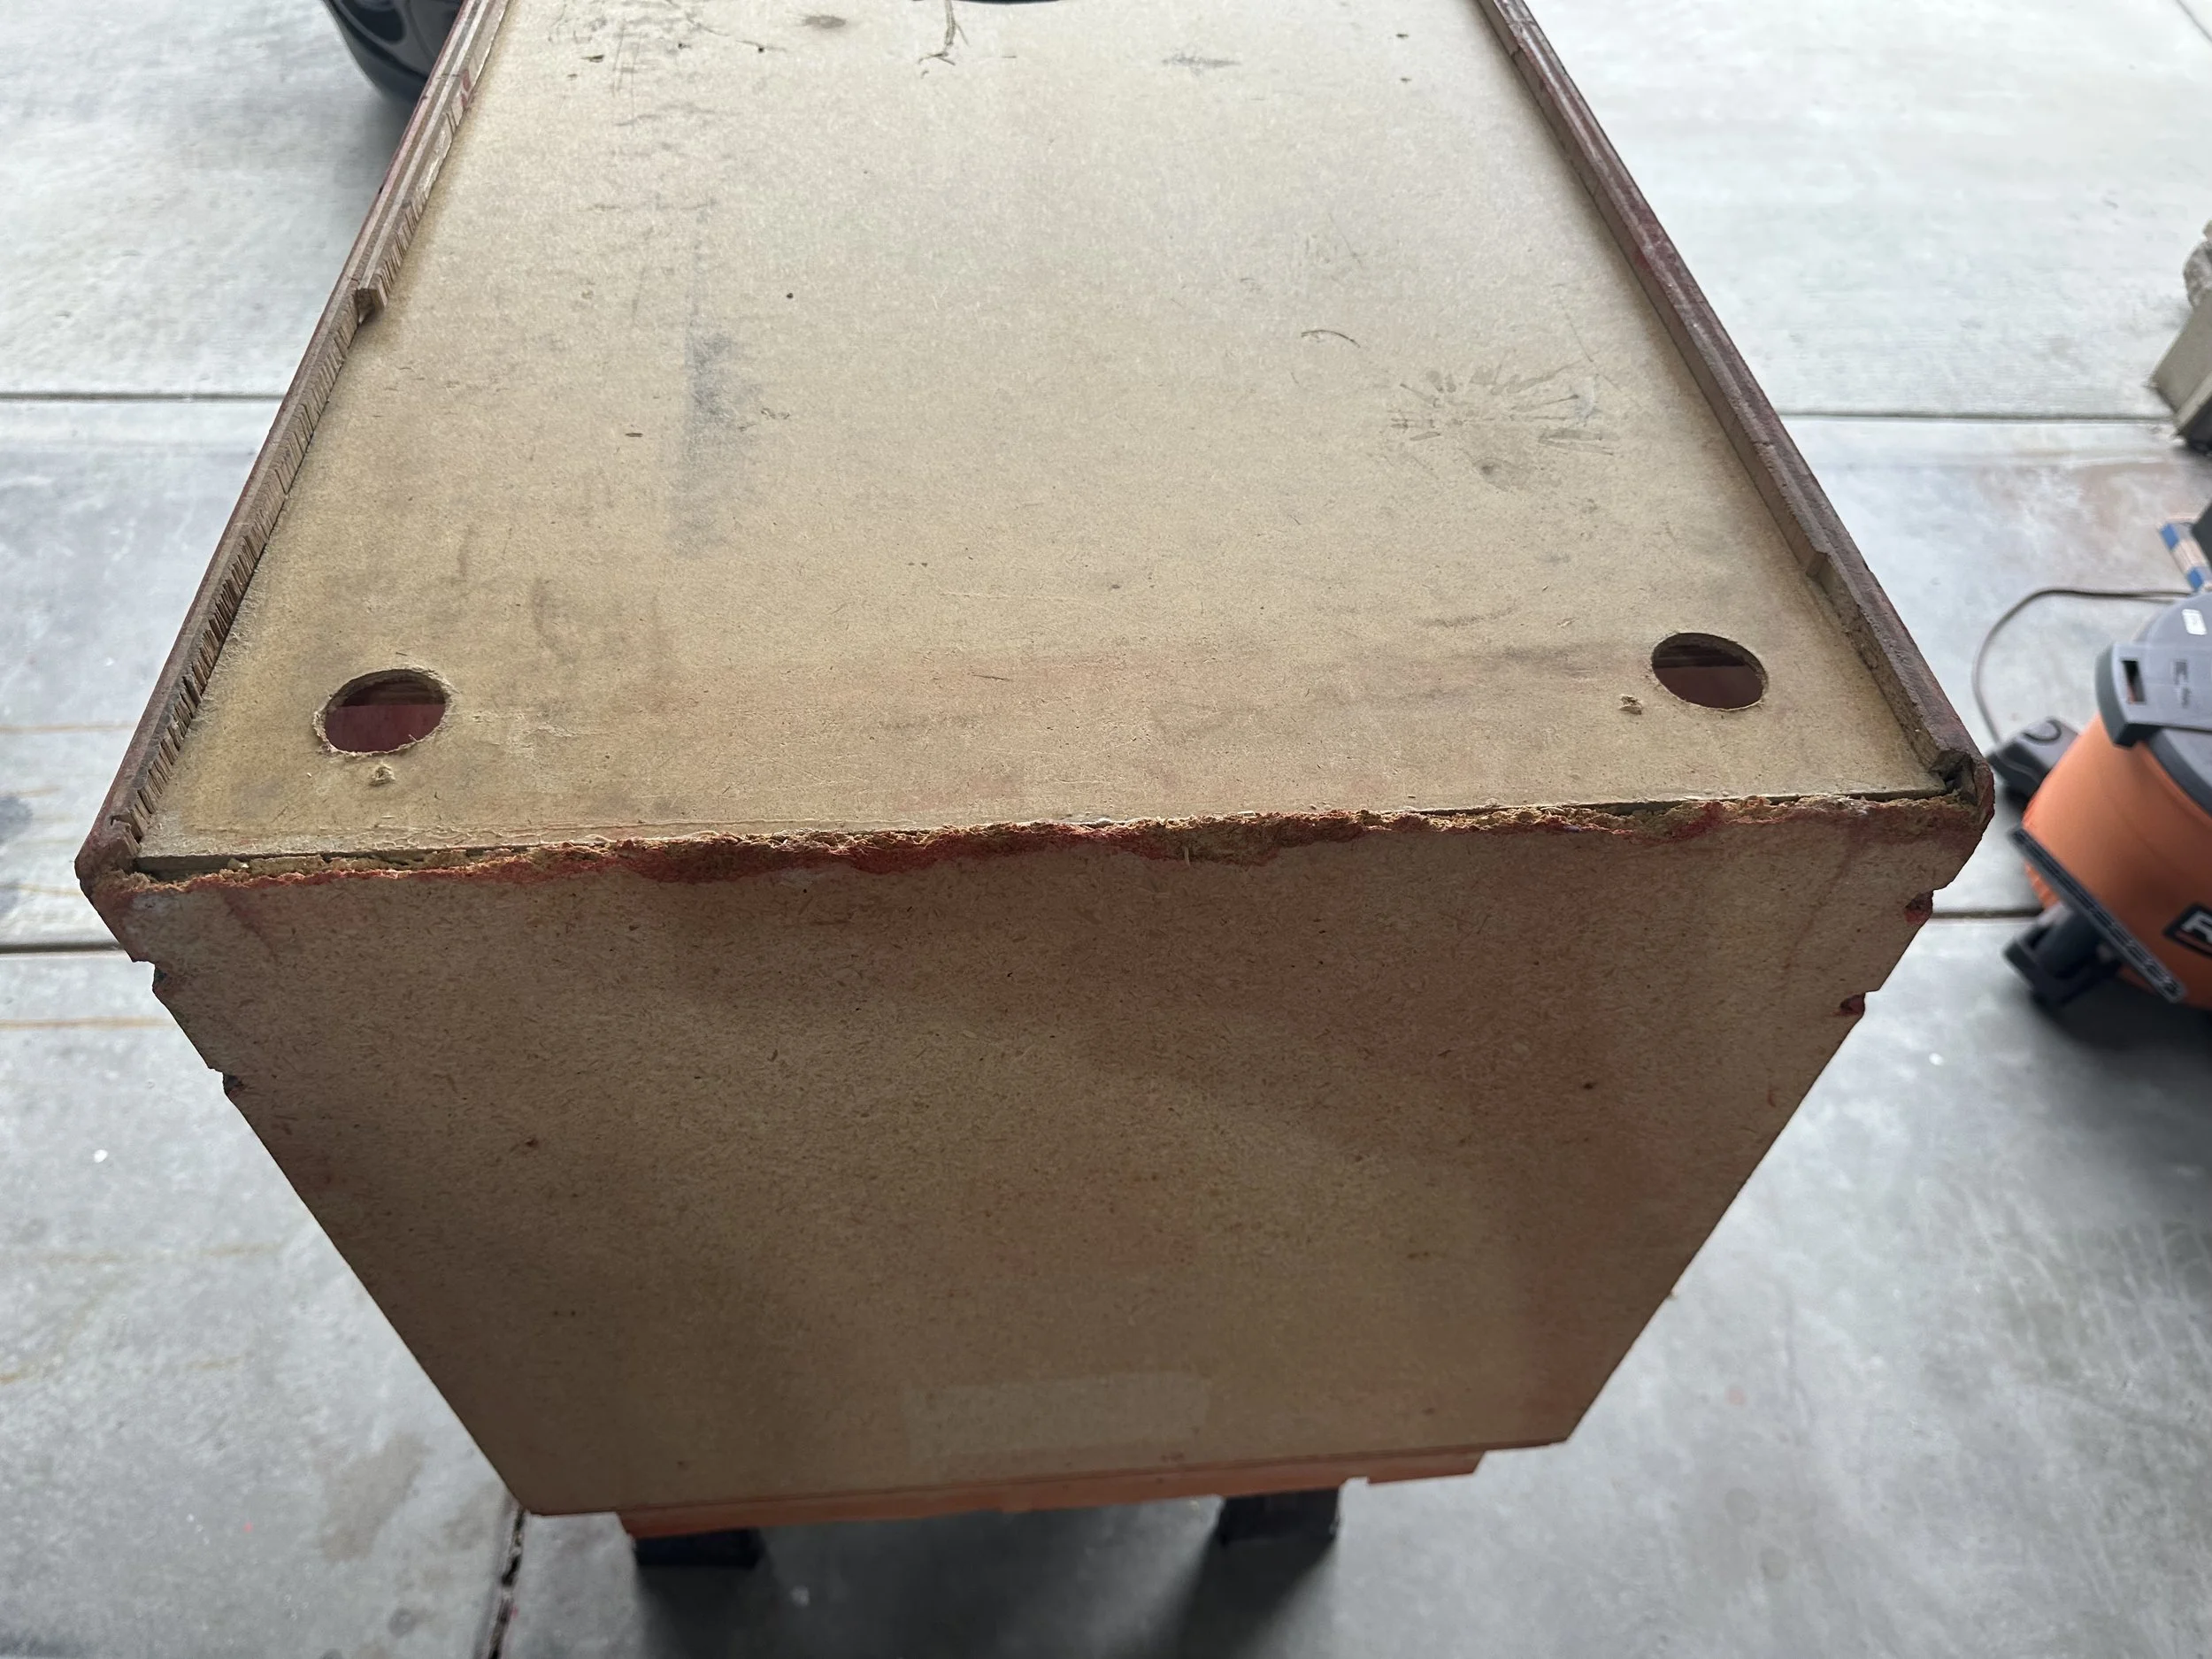
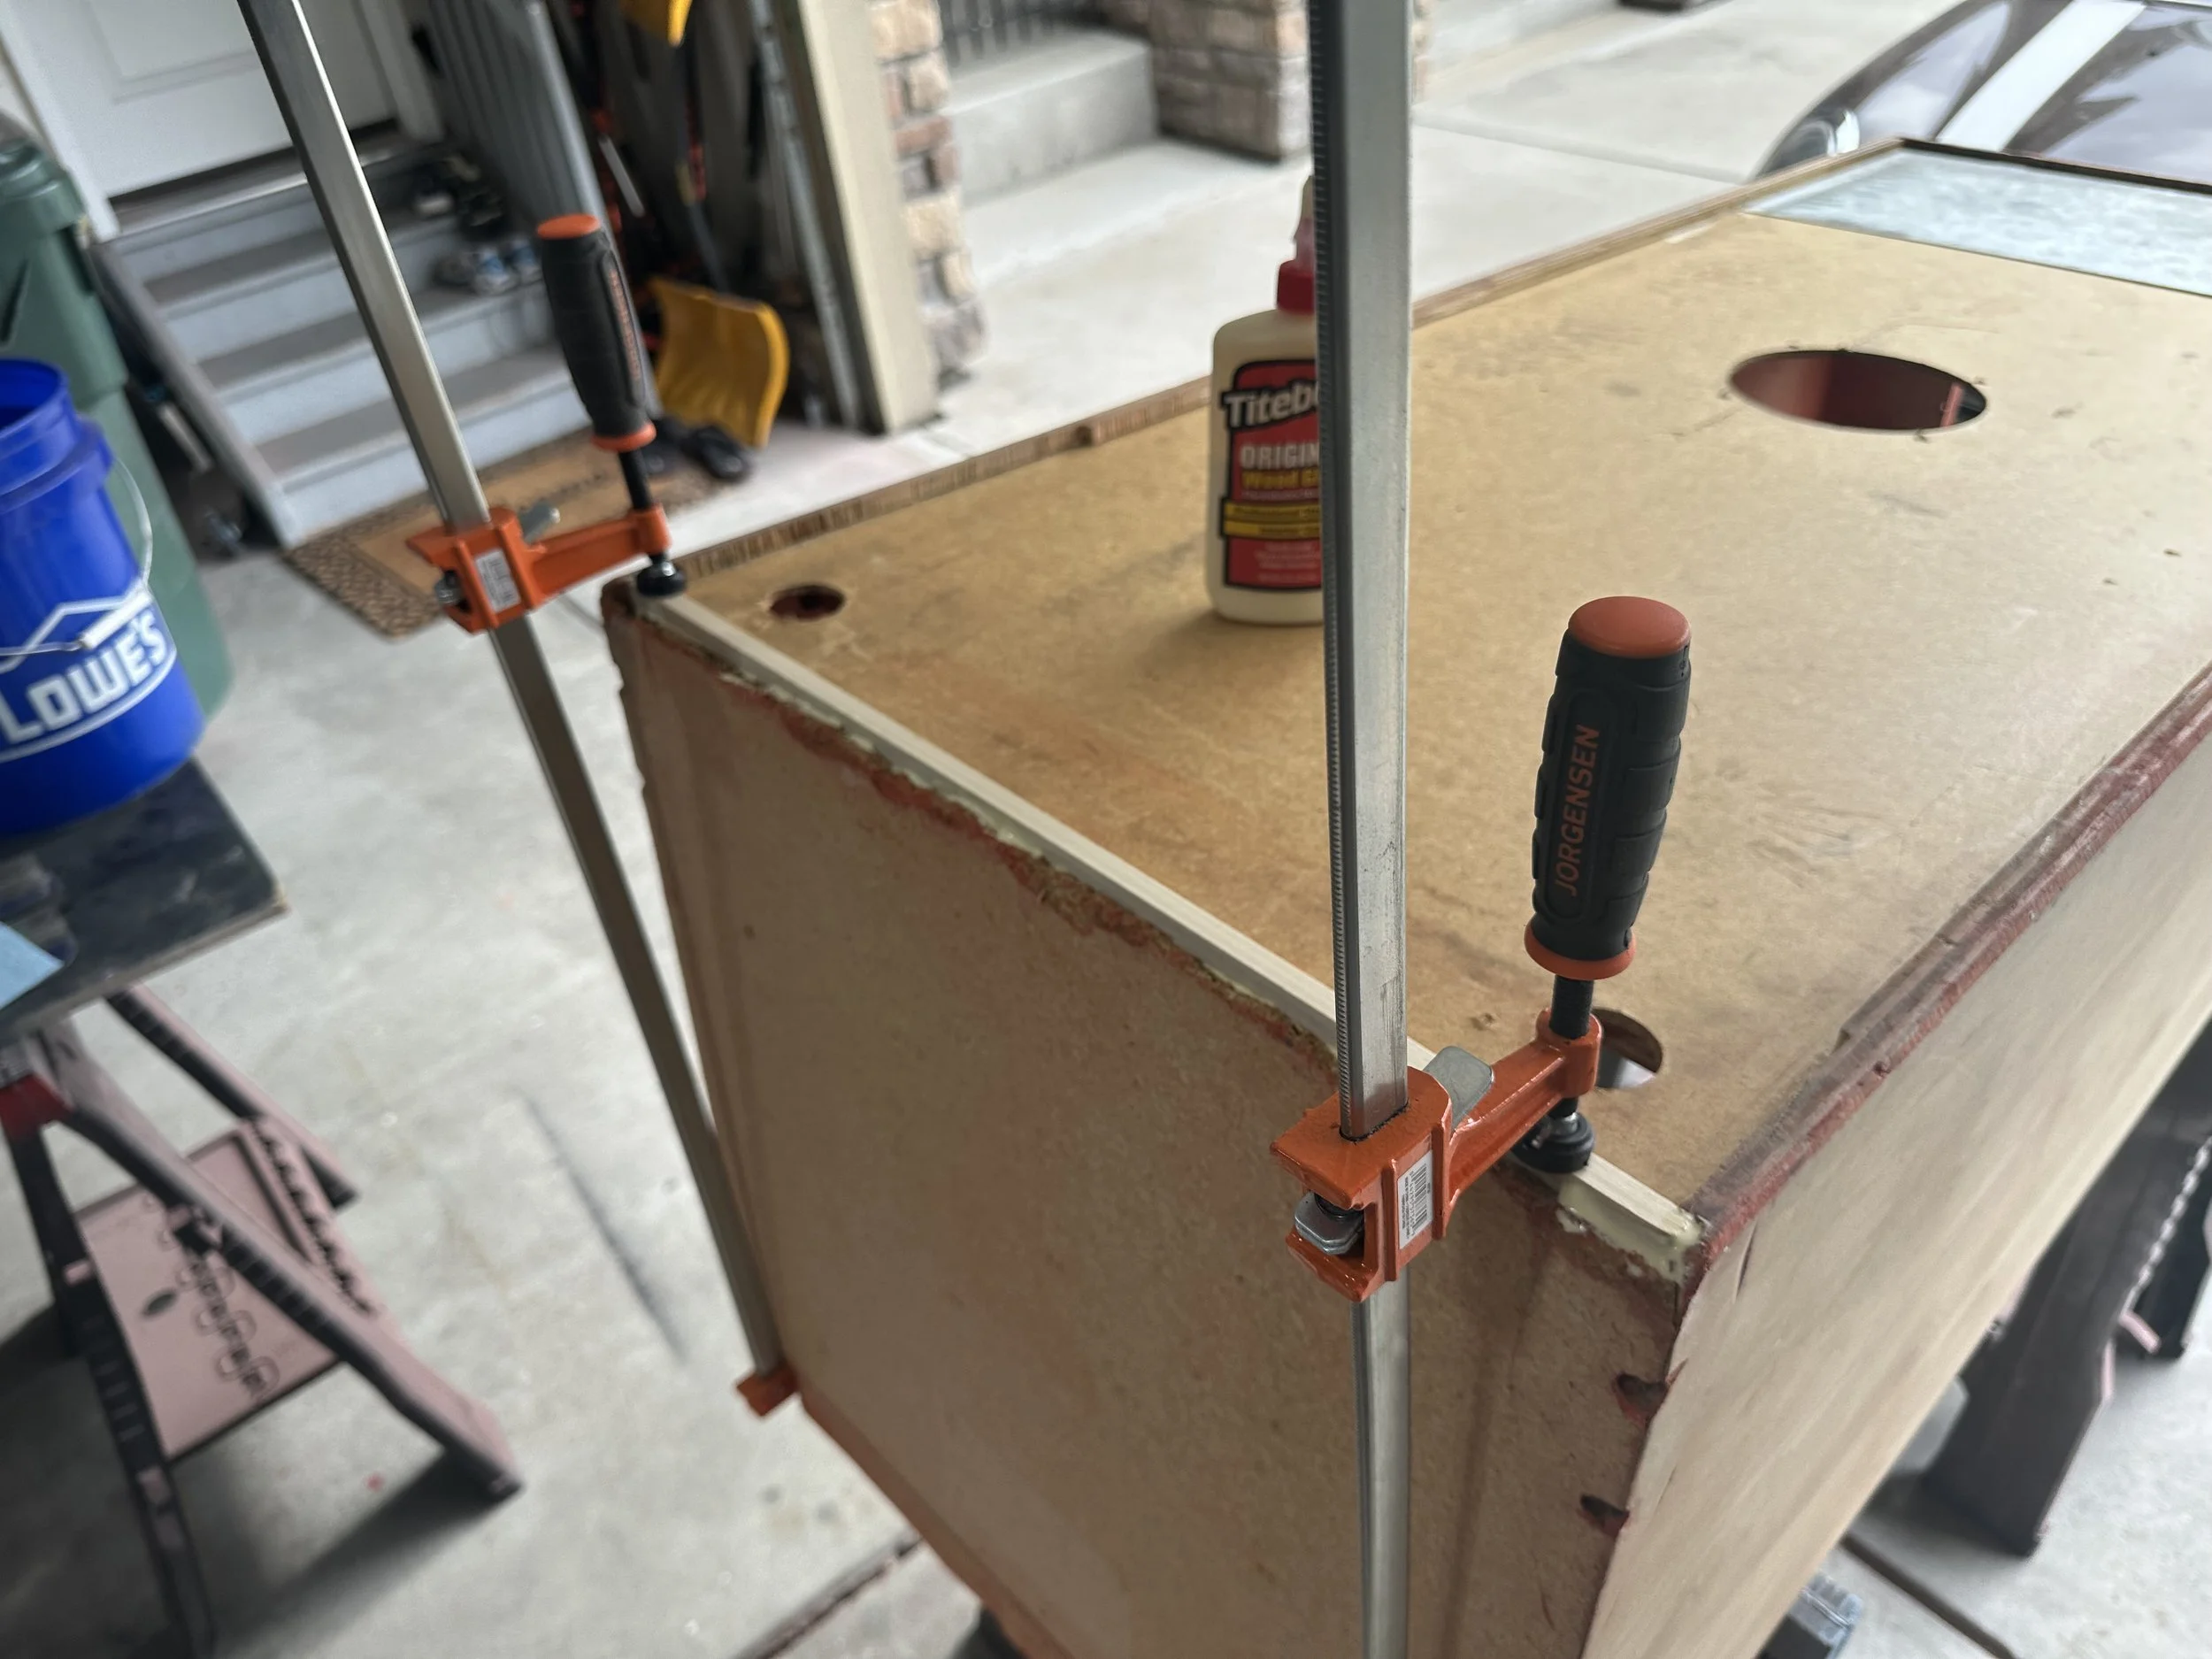
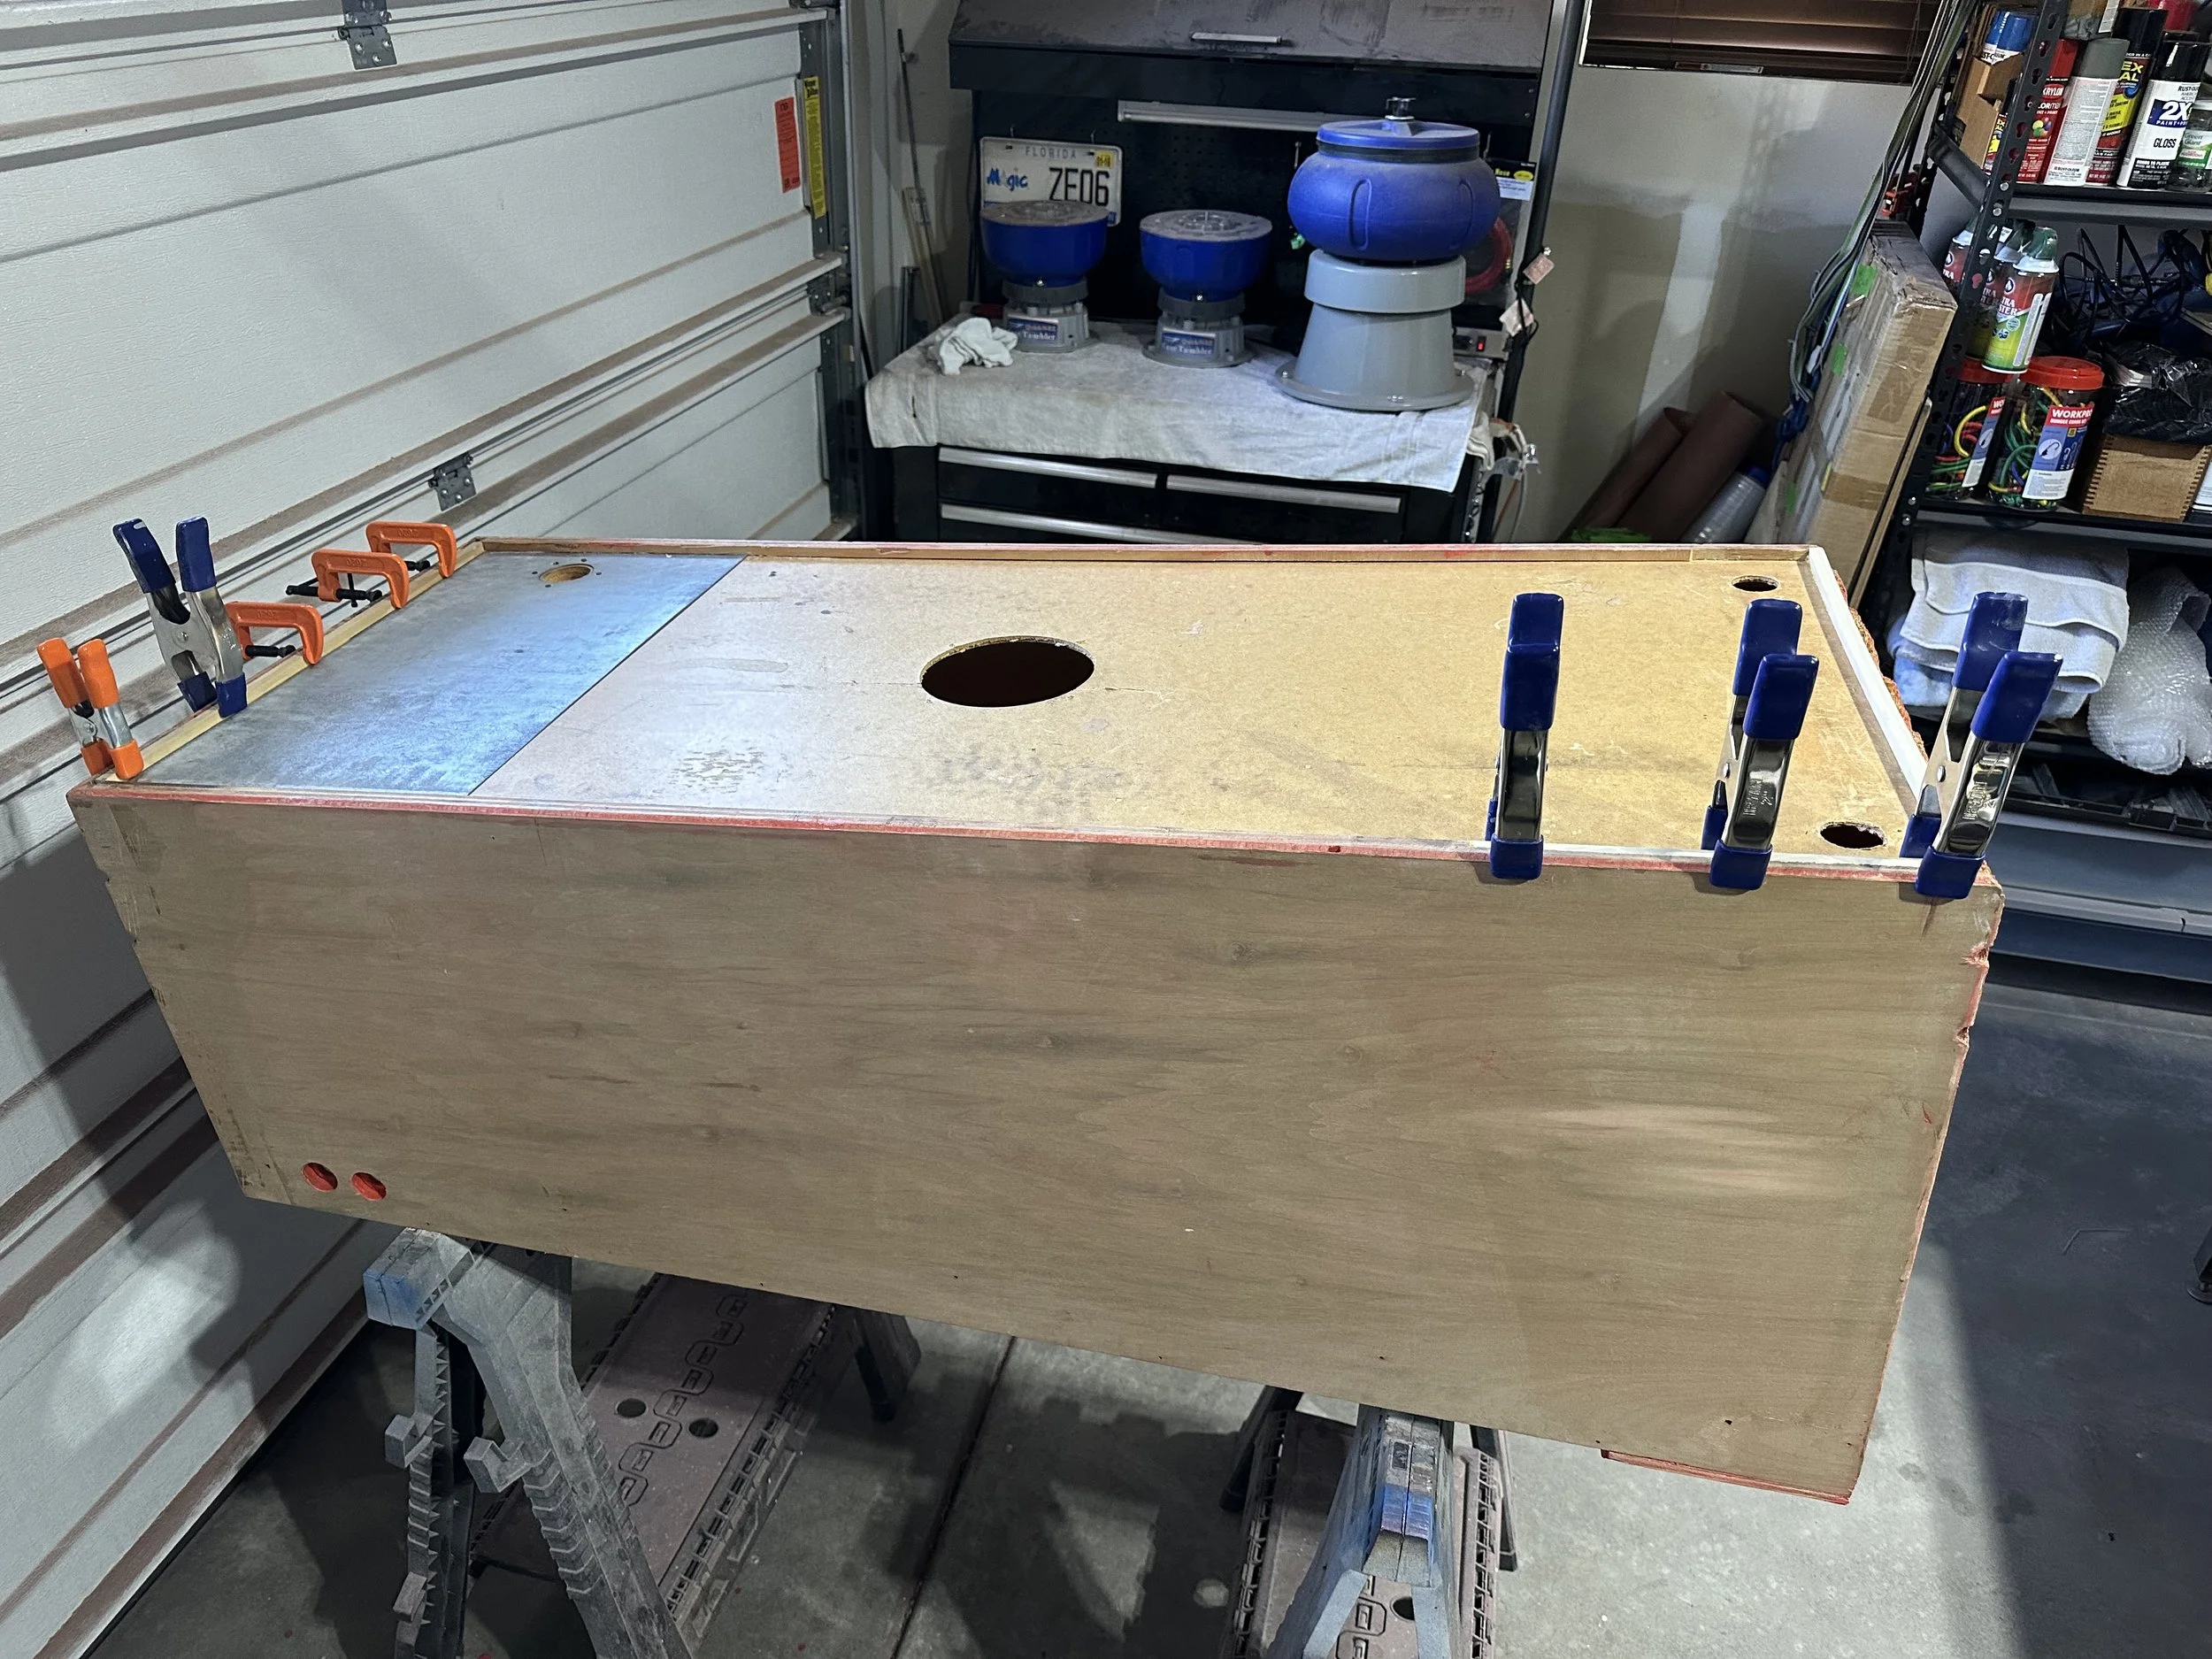
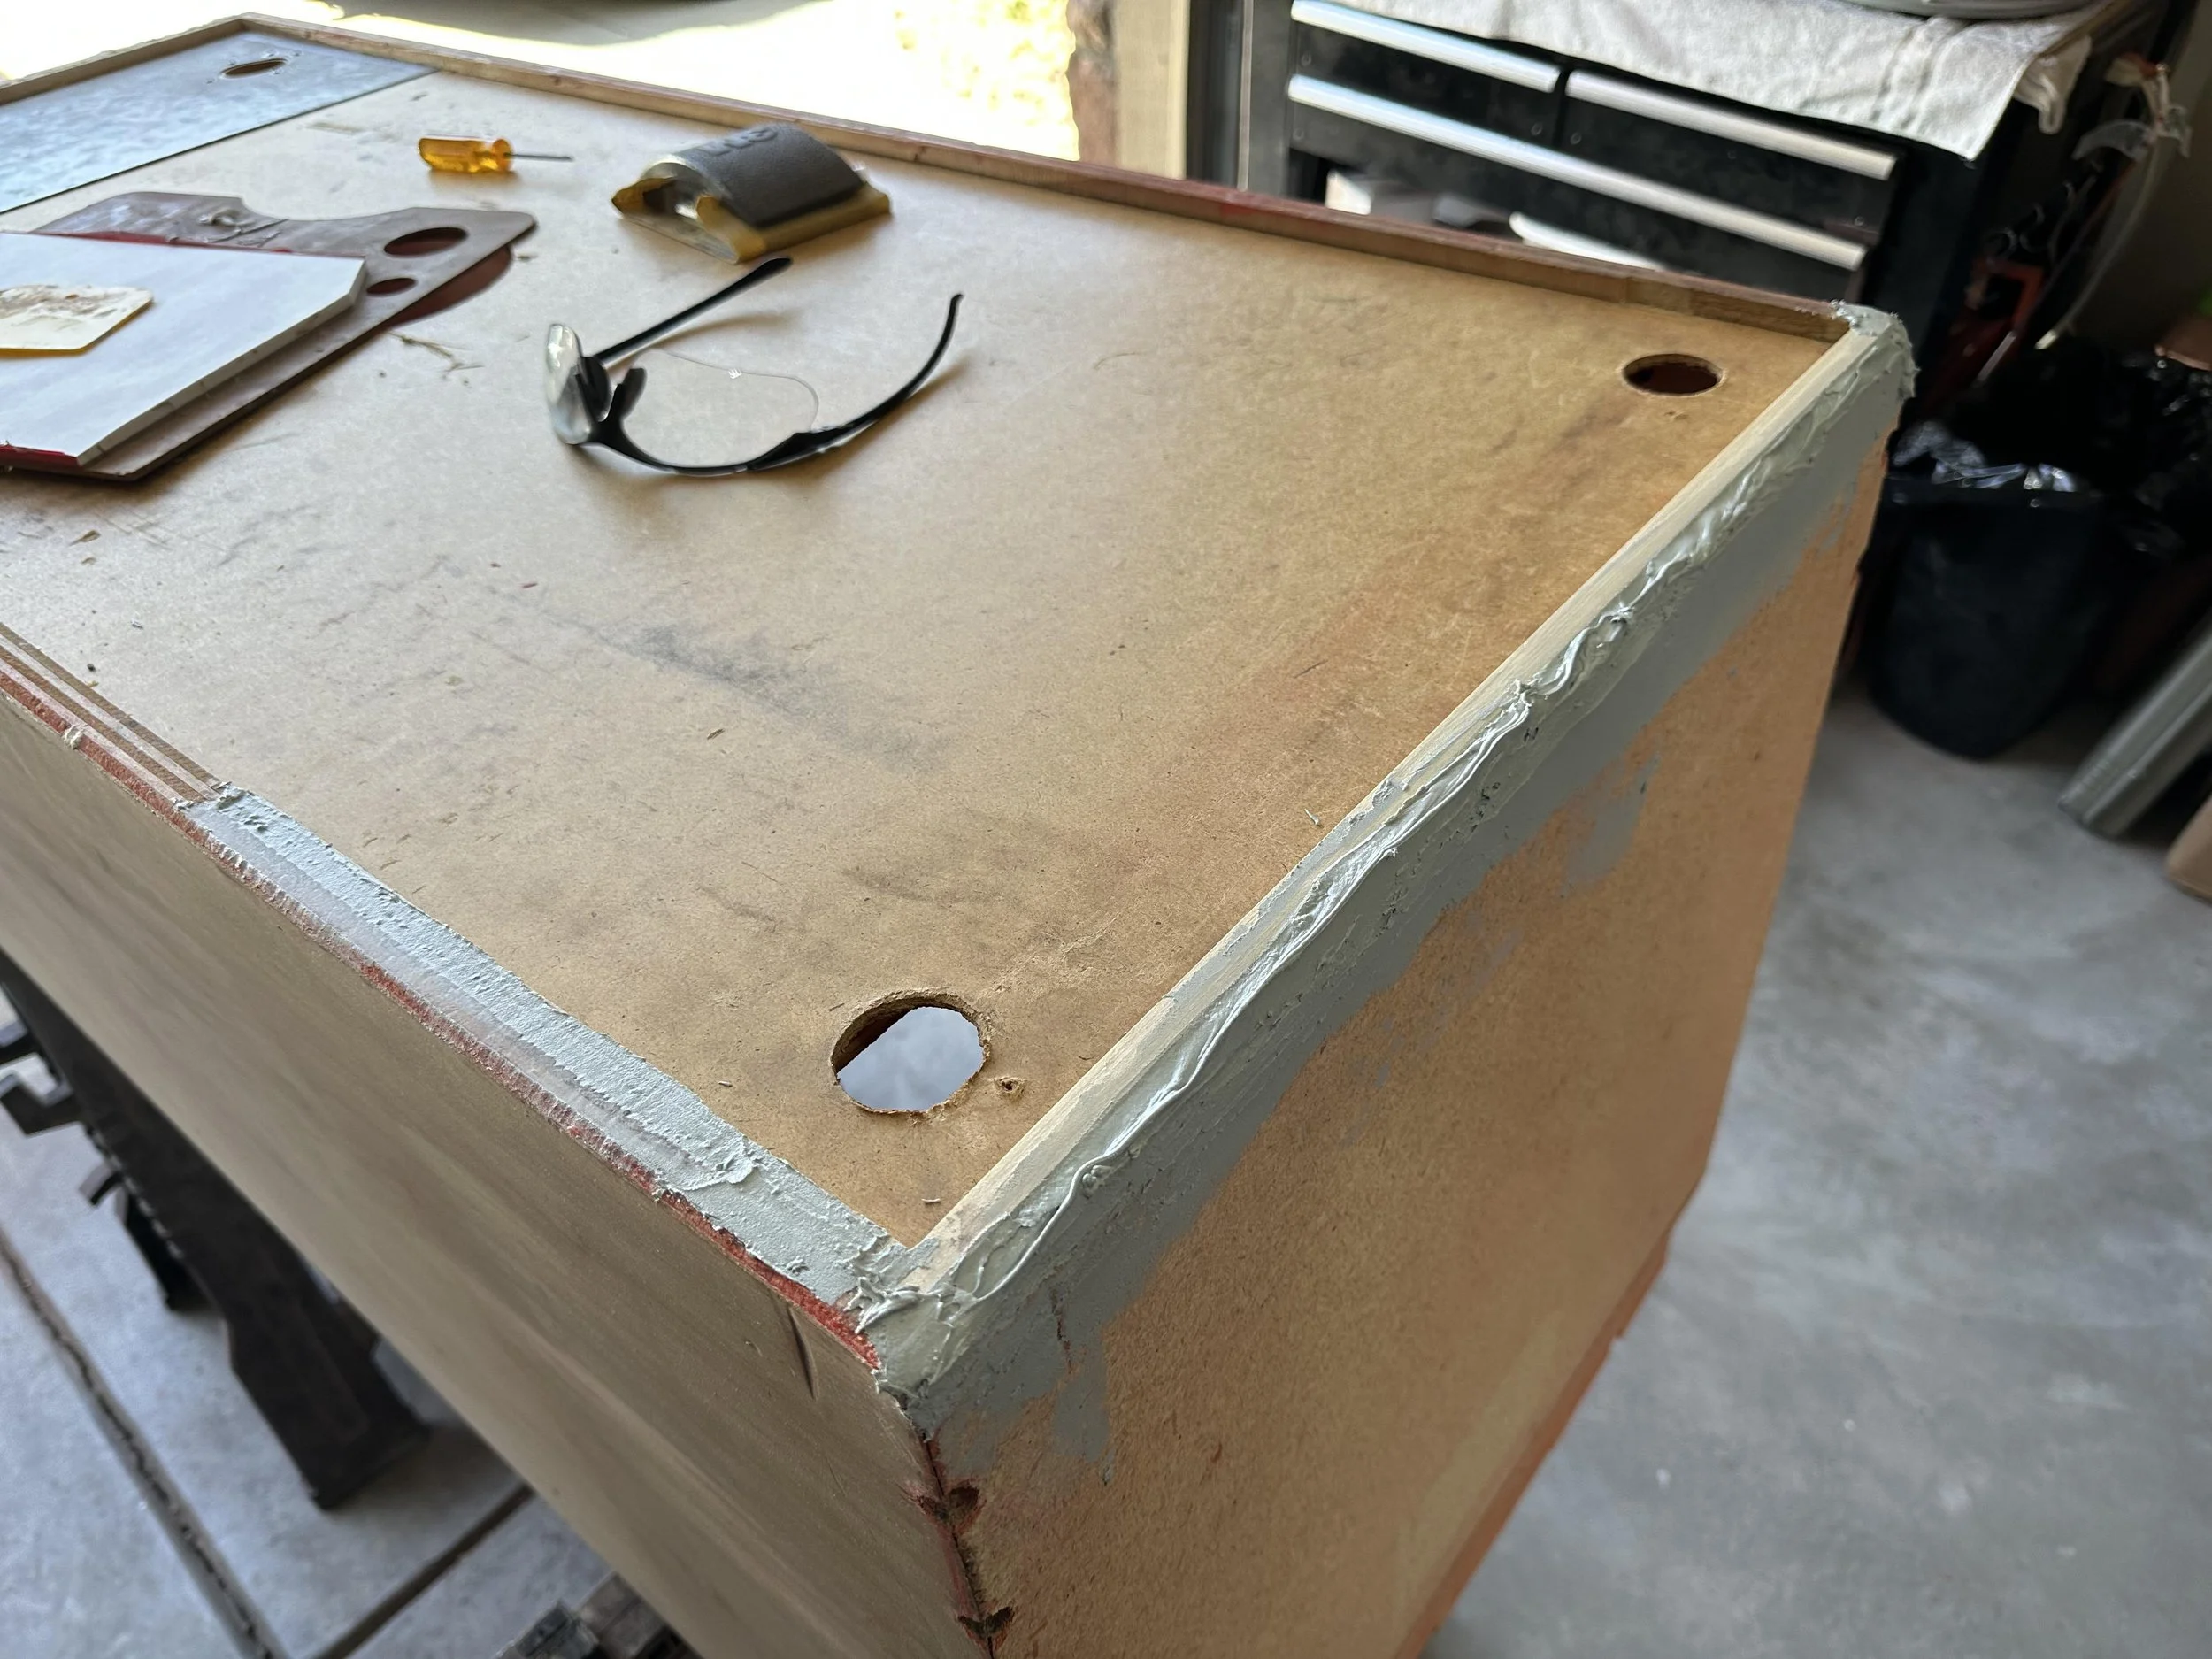
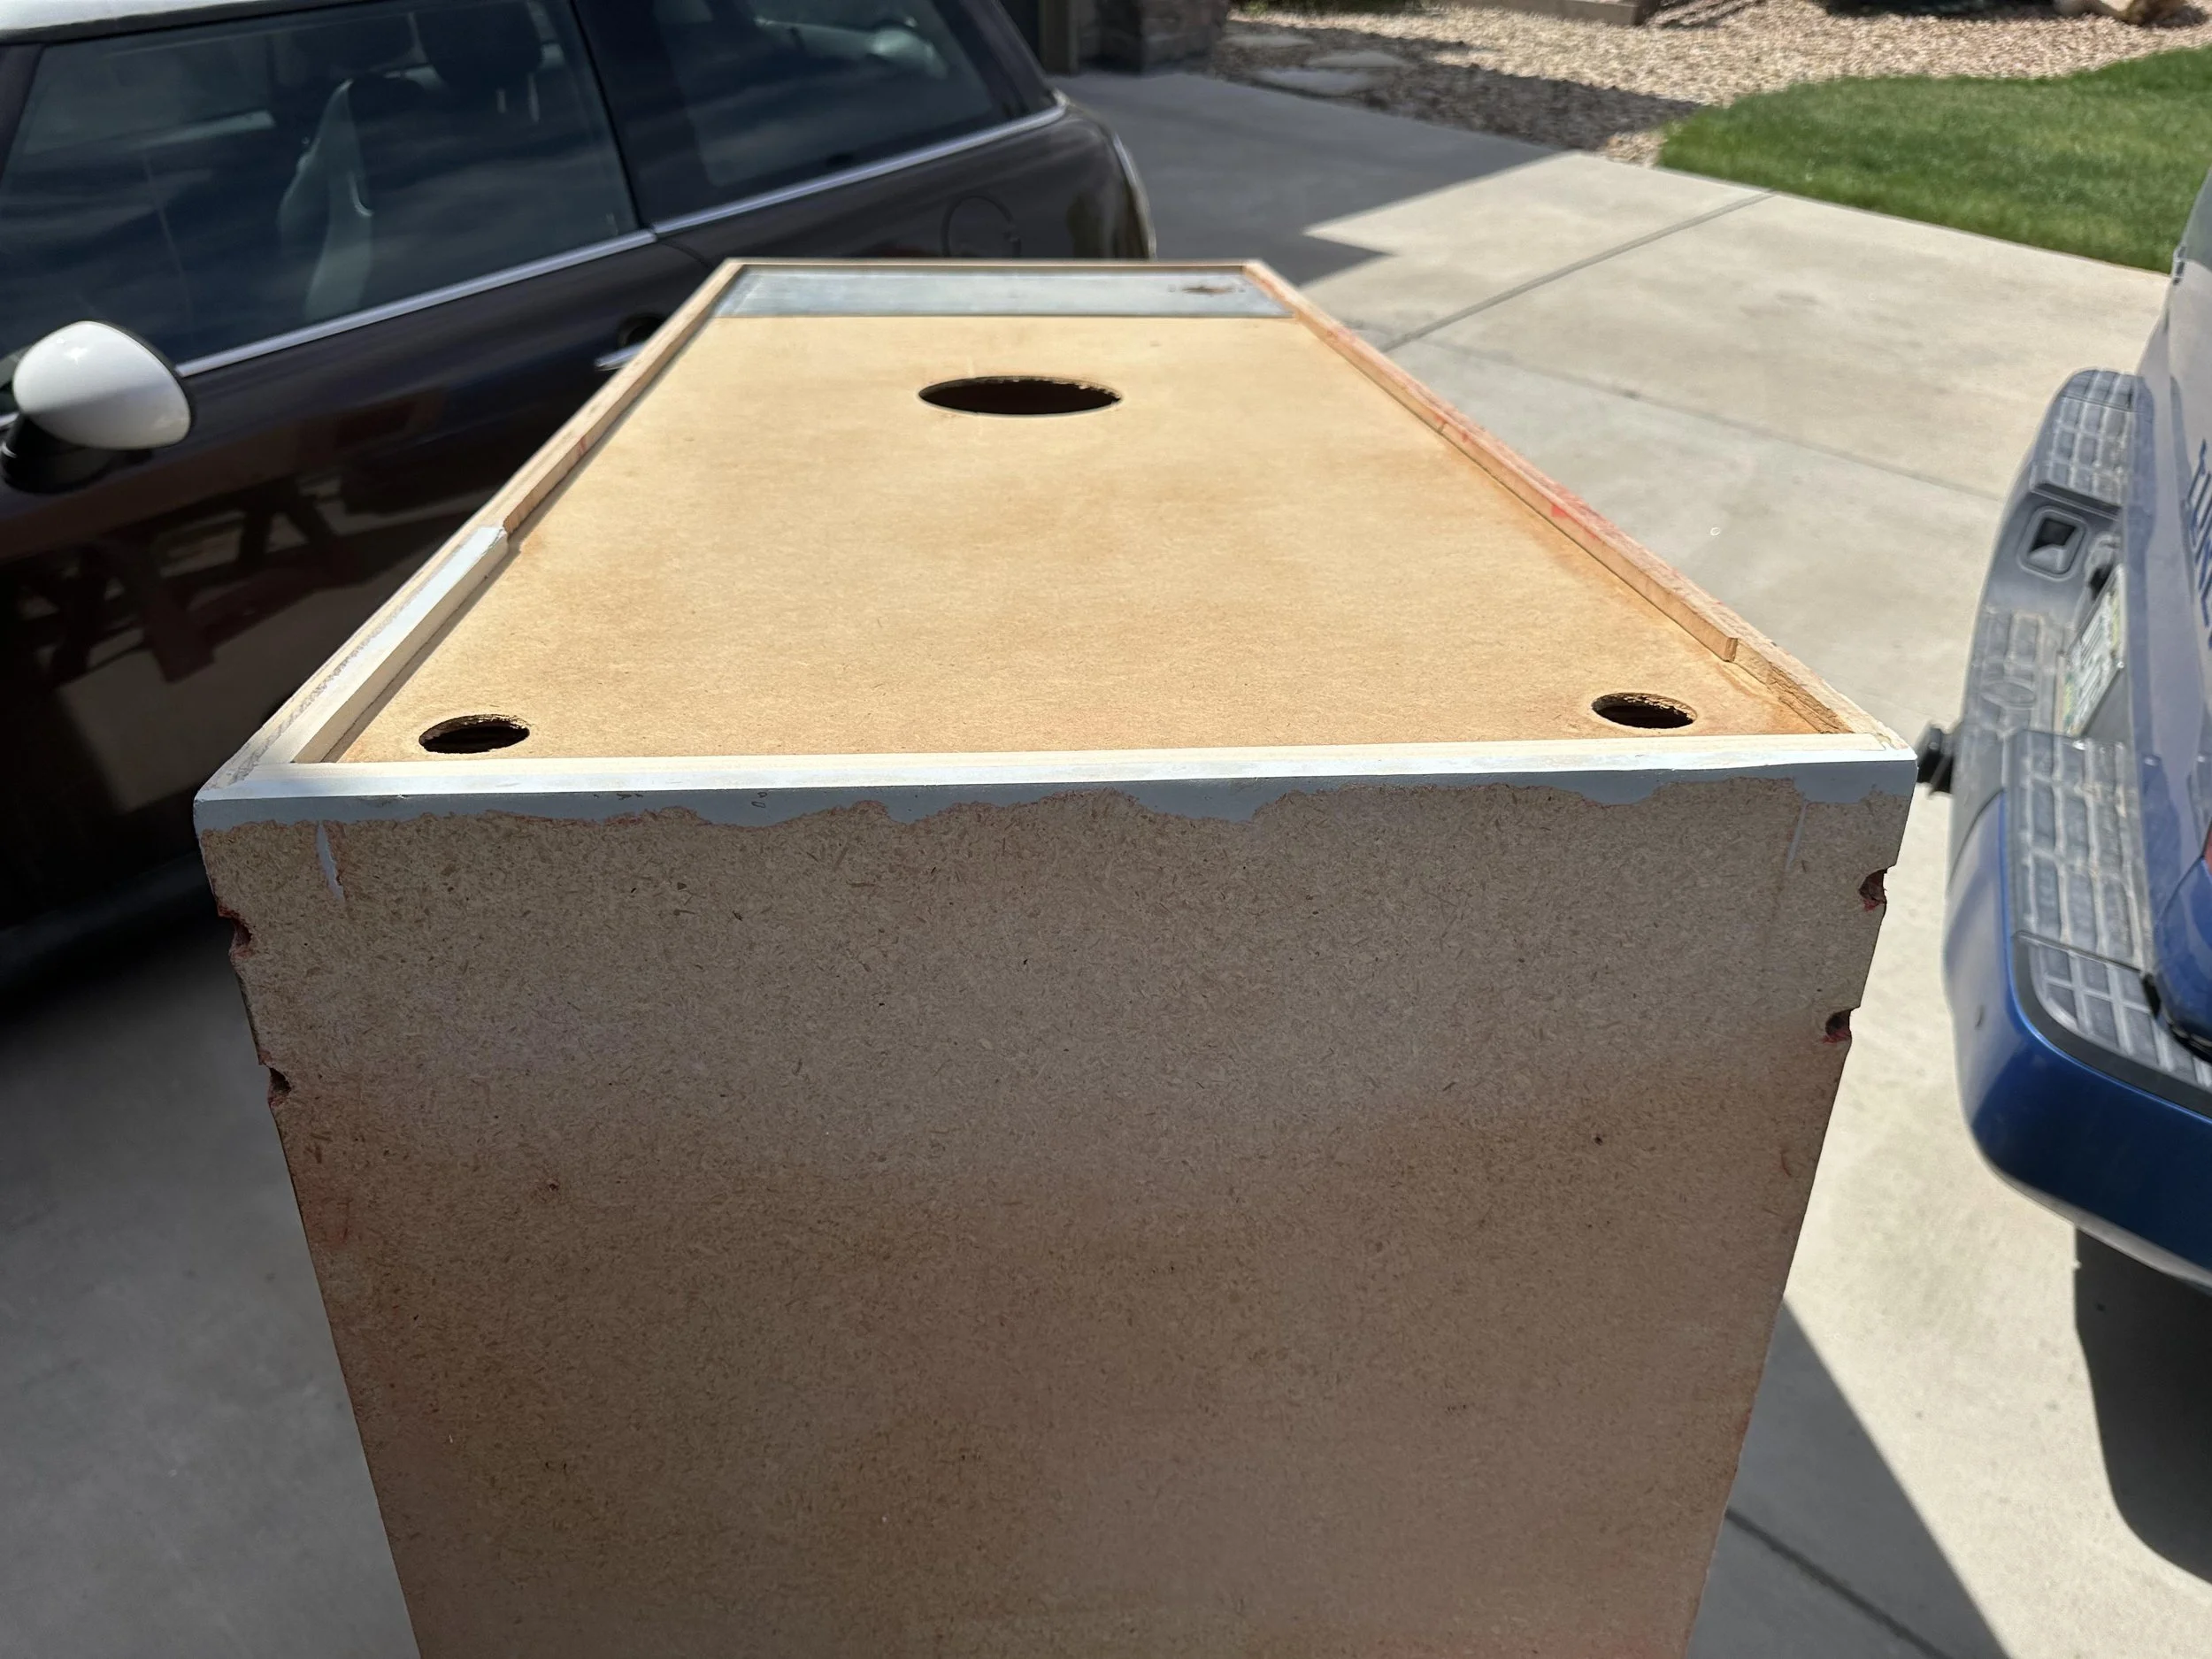
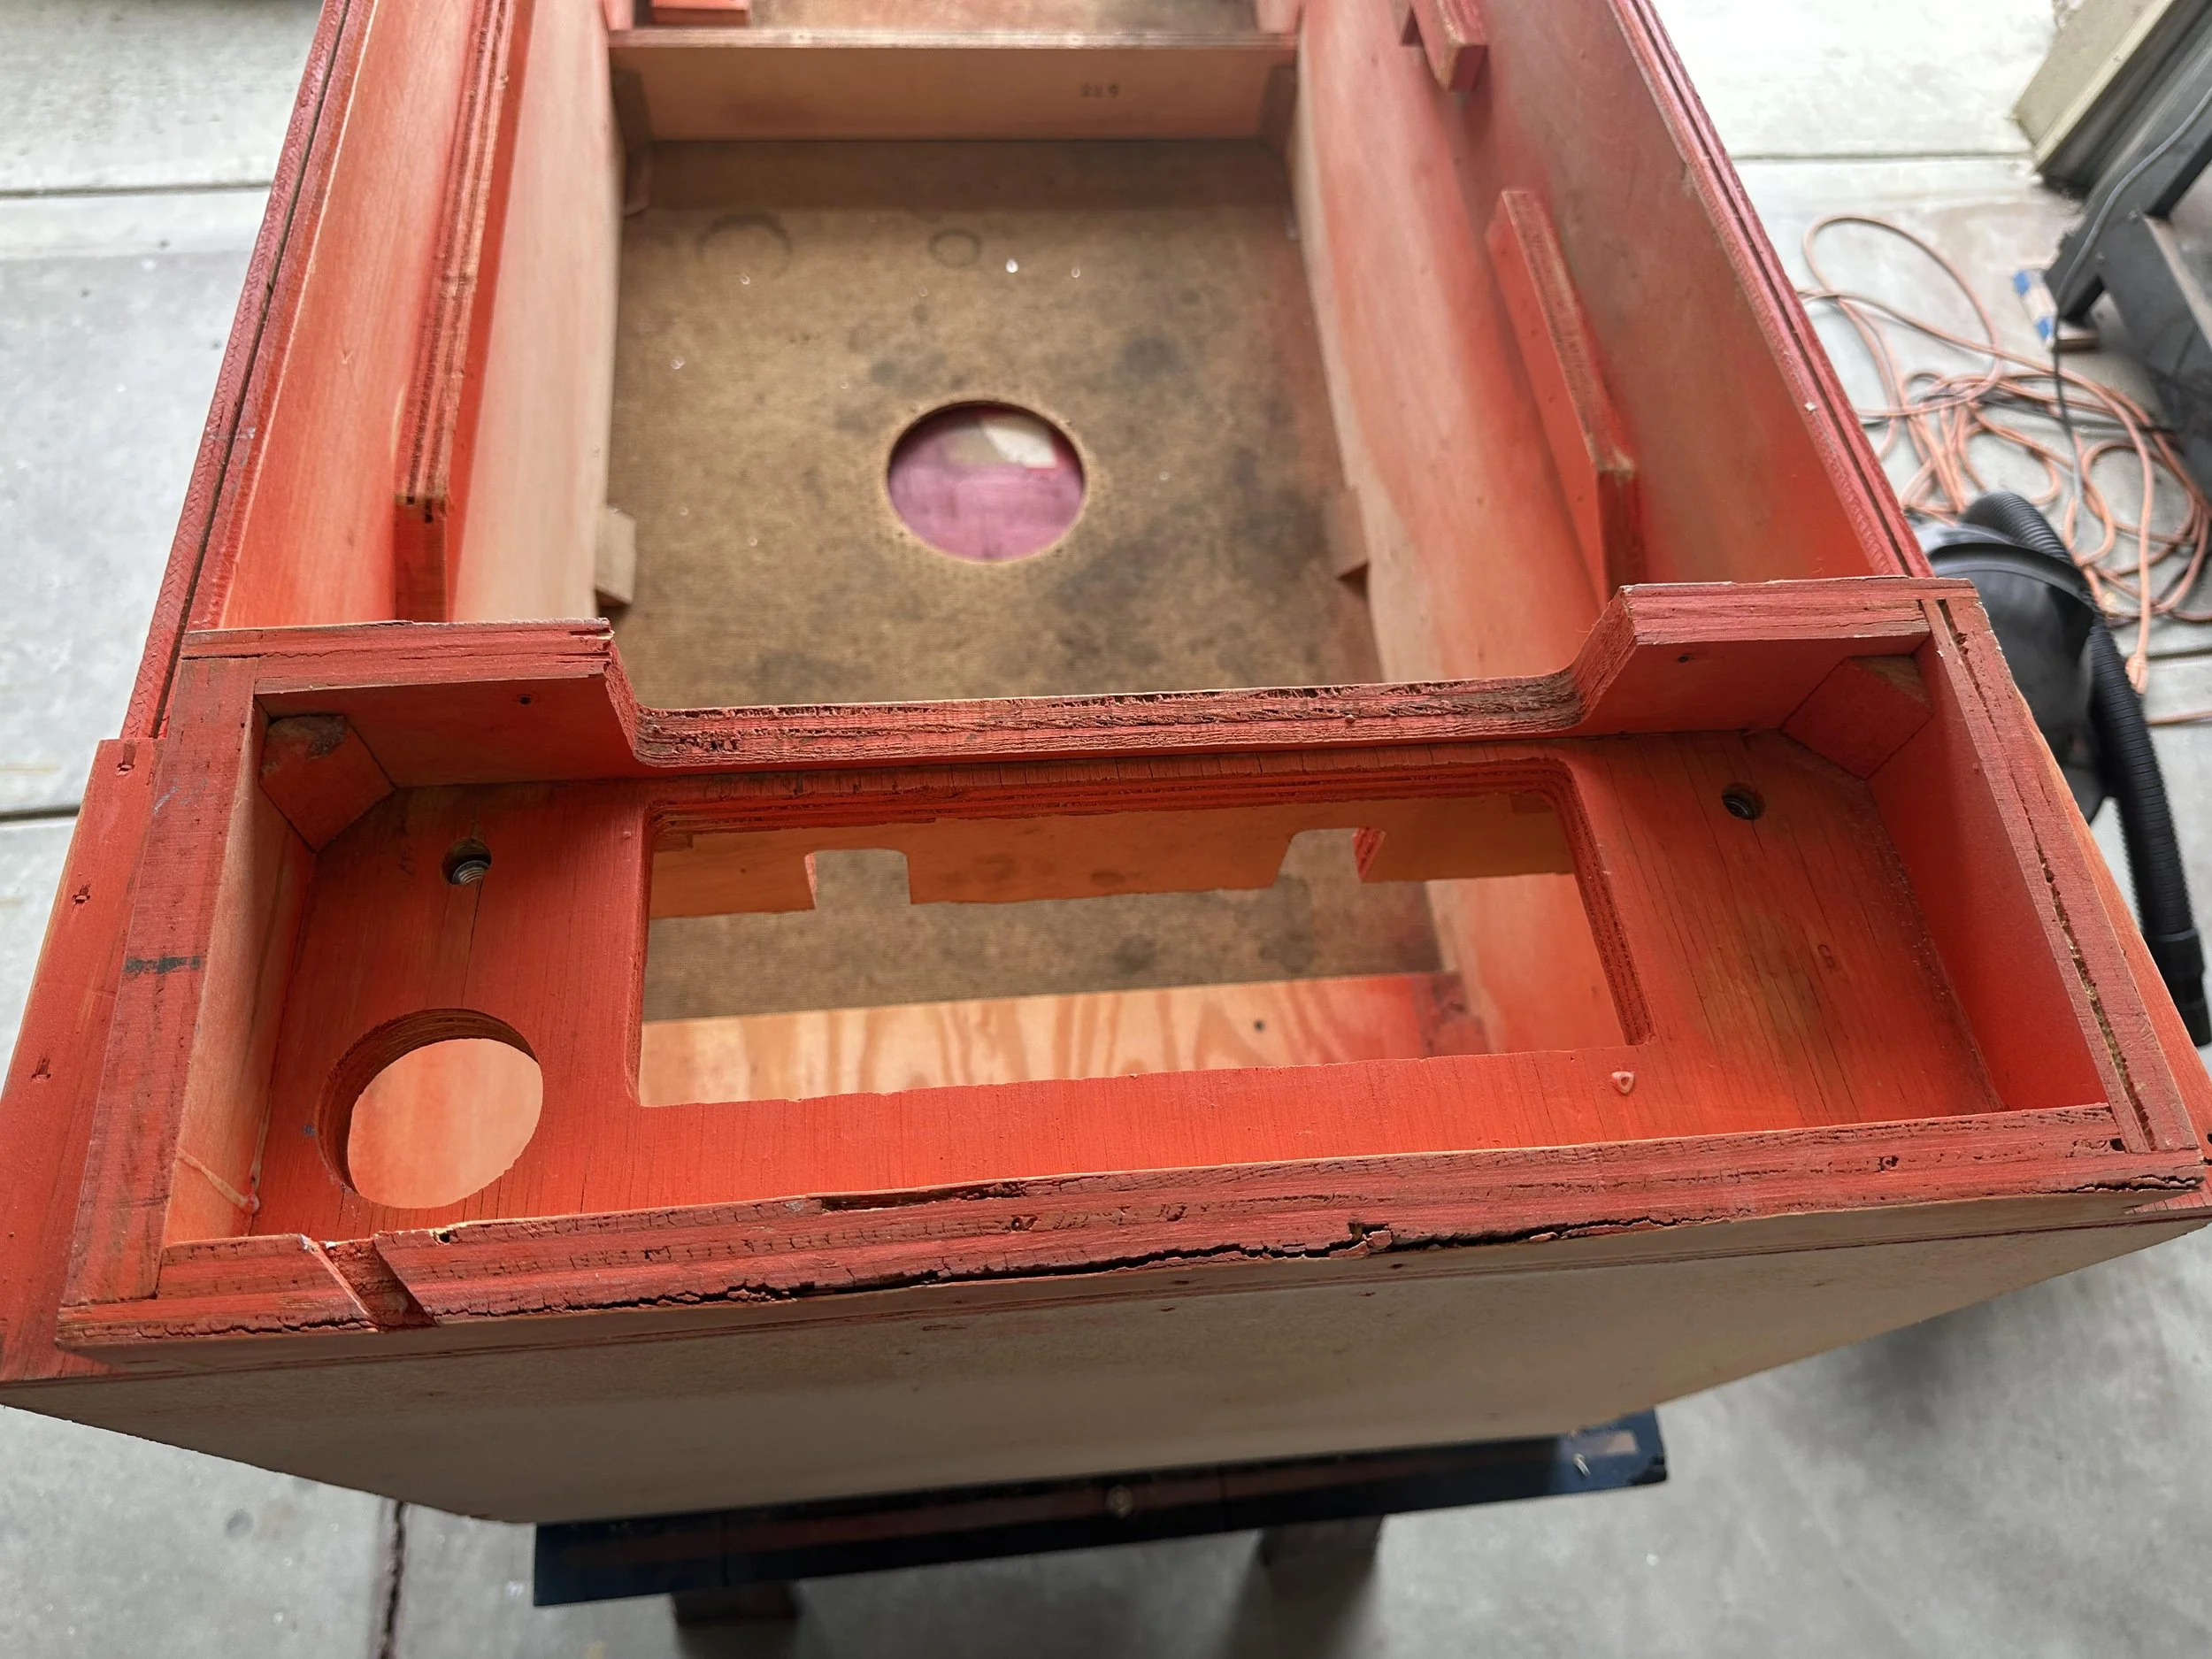
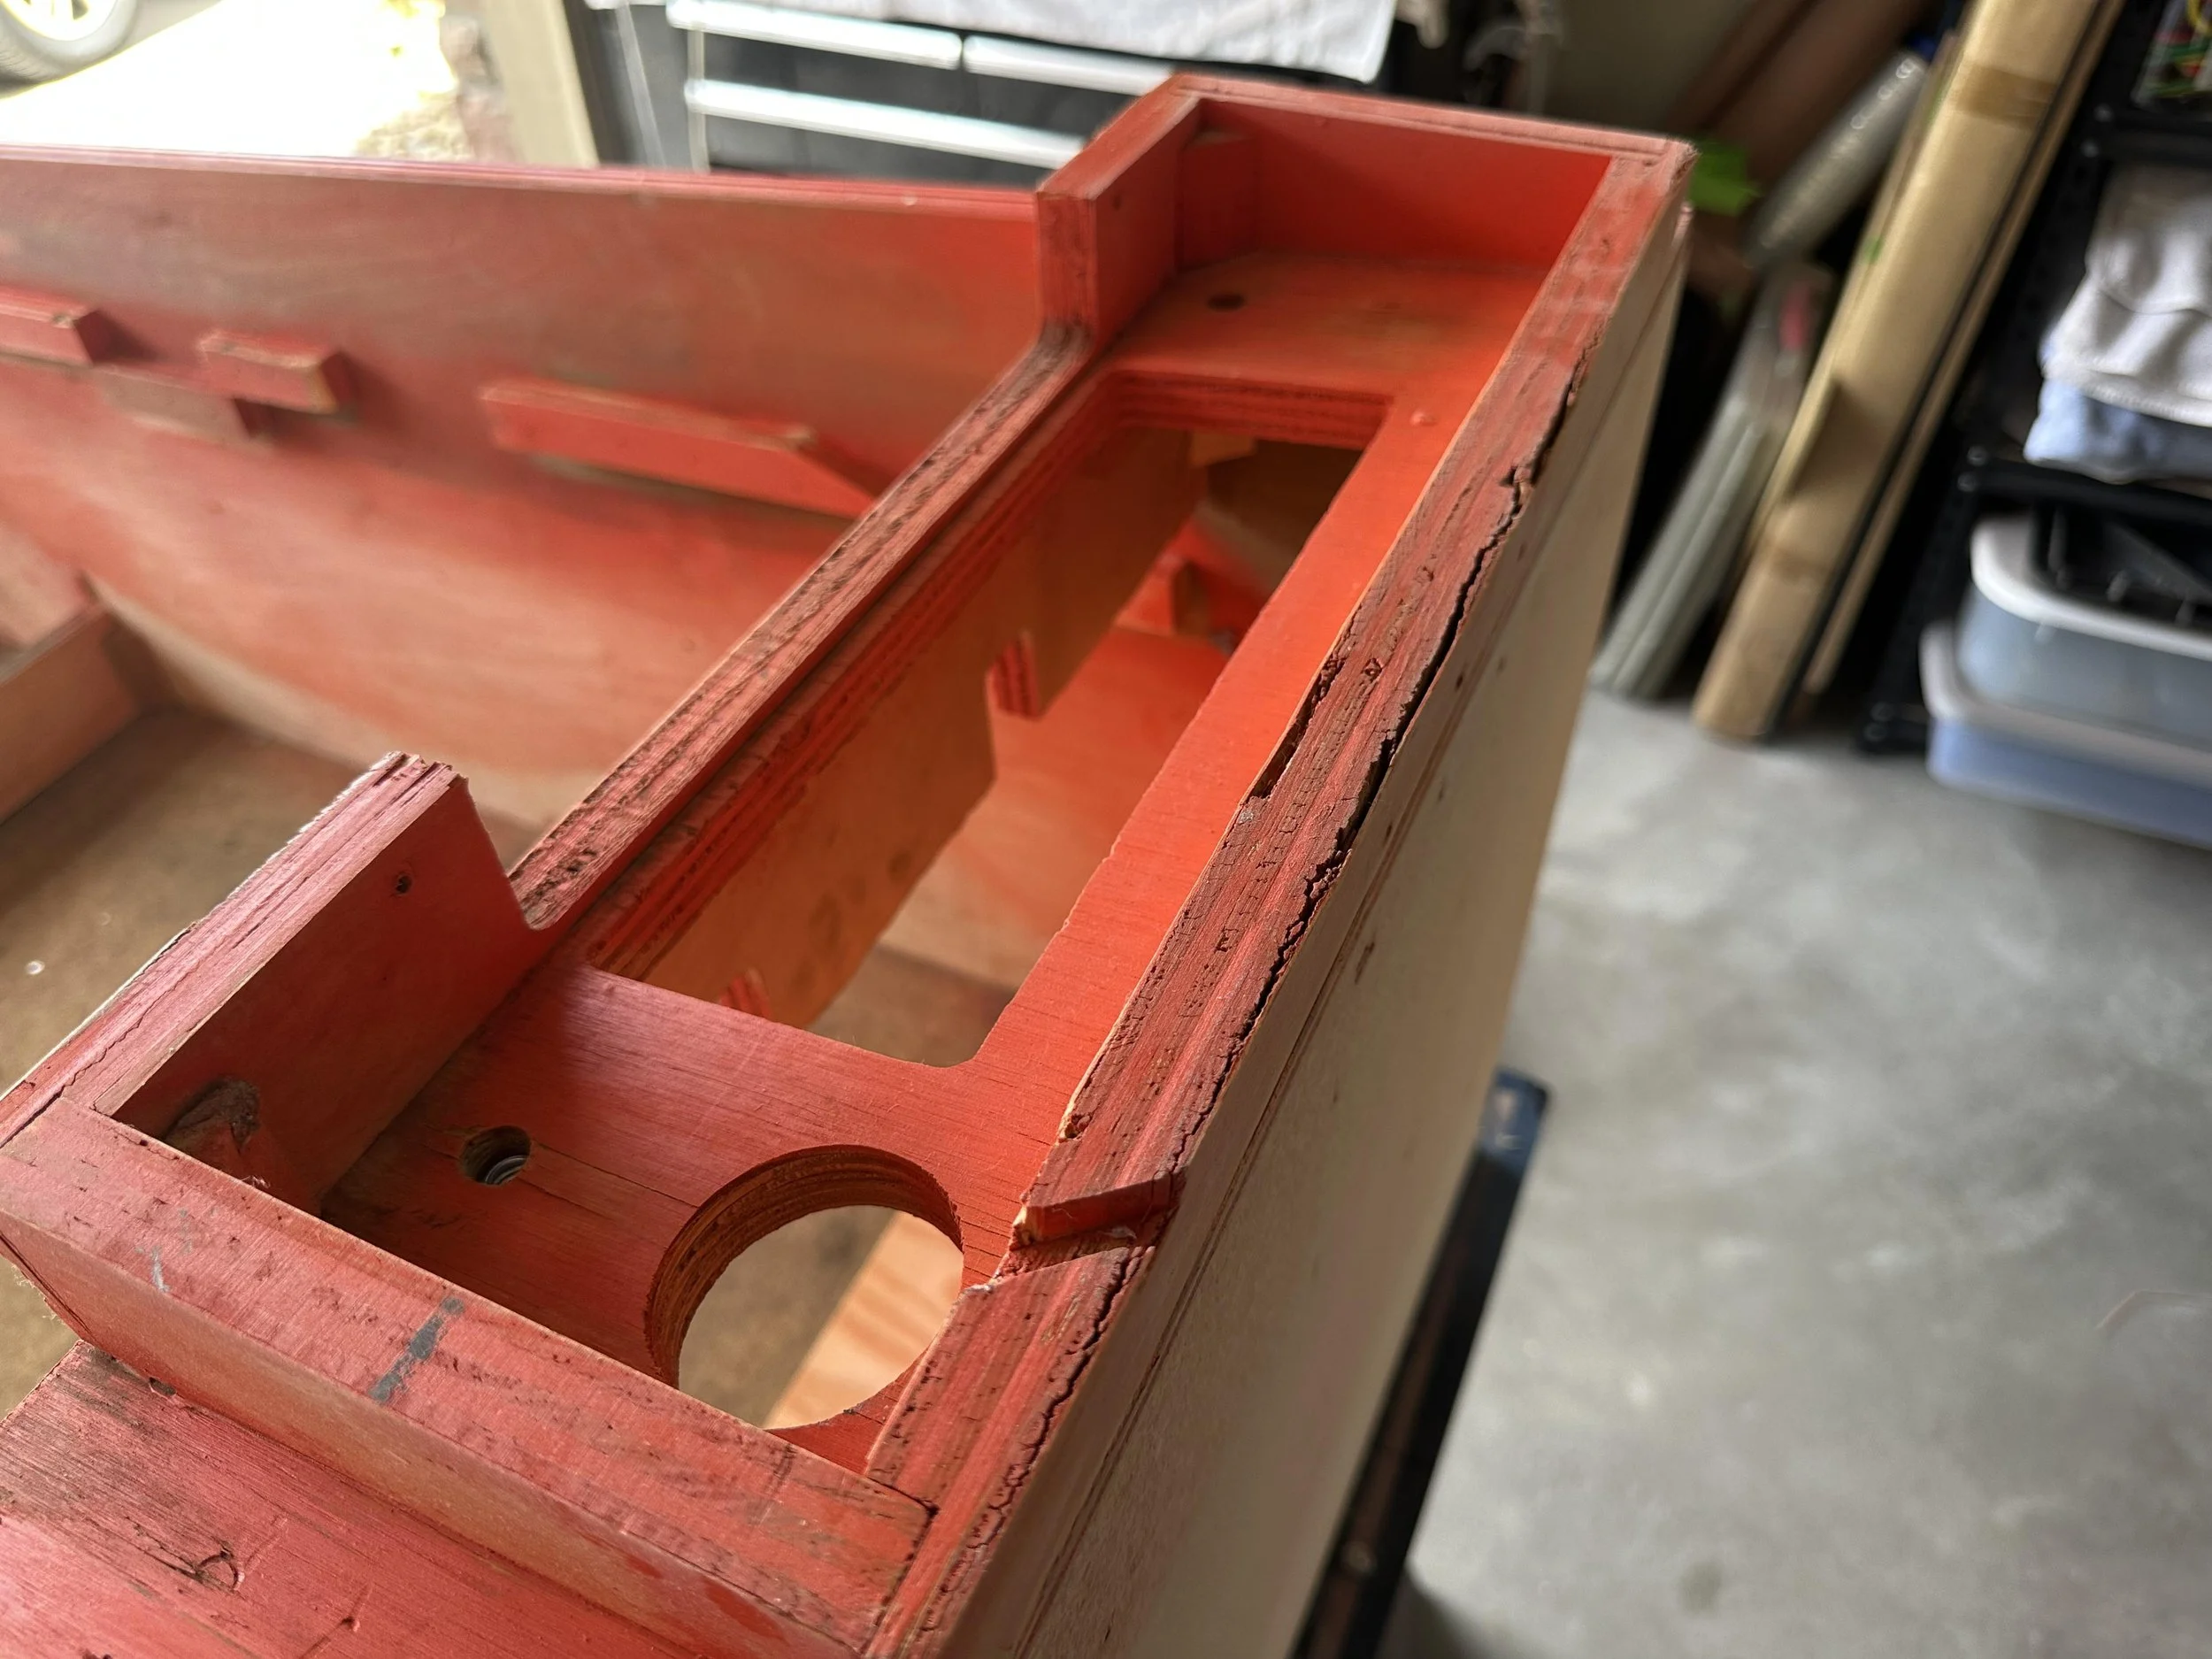
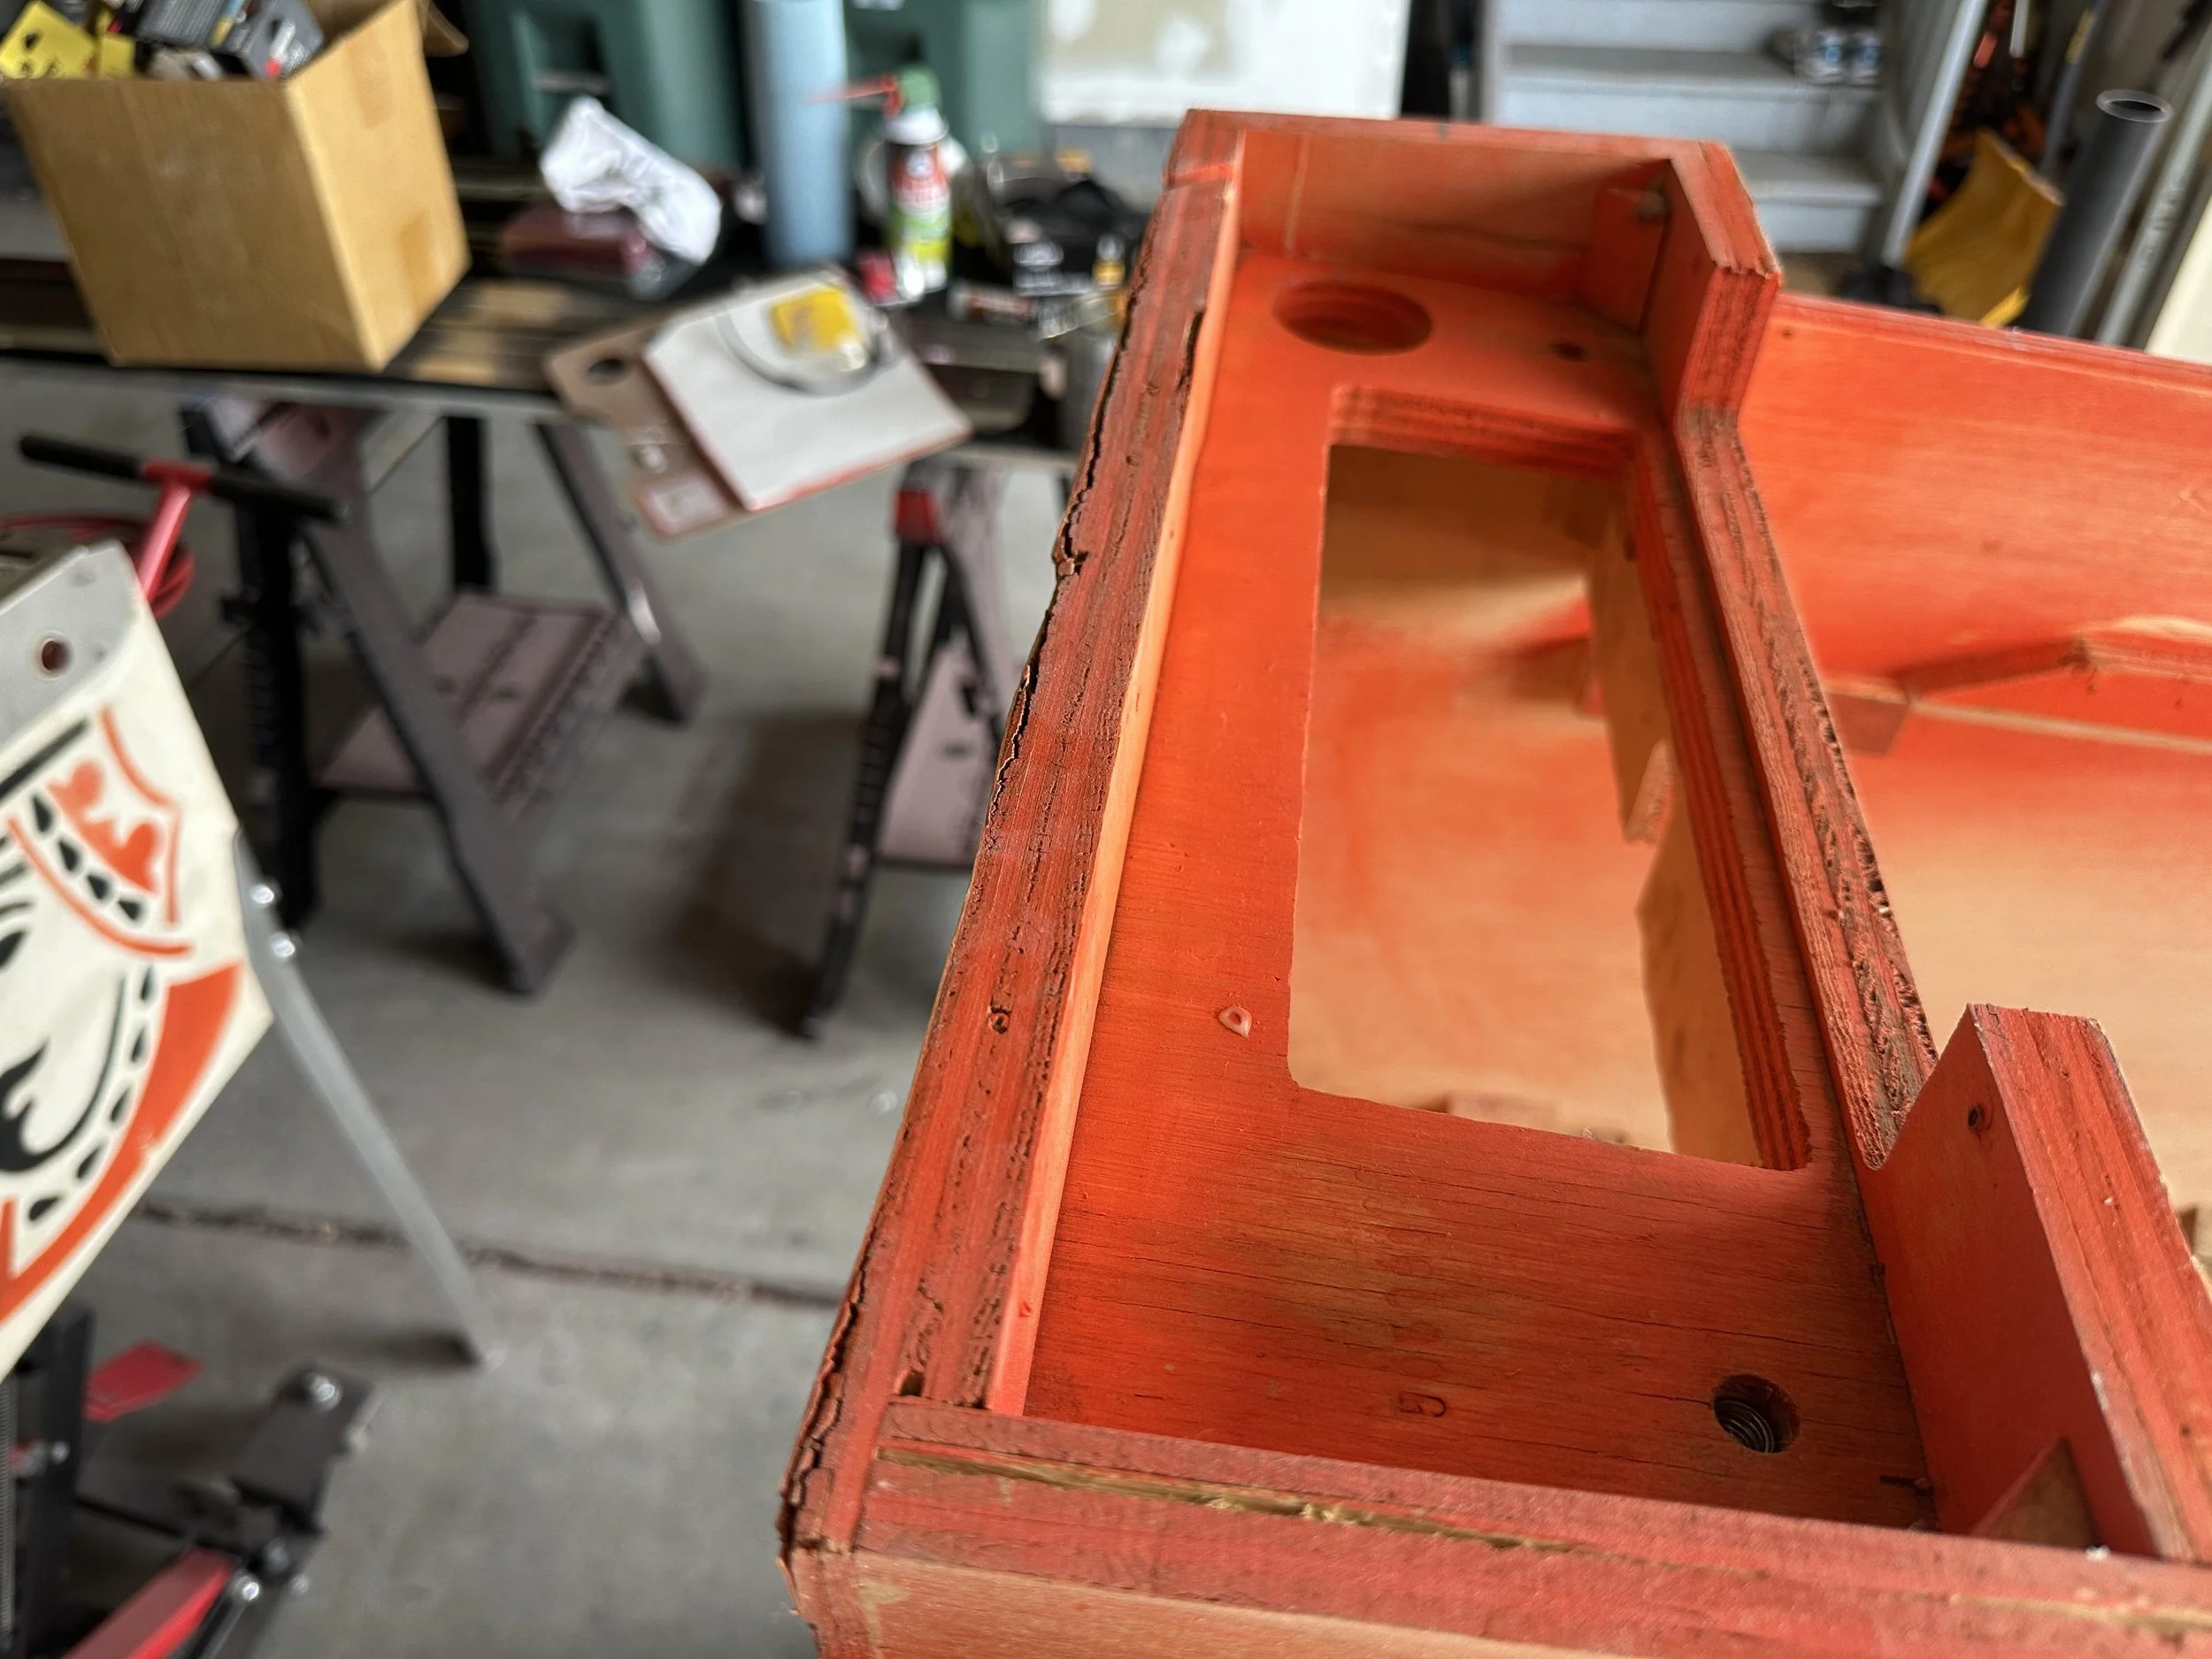
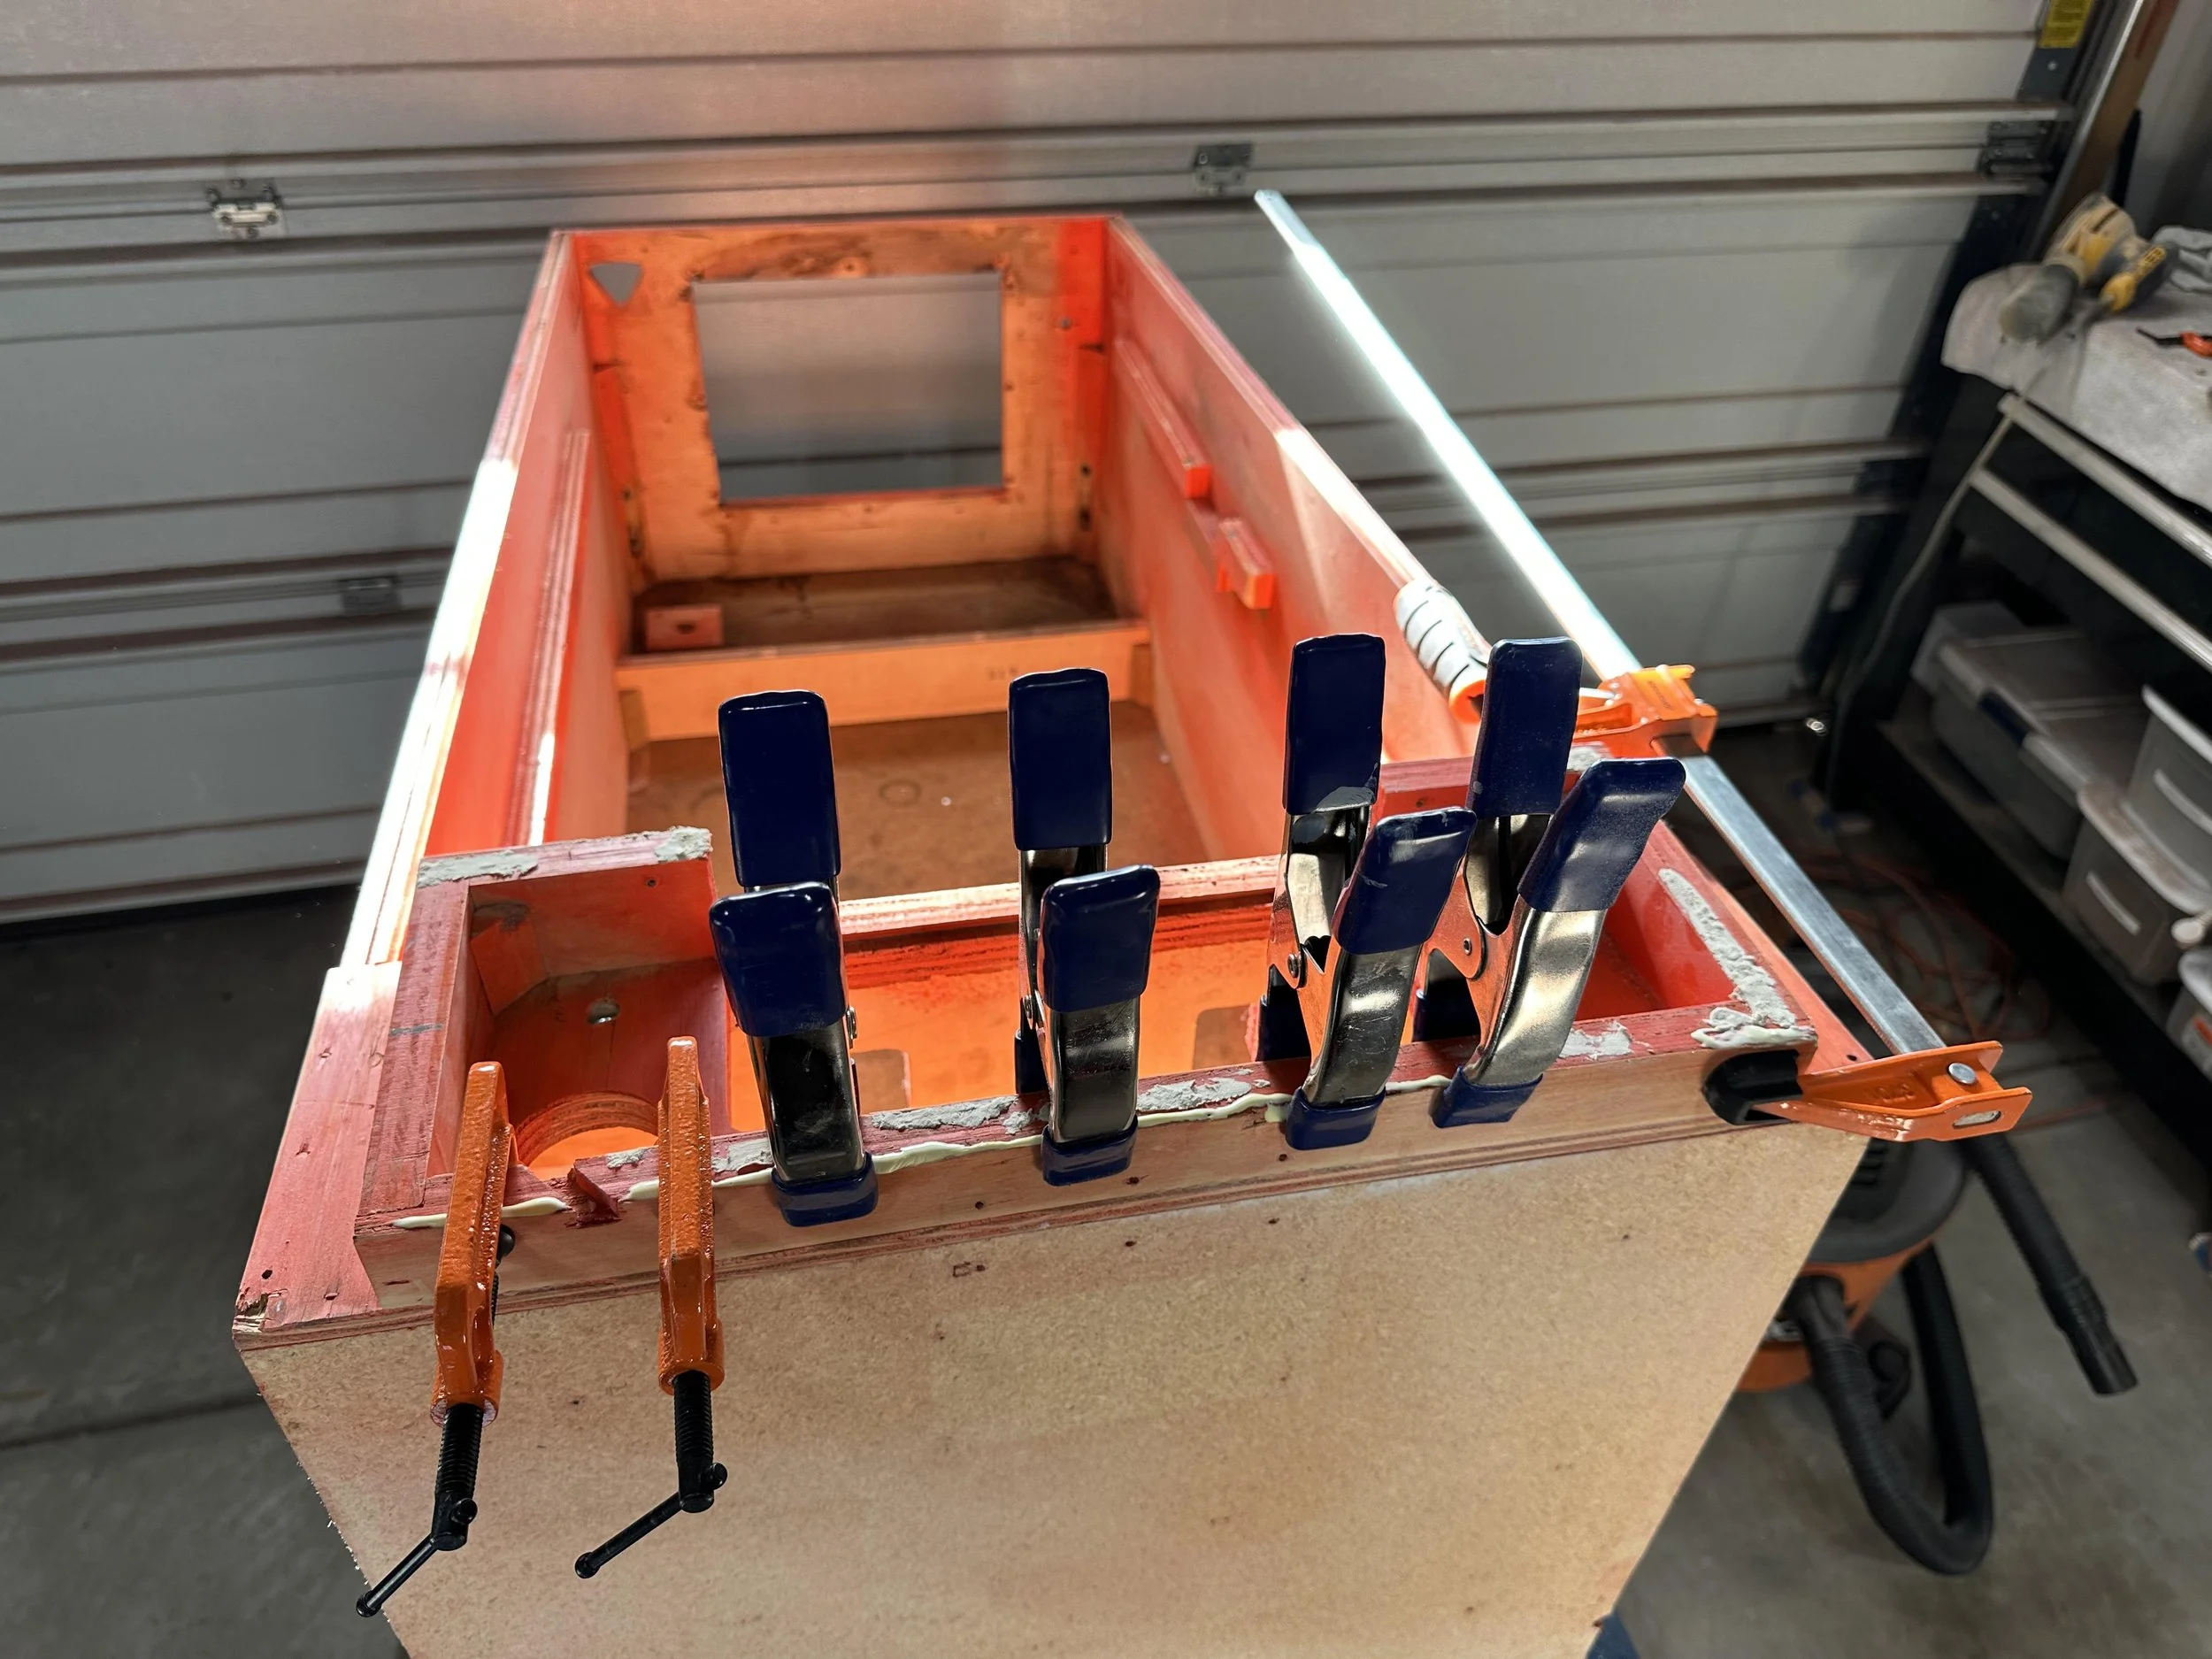
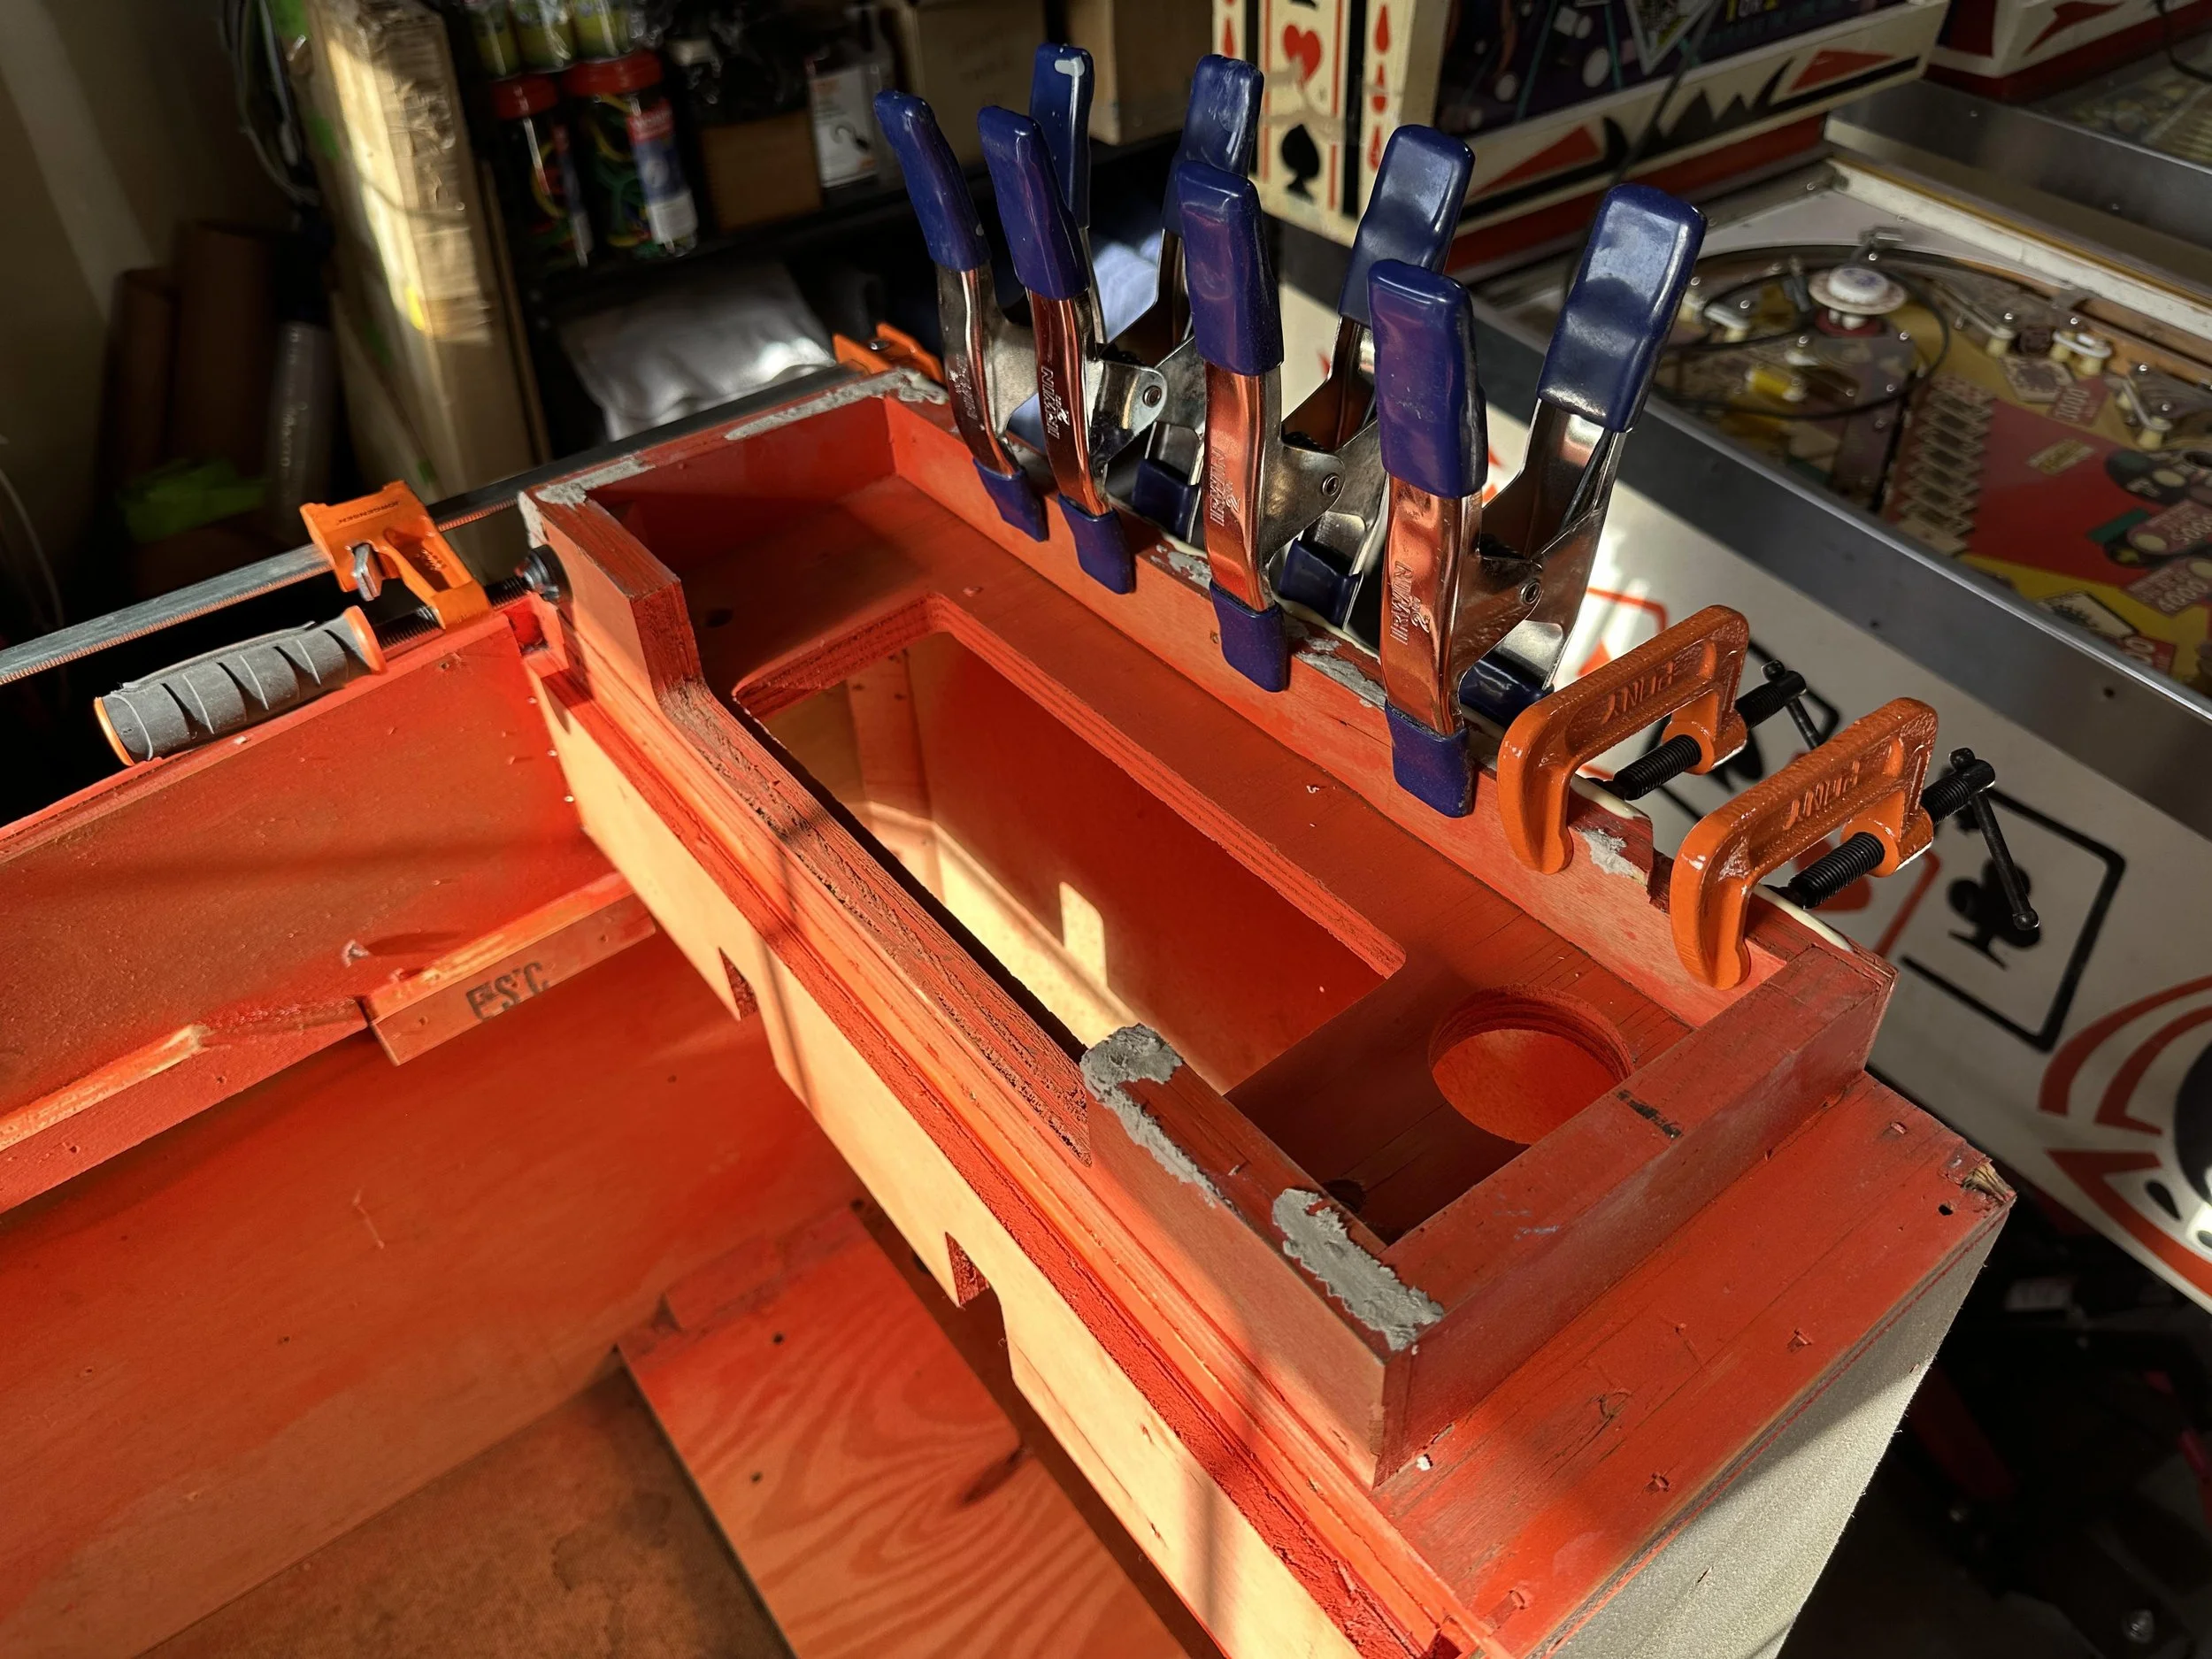
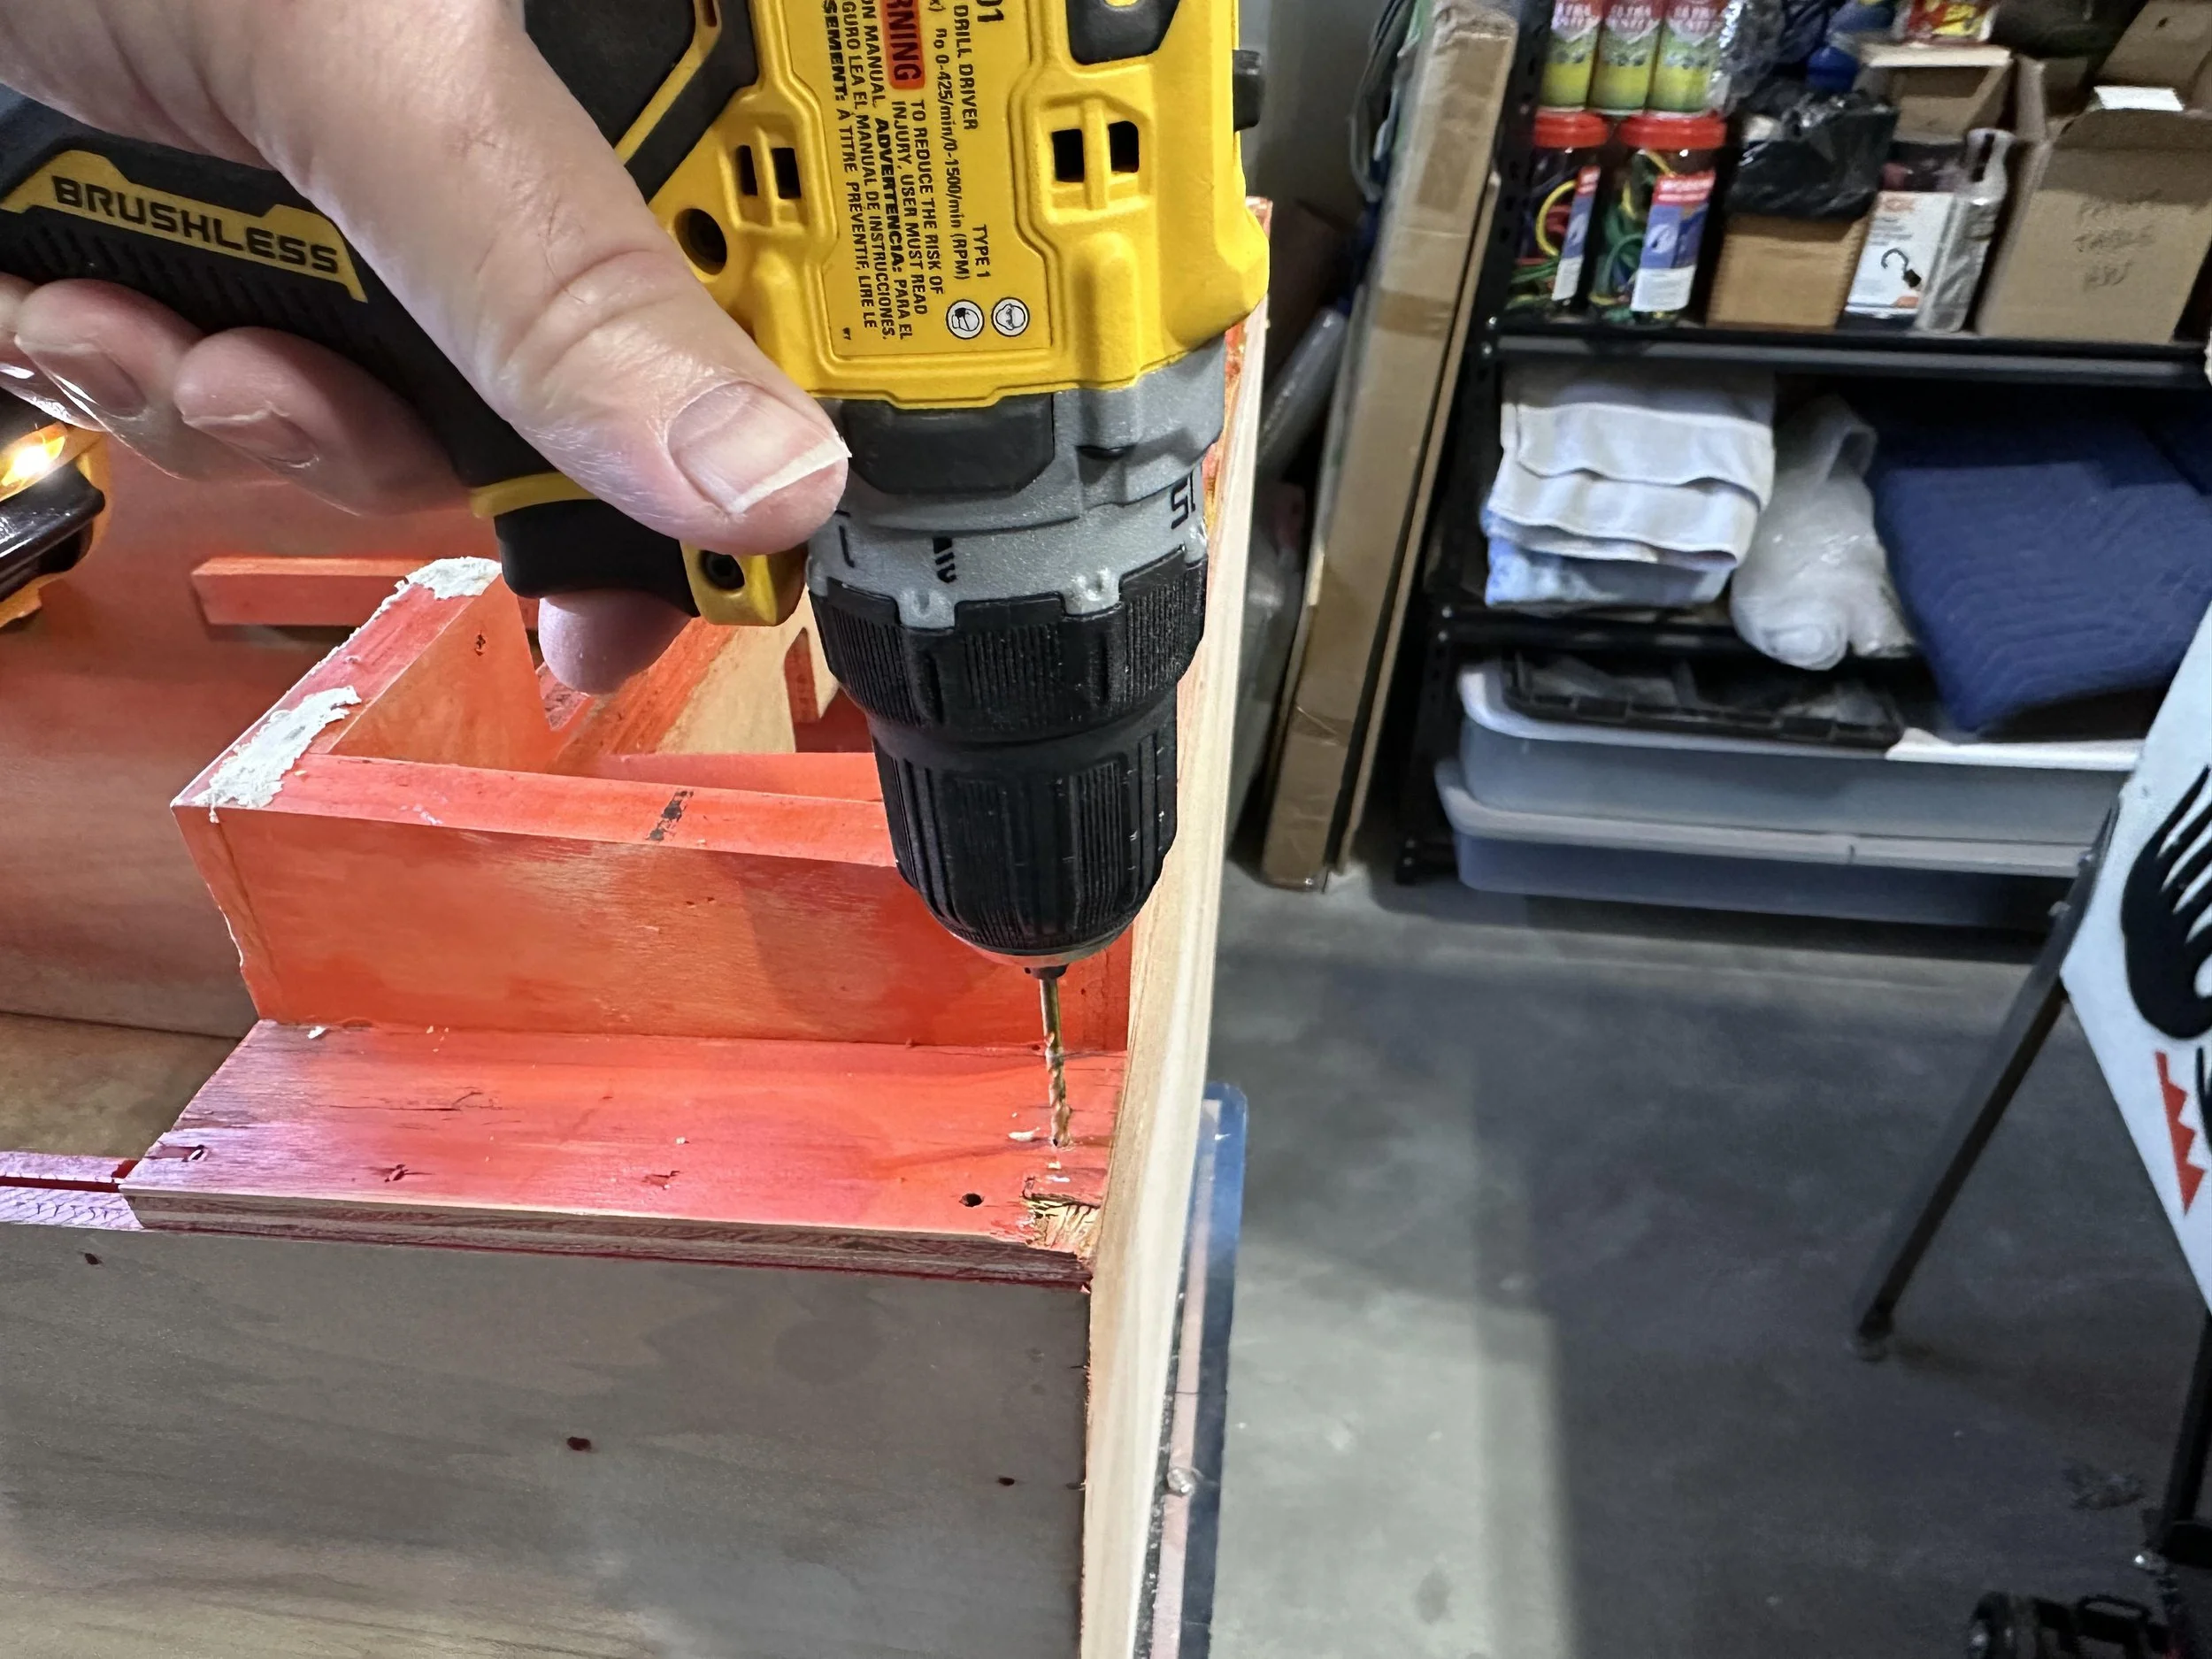
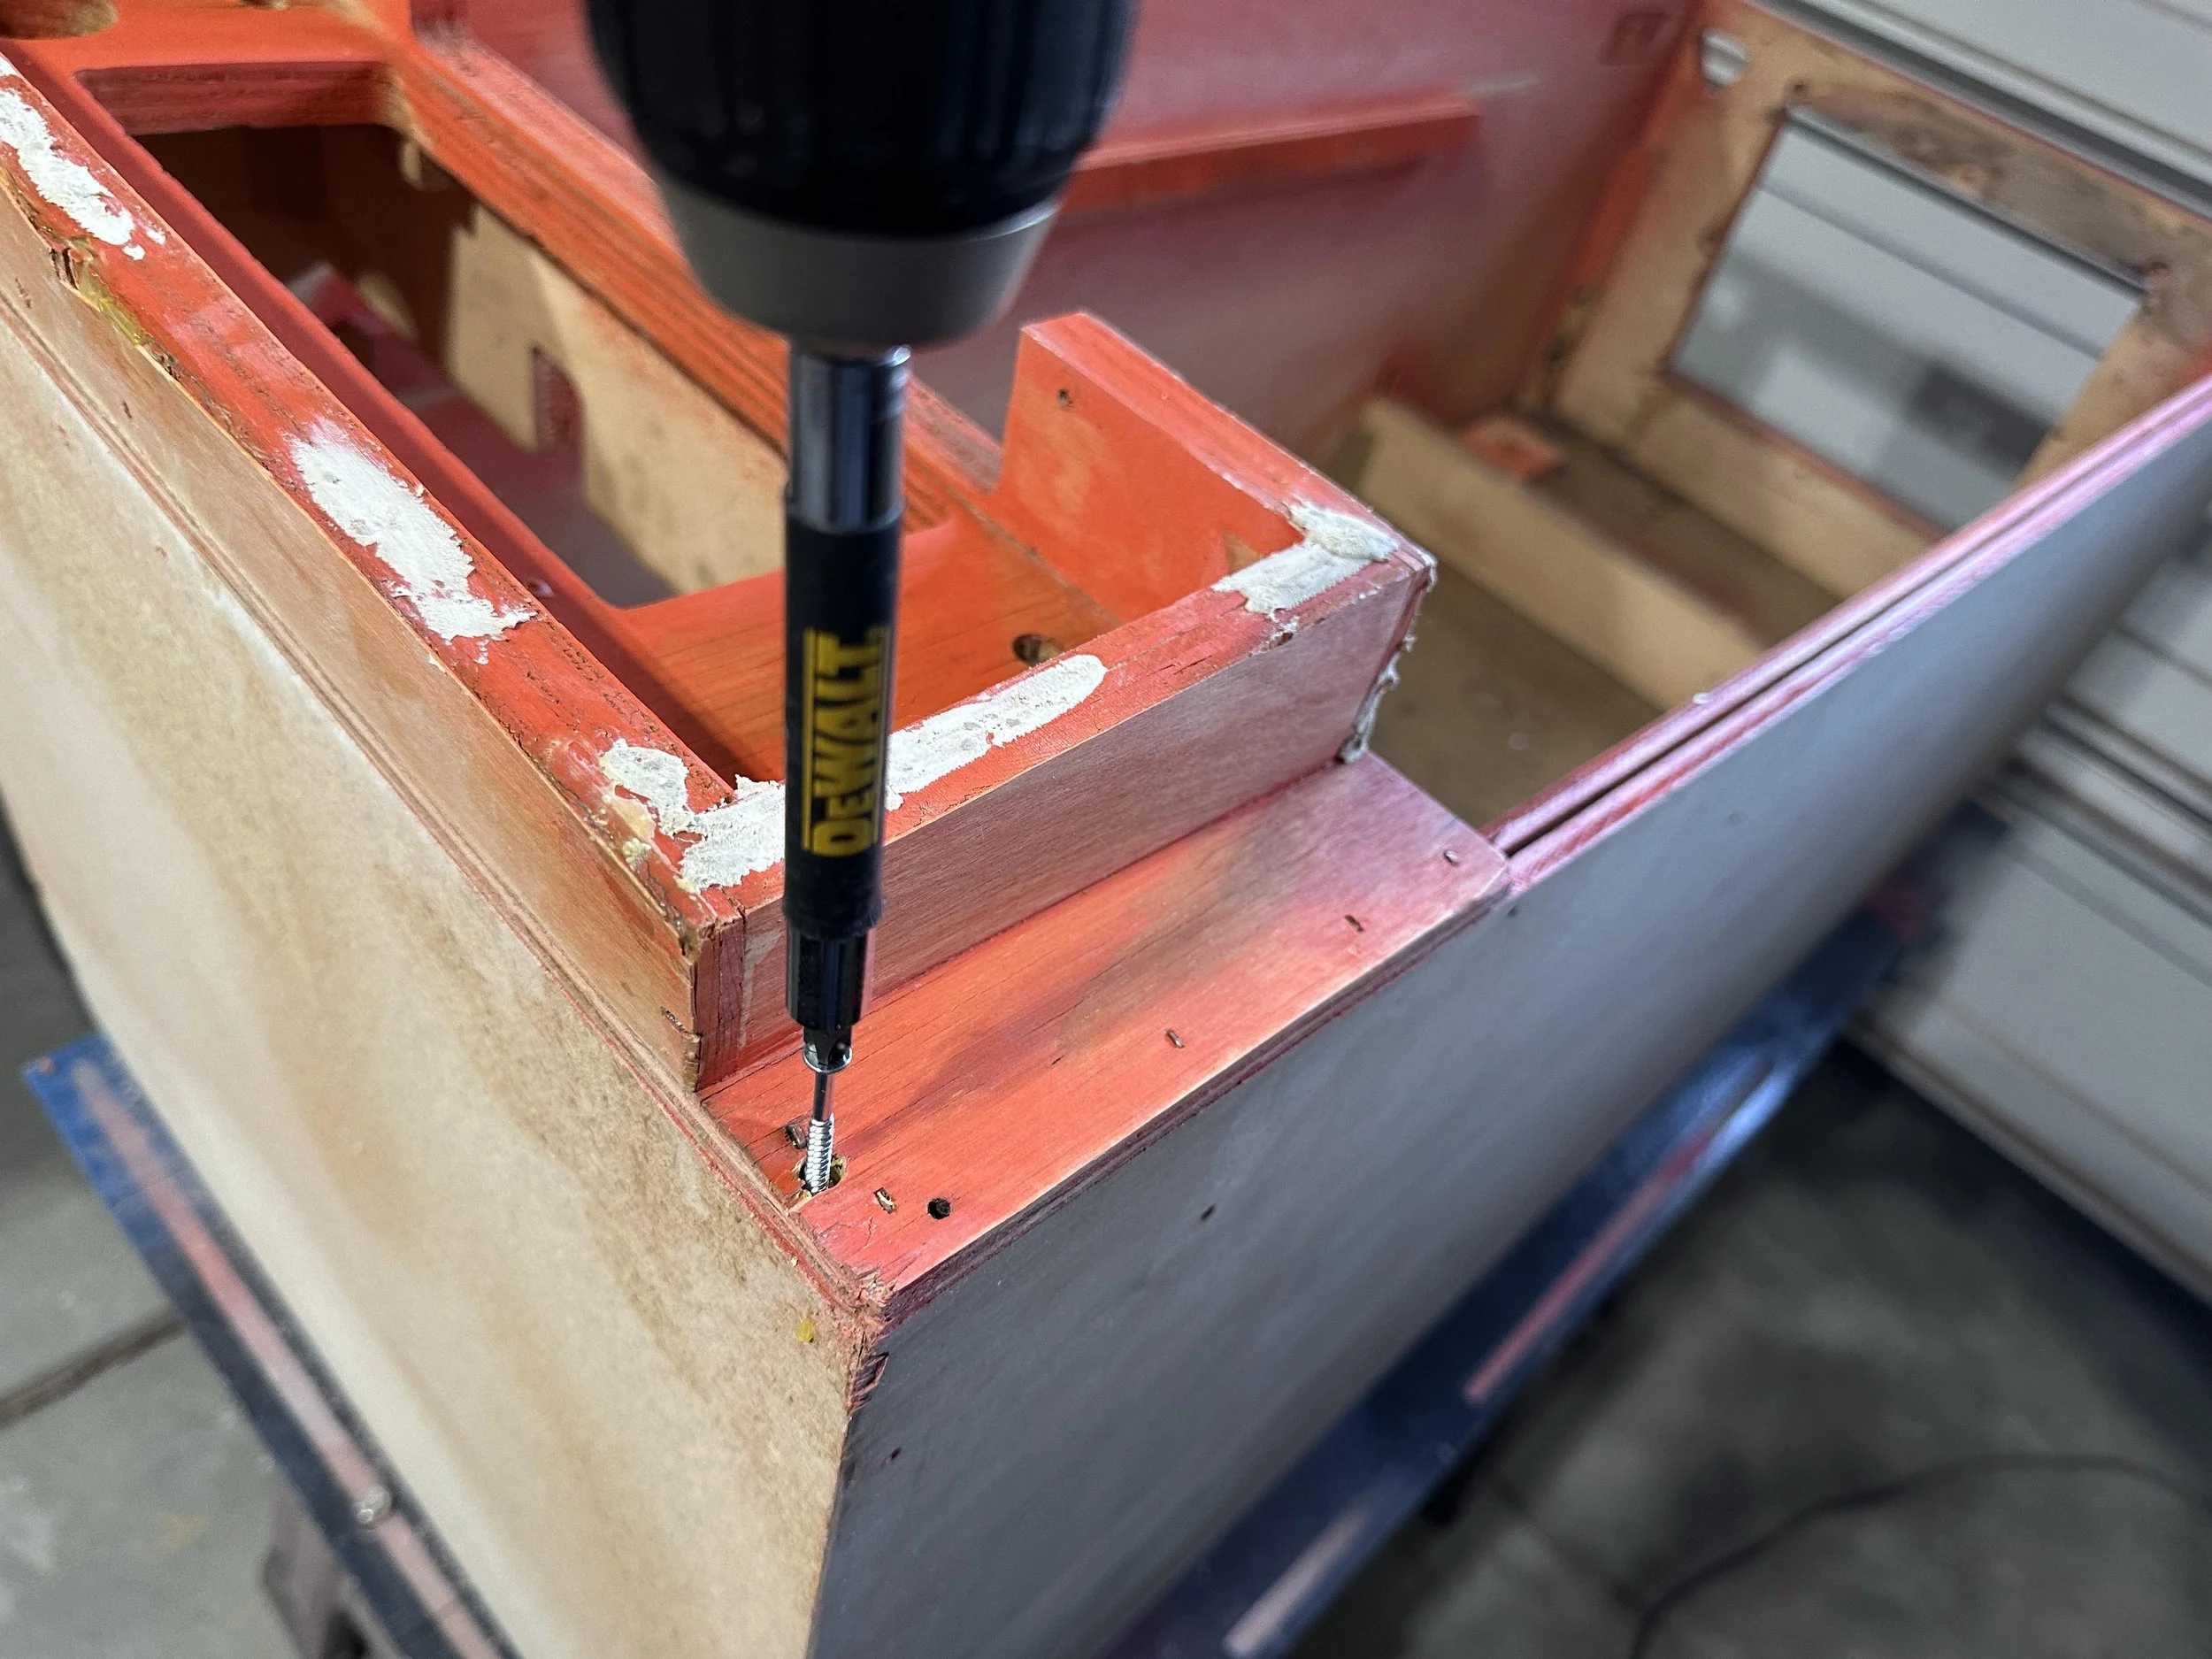
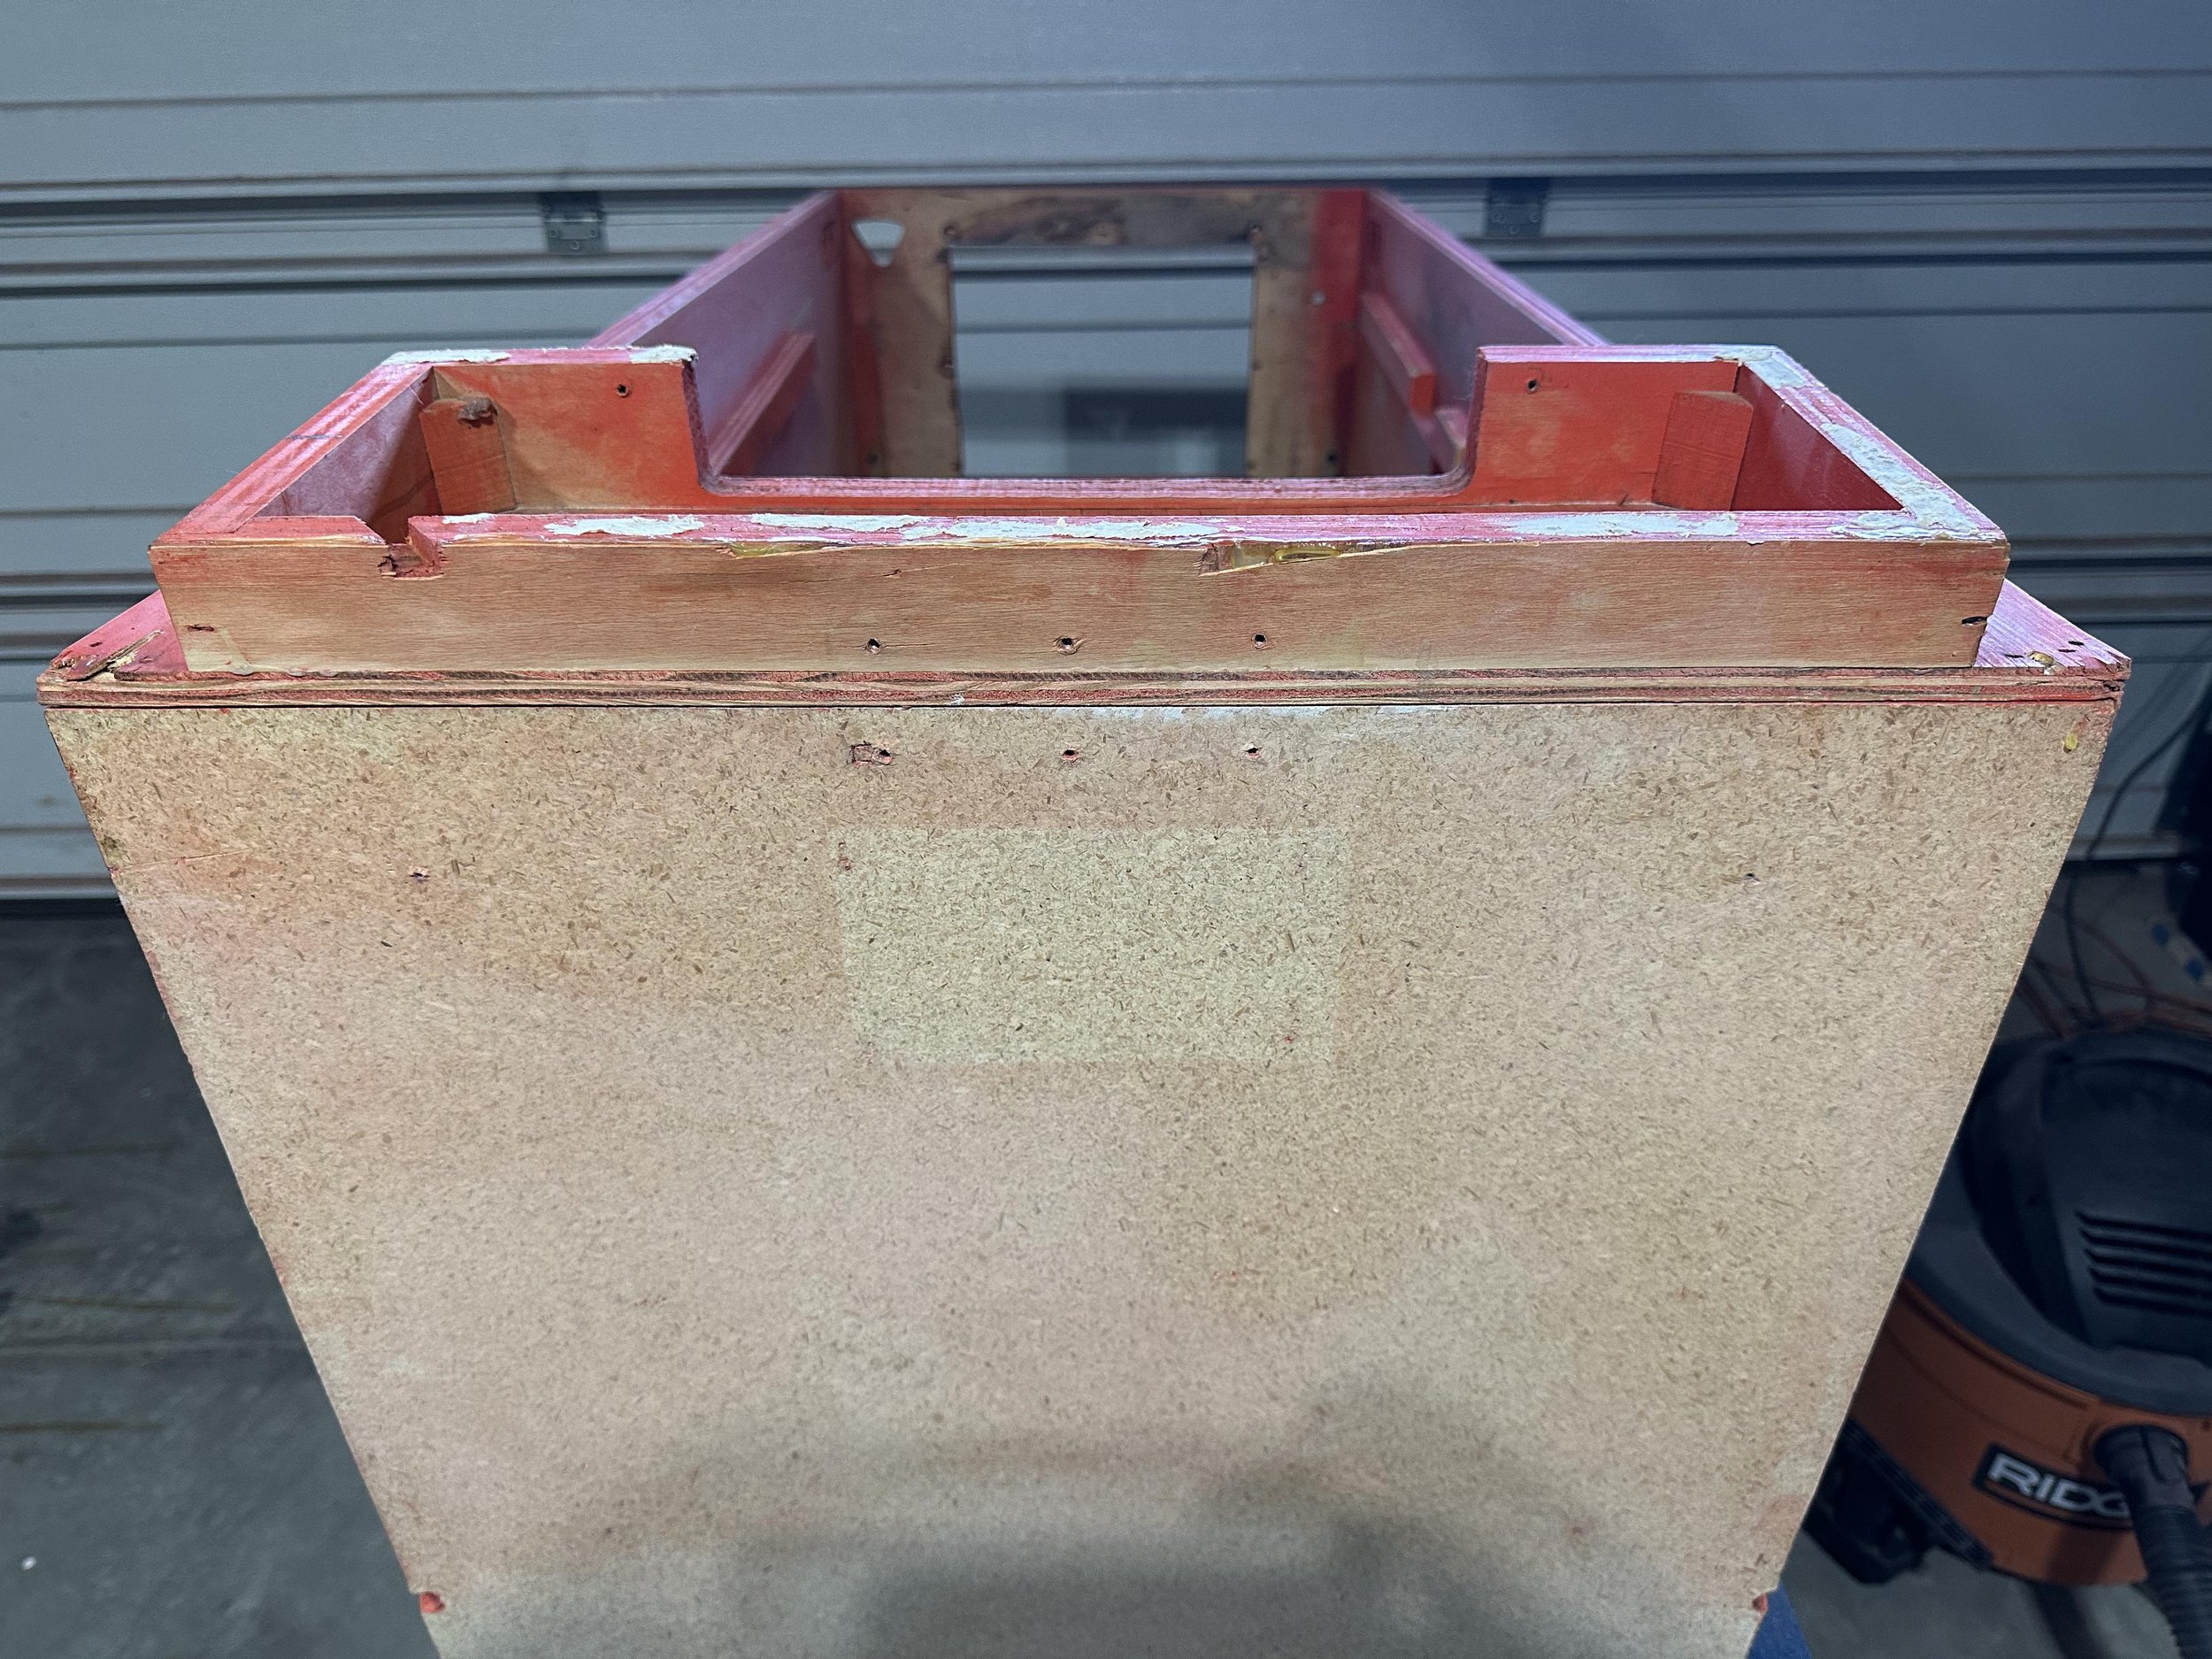
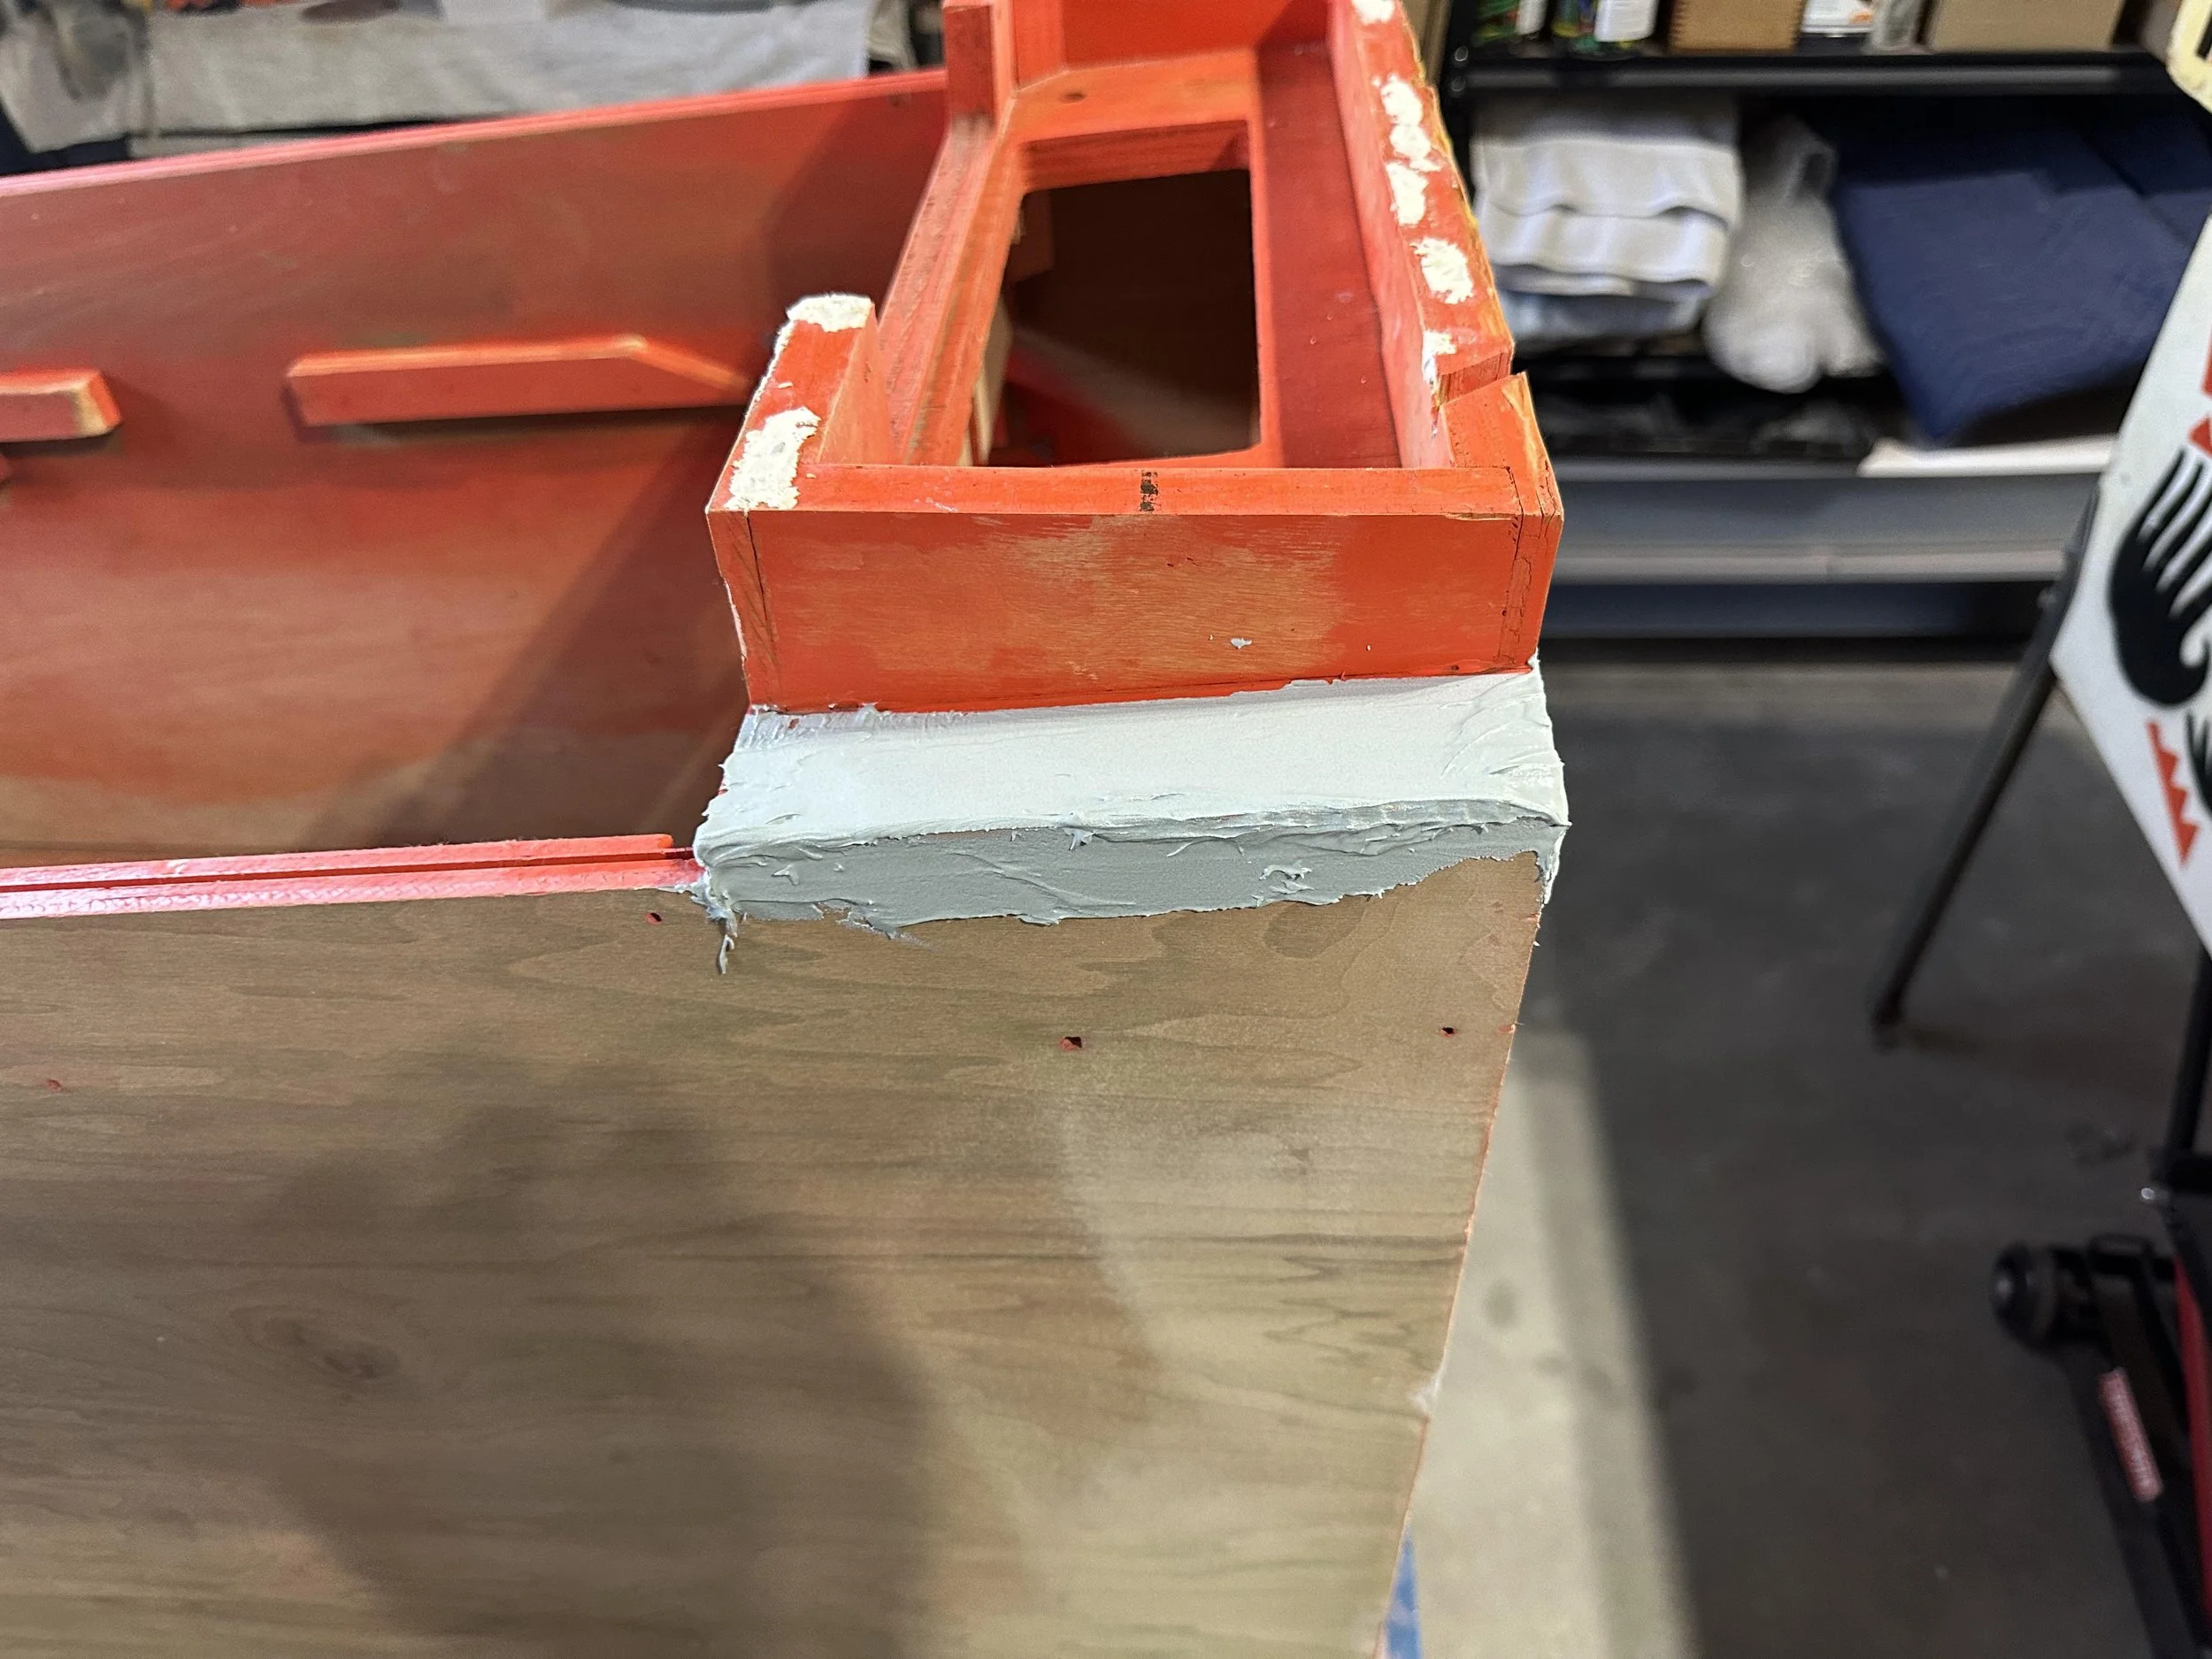
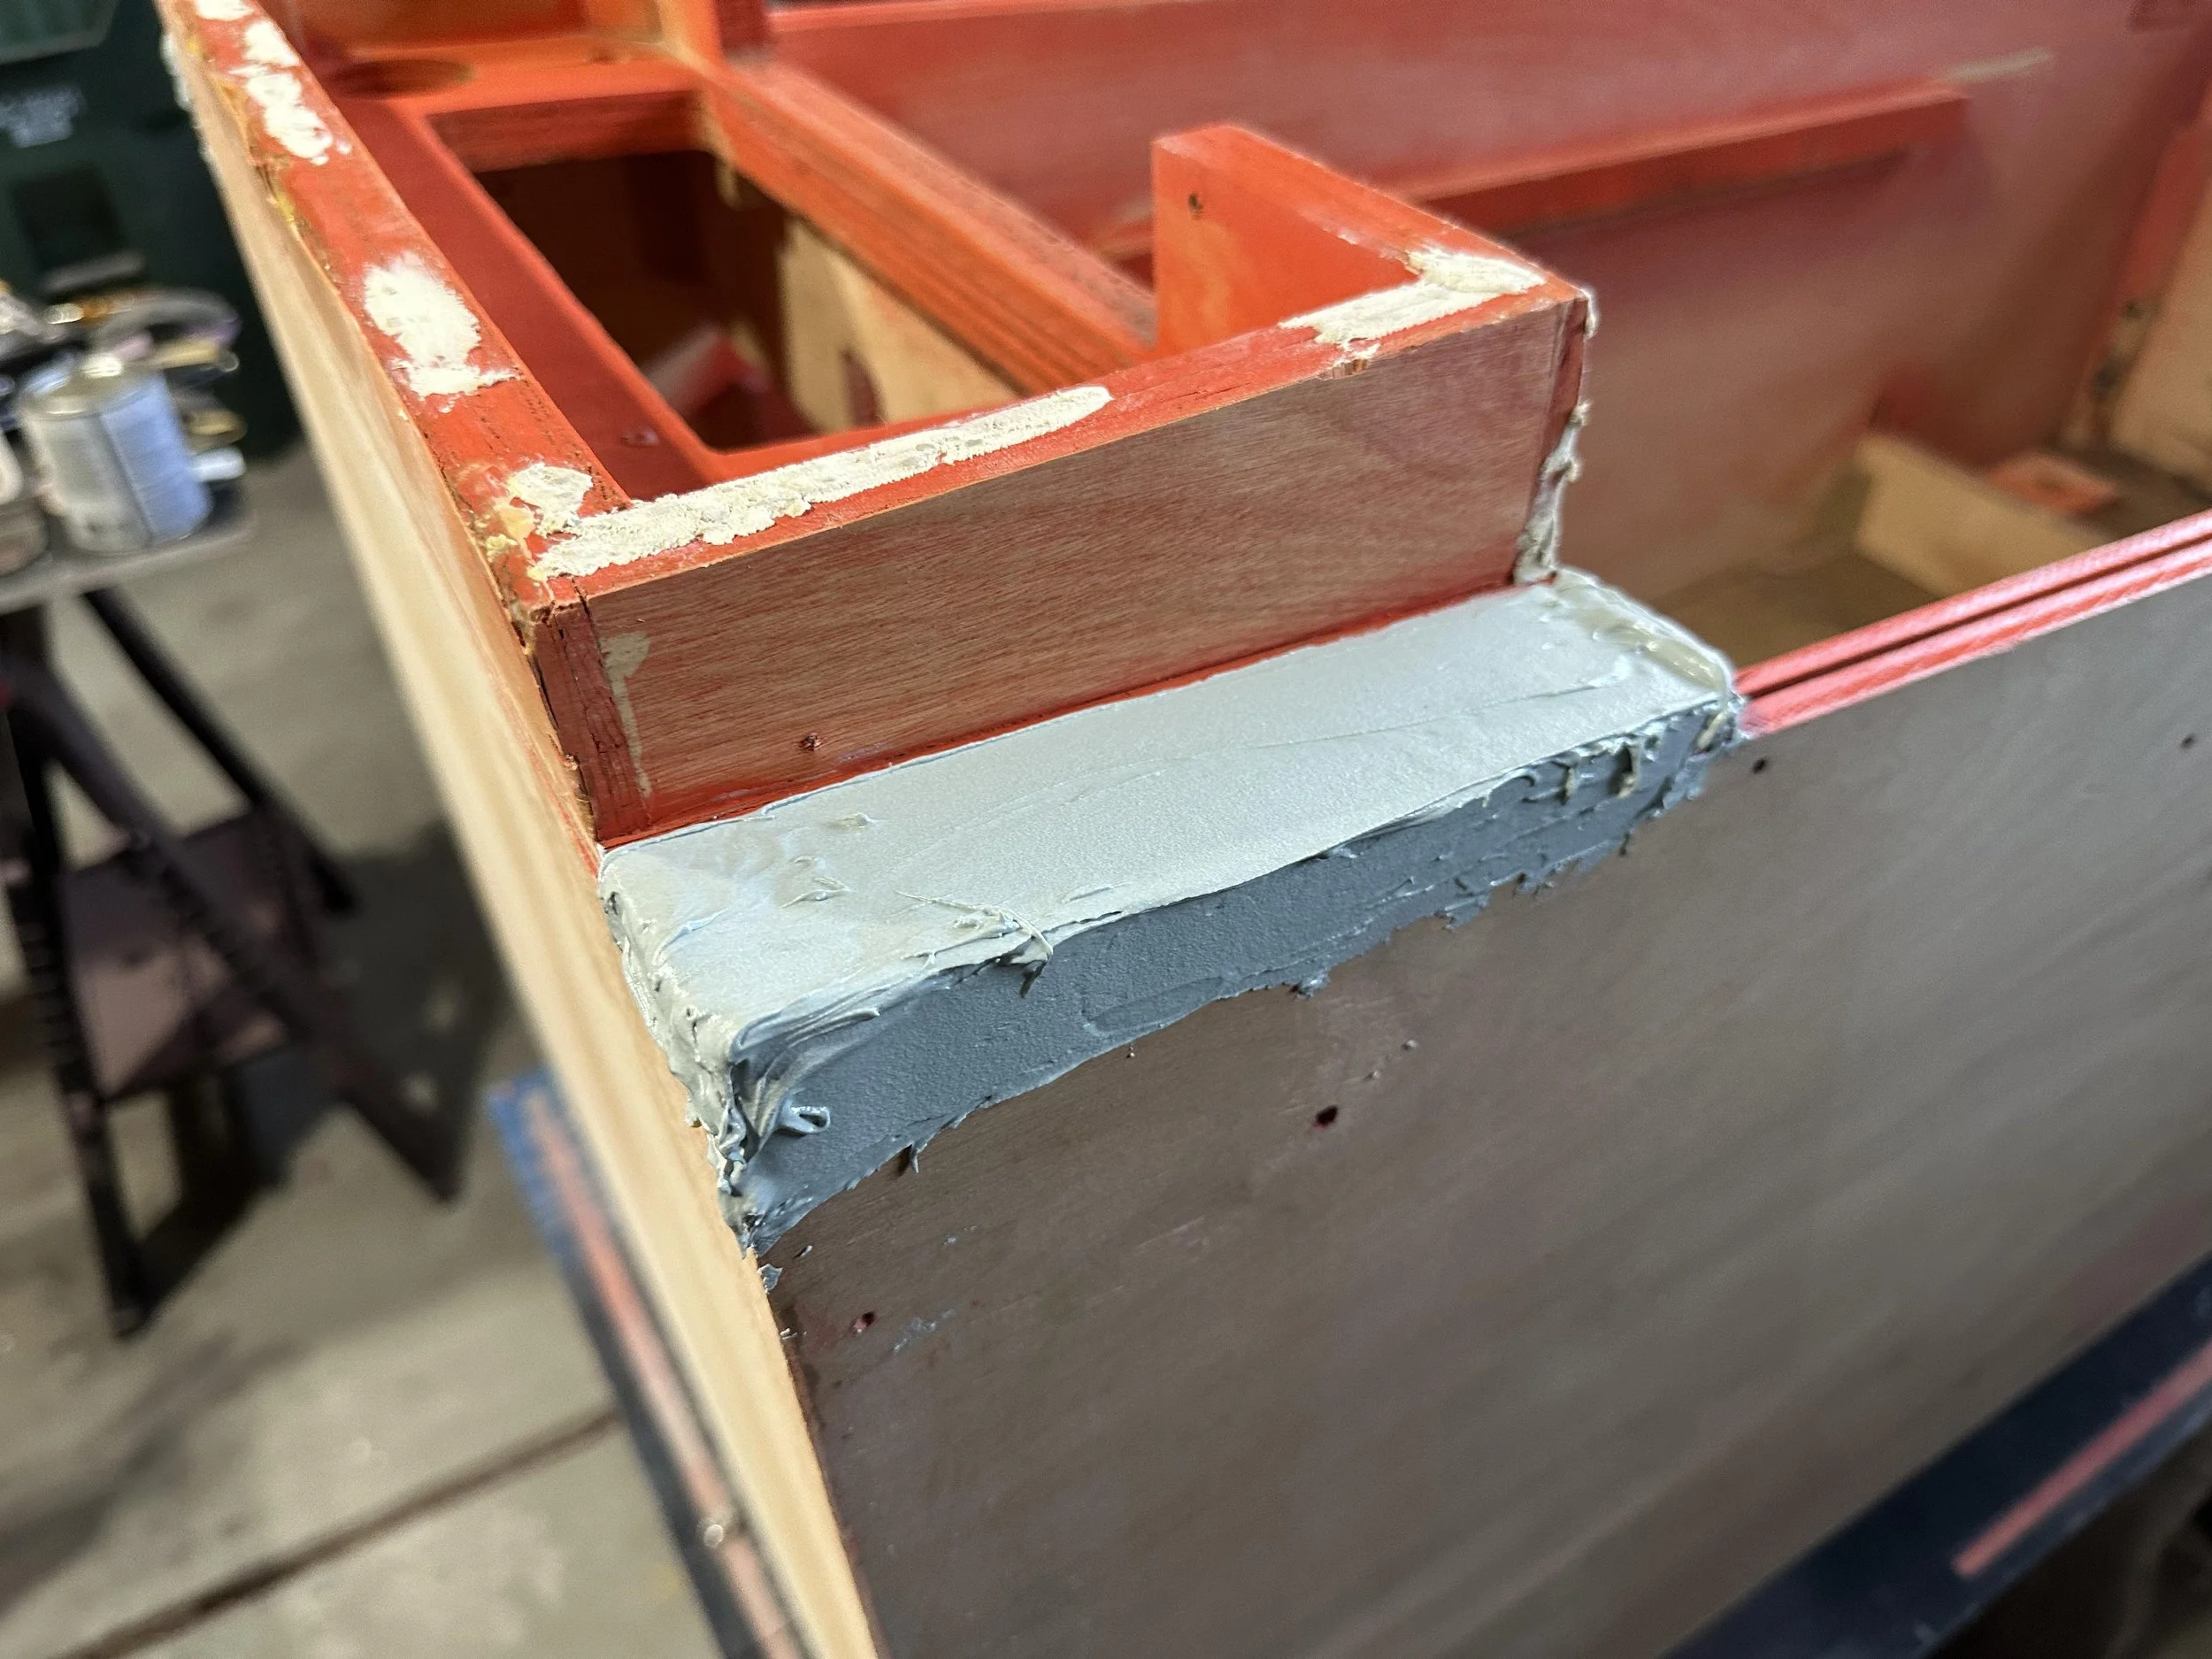
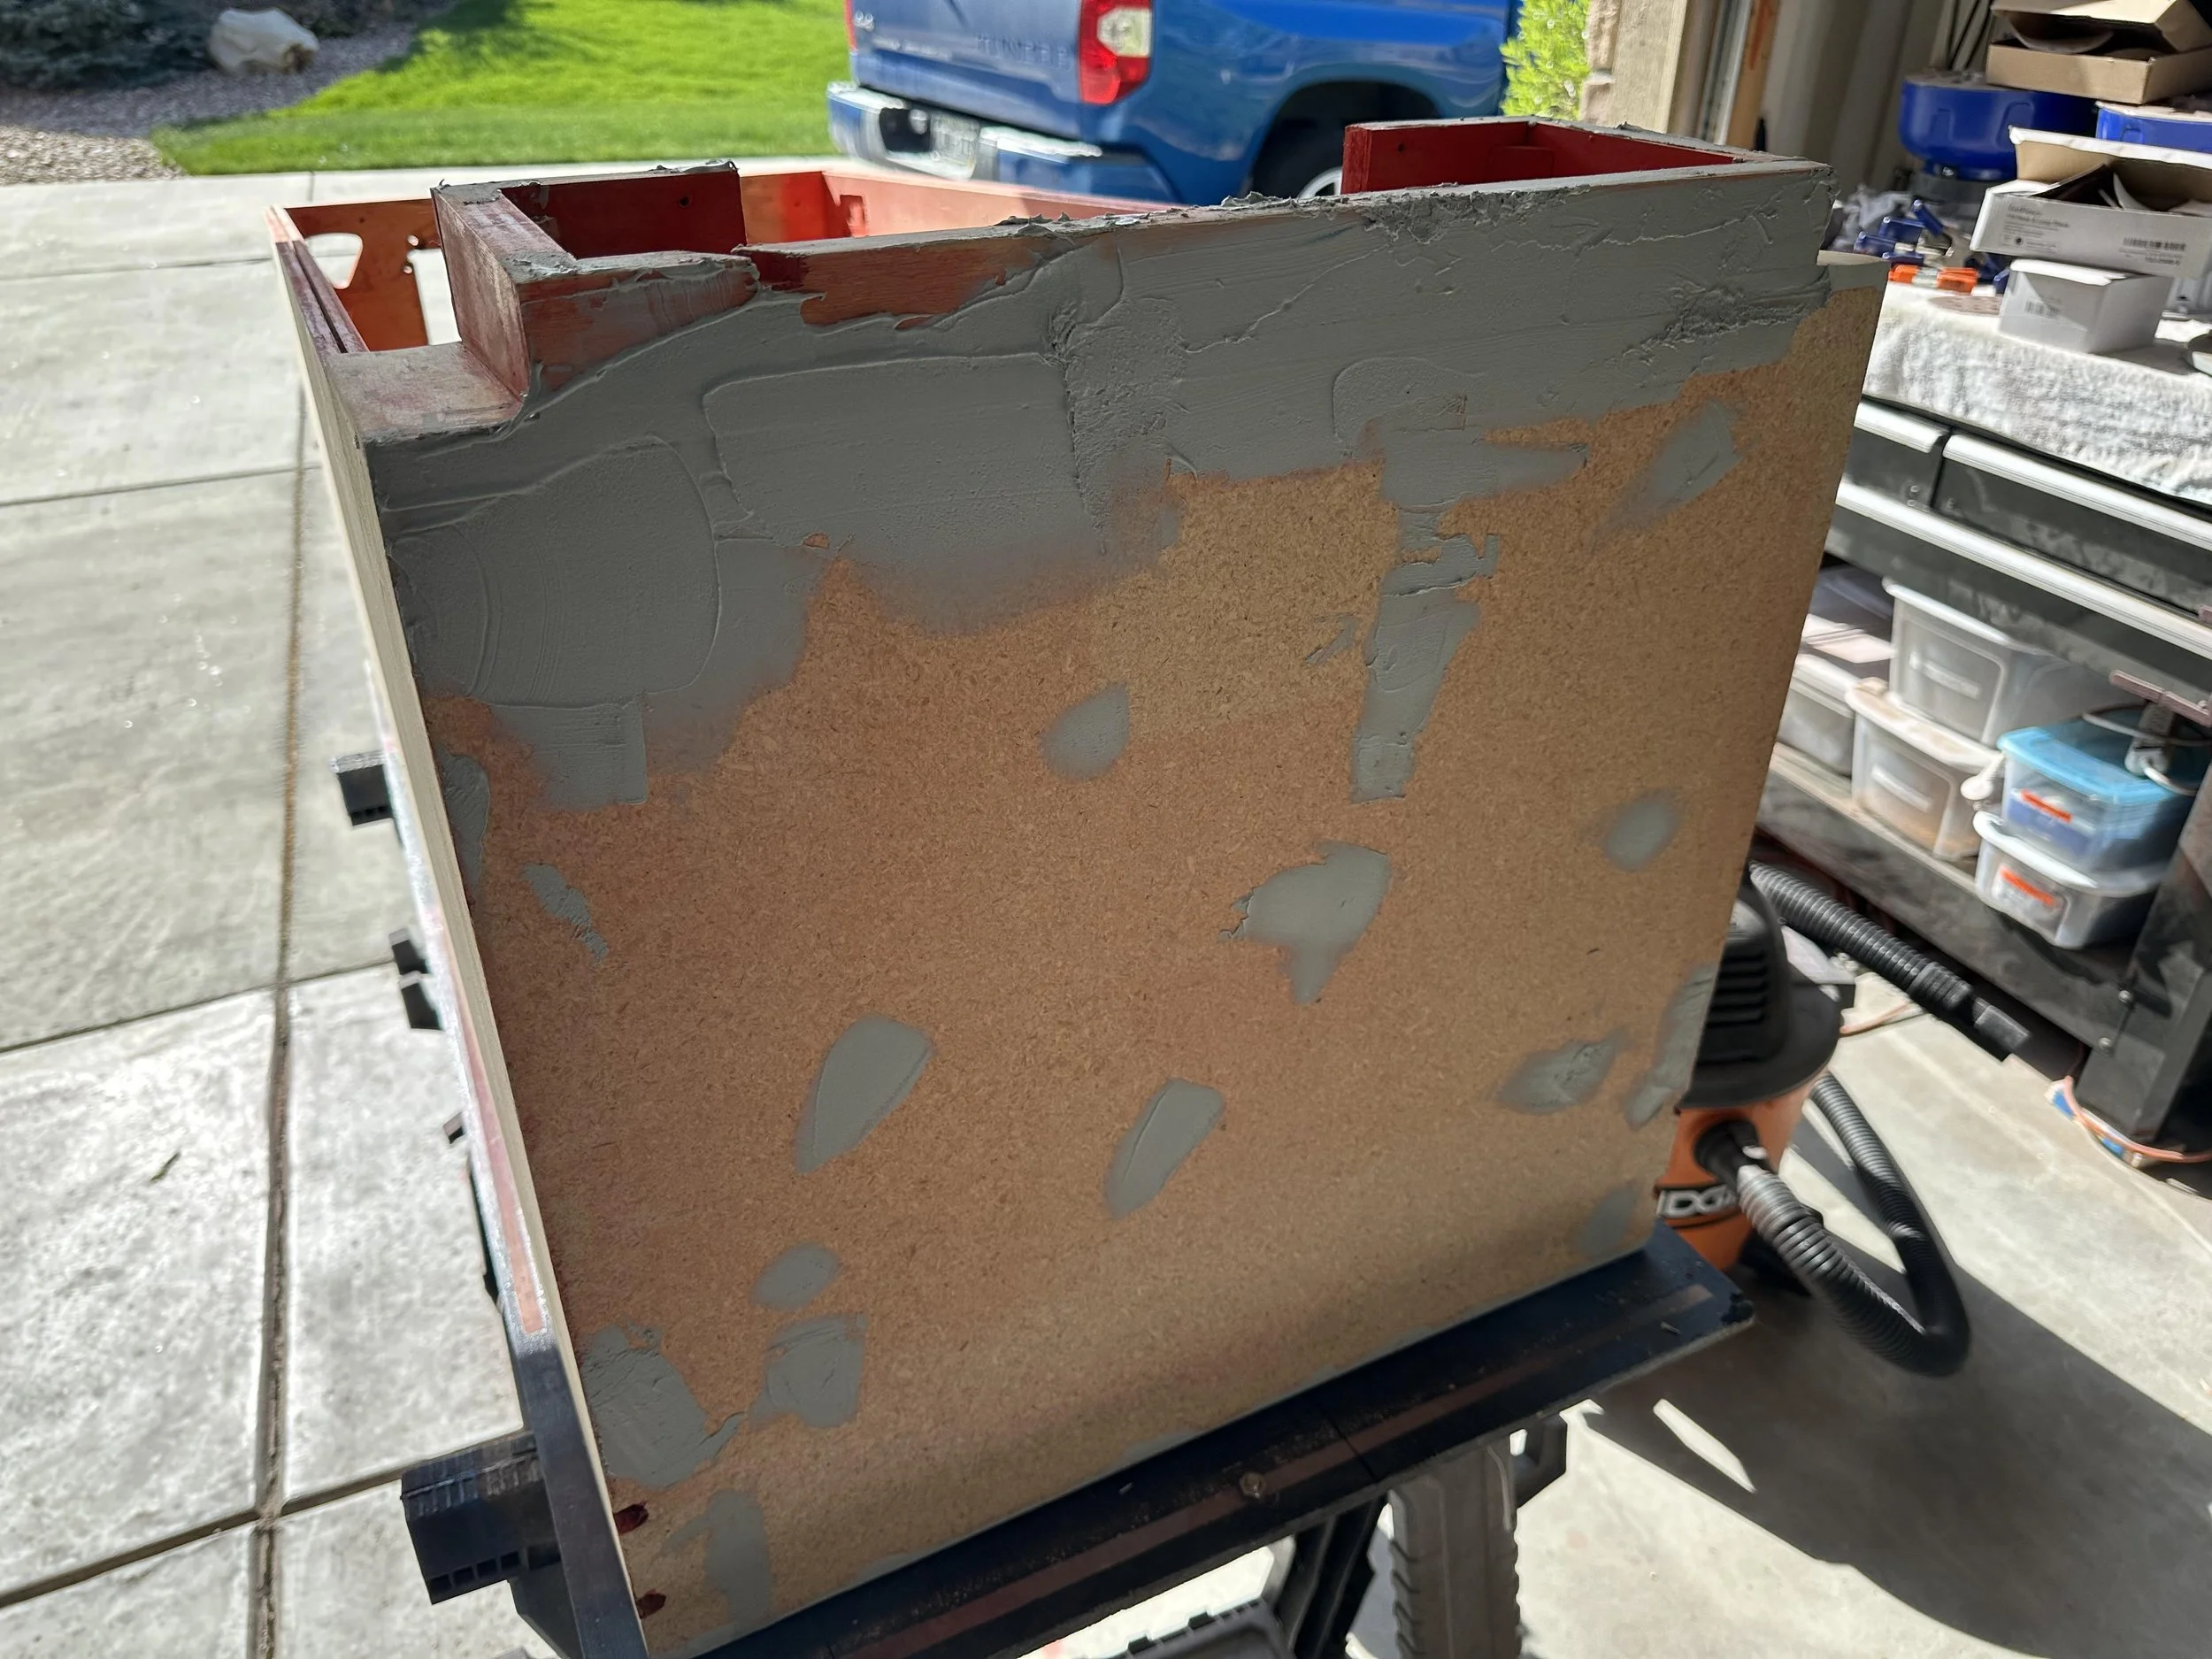
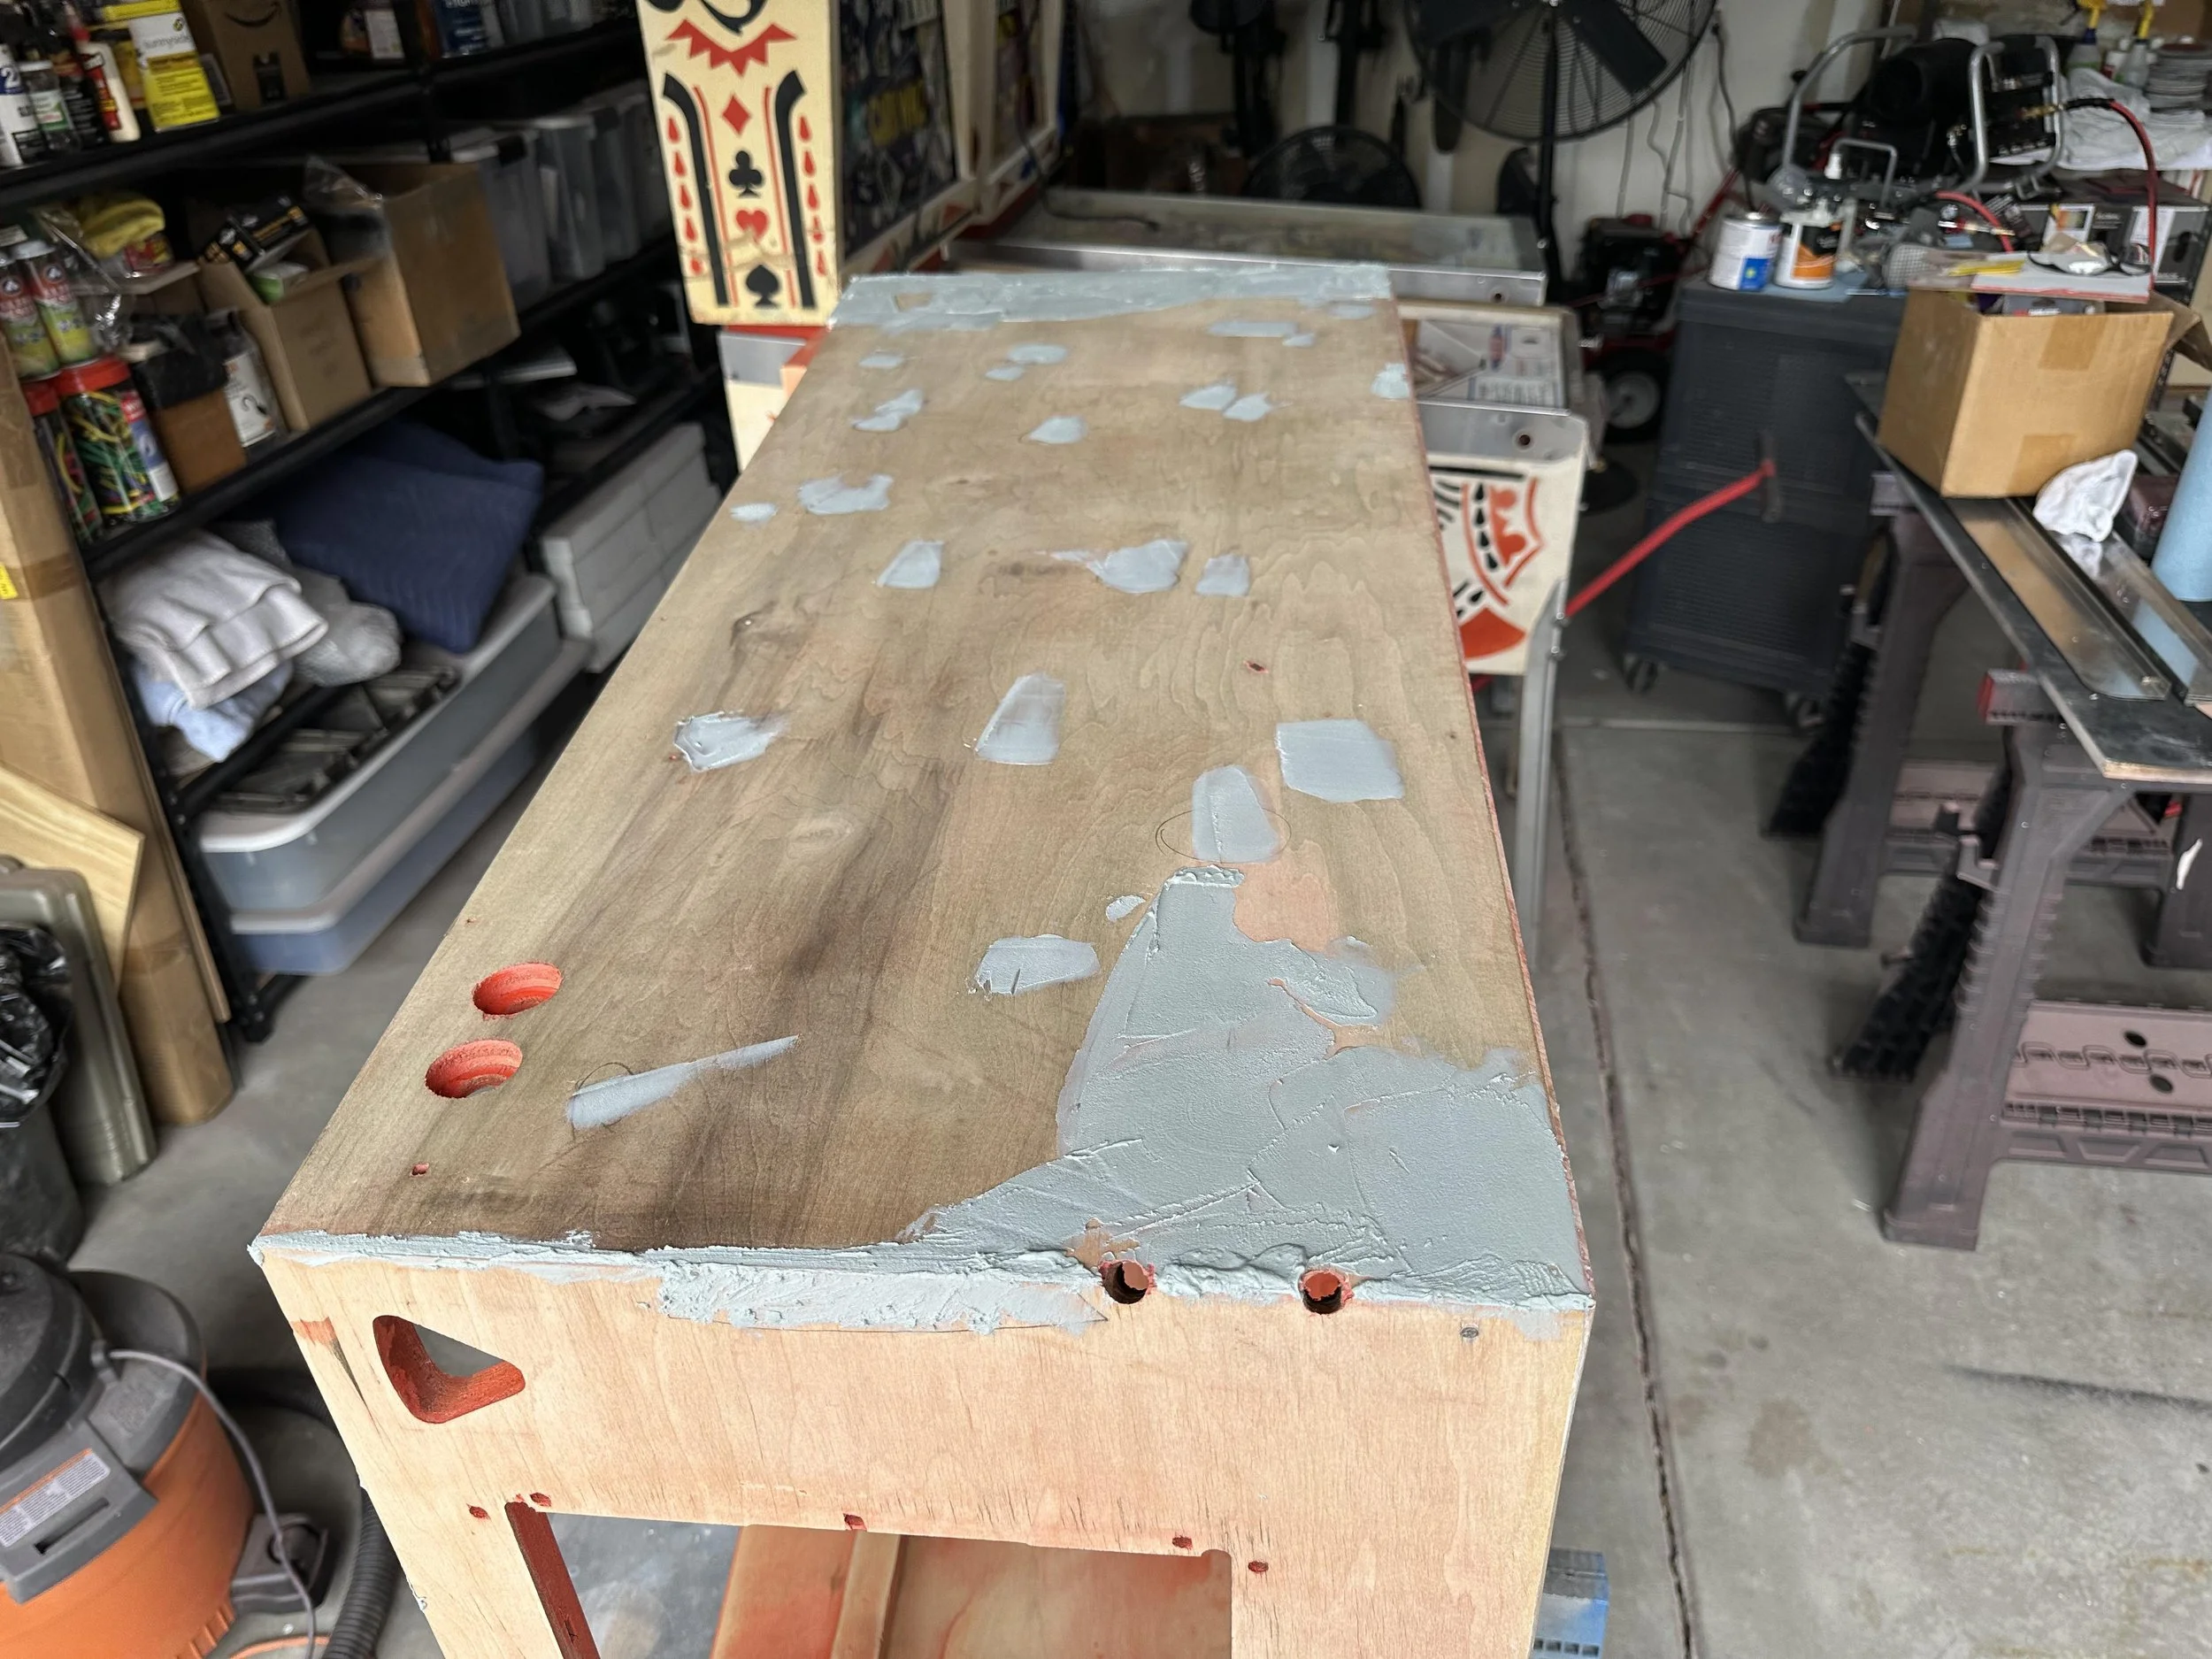
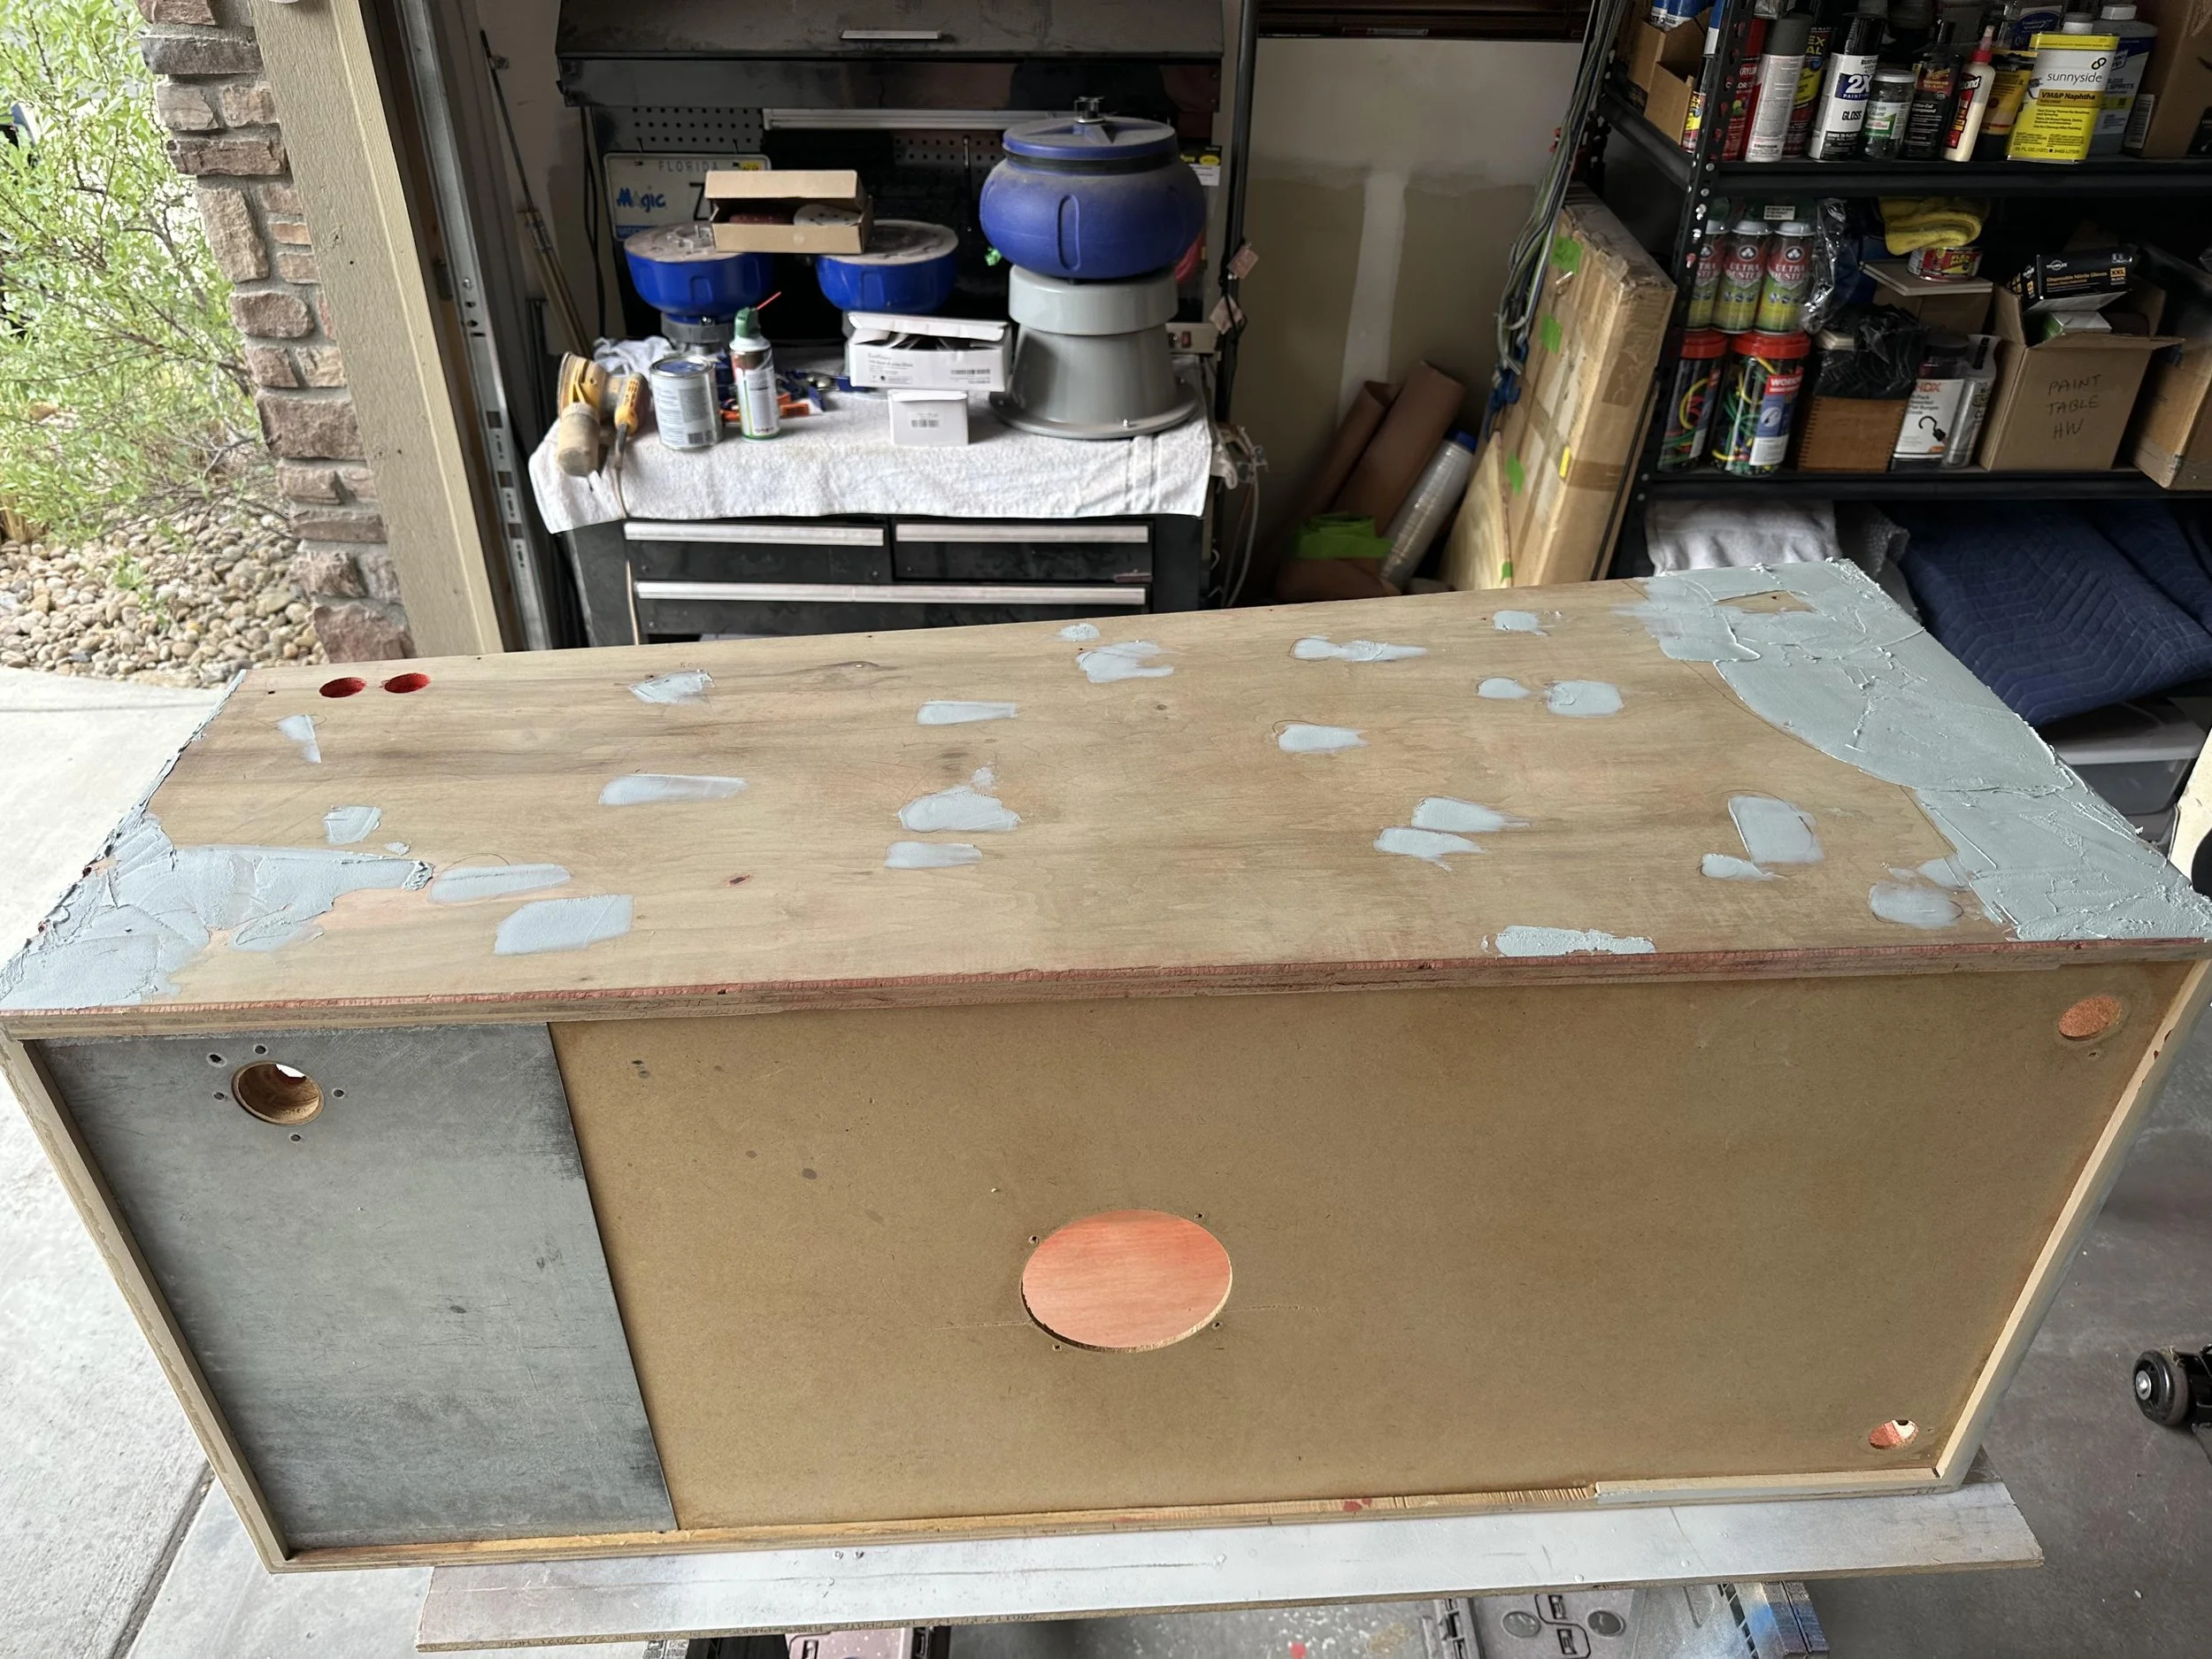
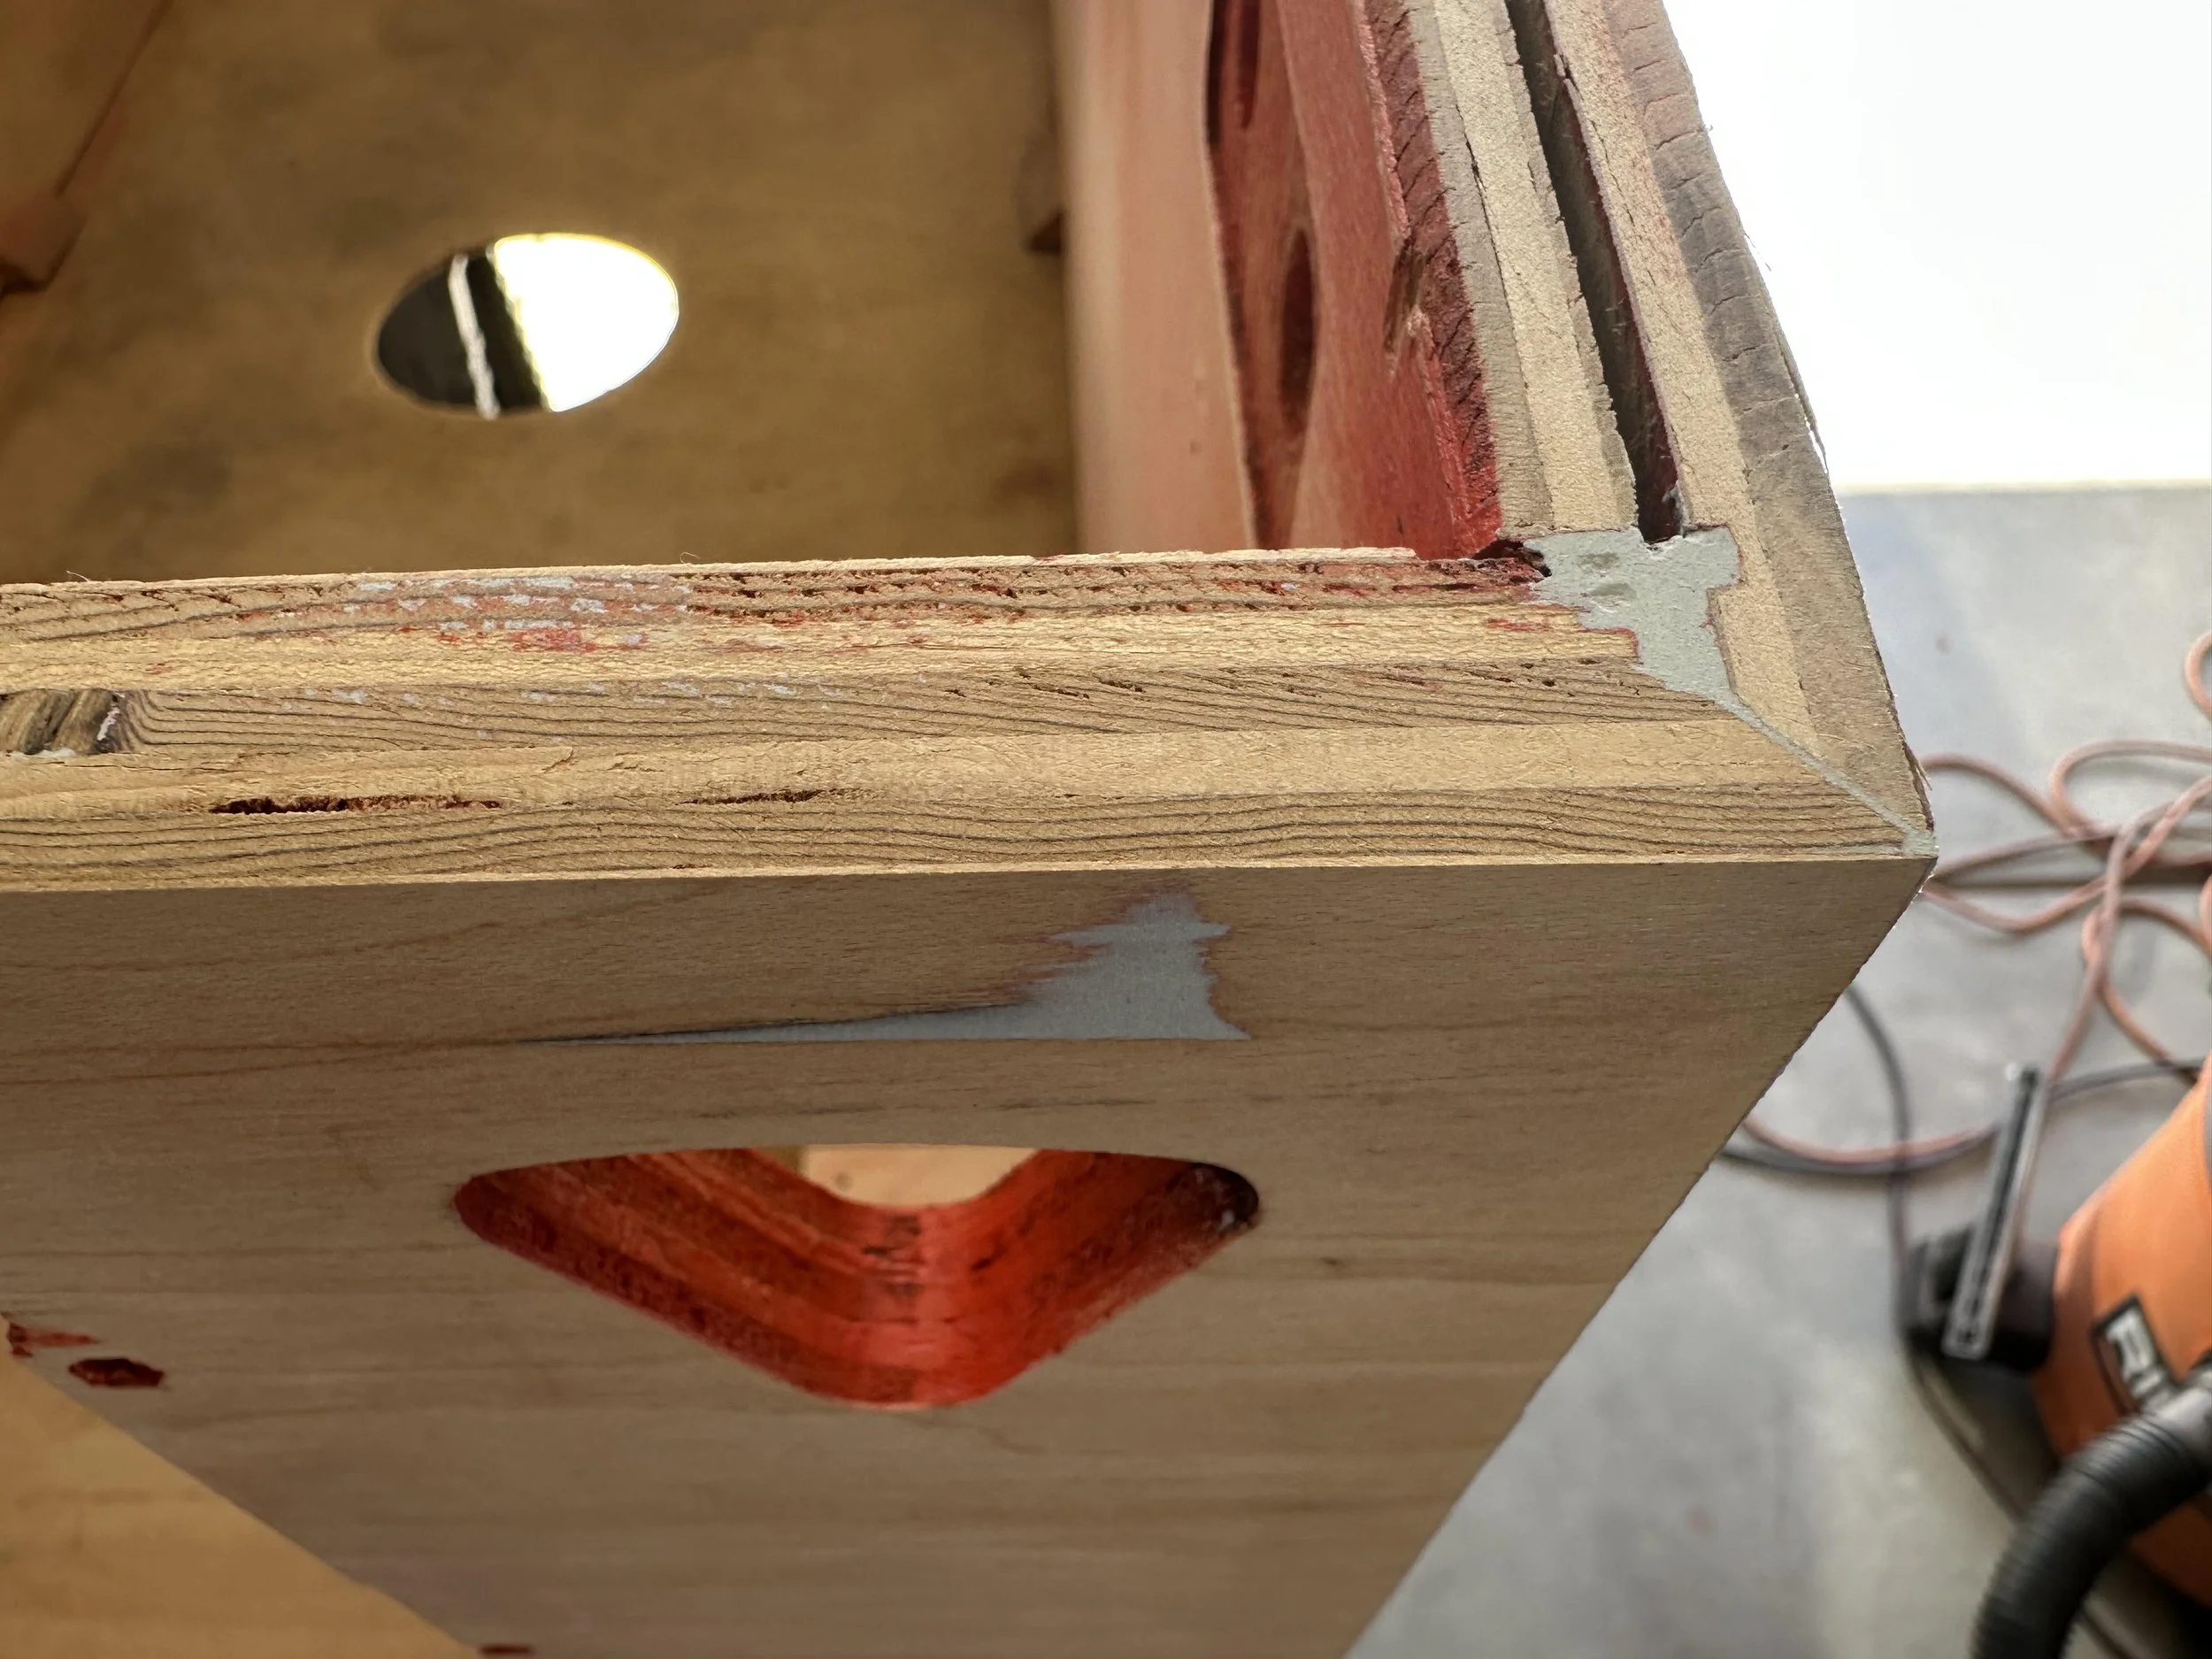
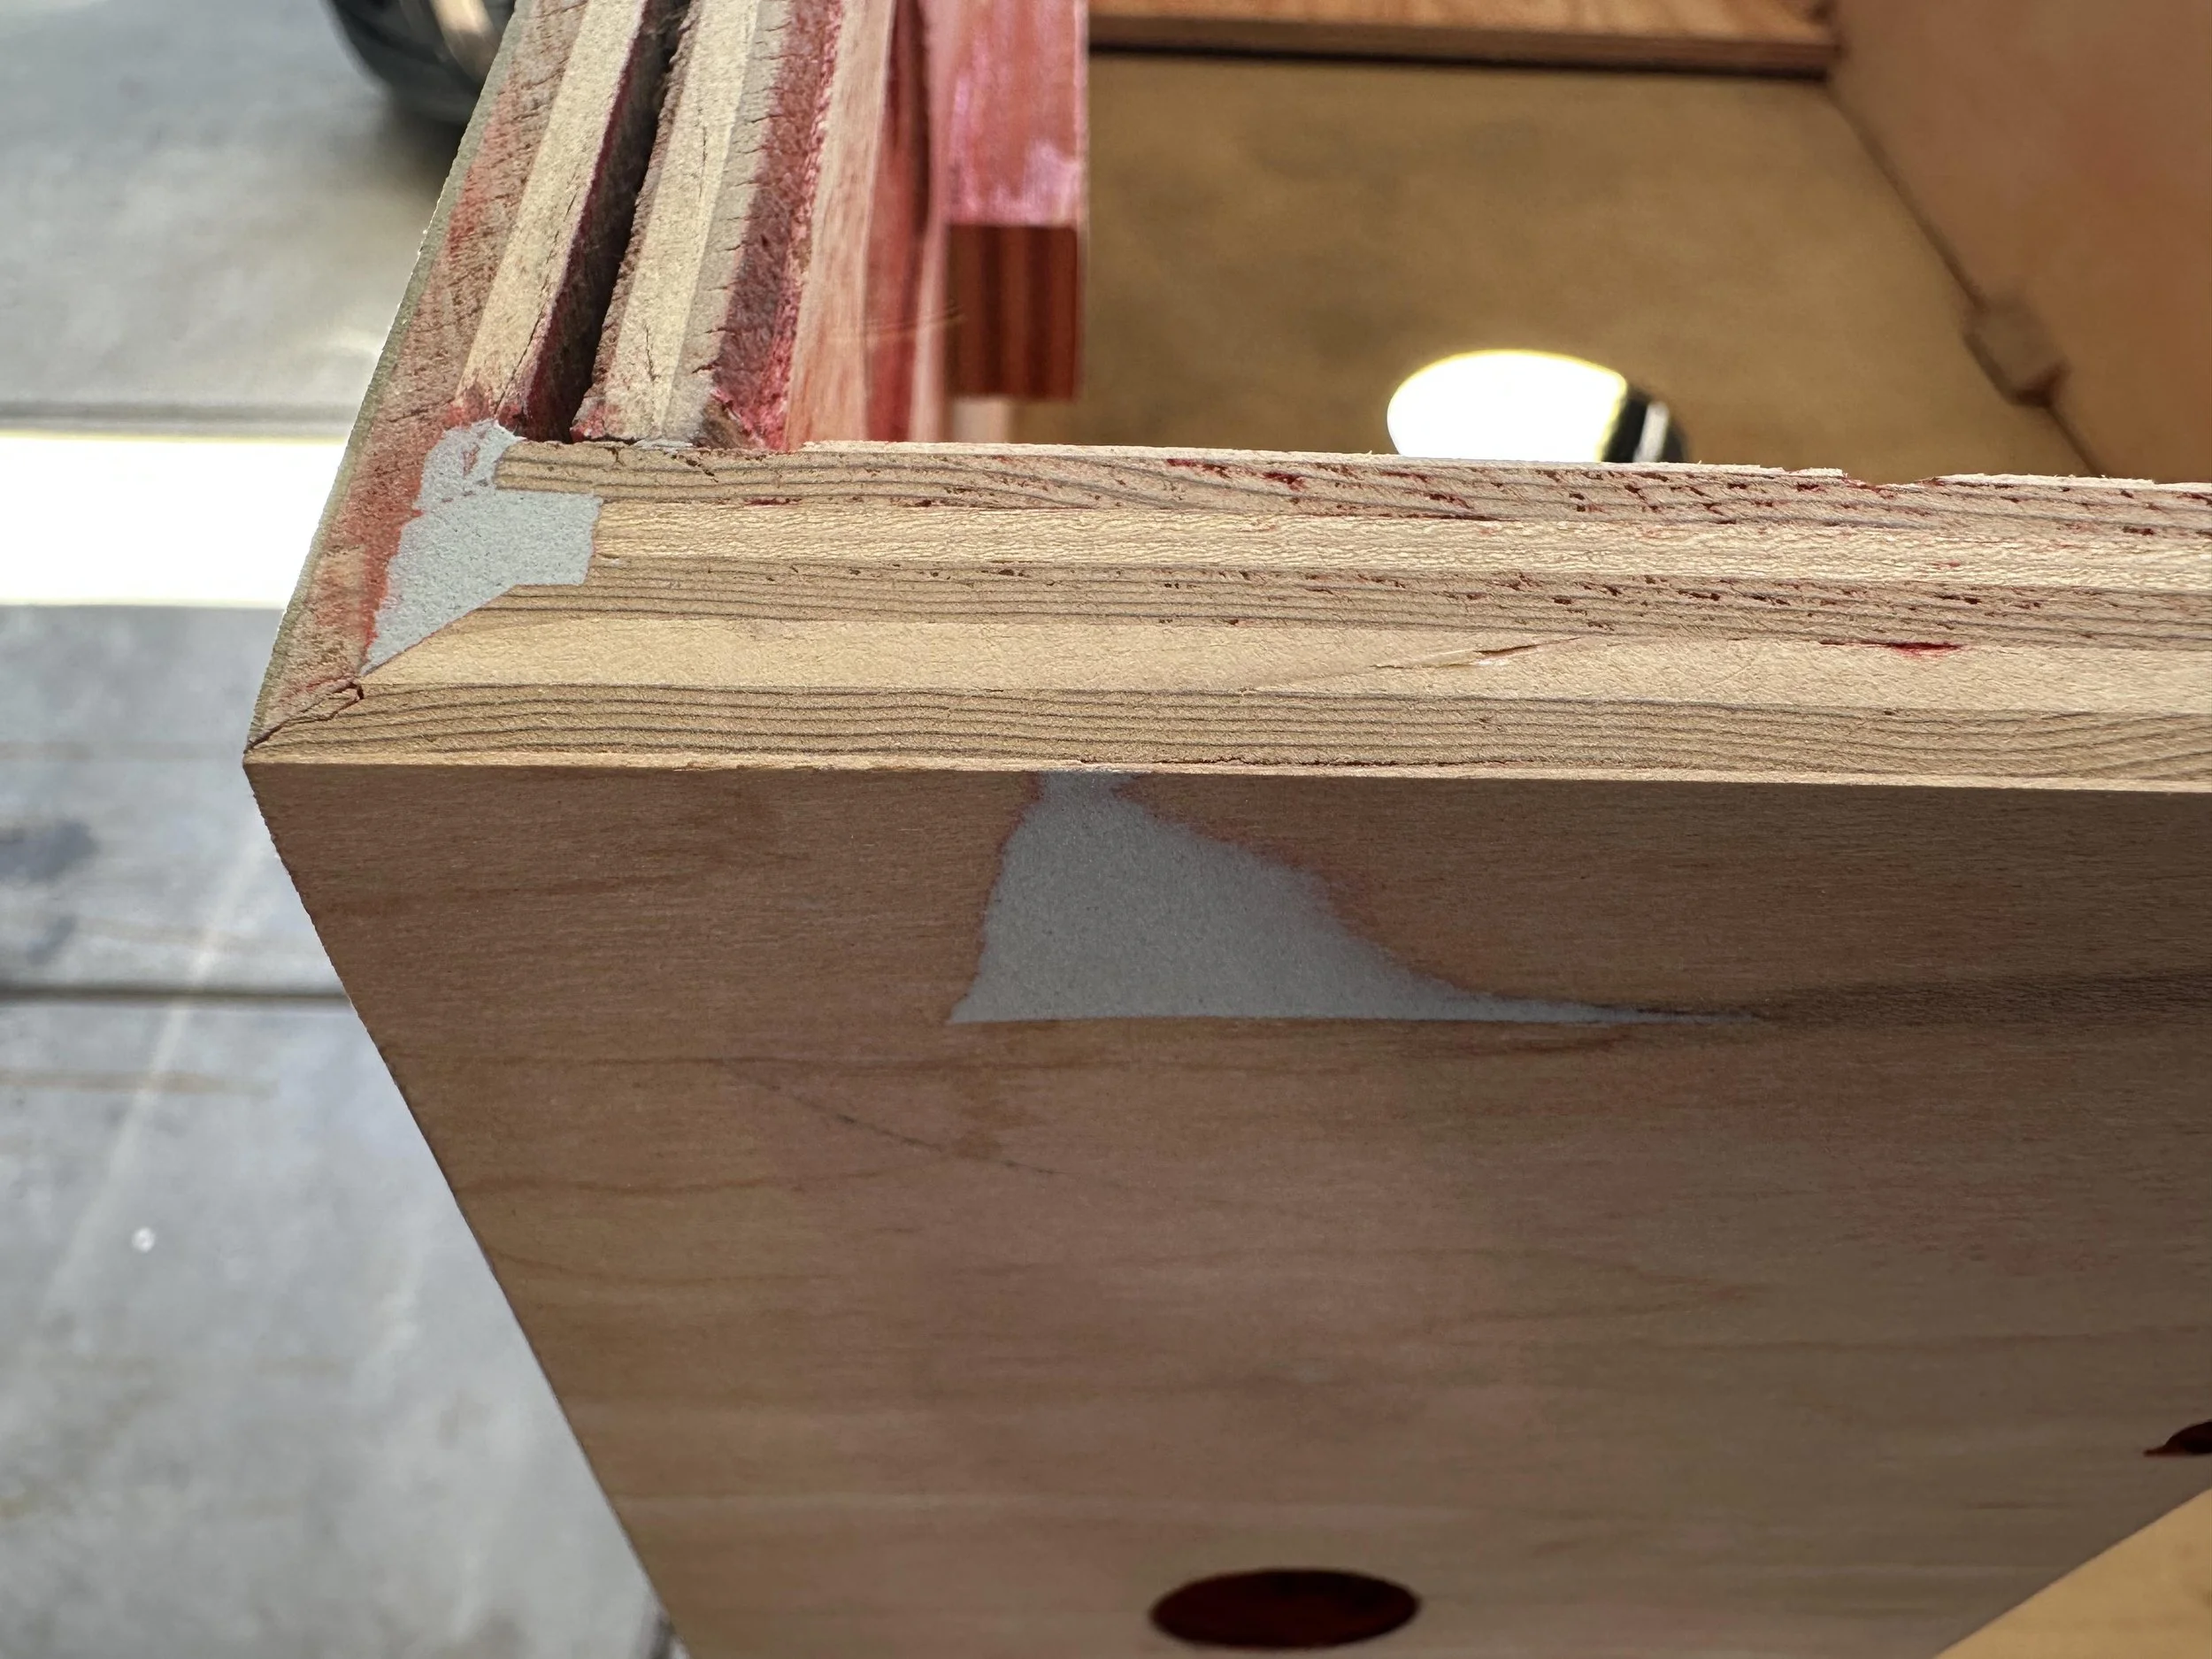
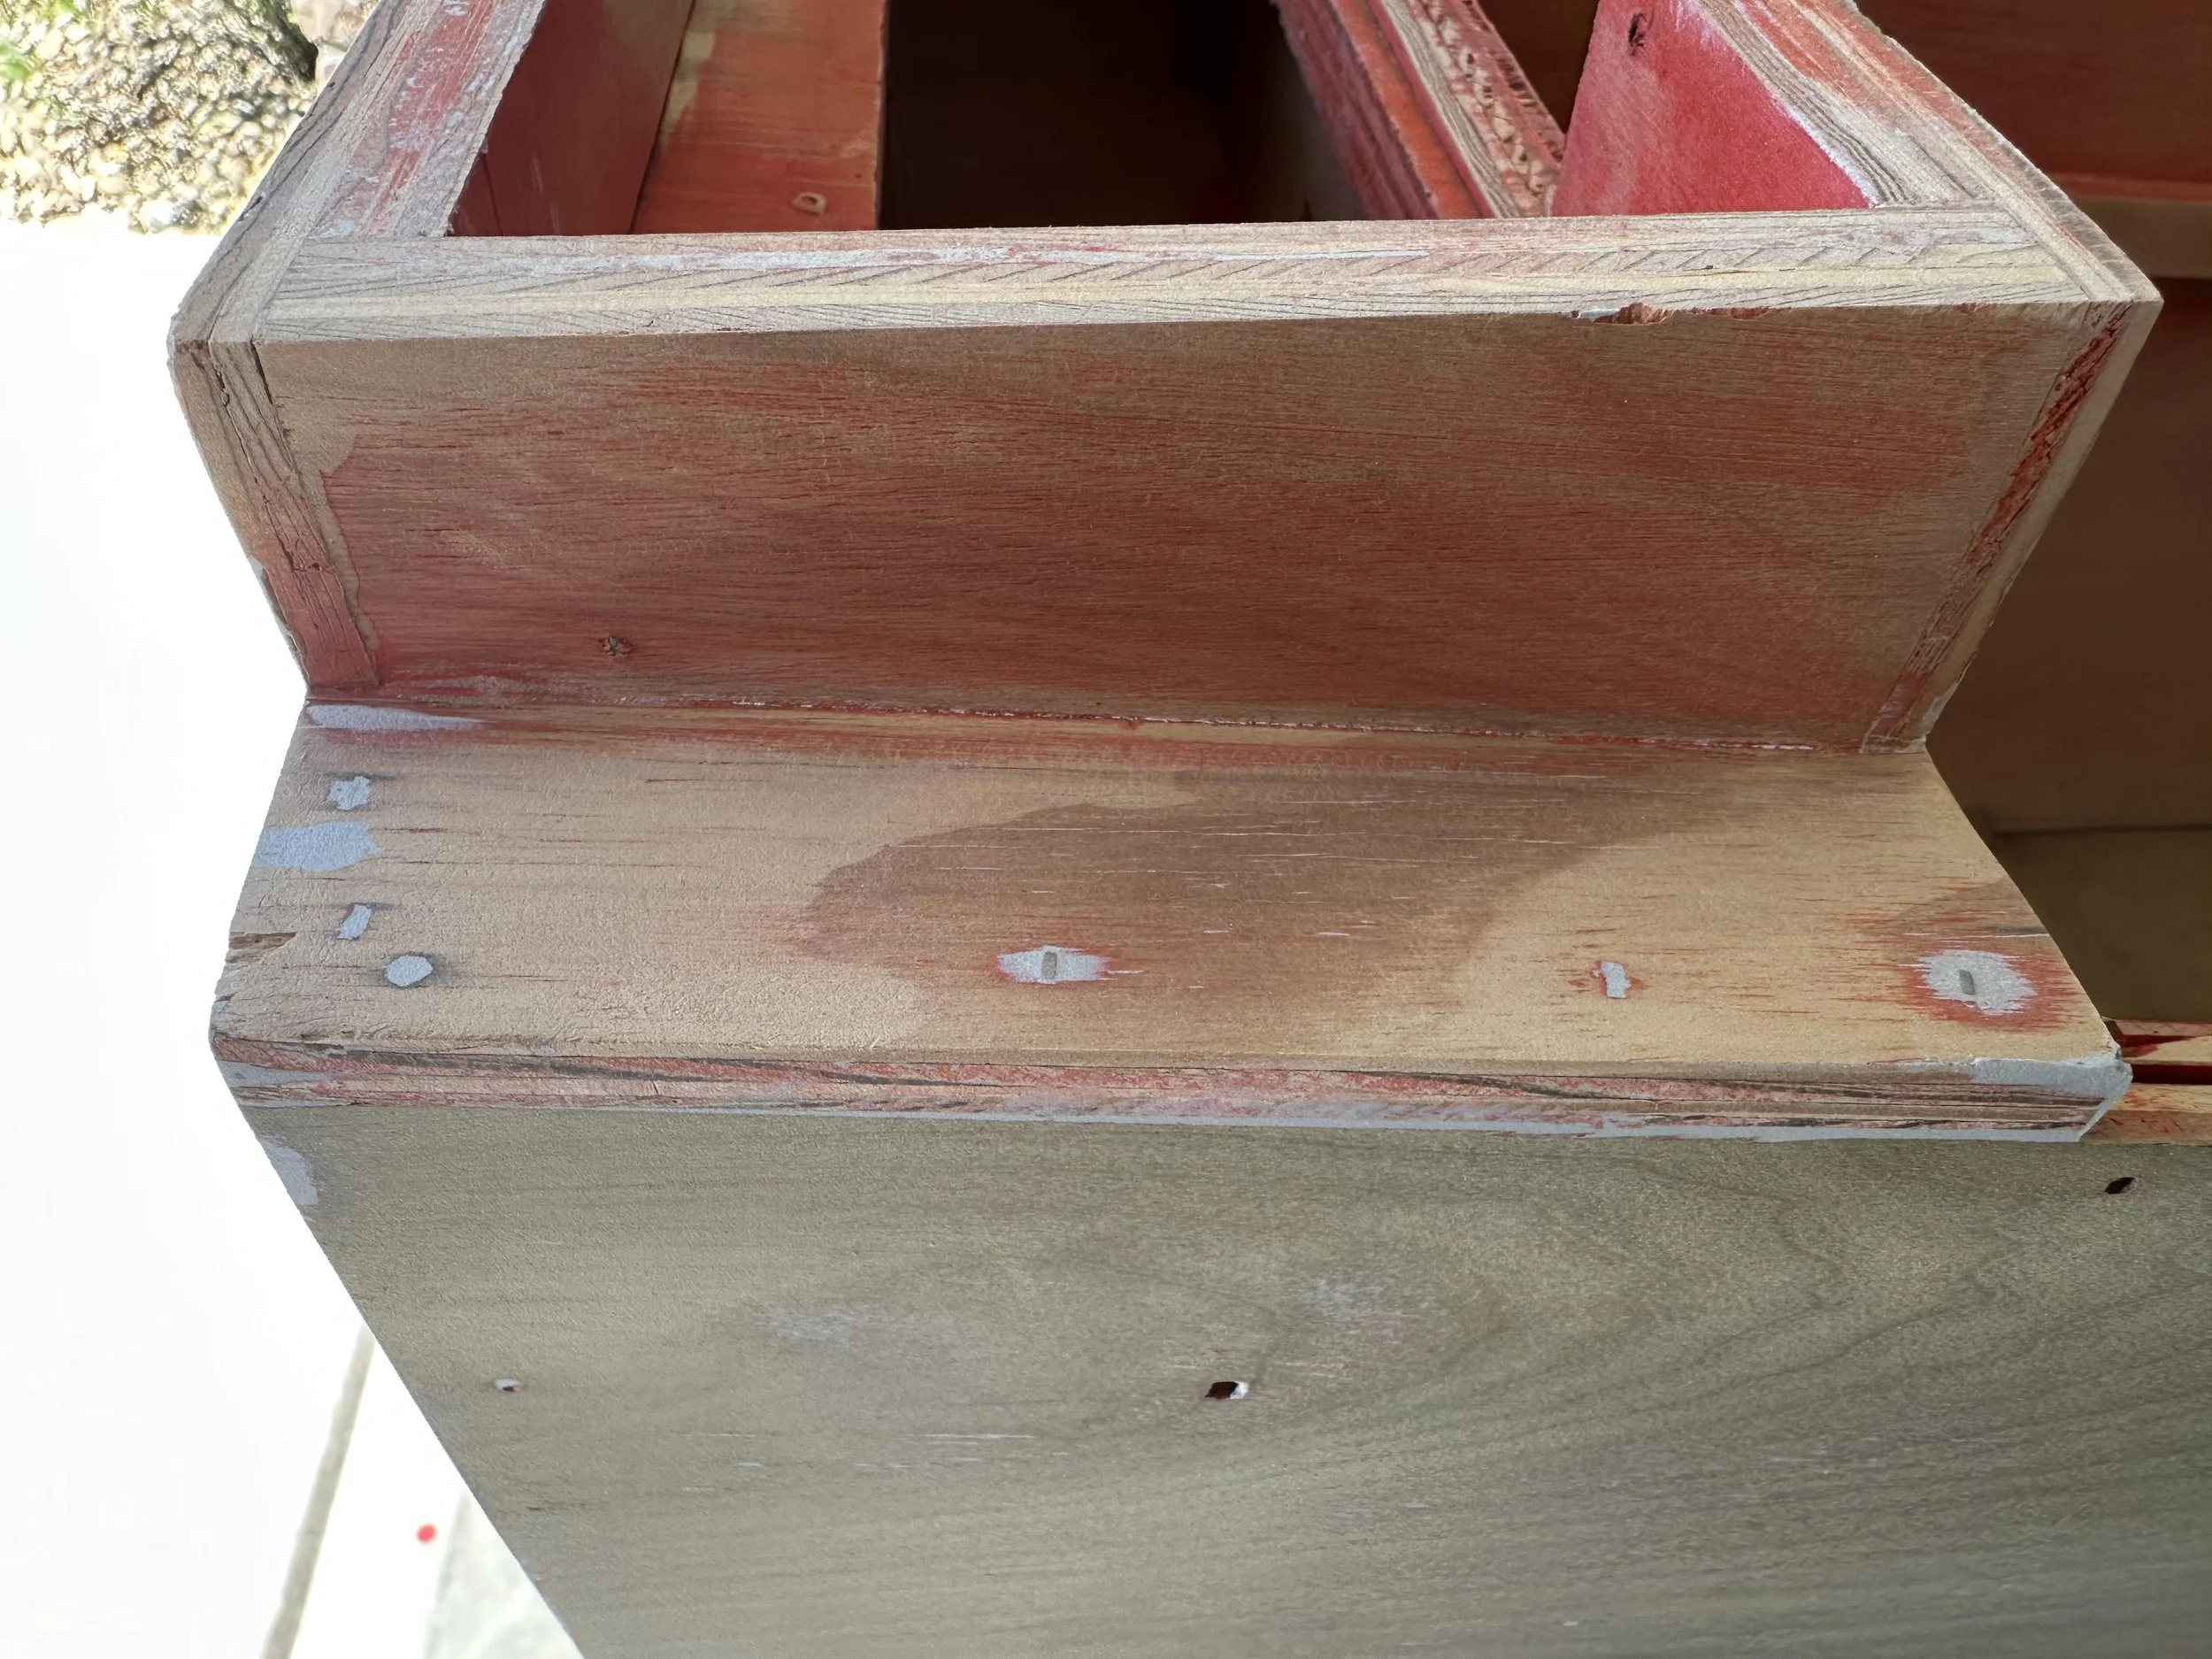
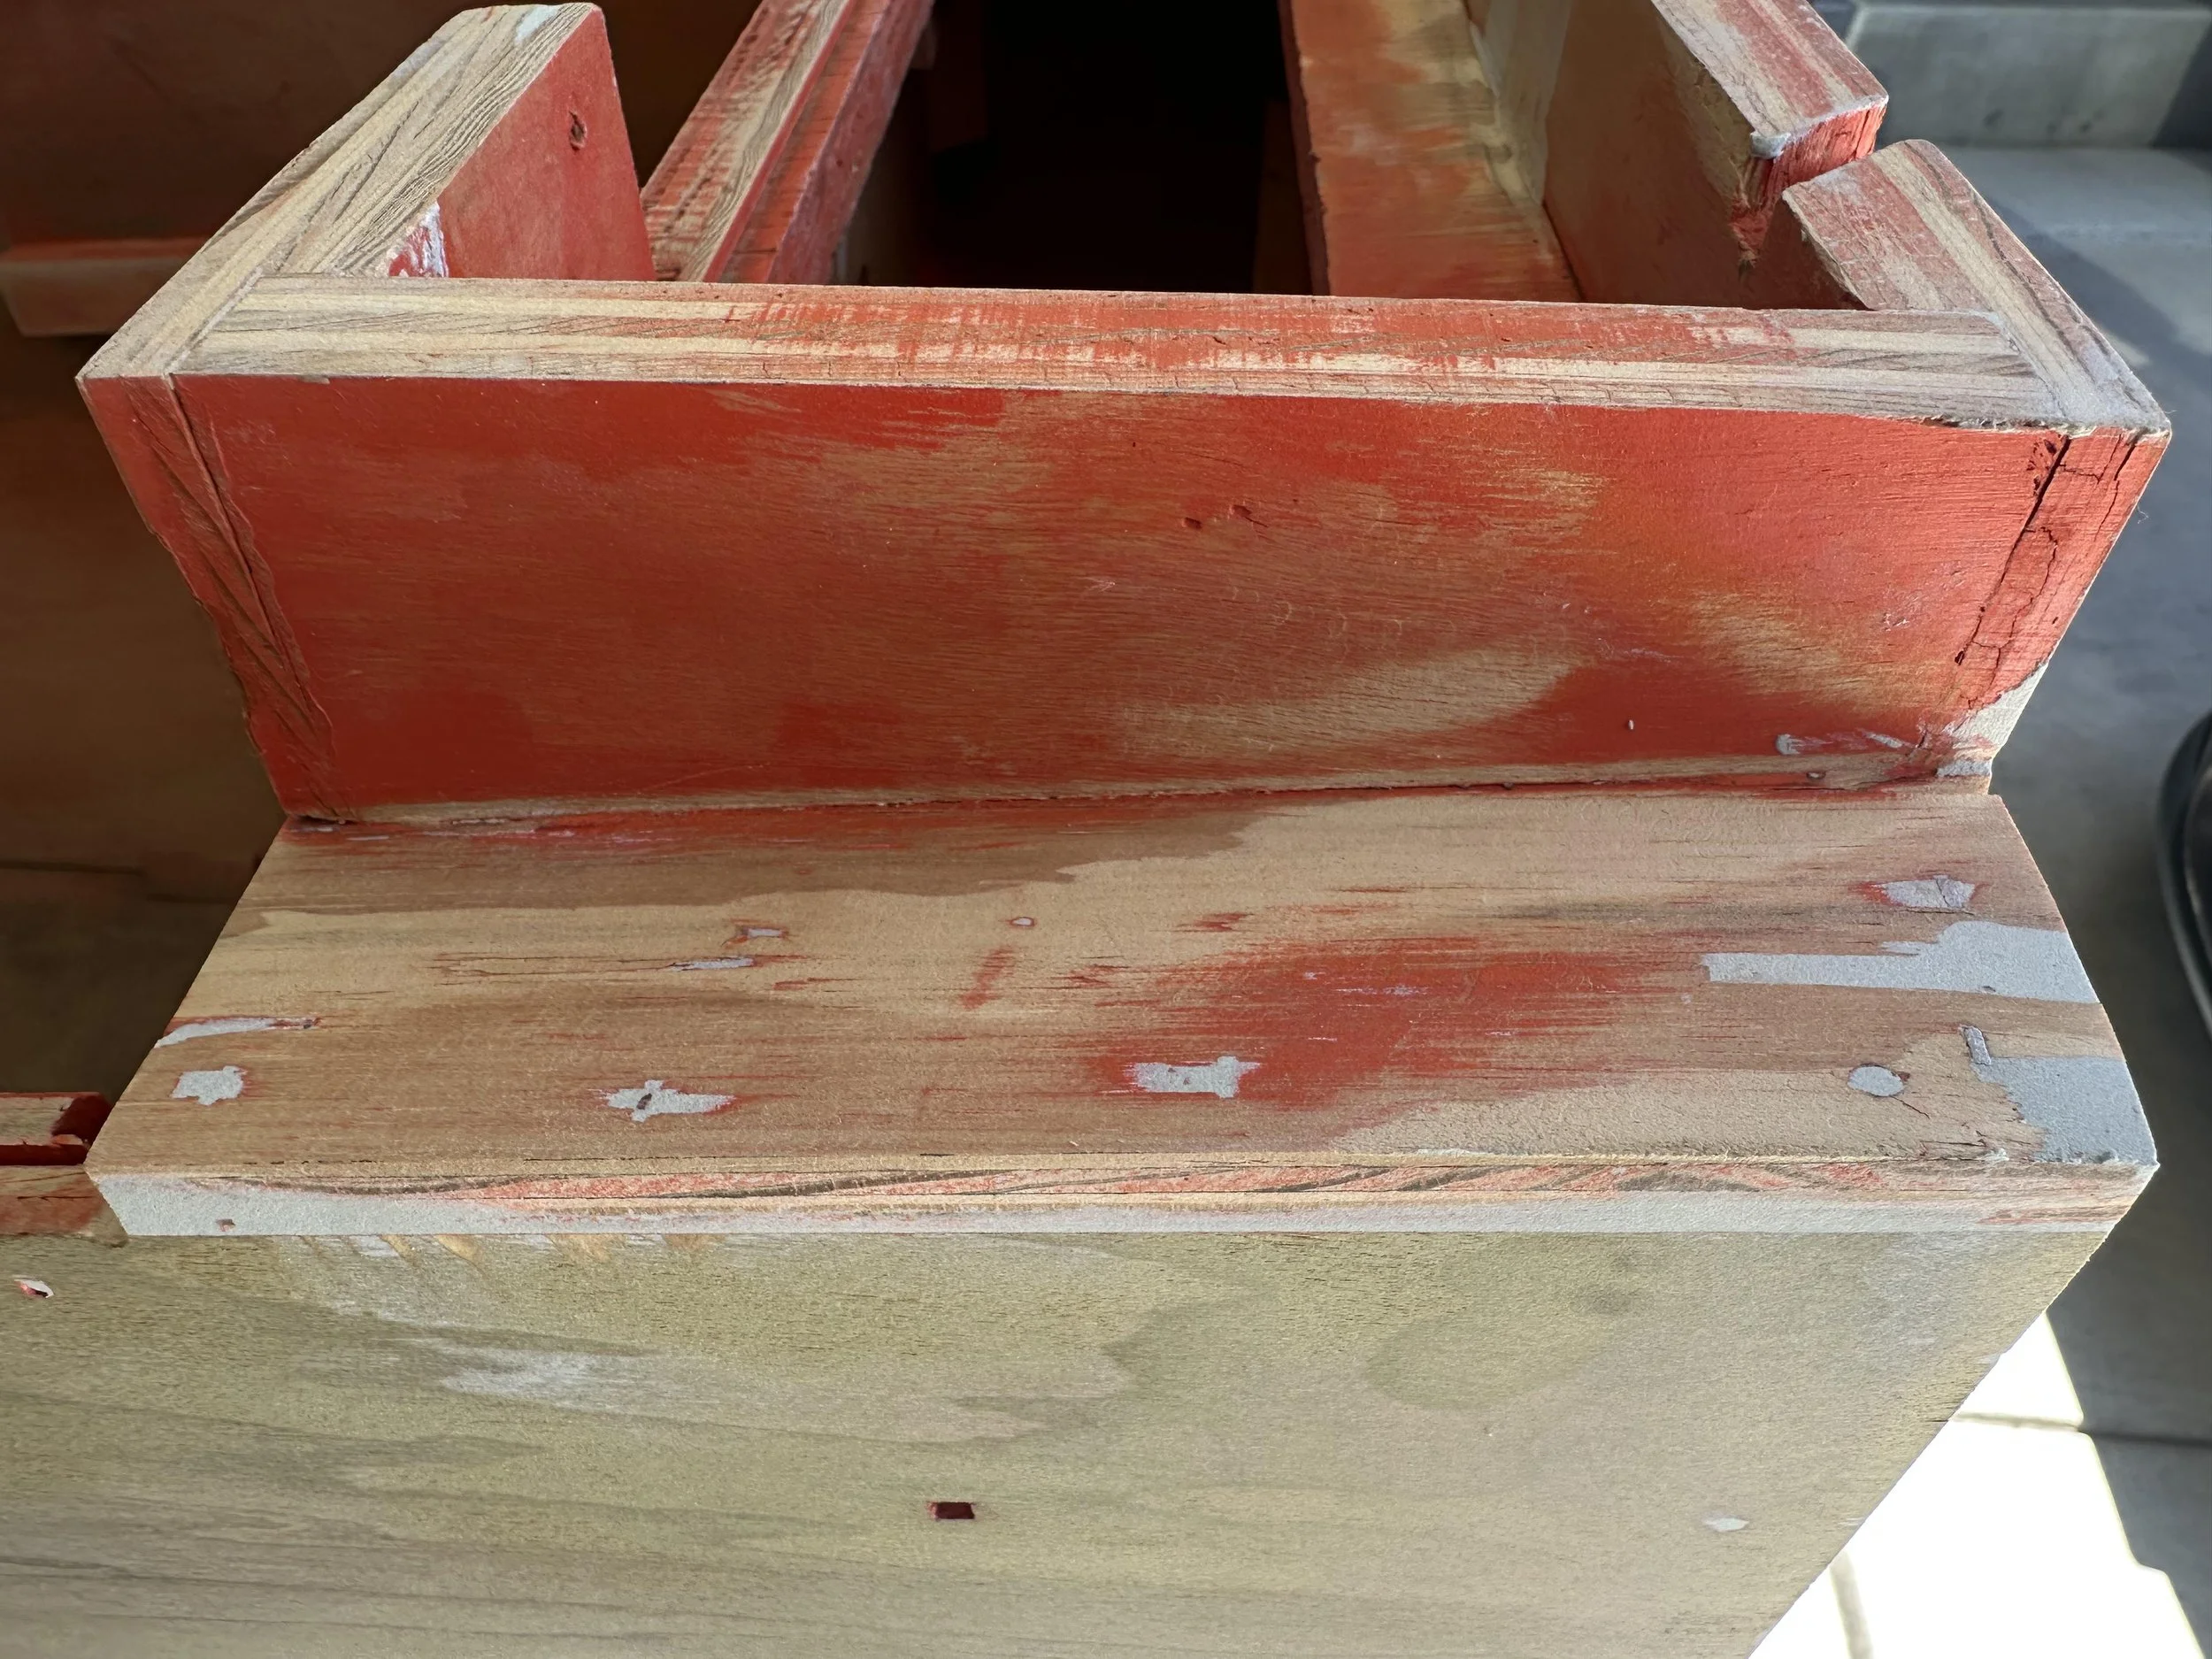
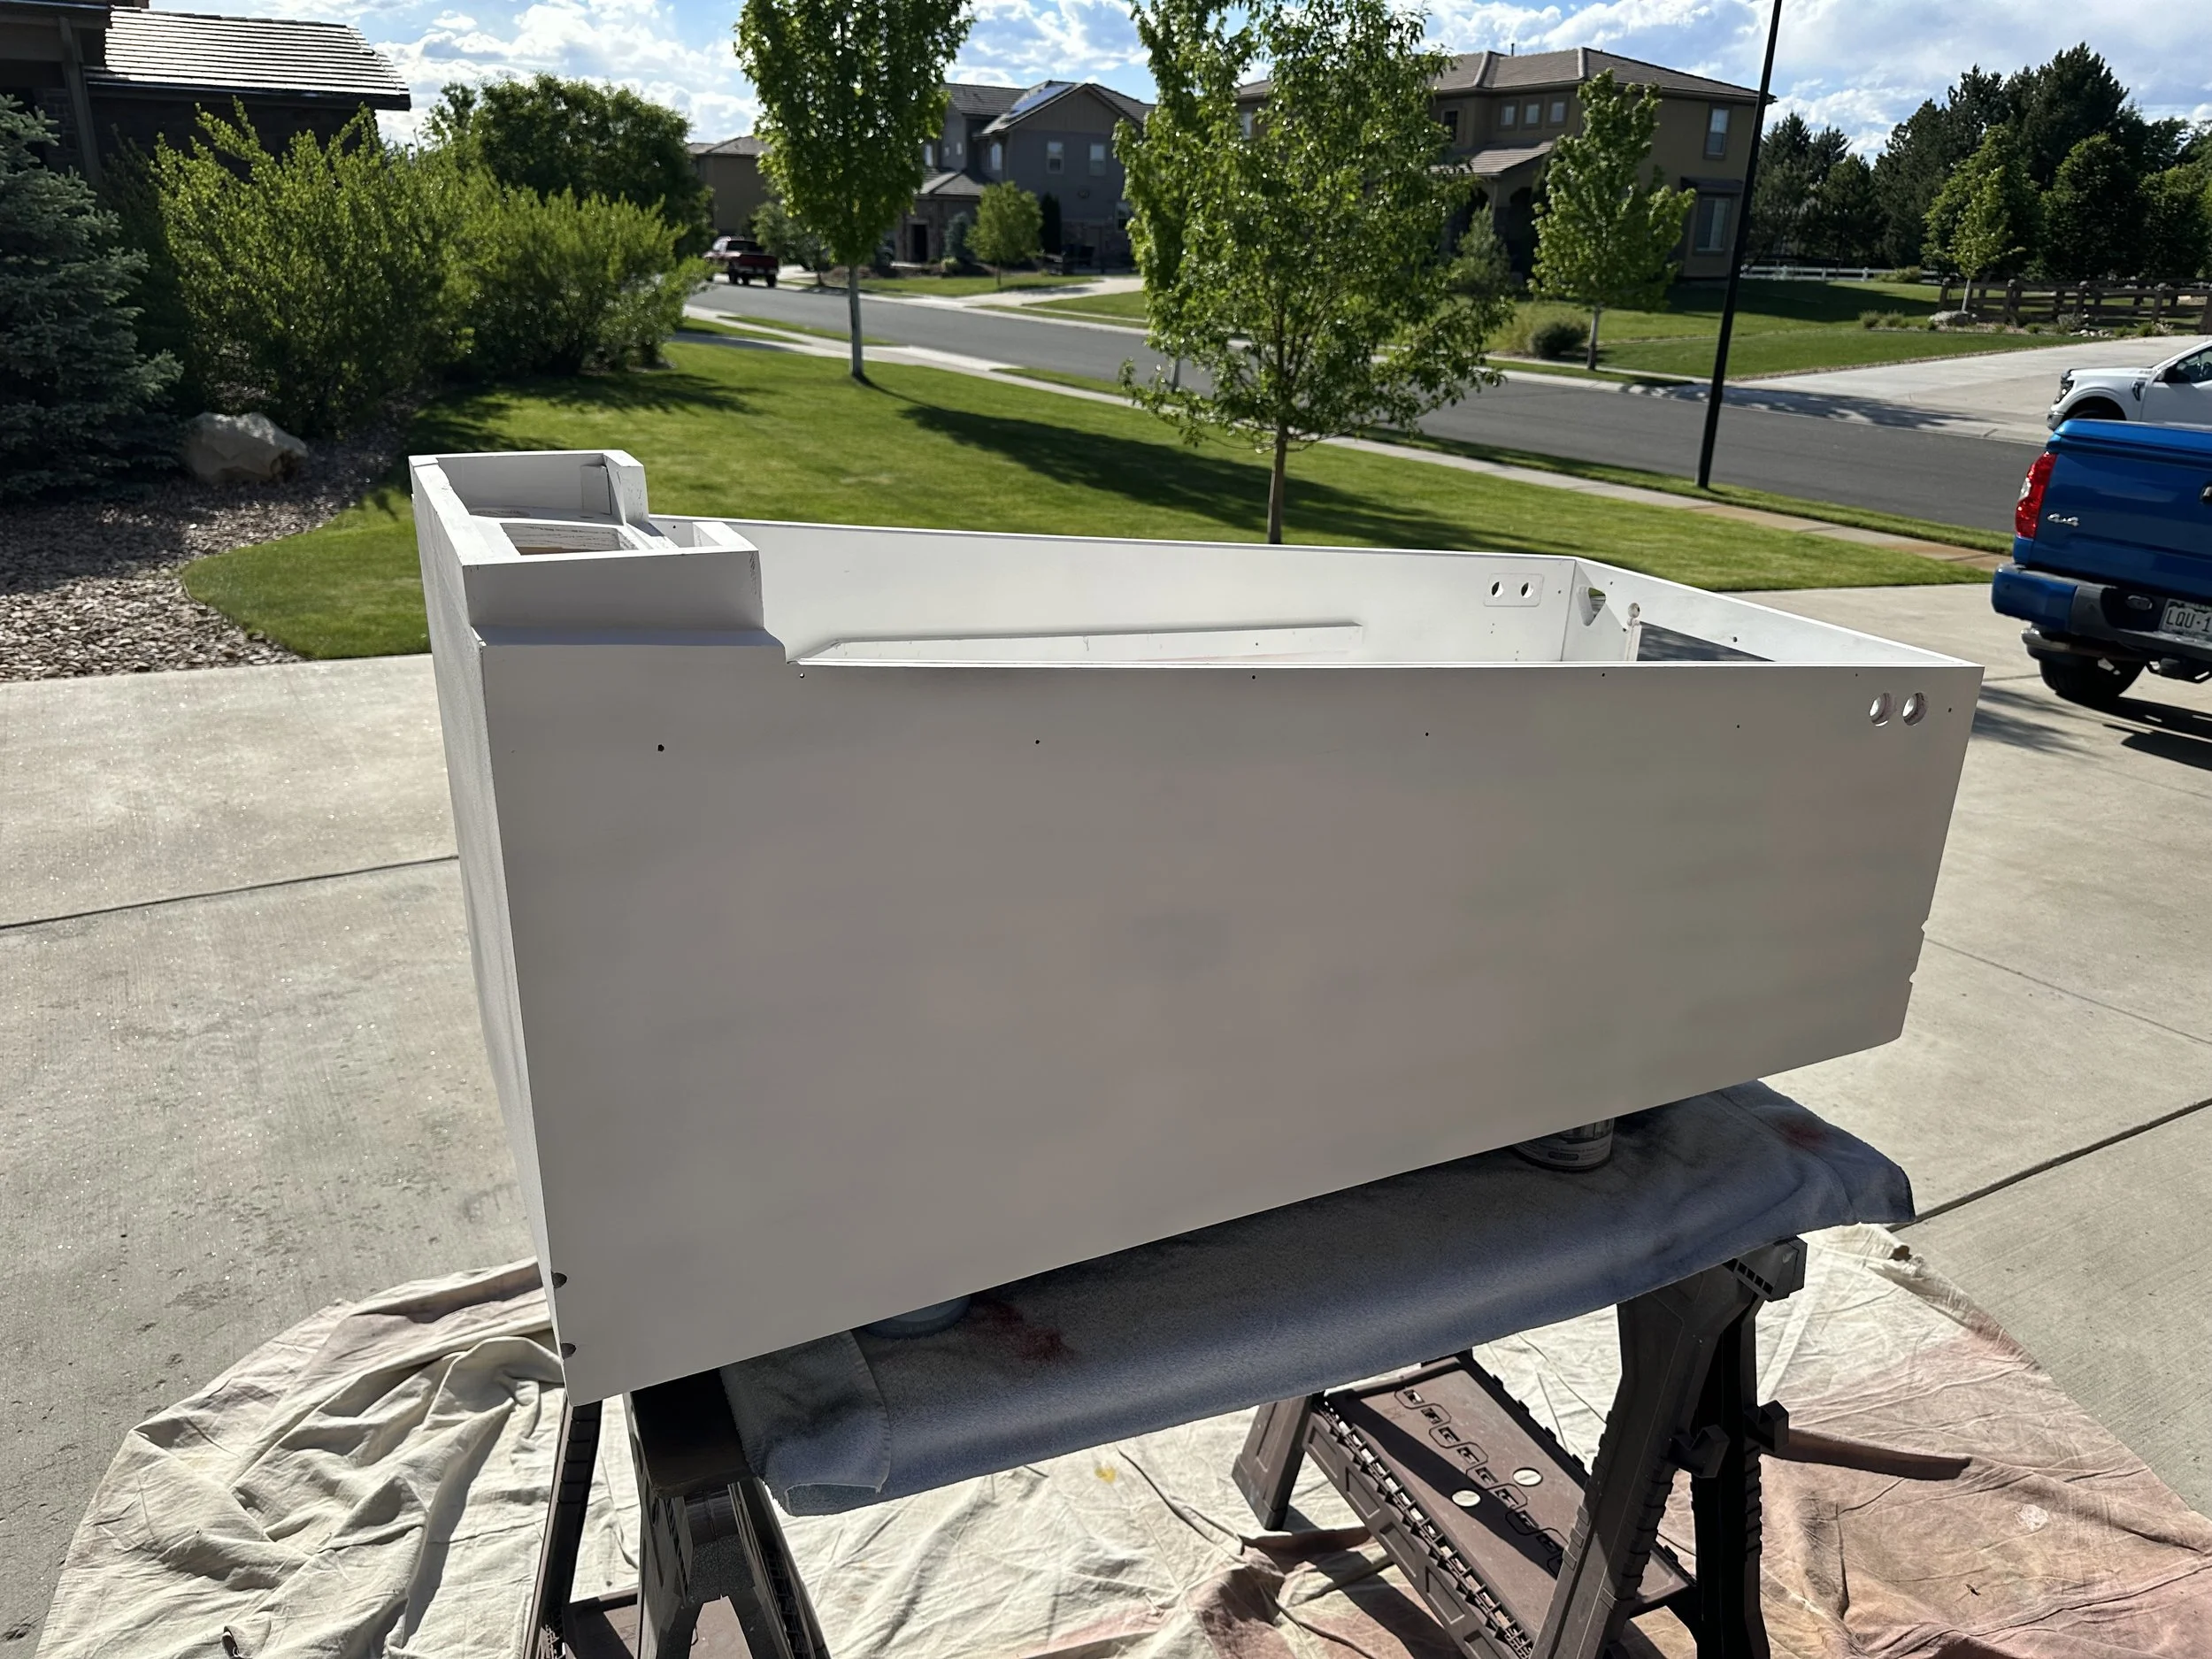
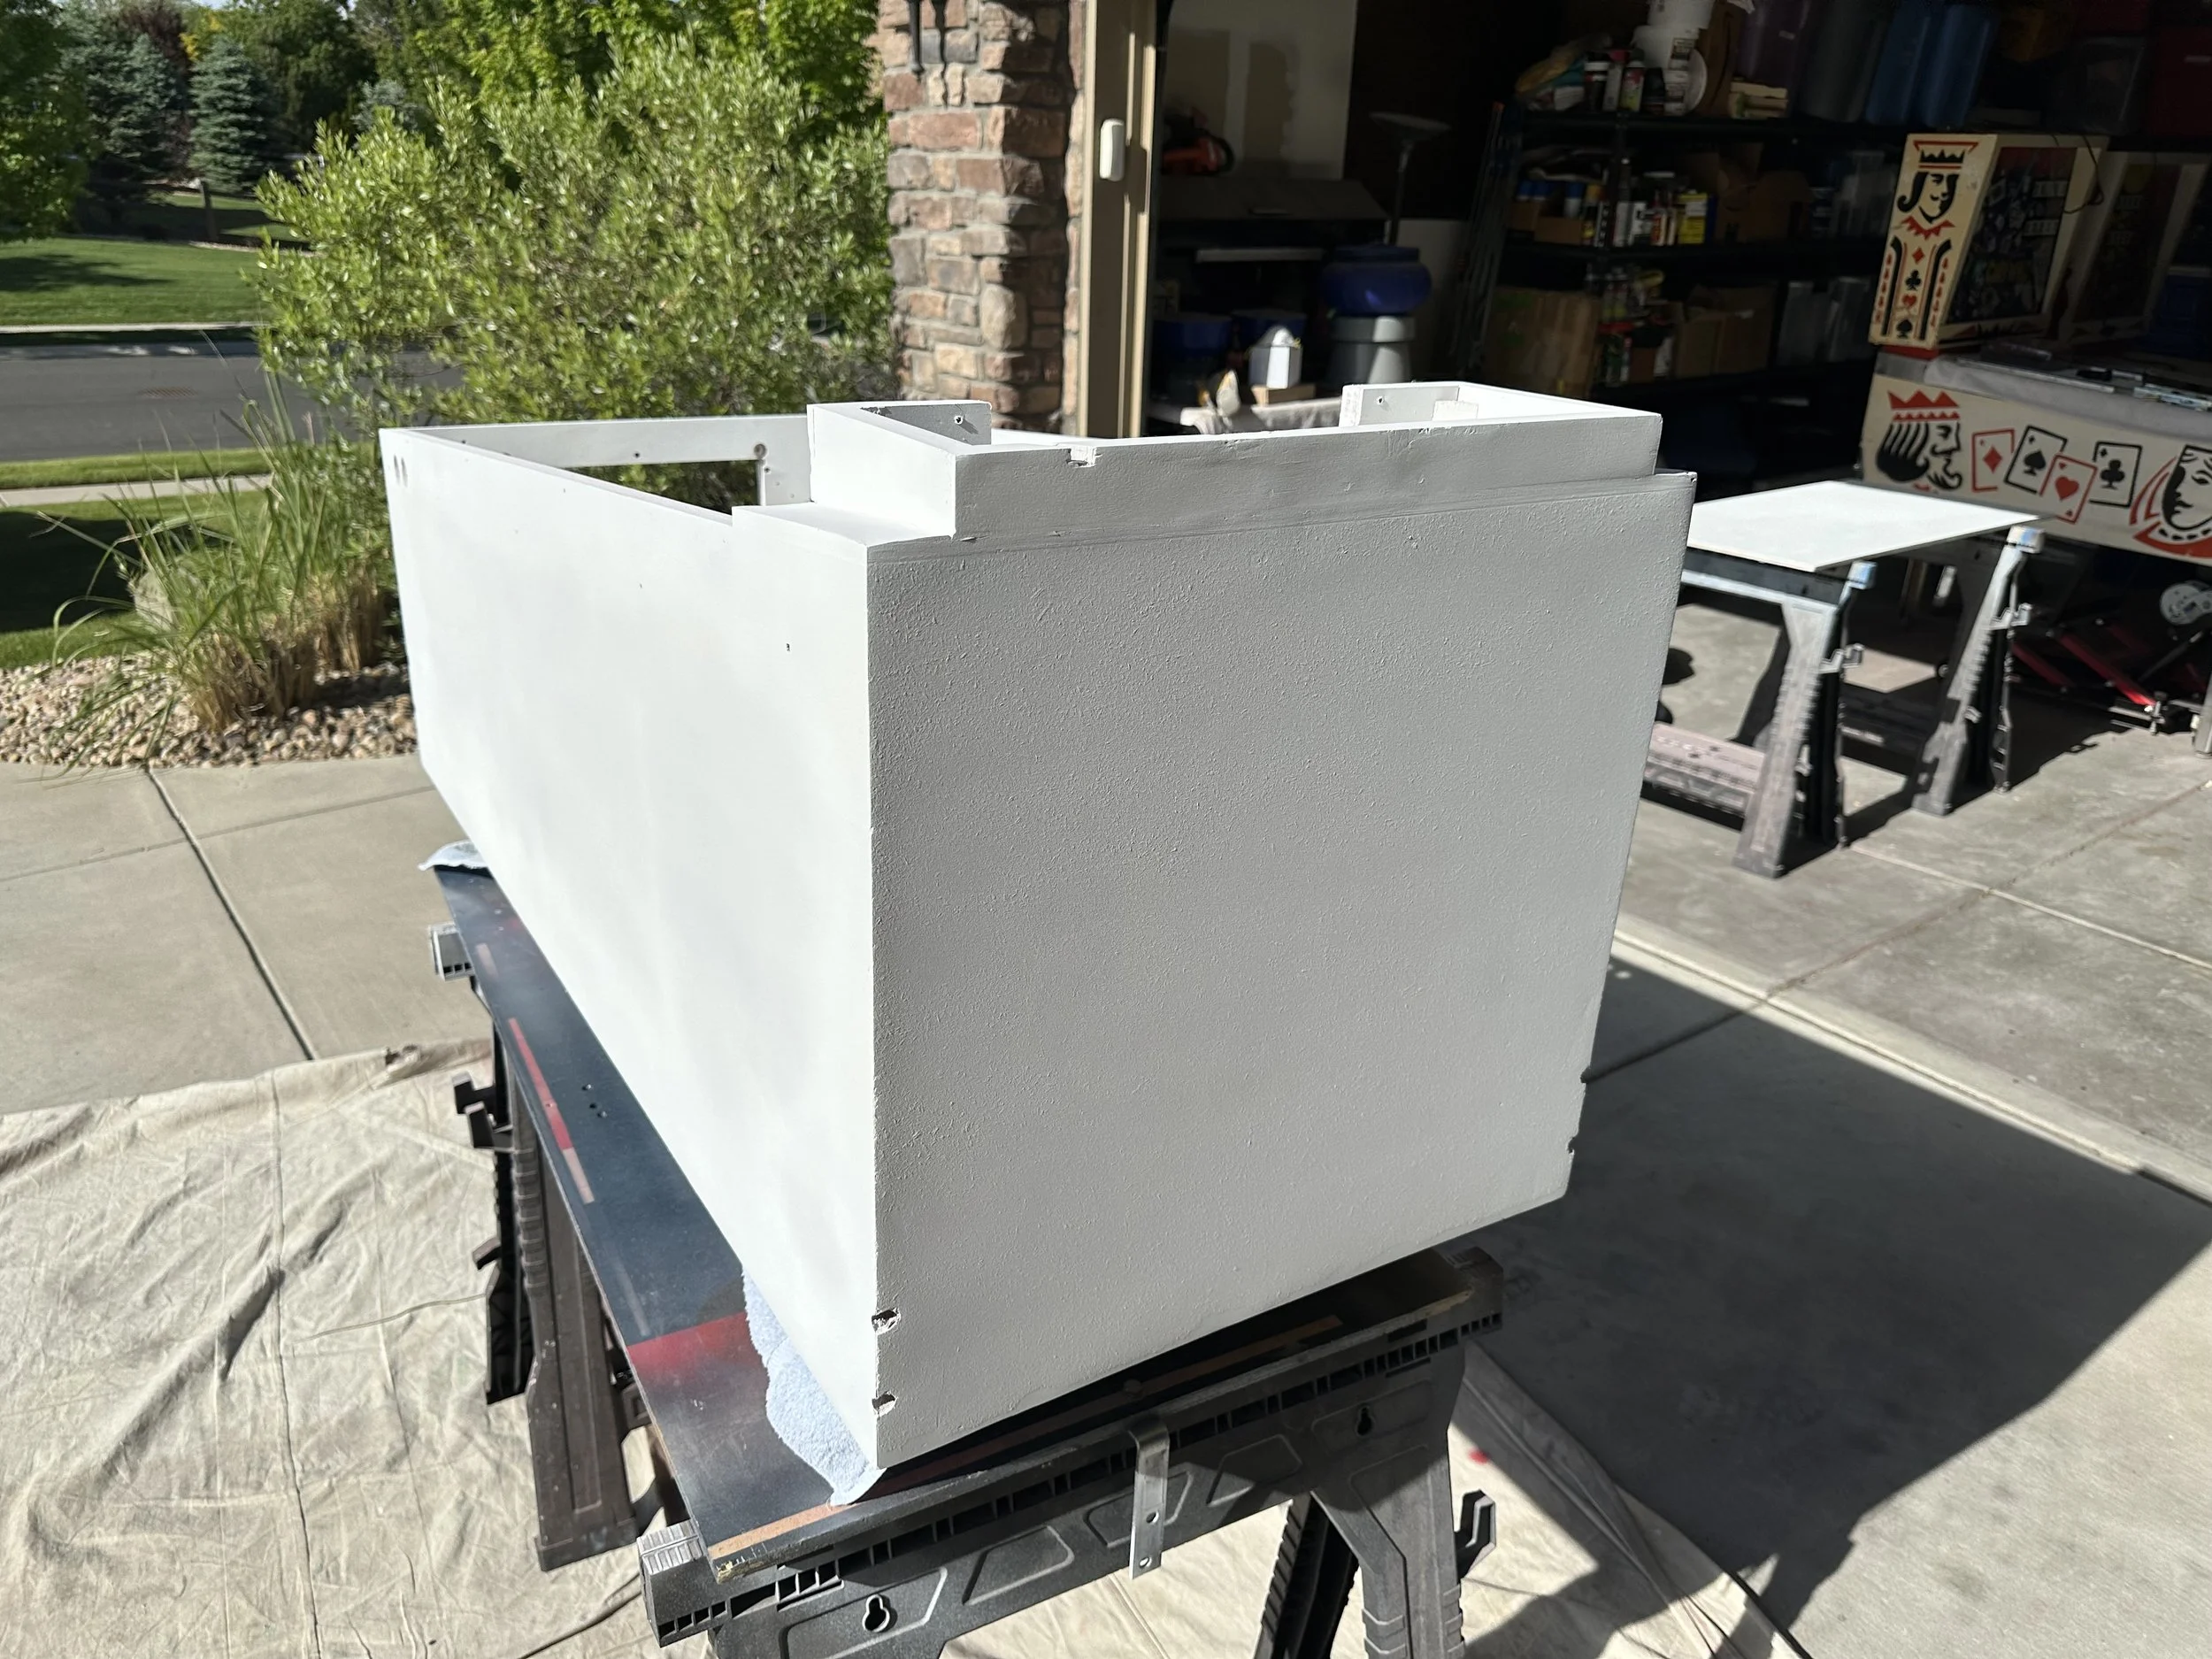
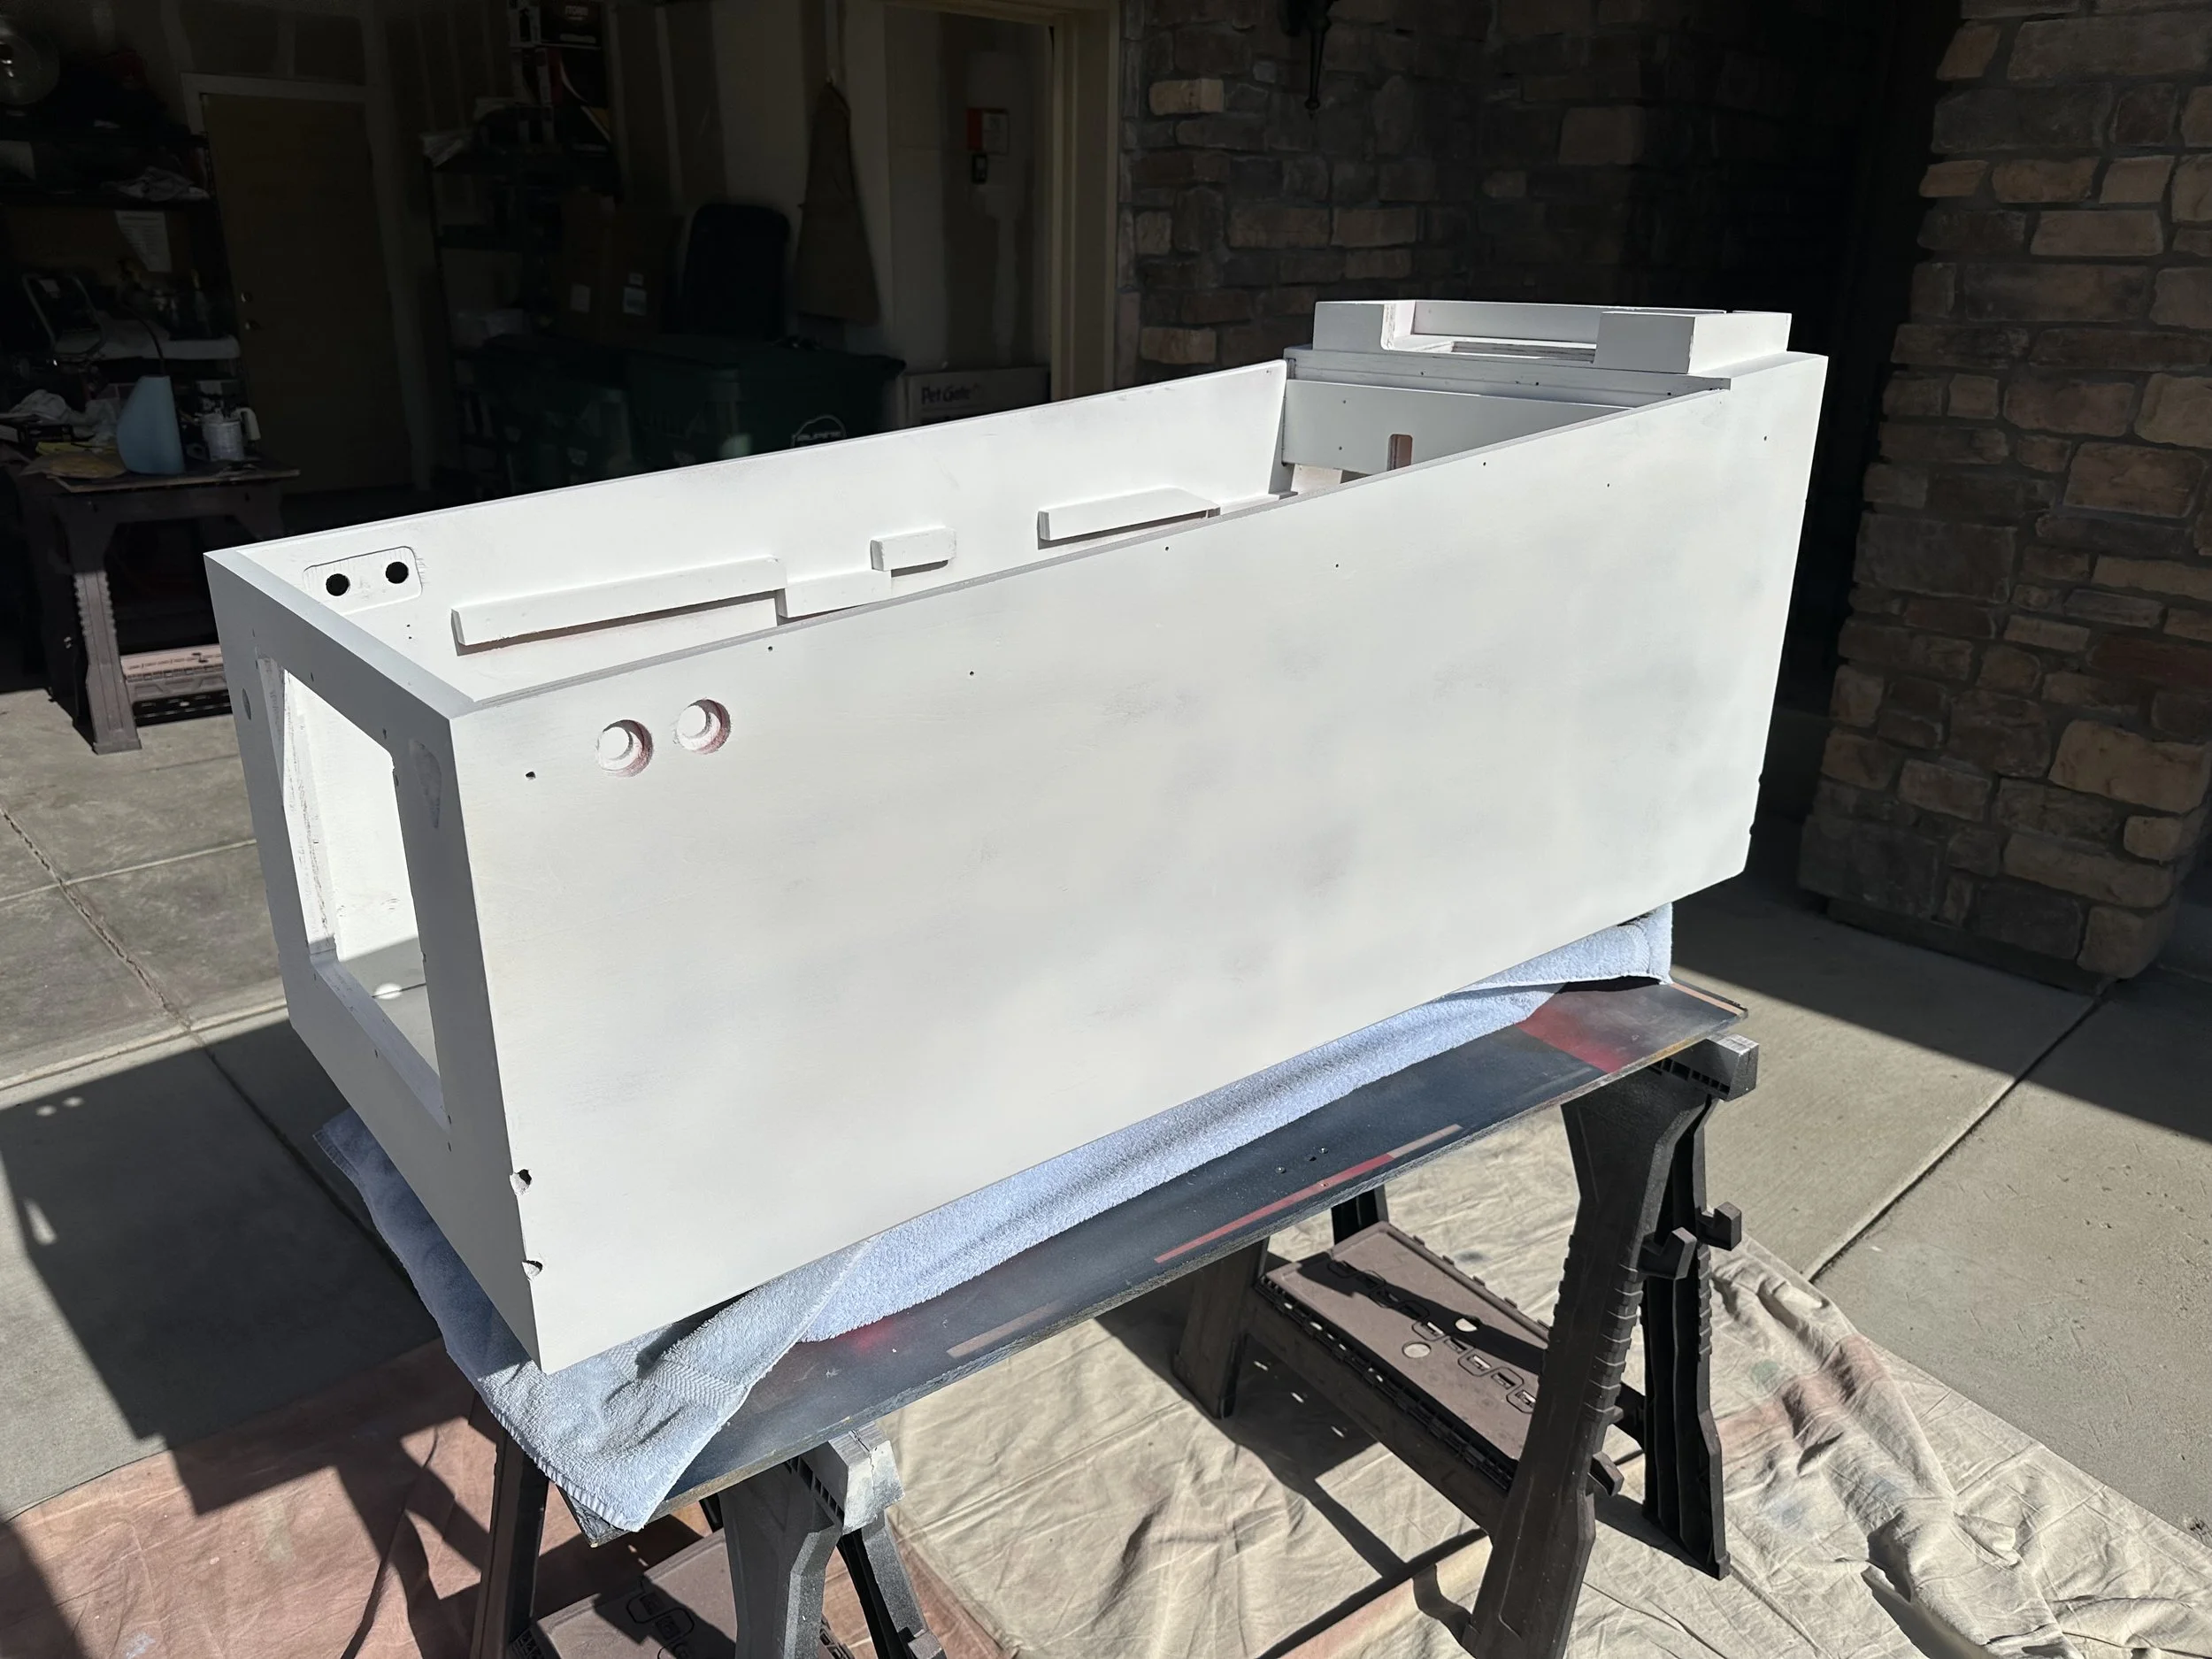
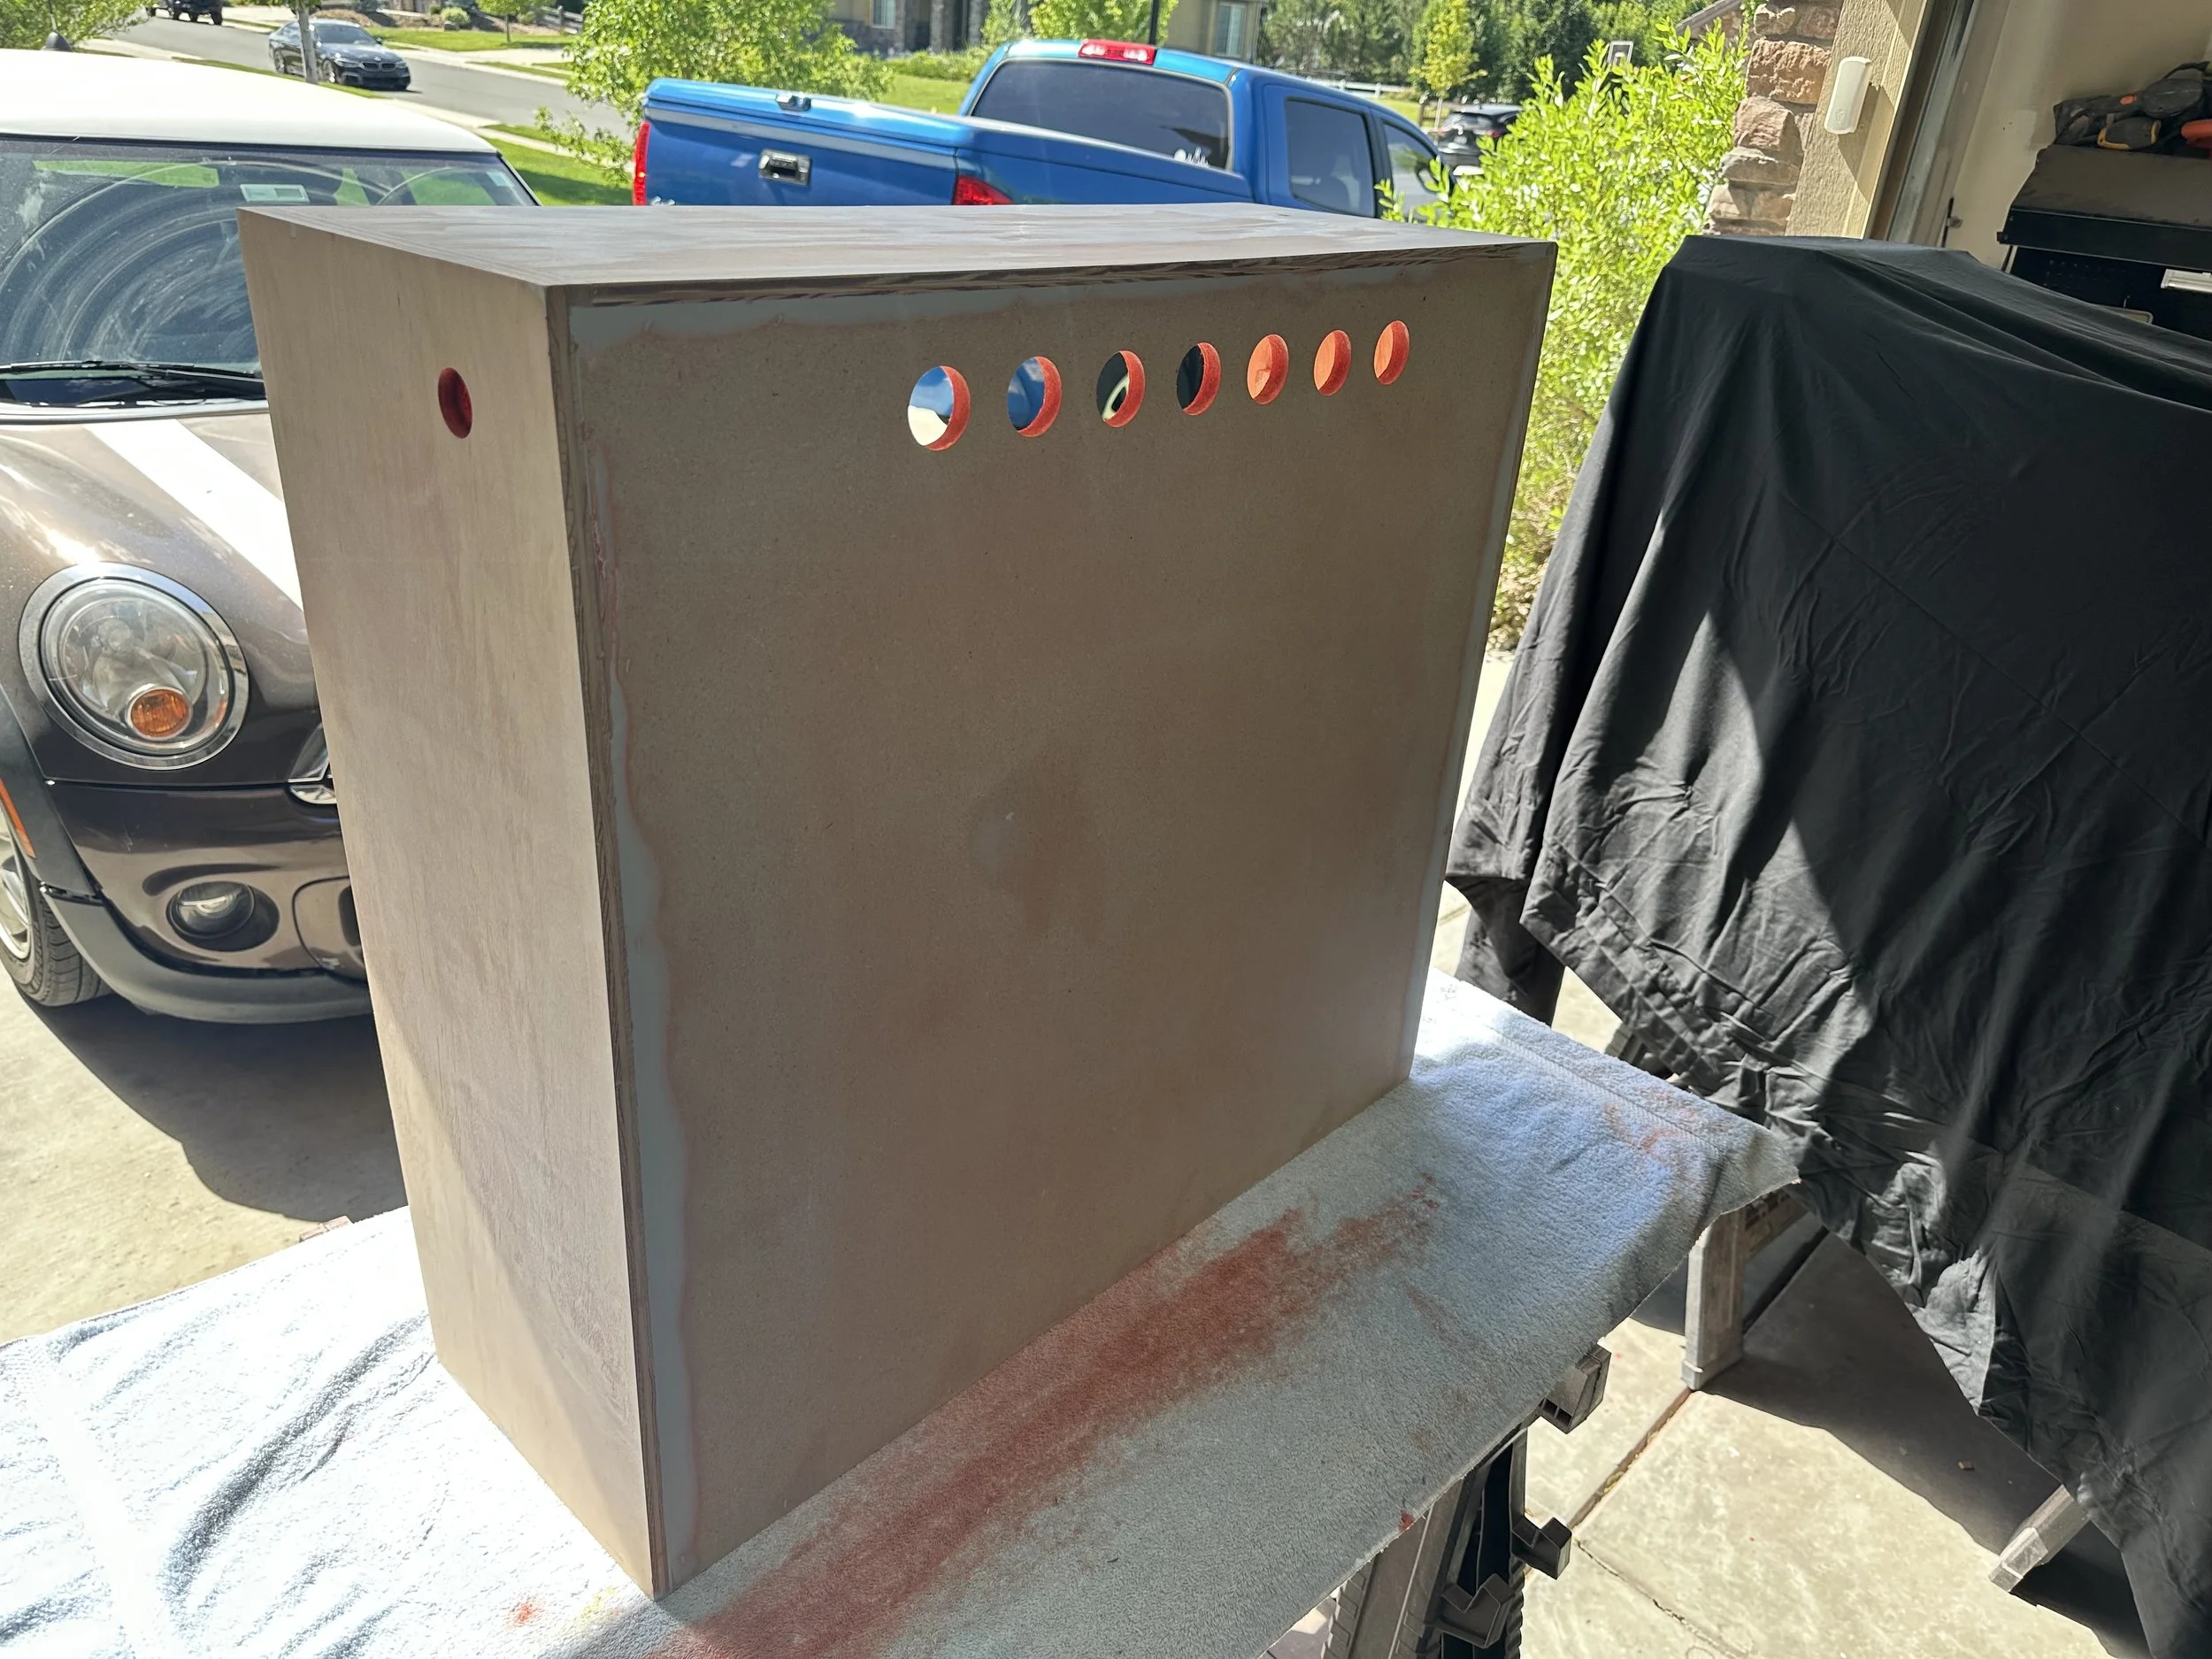
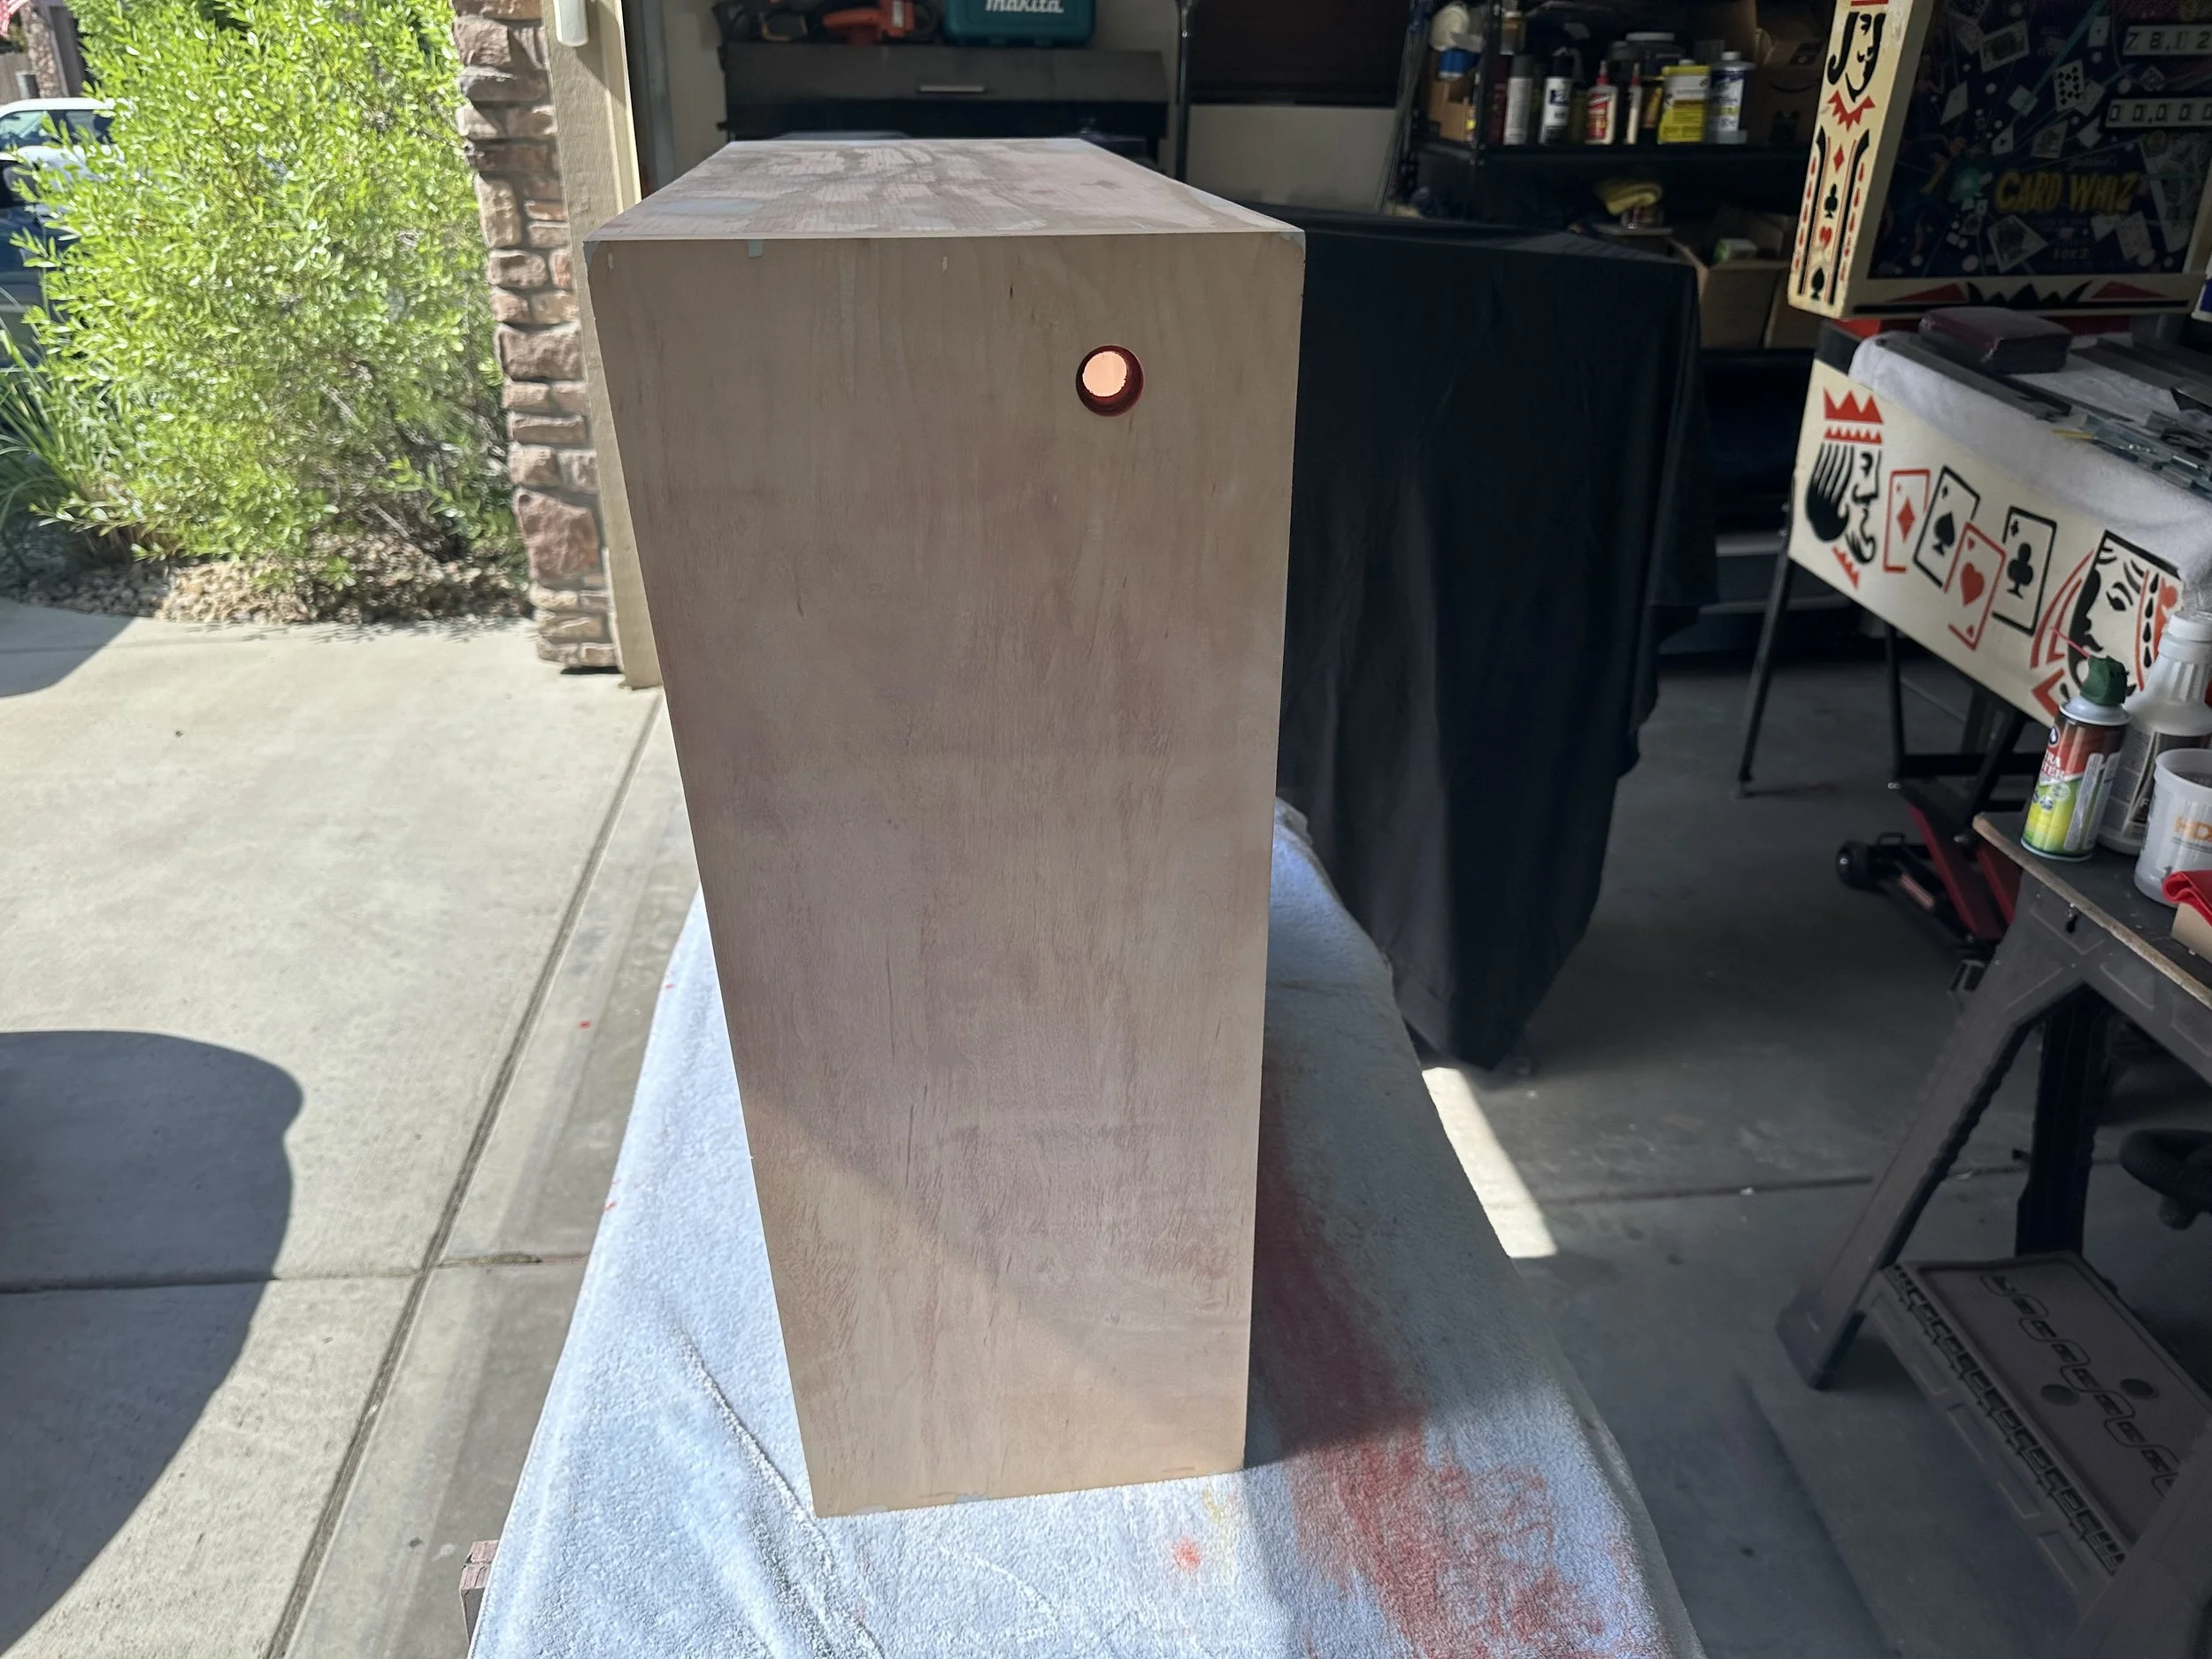
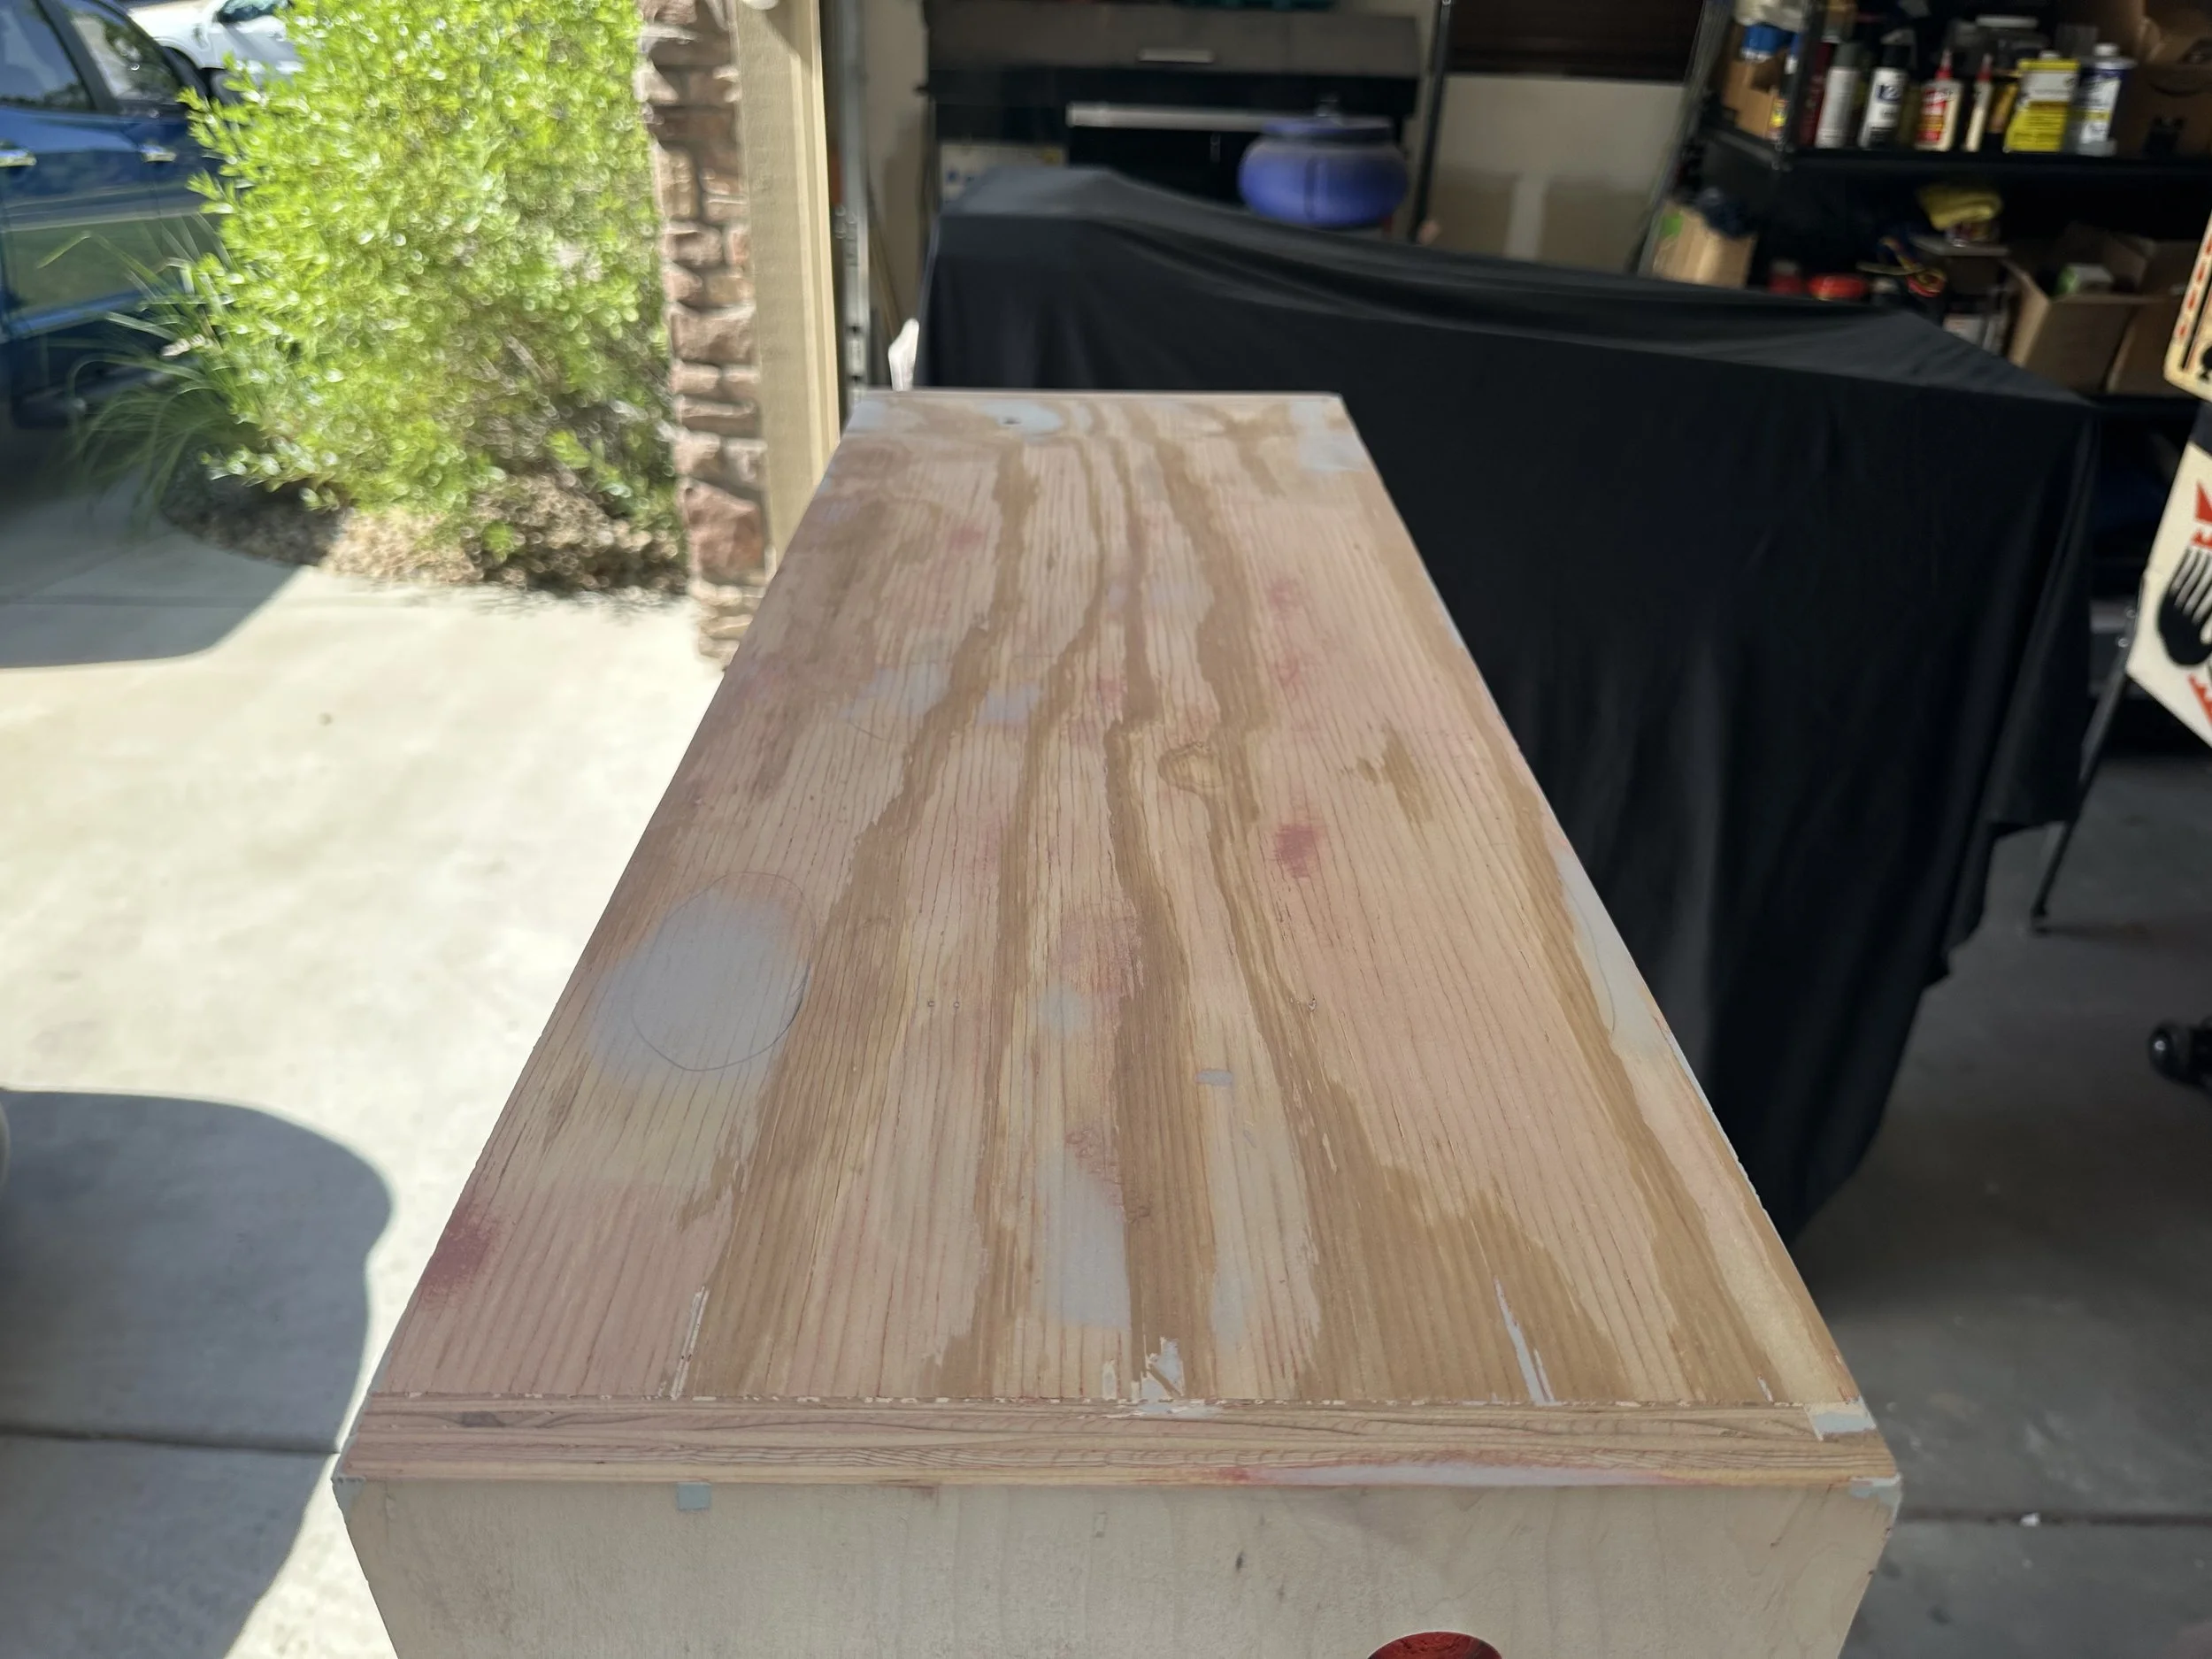
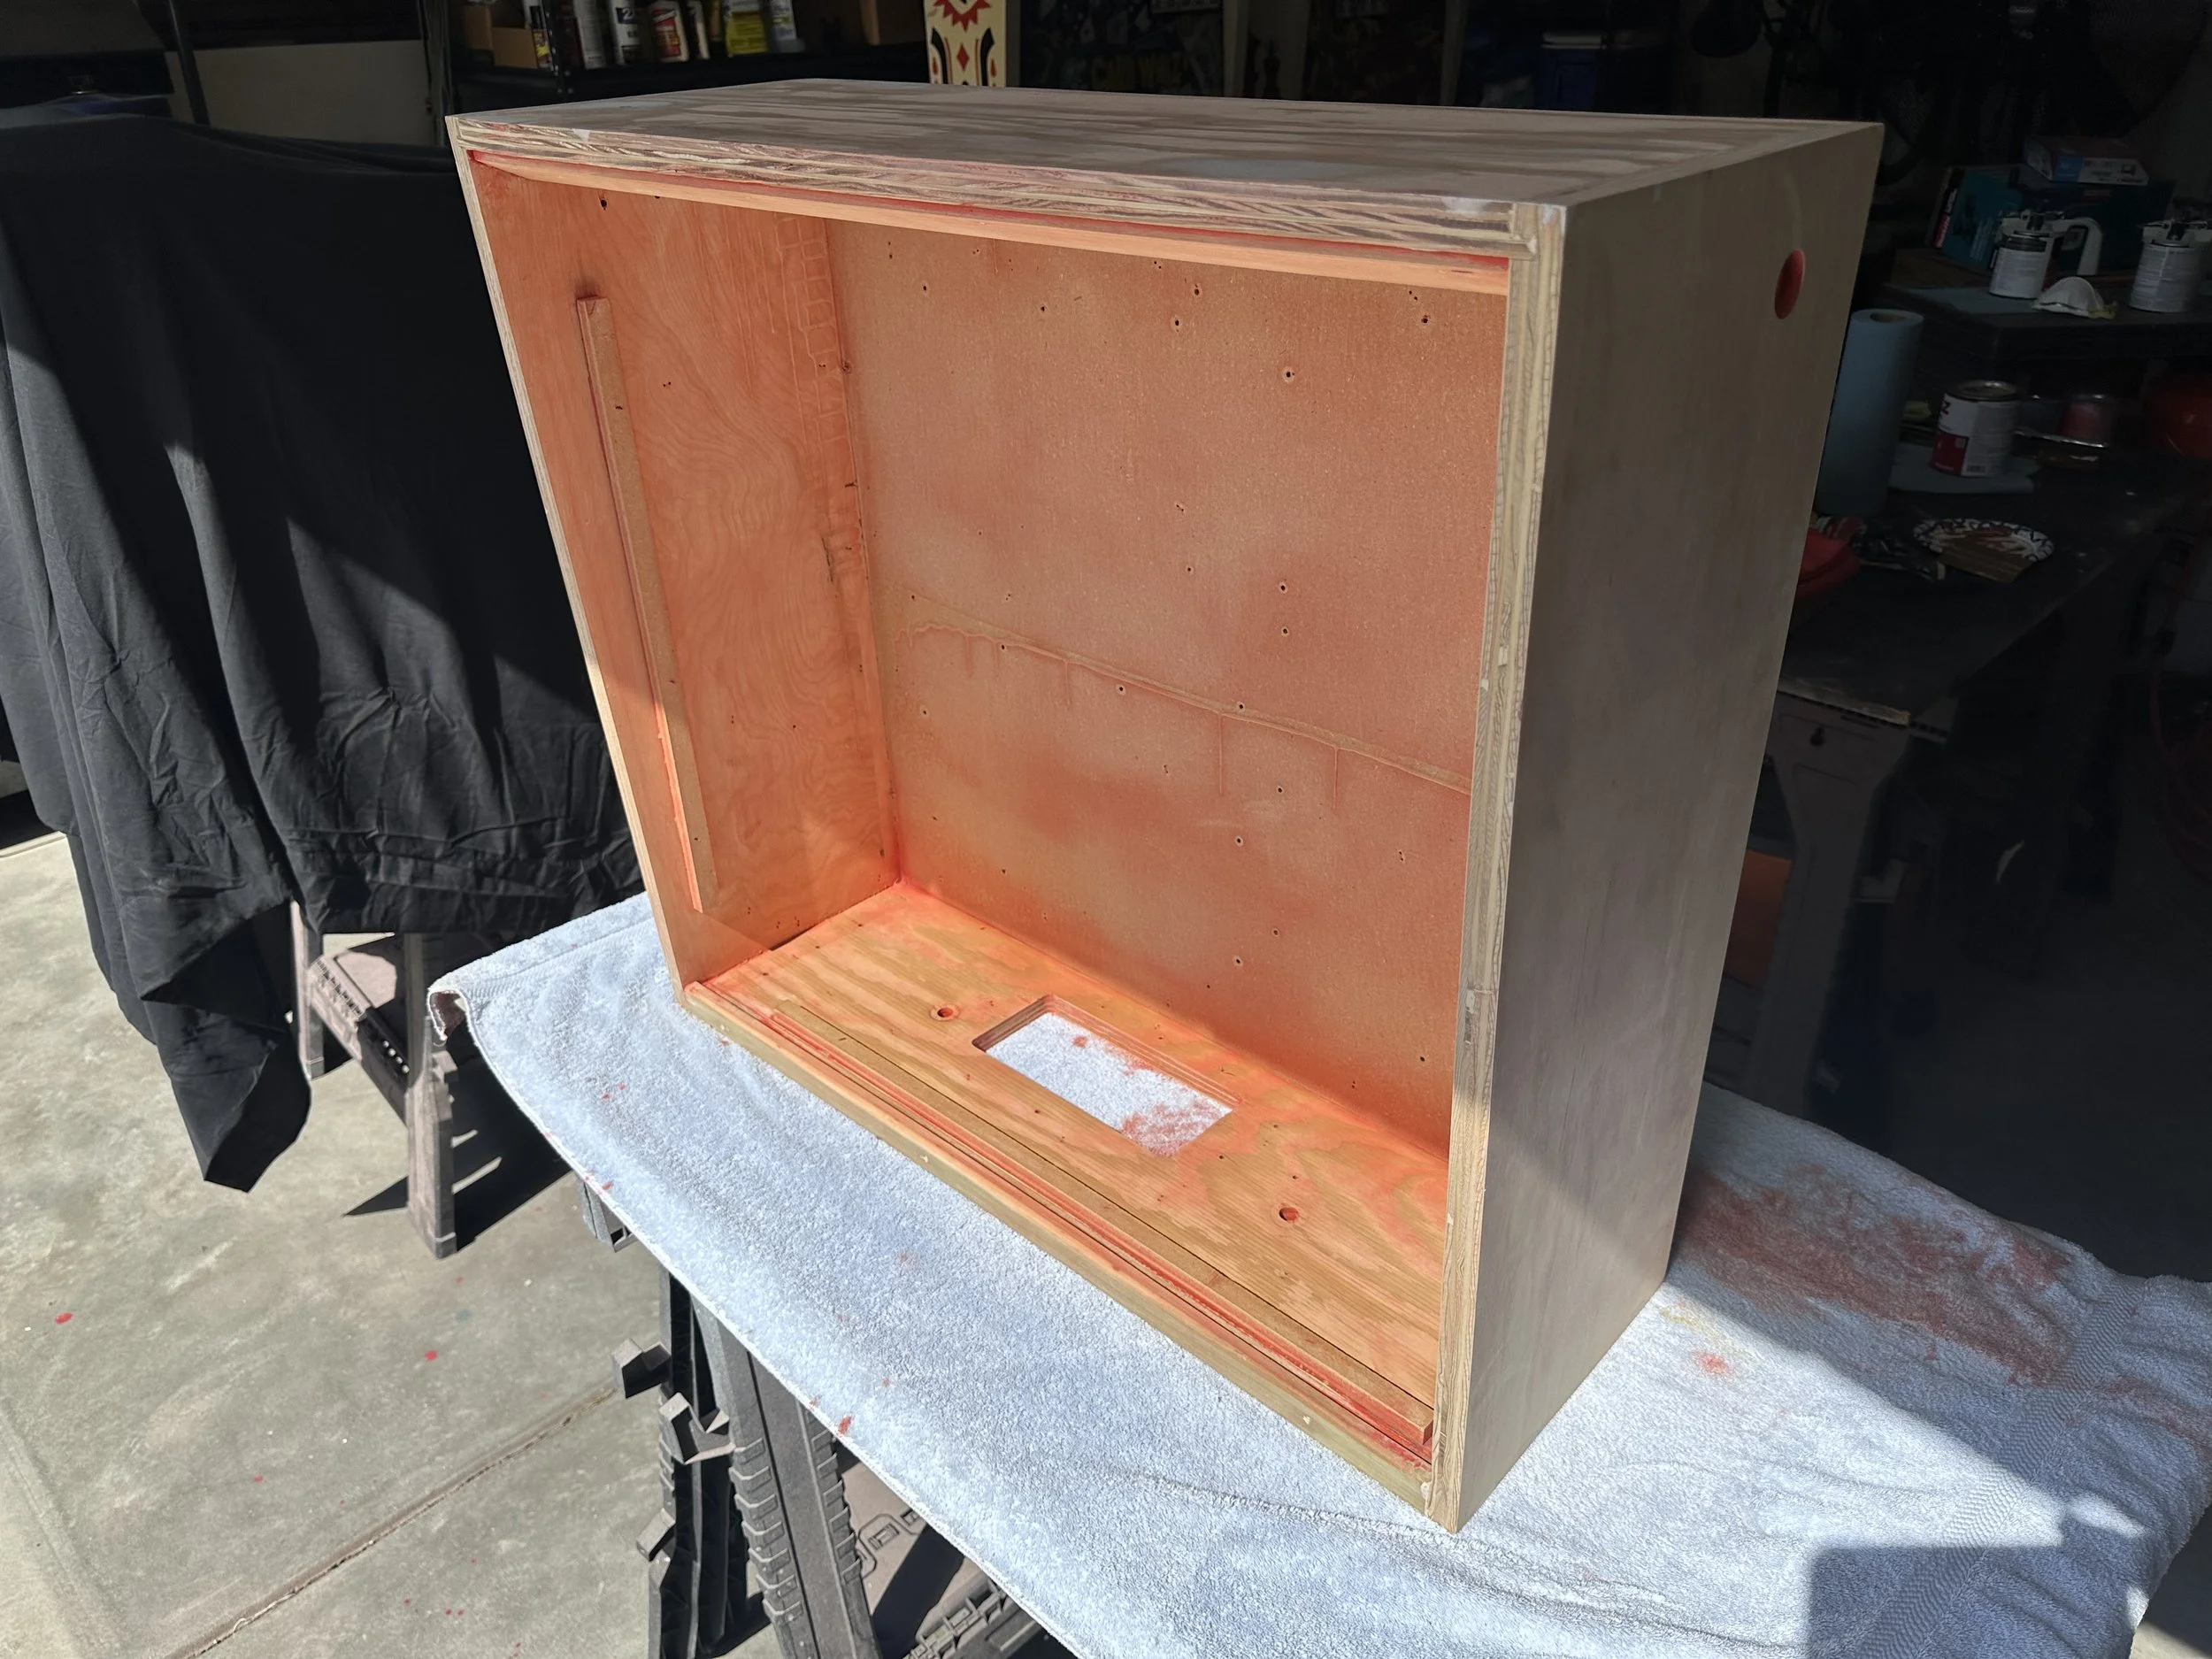
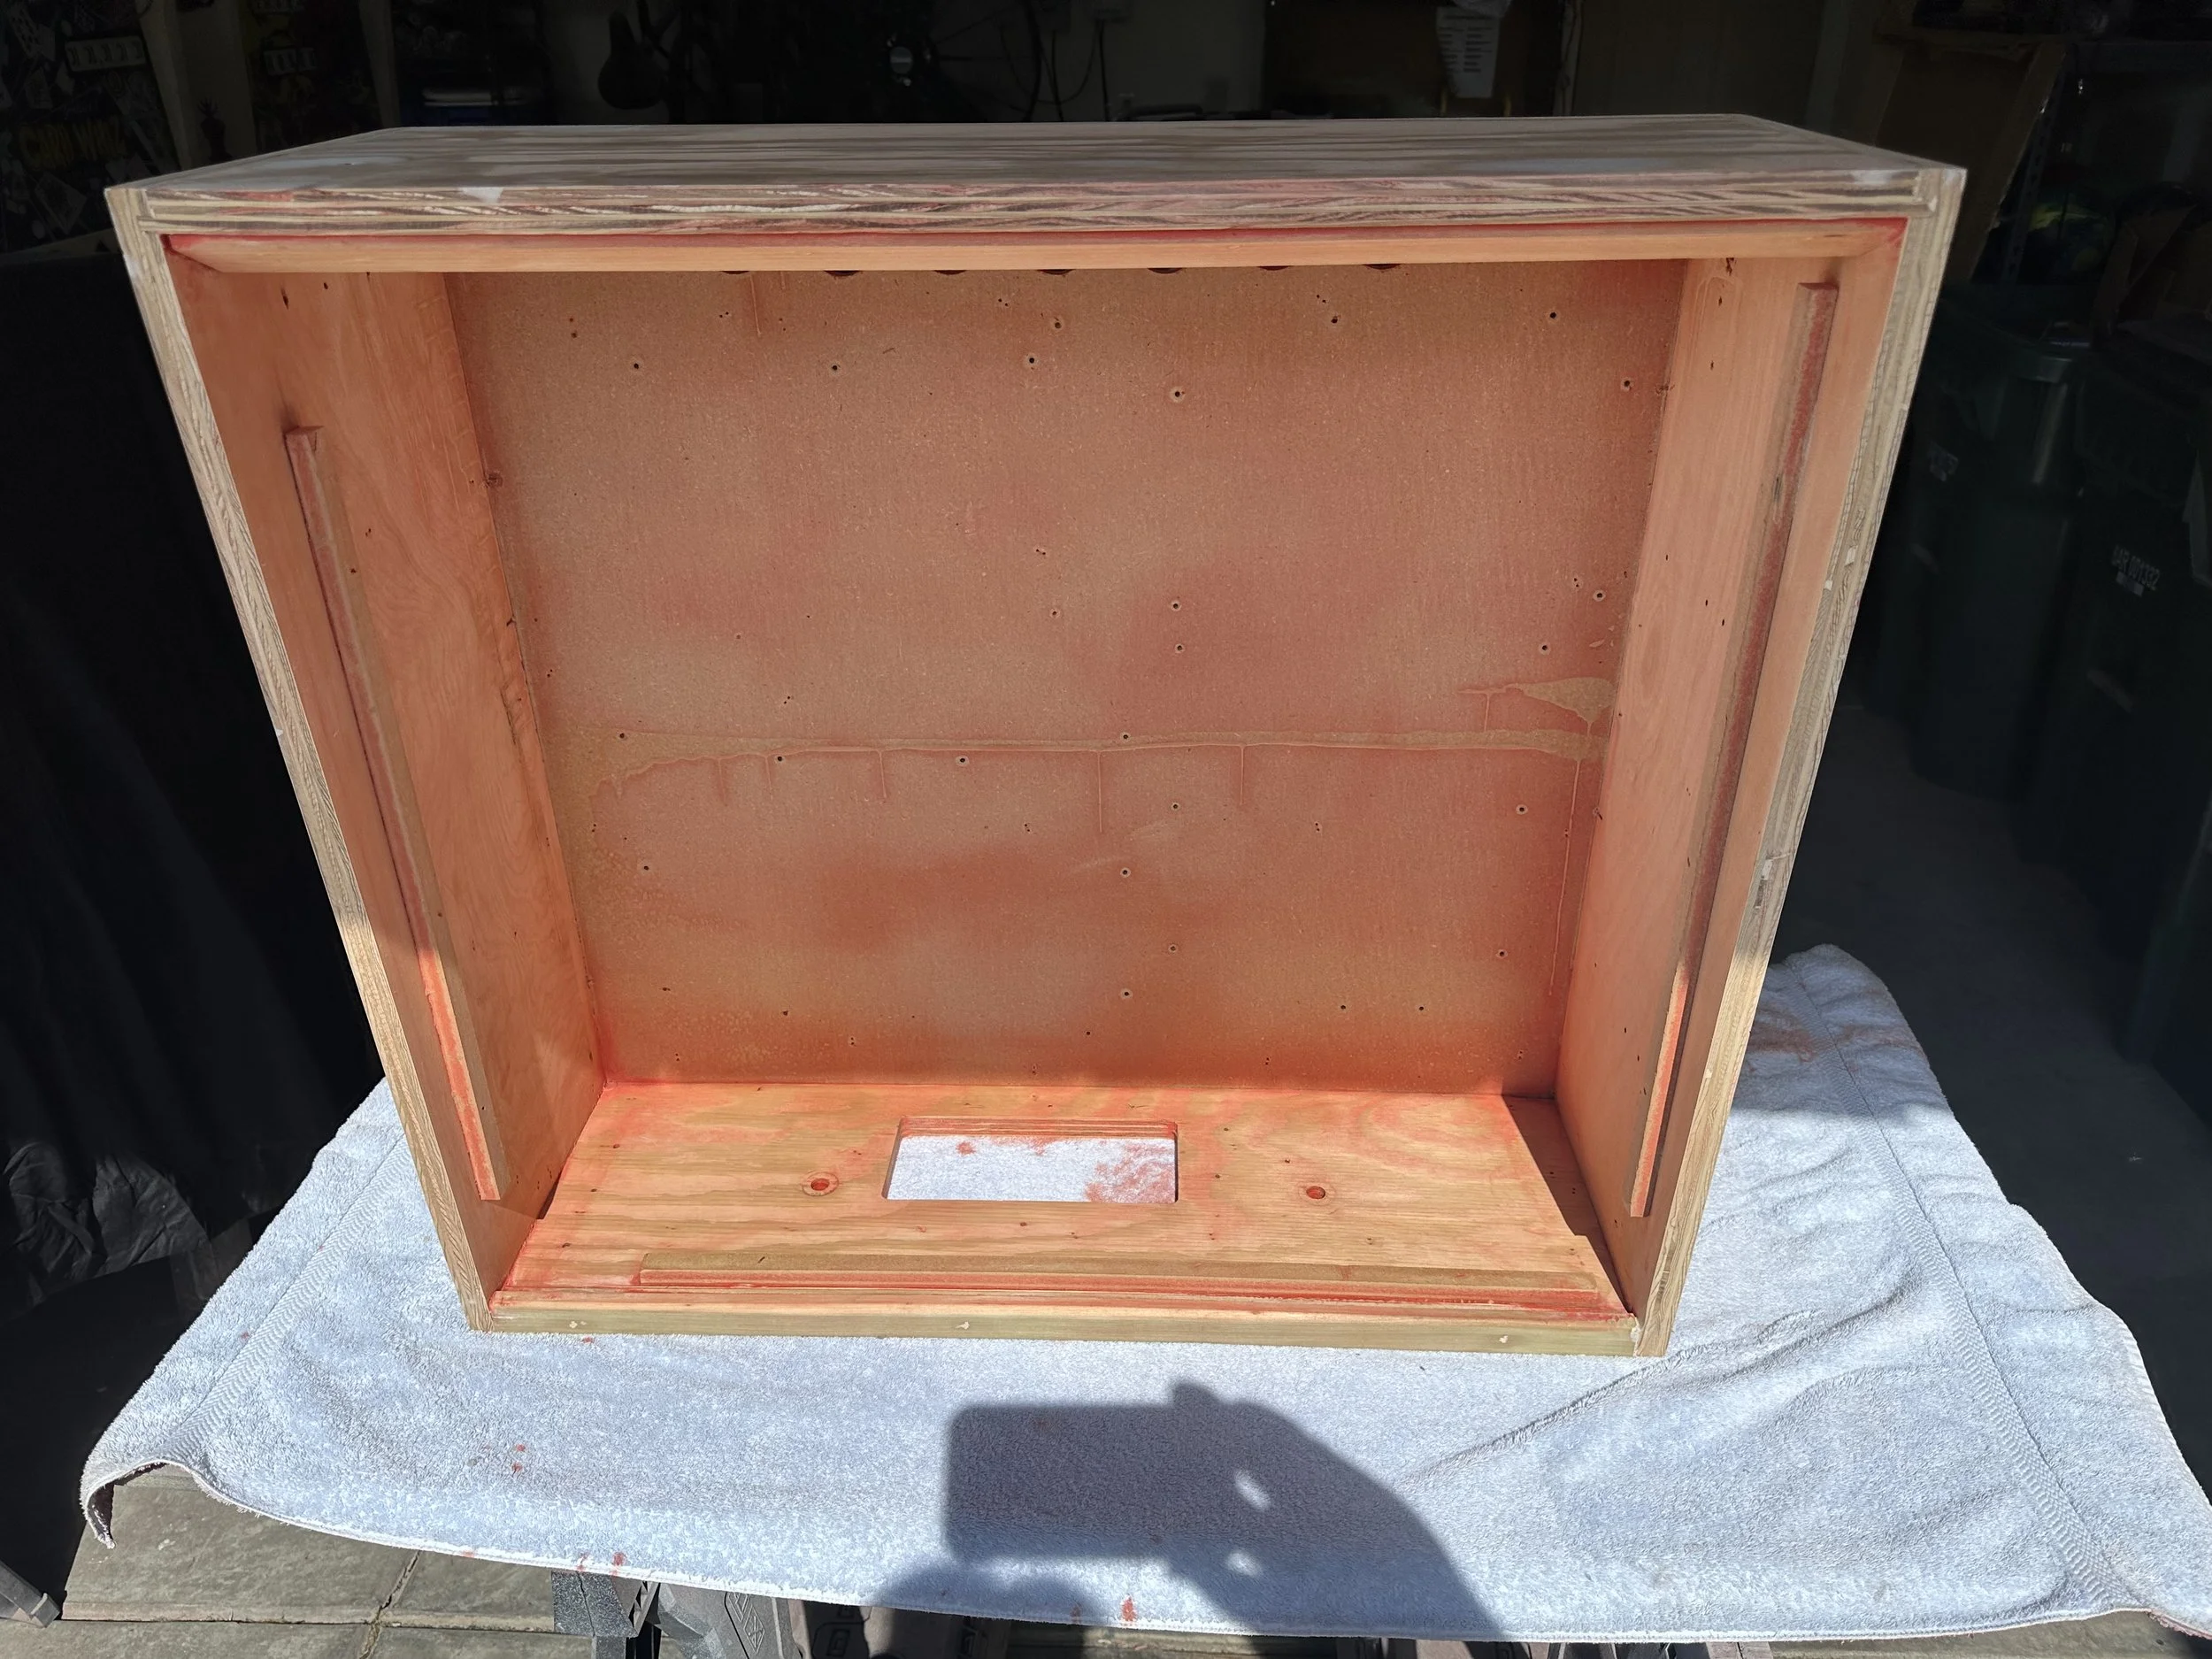
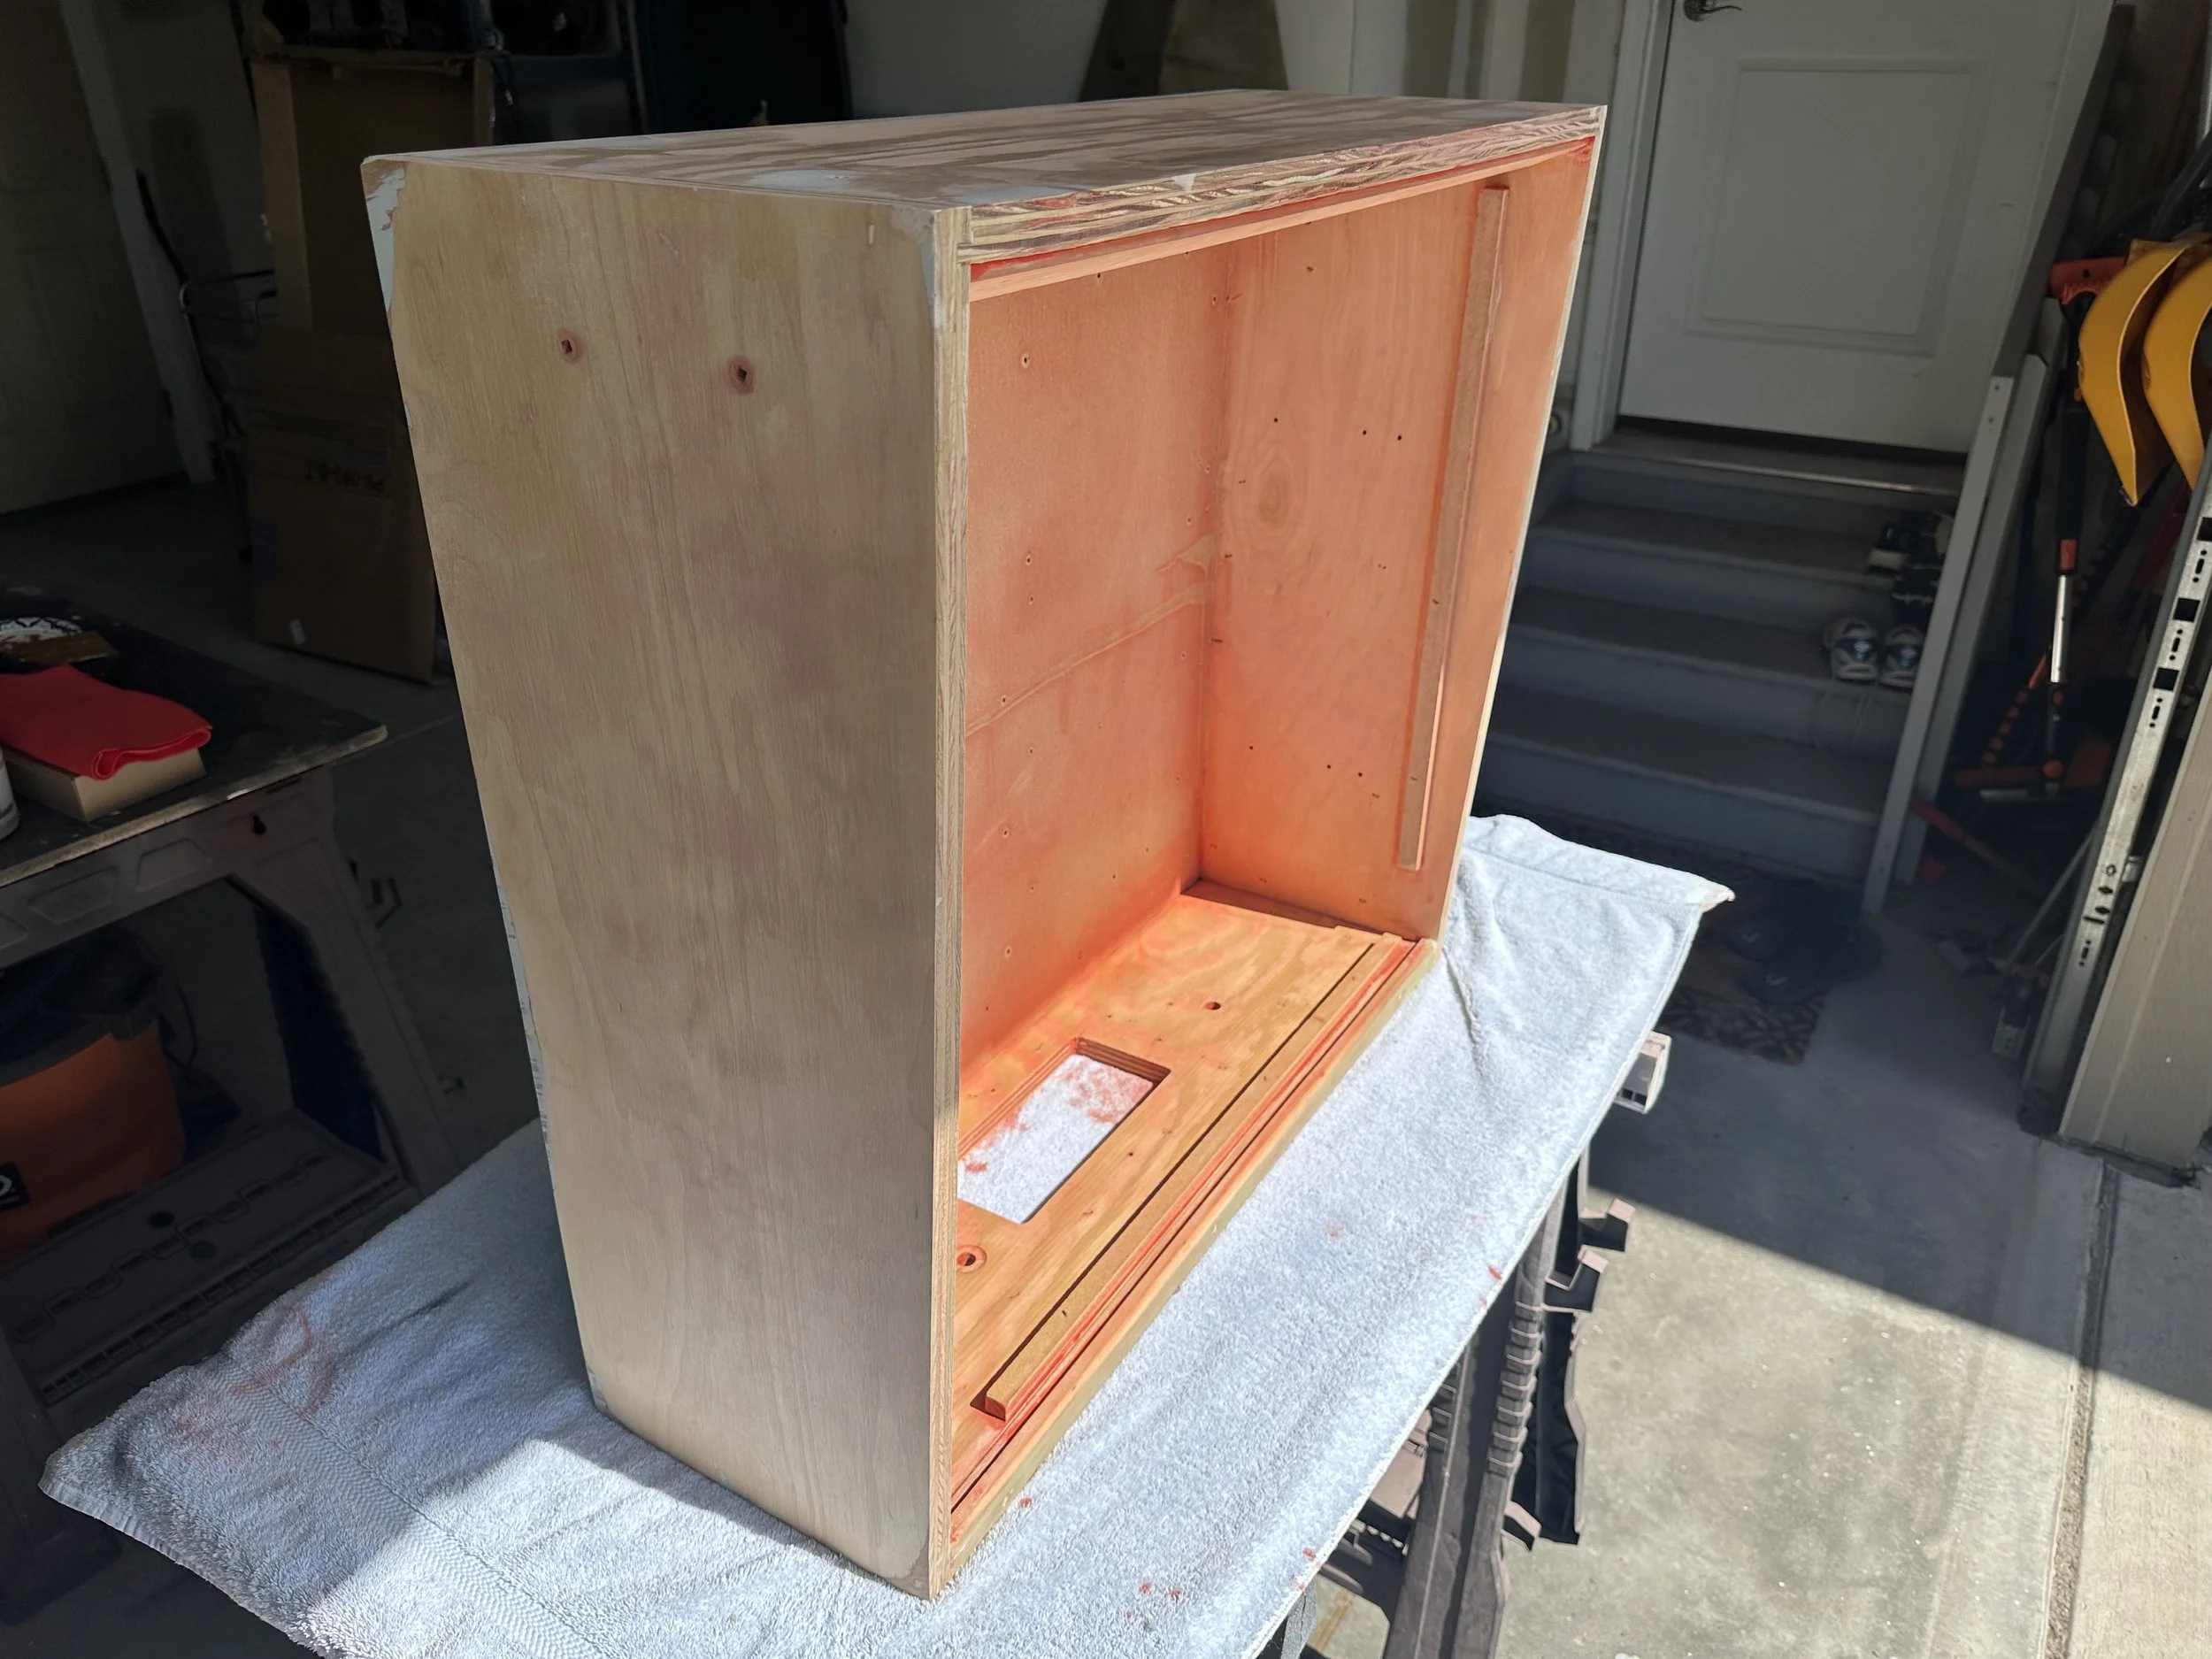
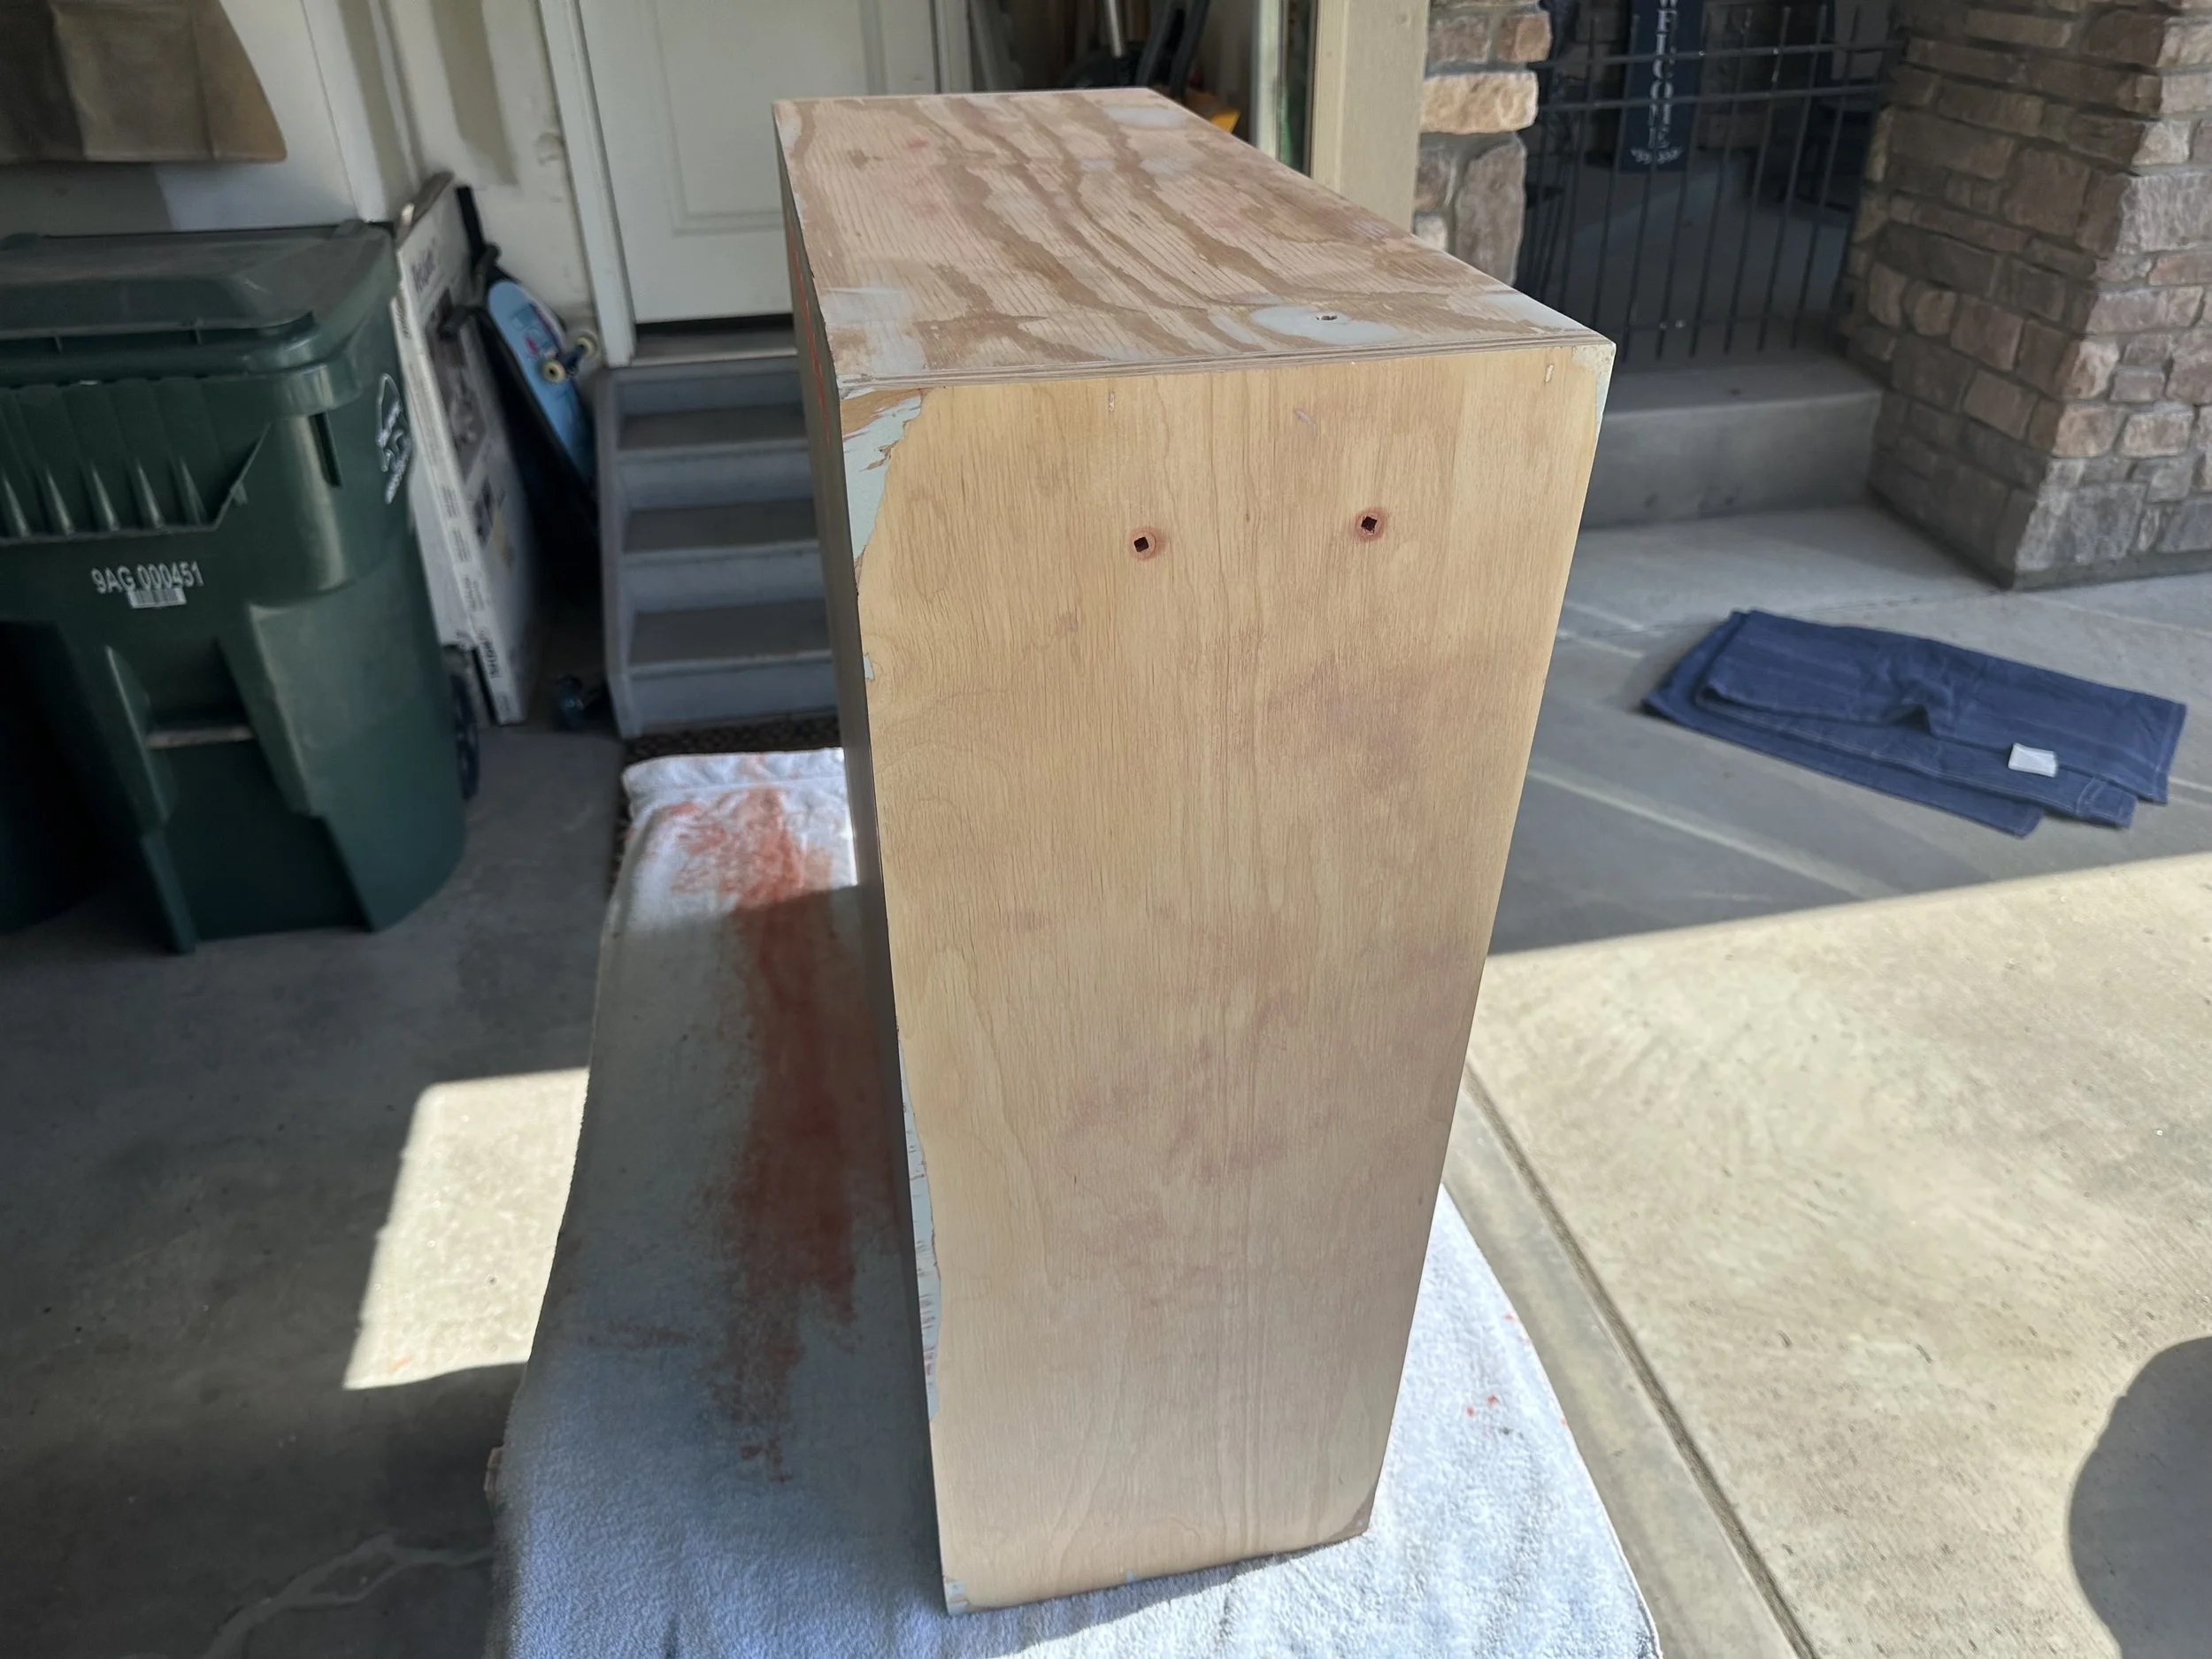
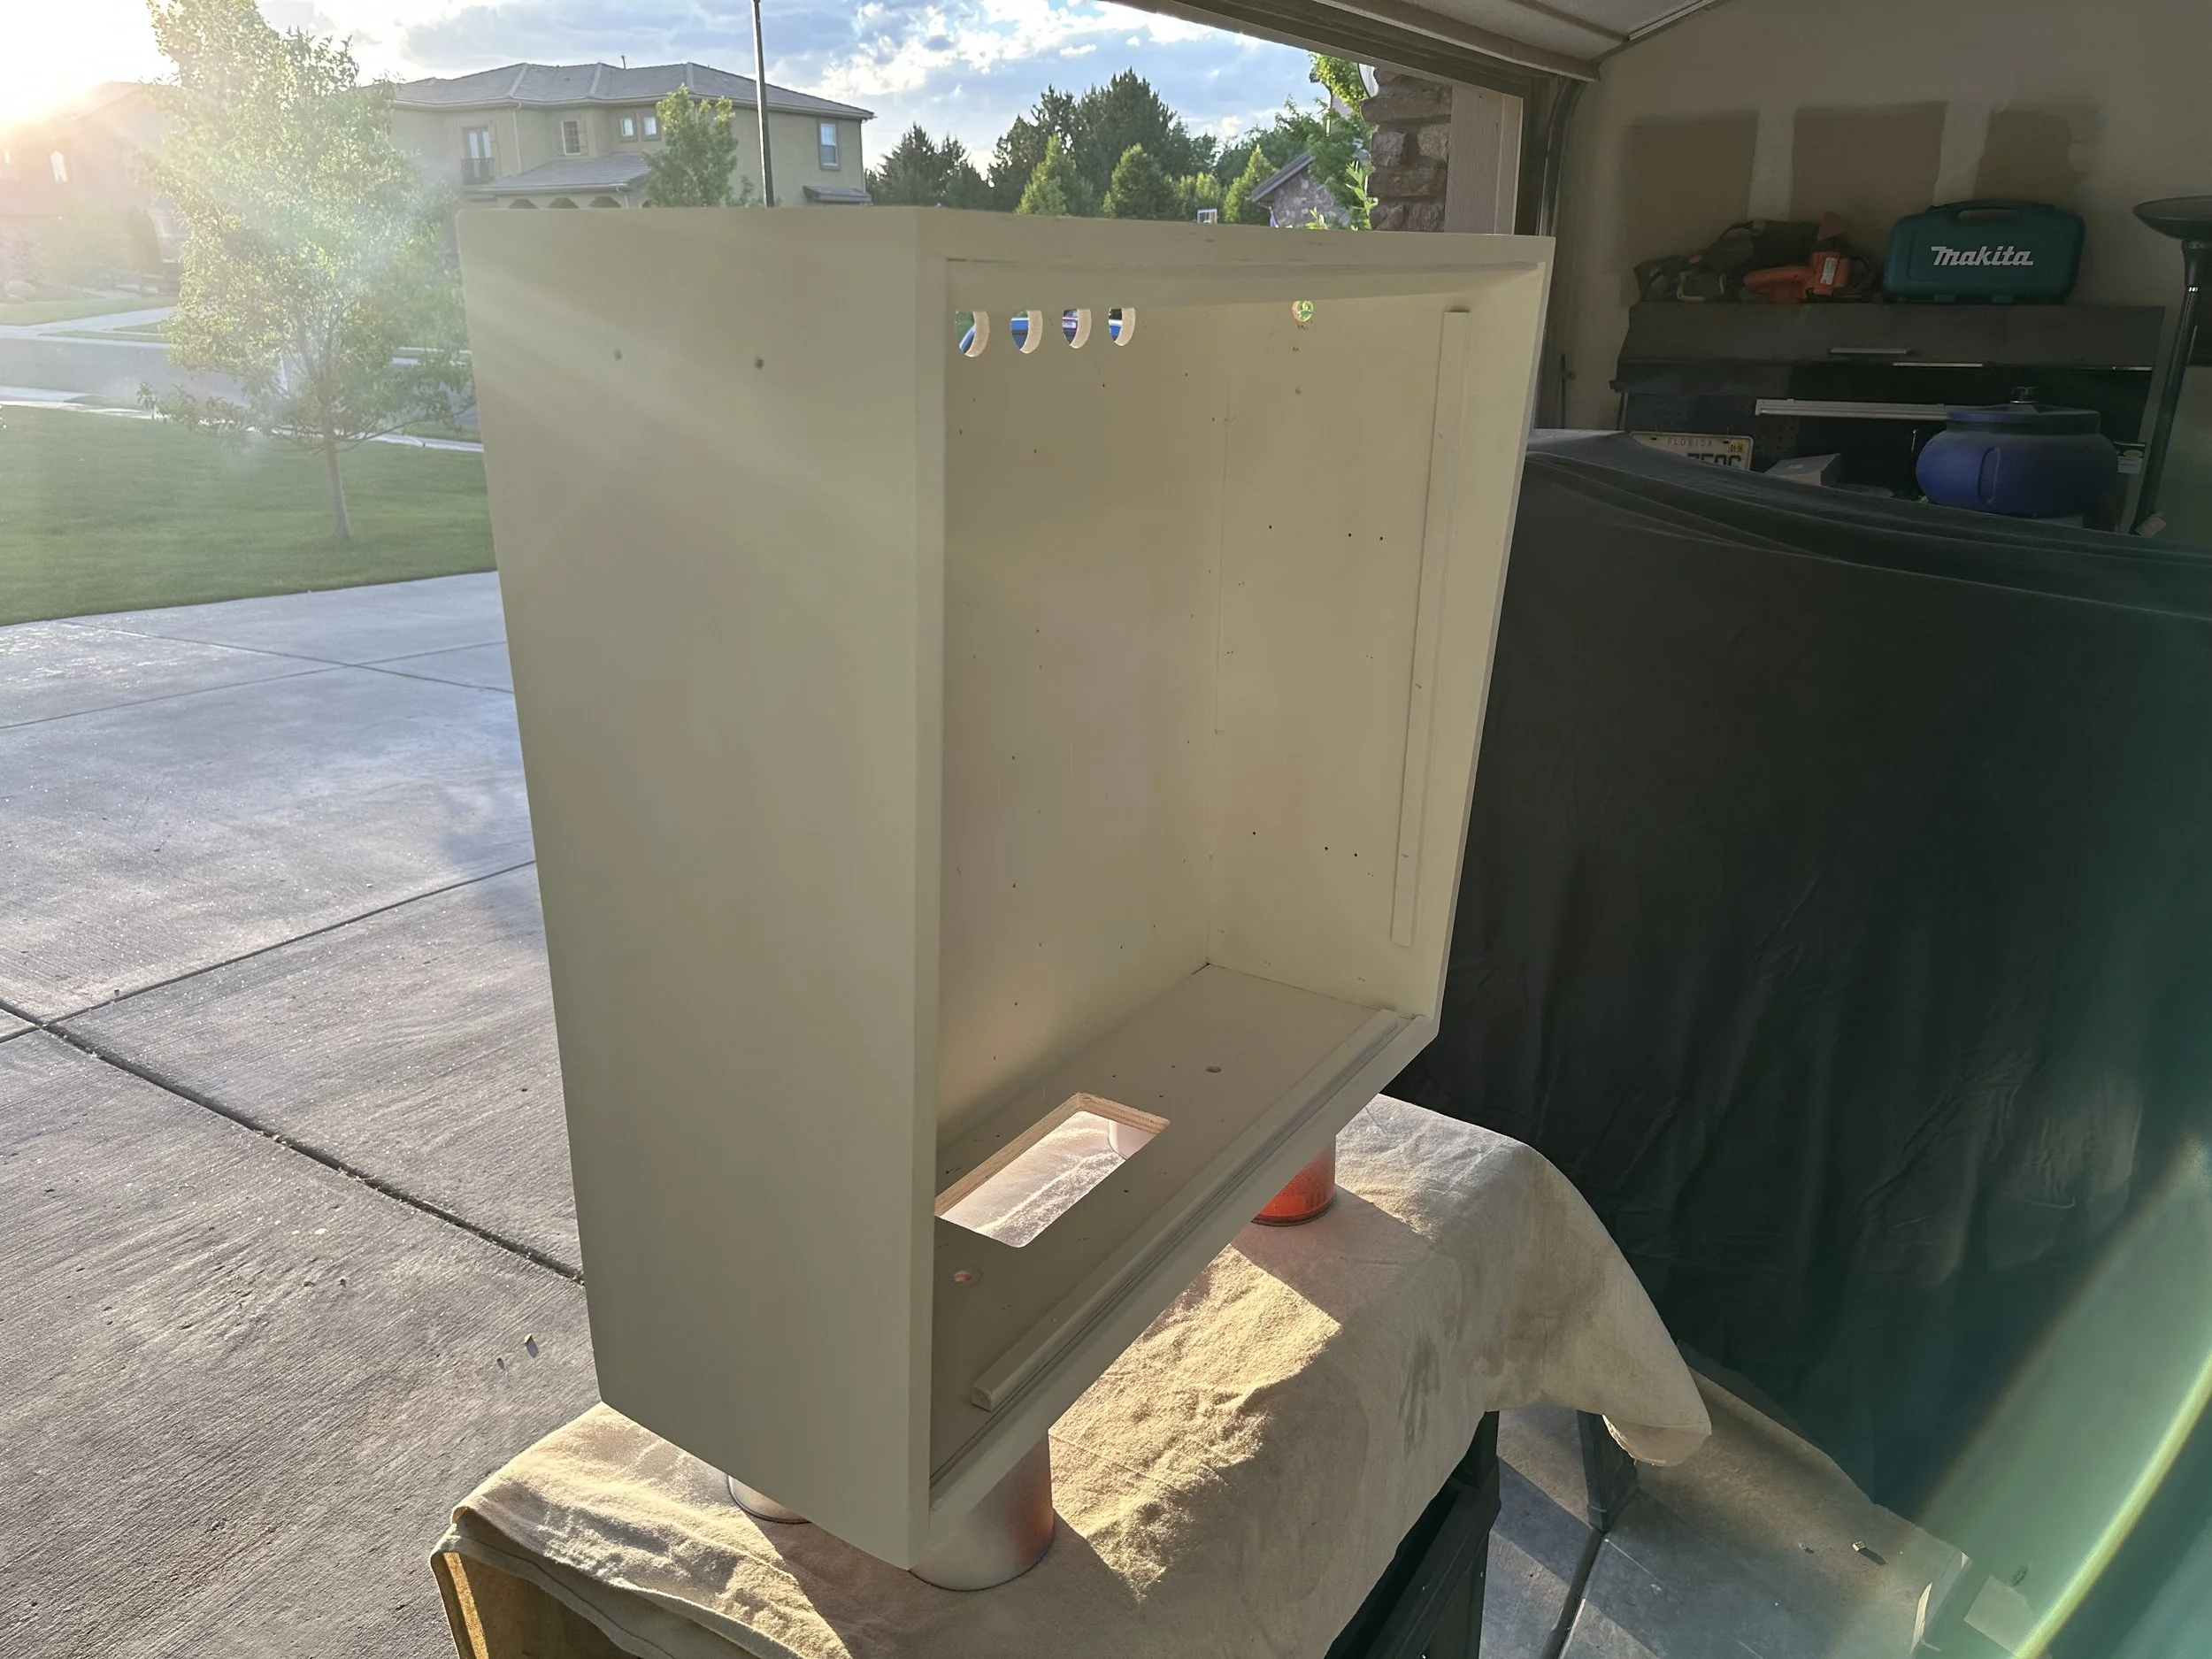
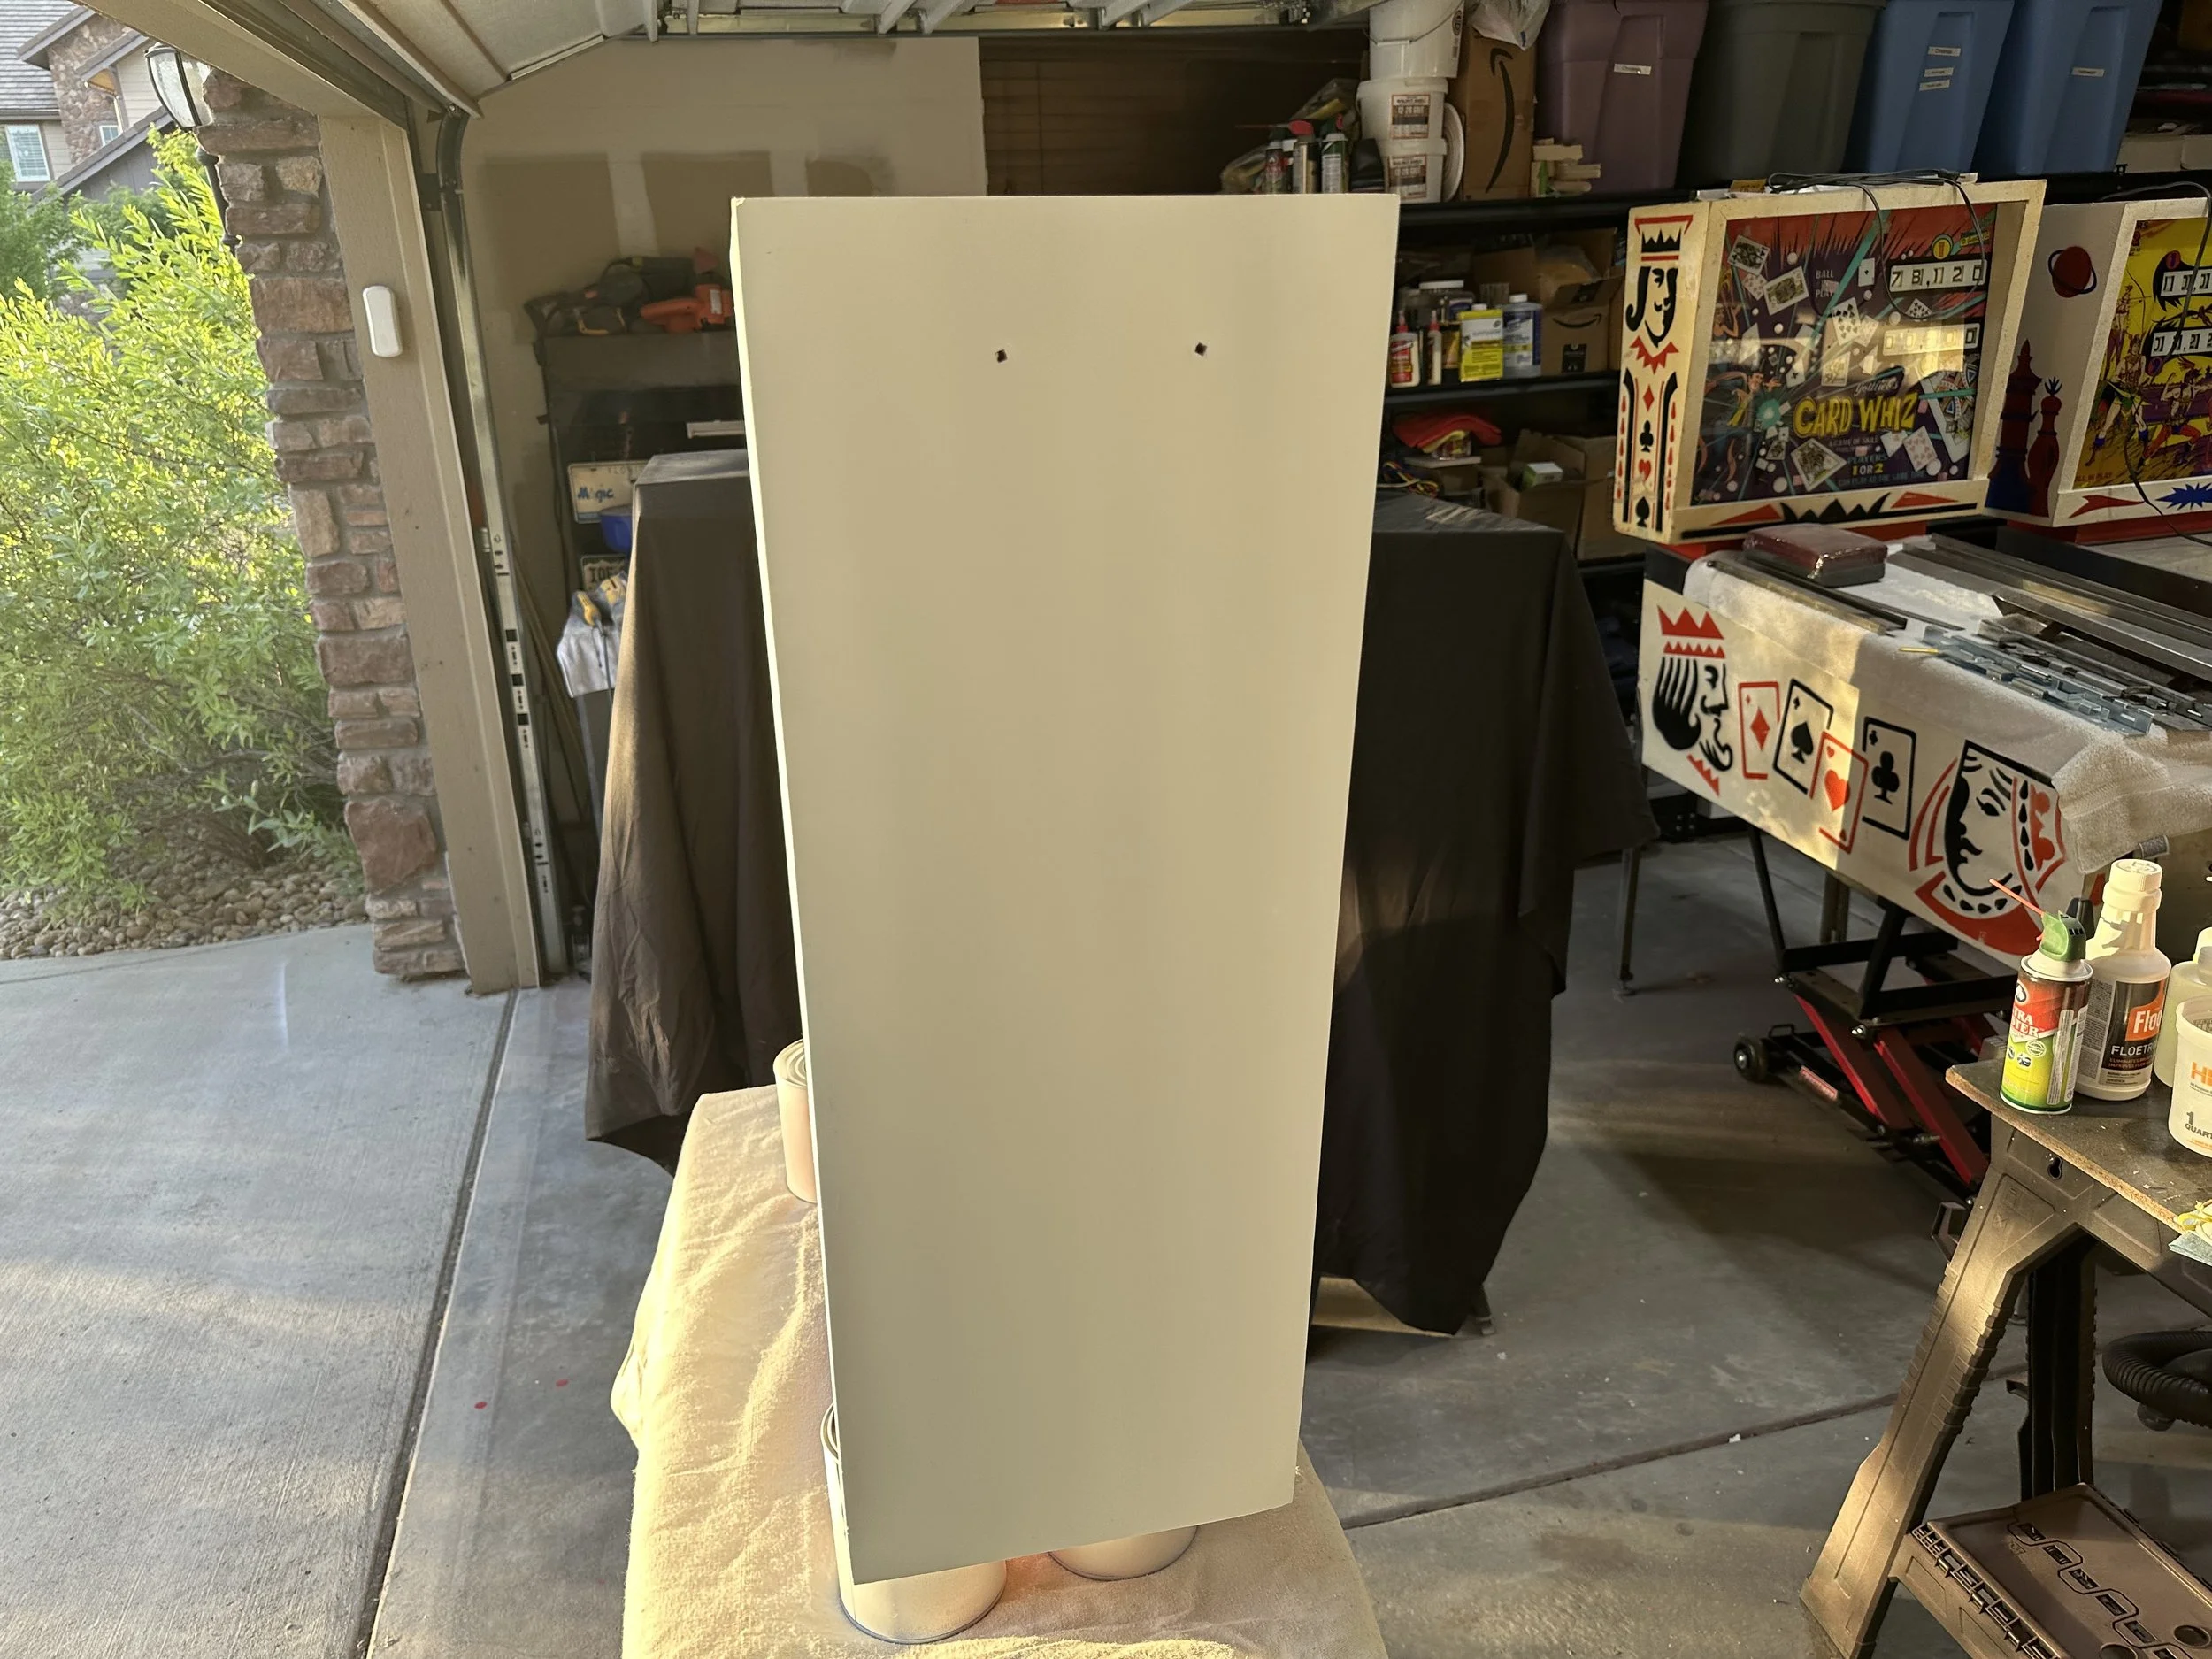
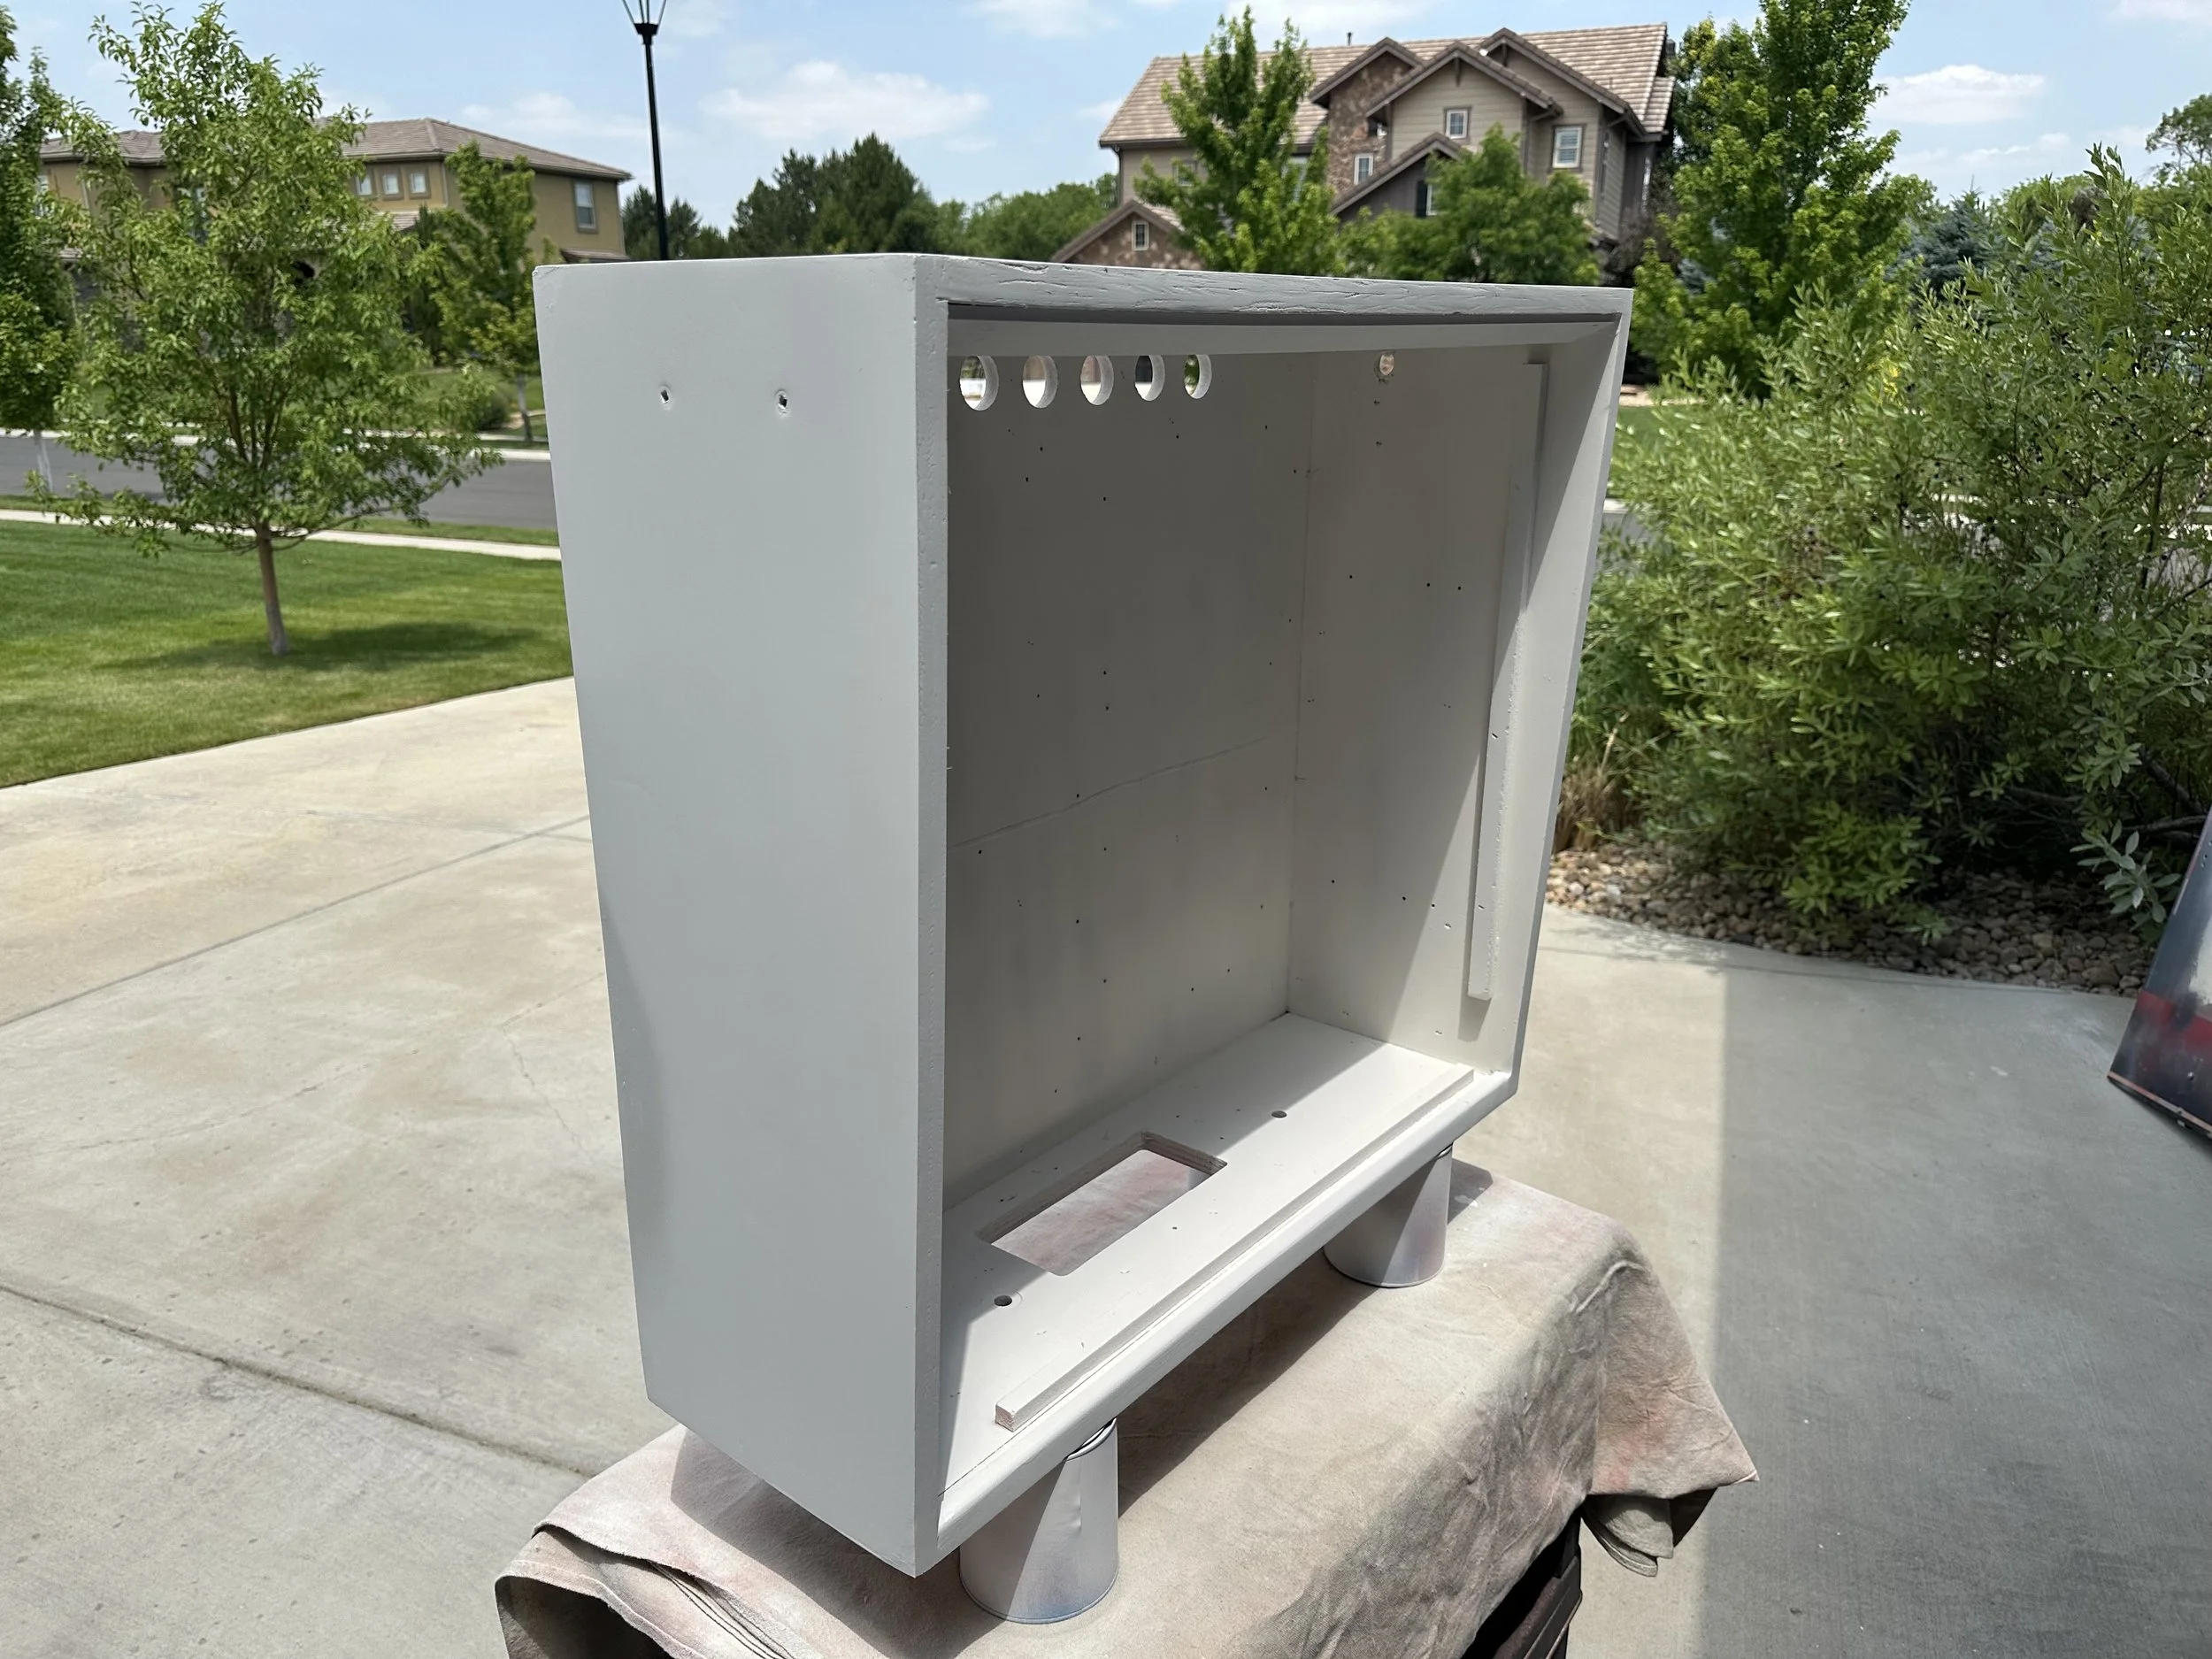
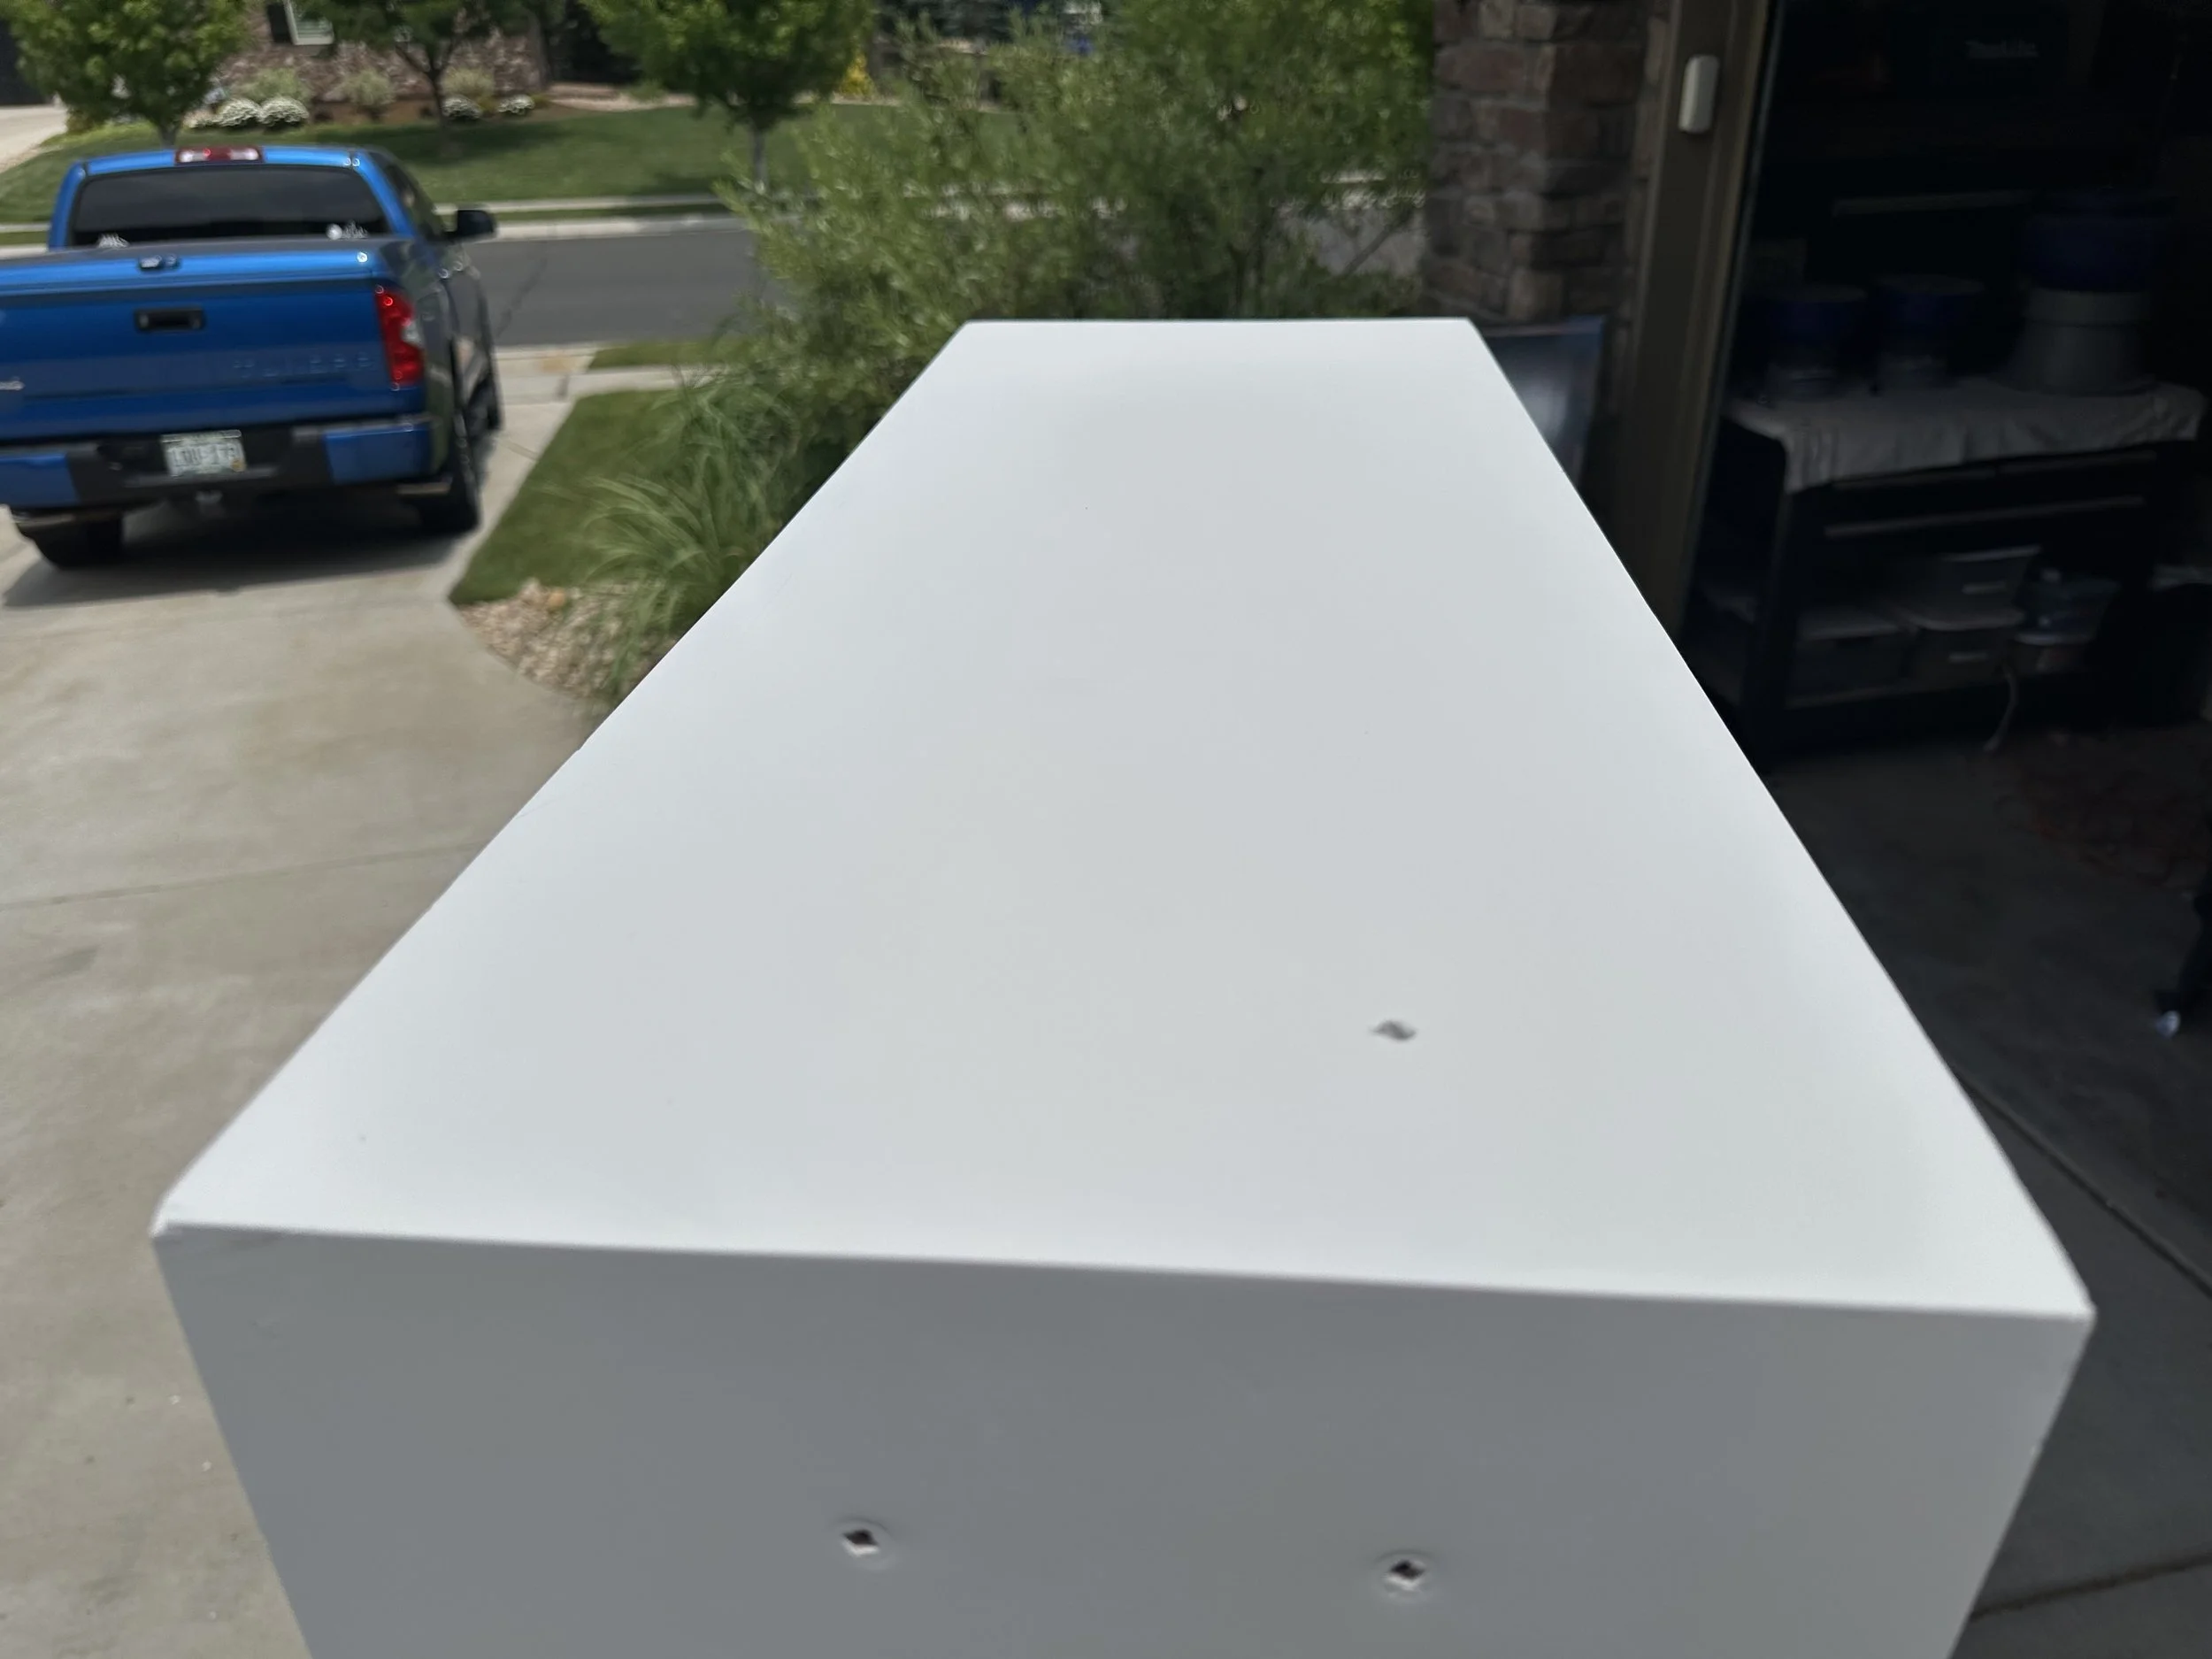
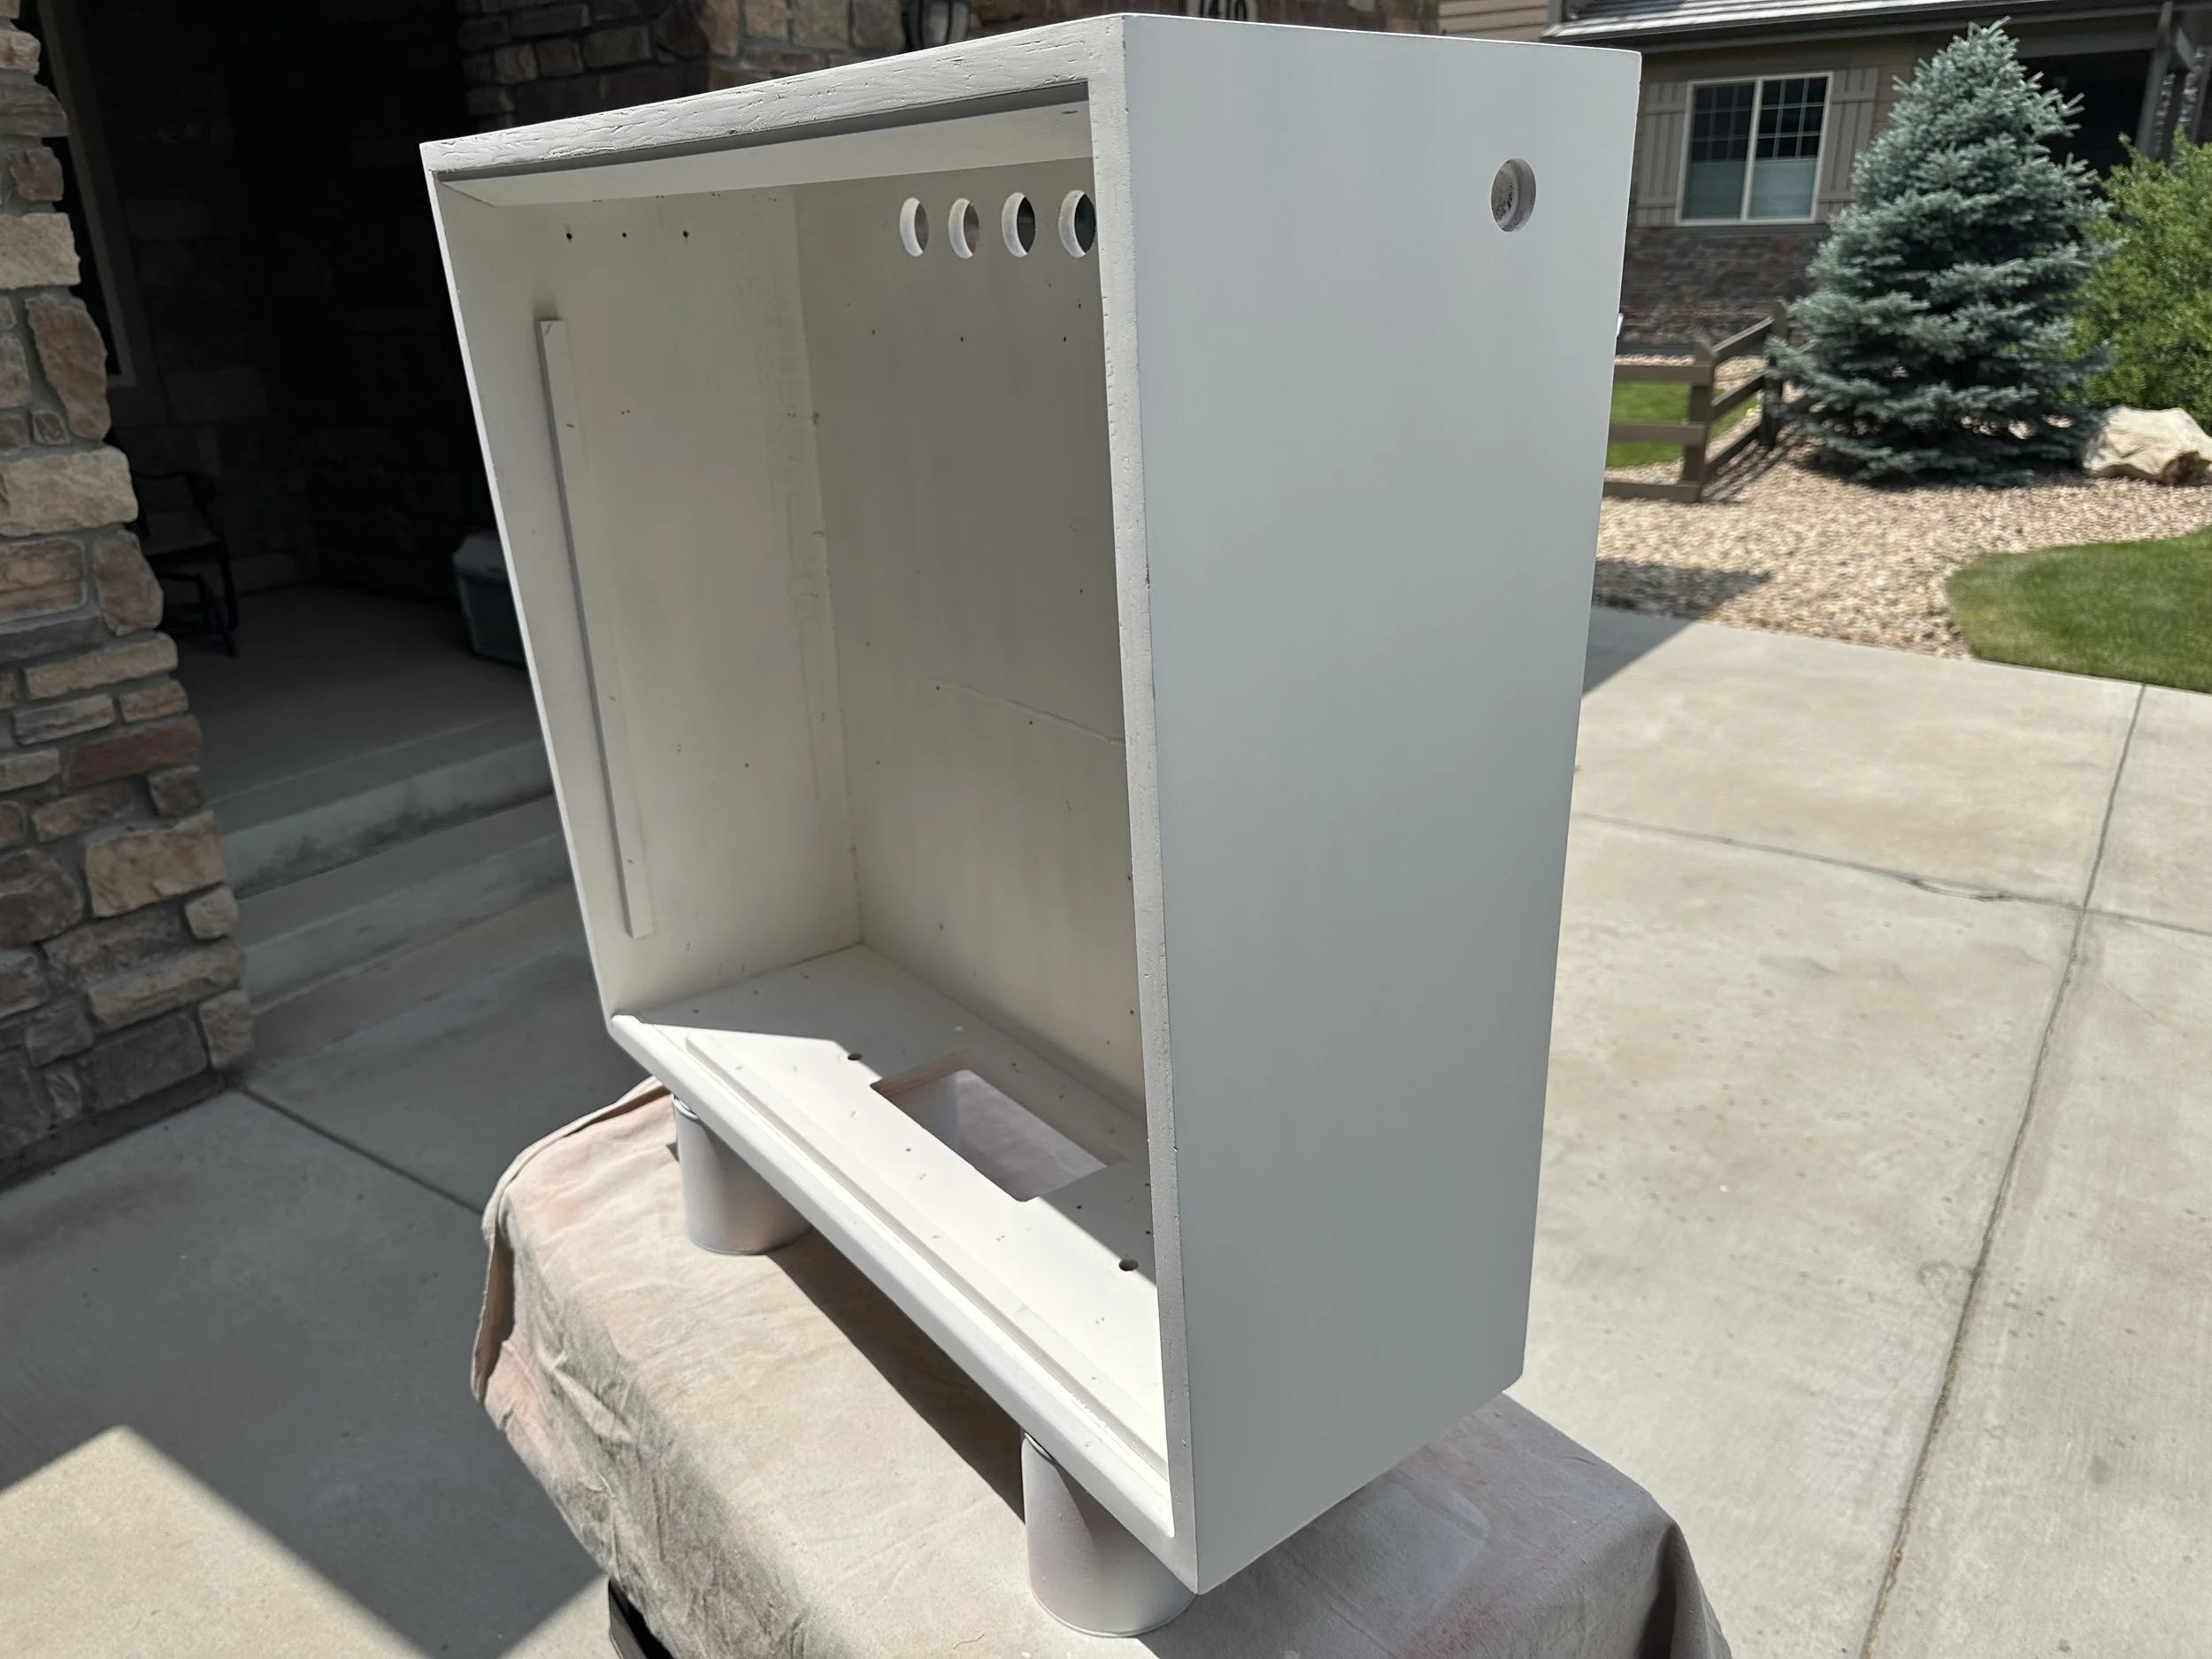
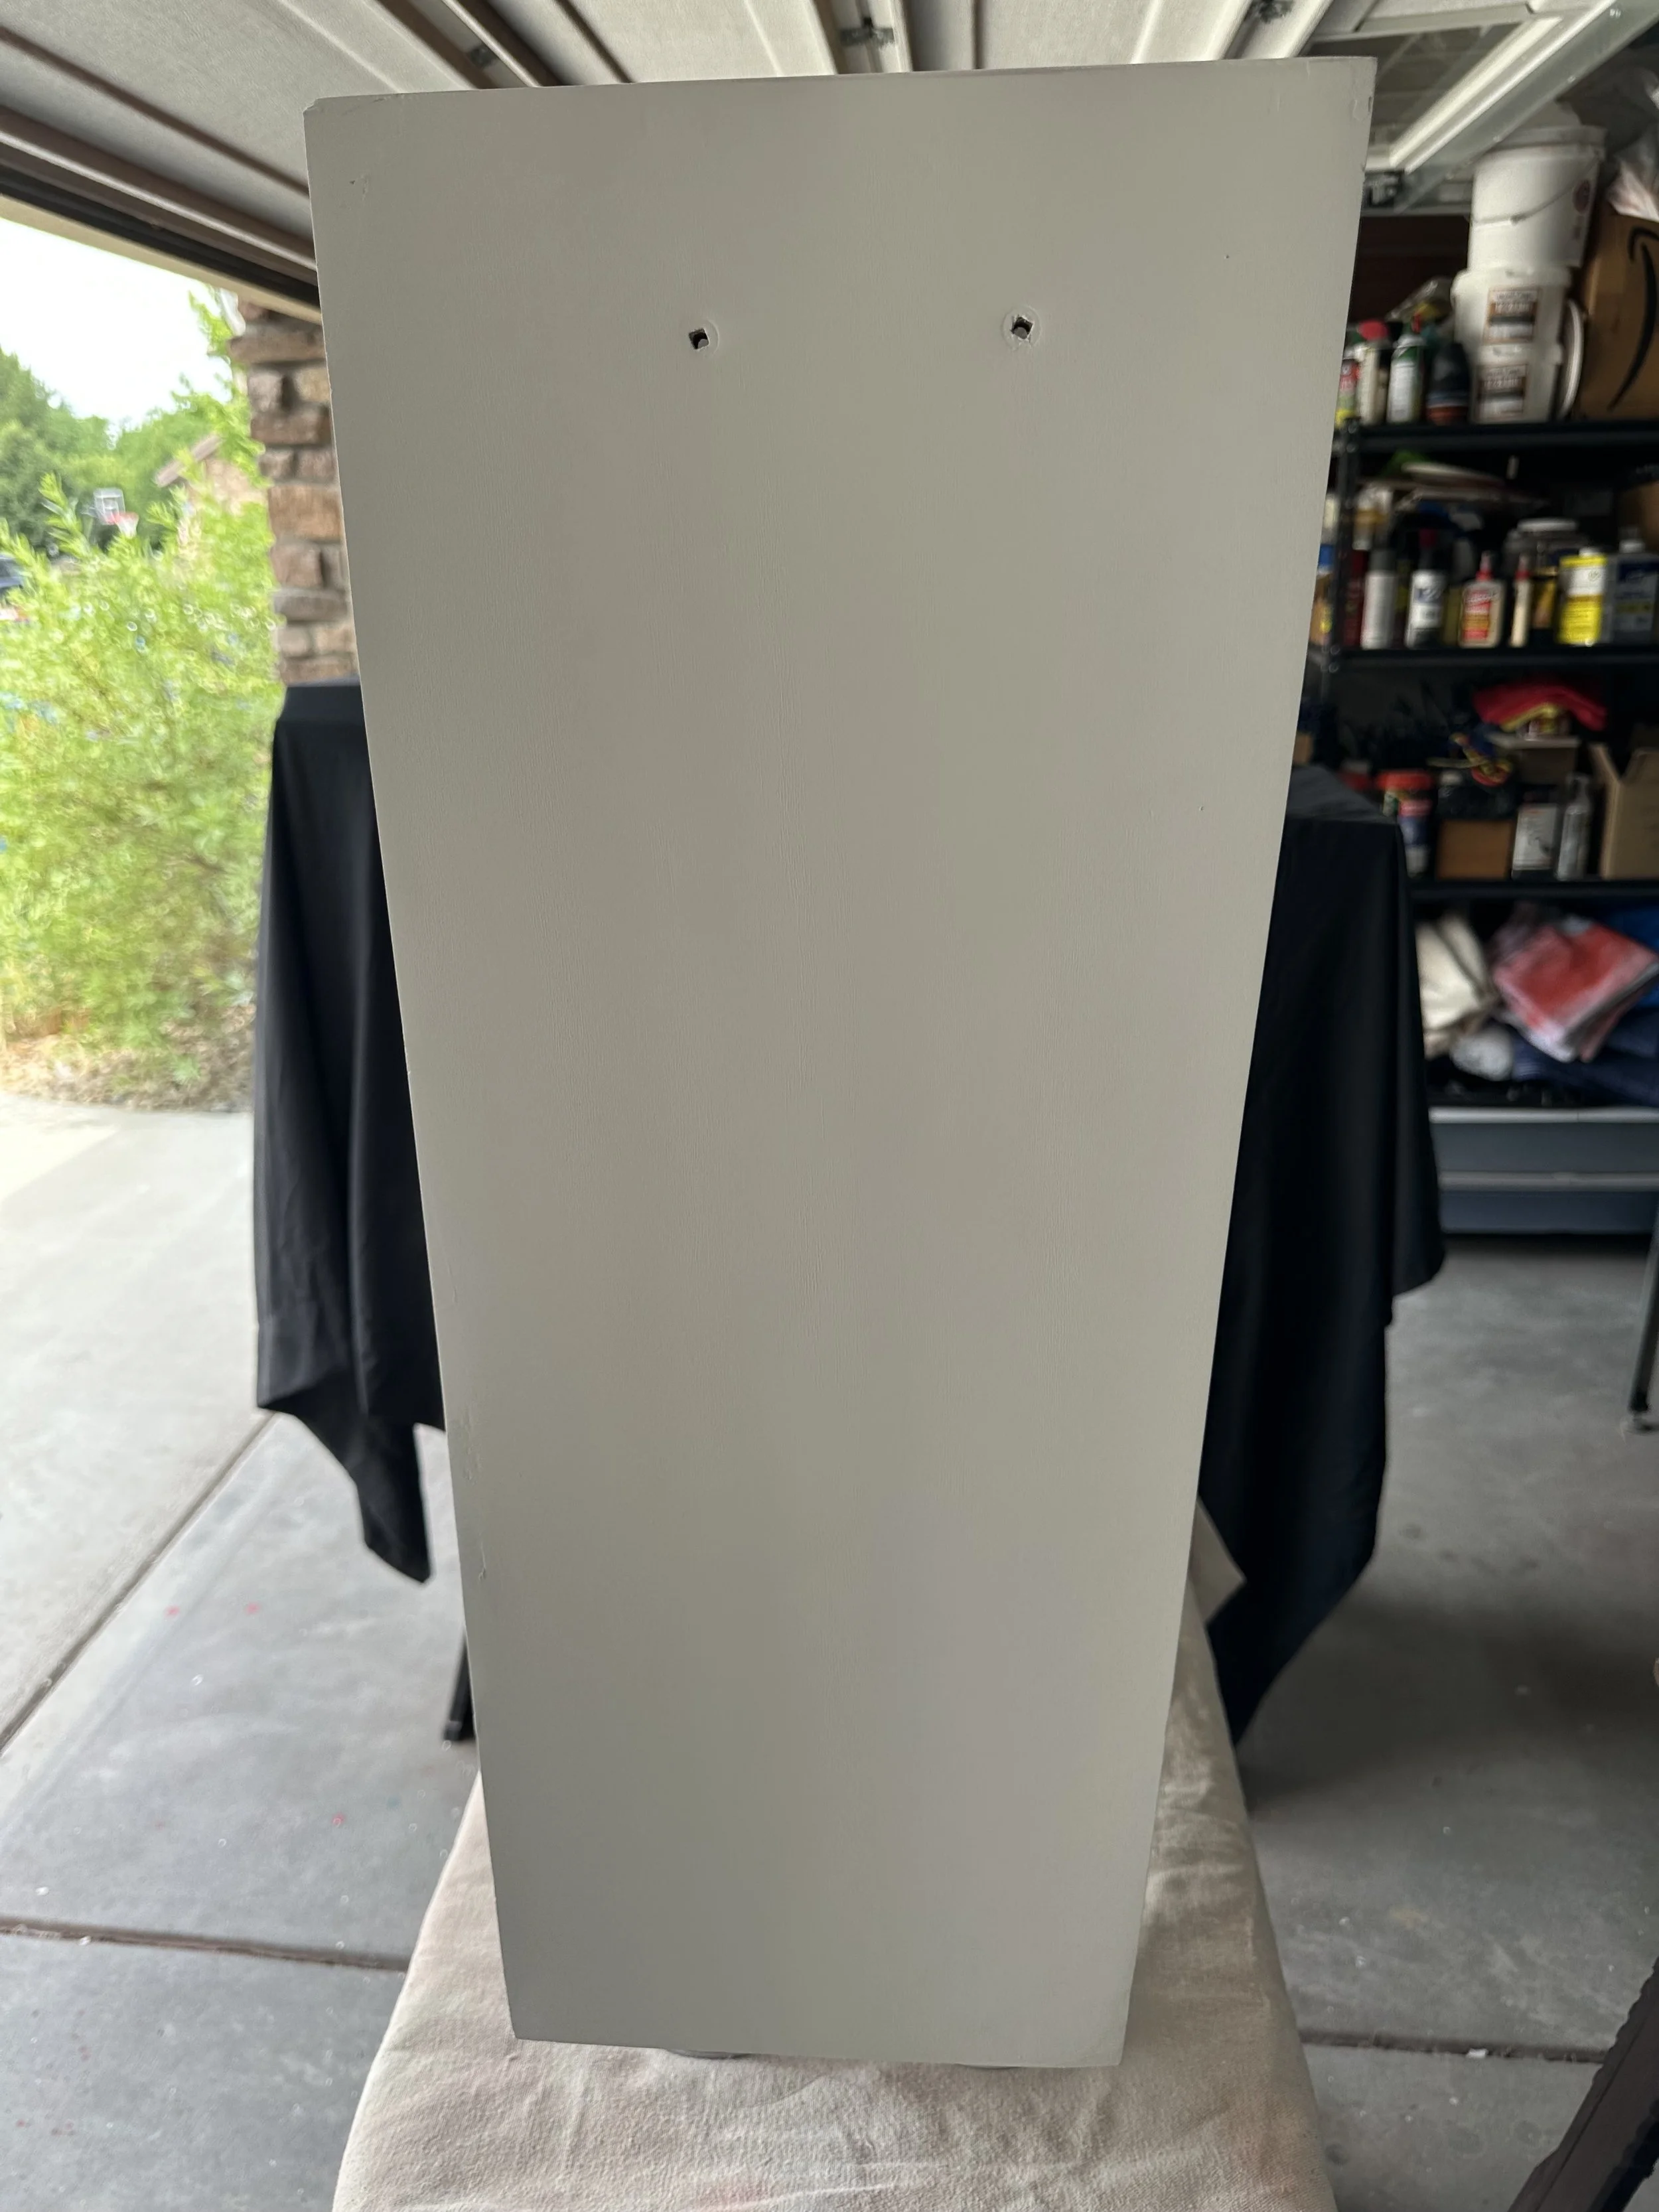
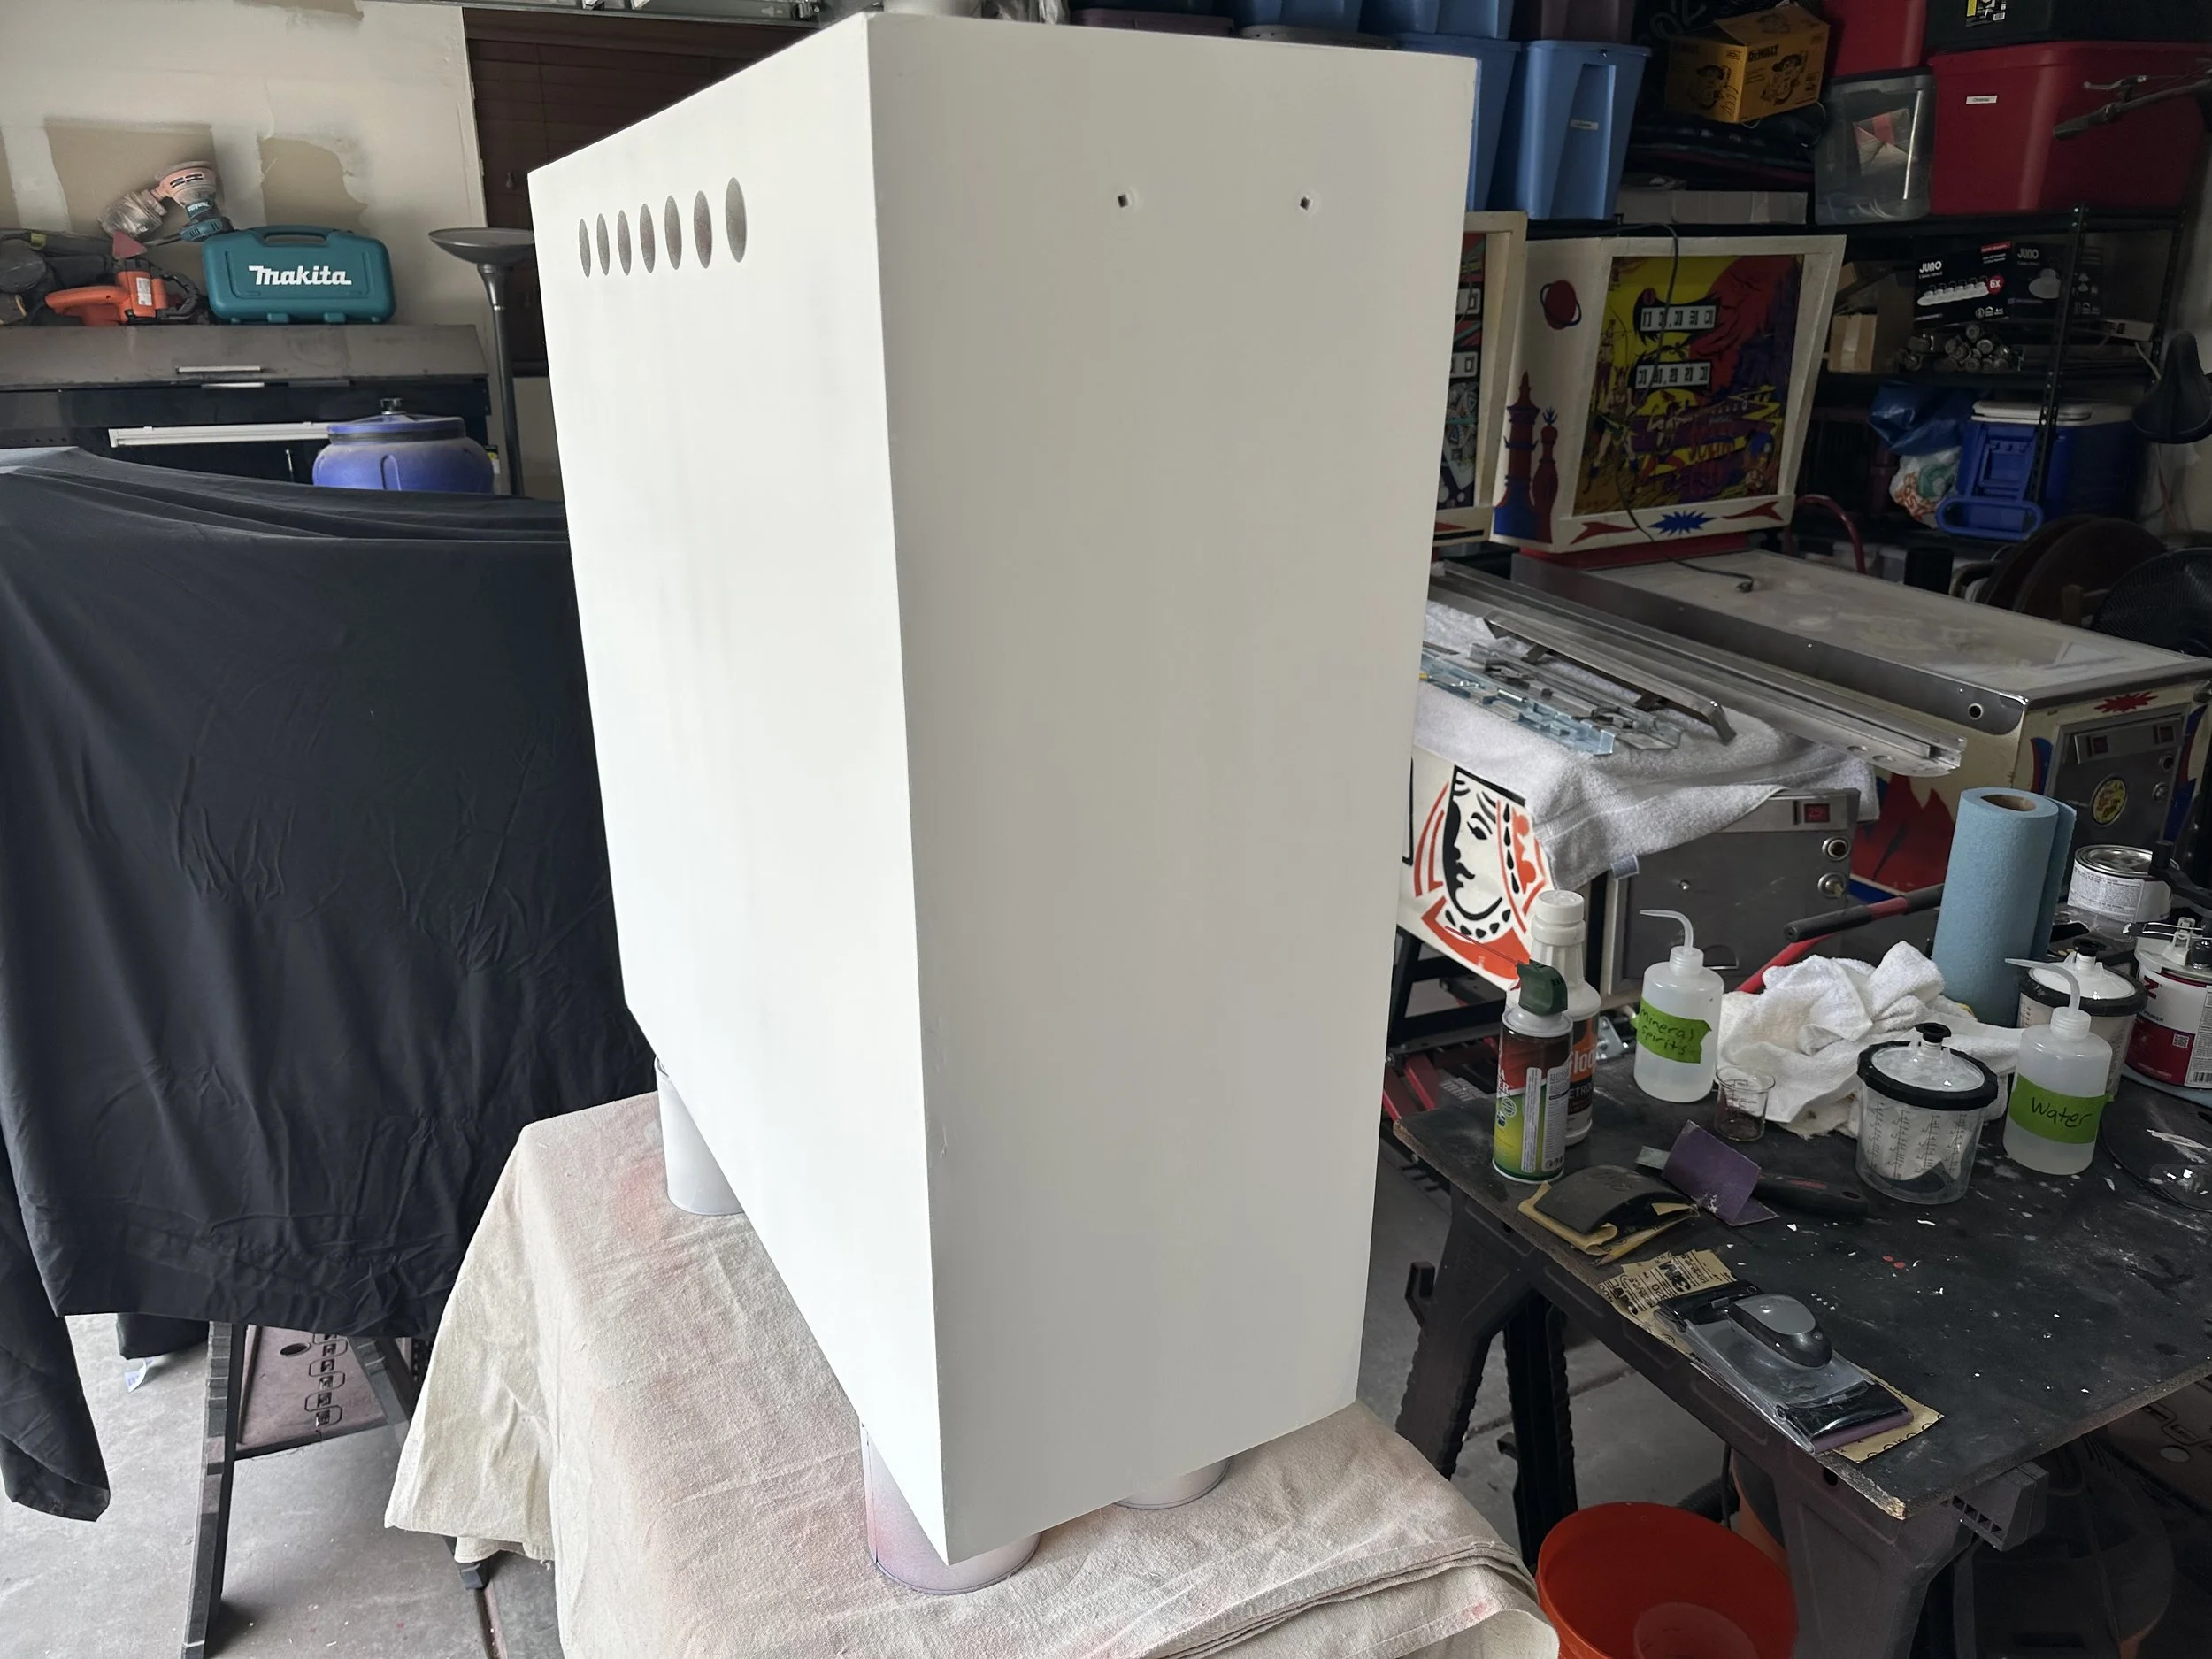
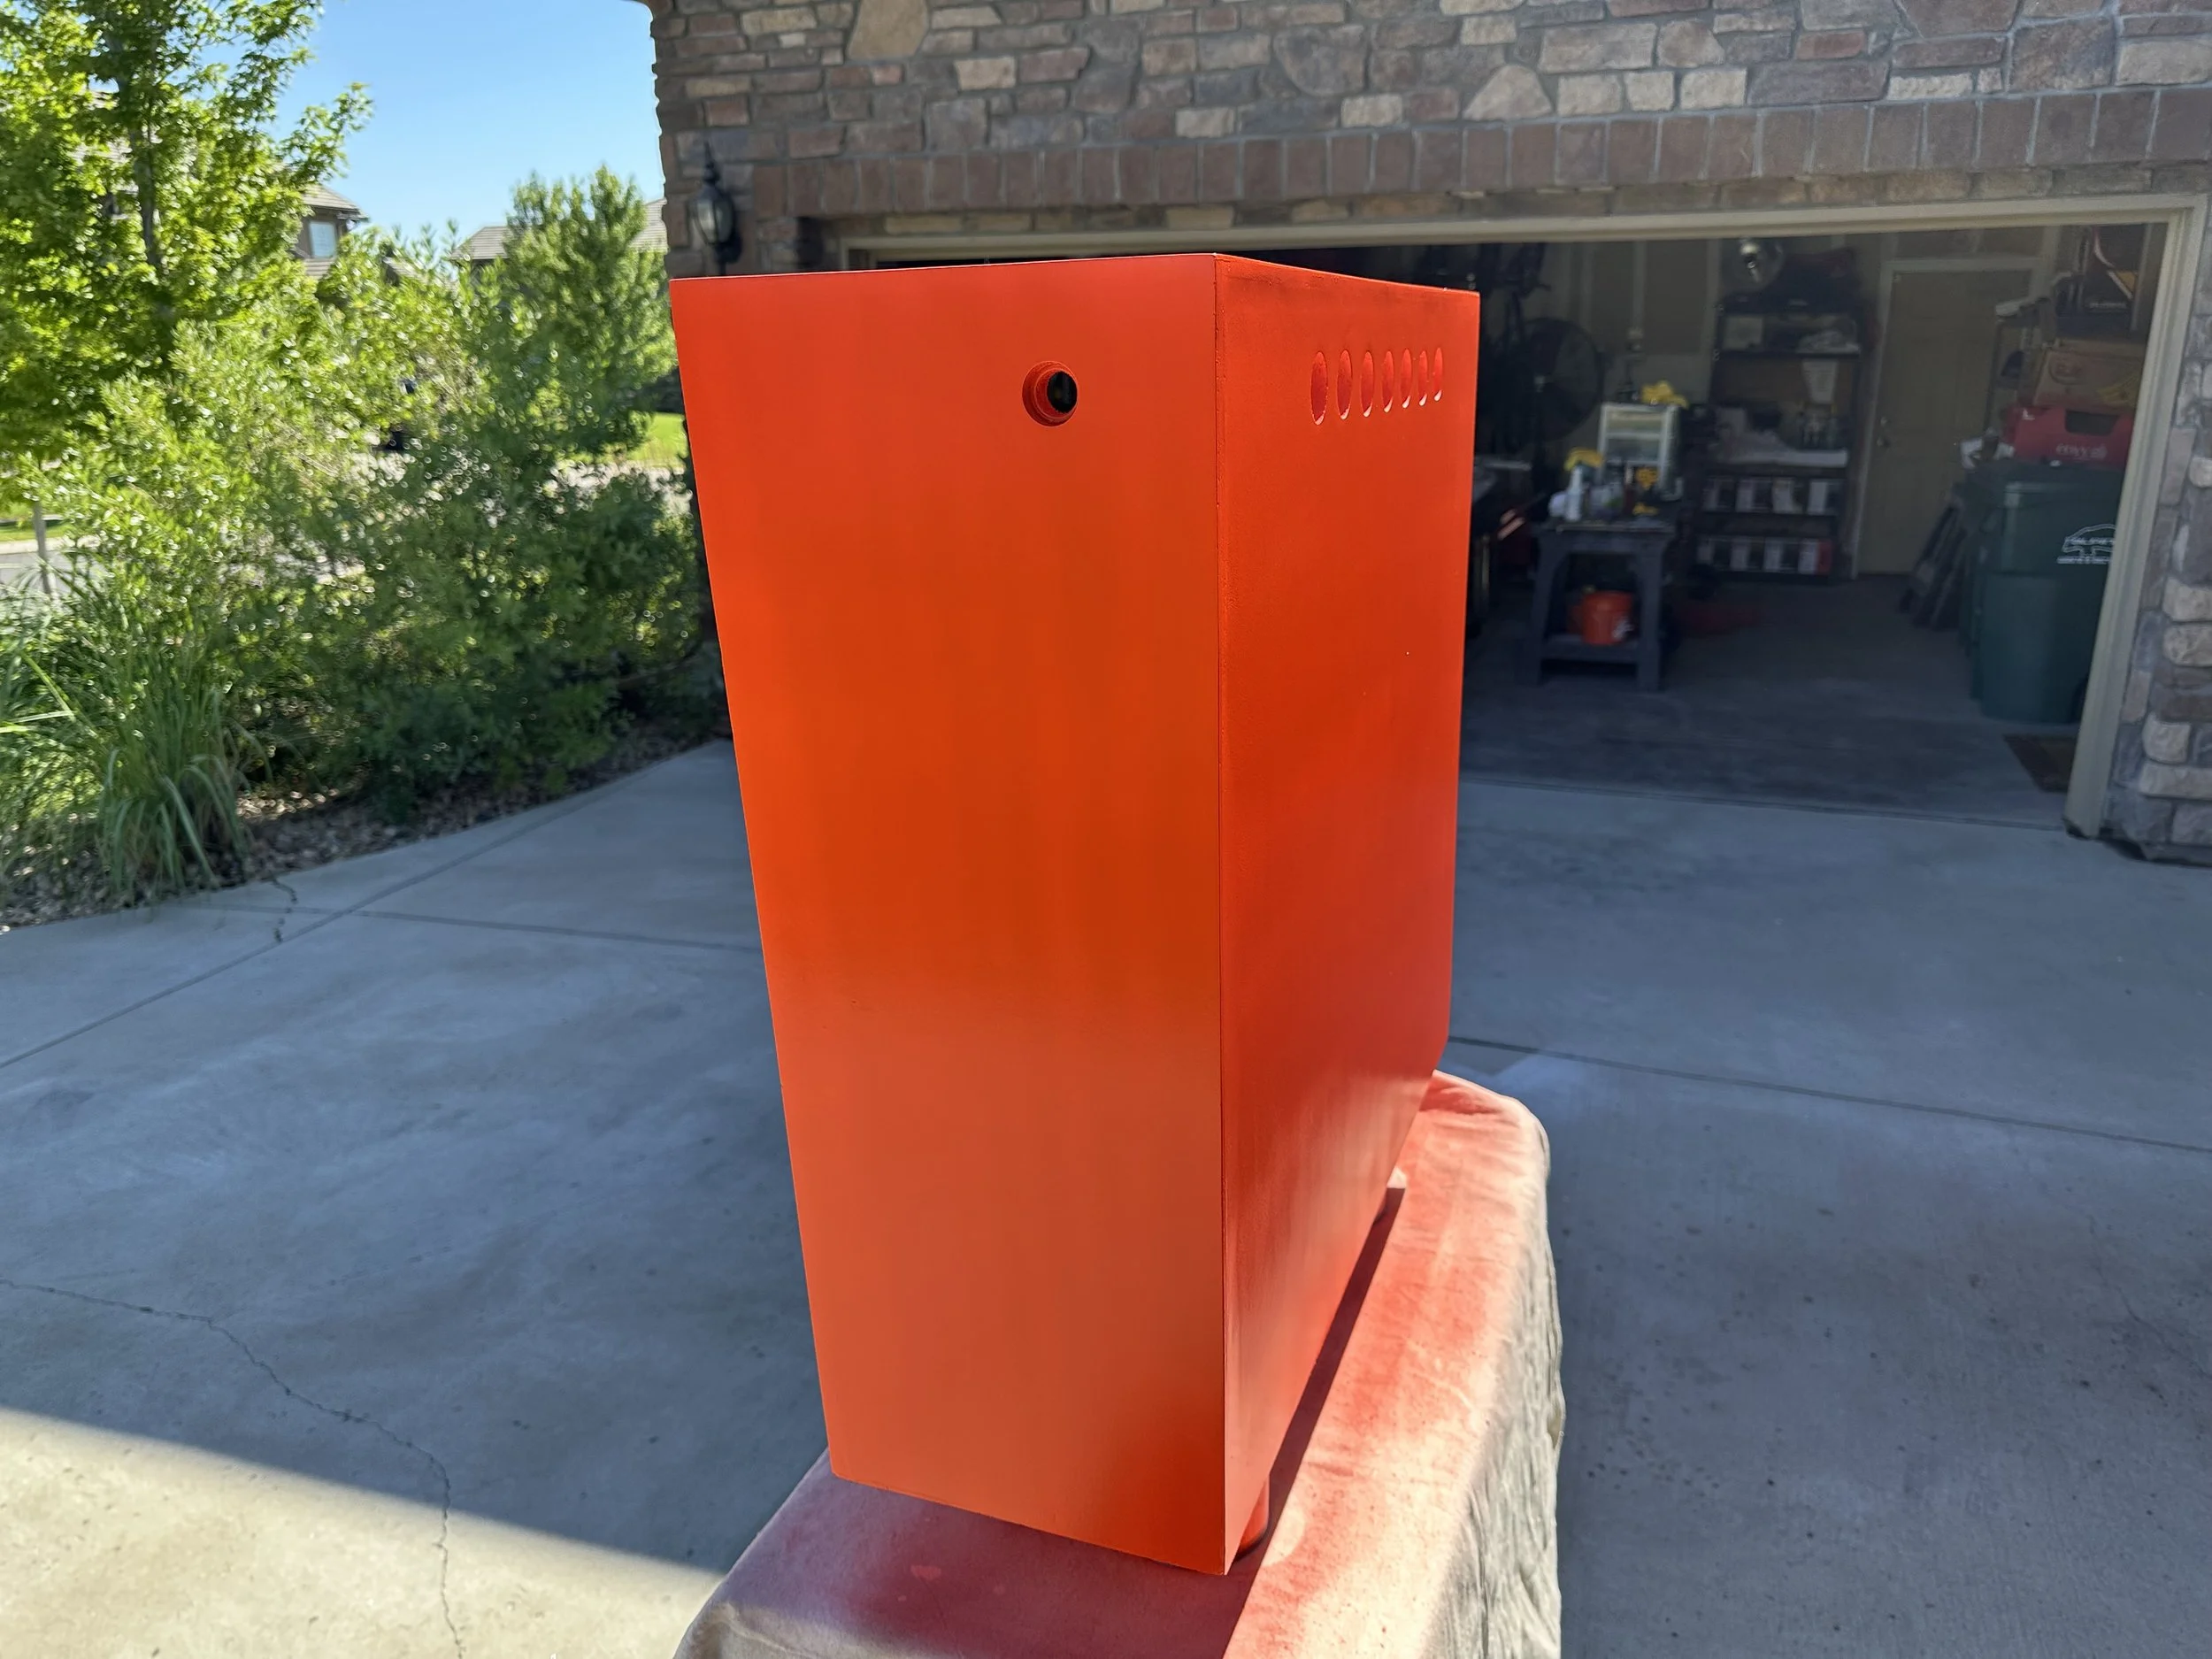
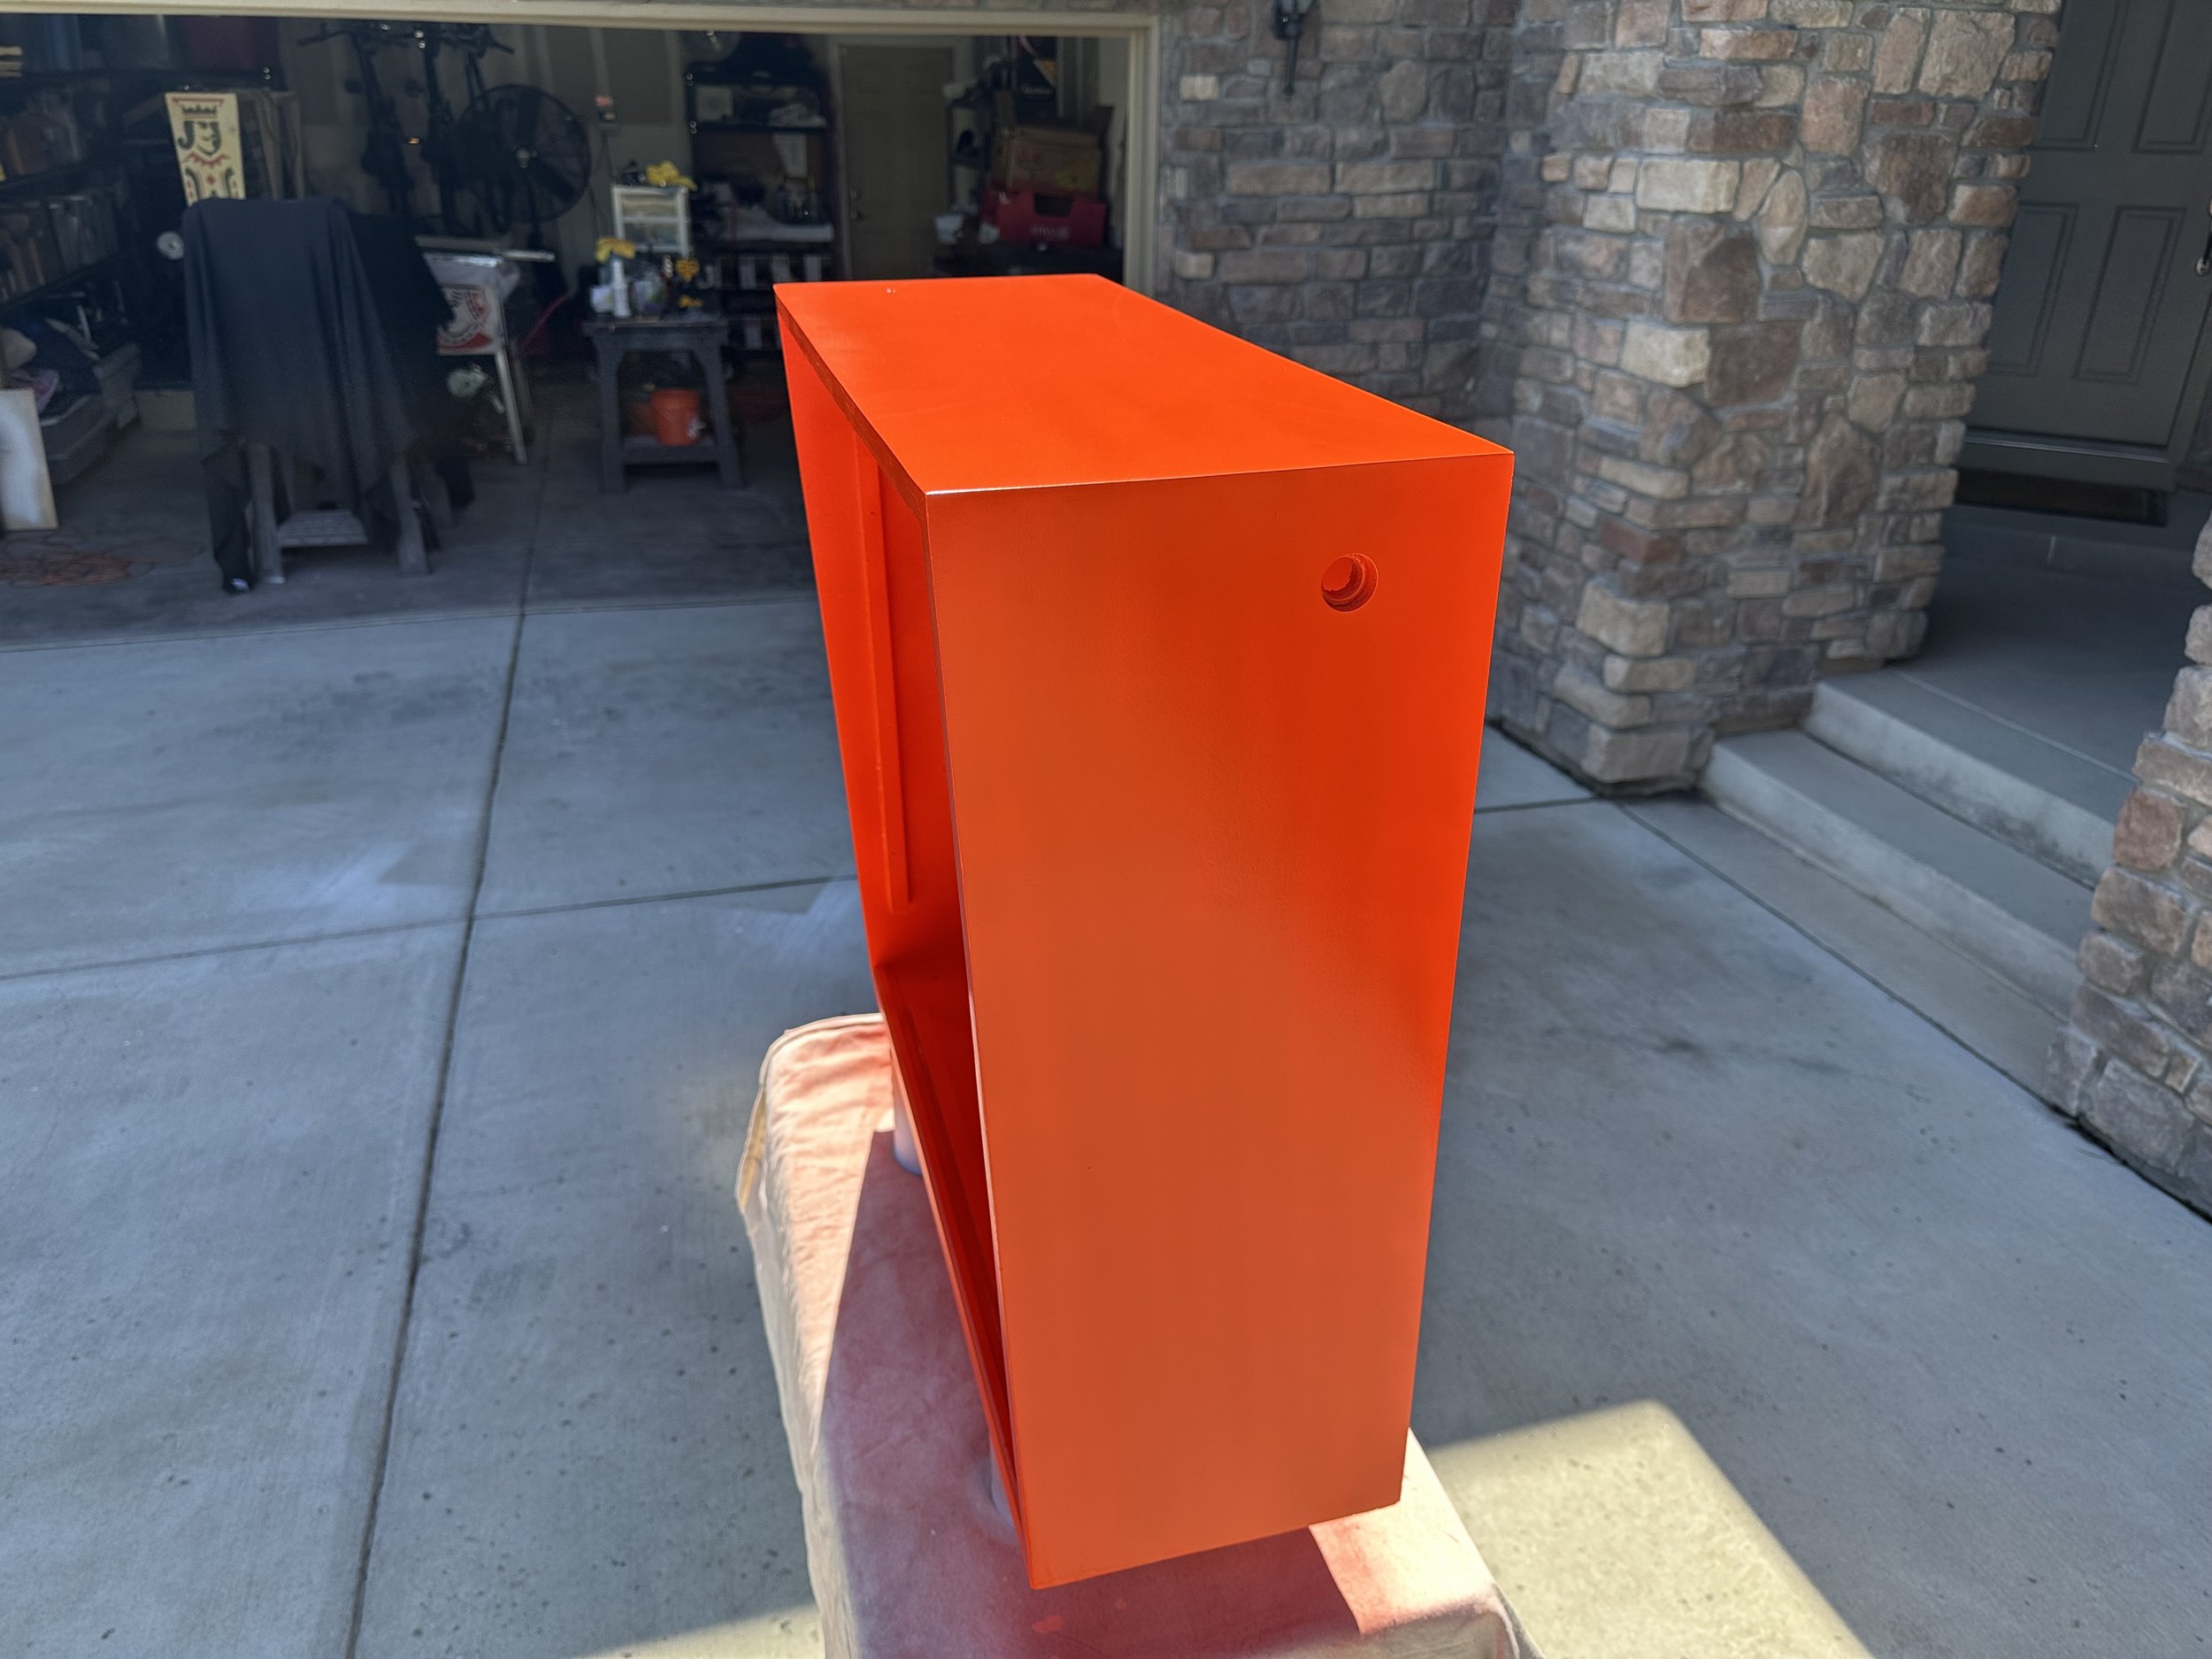
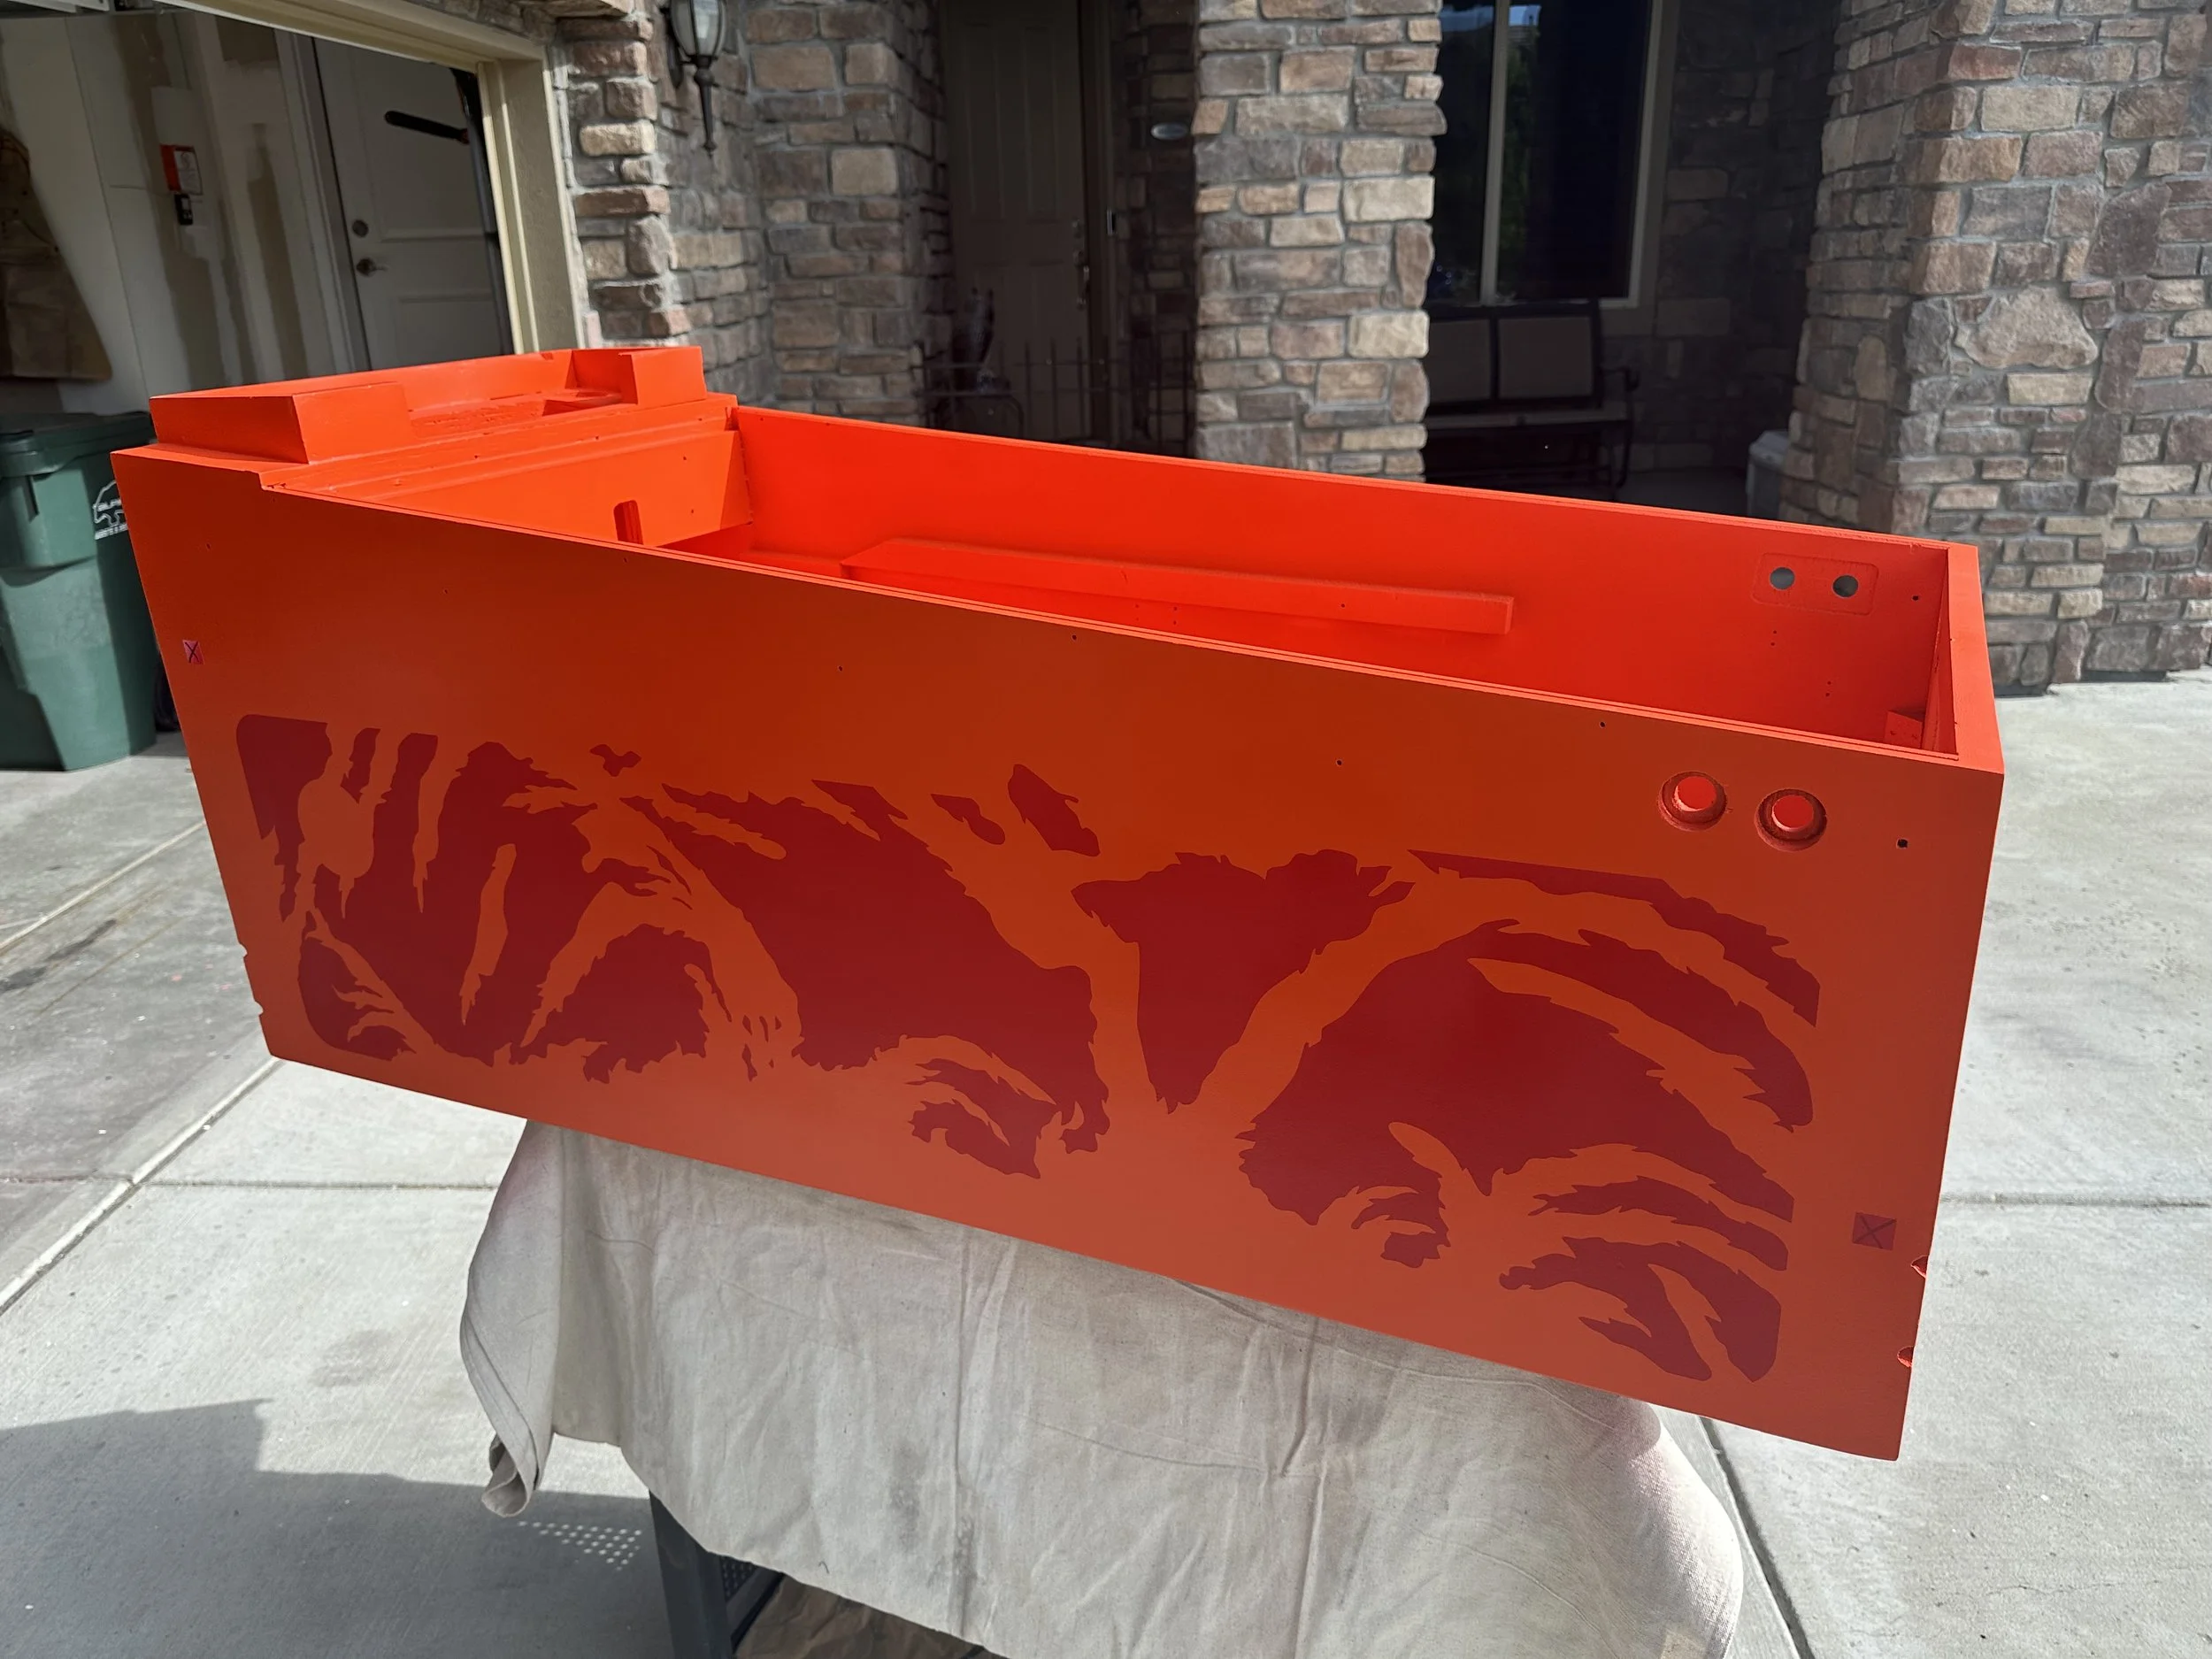
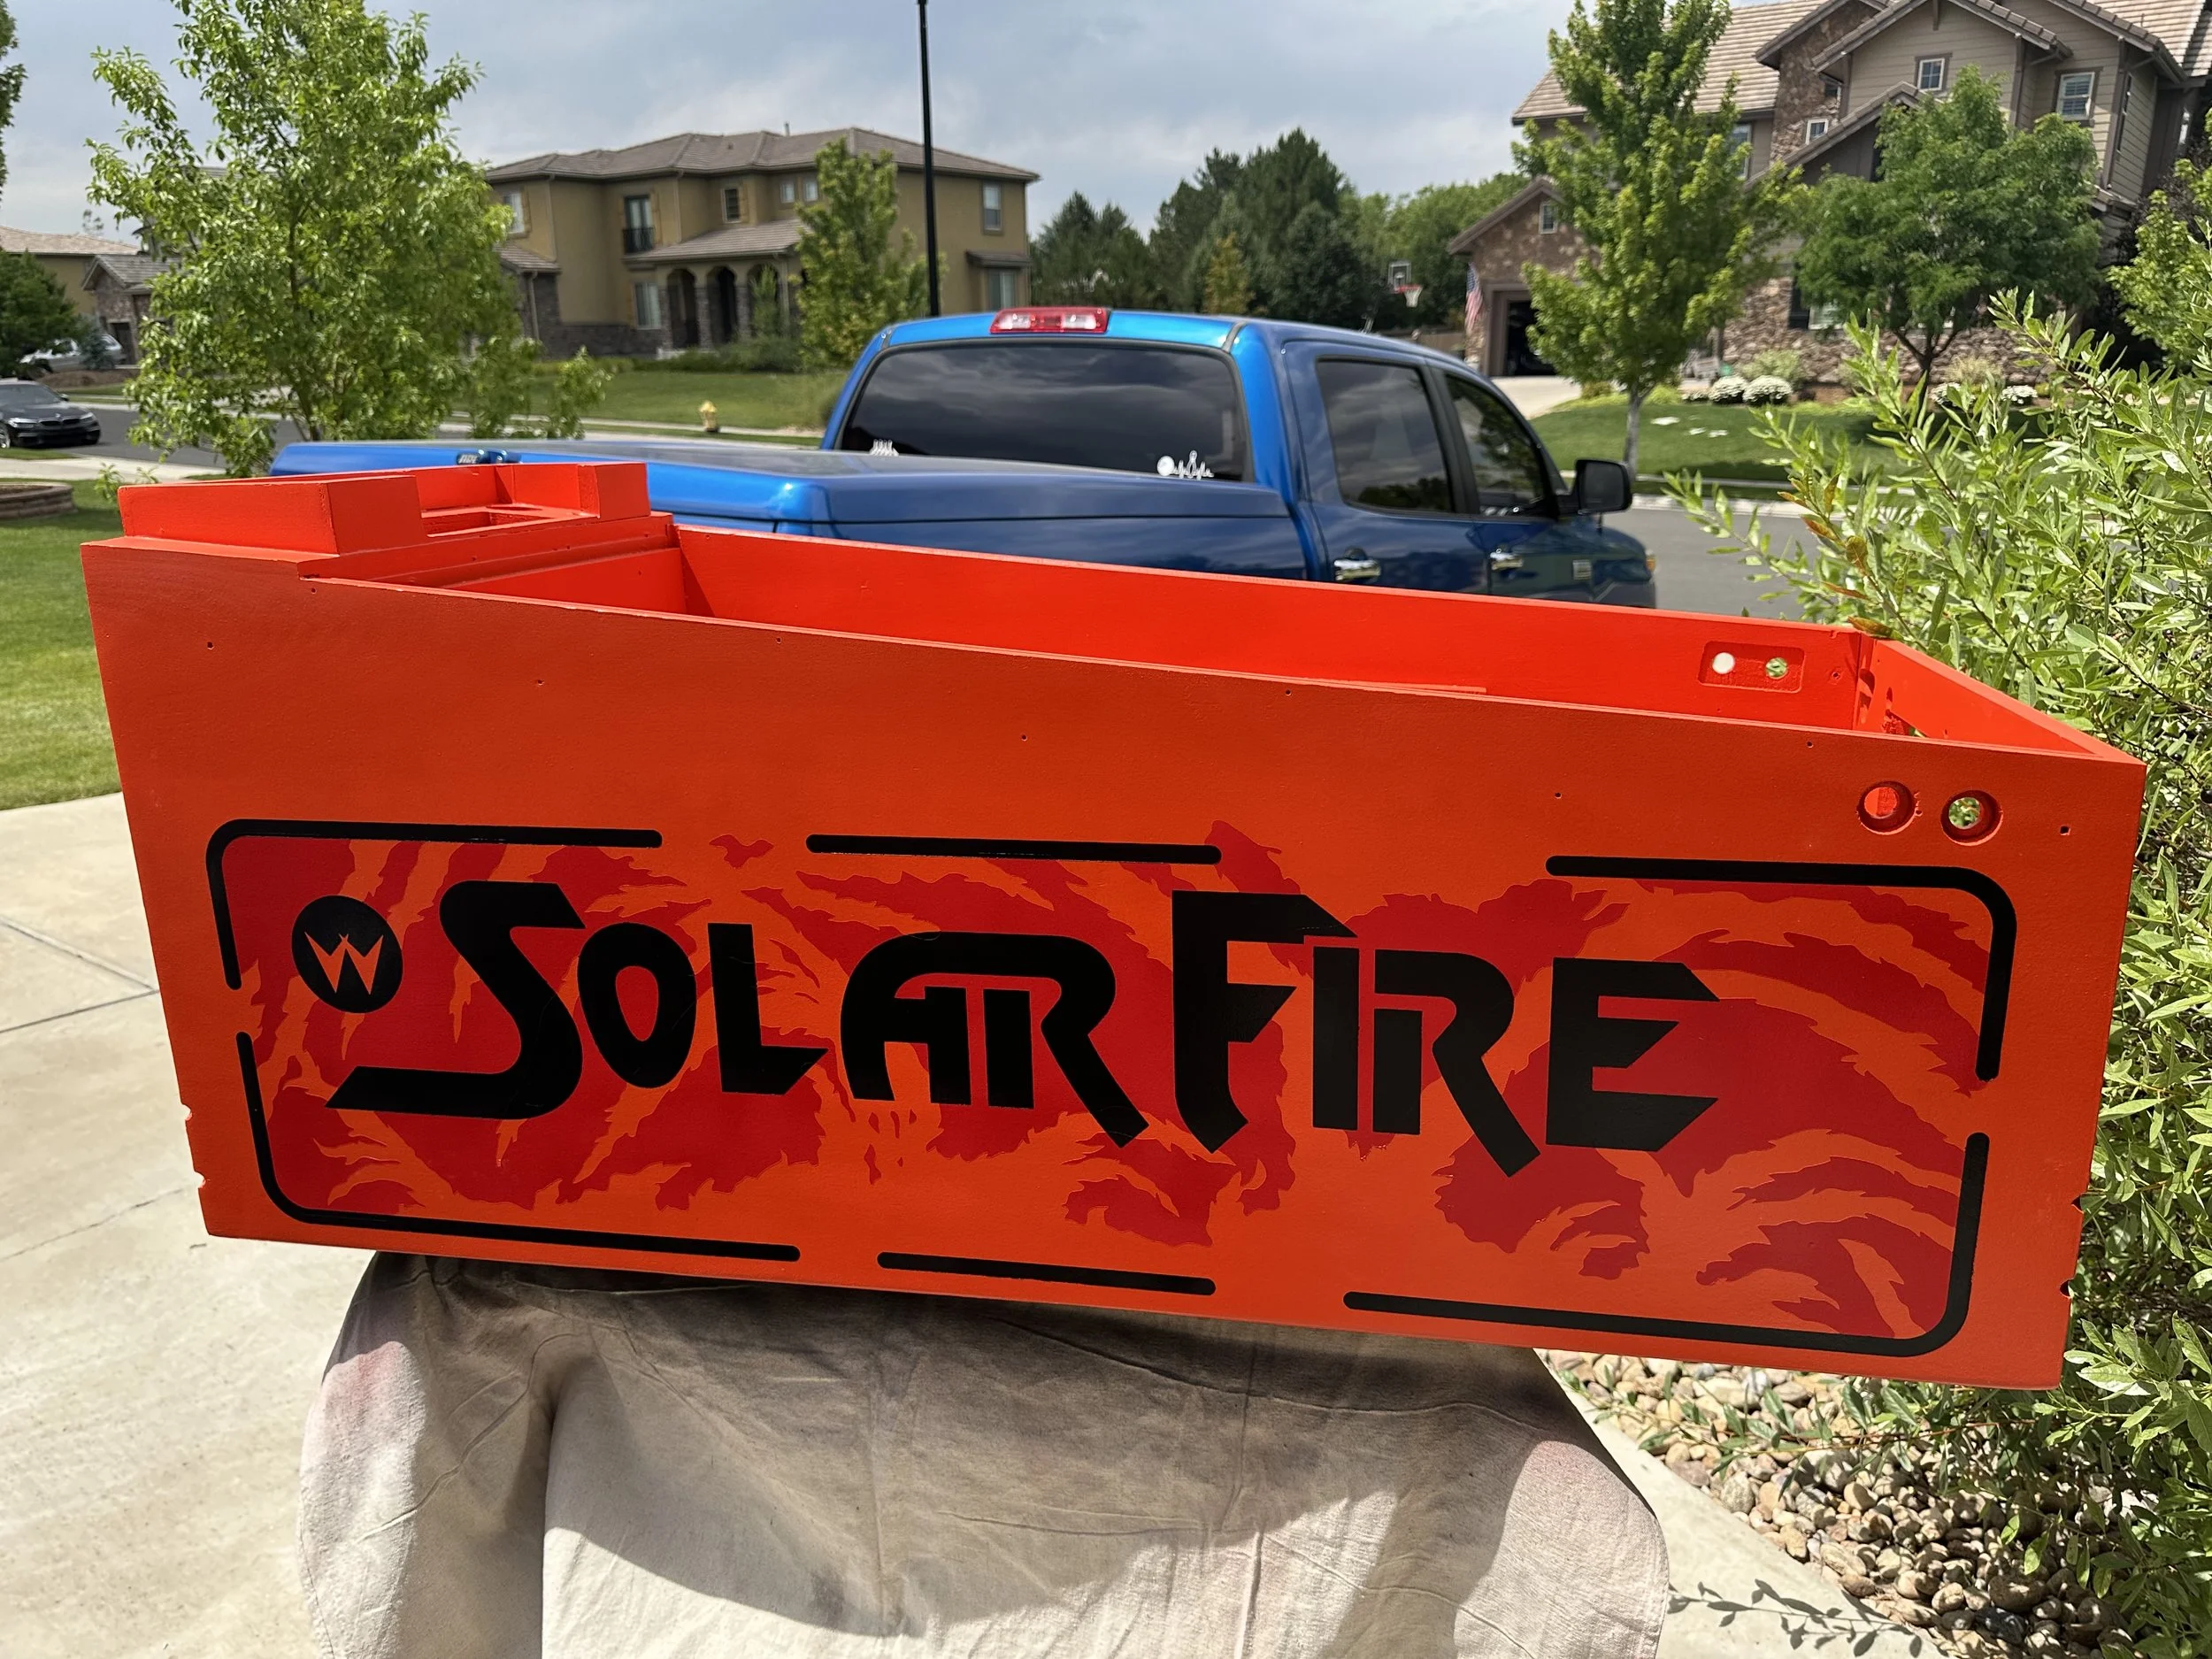
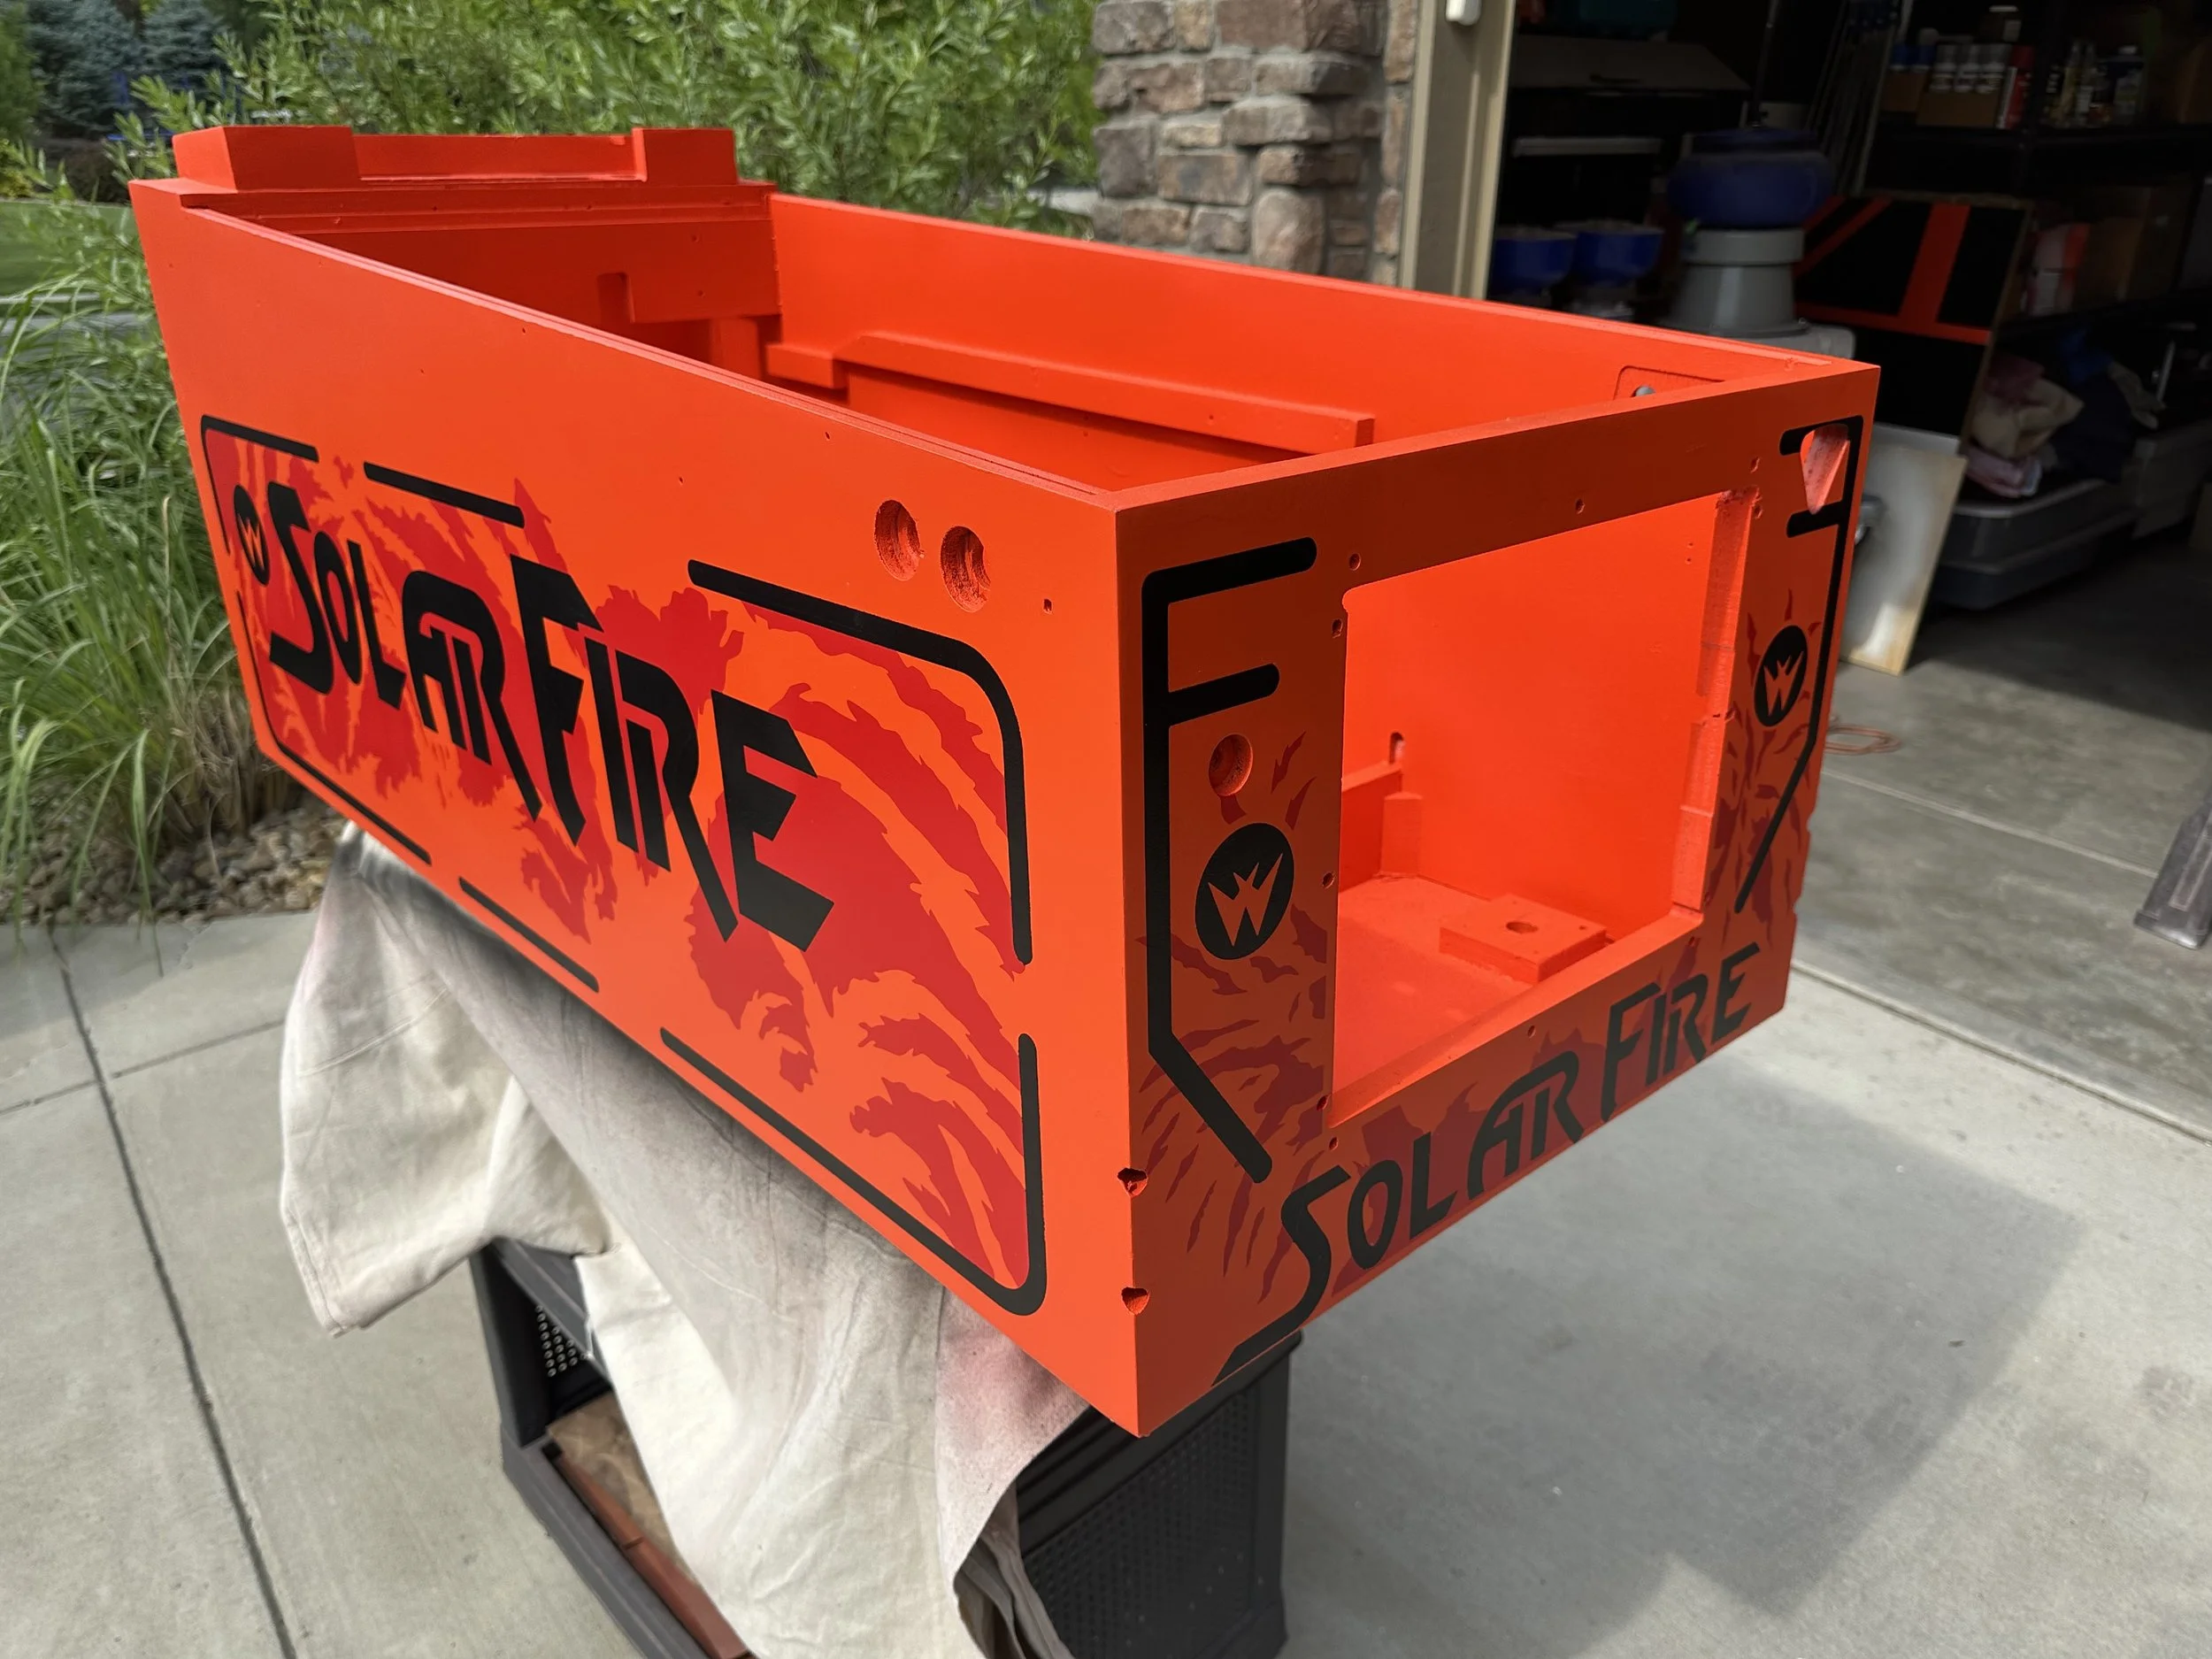
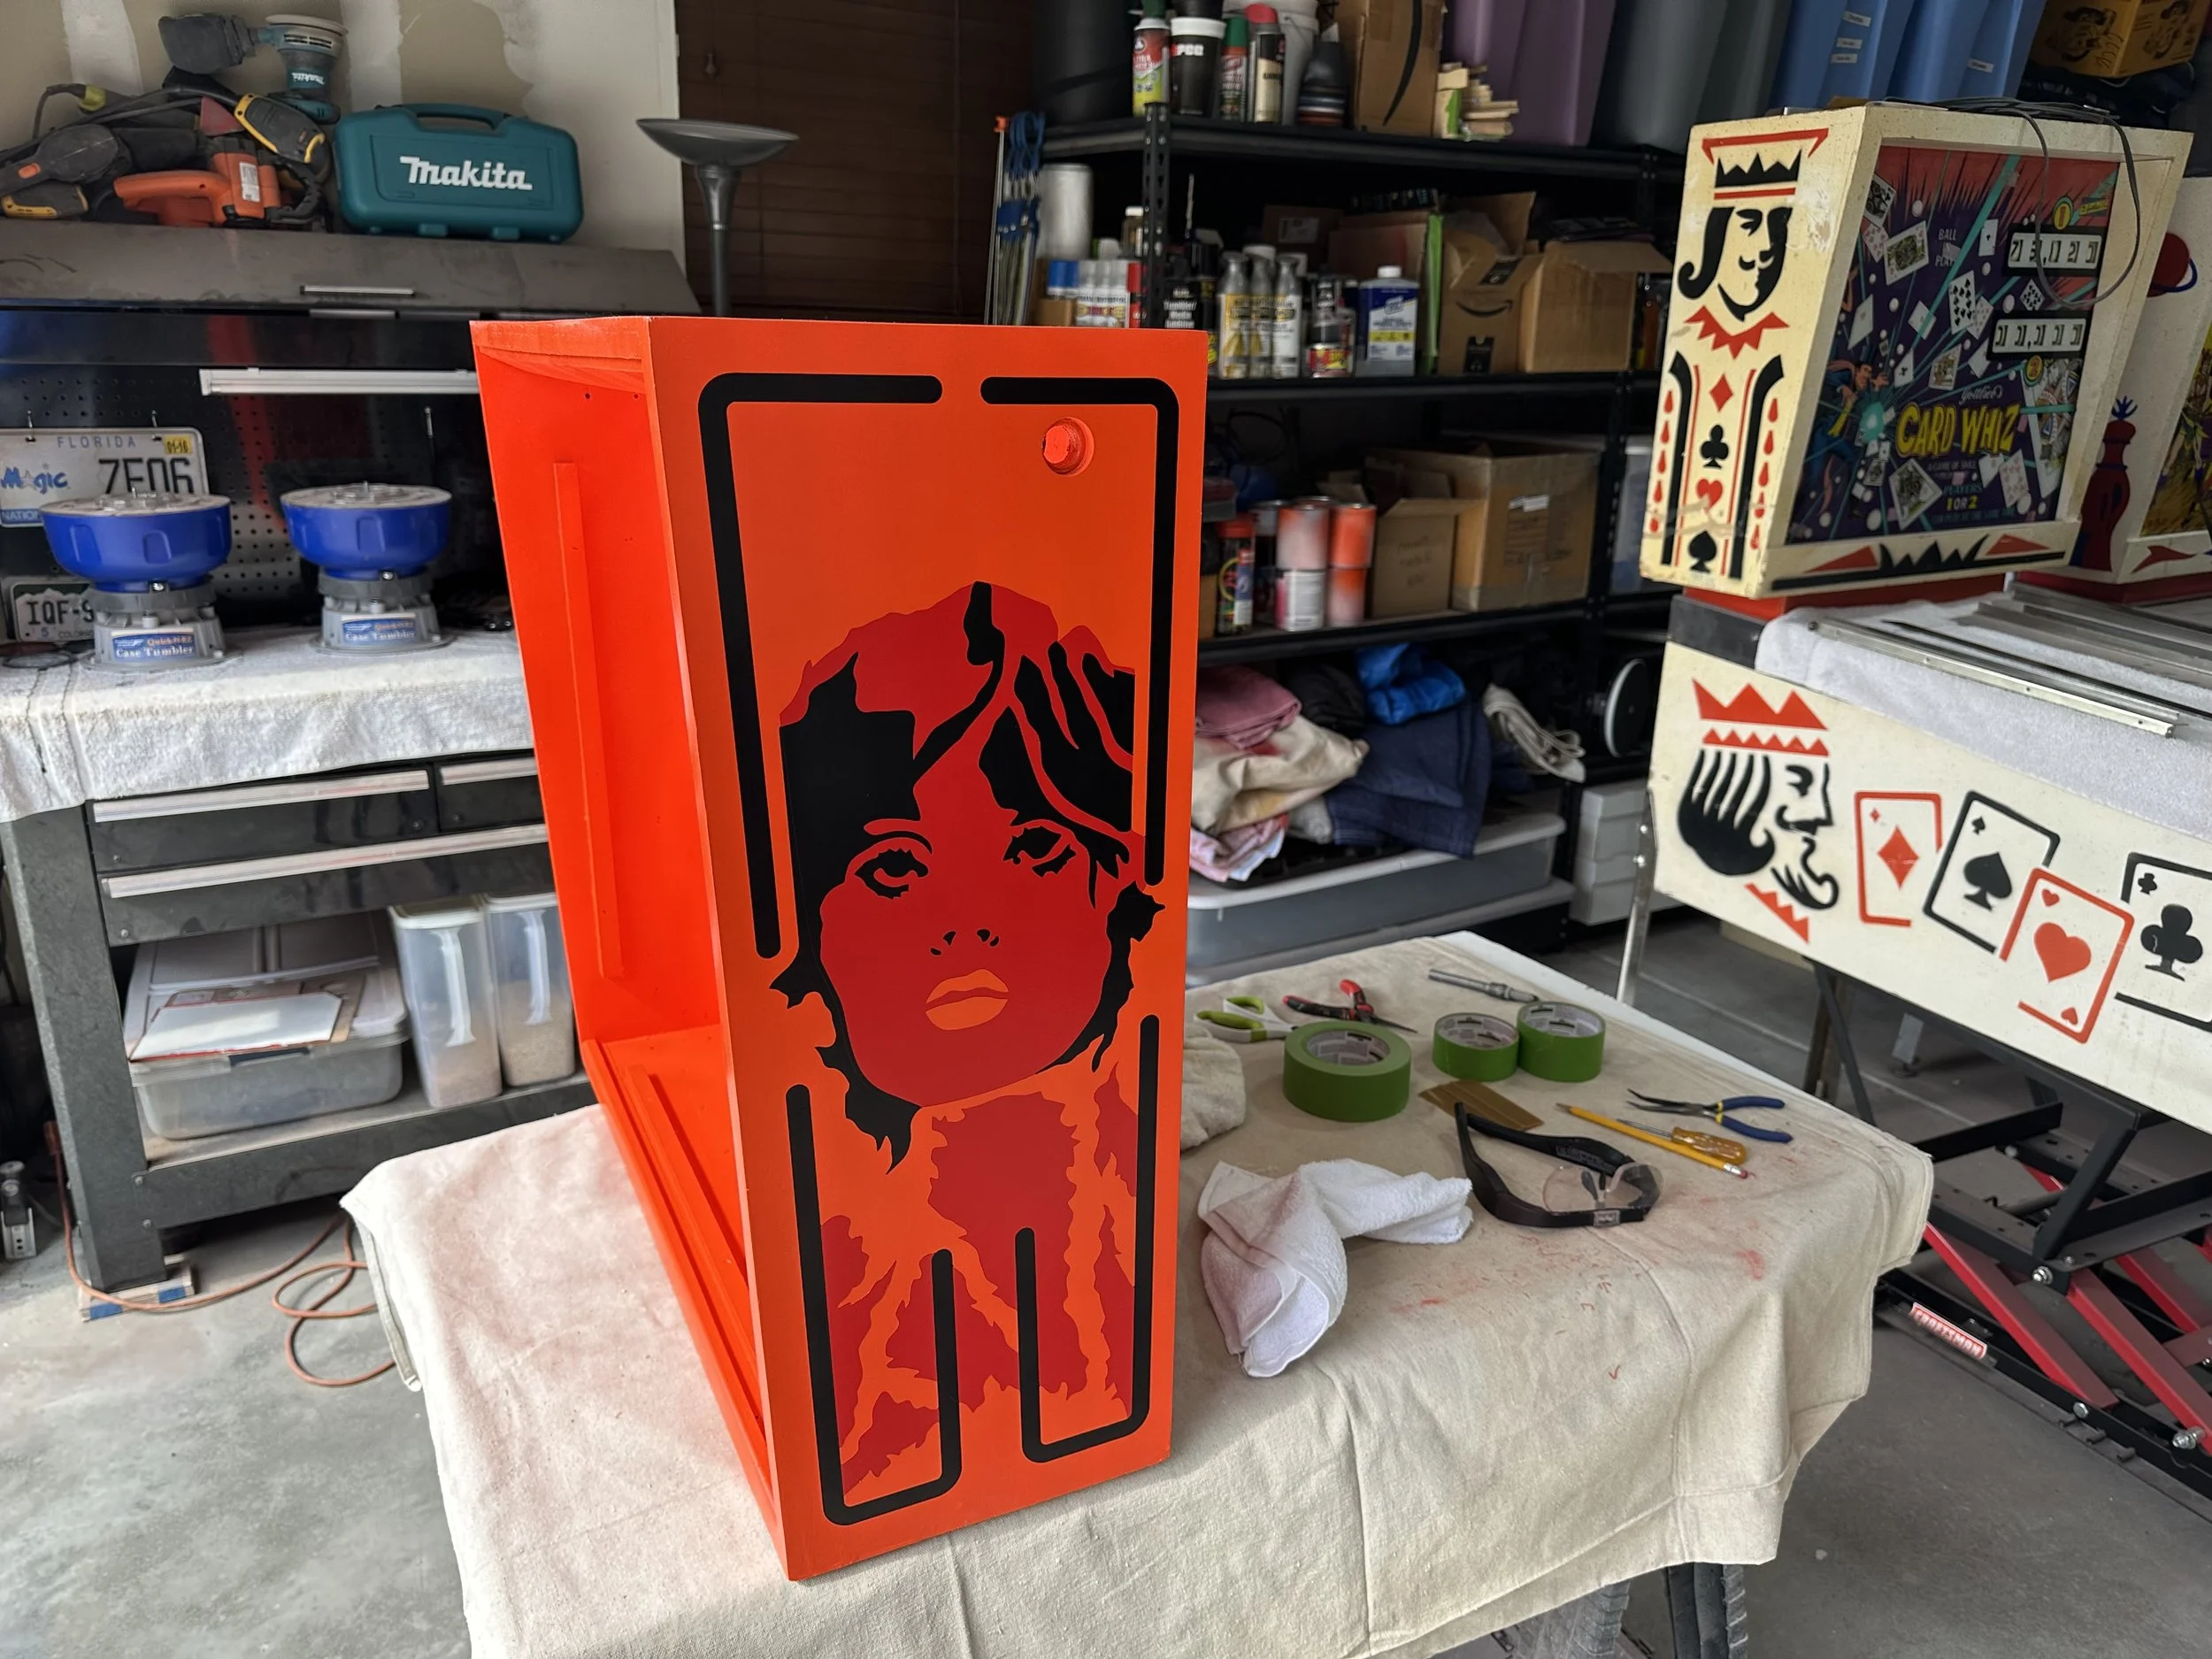
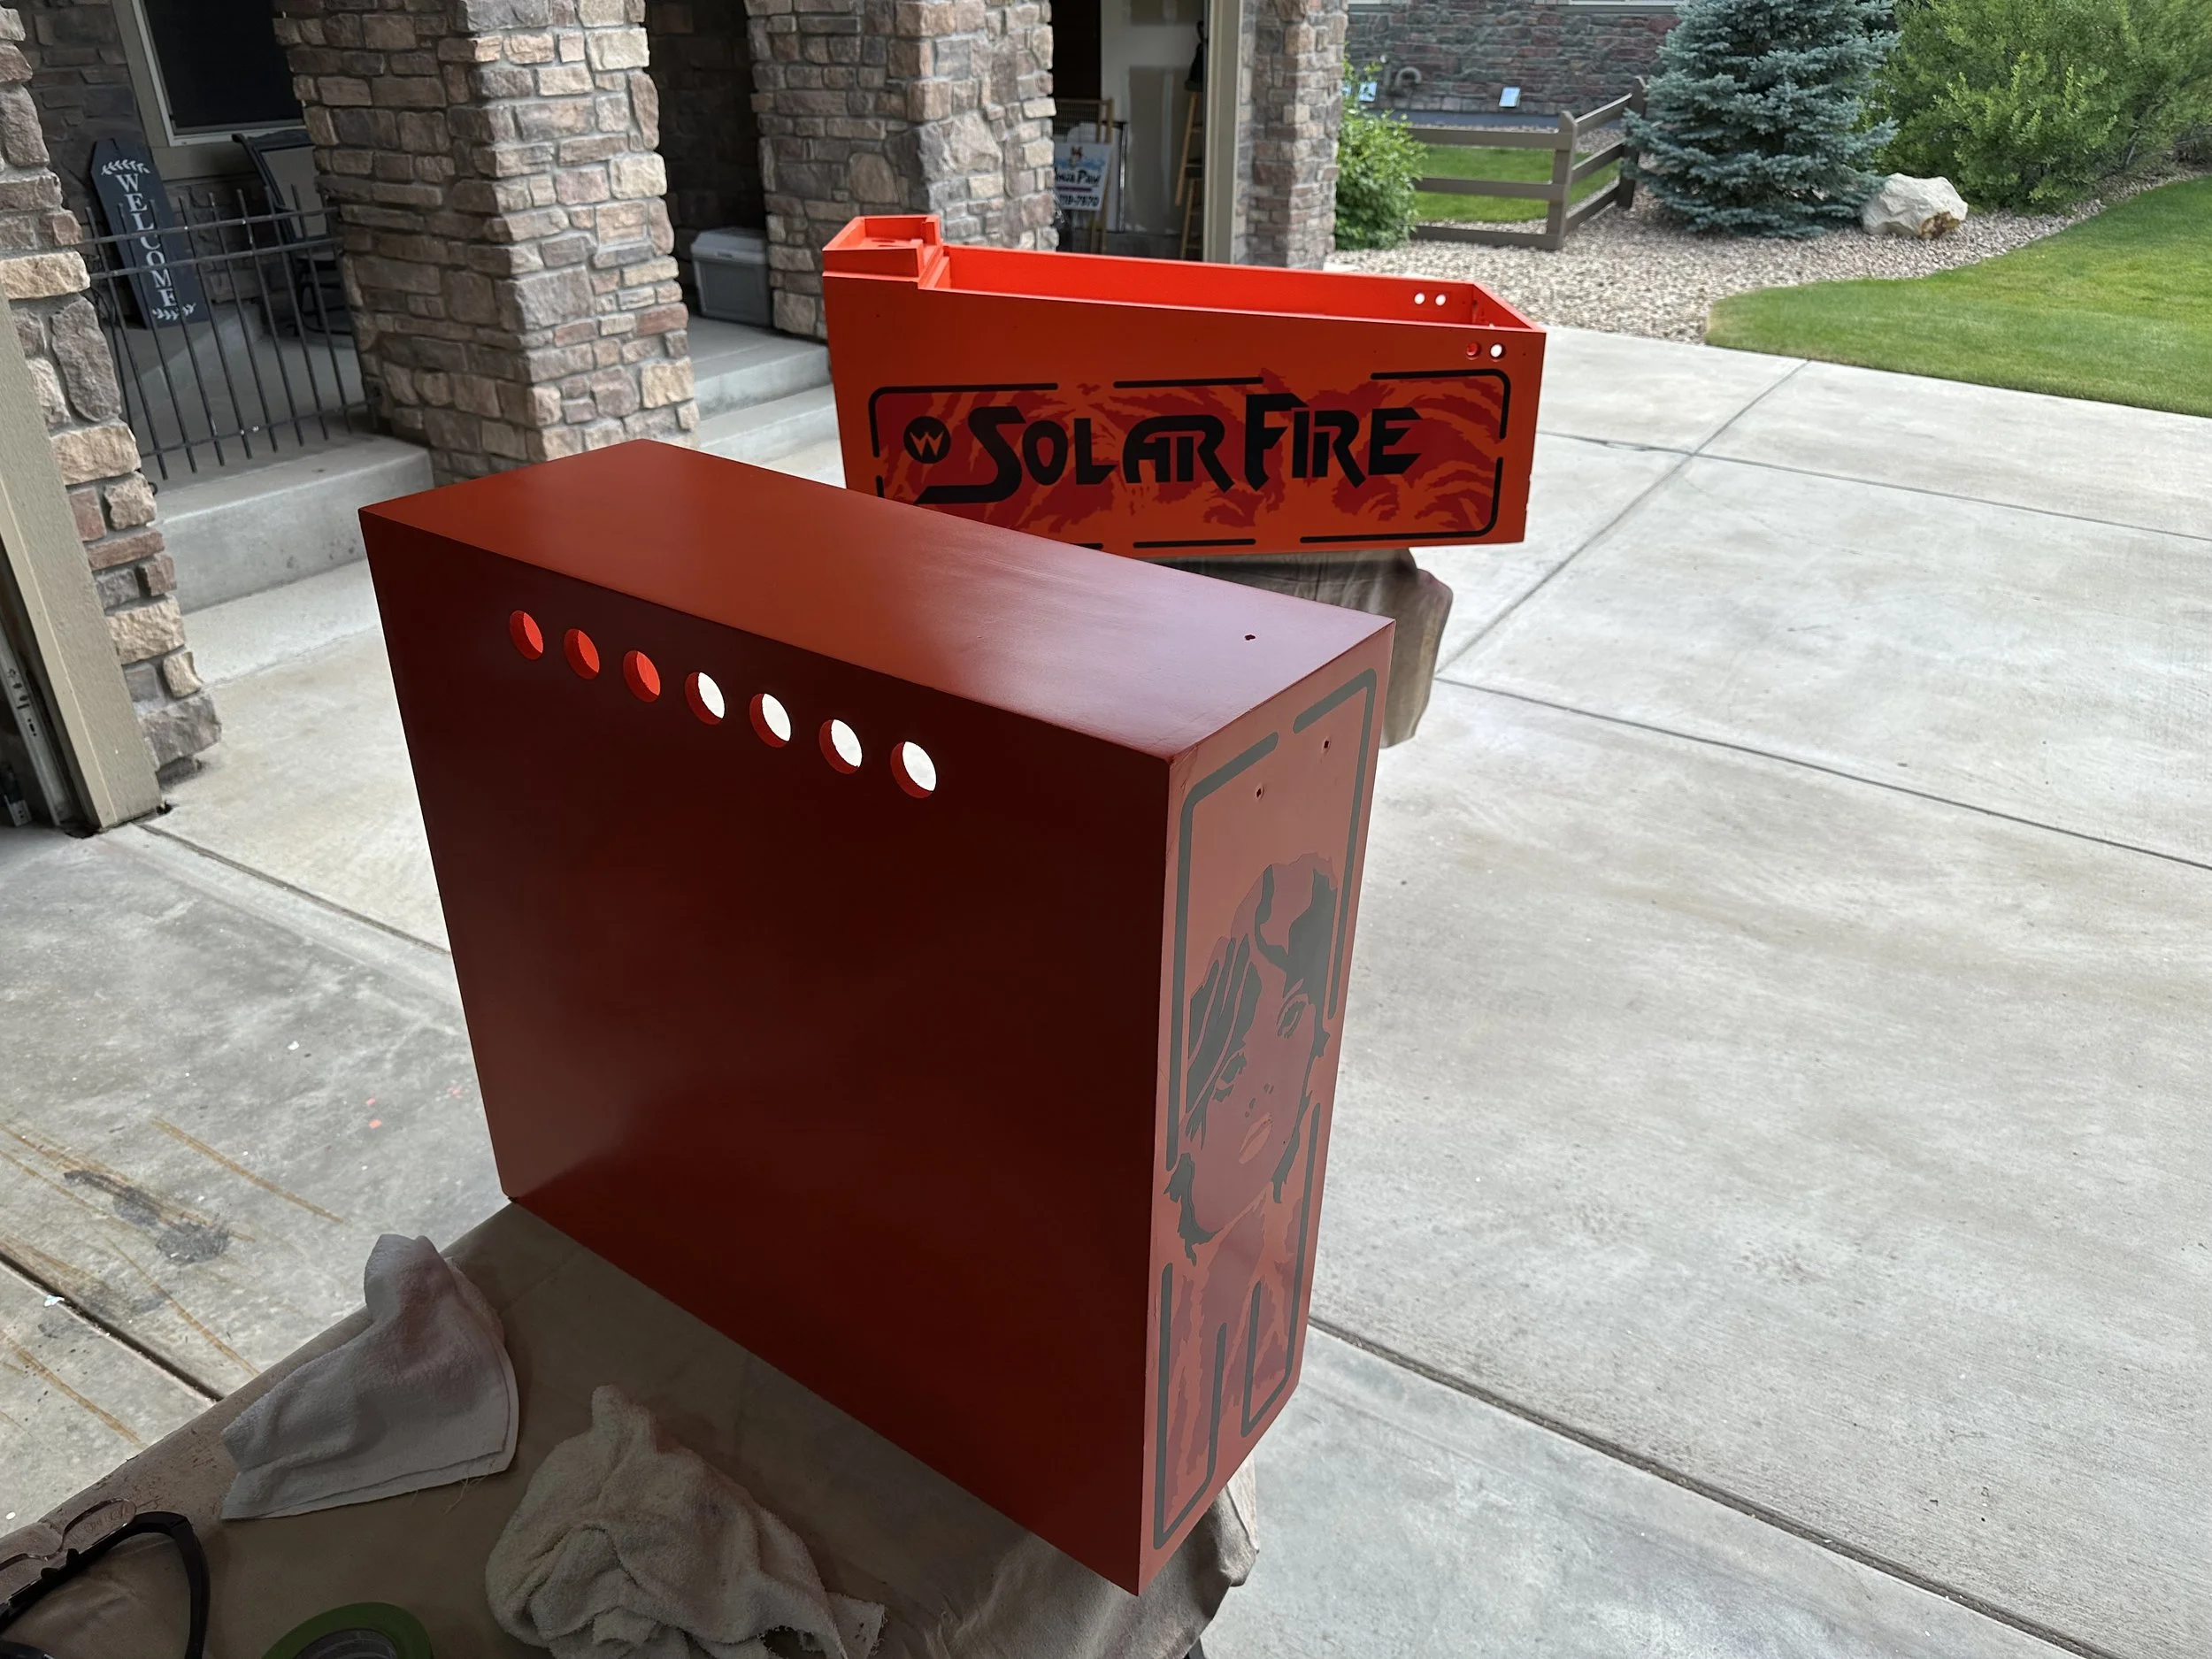
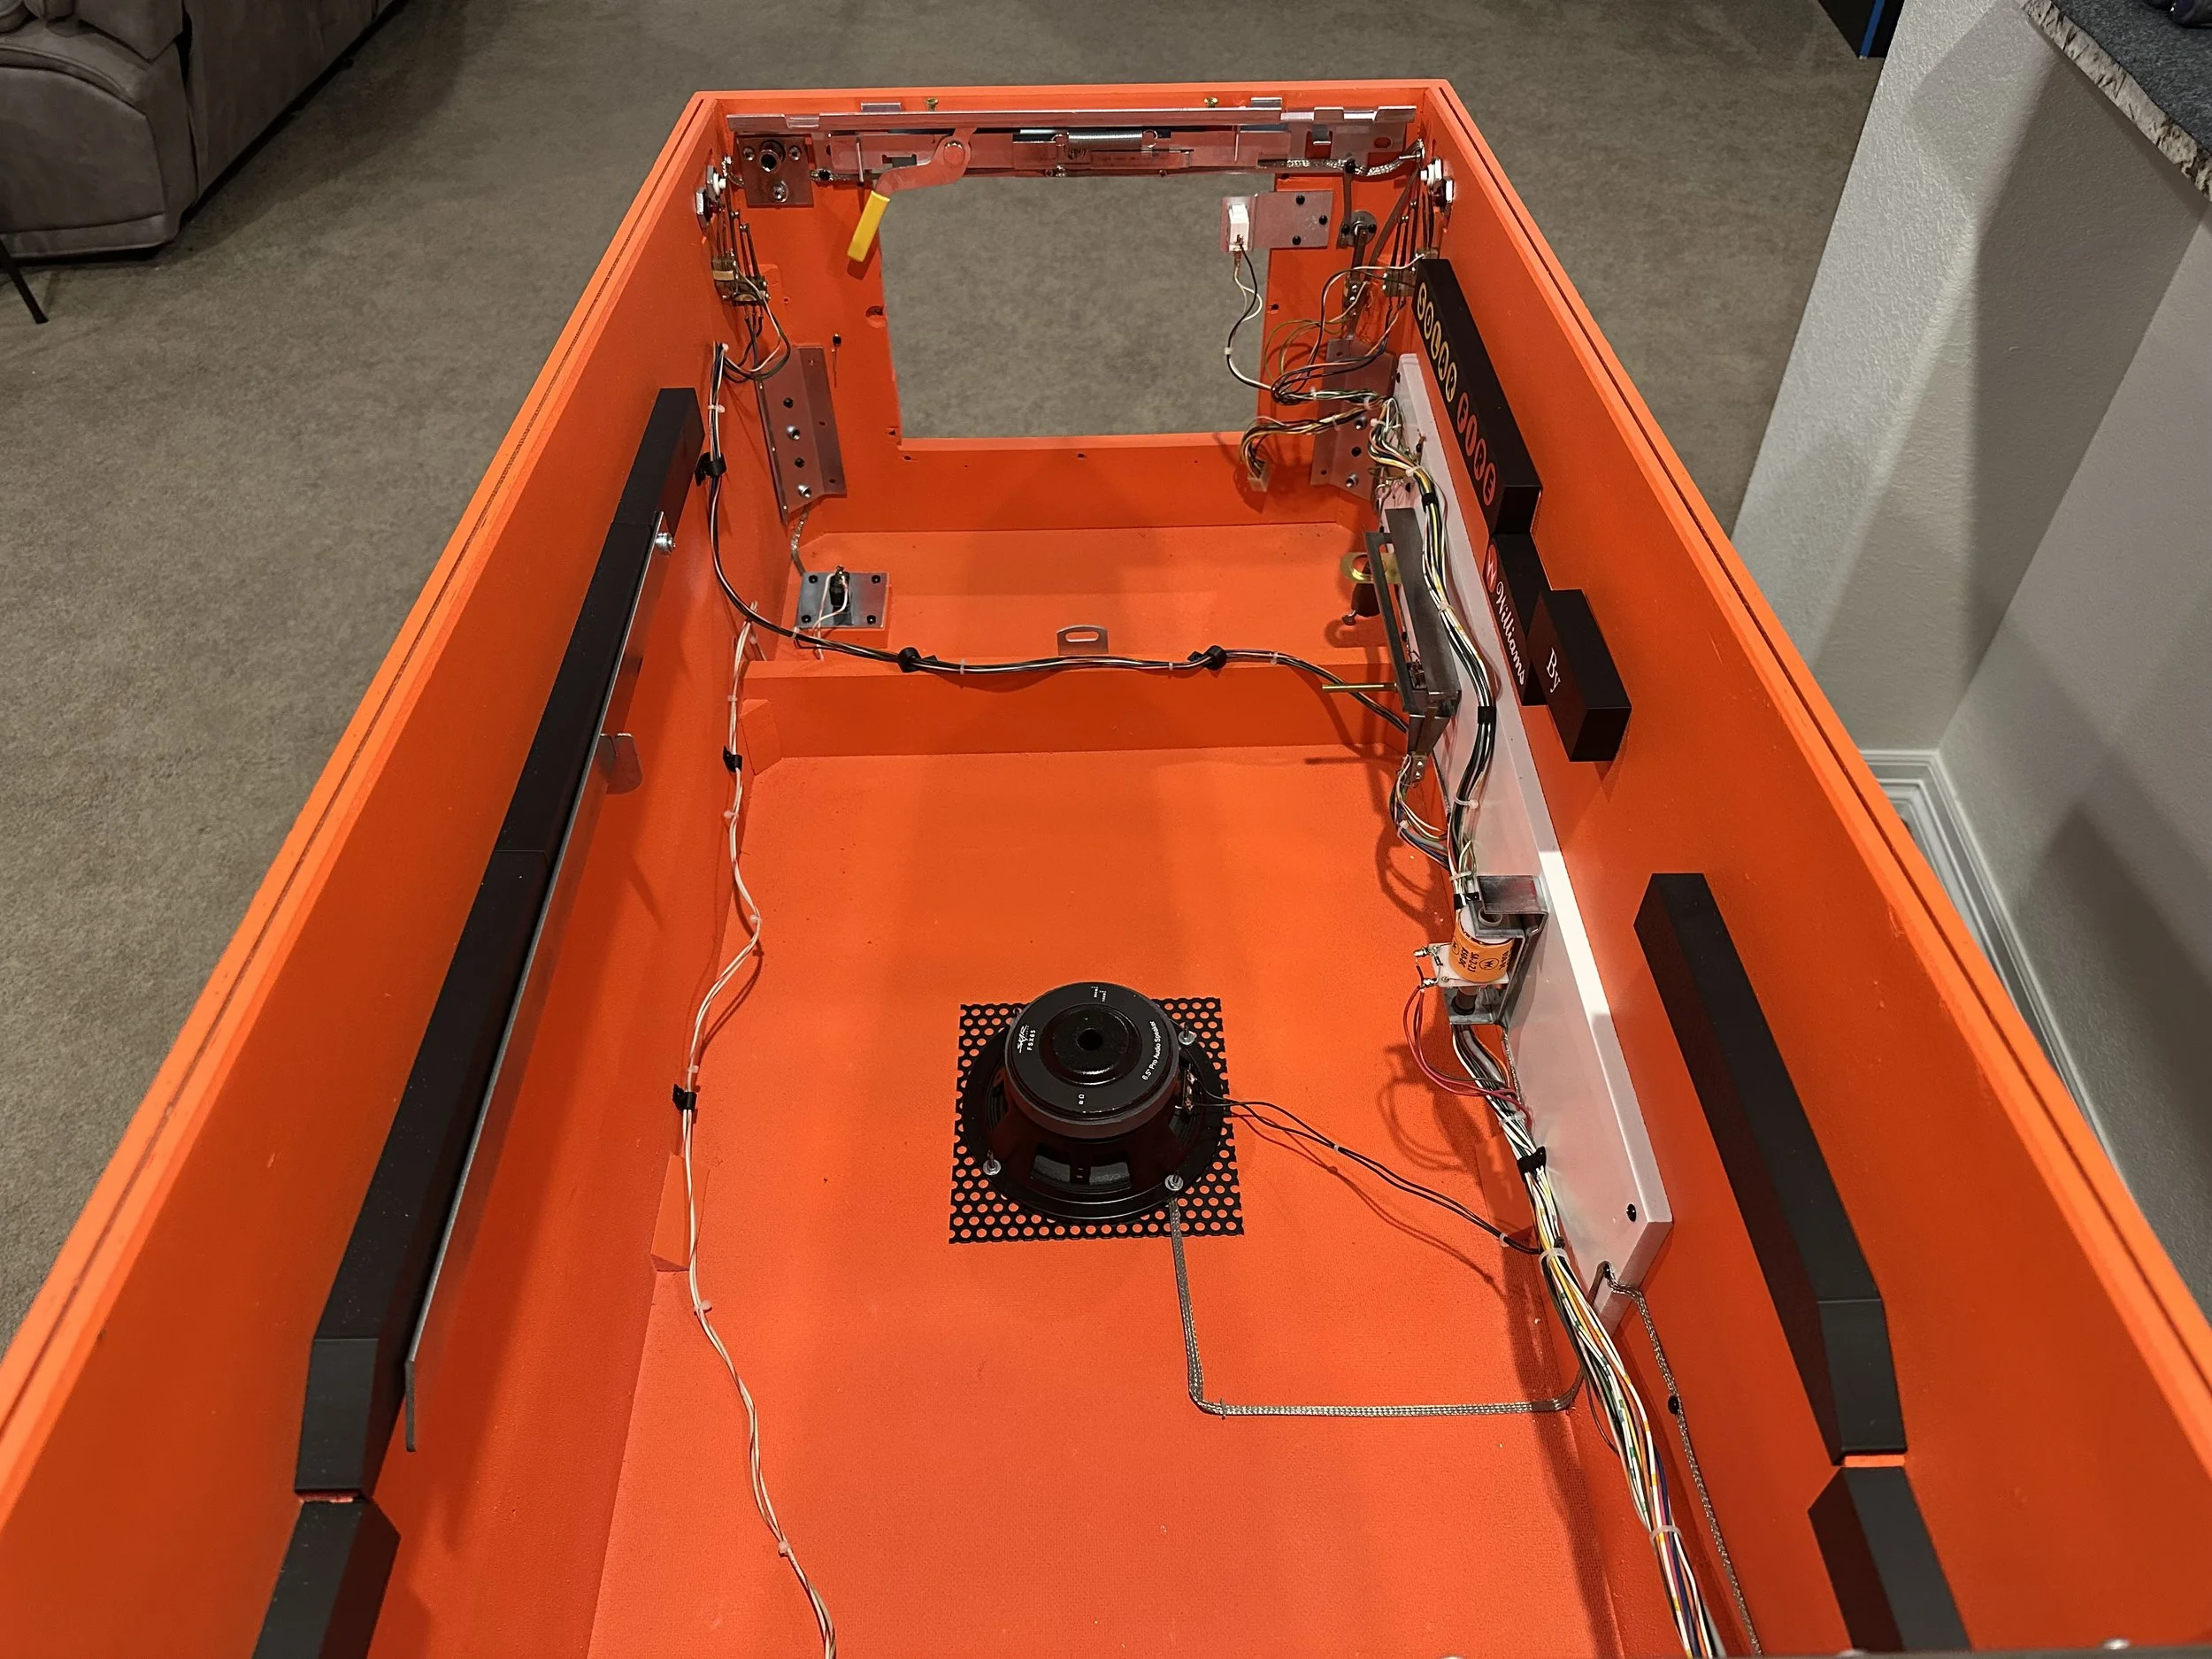
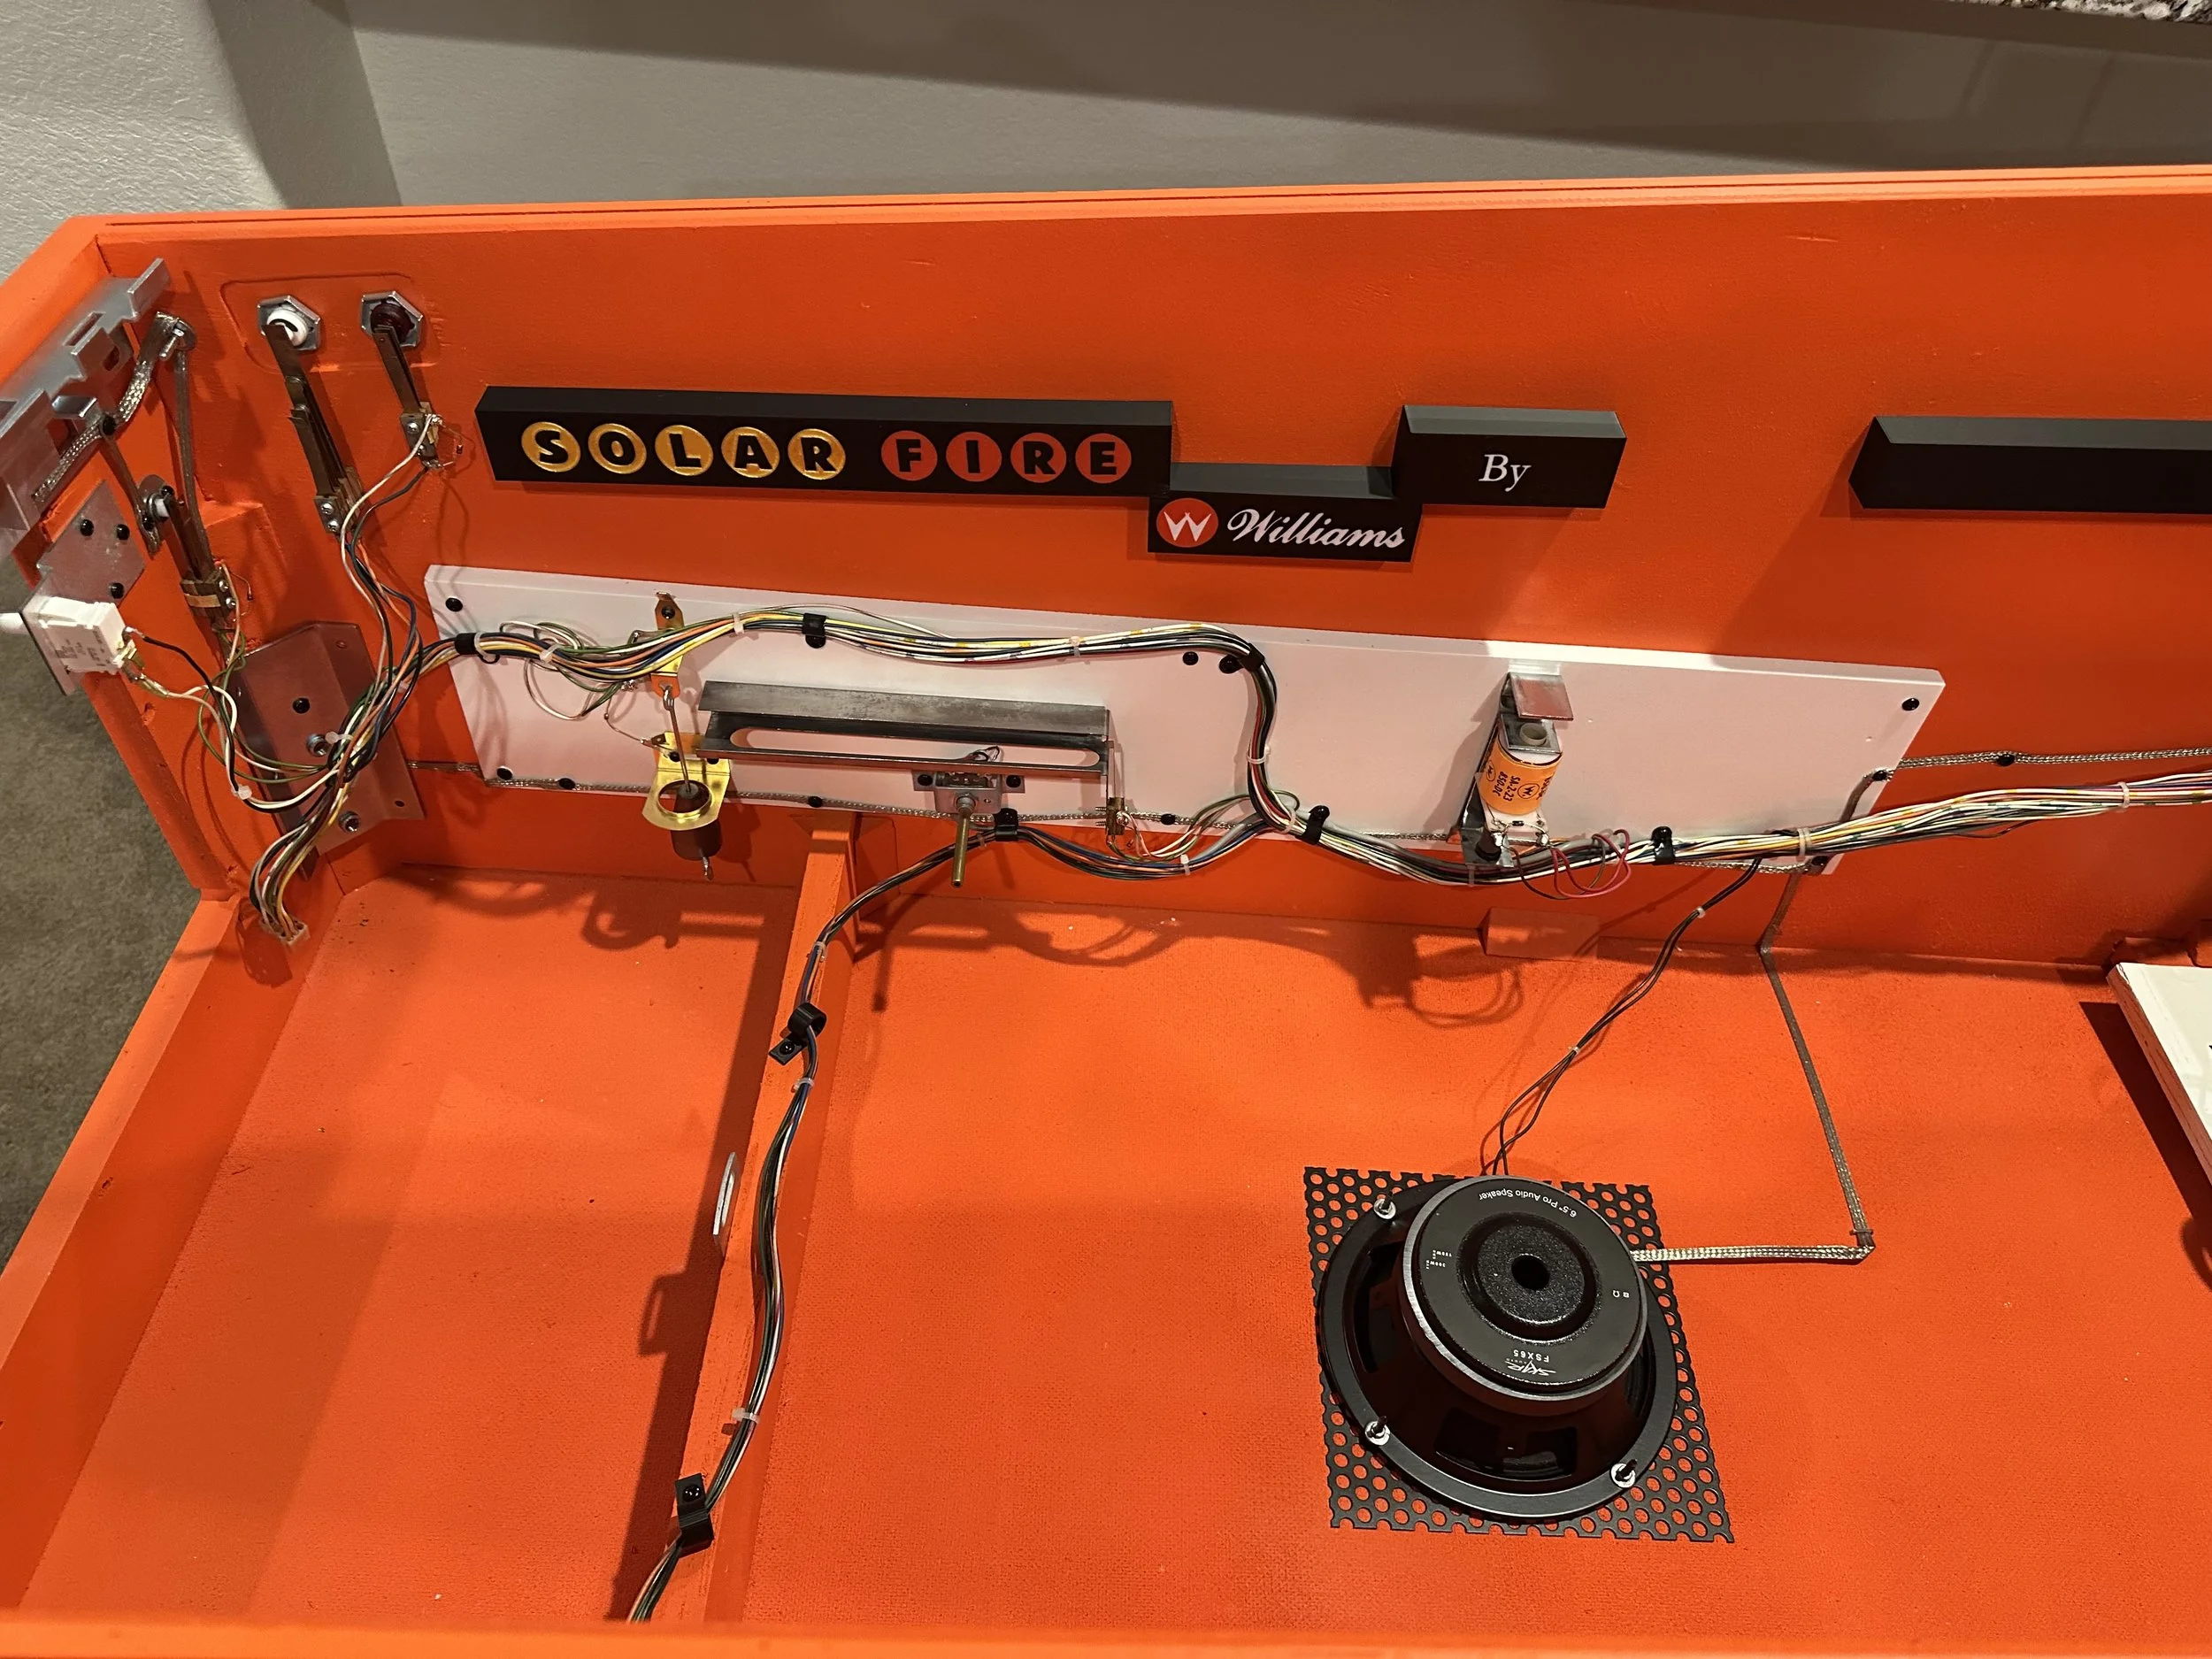
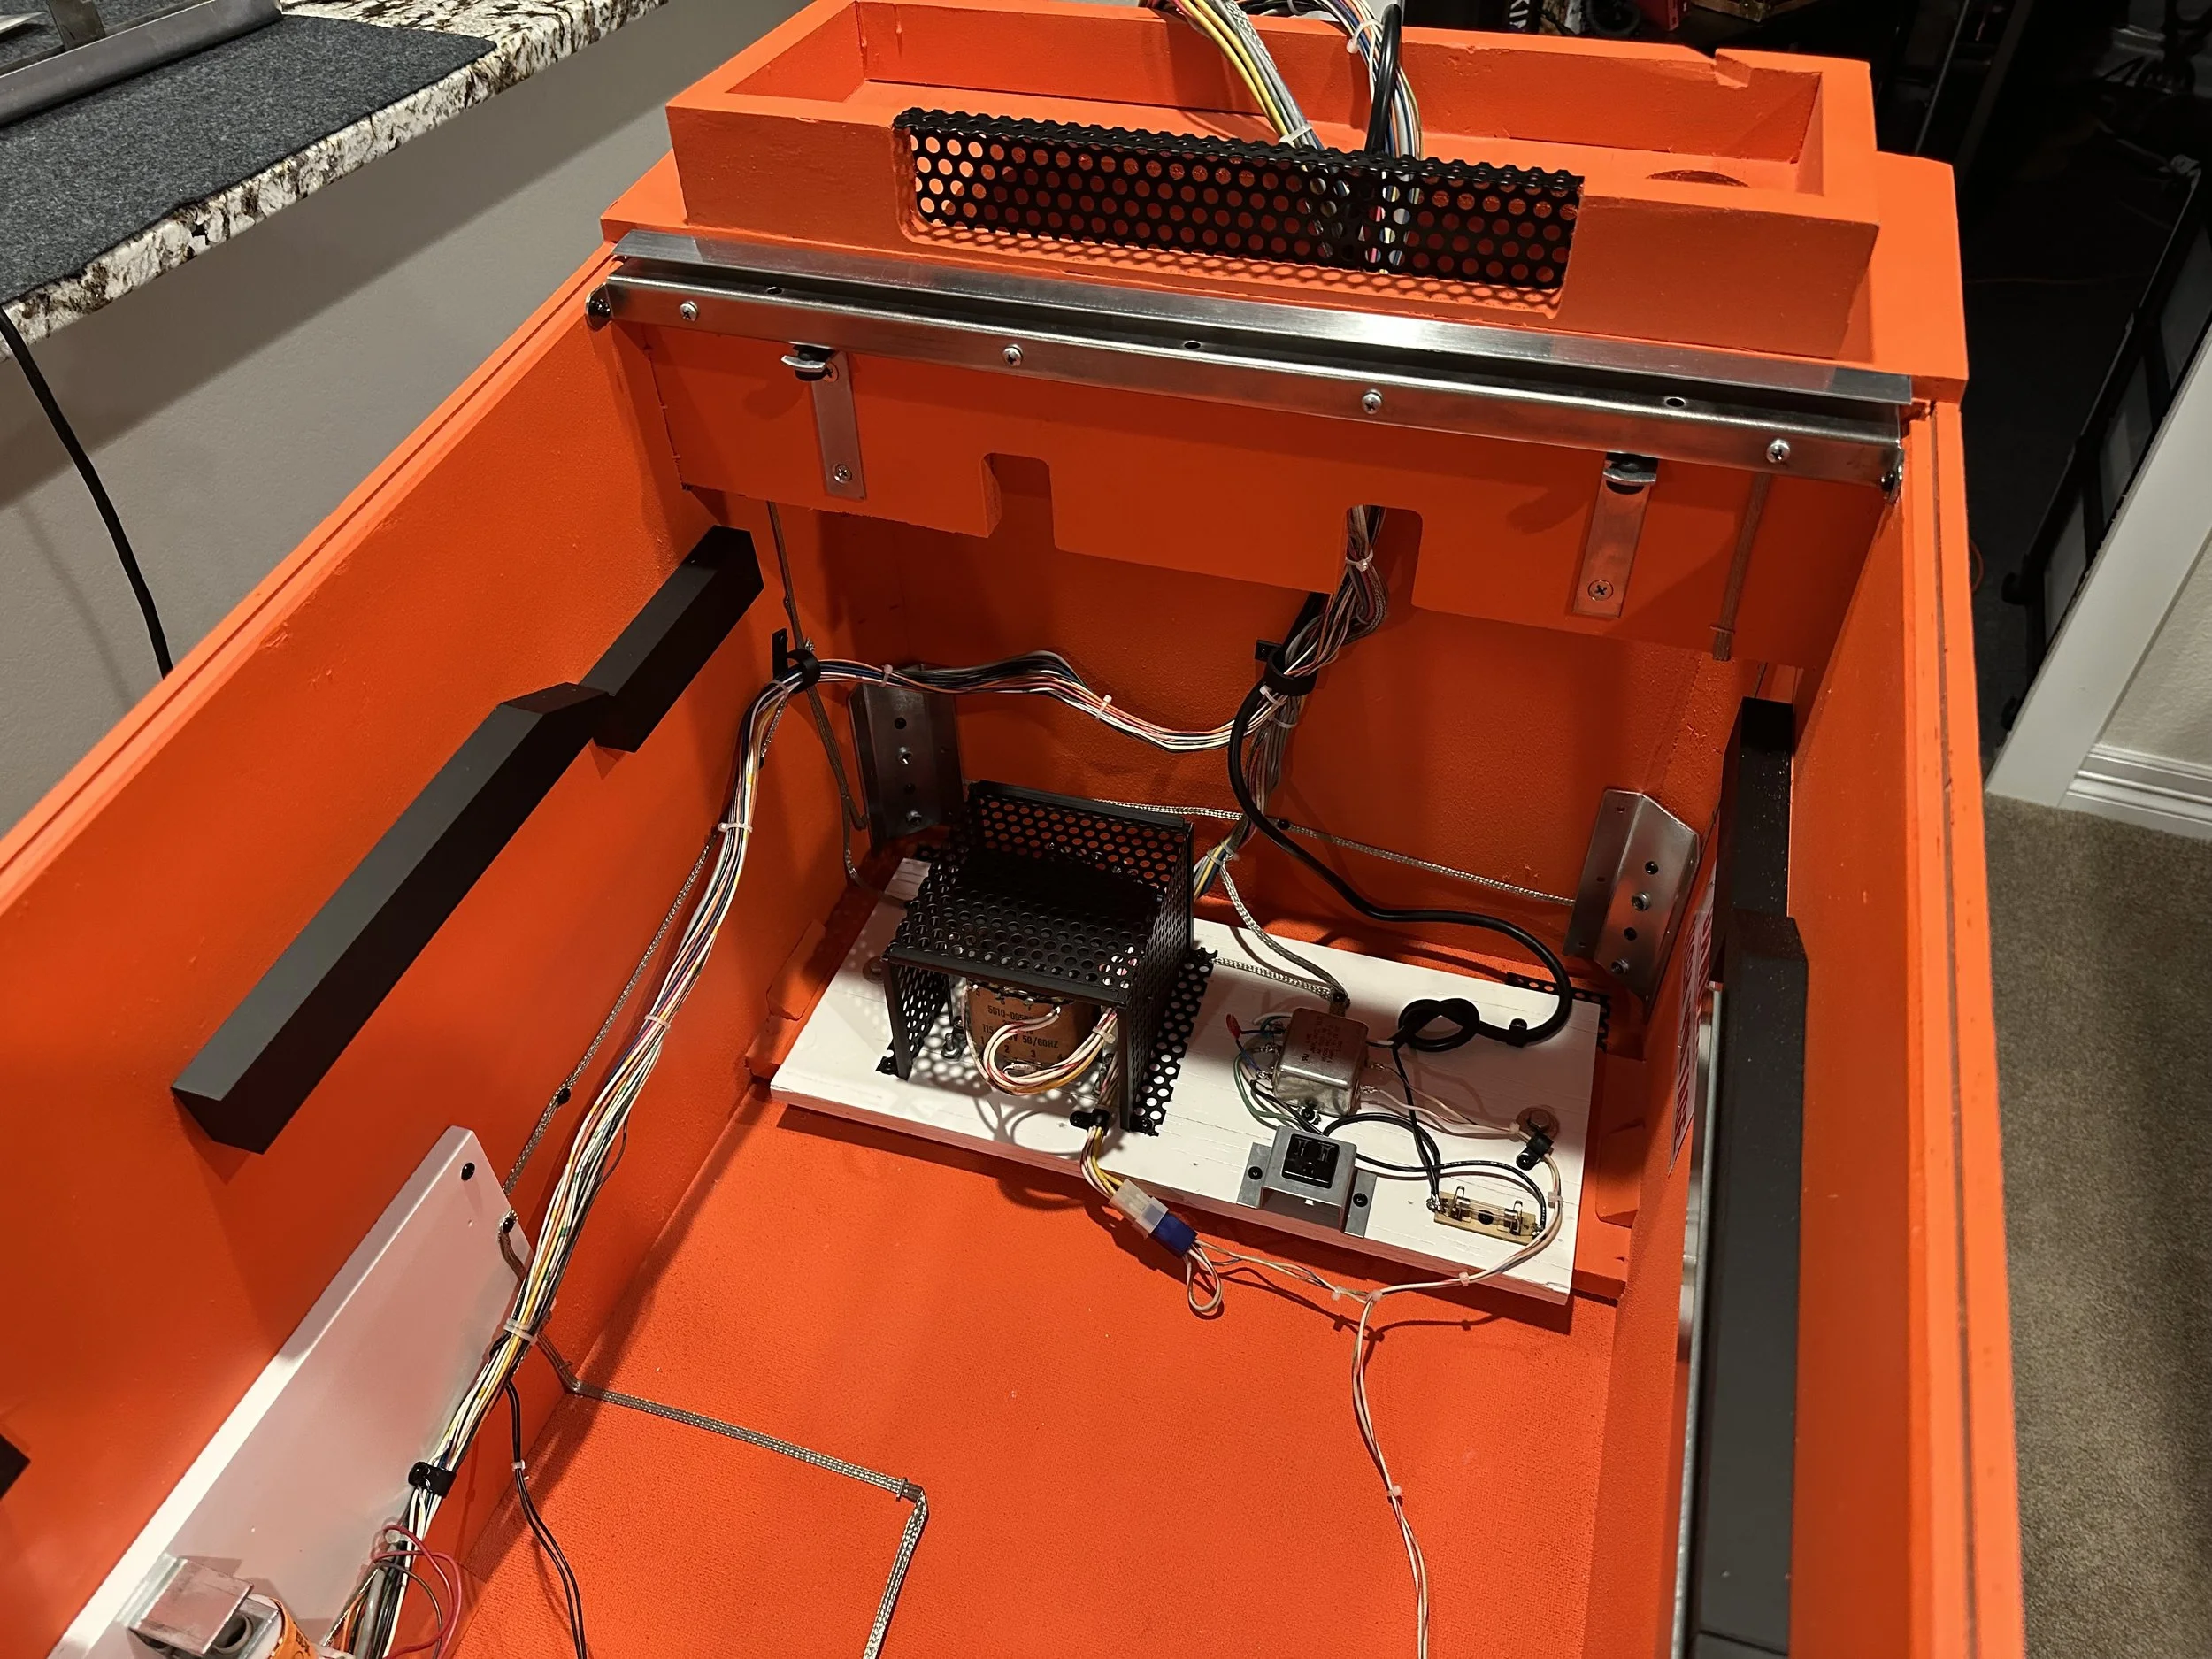
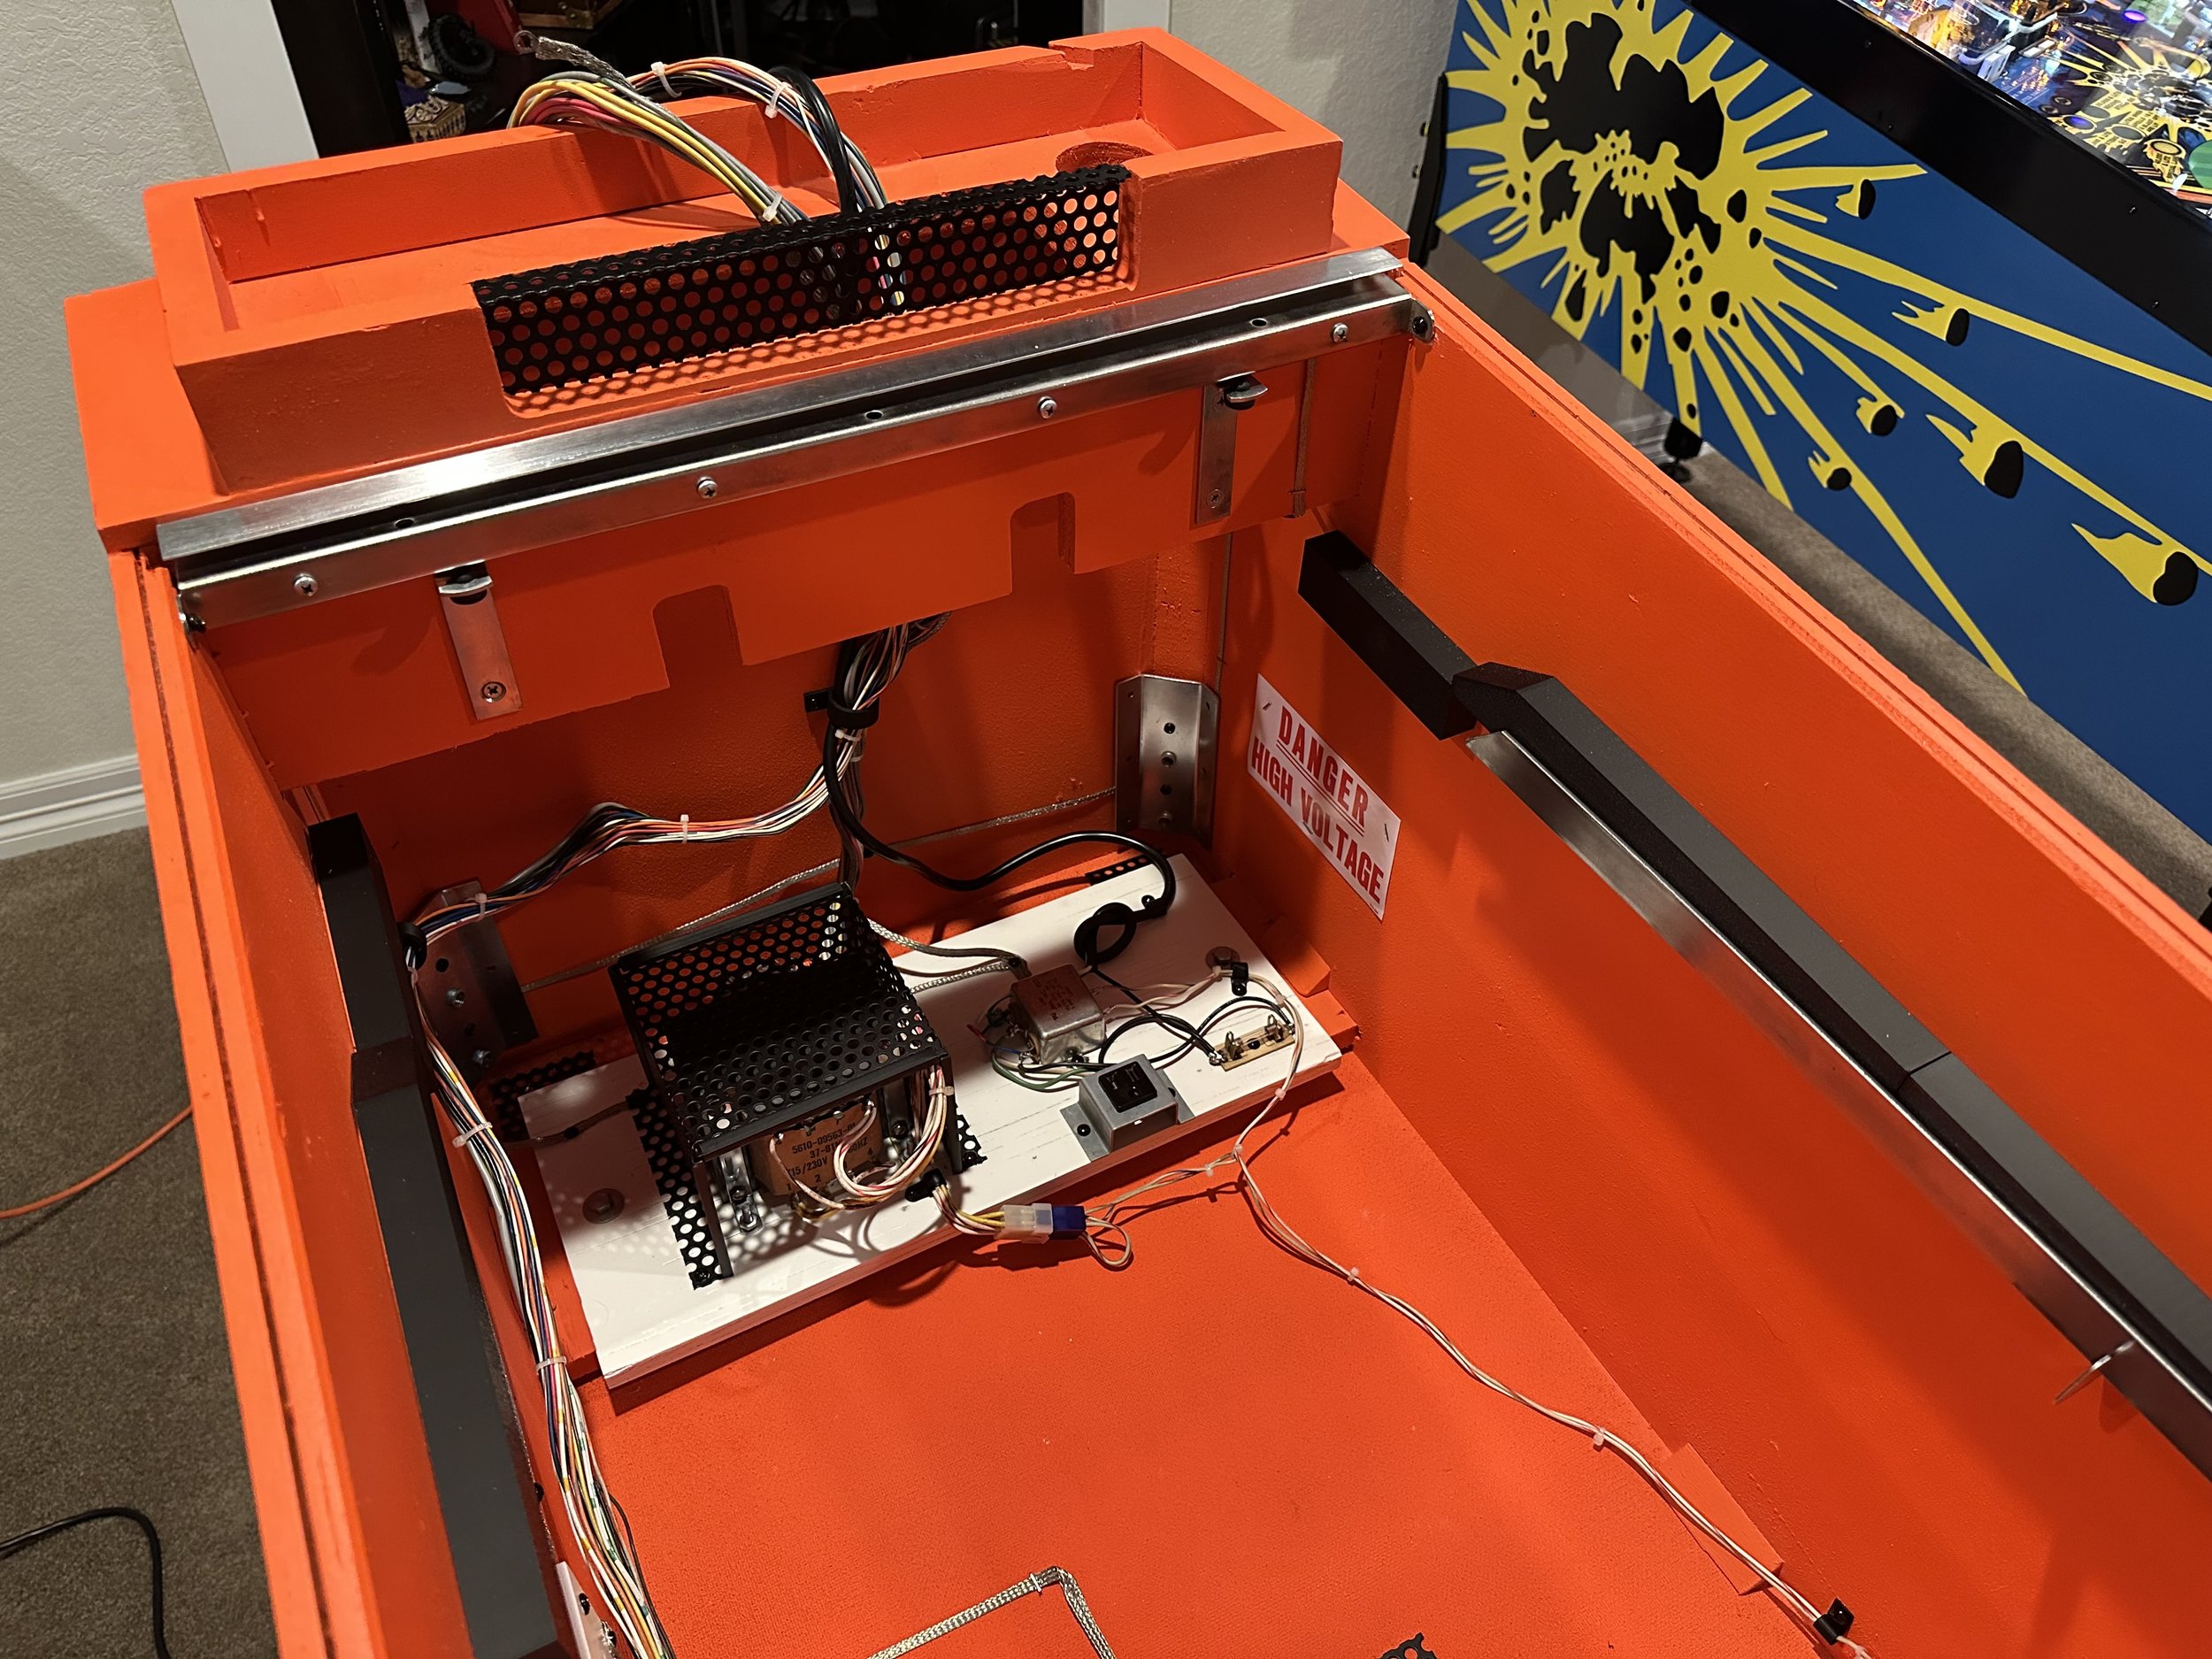
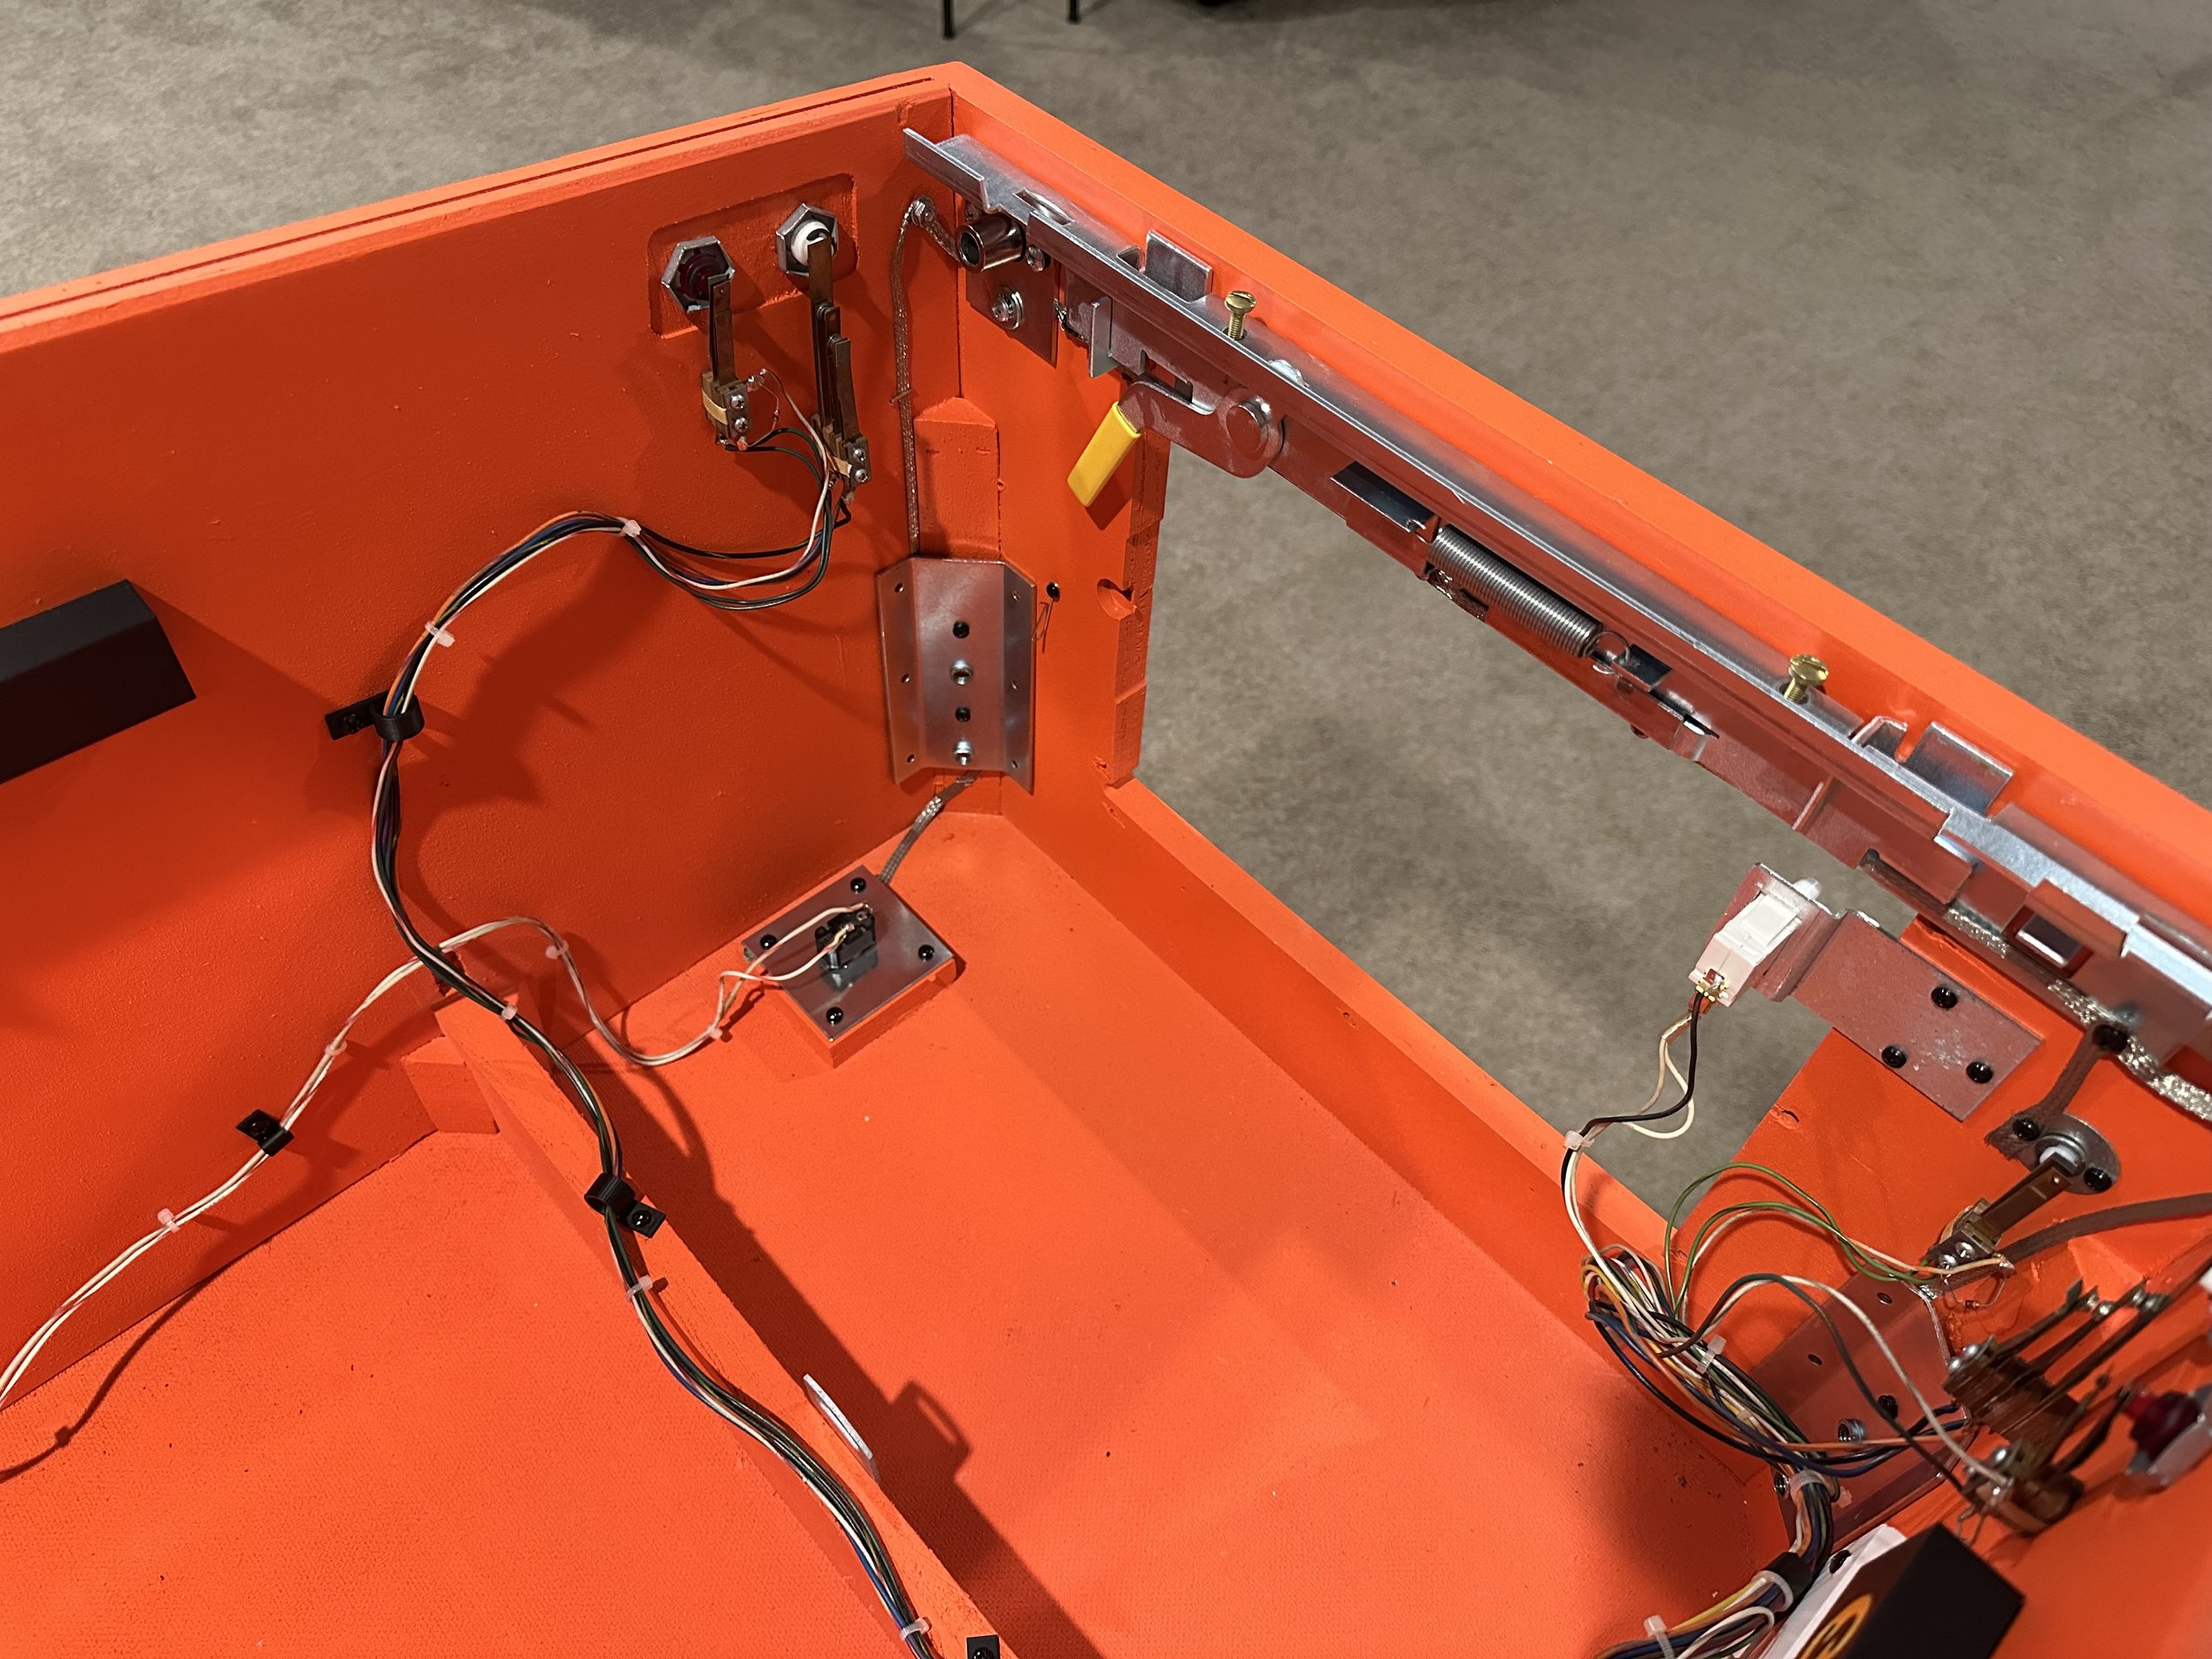
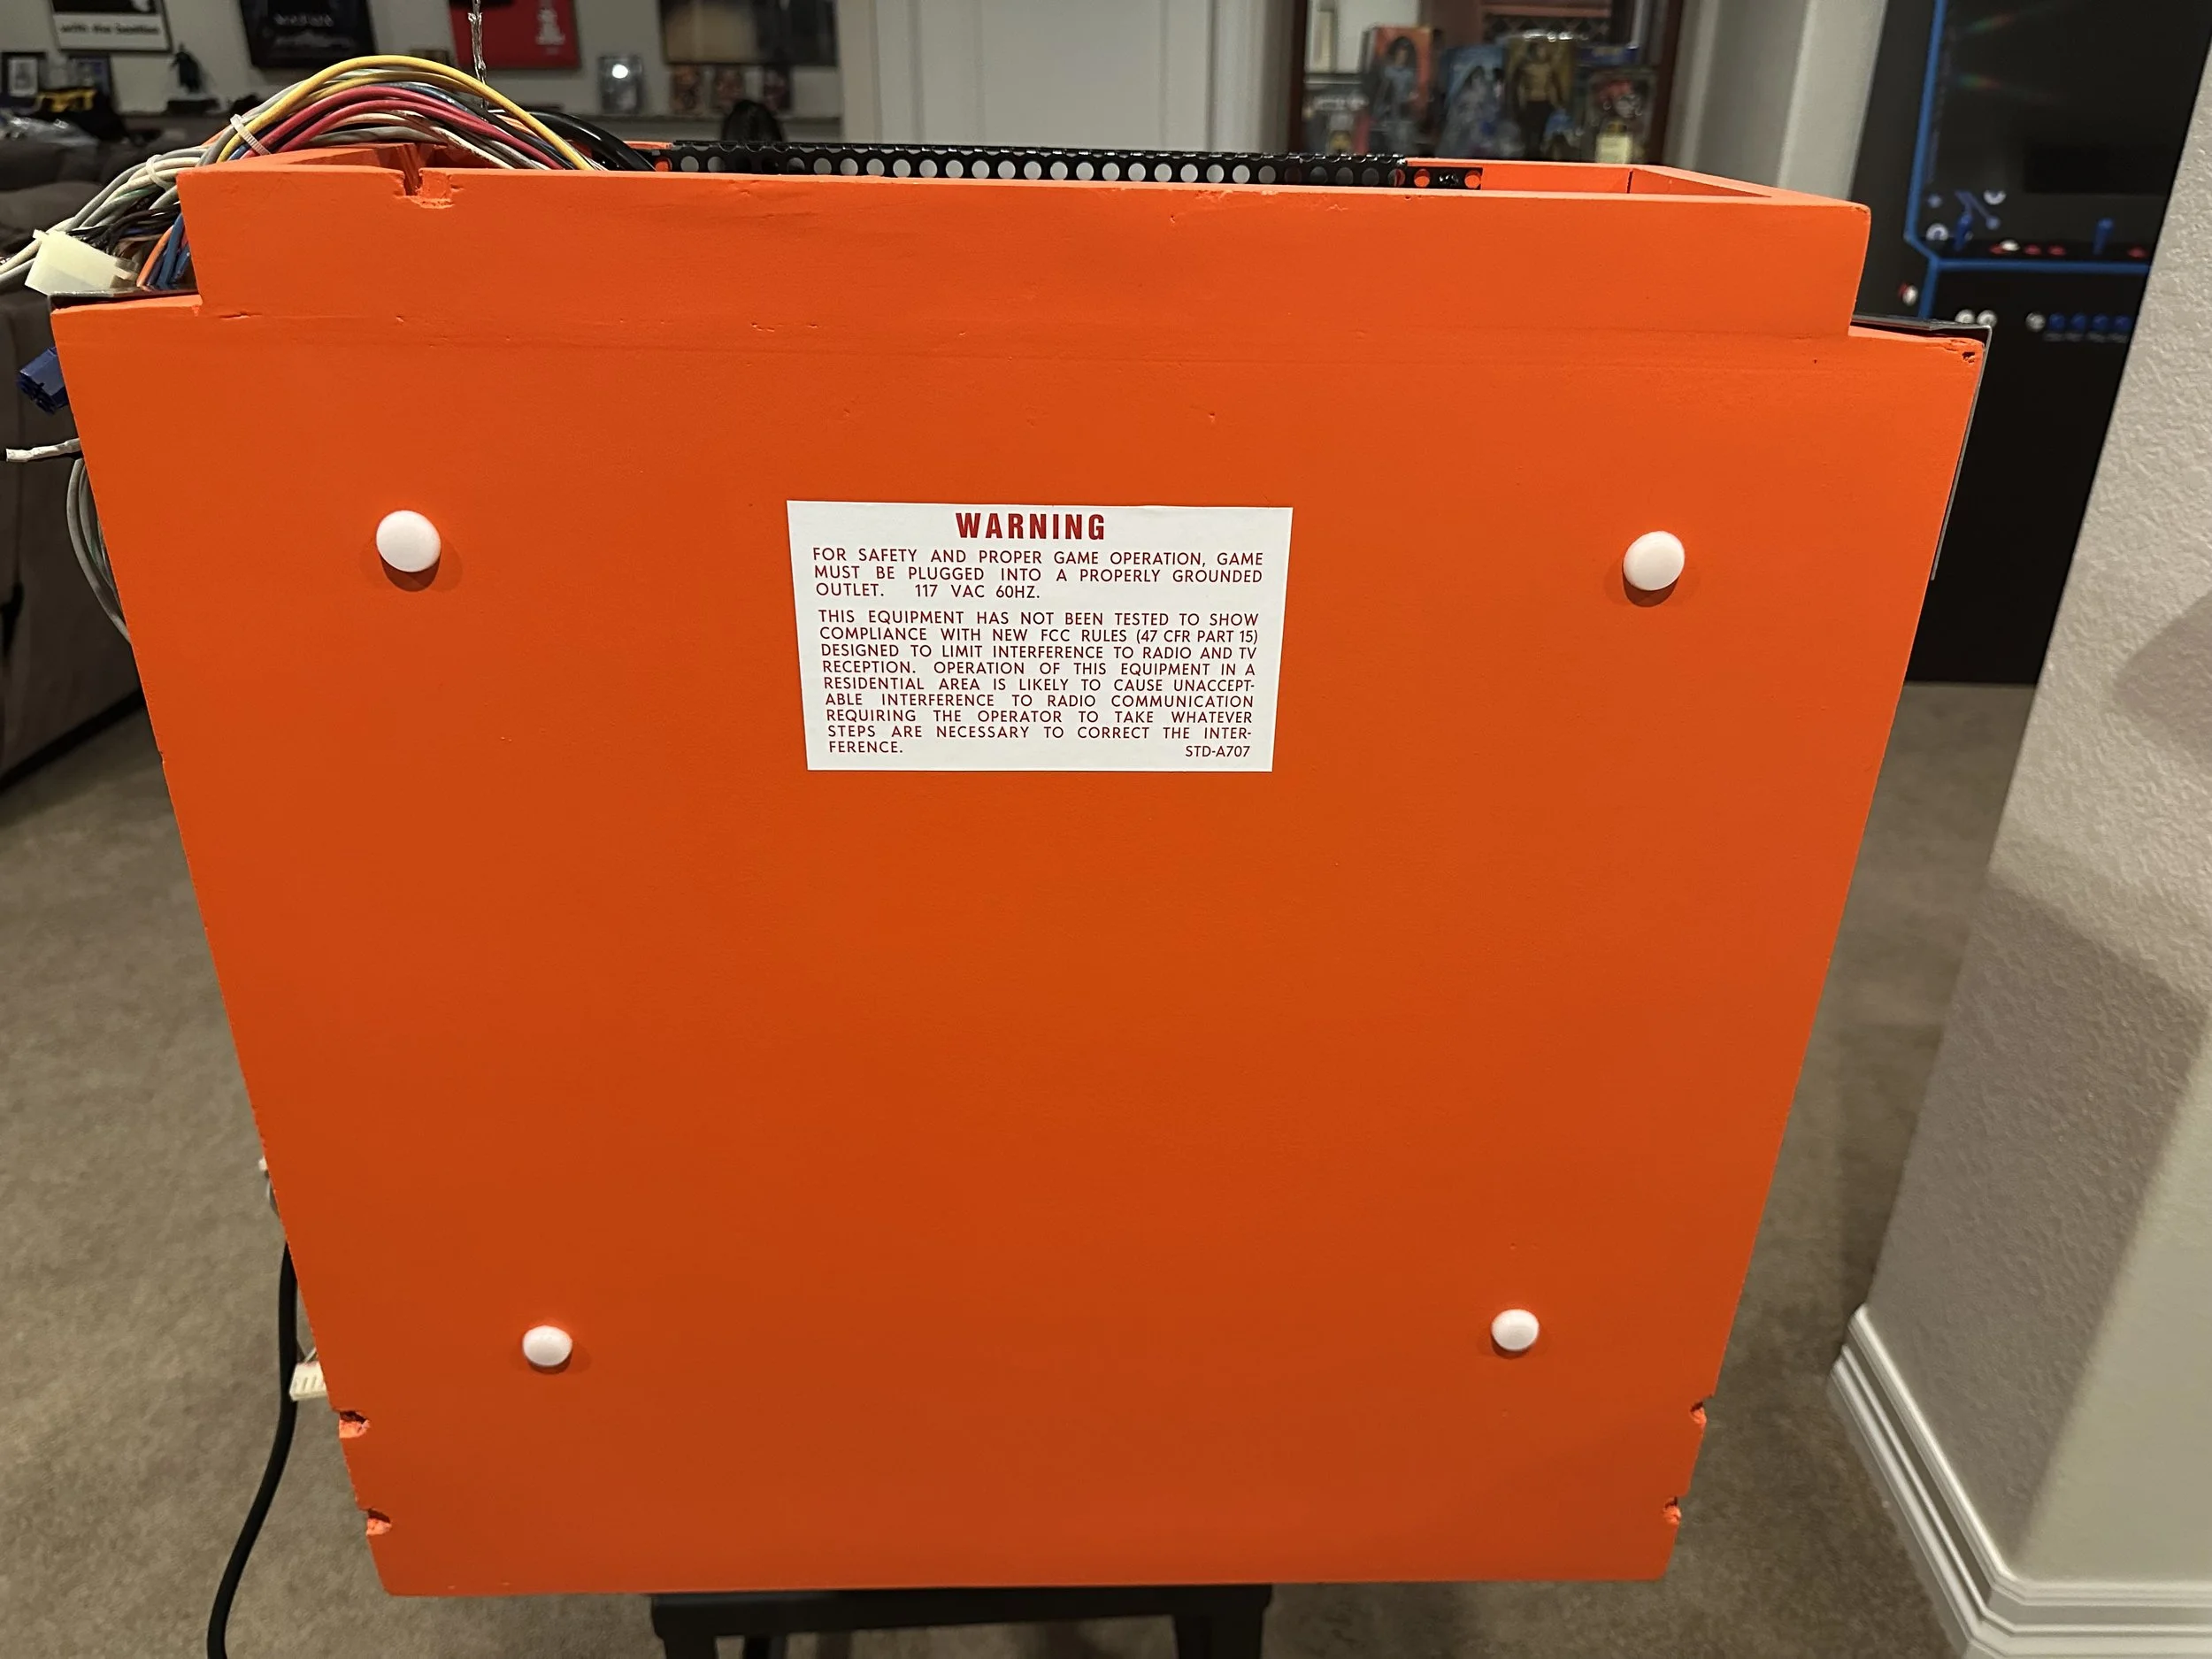
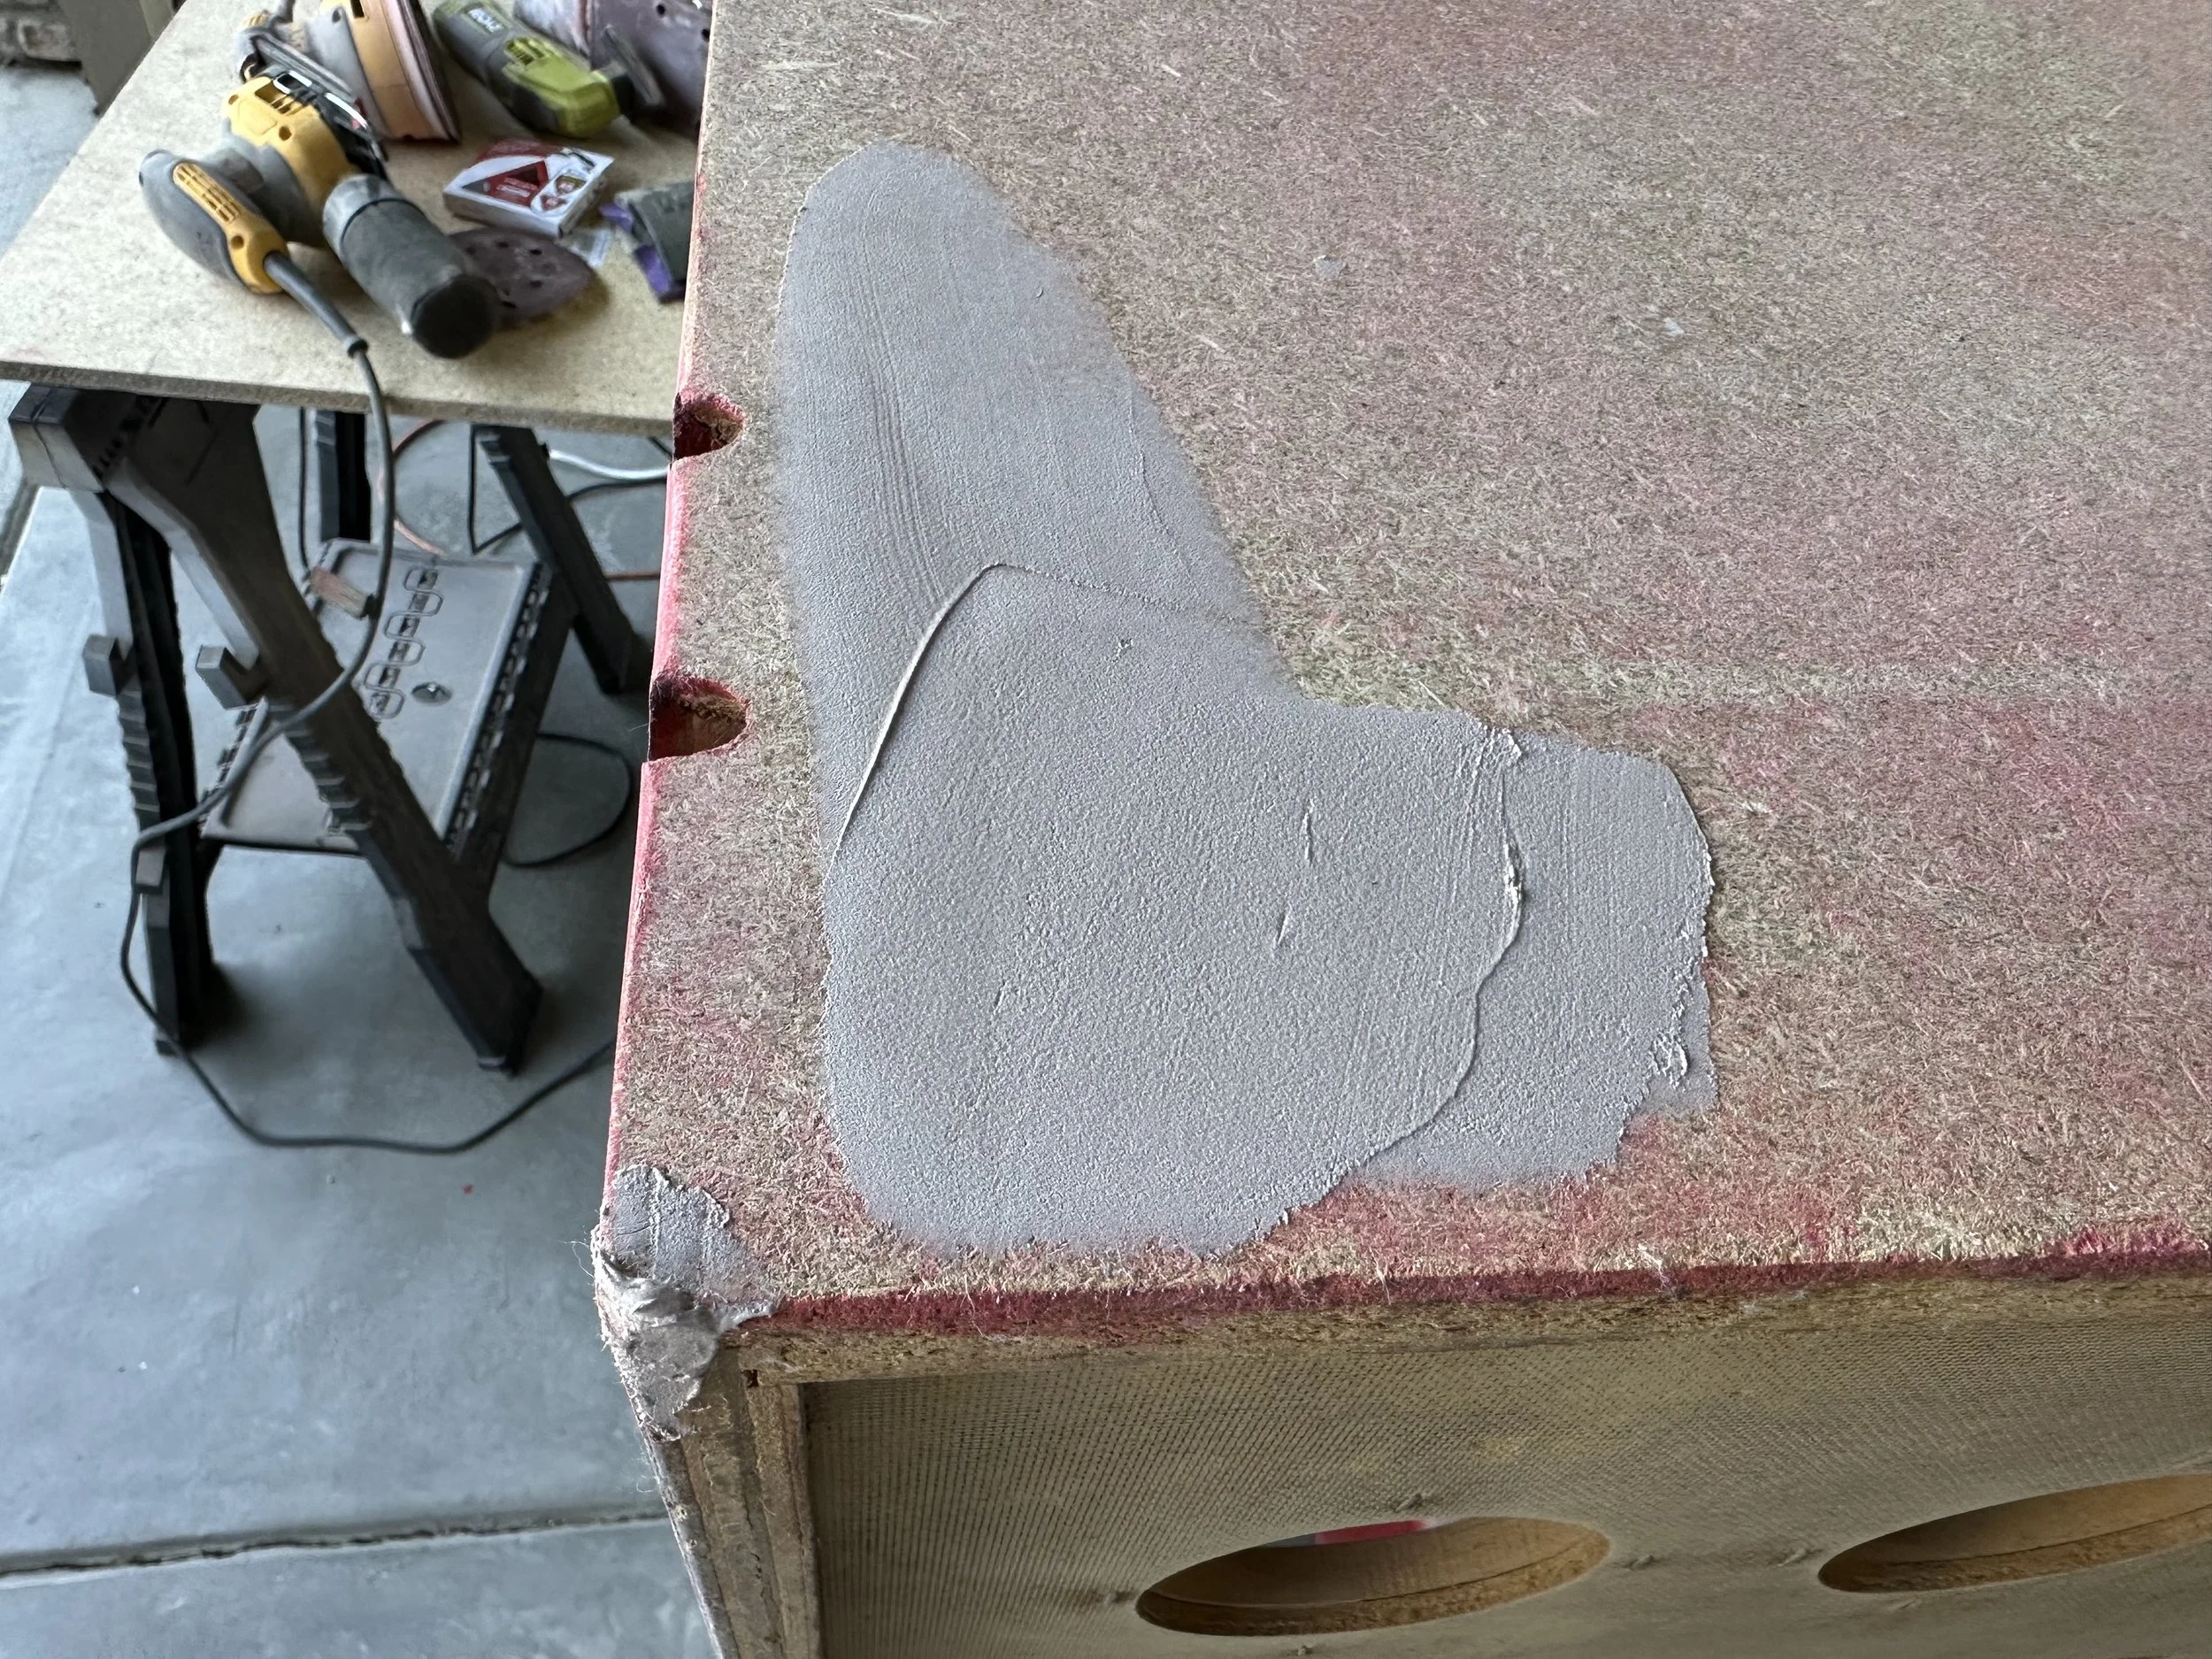
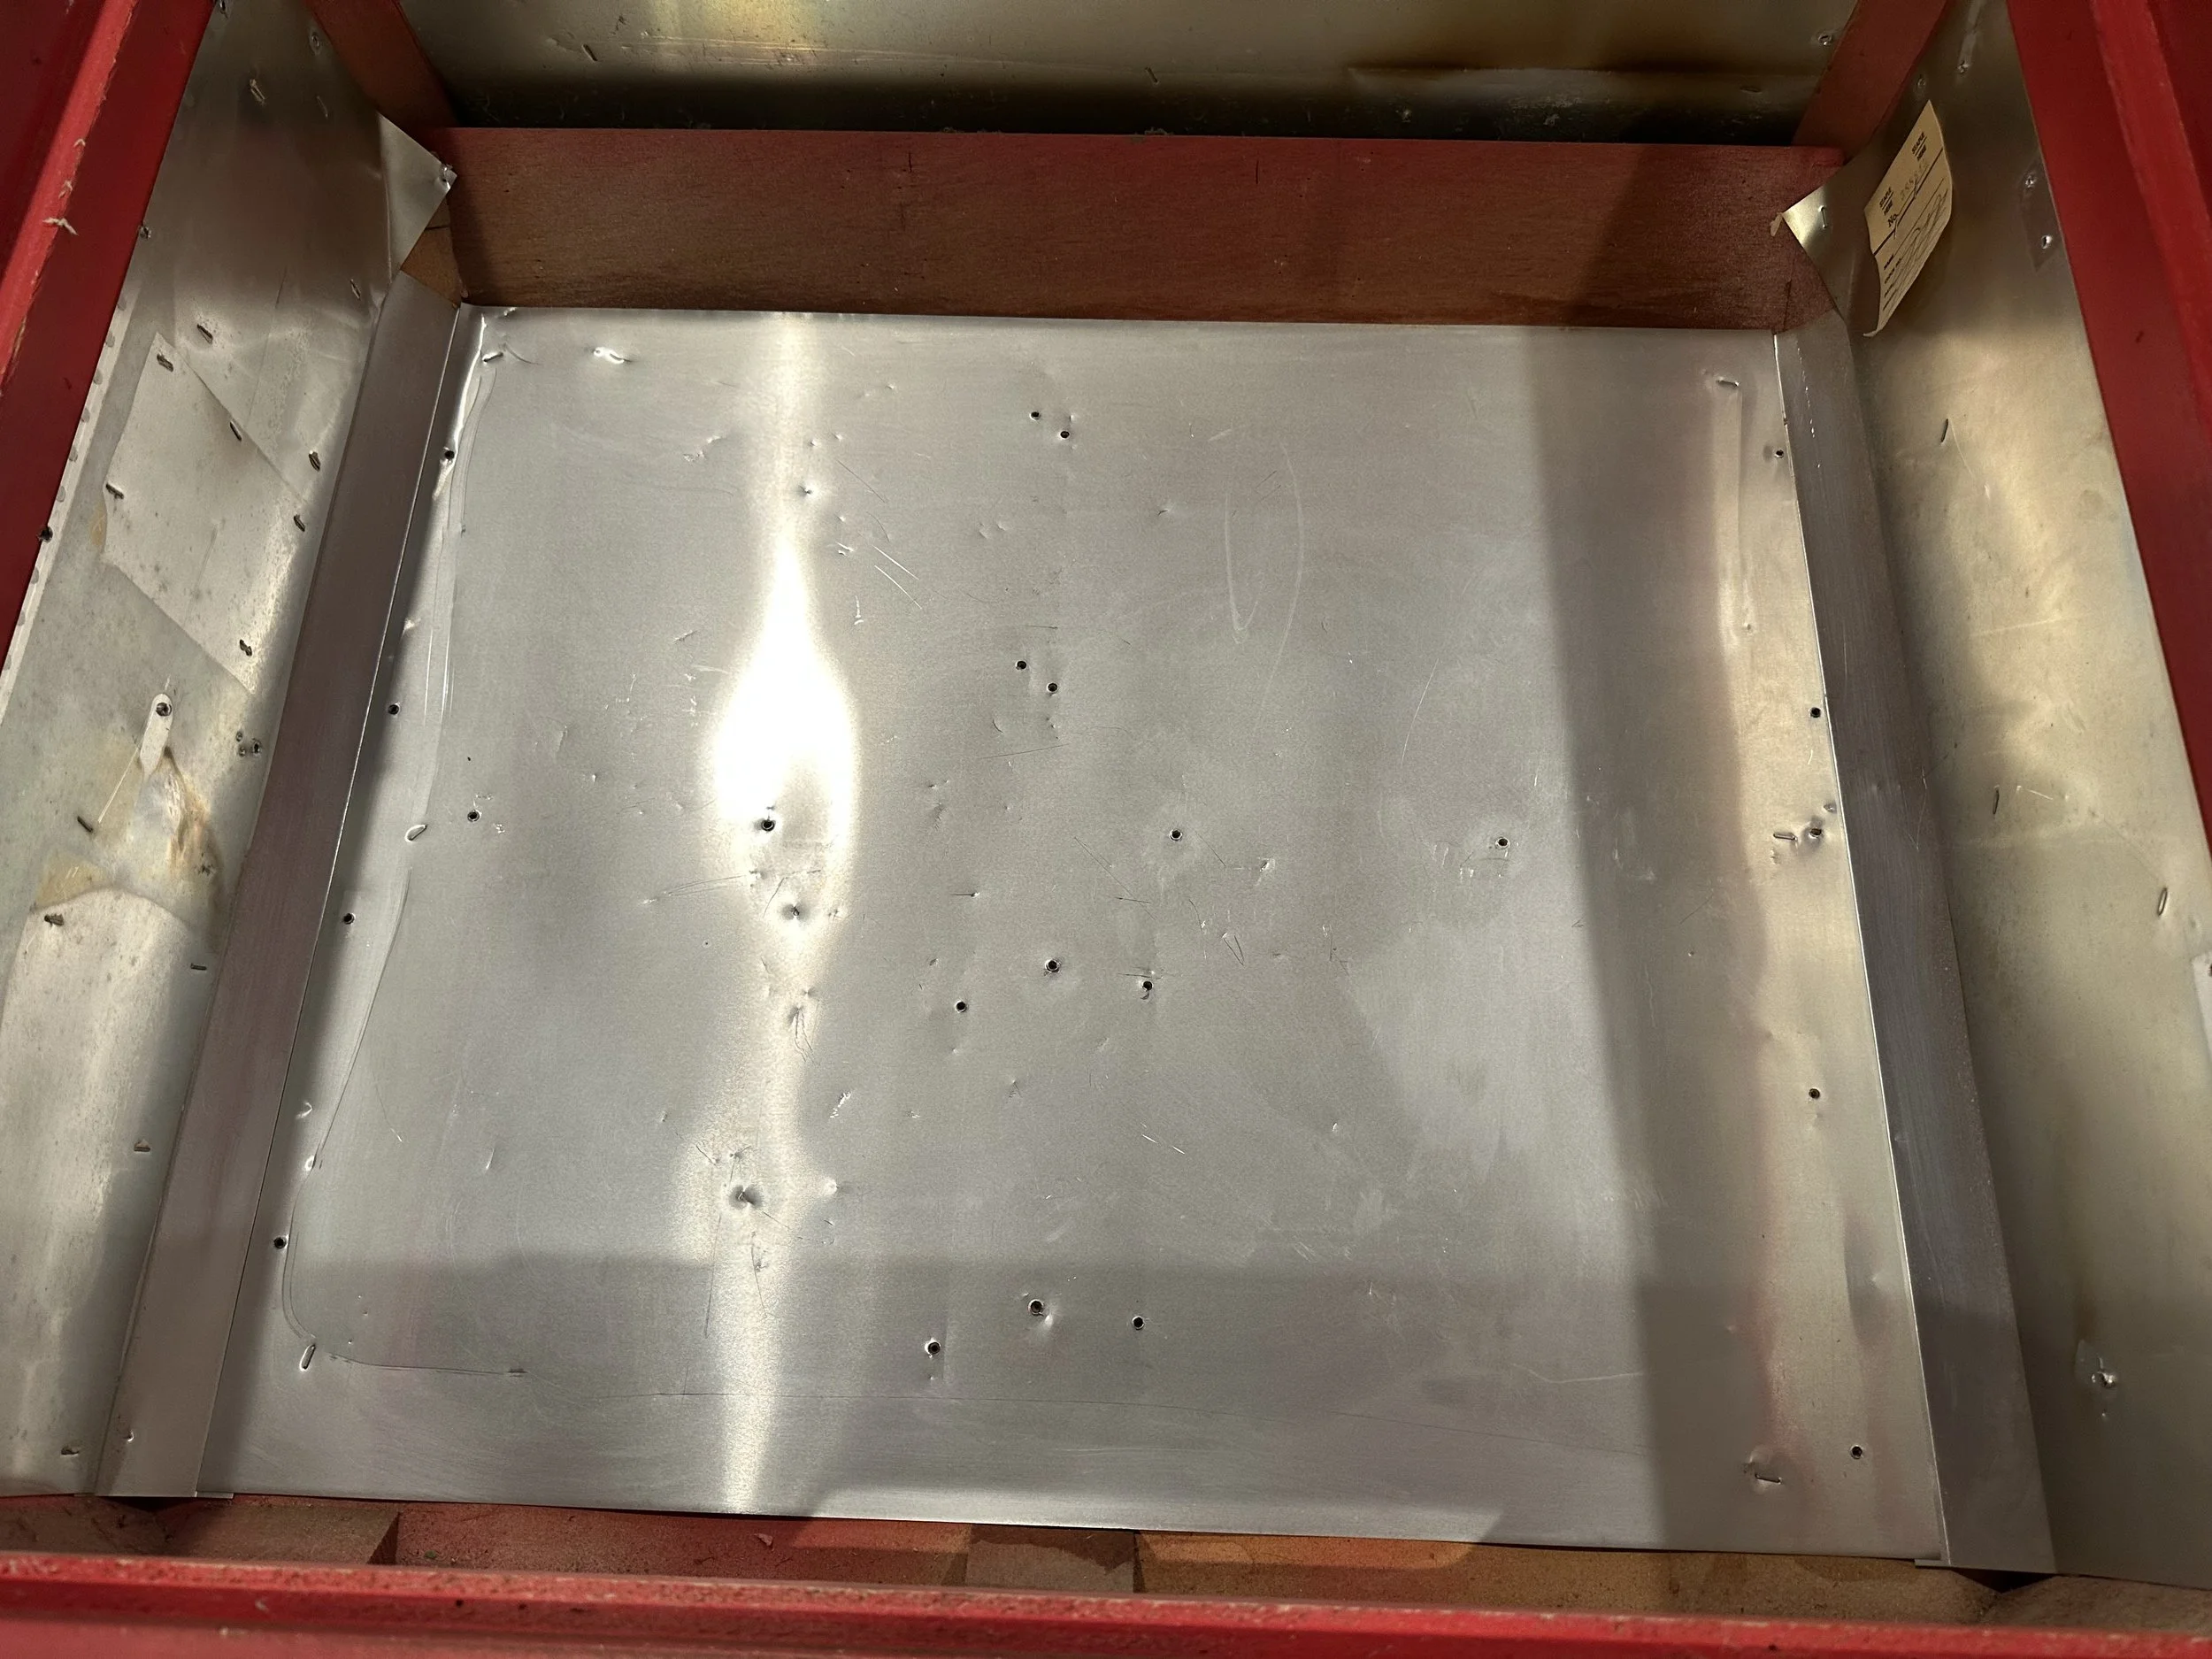
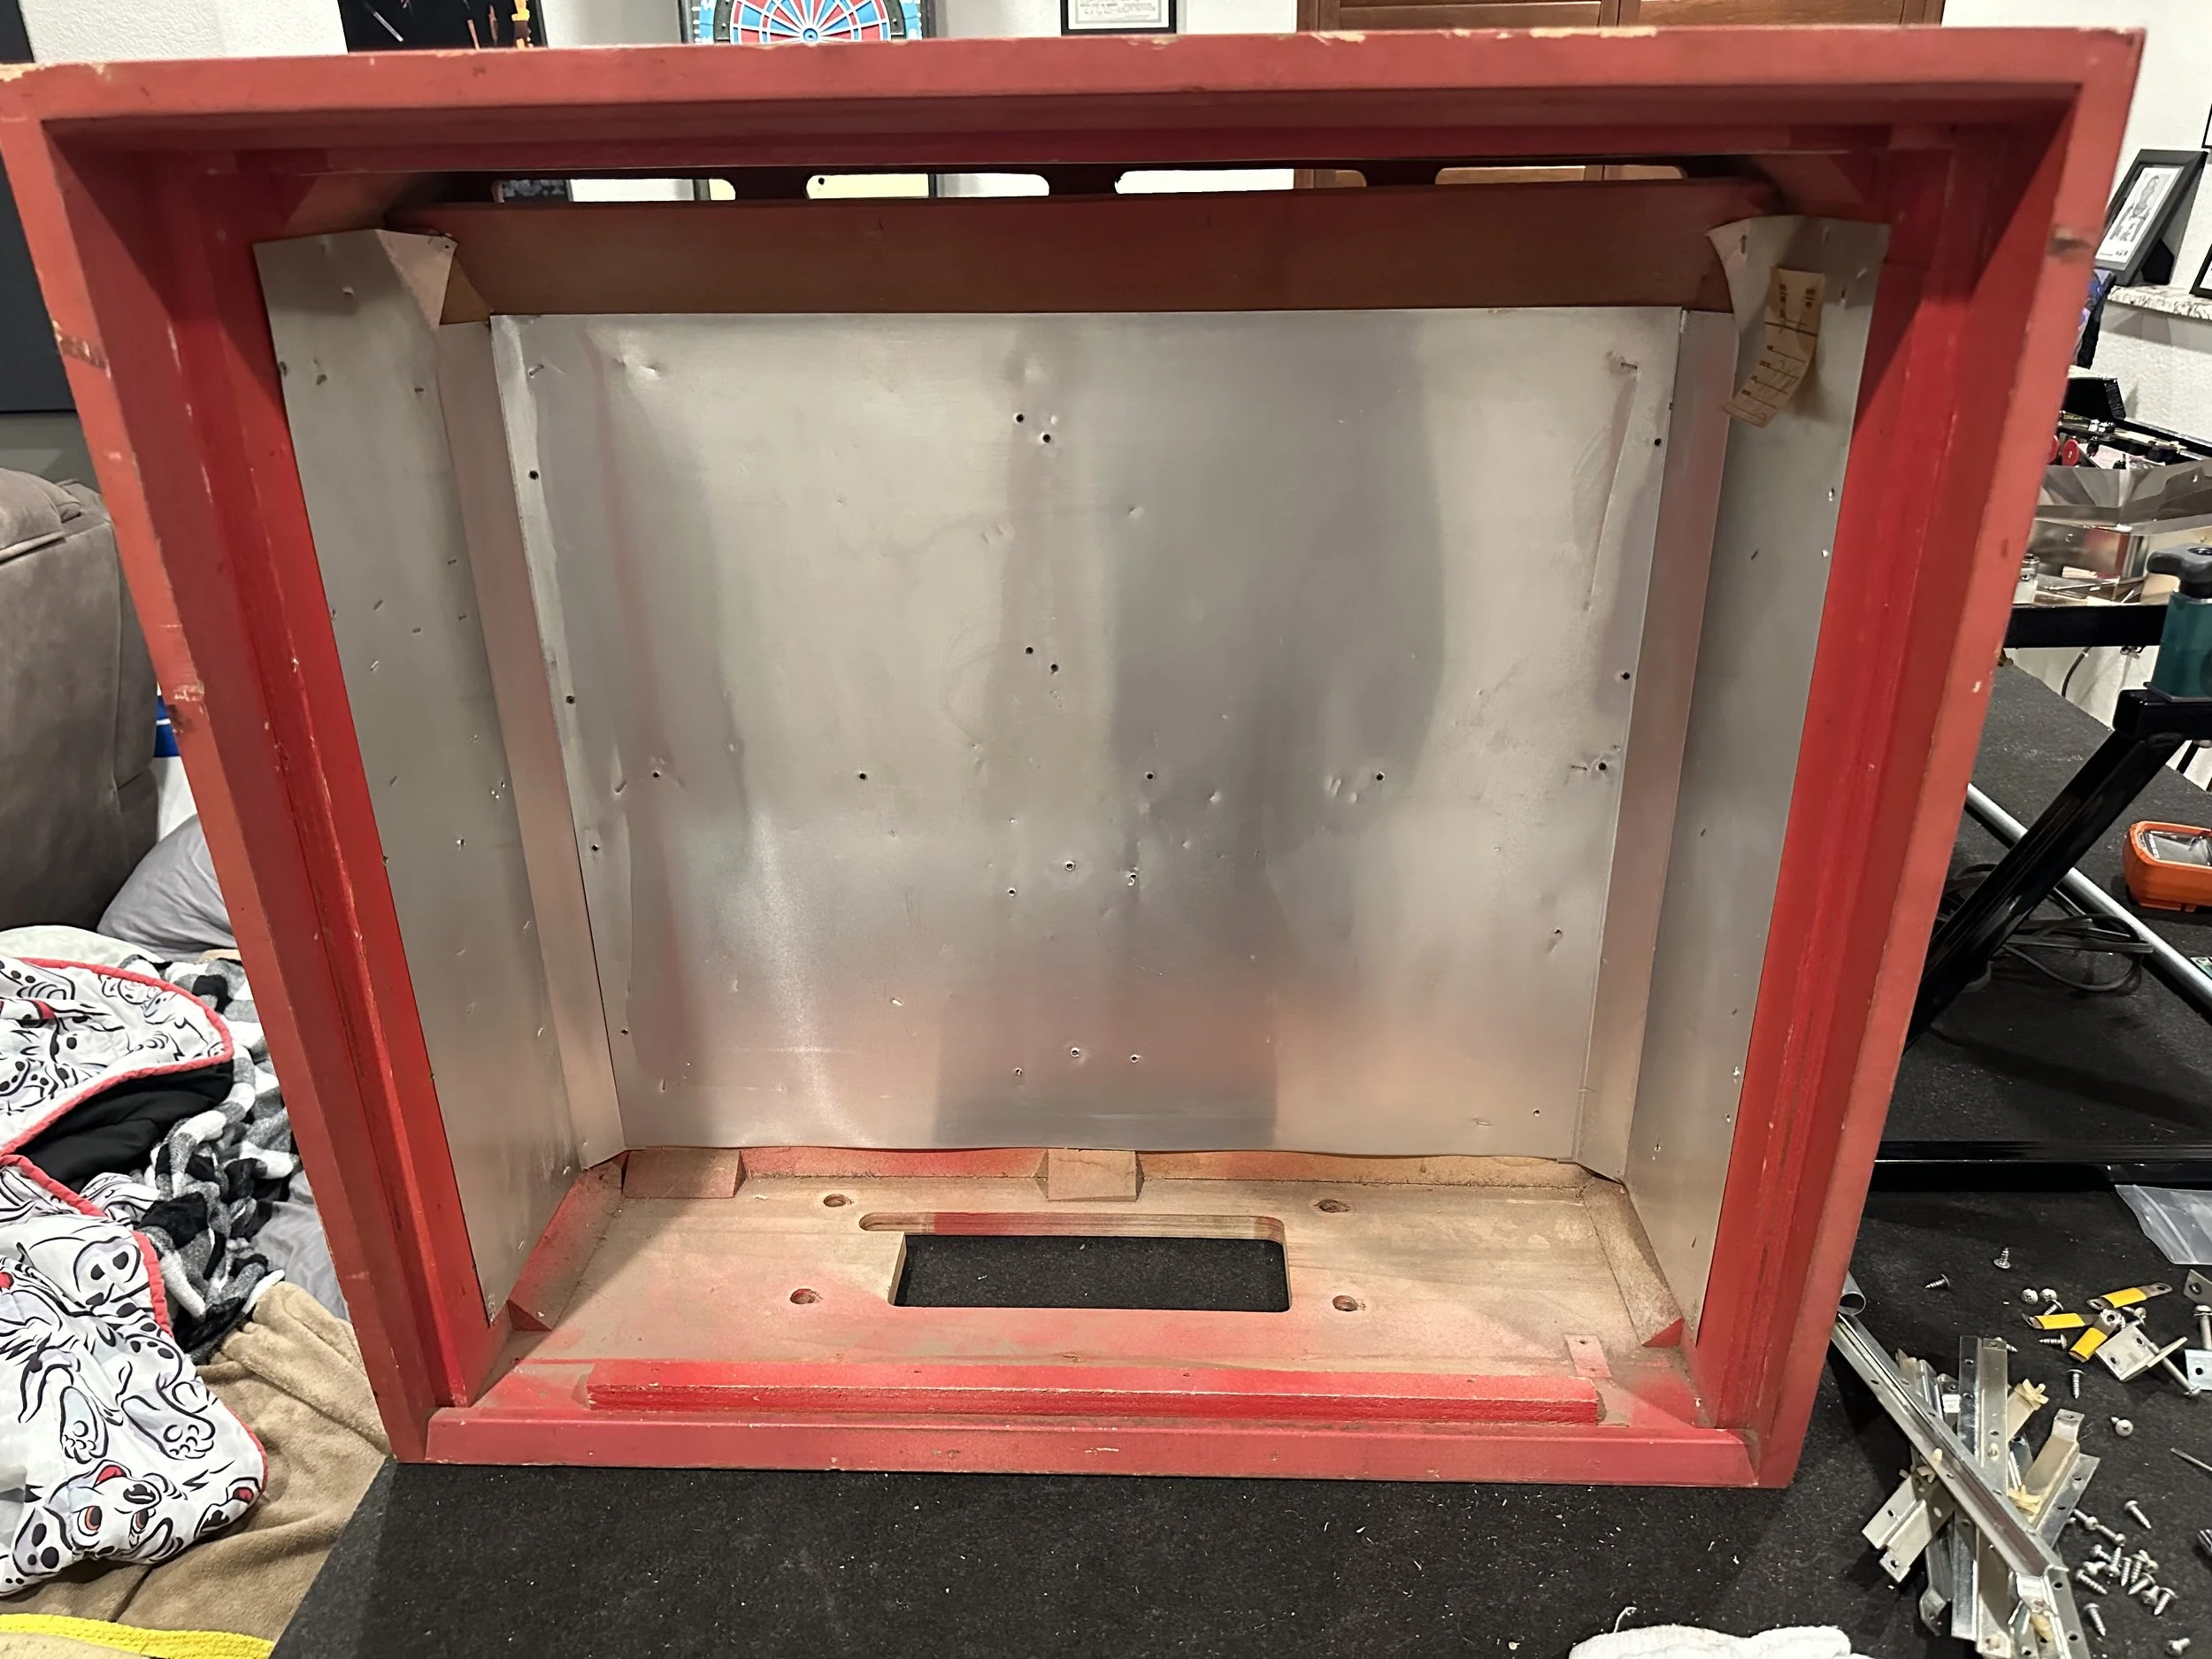
I was able to make the necessary repairs to the cabinet - fixed the loose neck so the jury-rigged bracket a previous owner put on was no longer needed. Smoothed out all of the scratches and deeper gouges, repaired the damaged corners, and filled in holes left behind from old staples and screws.
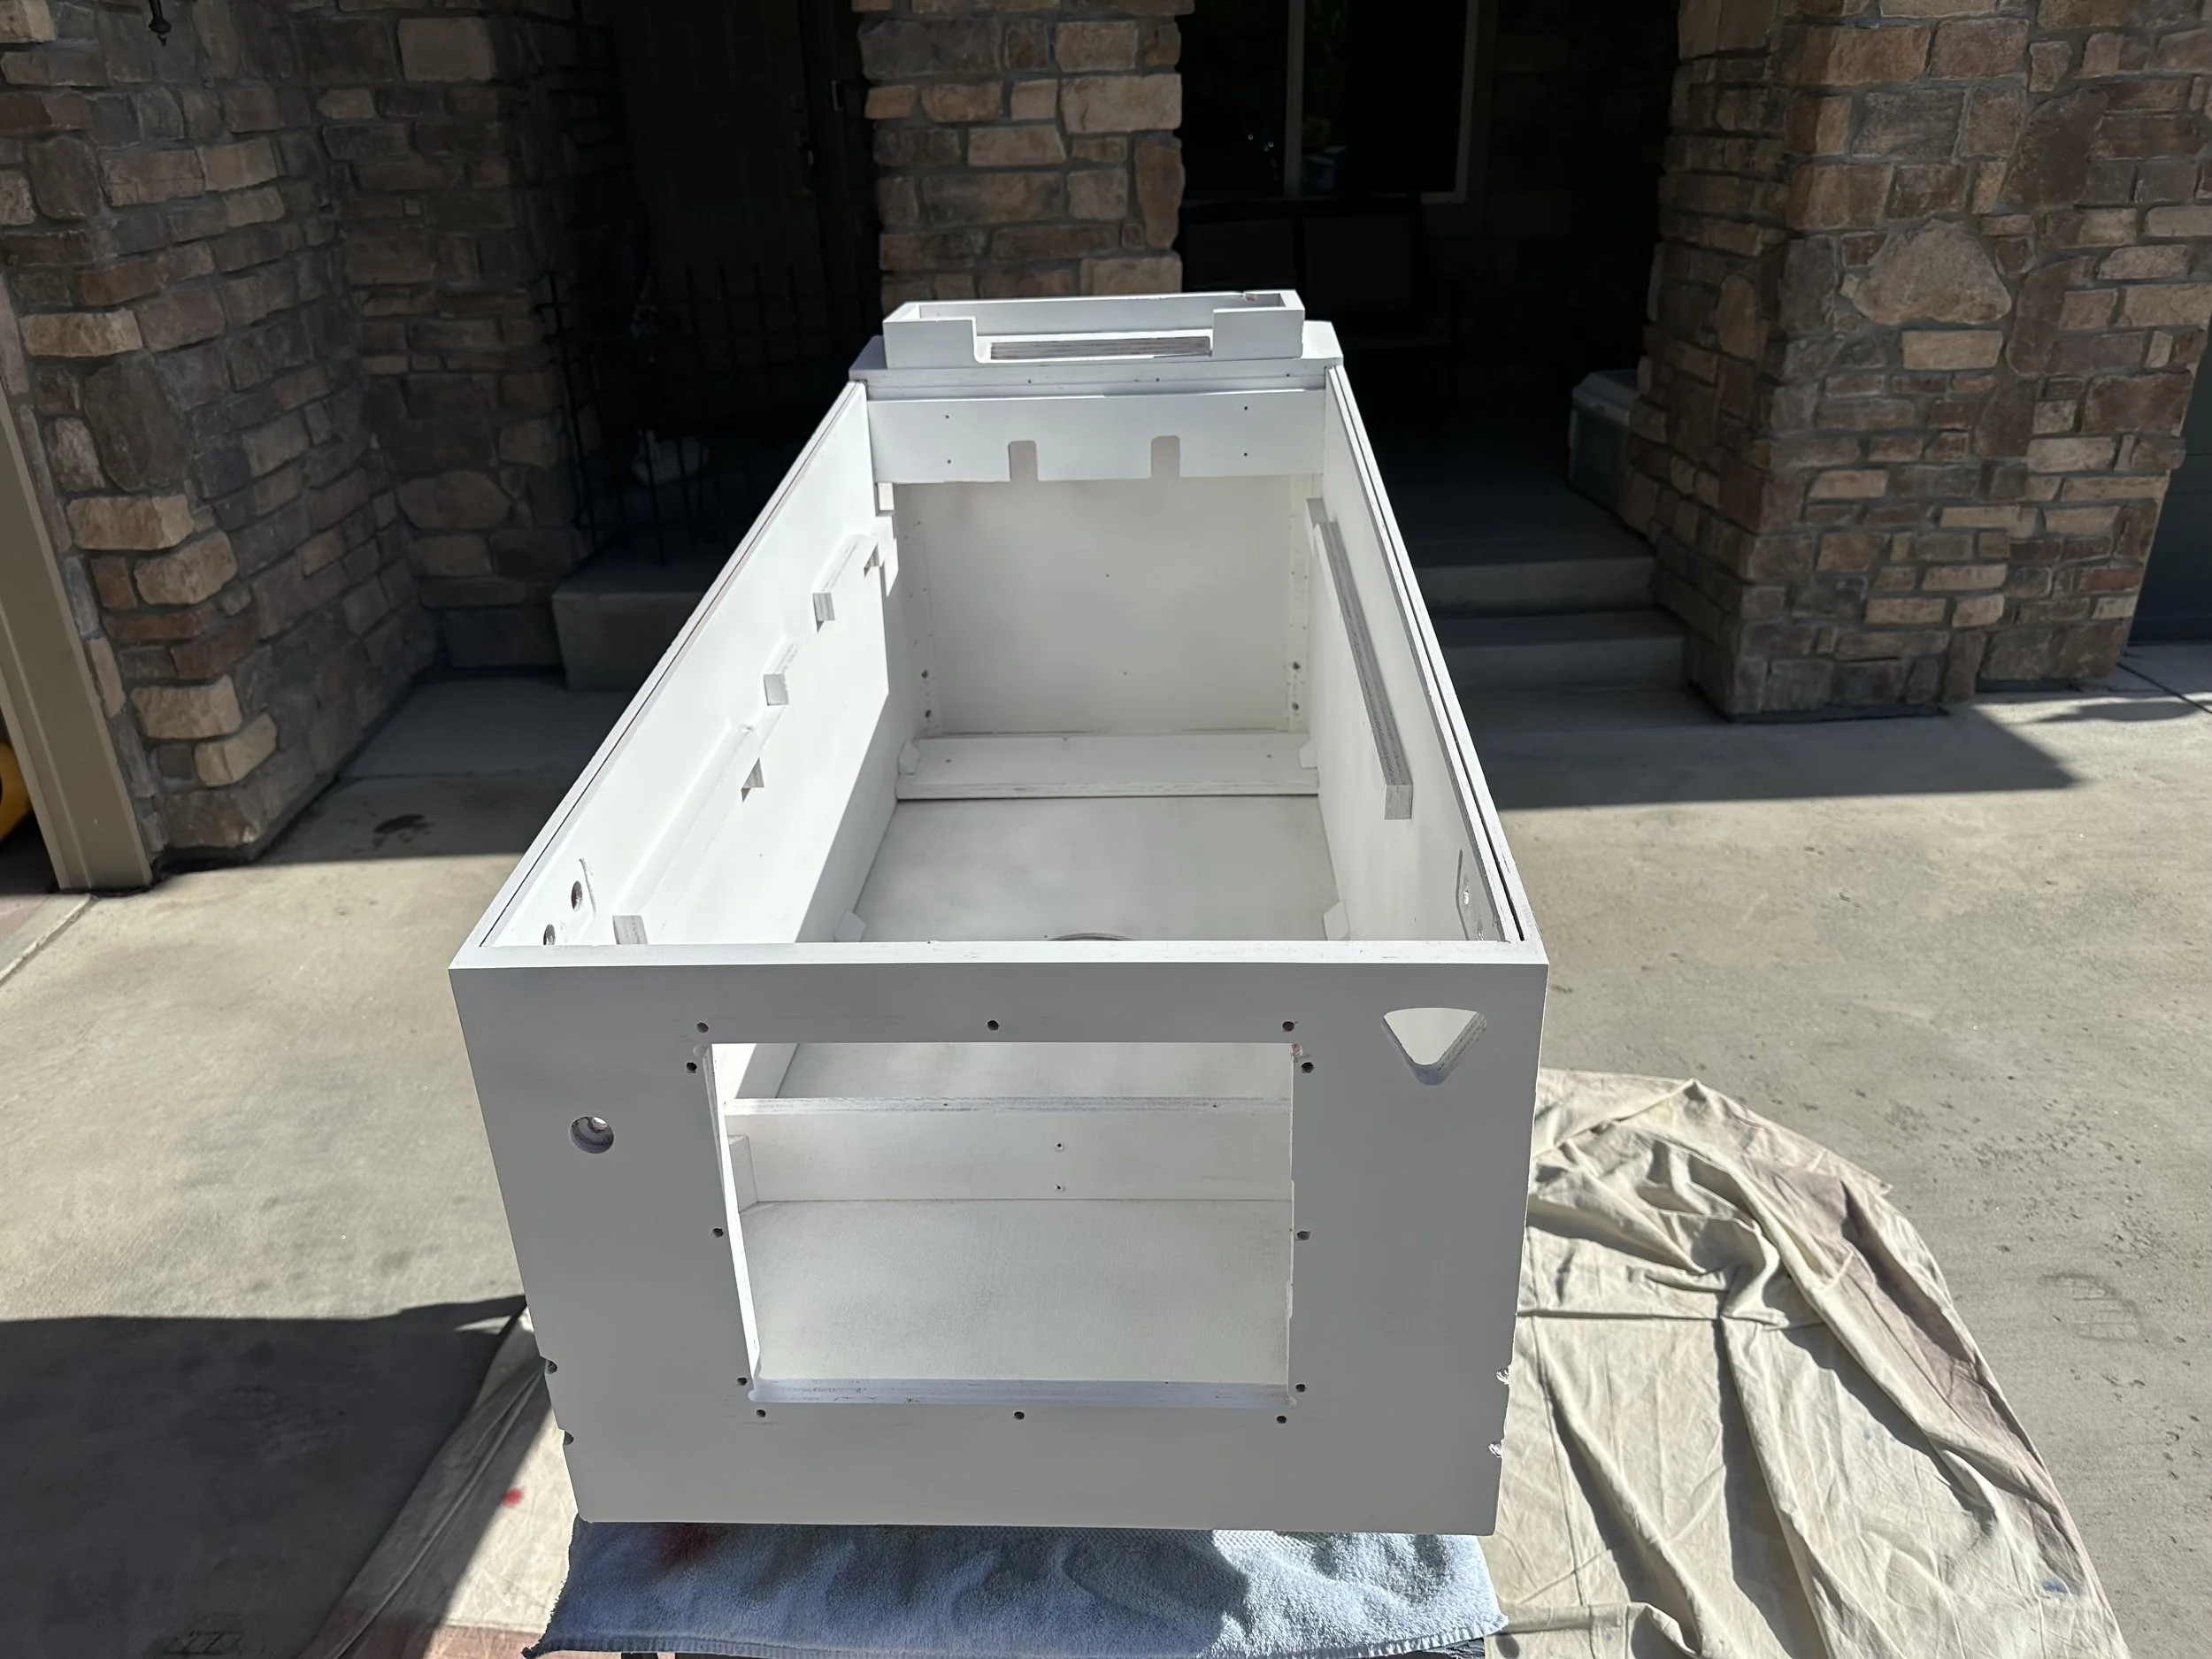
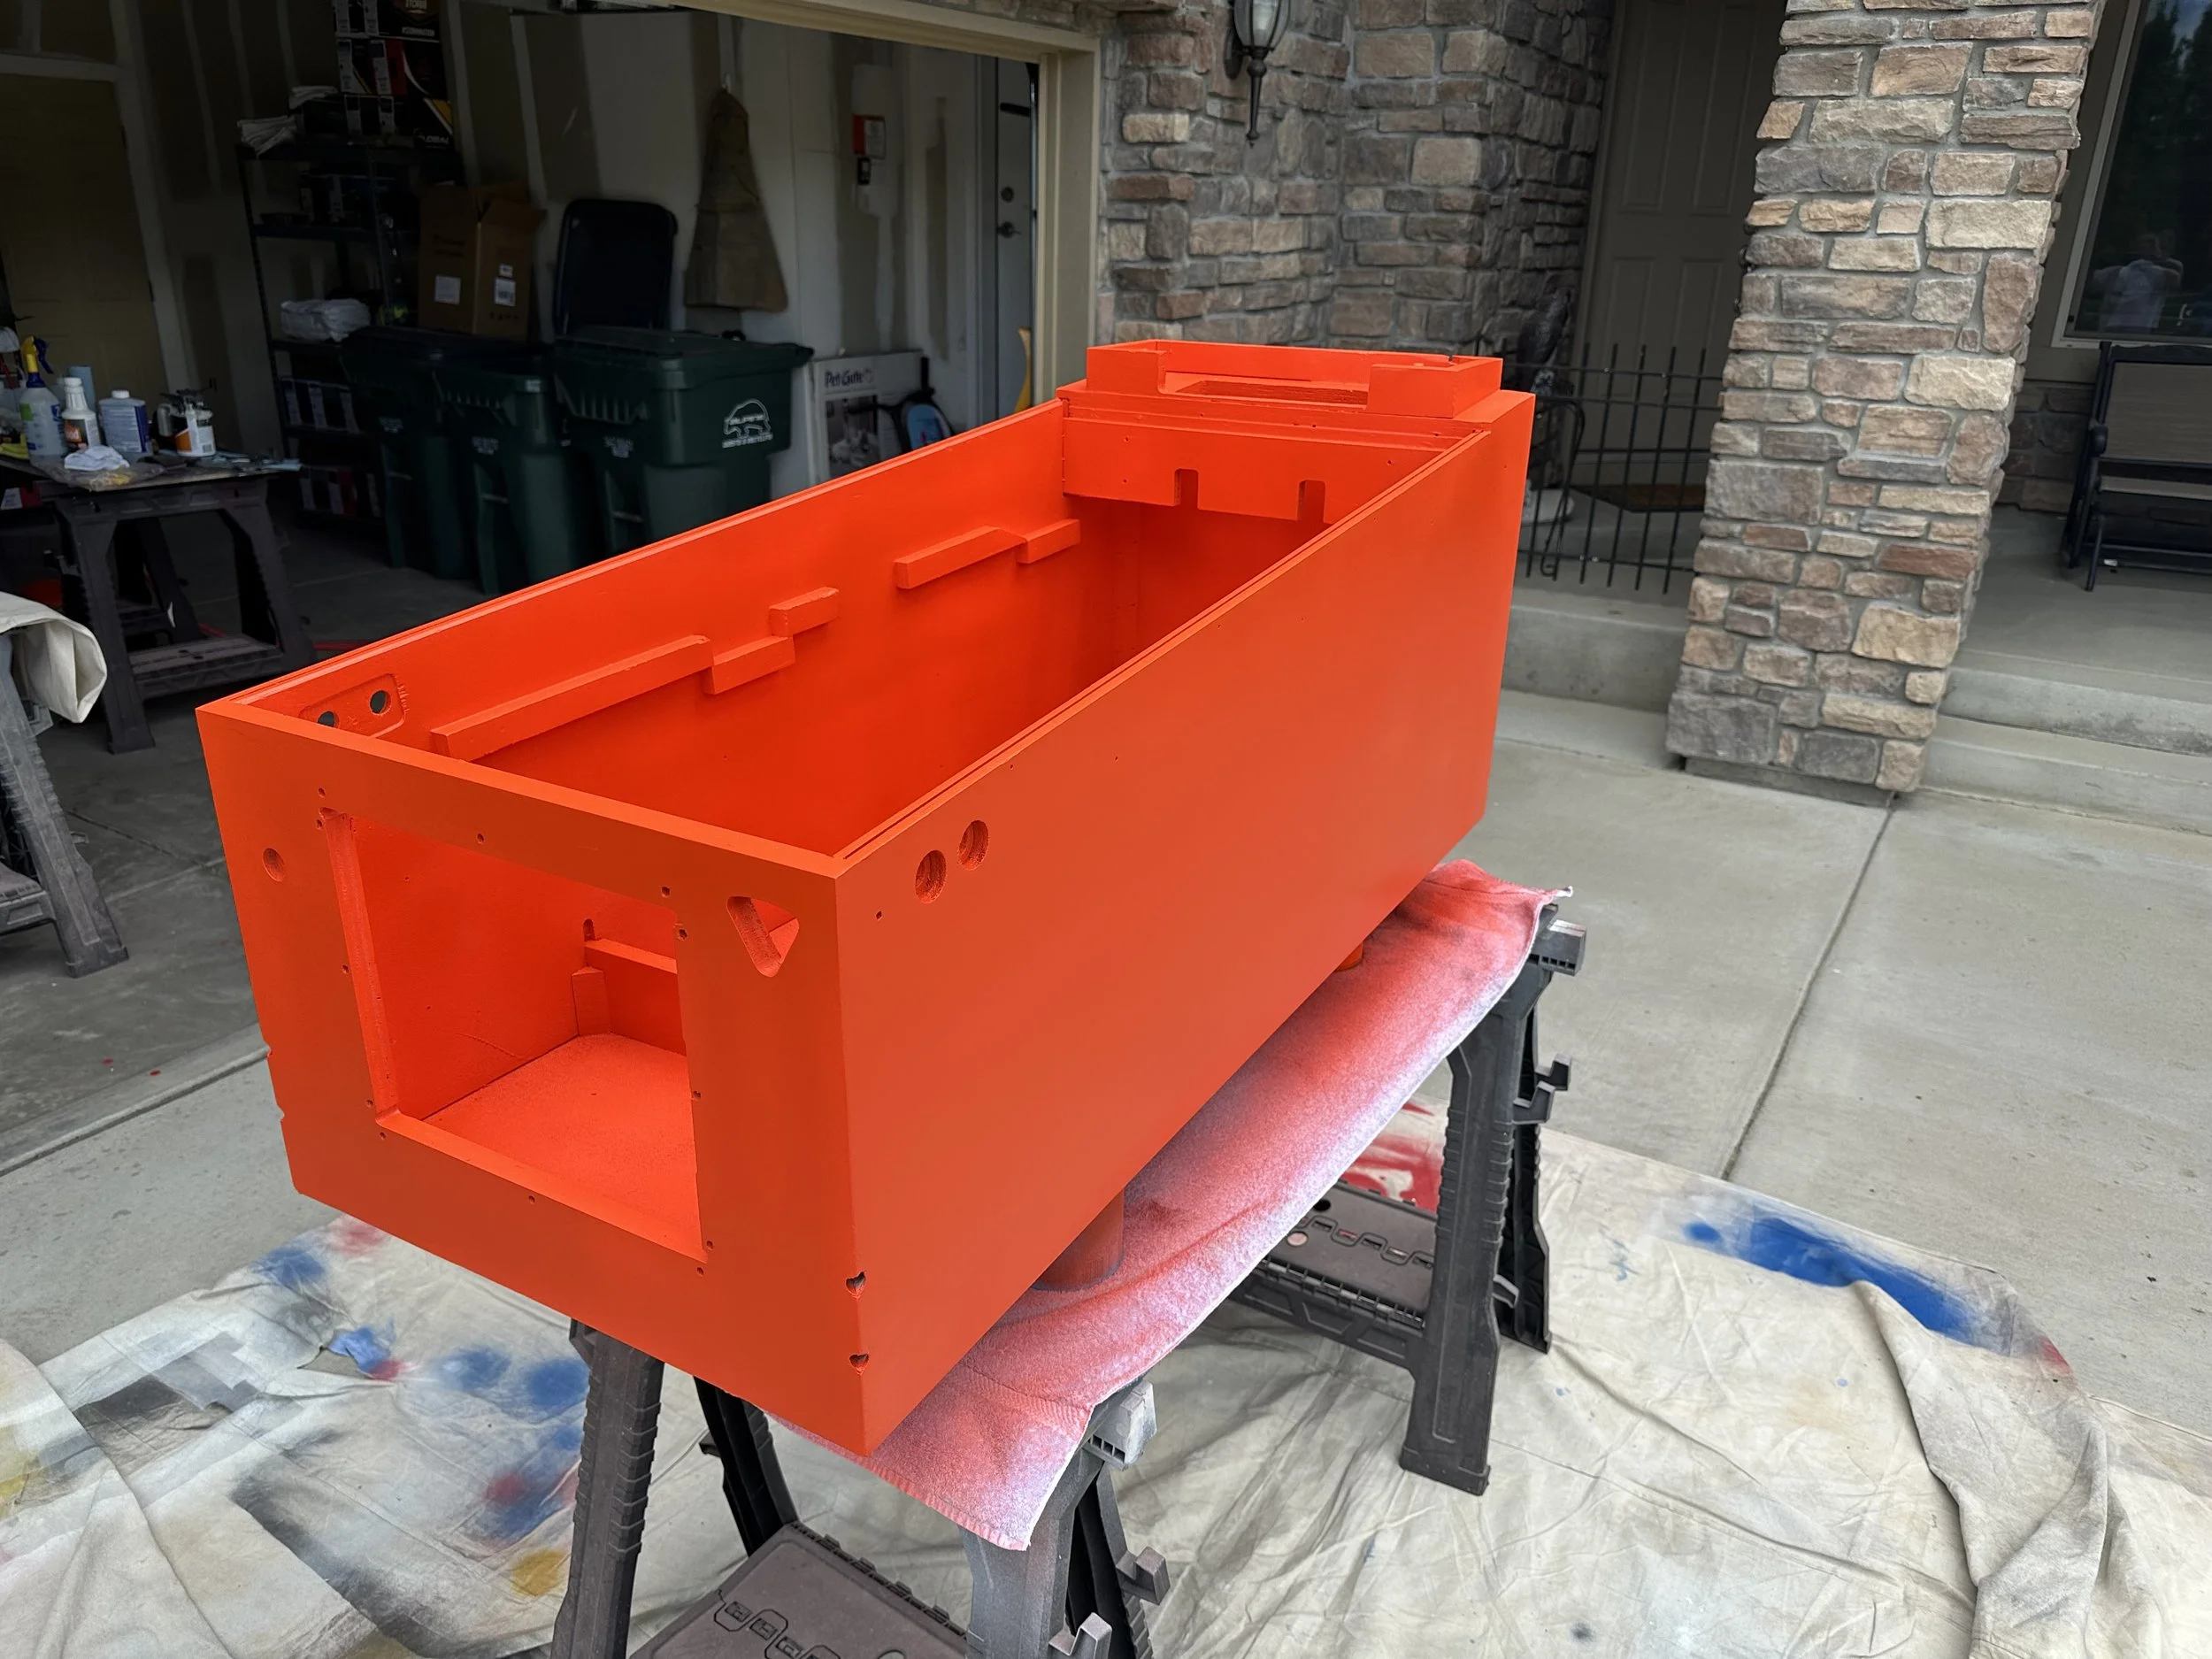
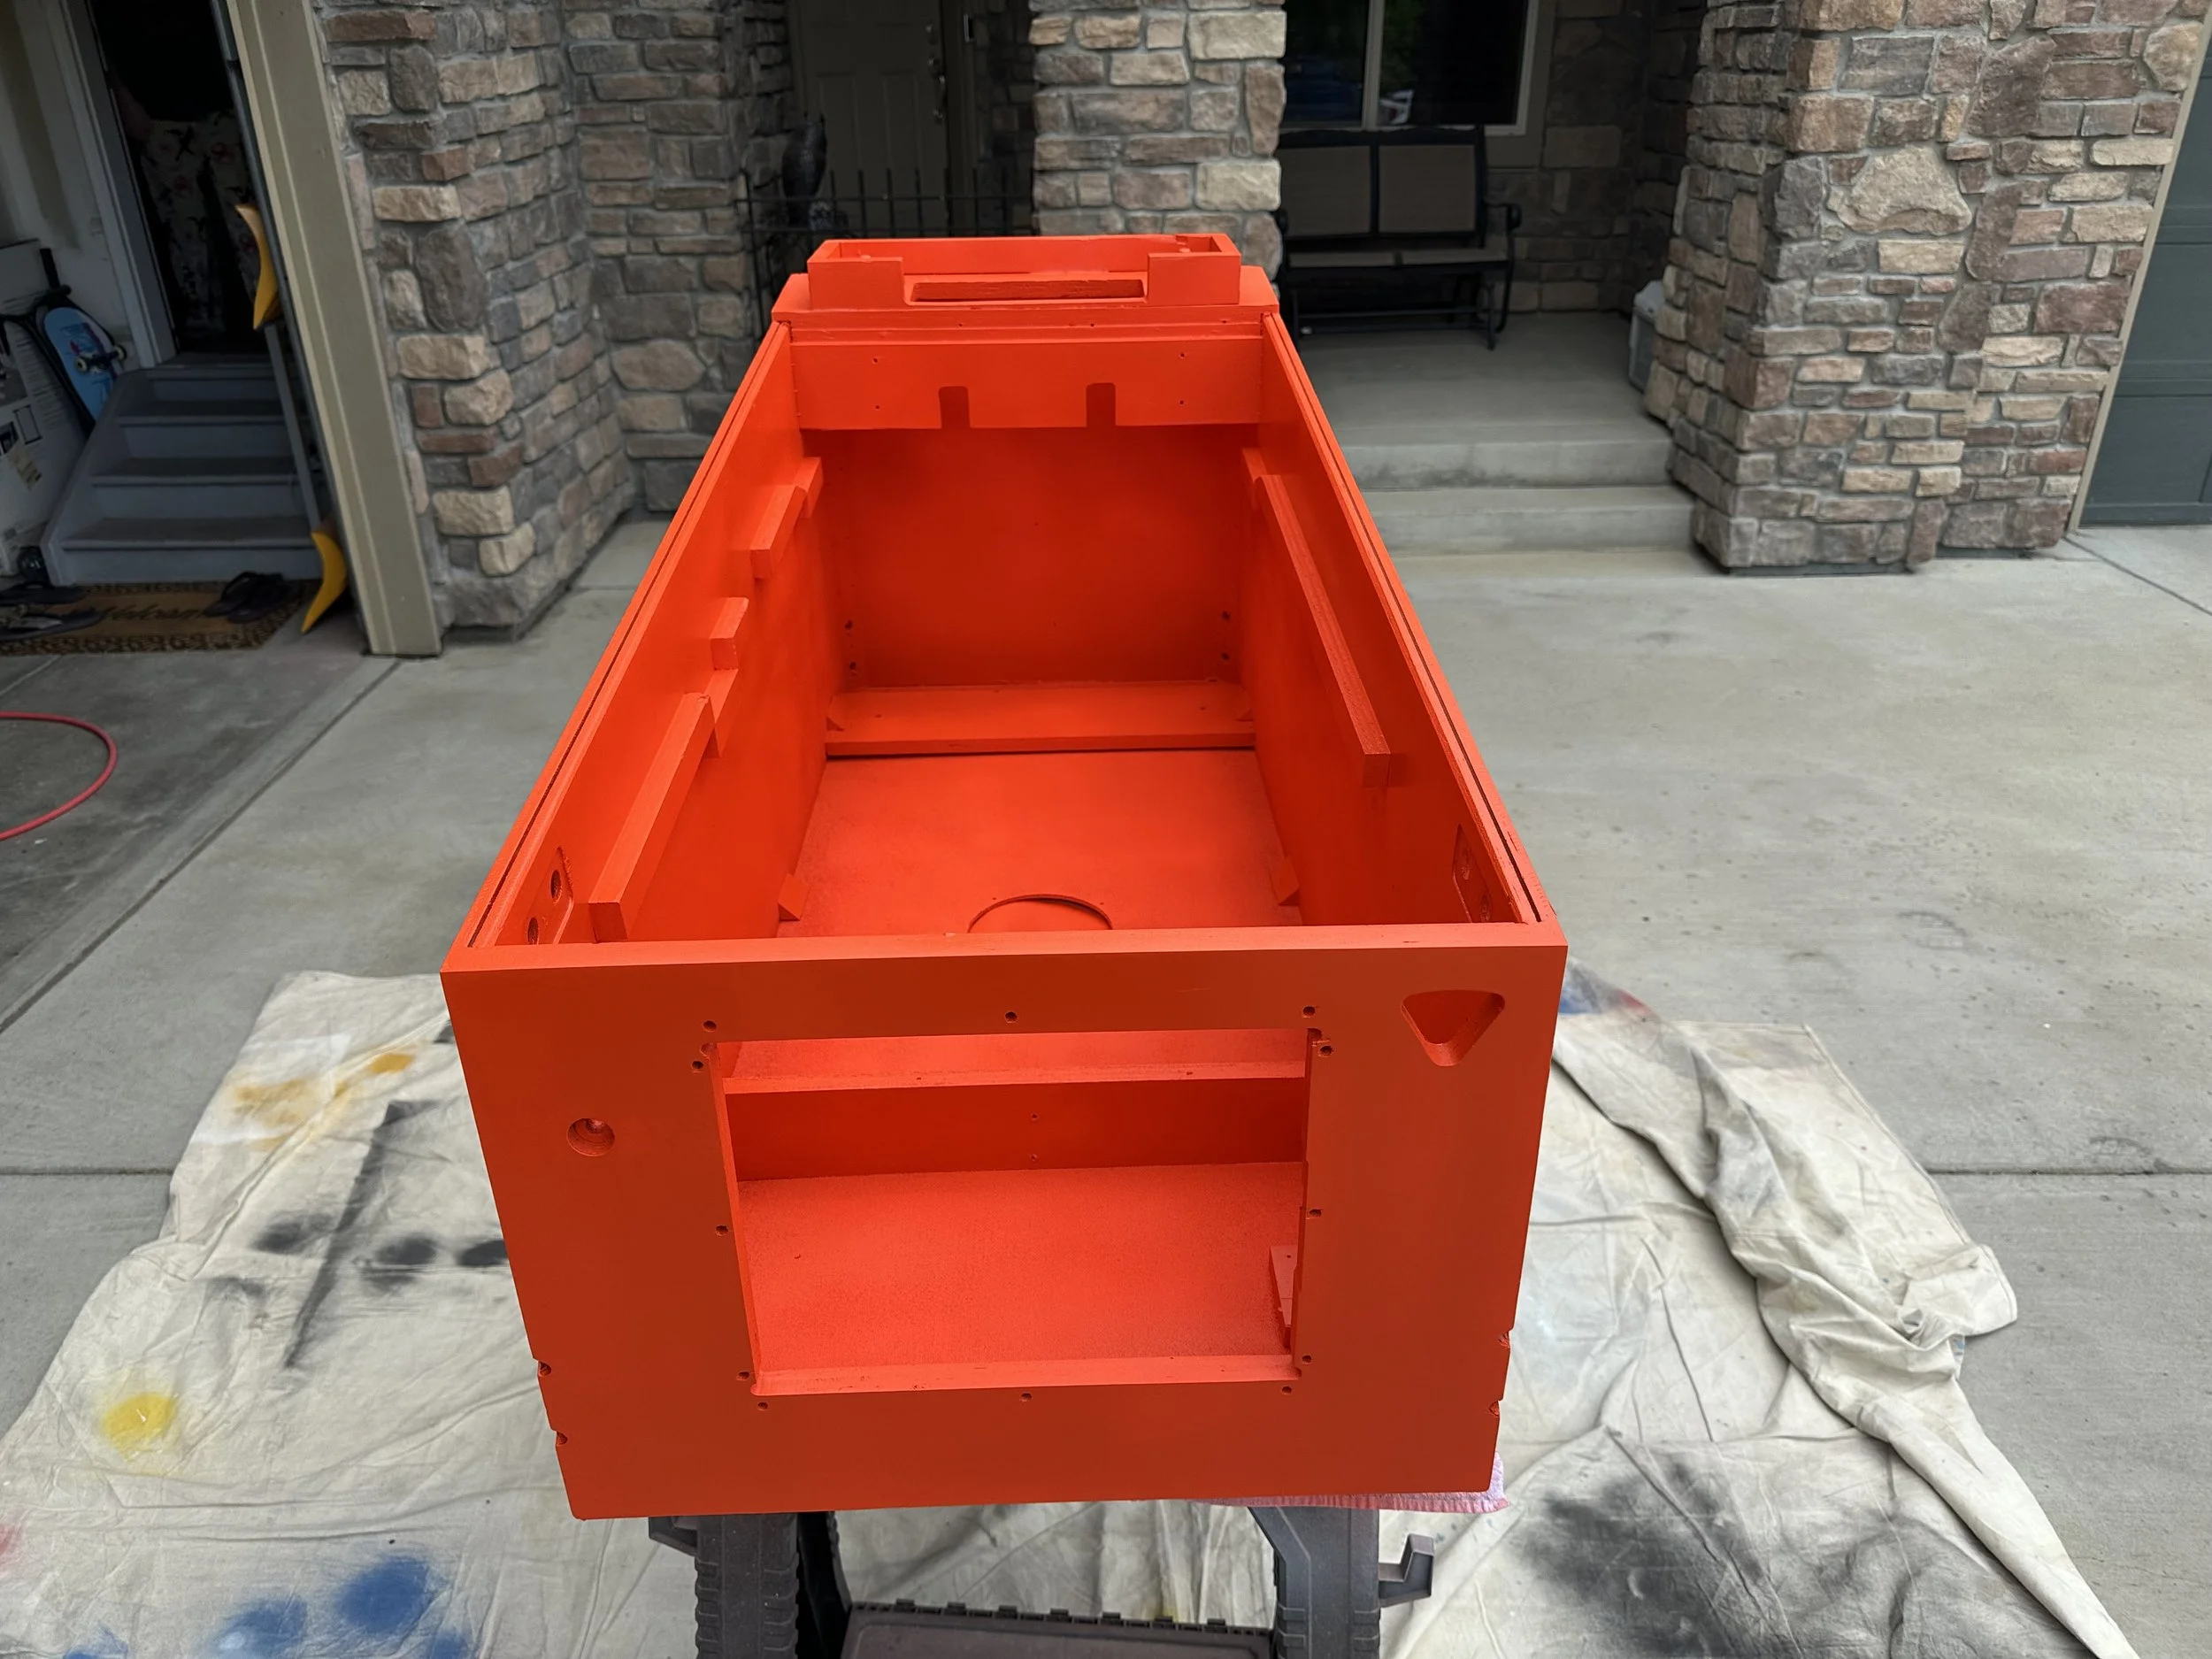
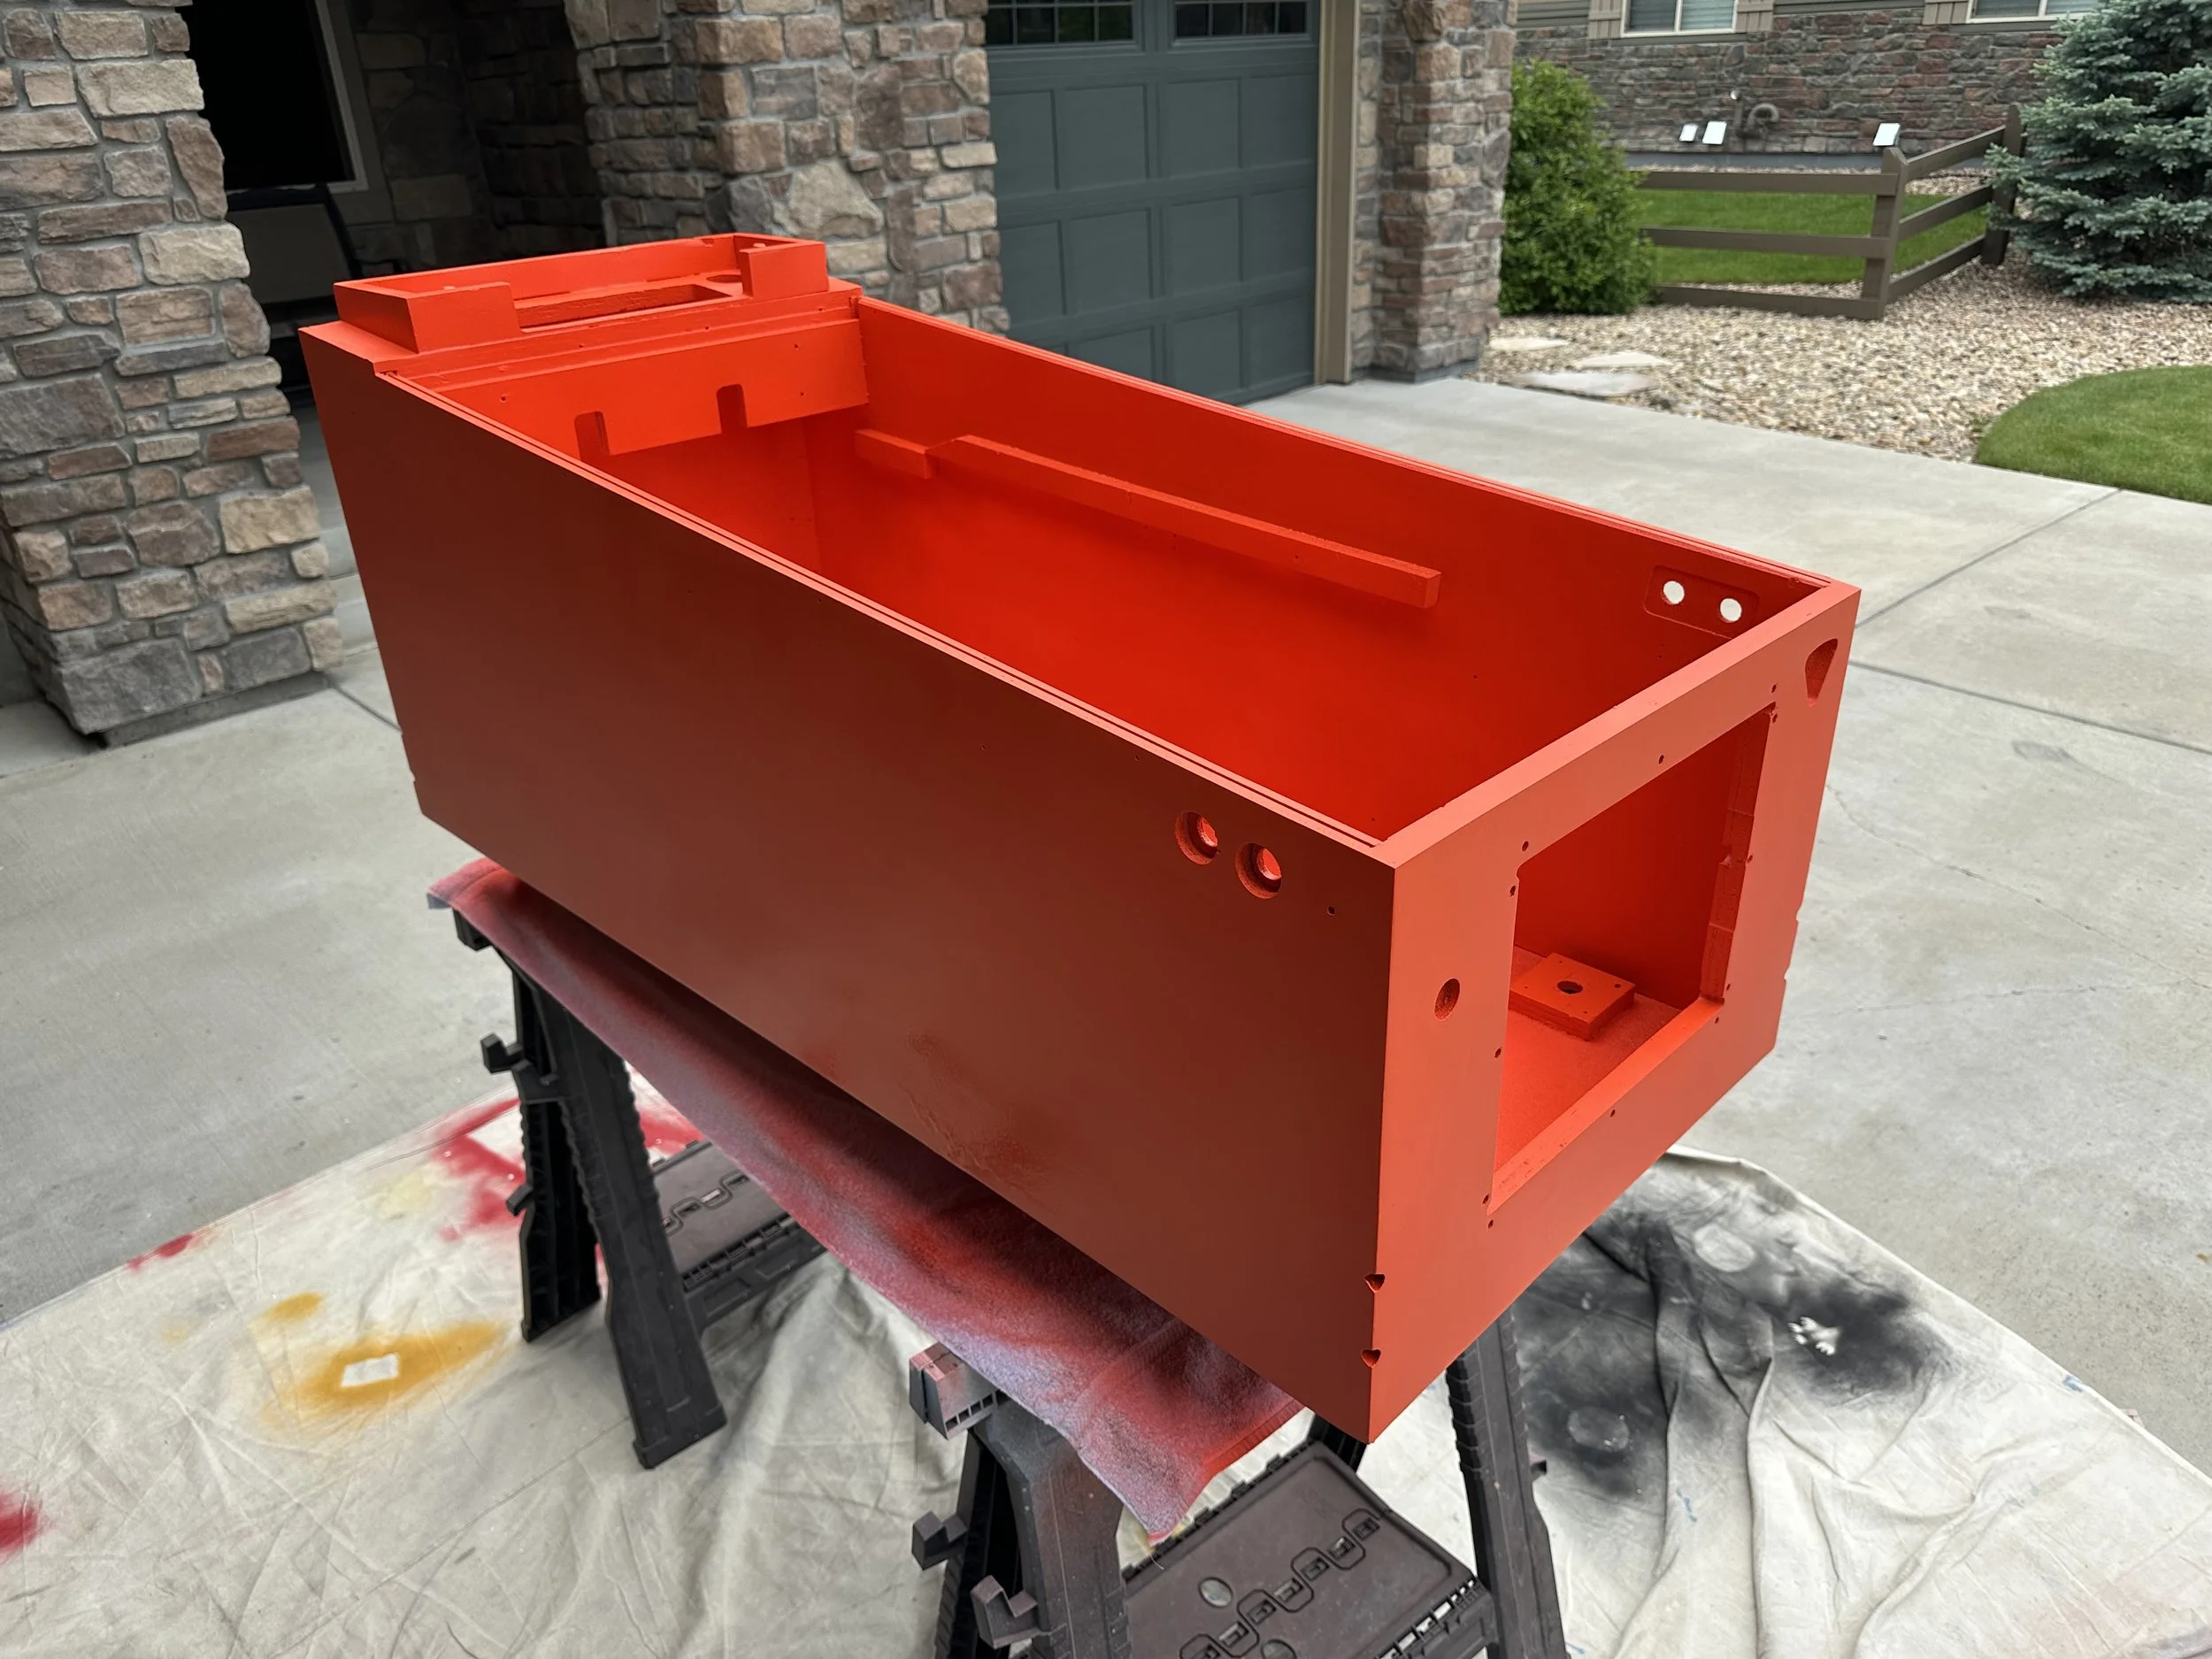
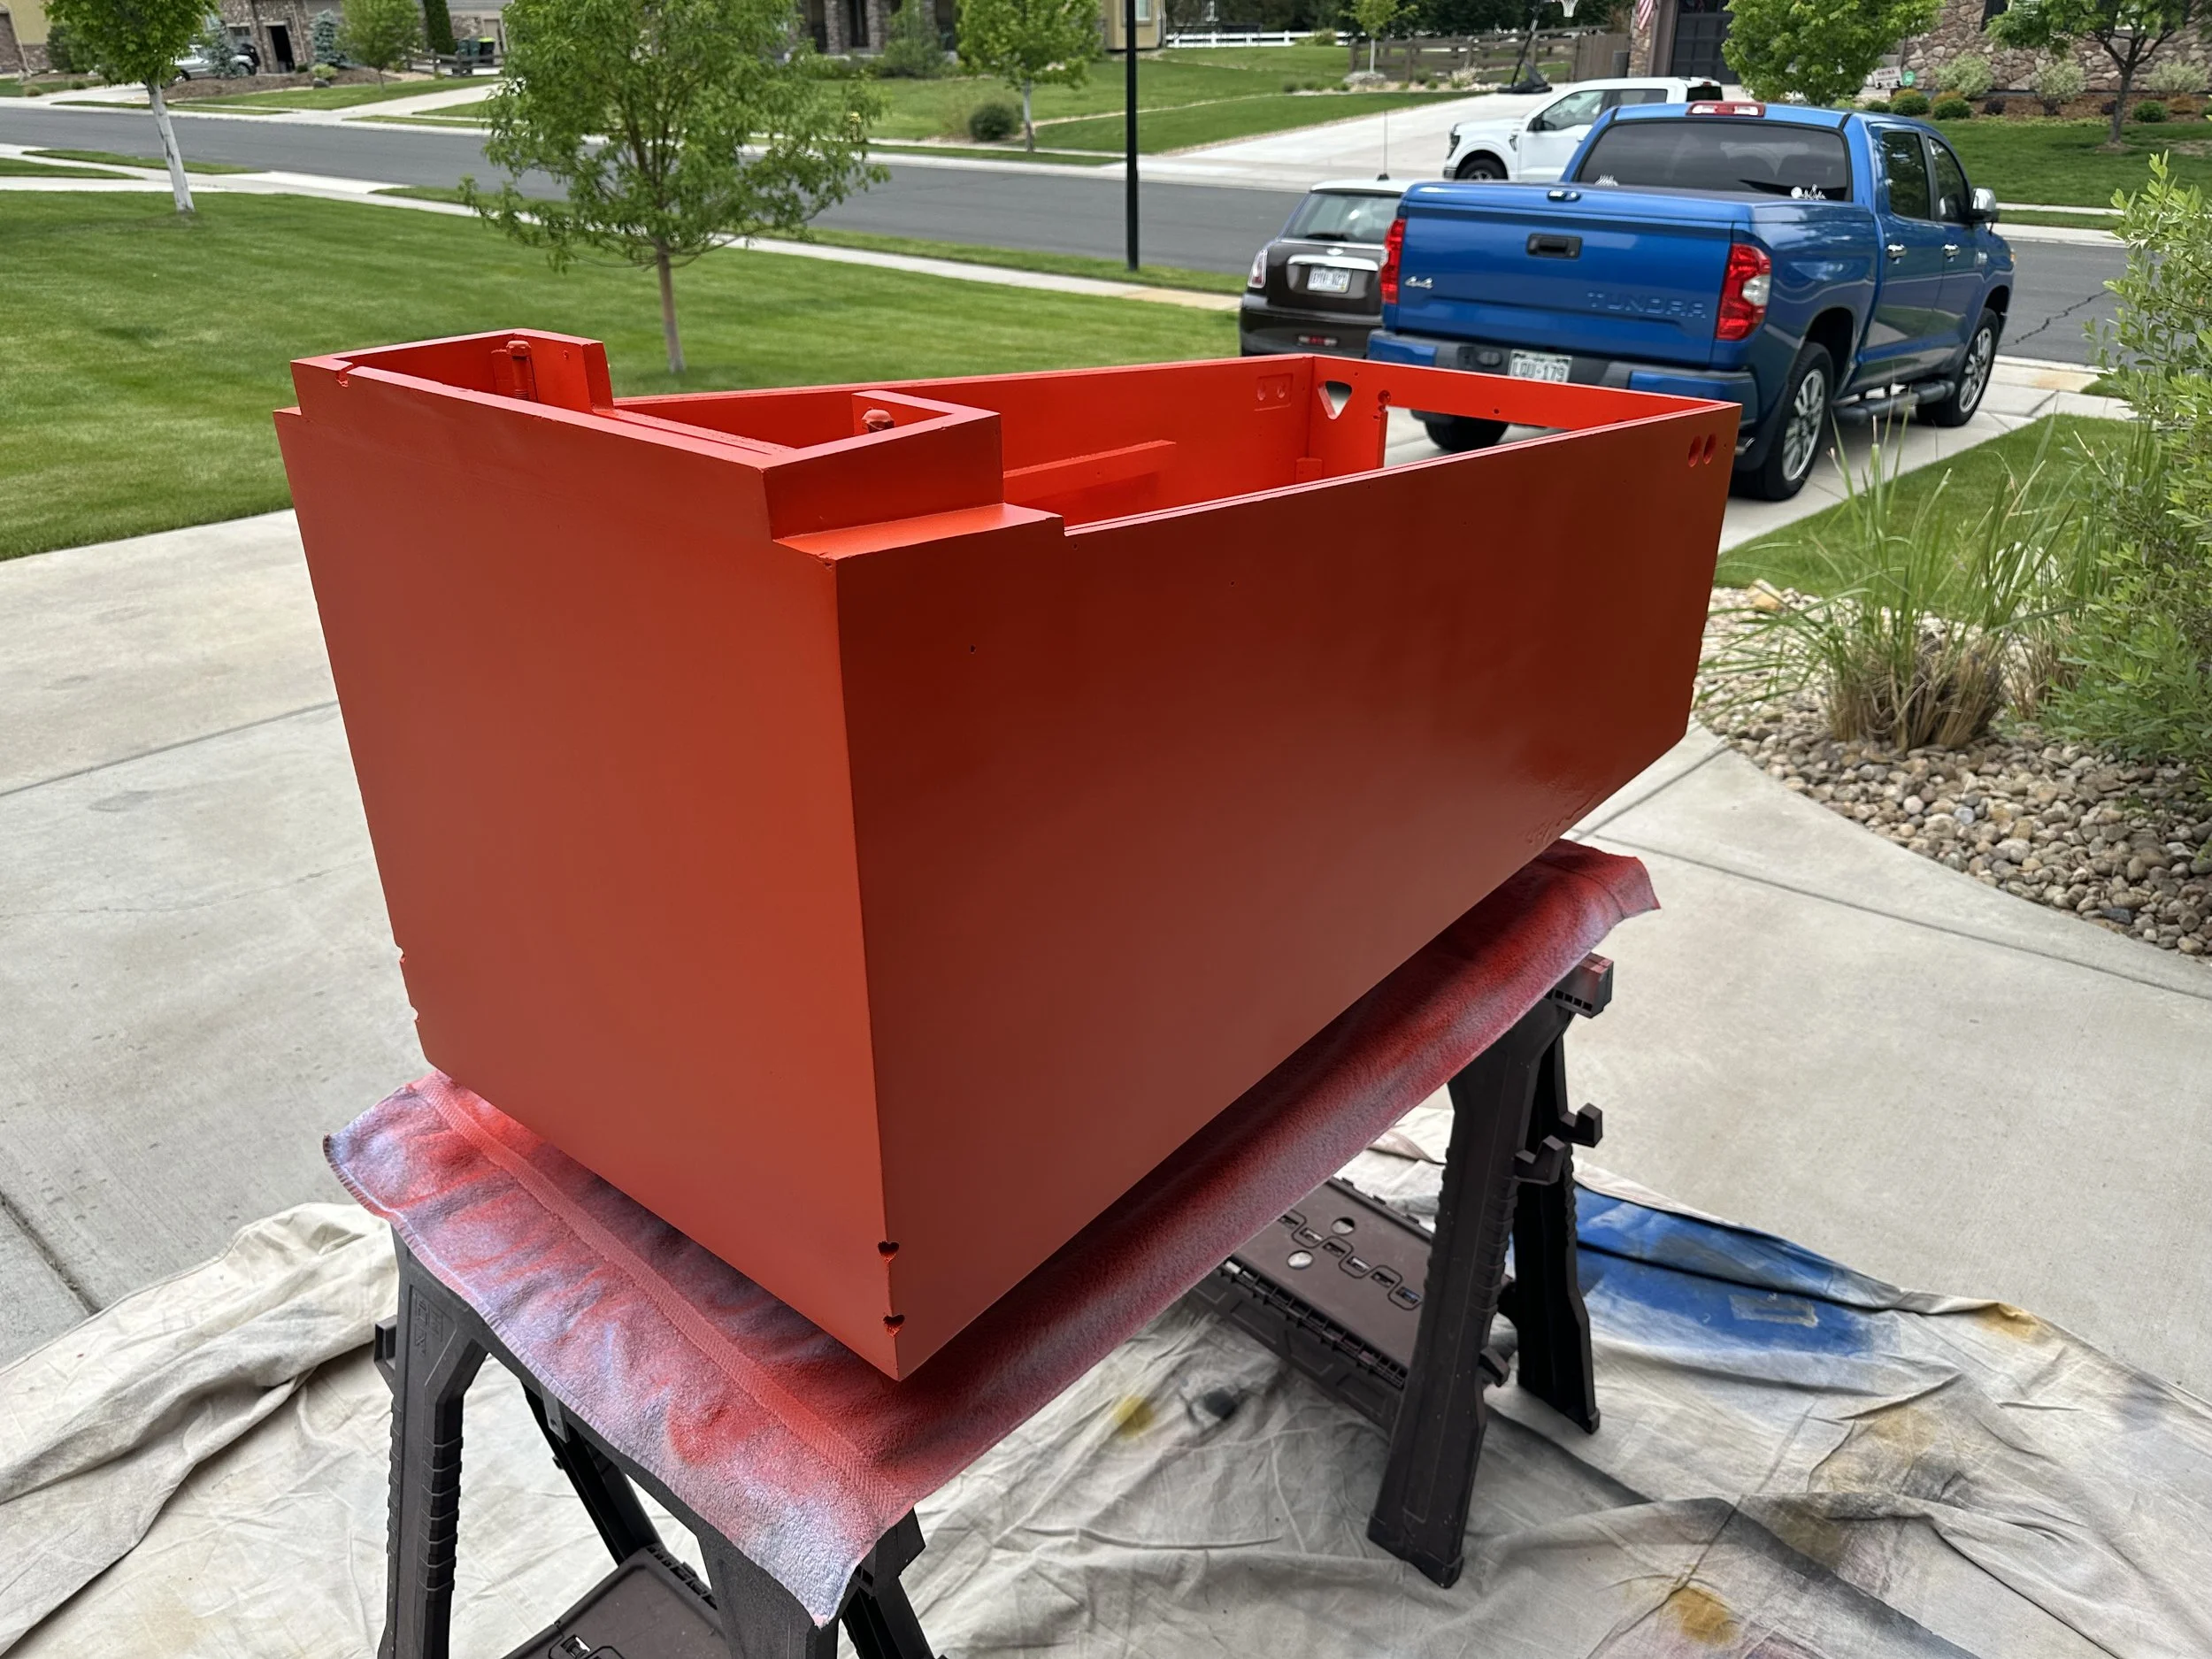
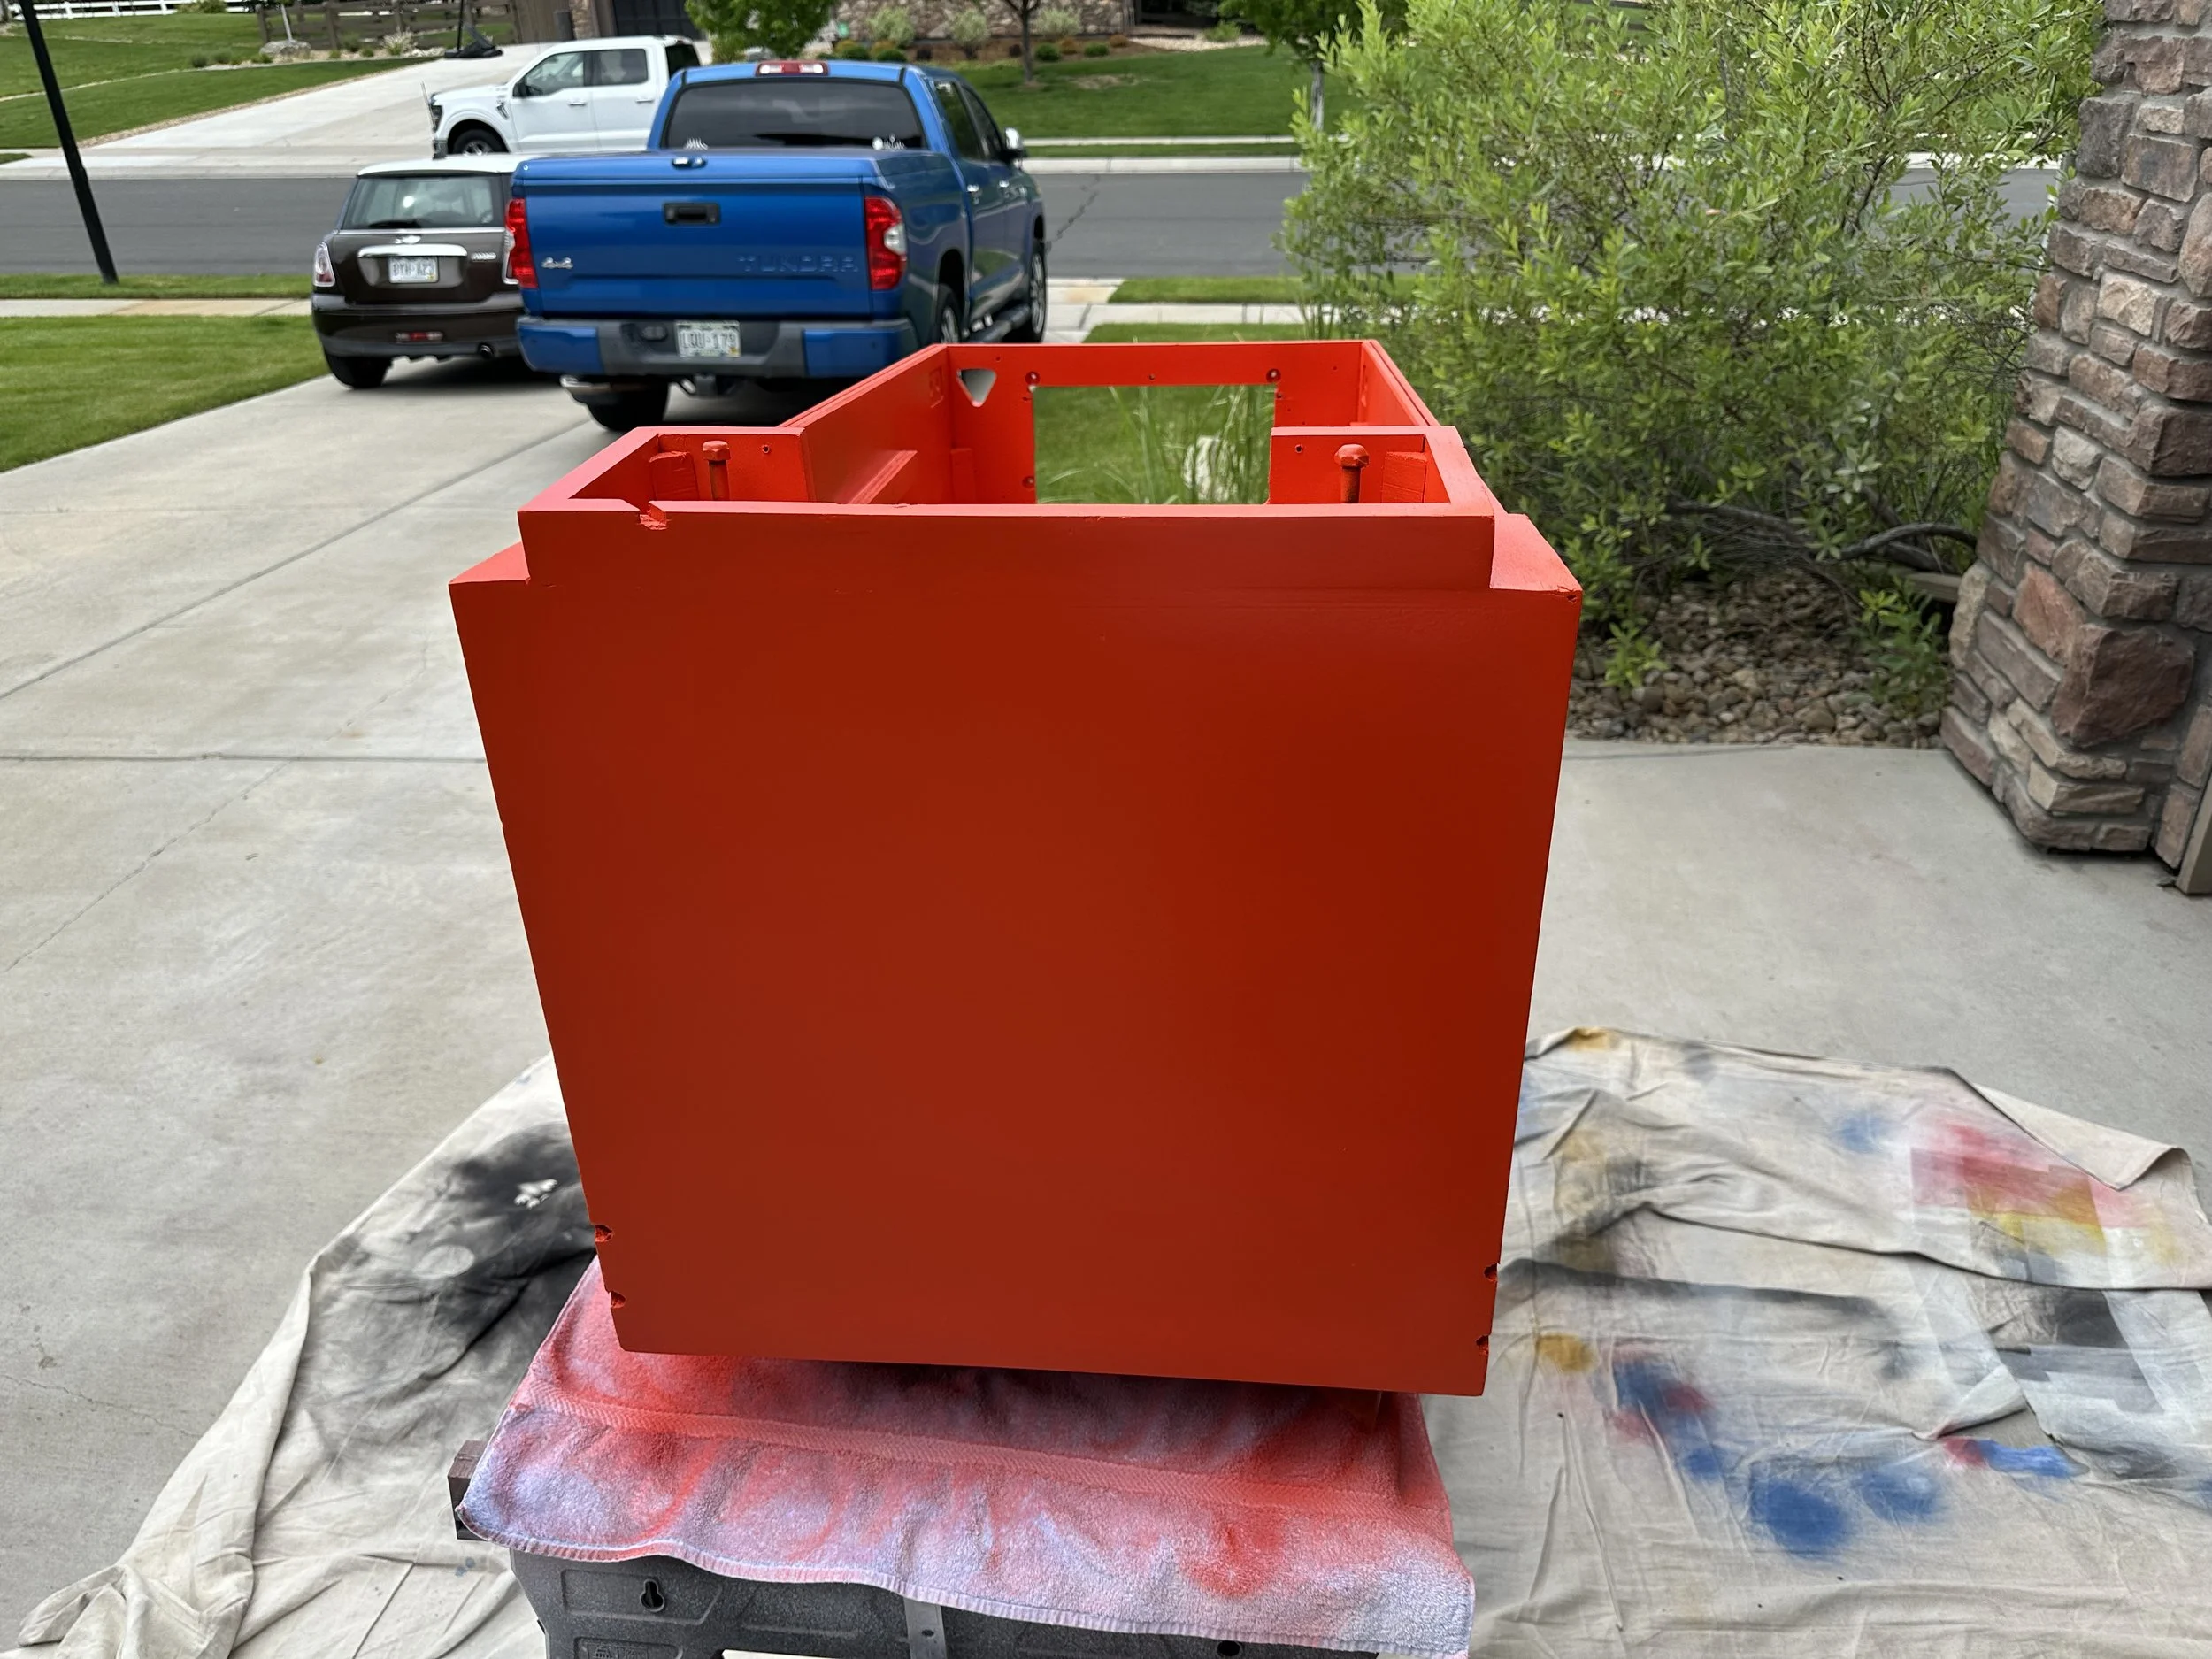
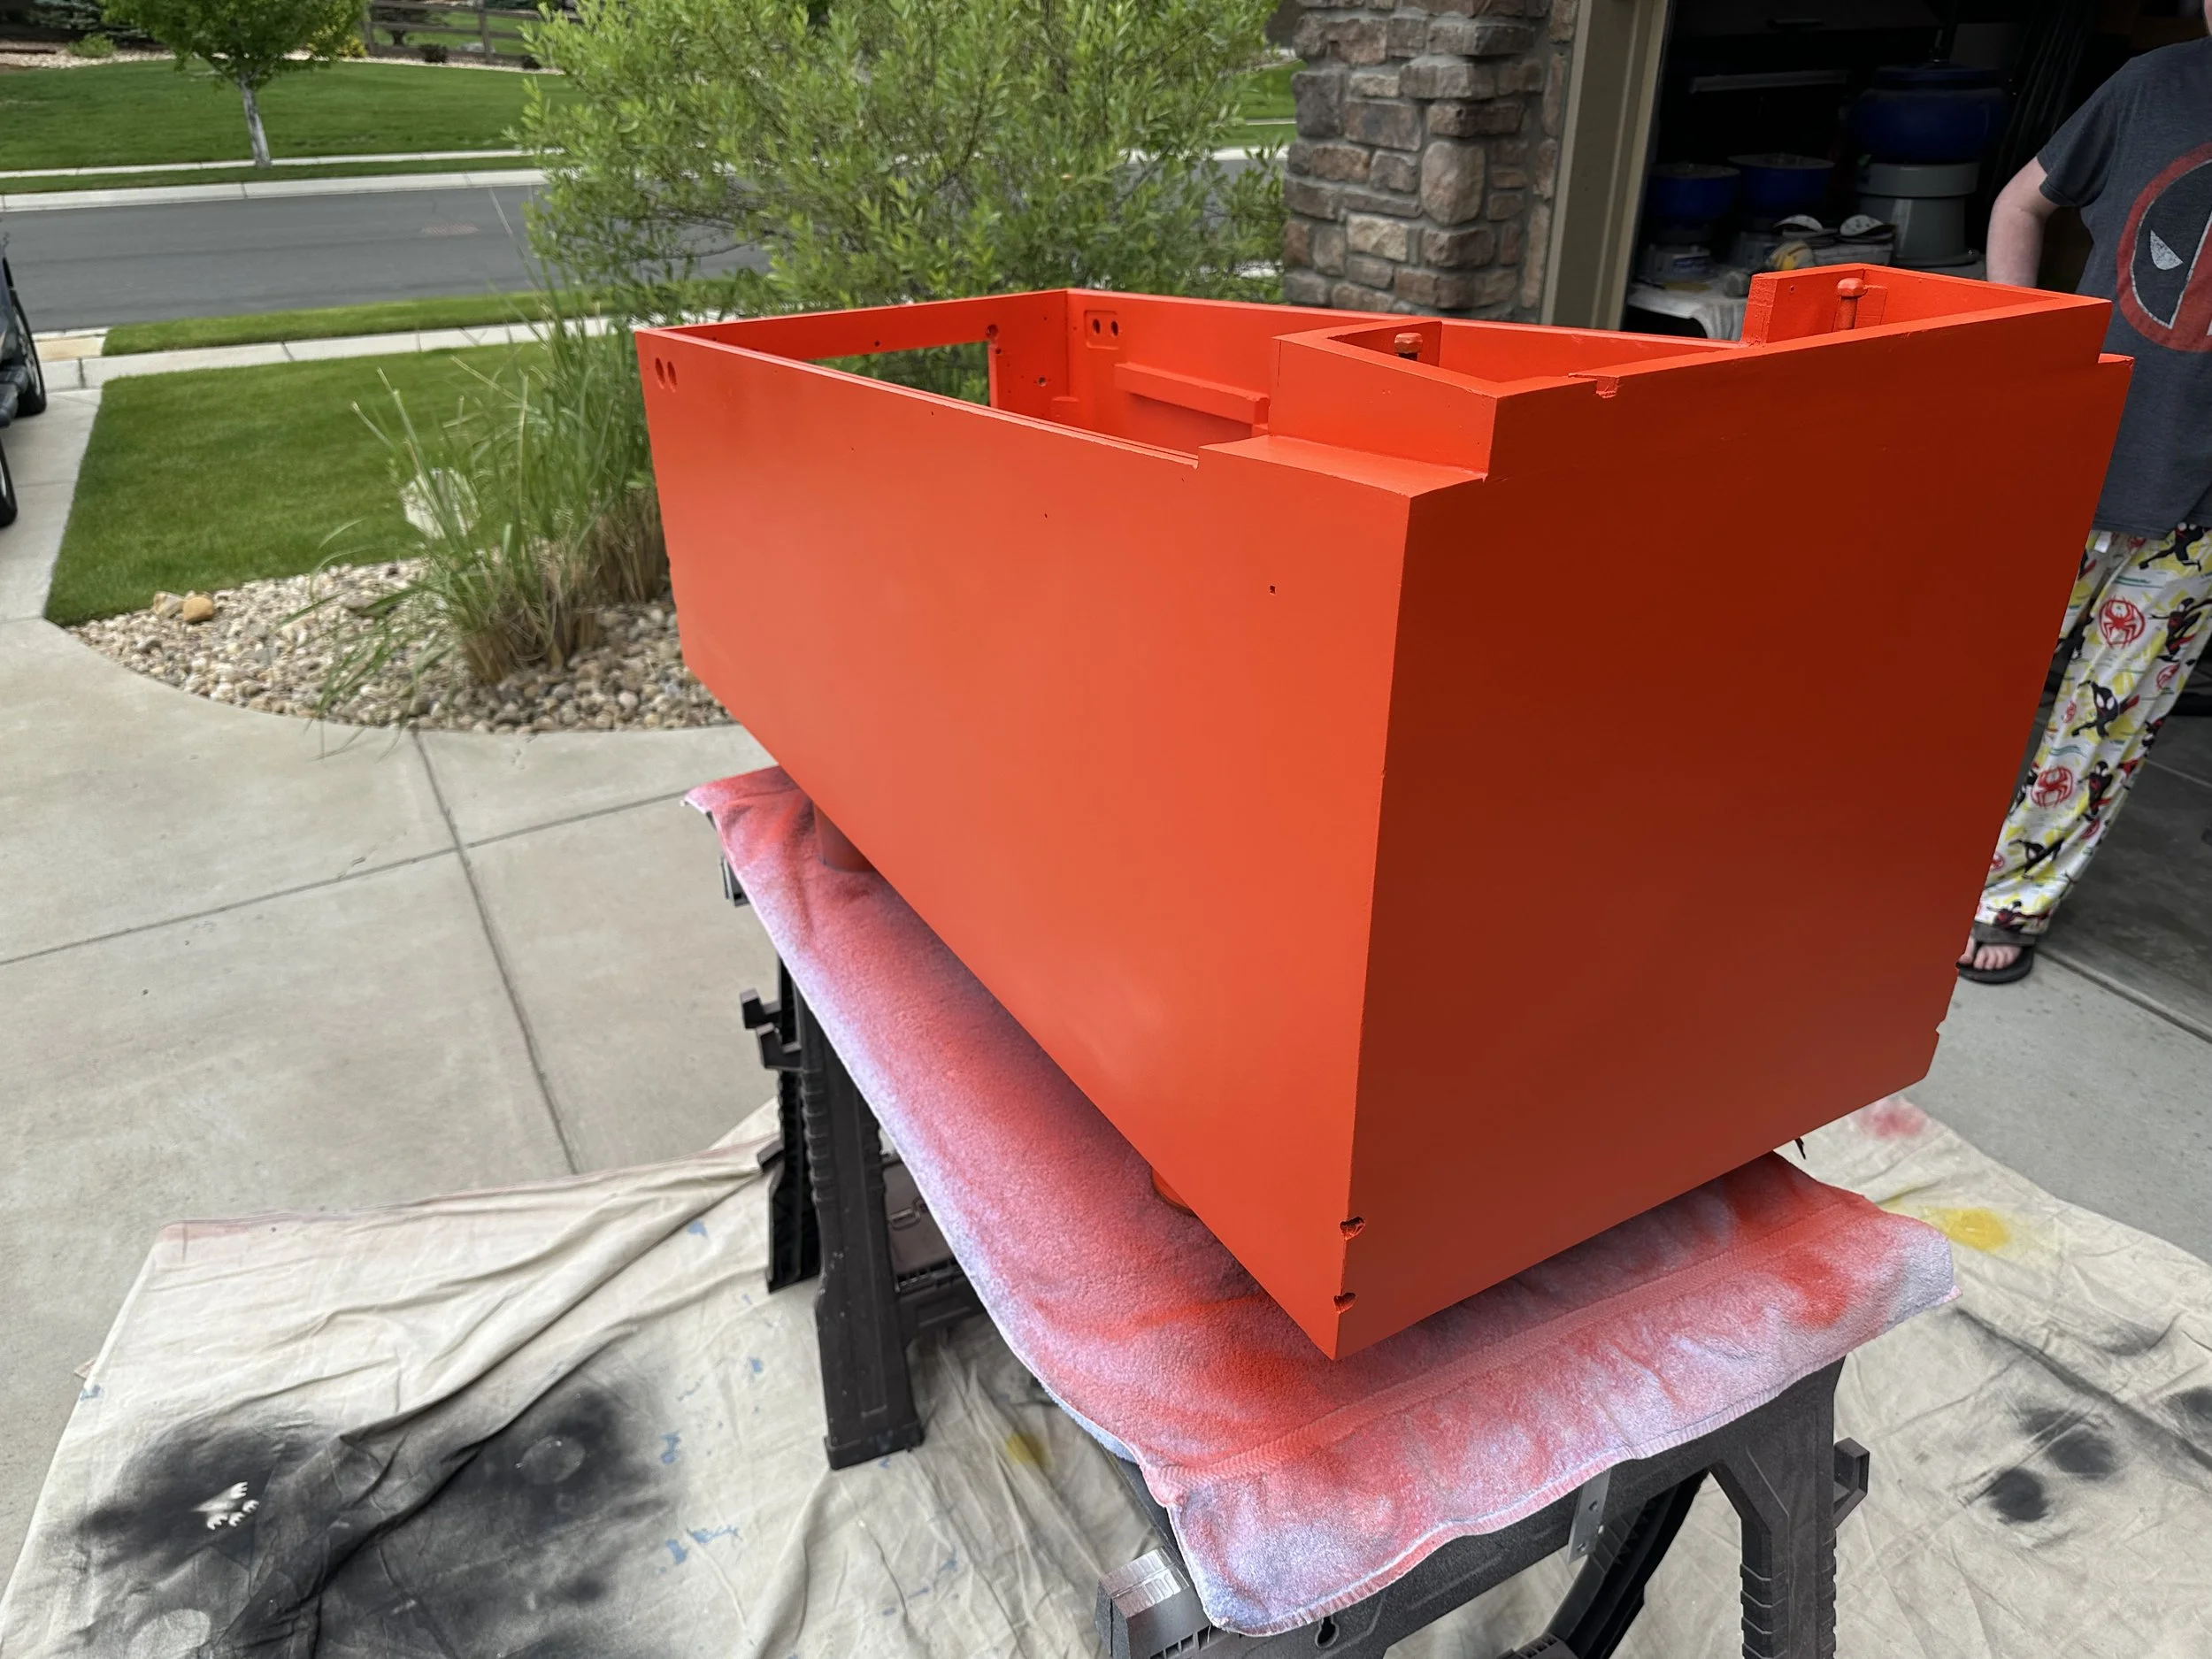
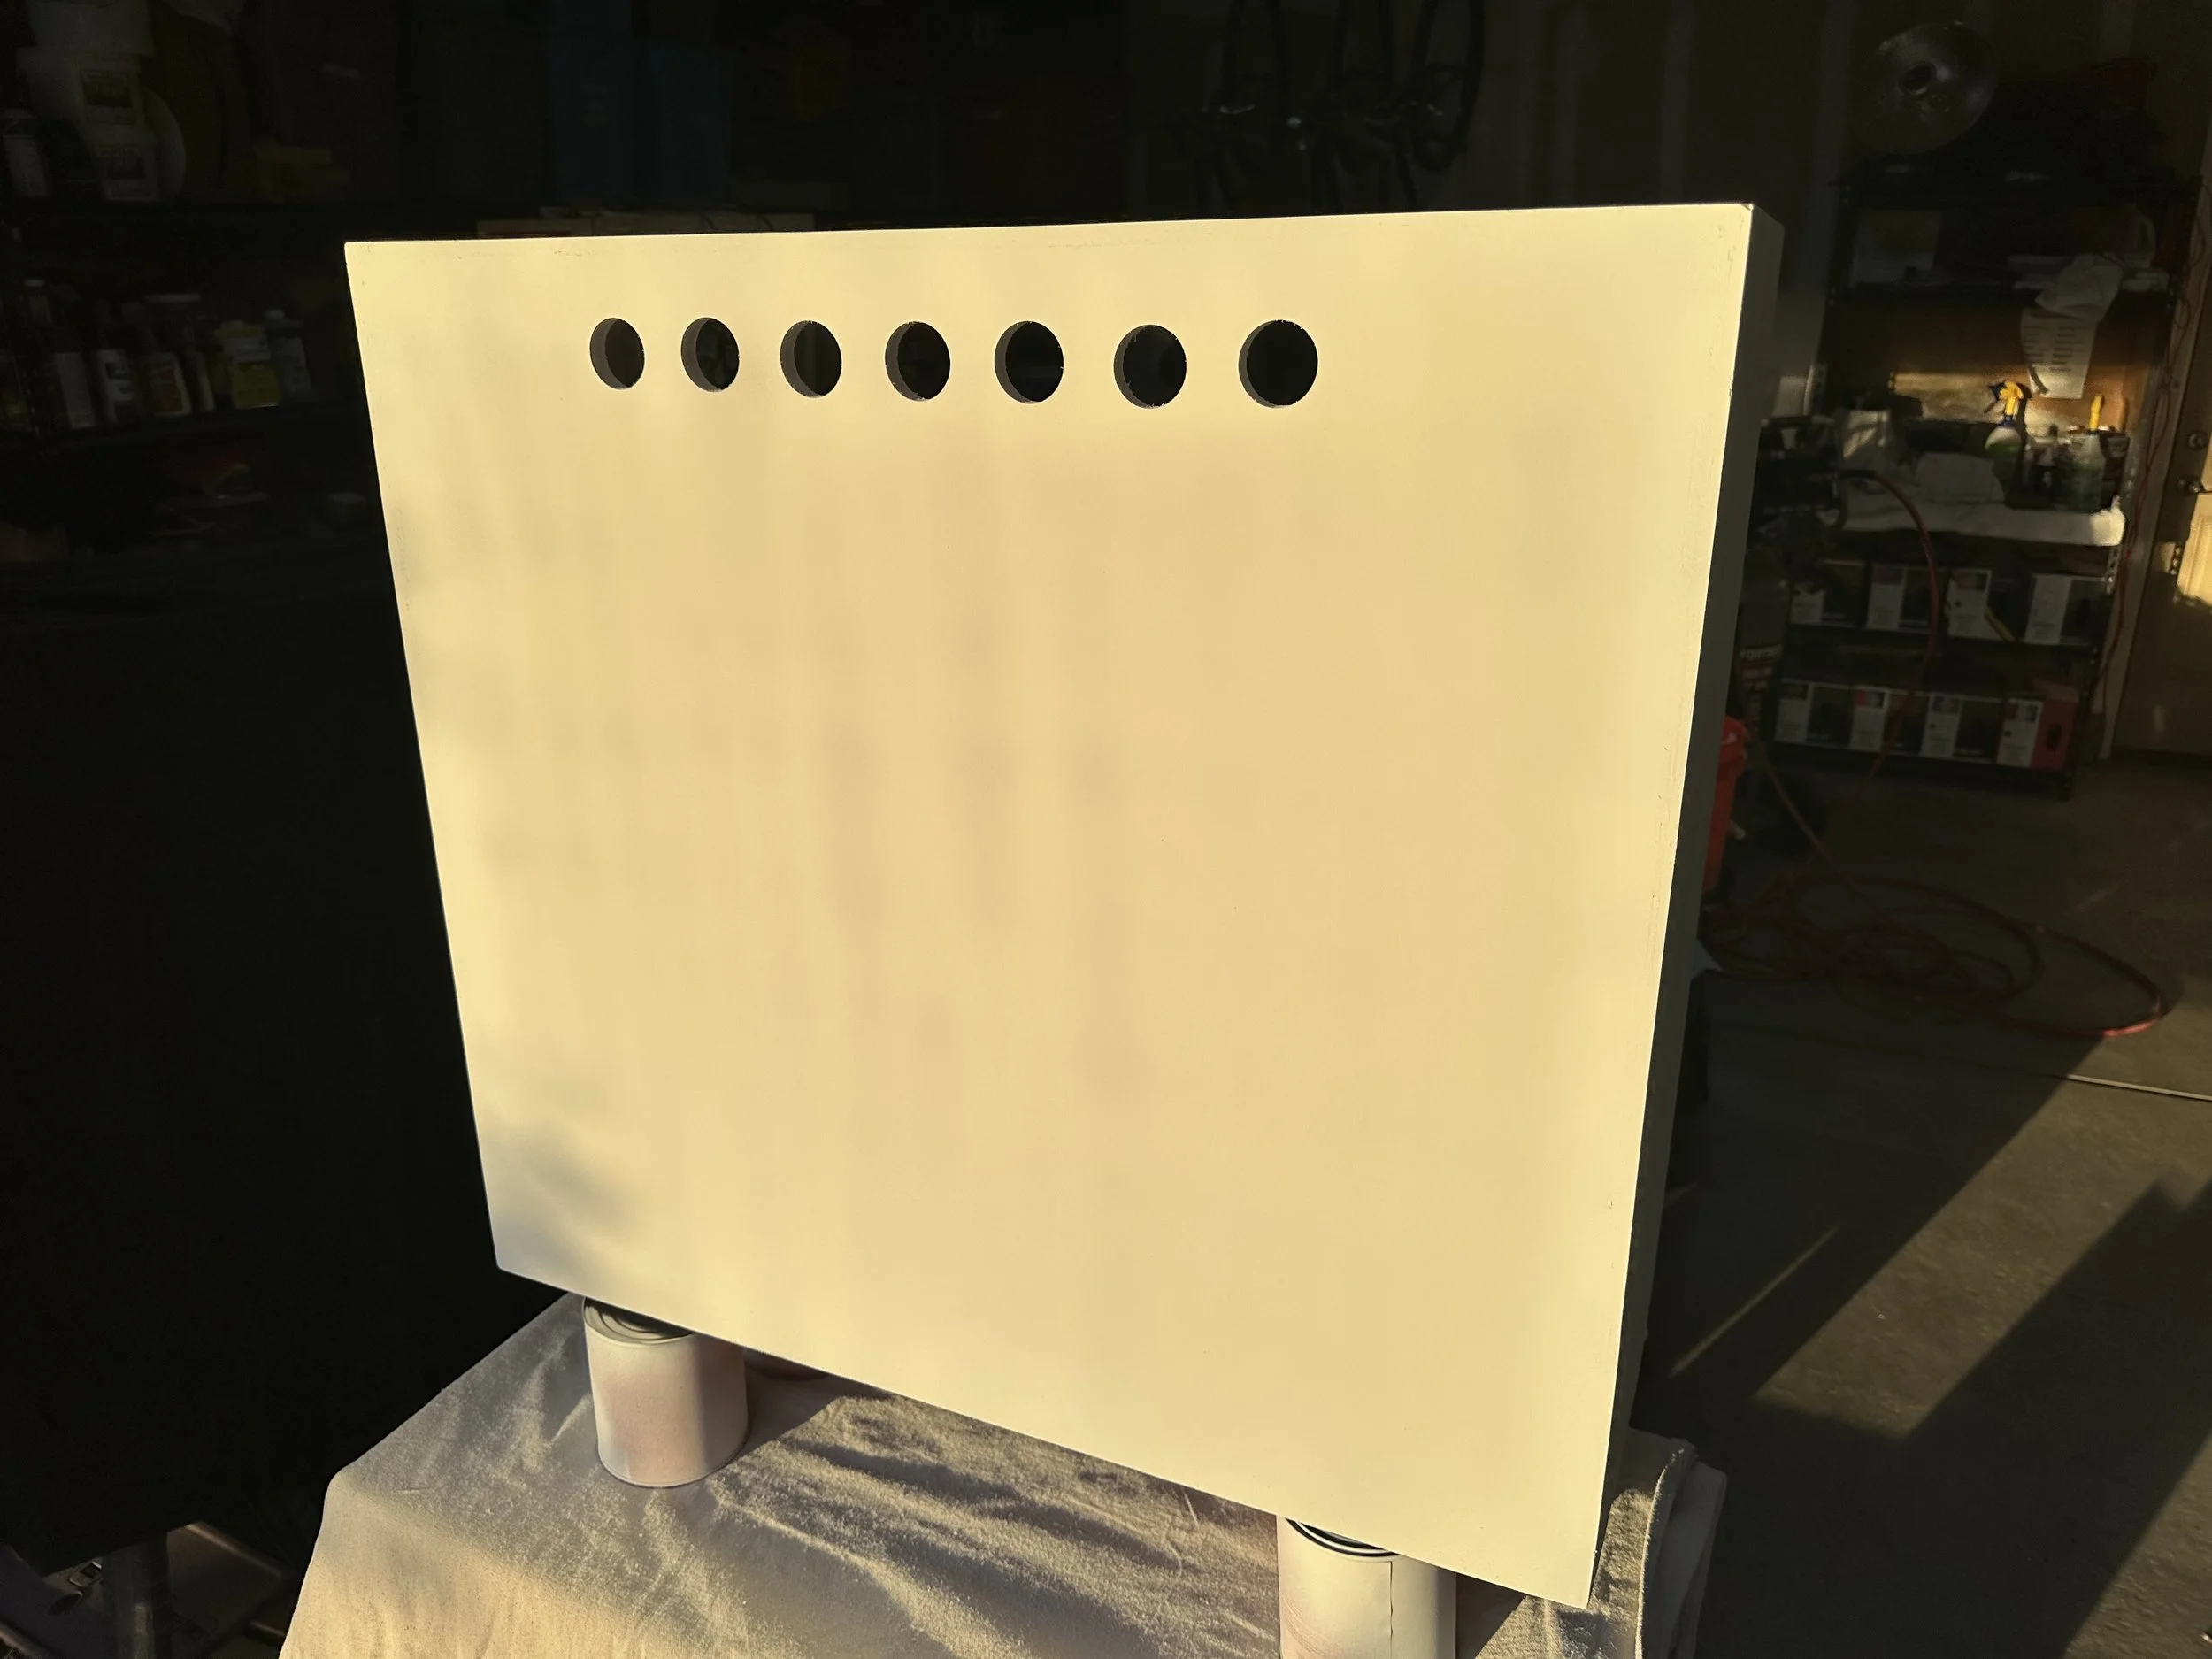
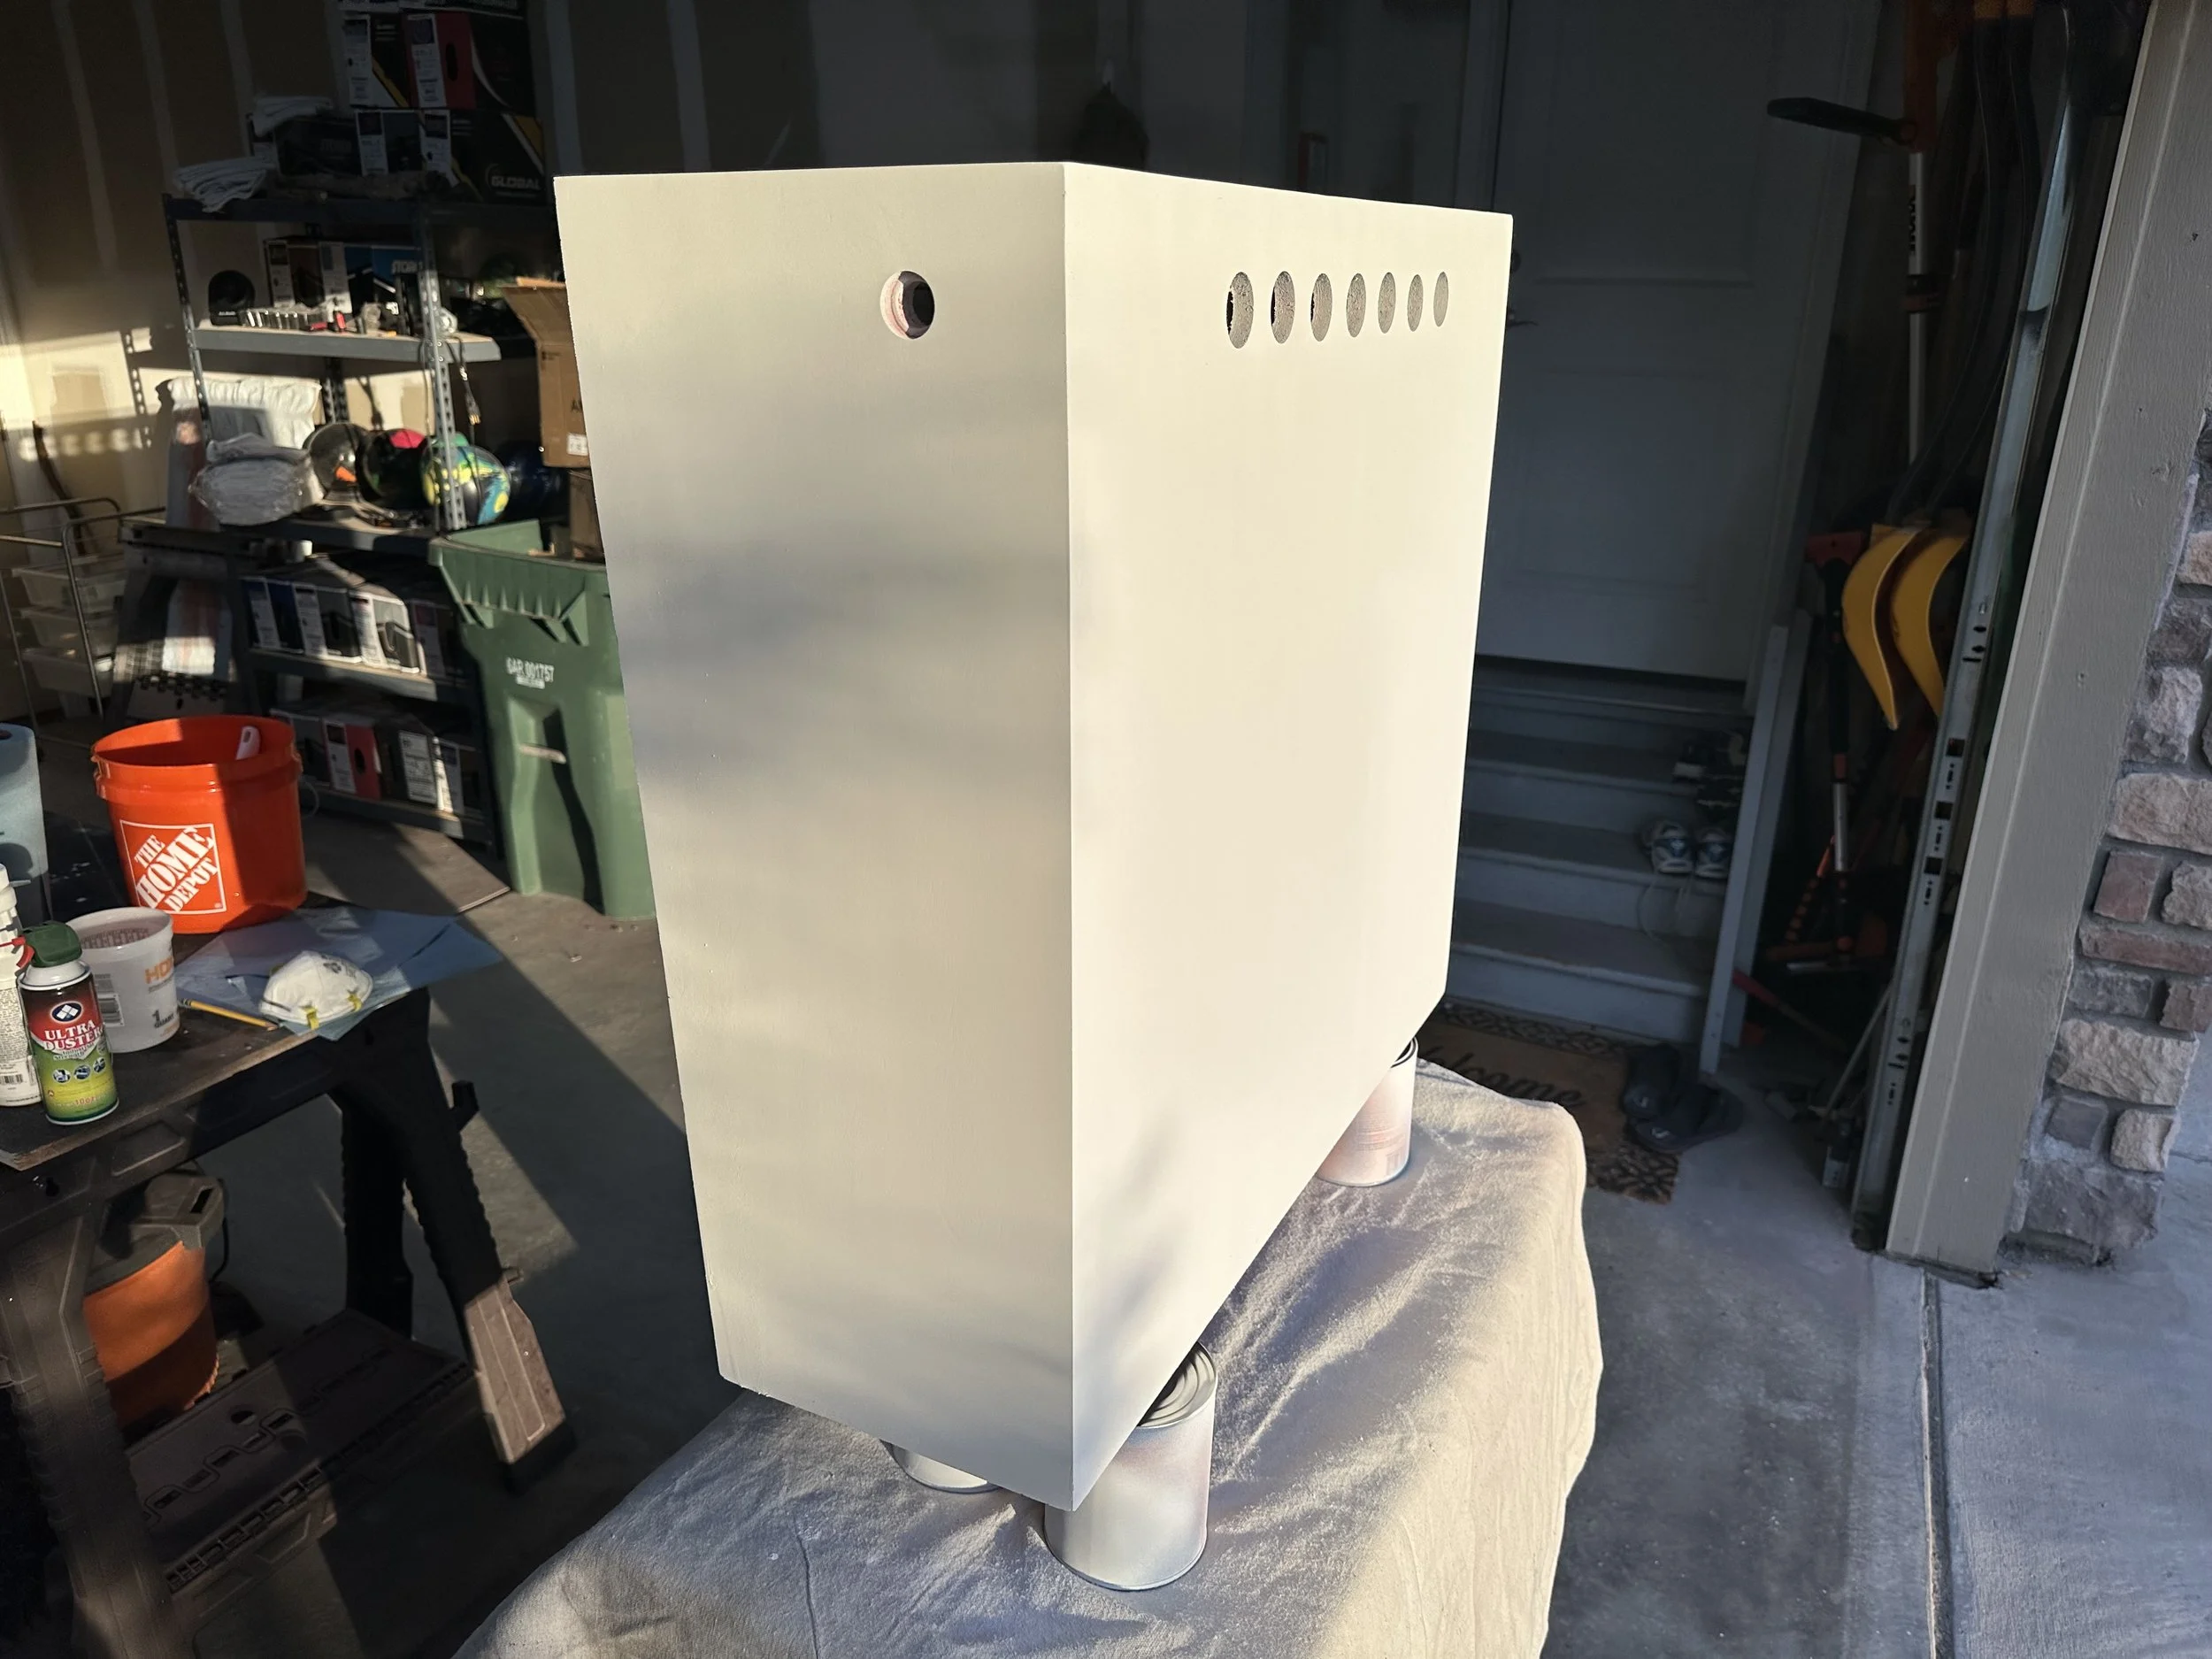
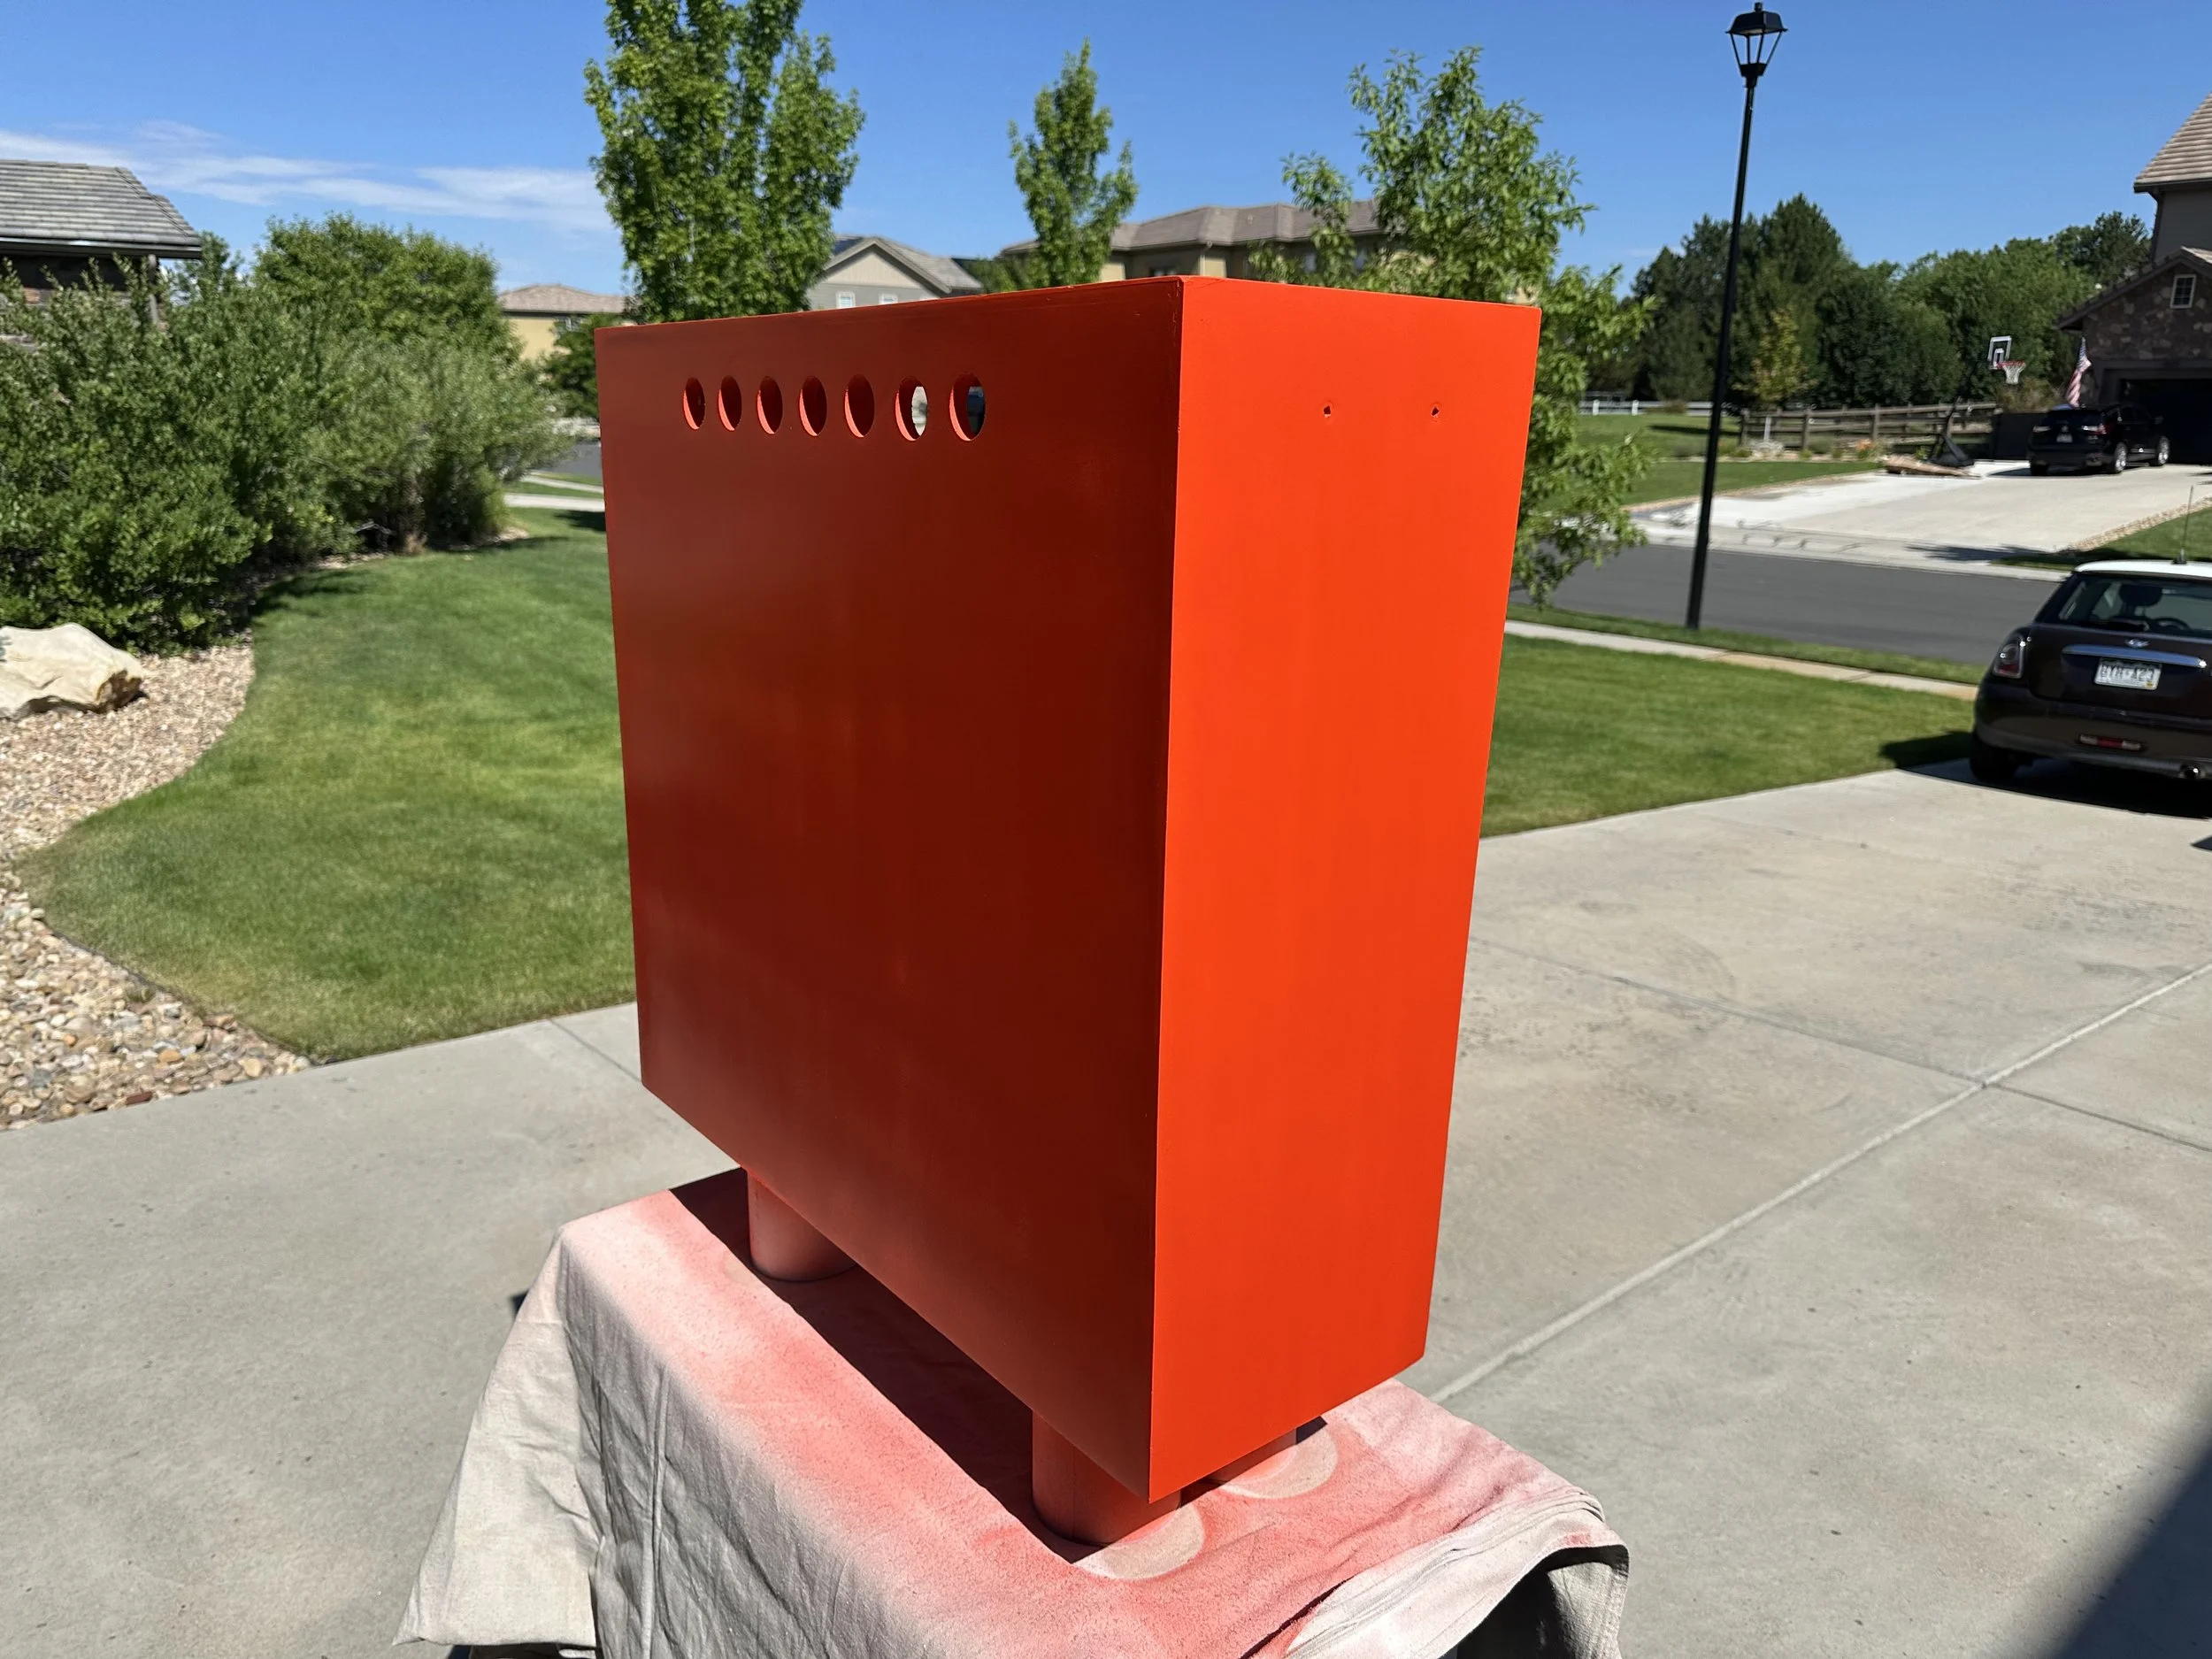
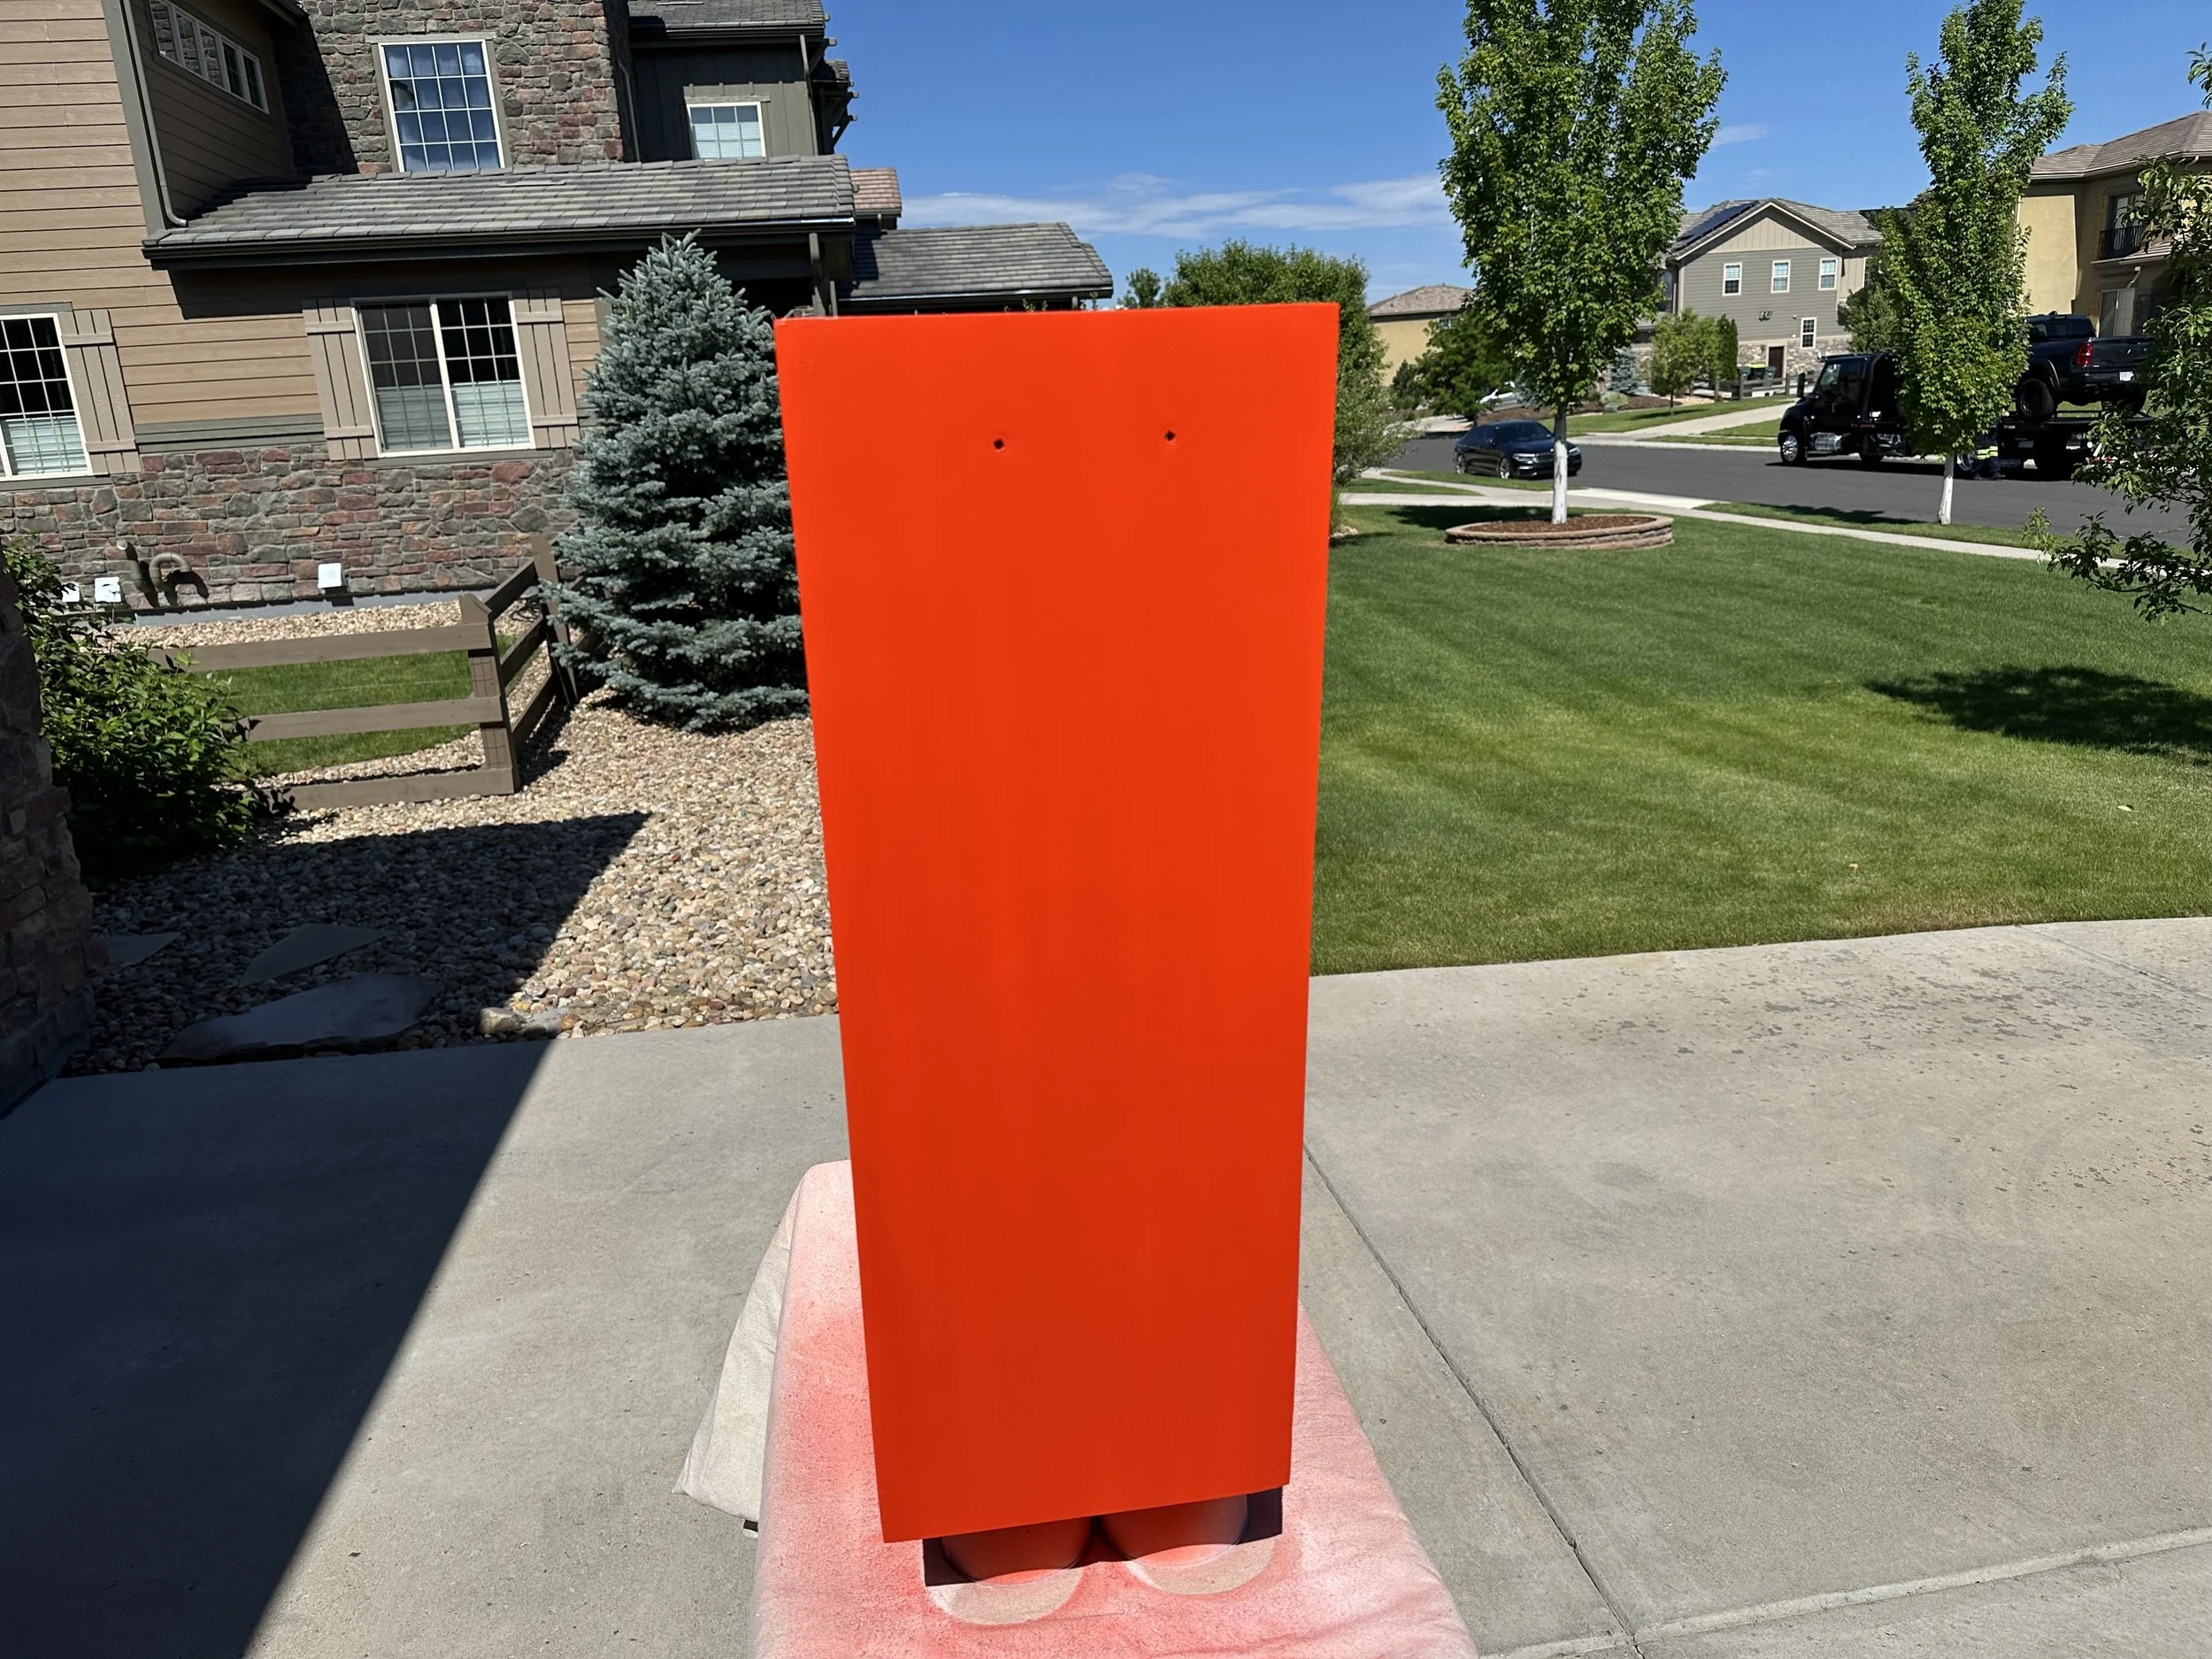
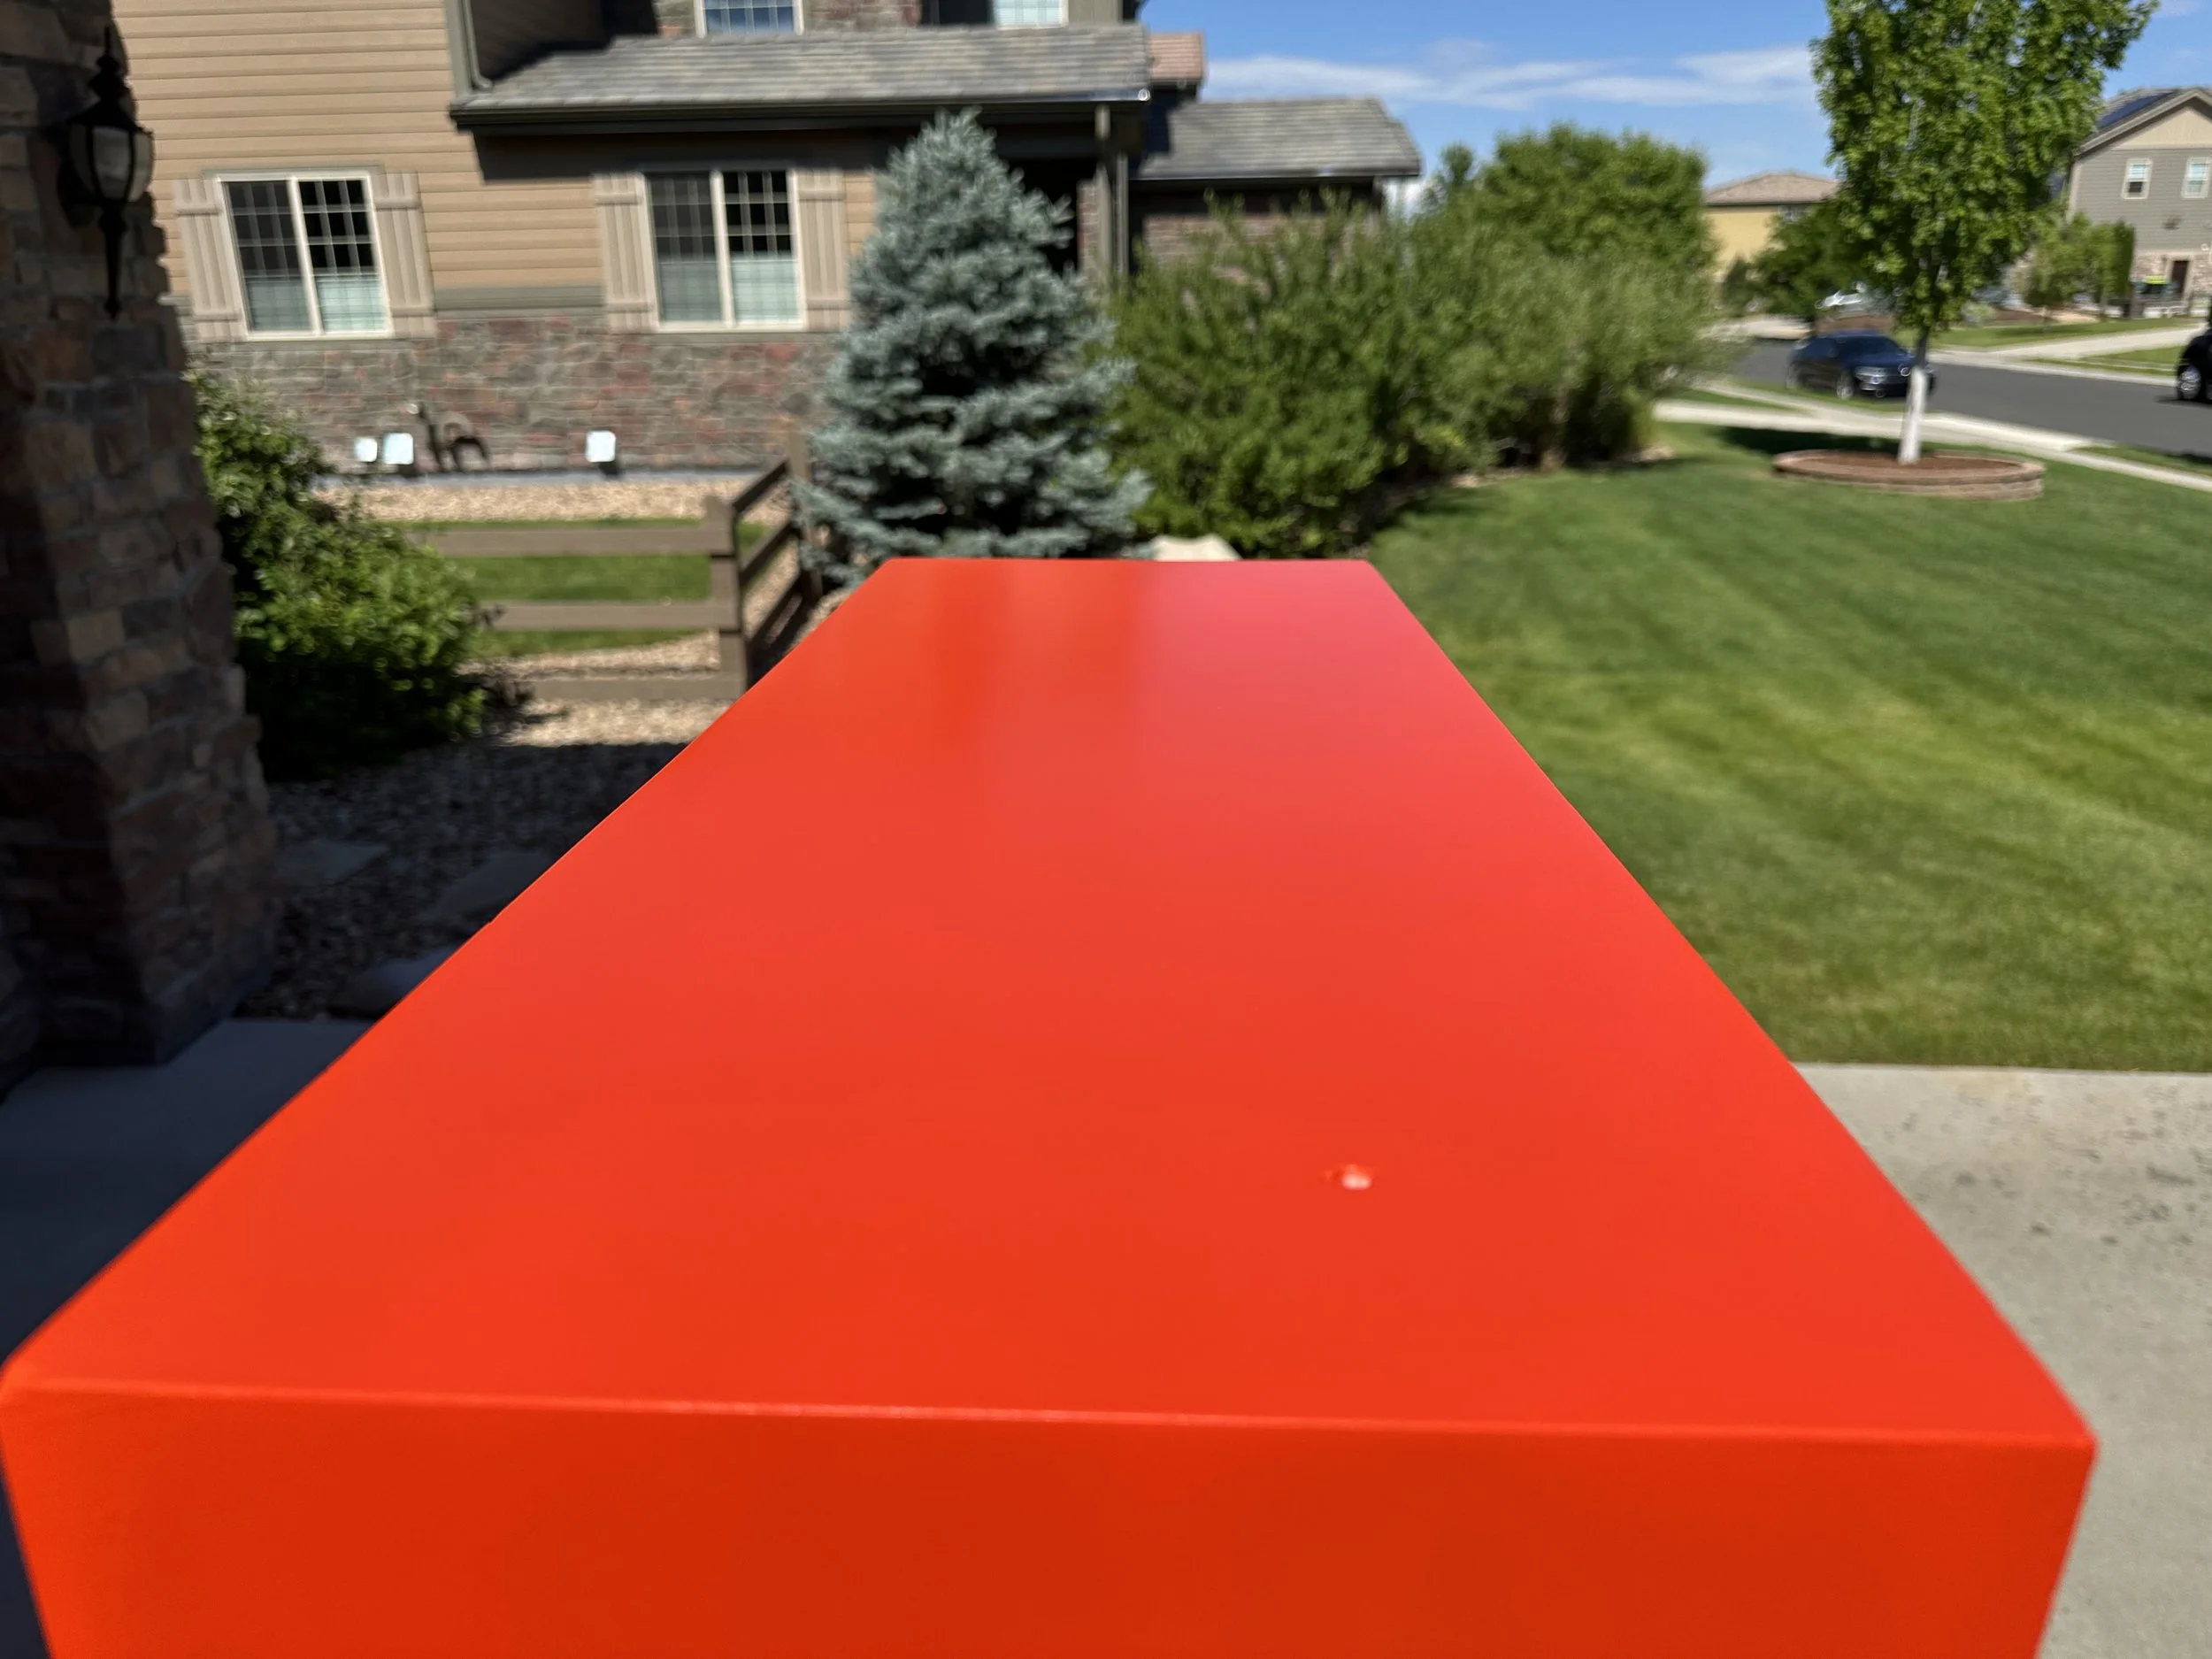
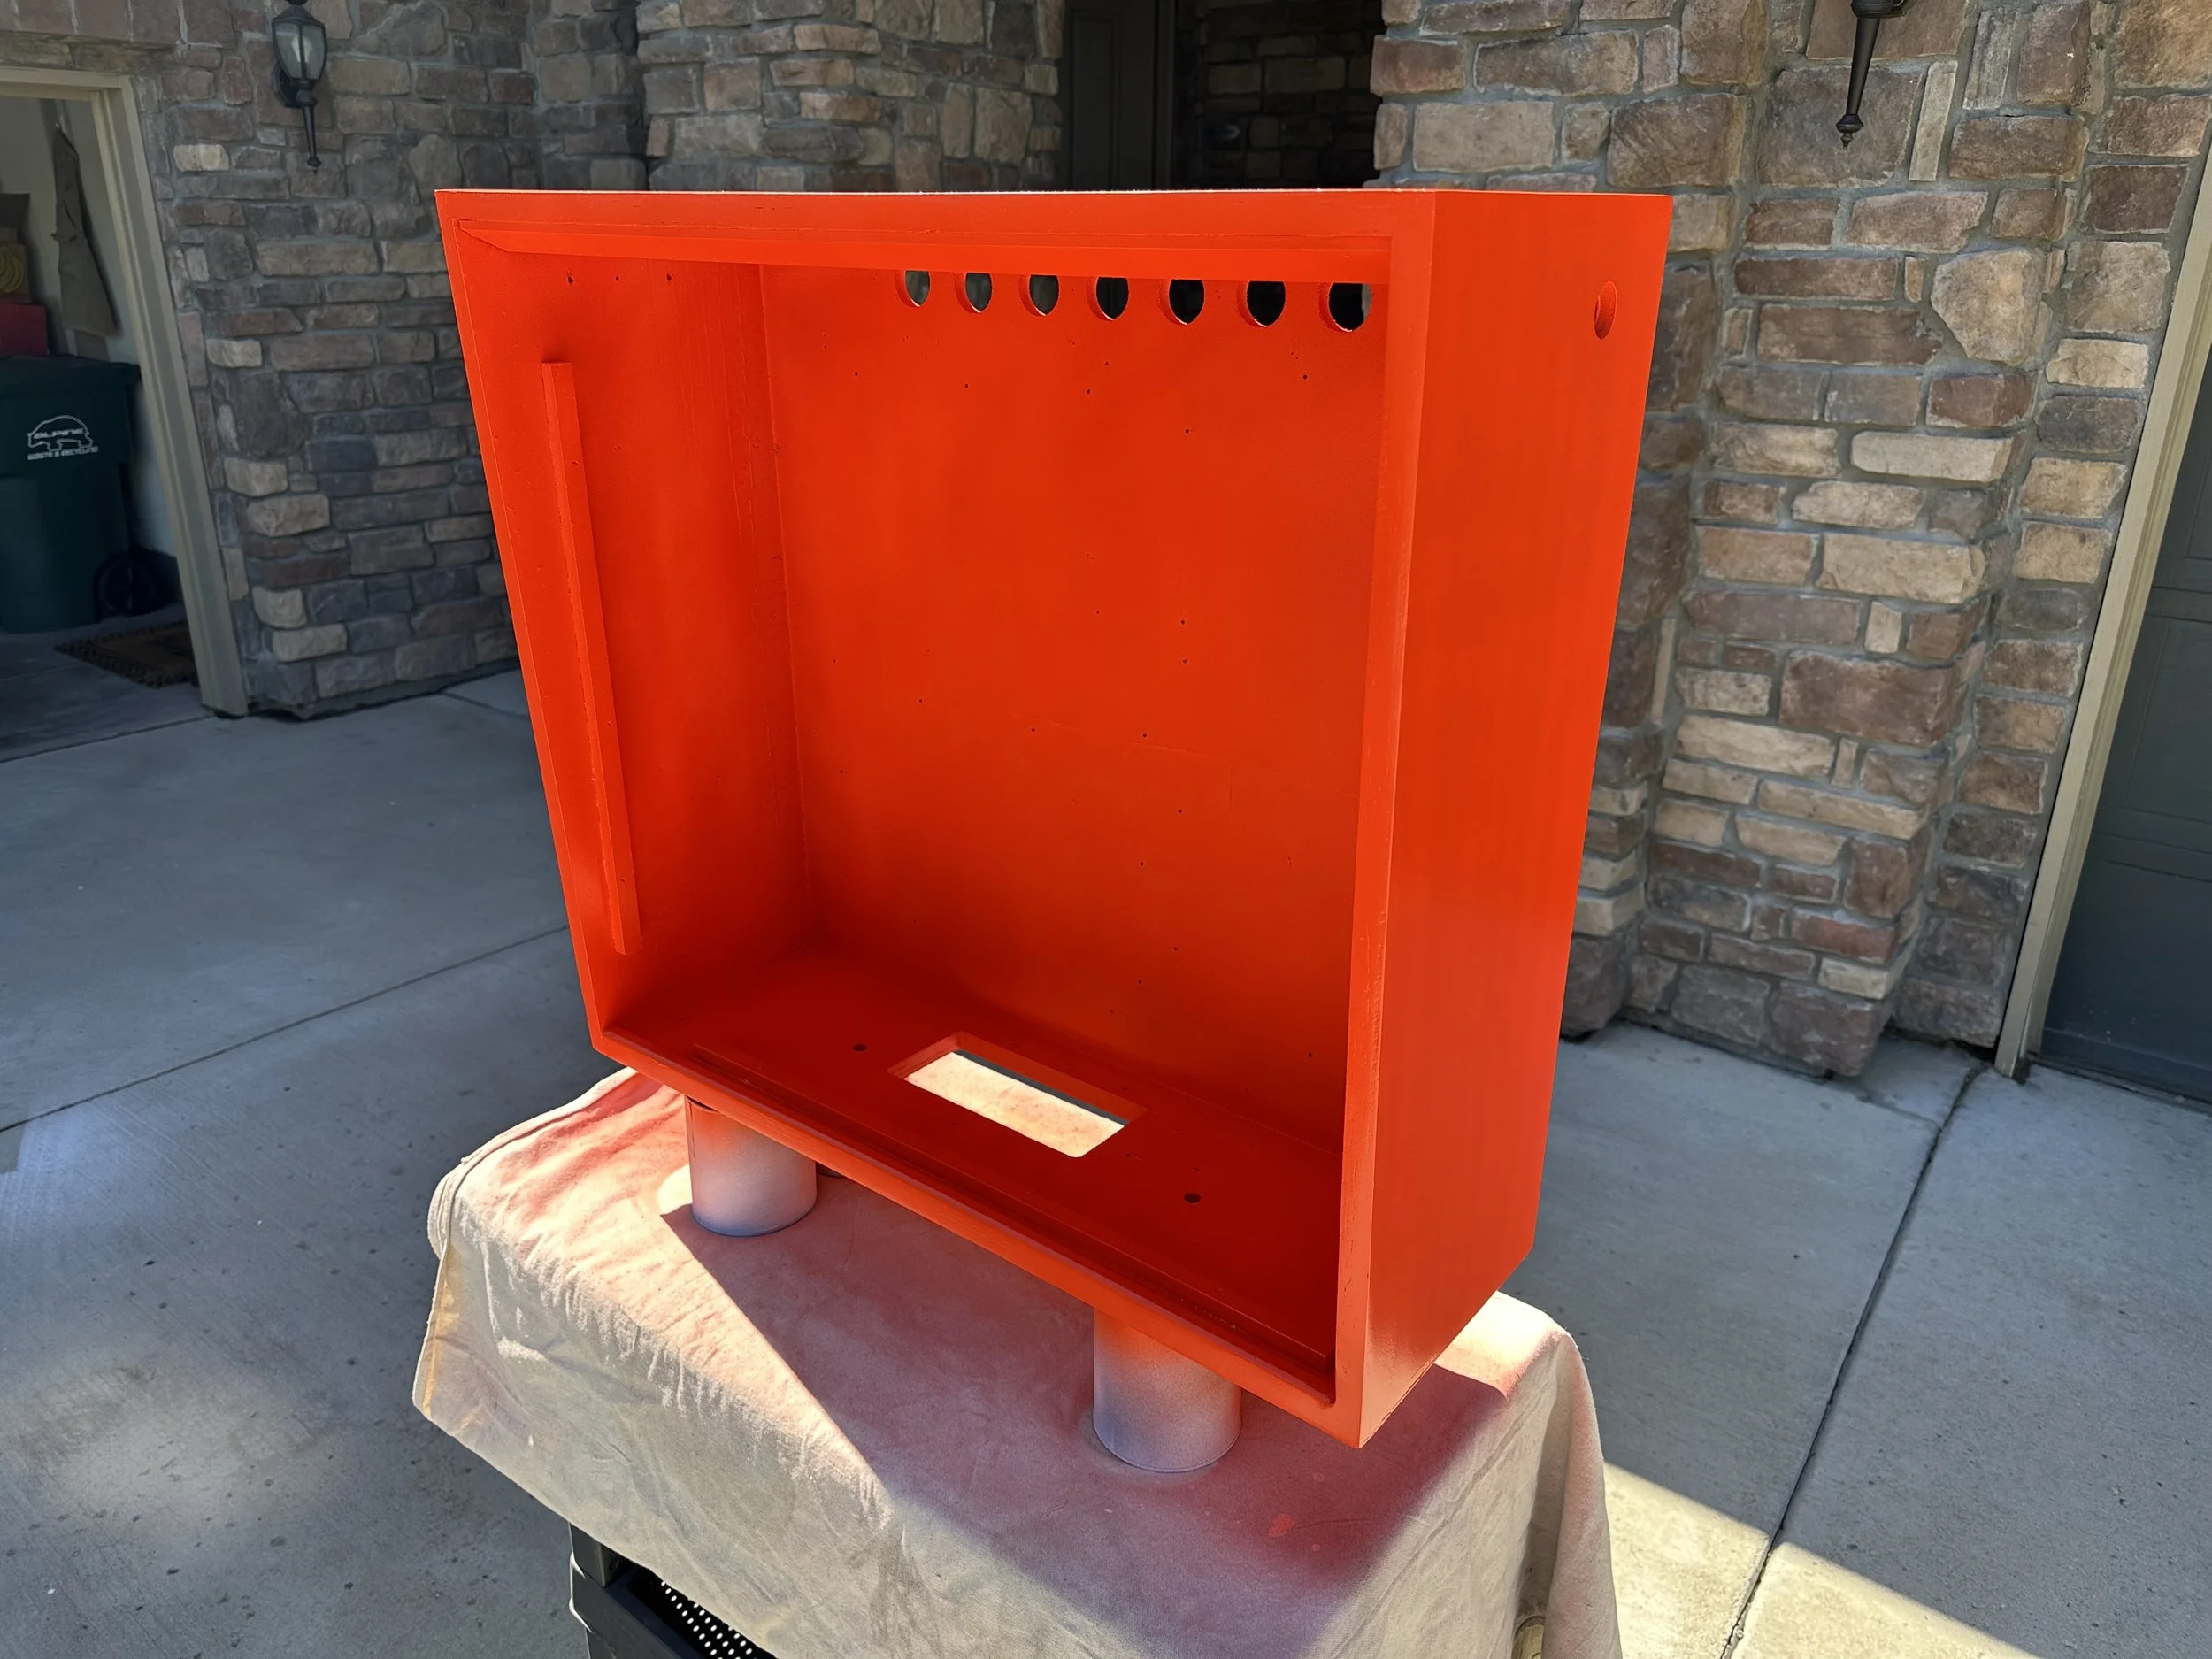
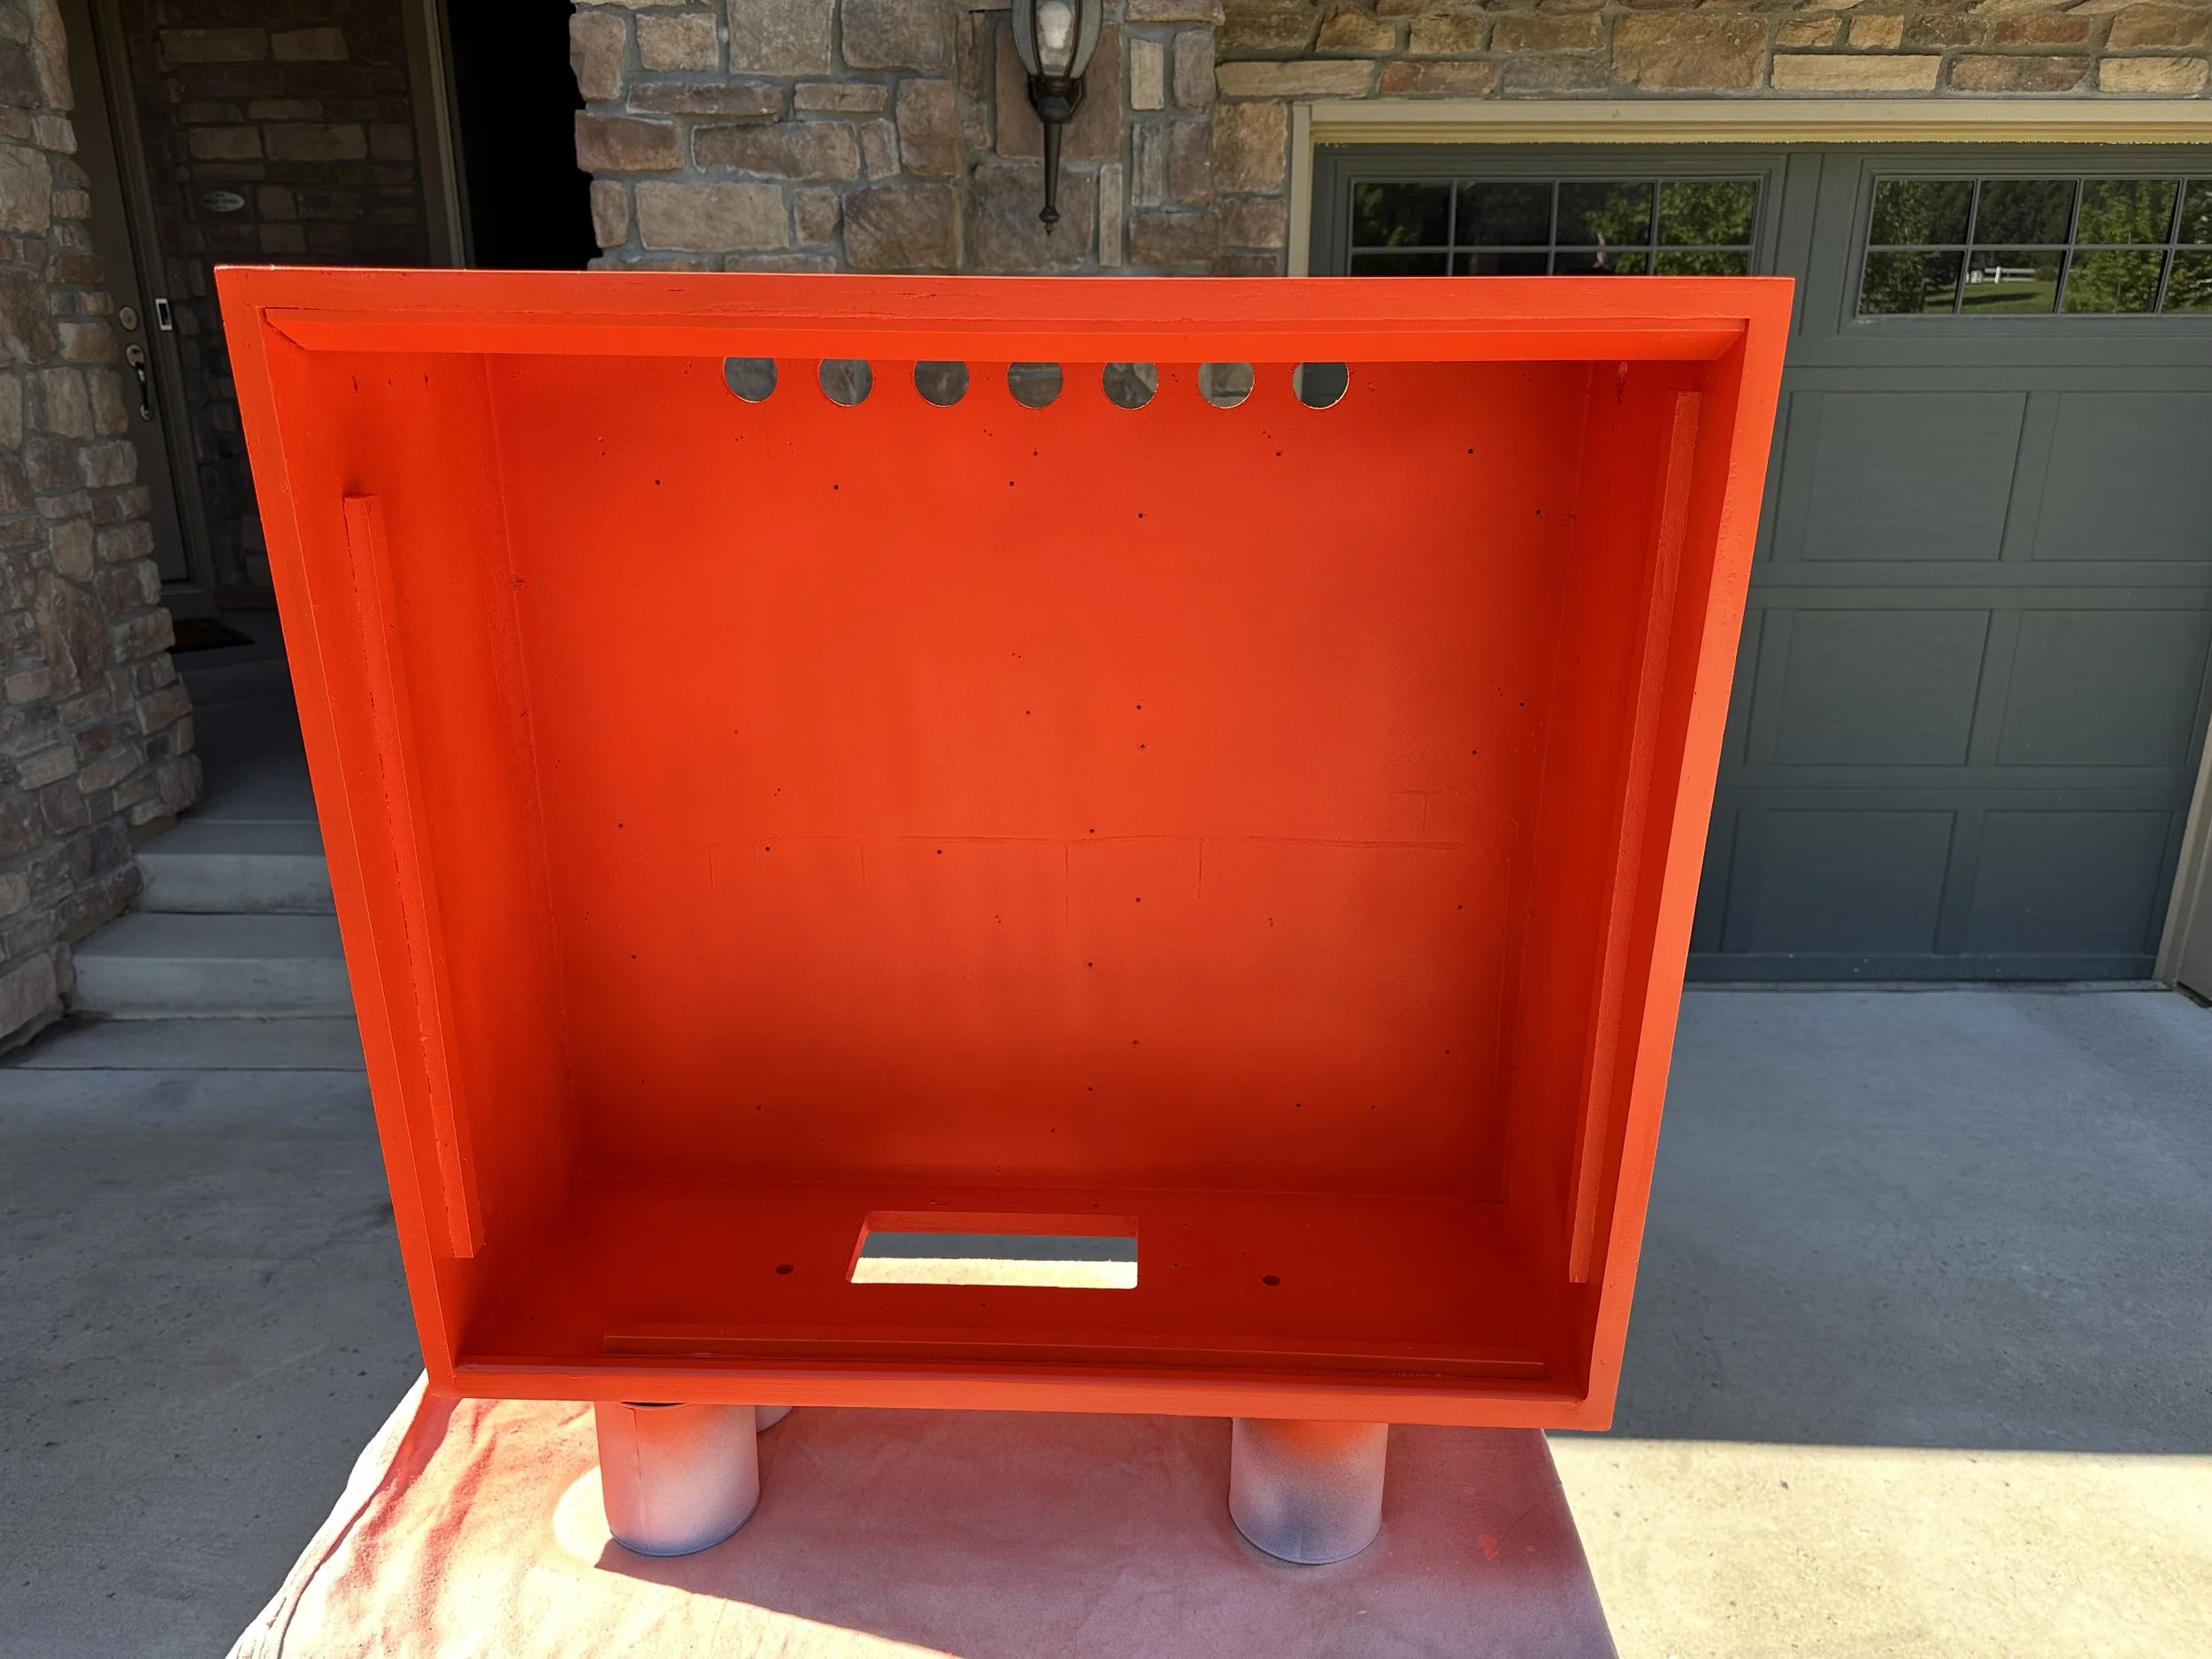
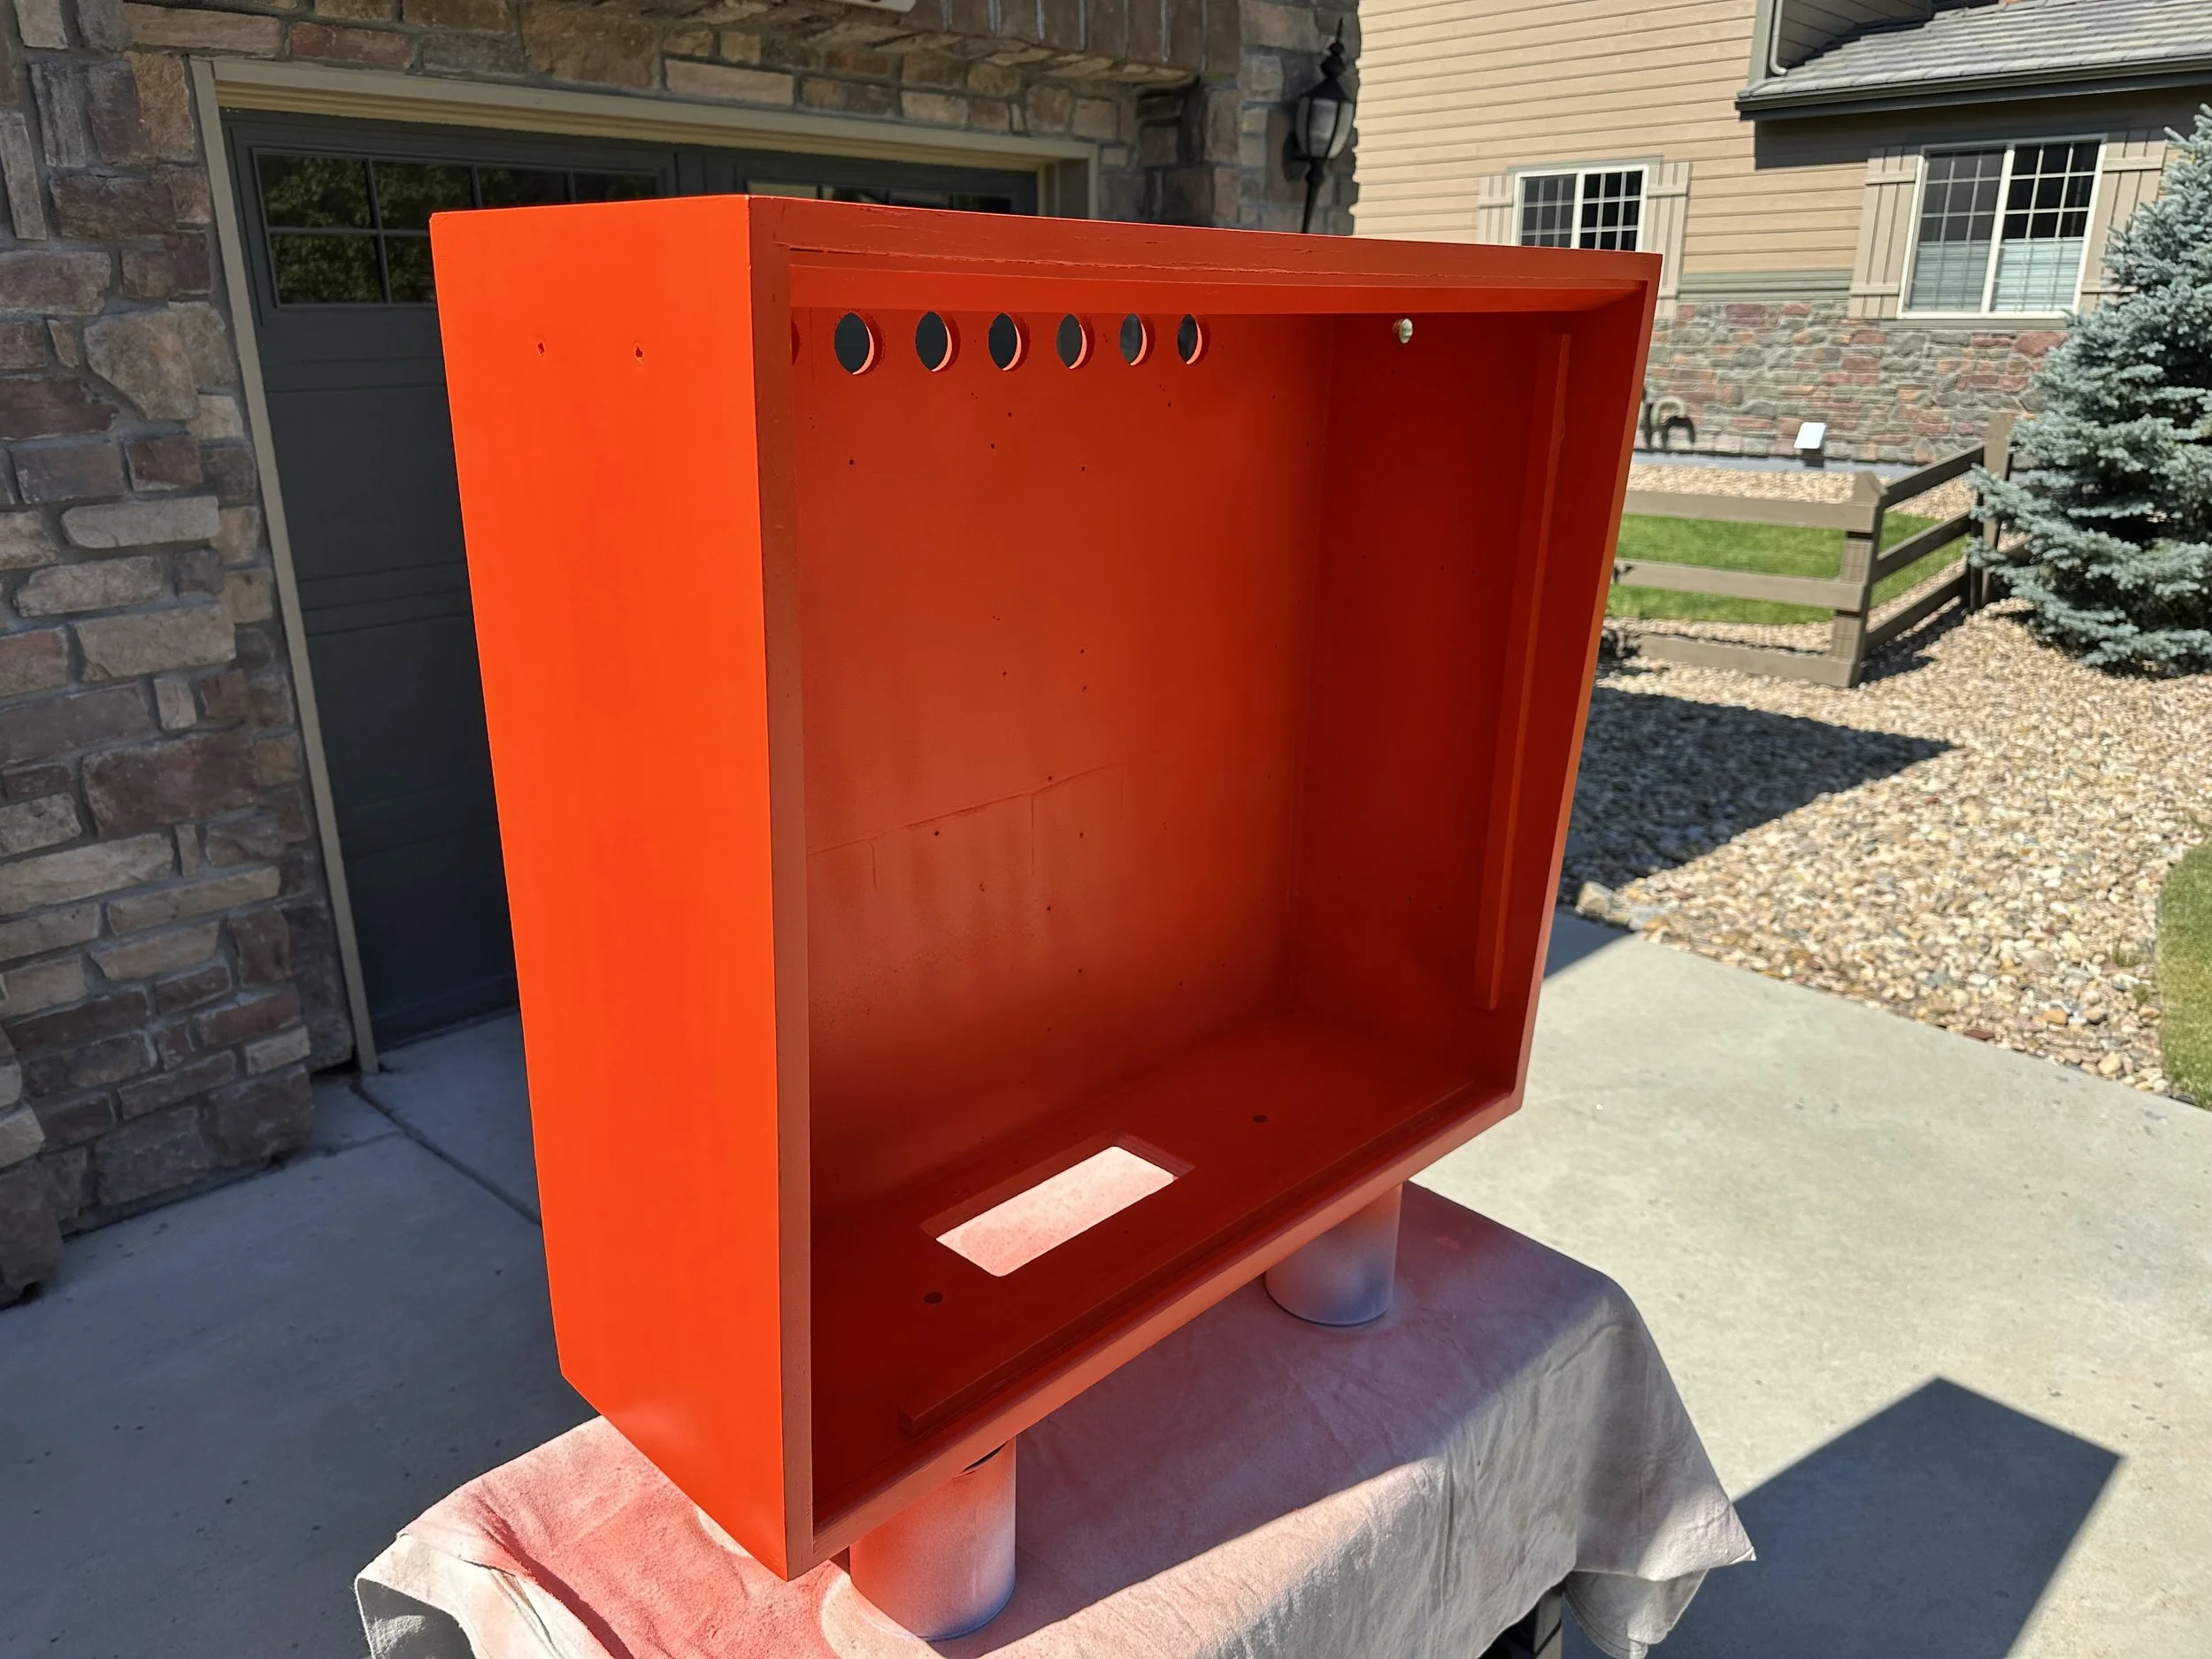
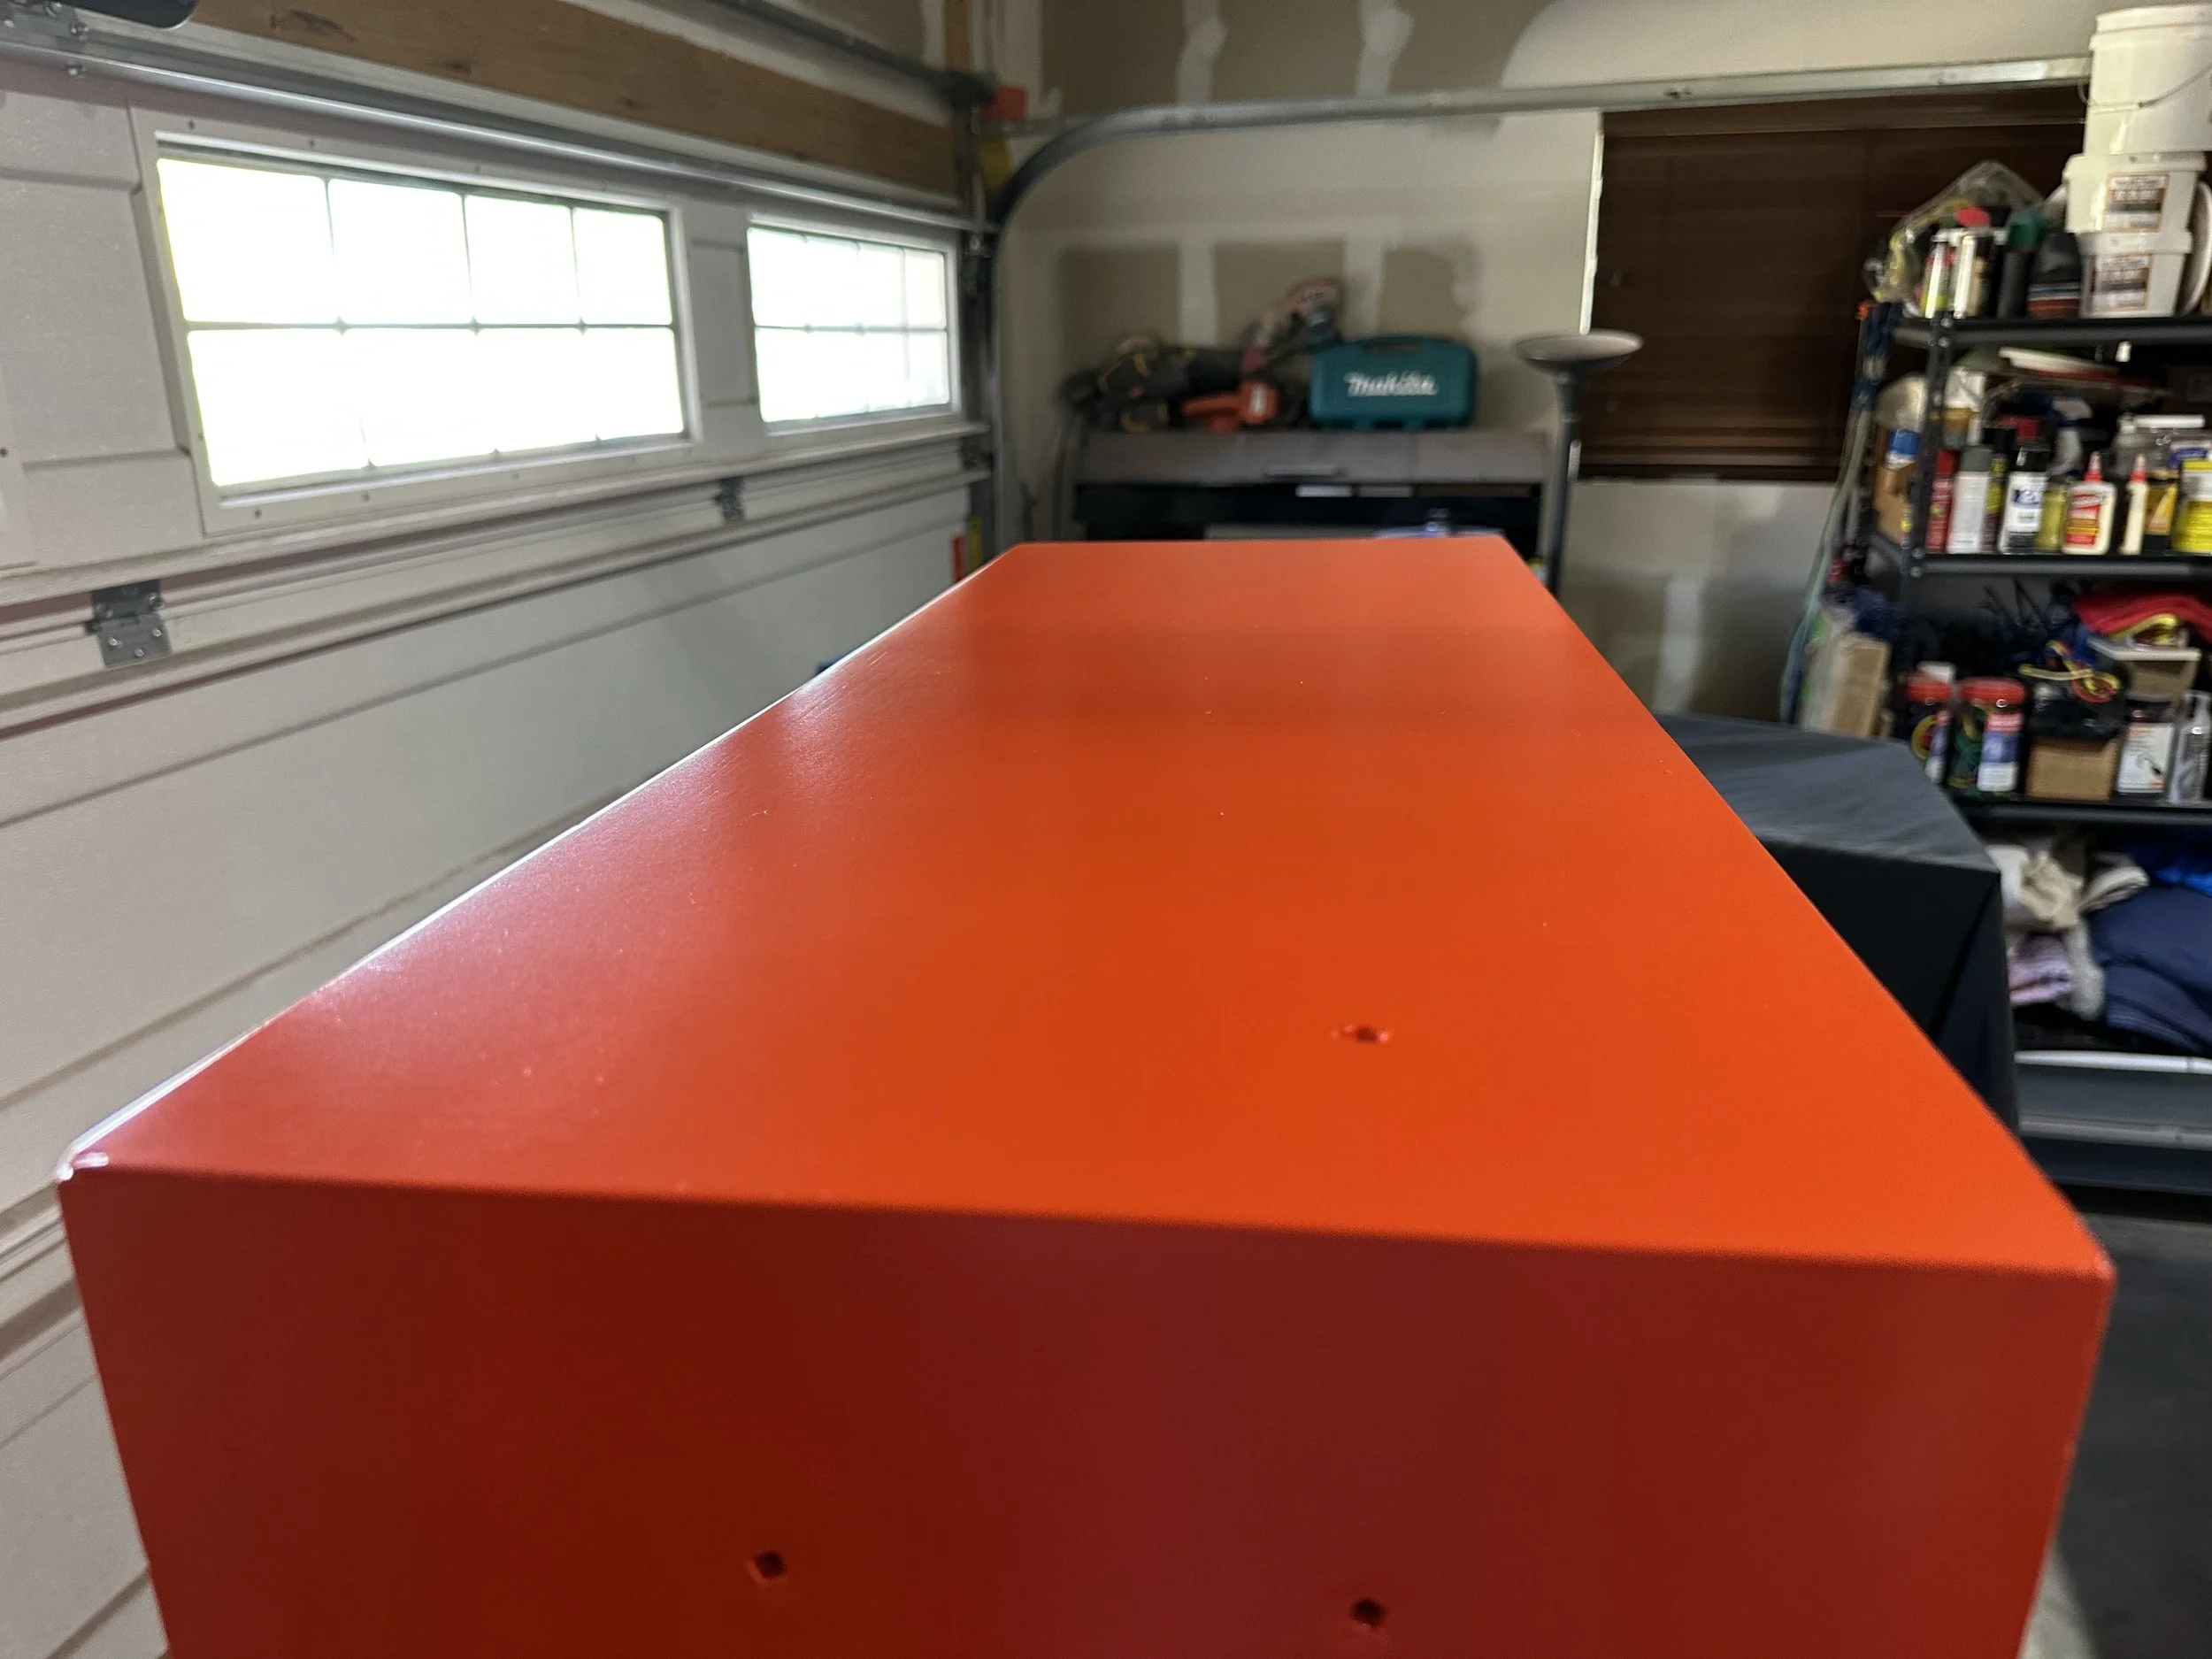
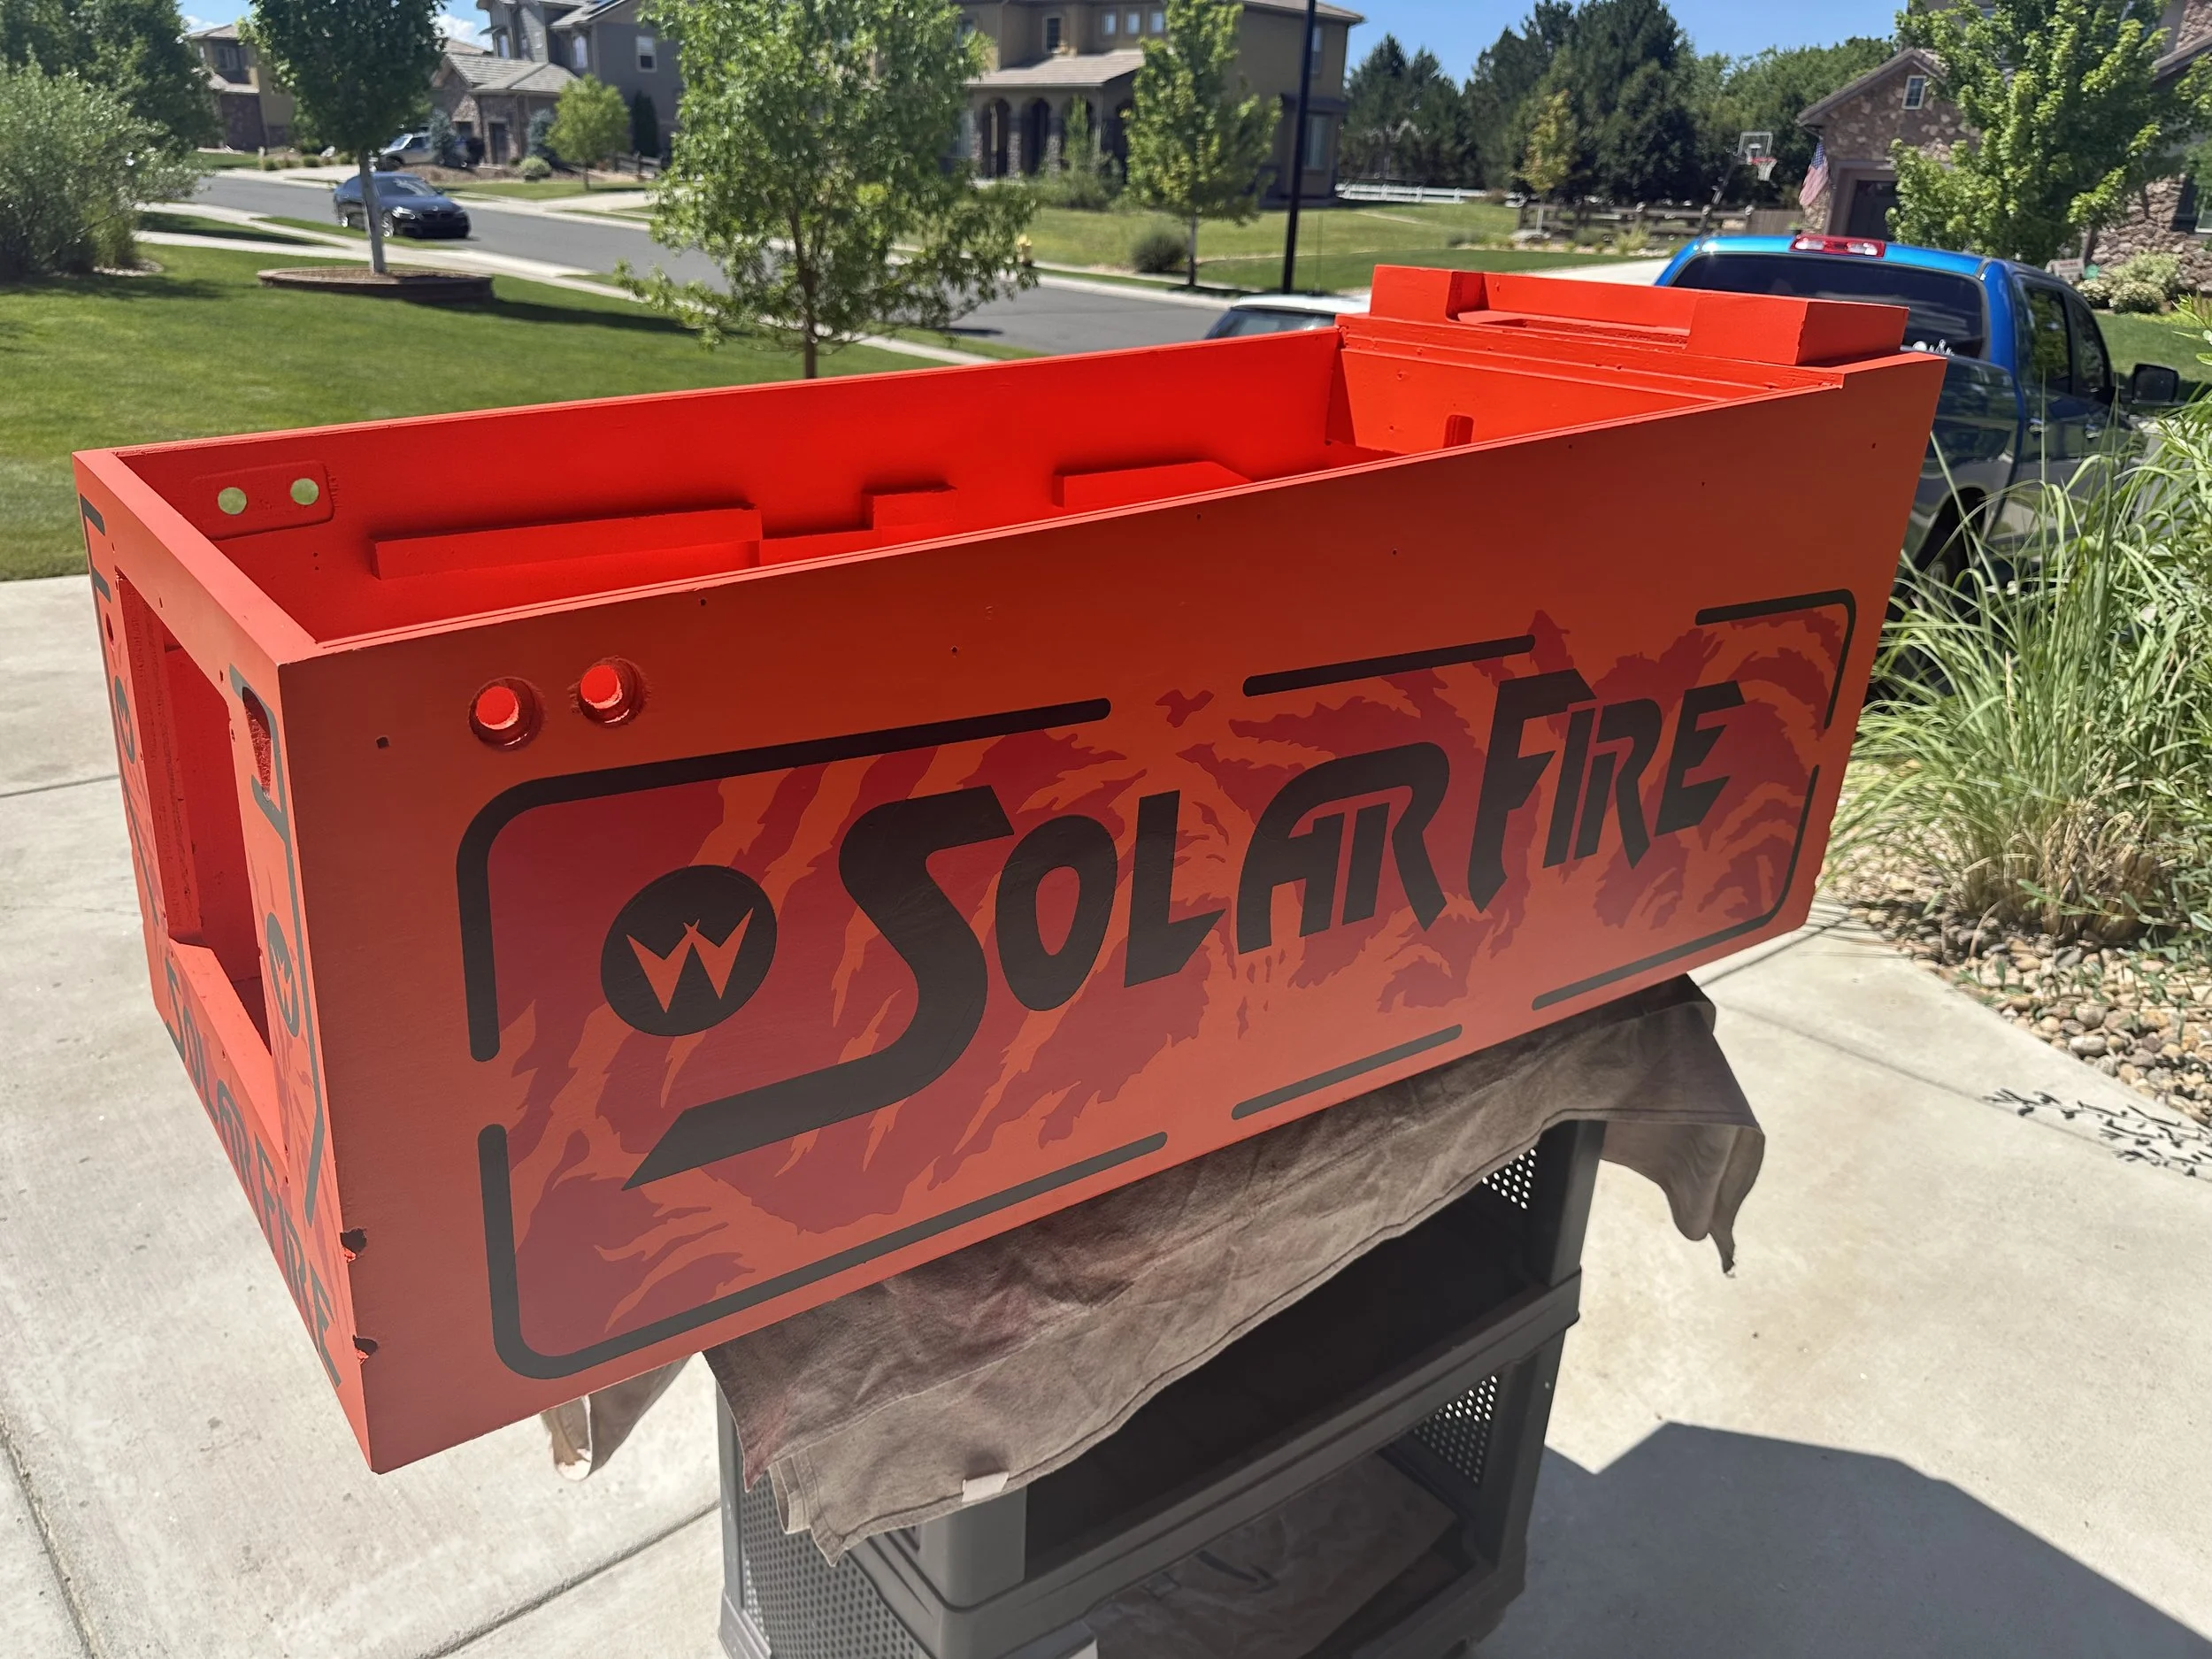
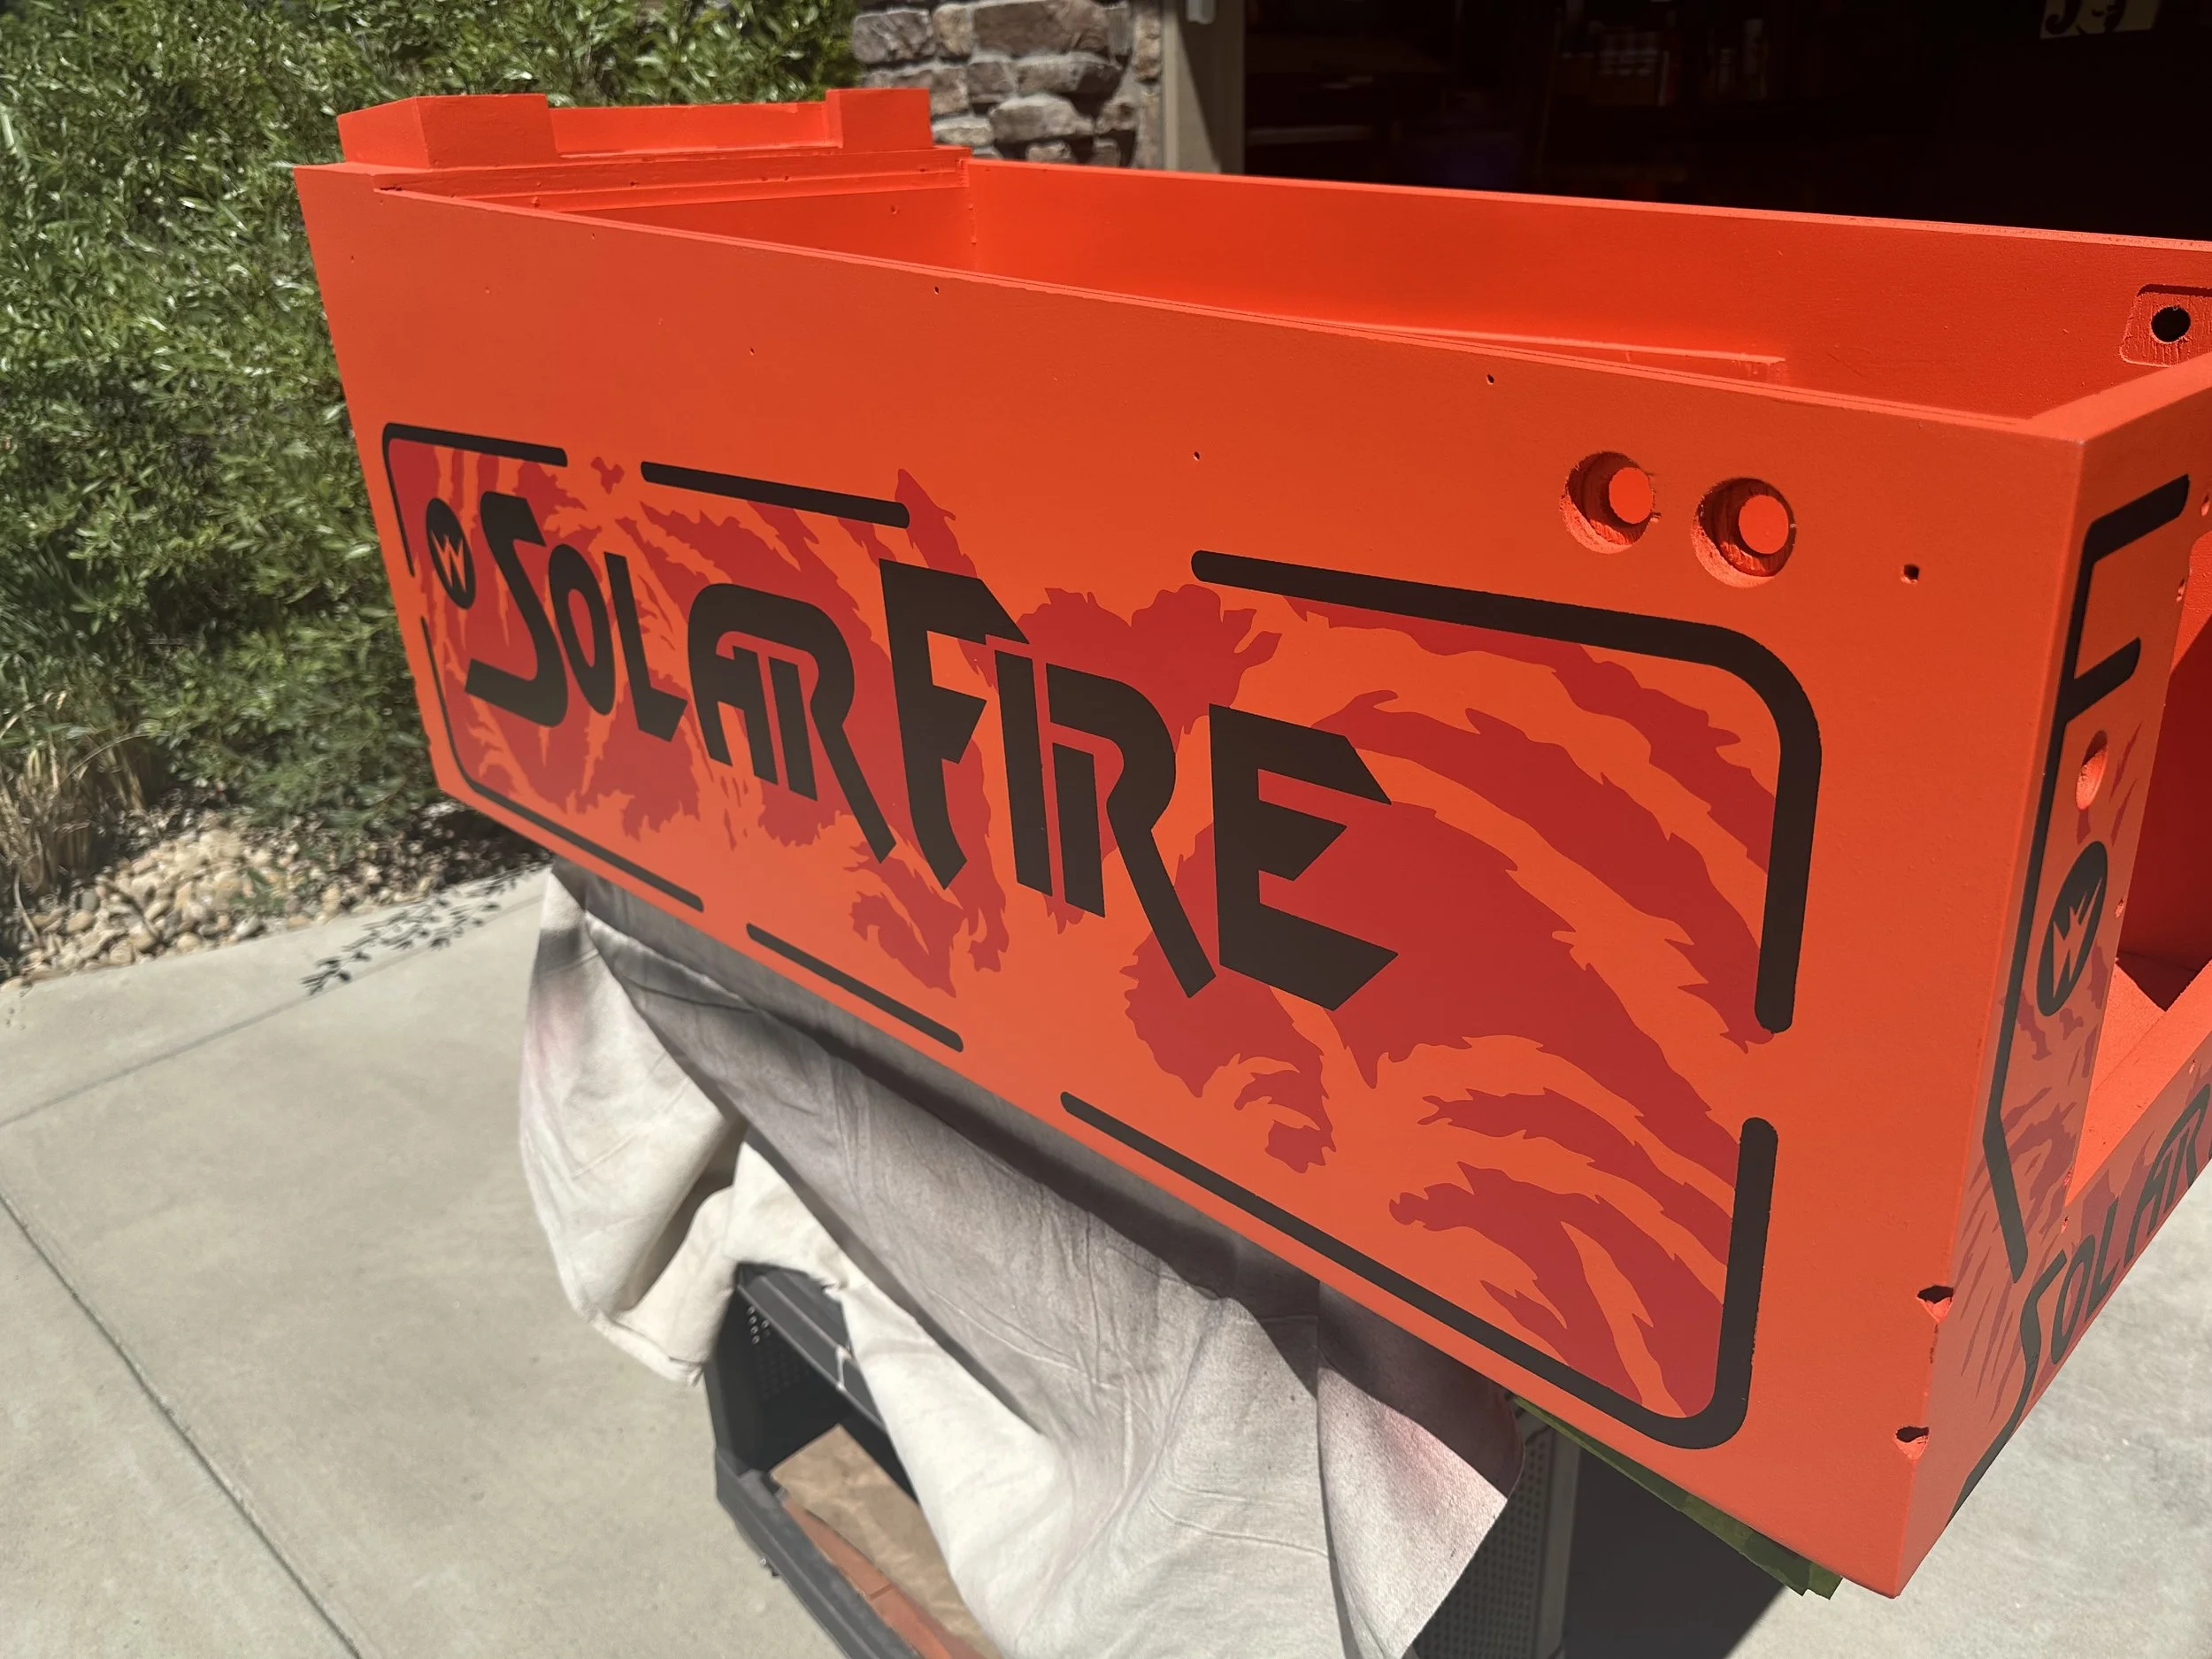
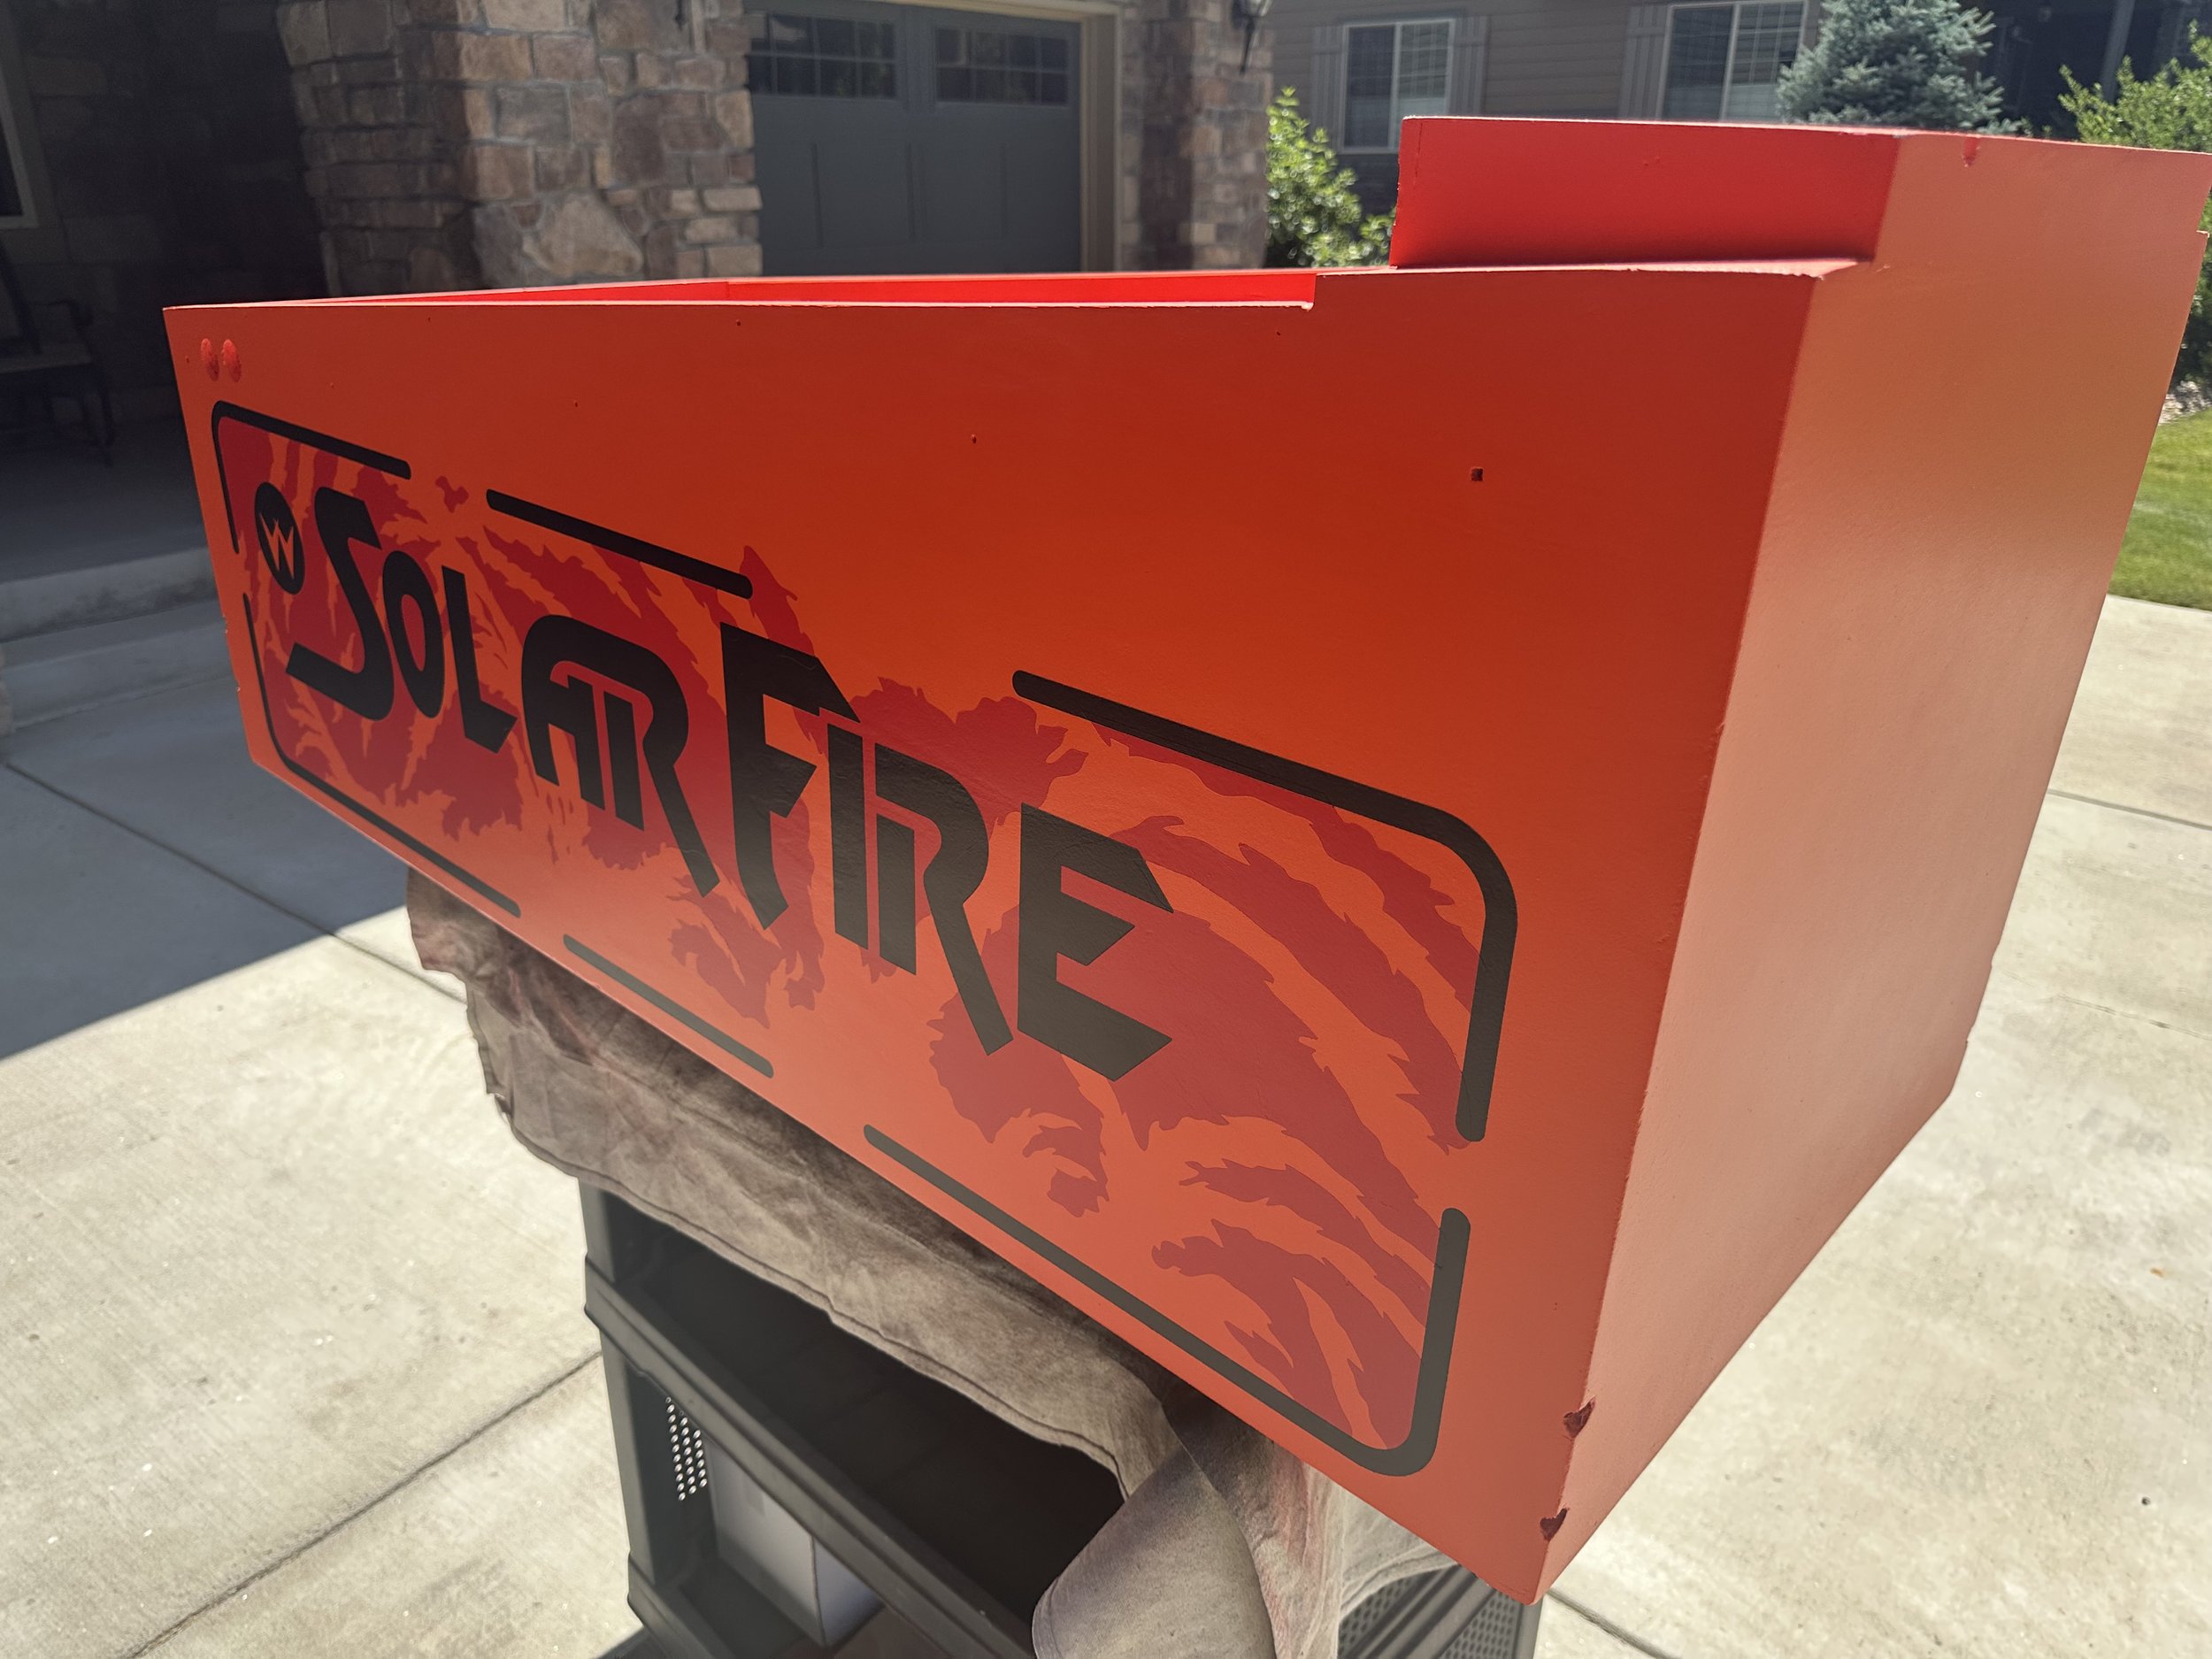
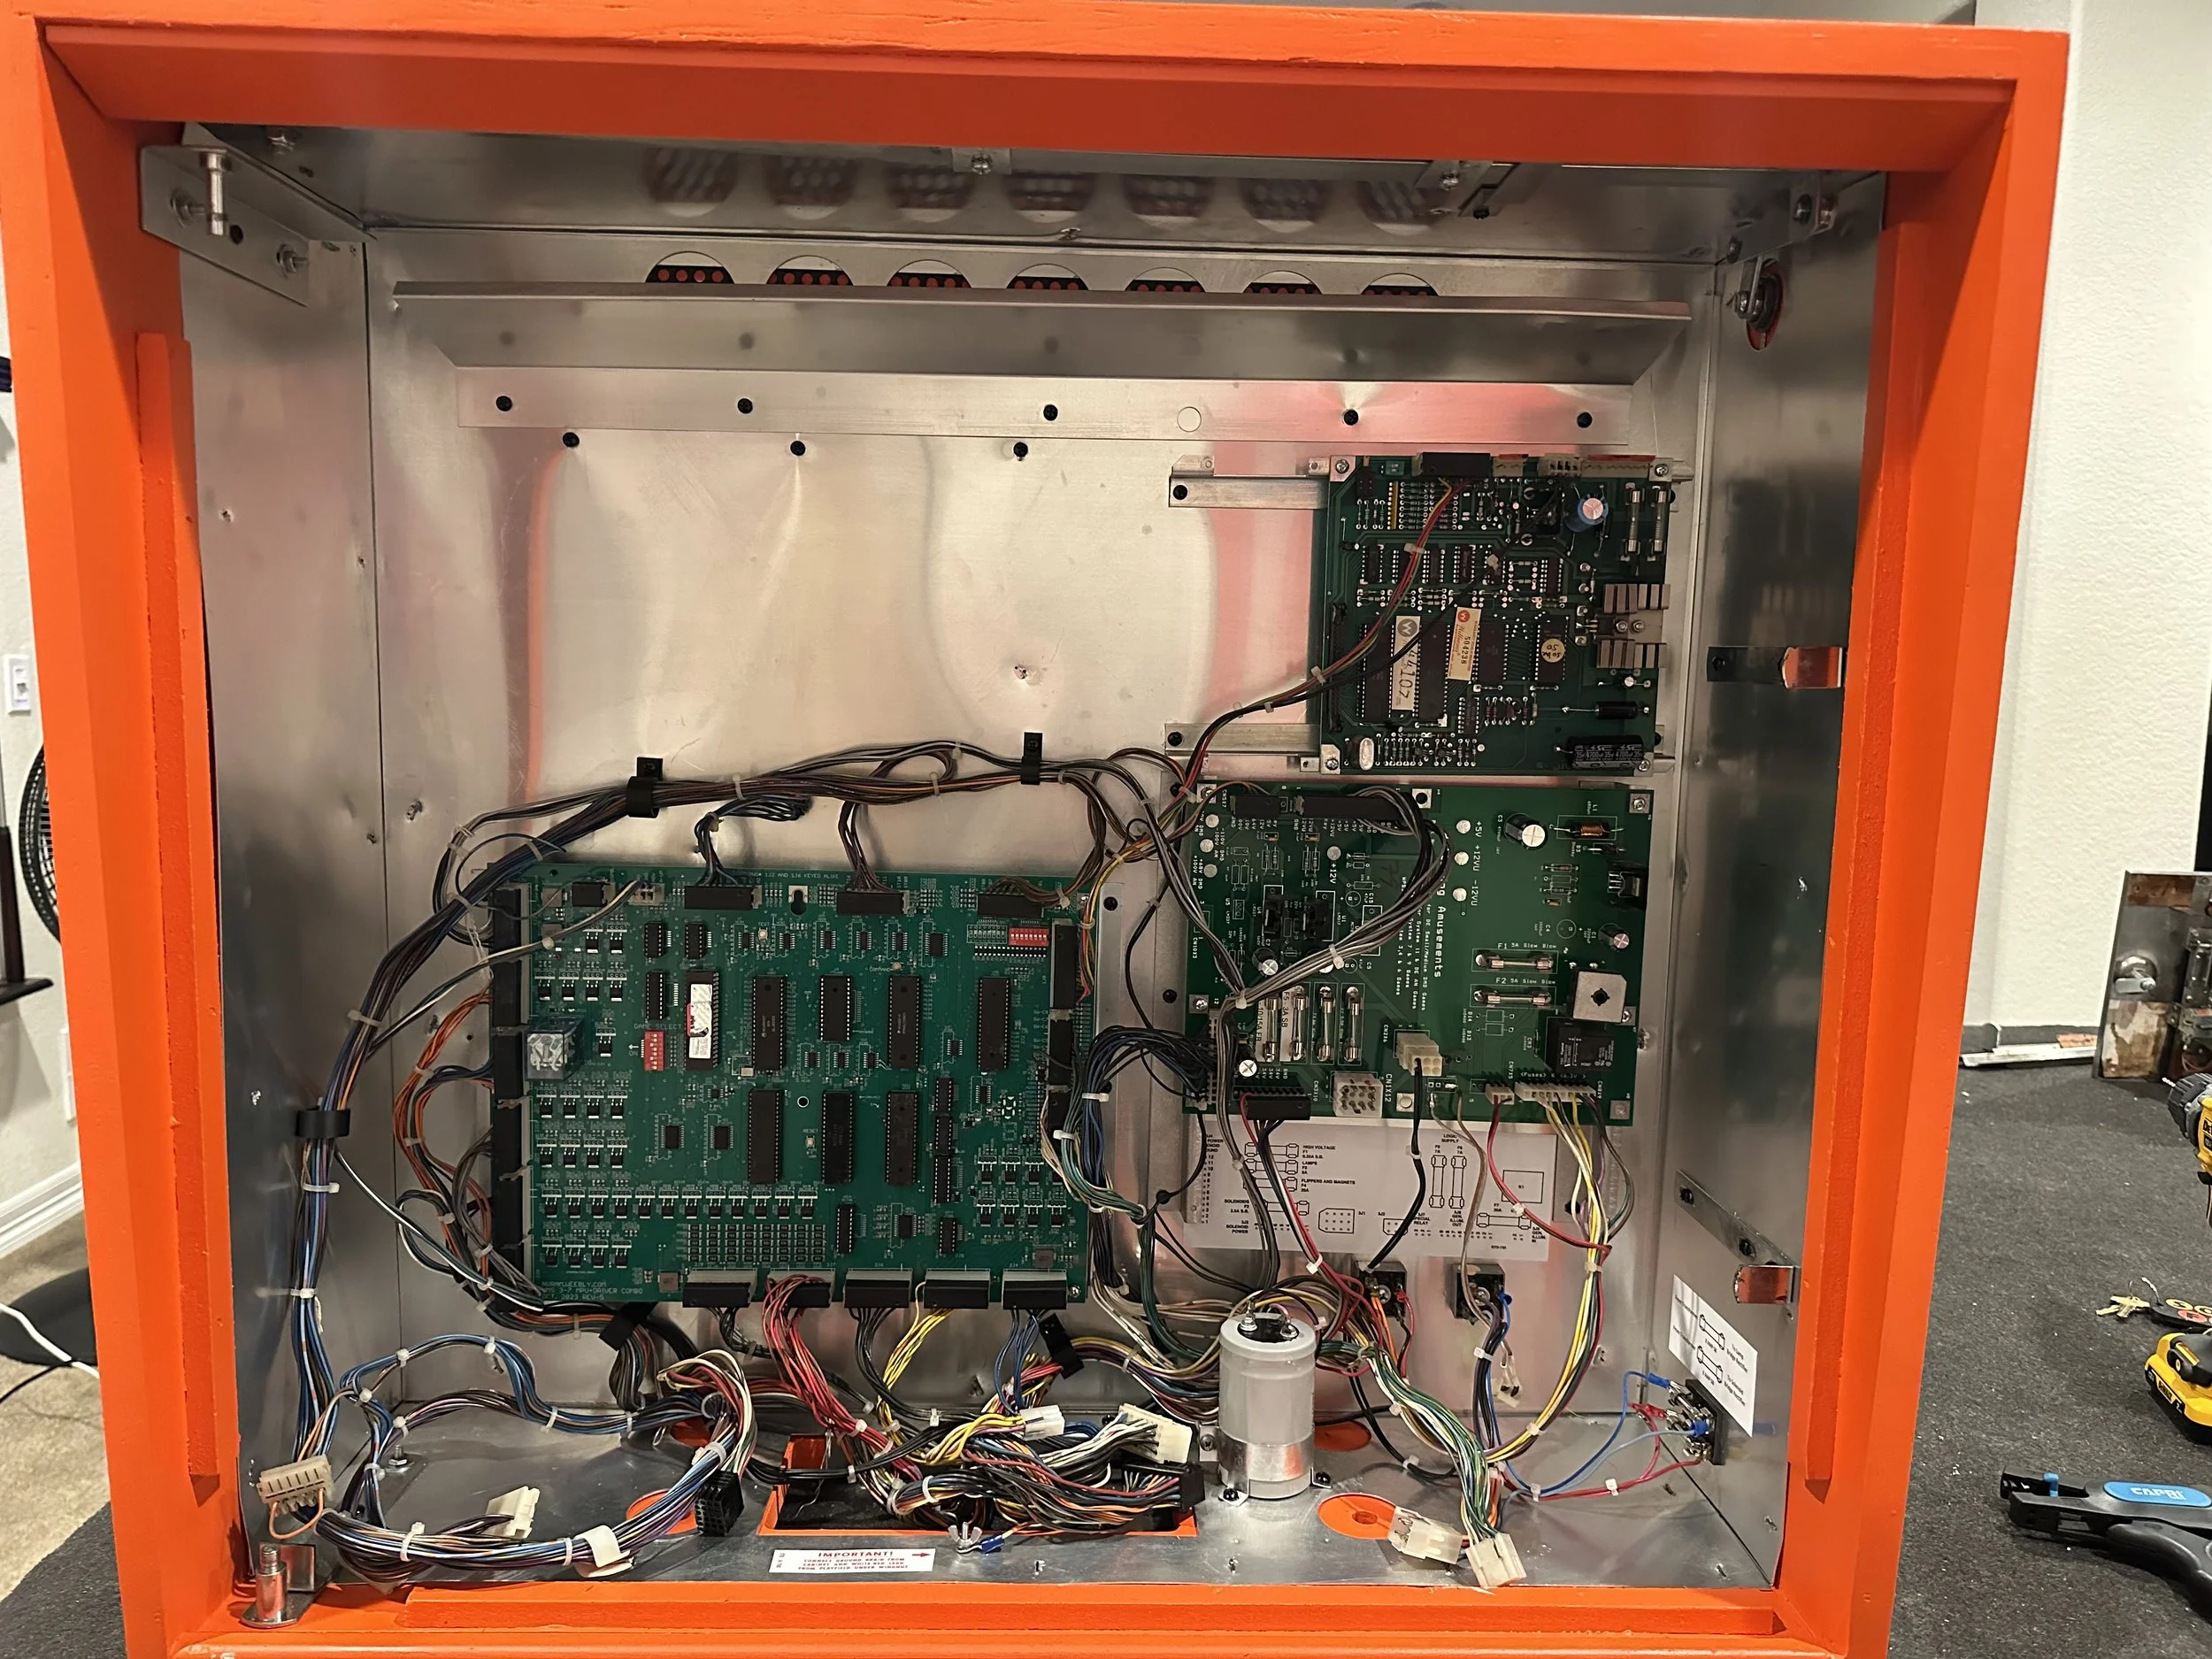
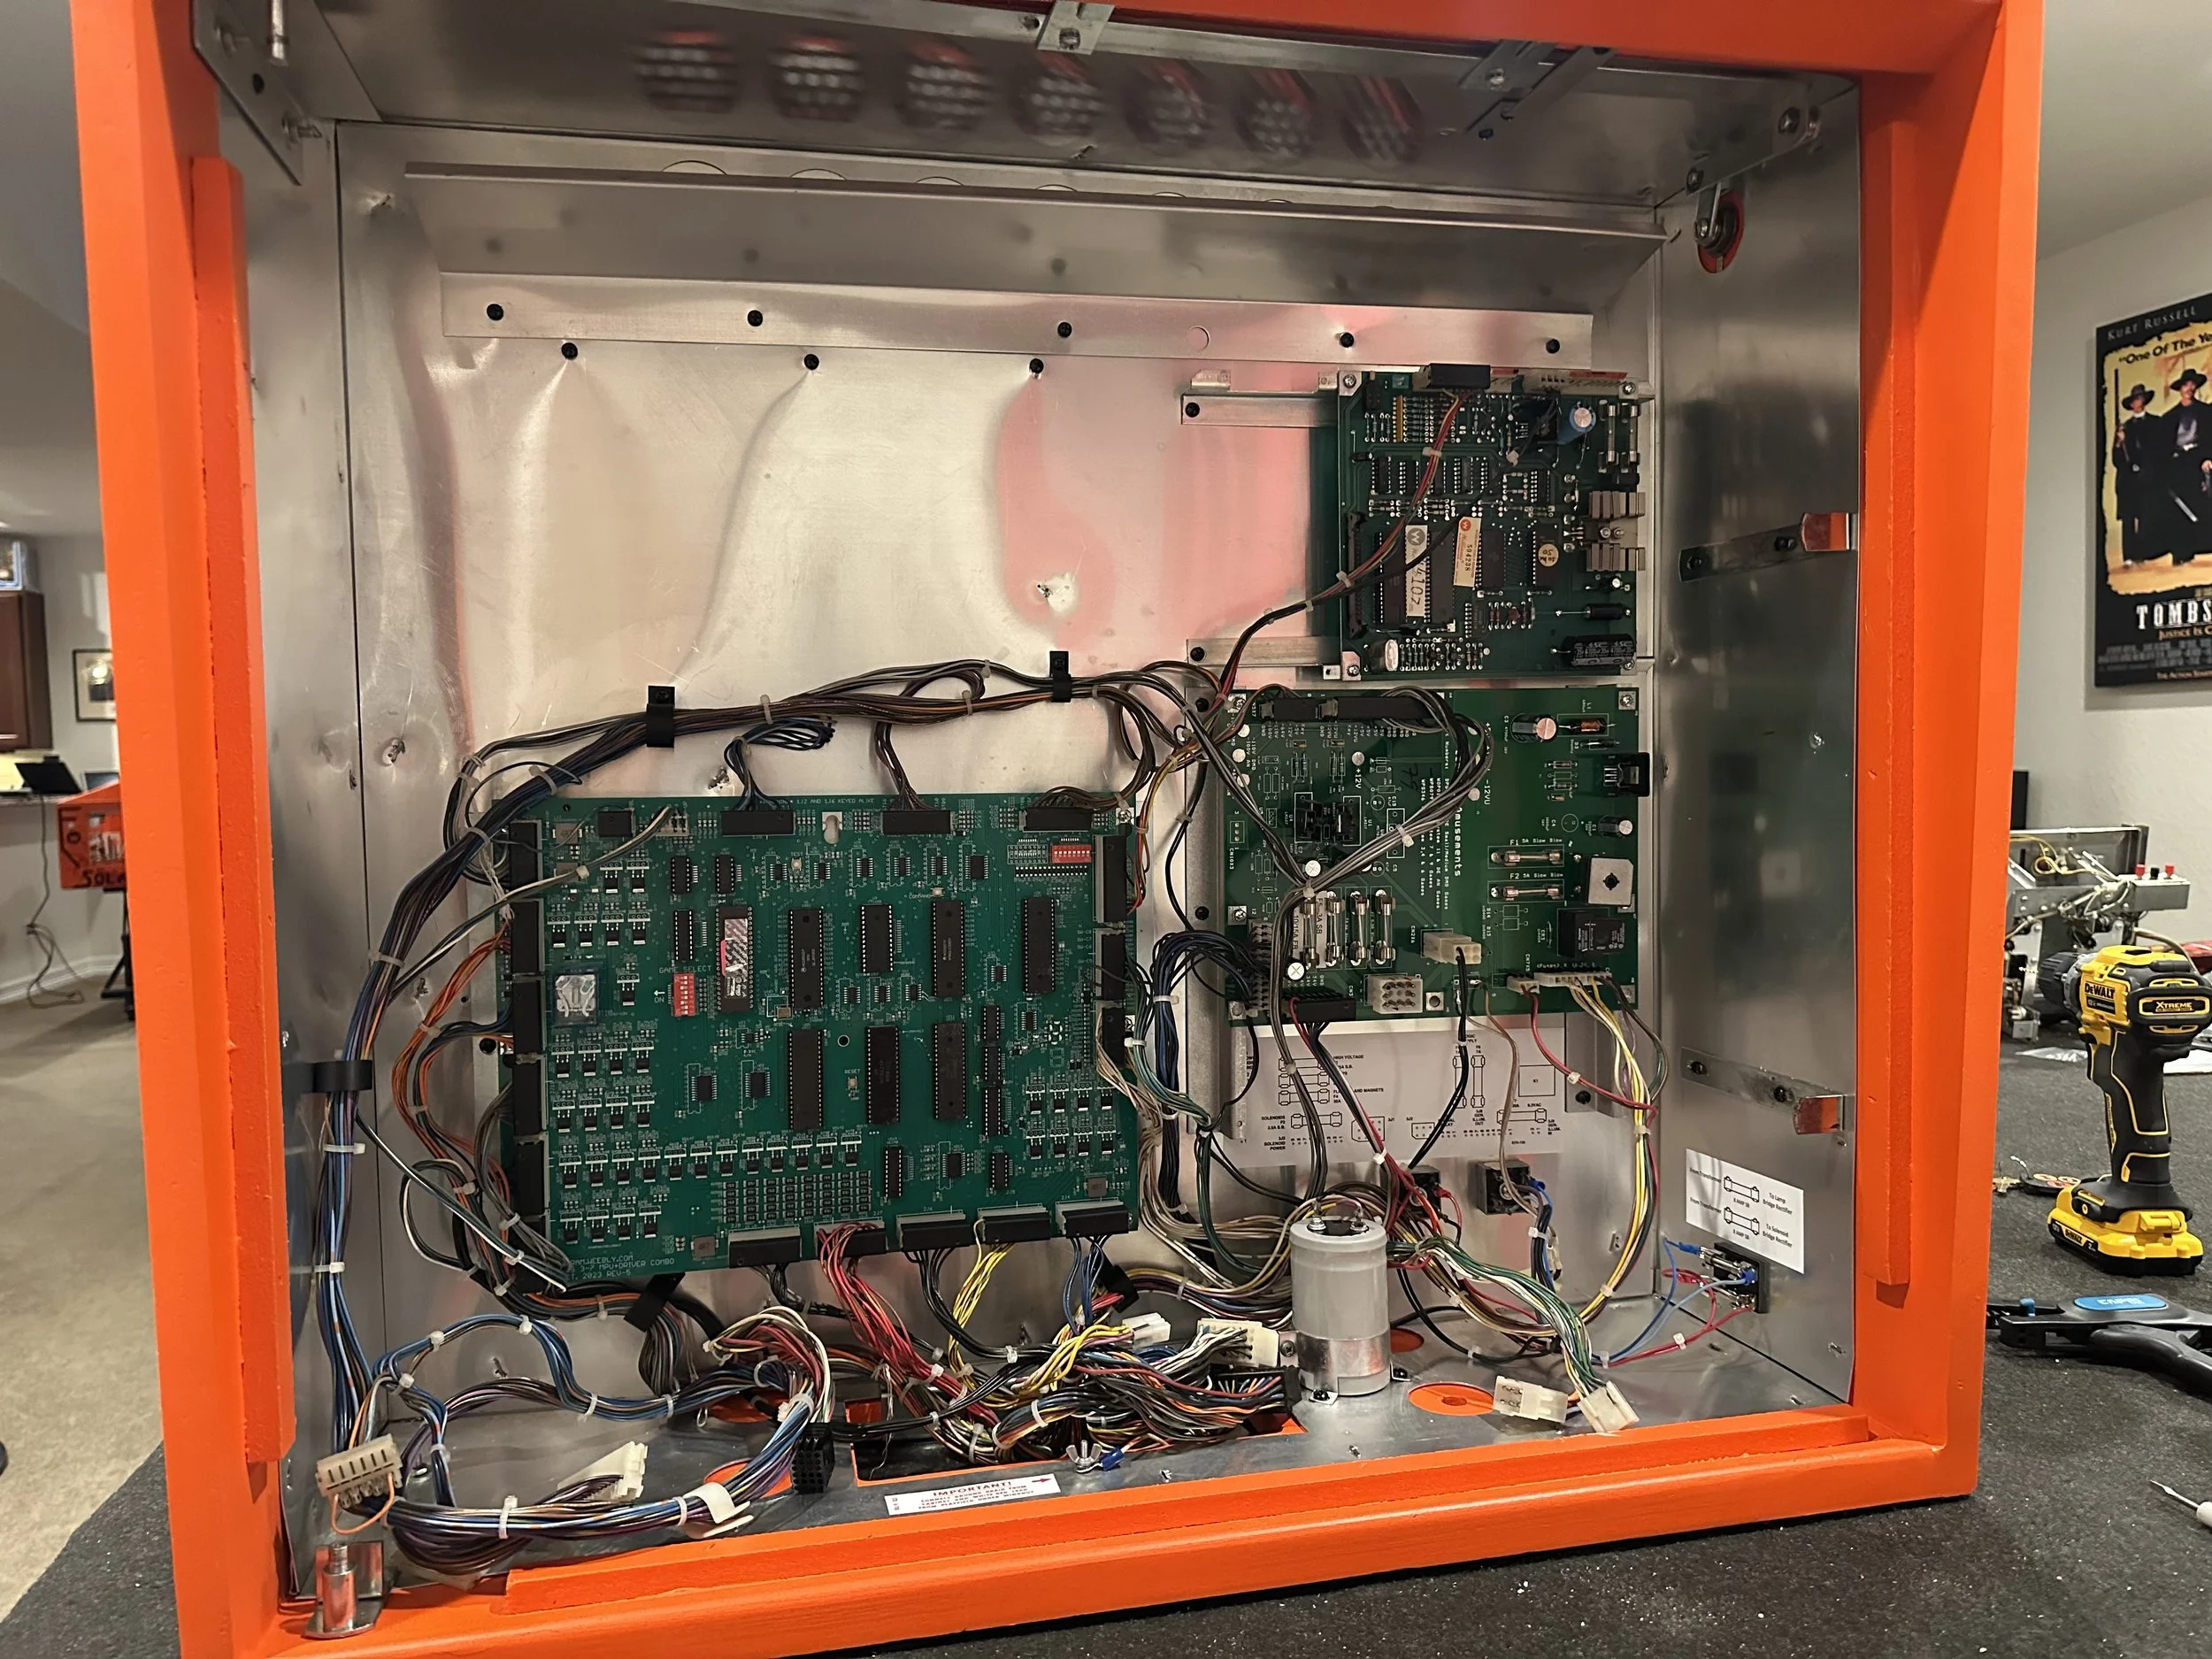
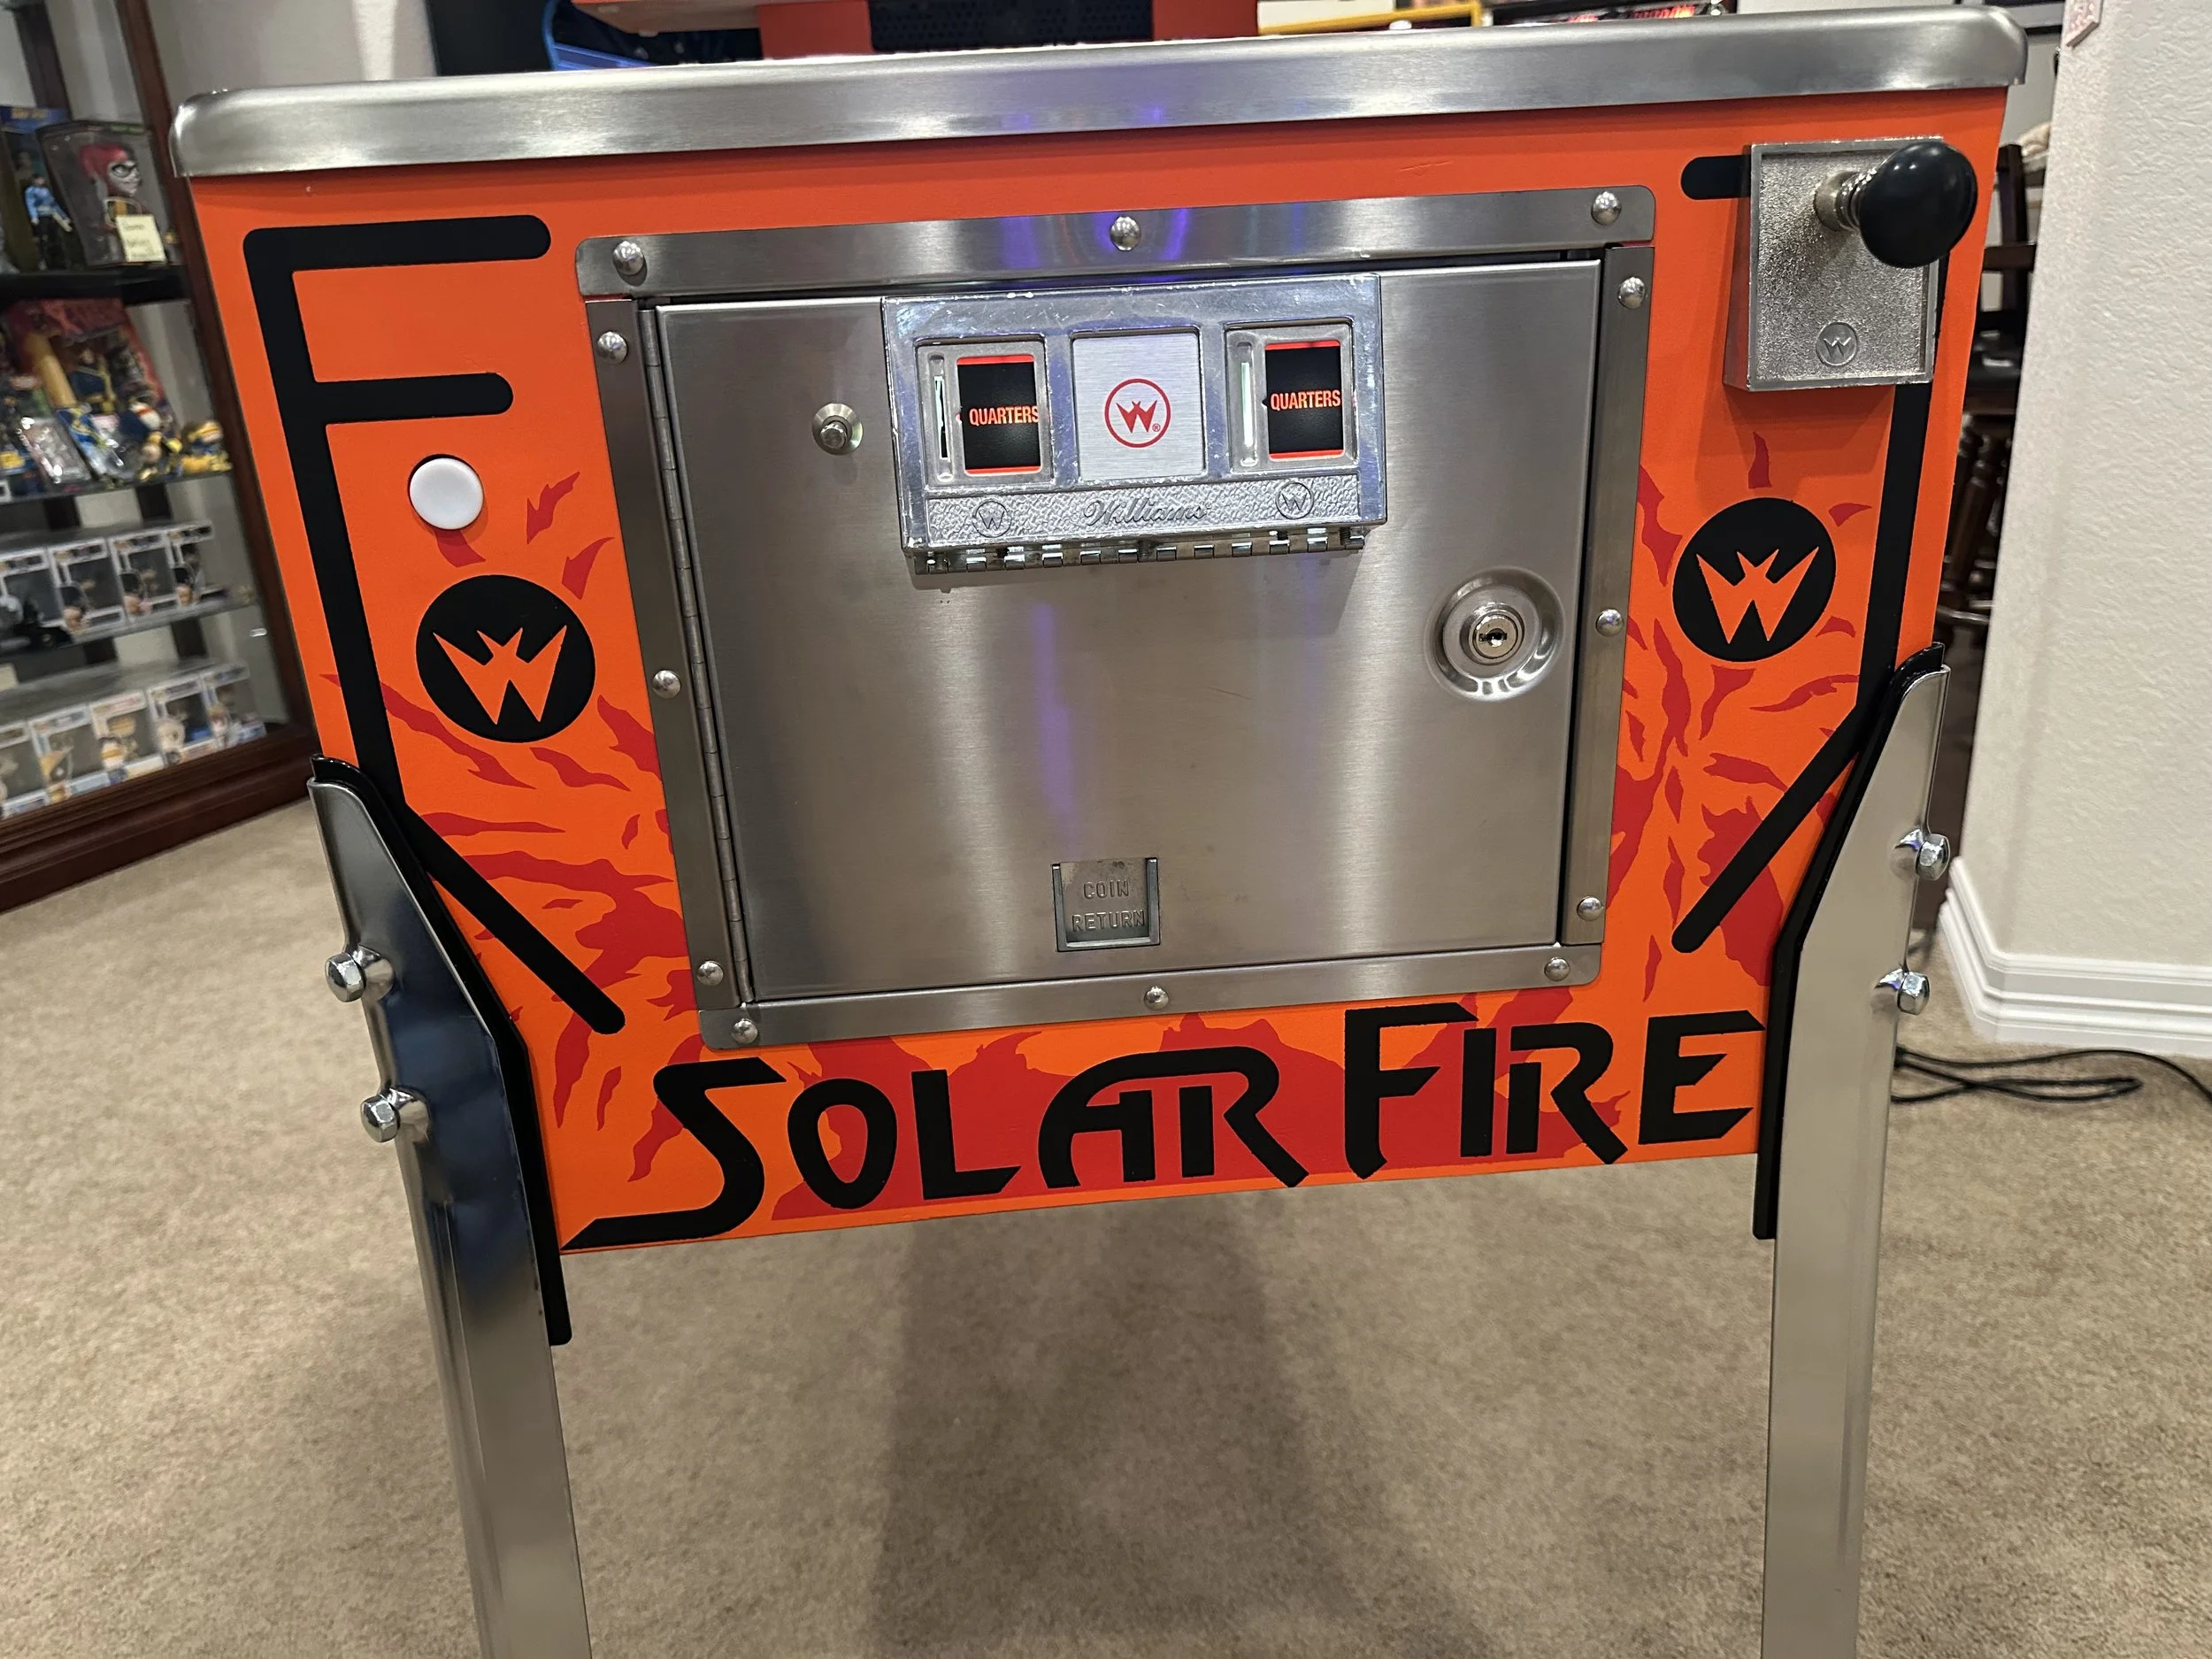
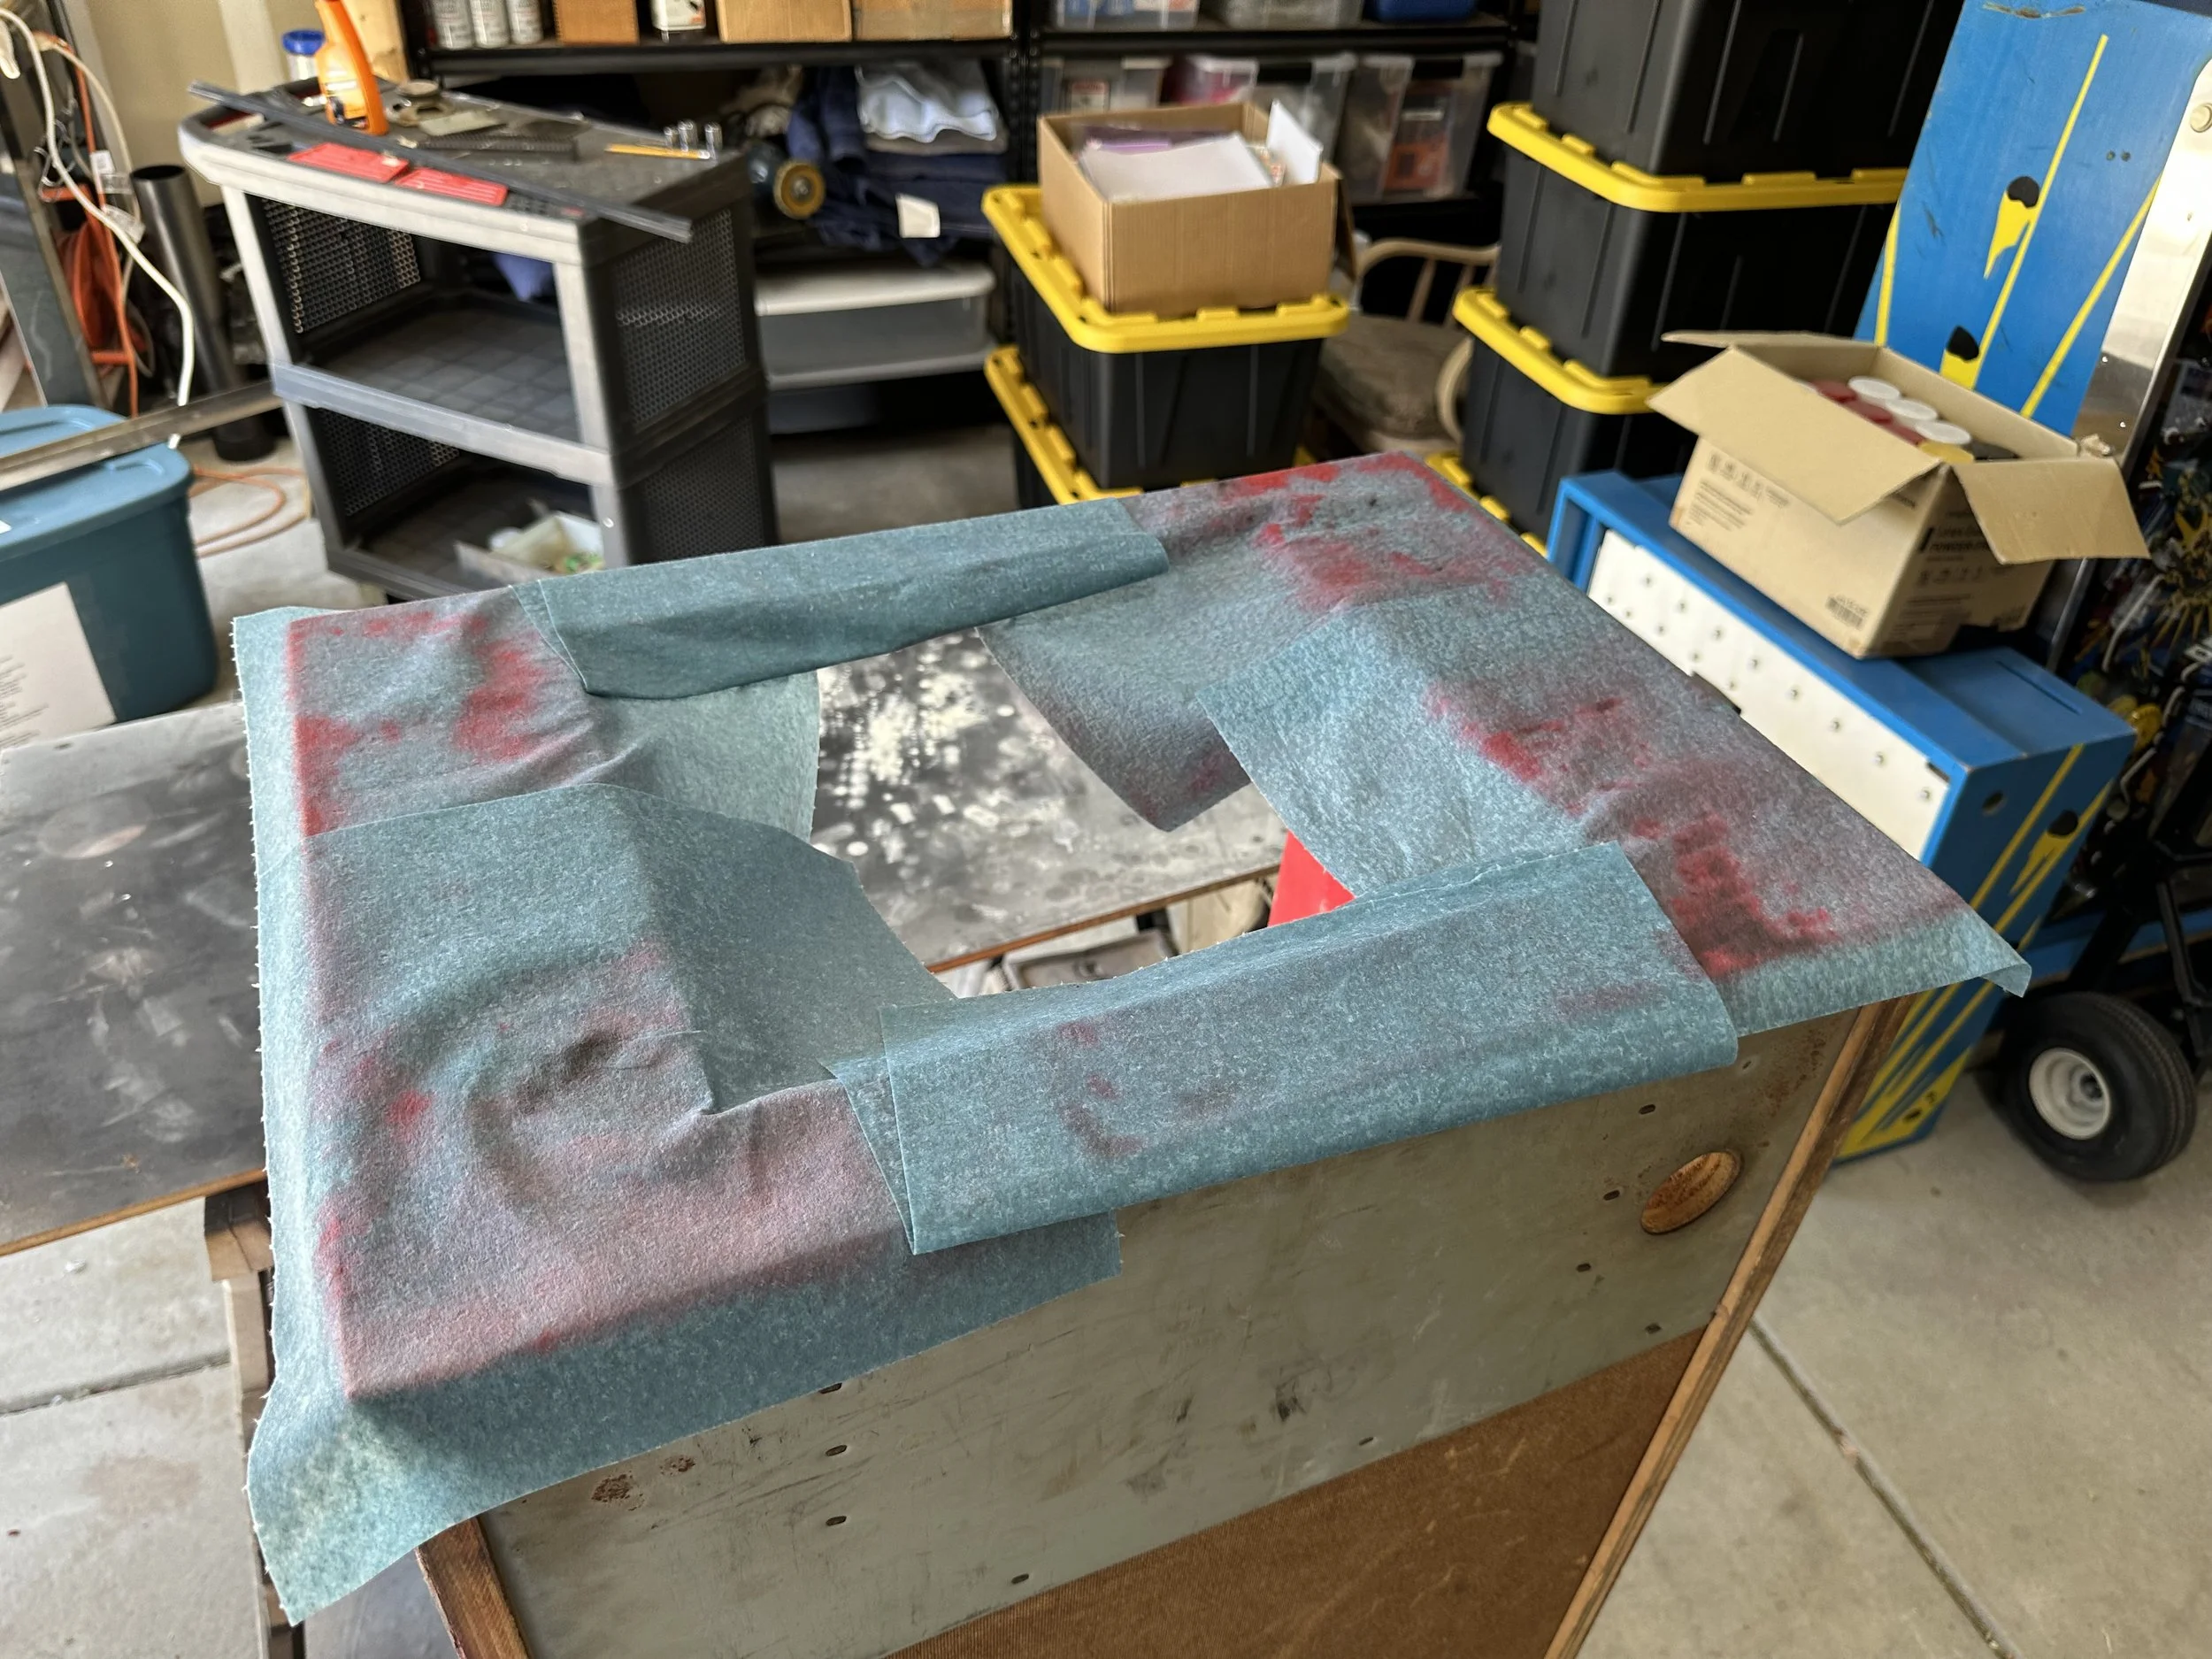
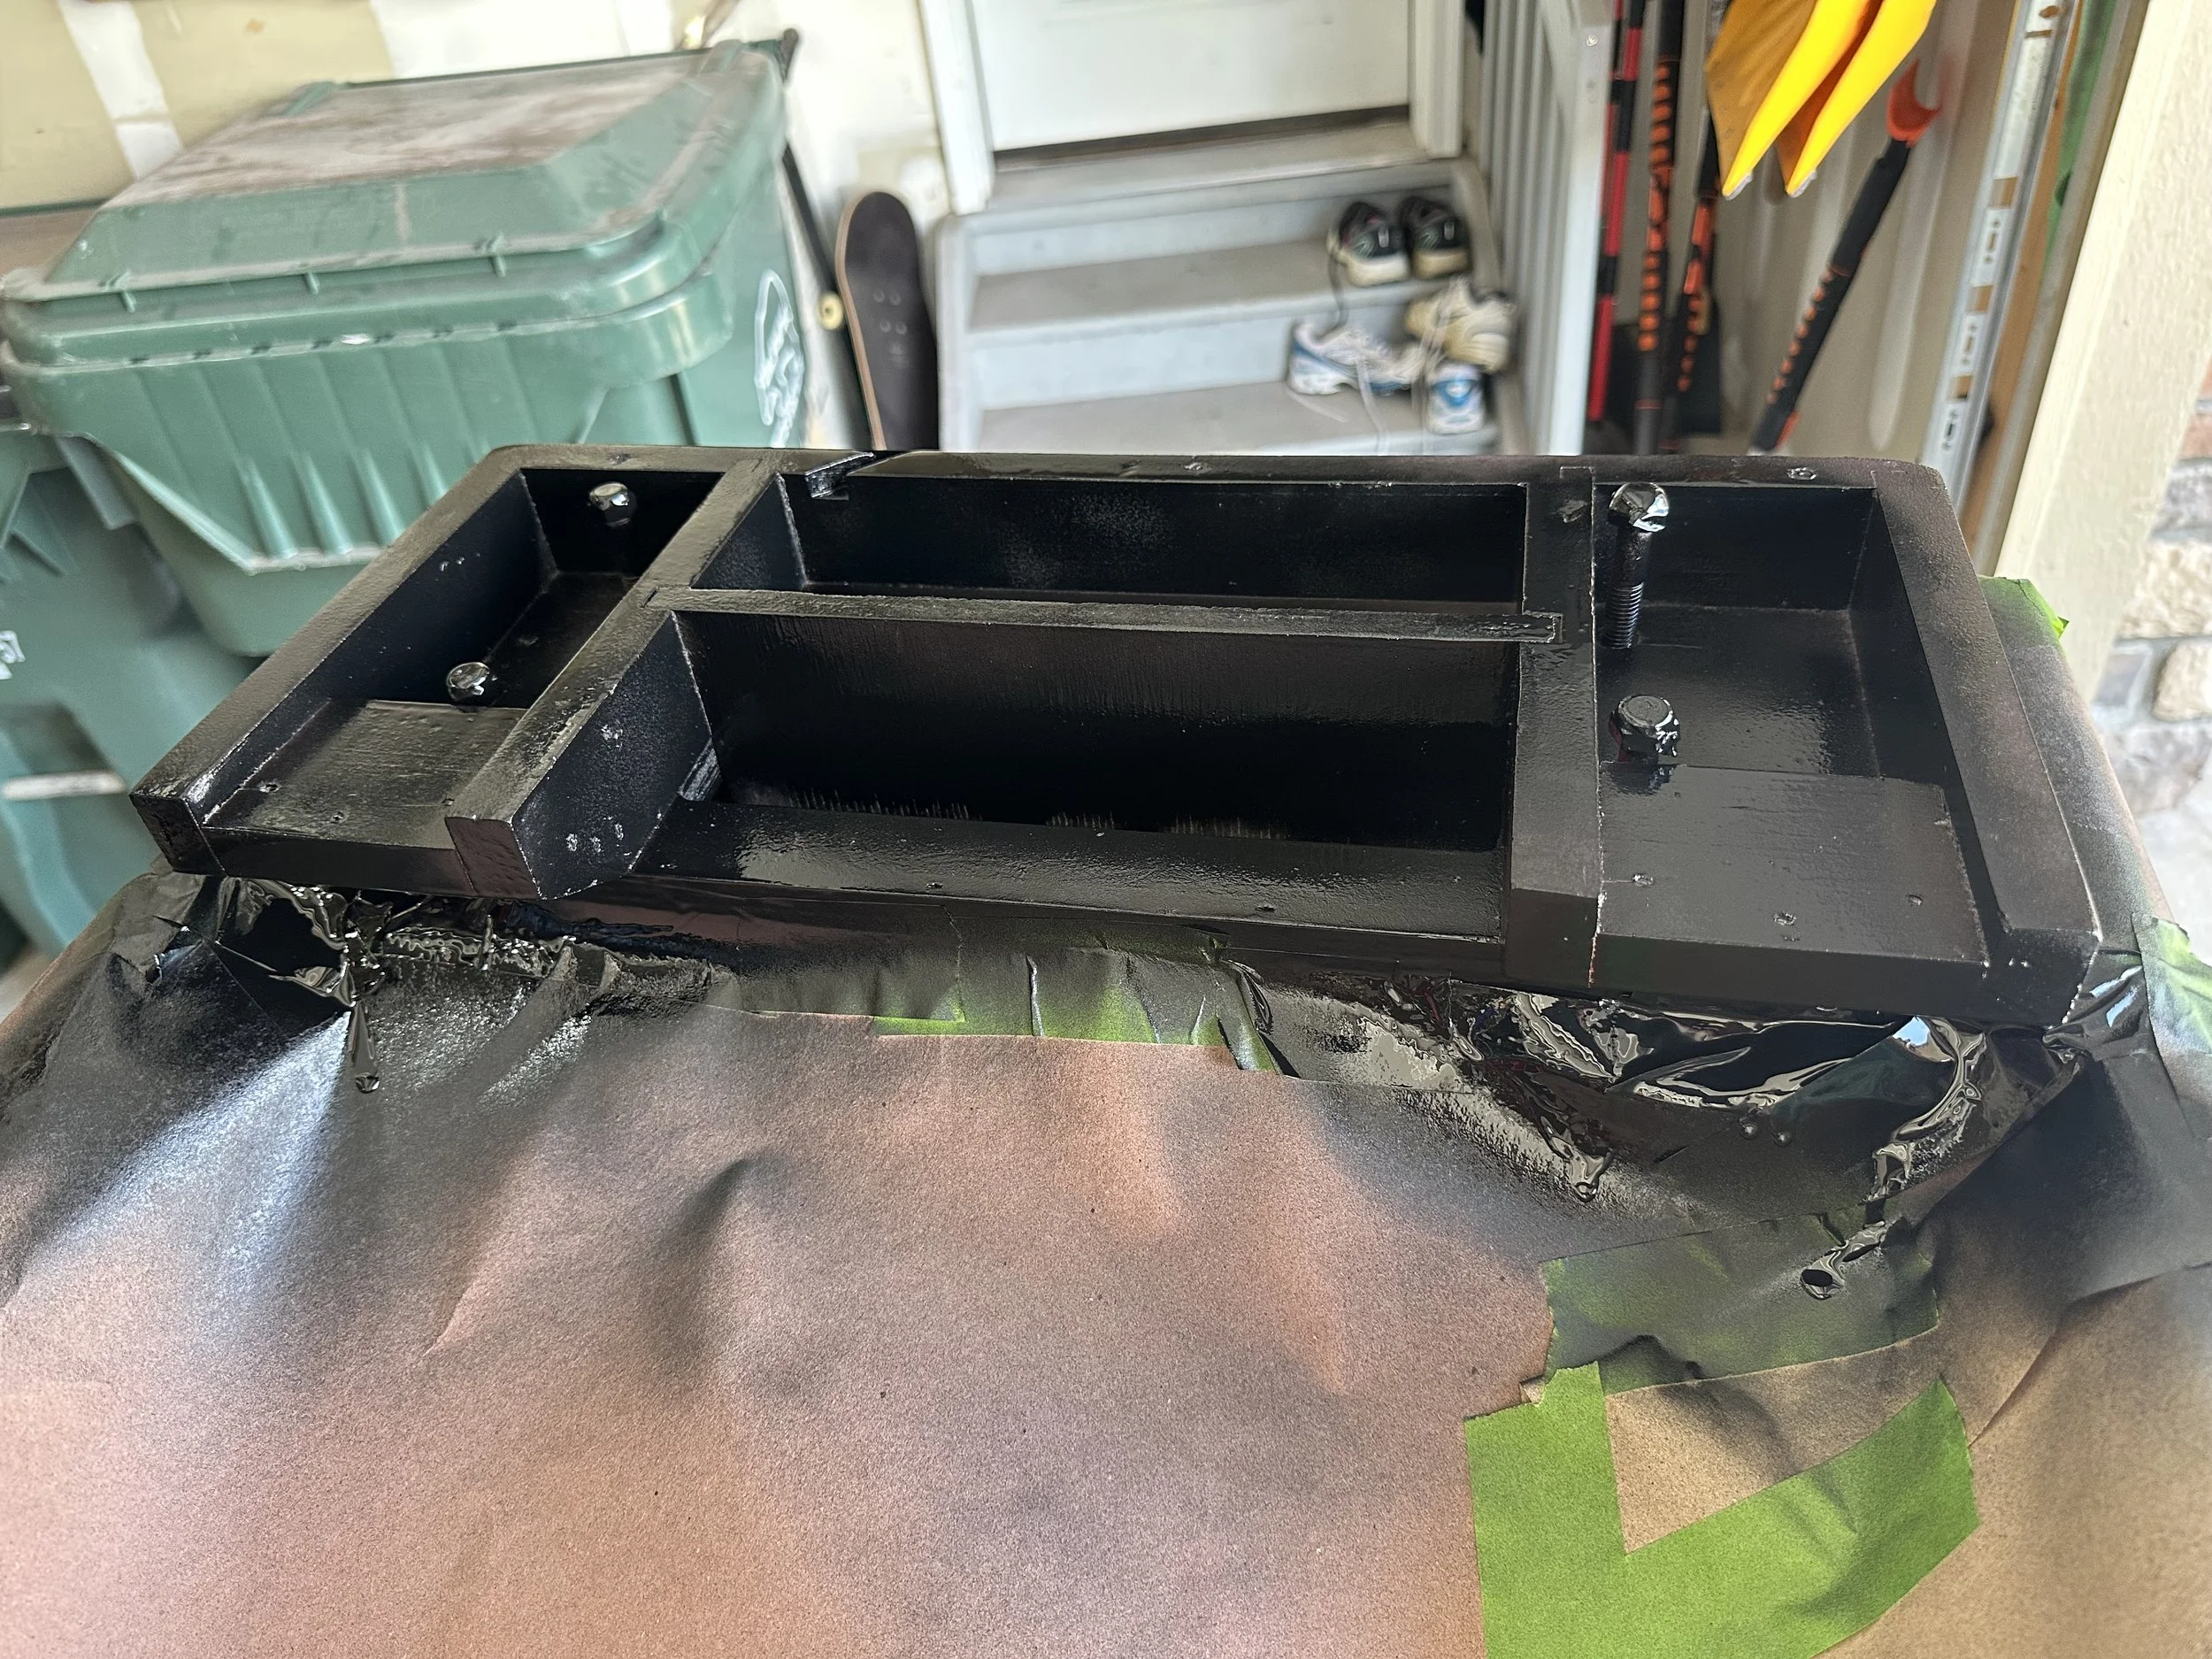
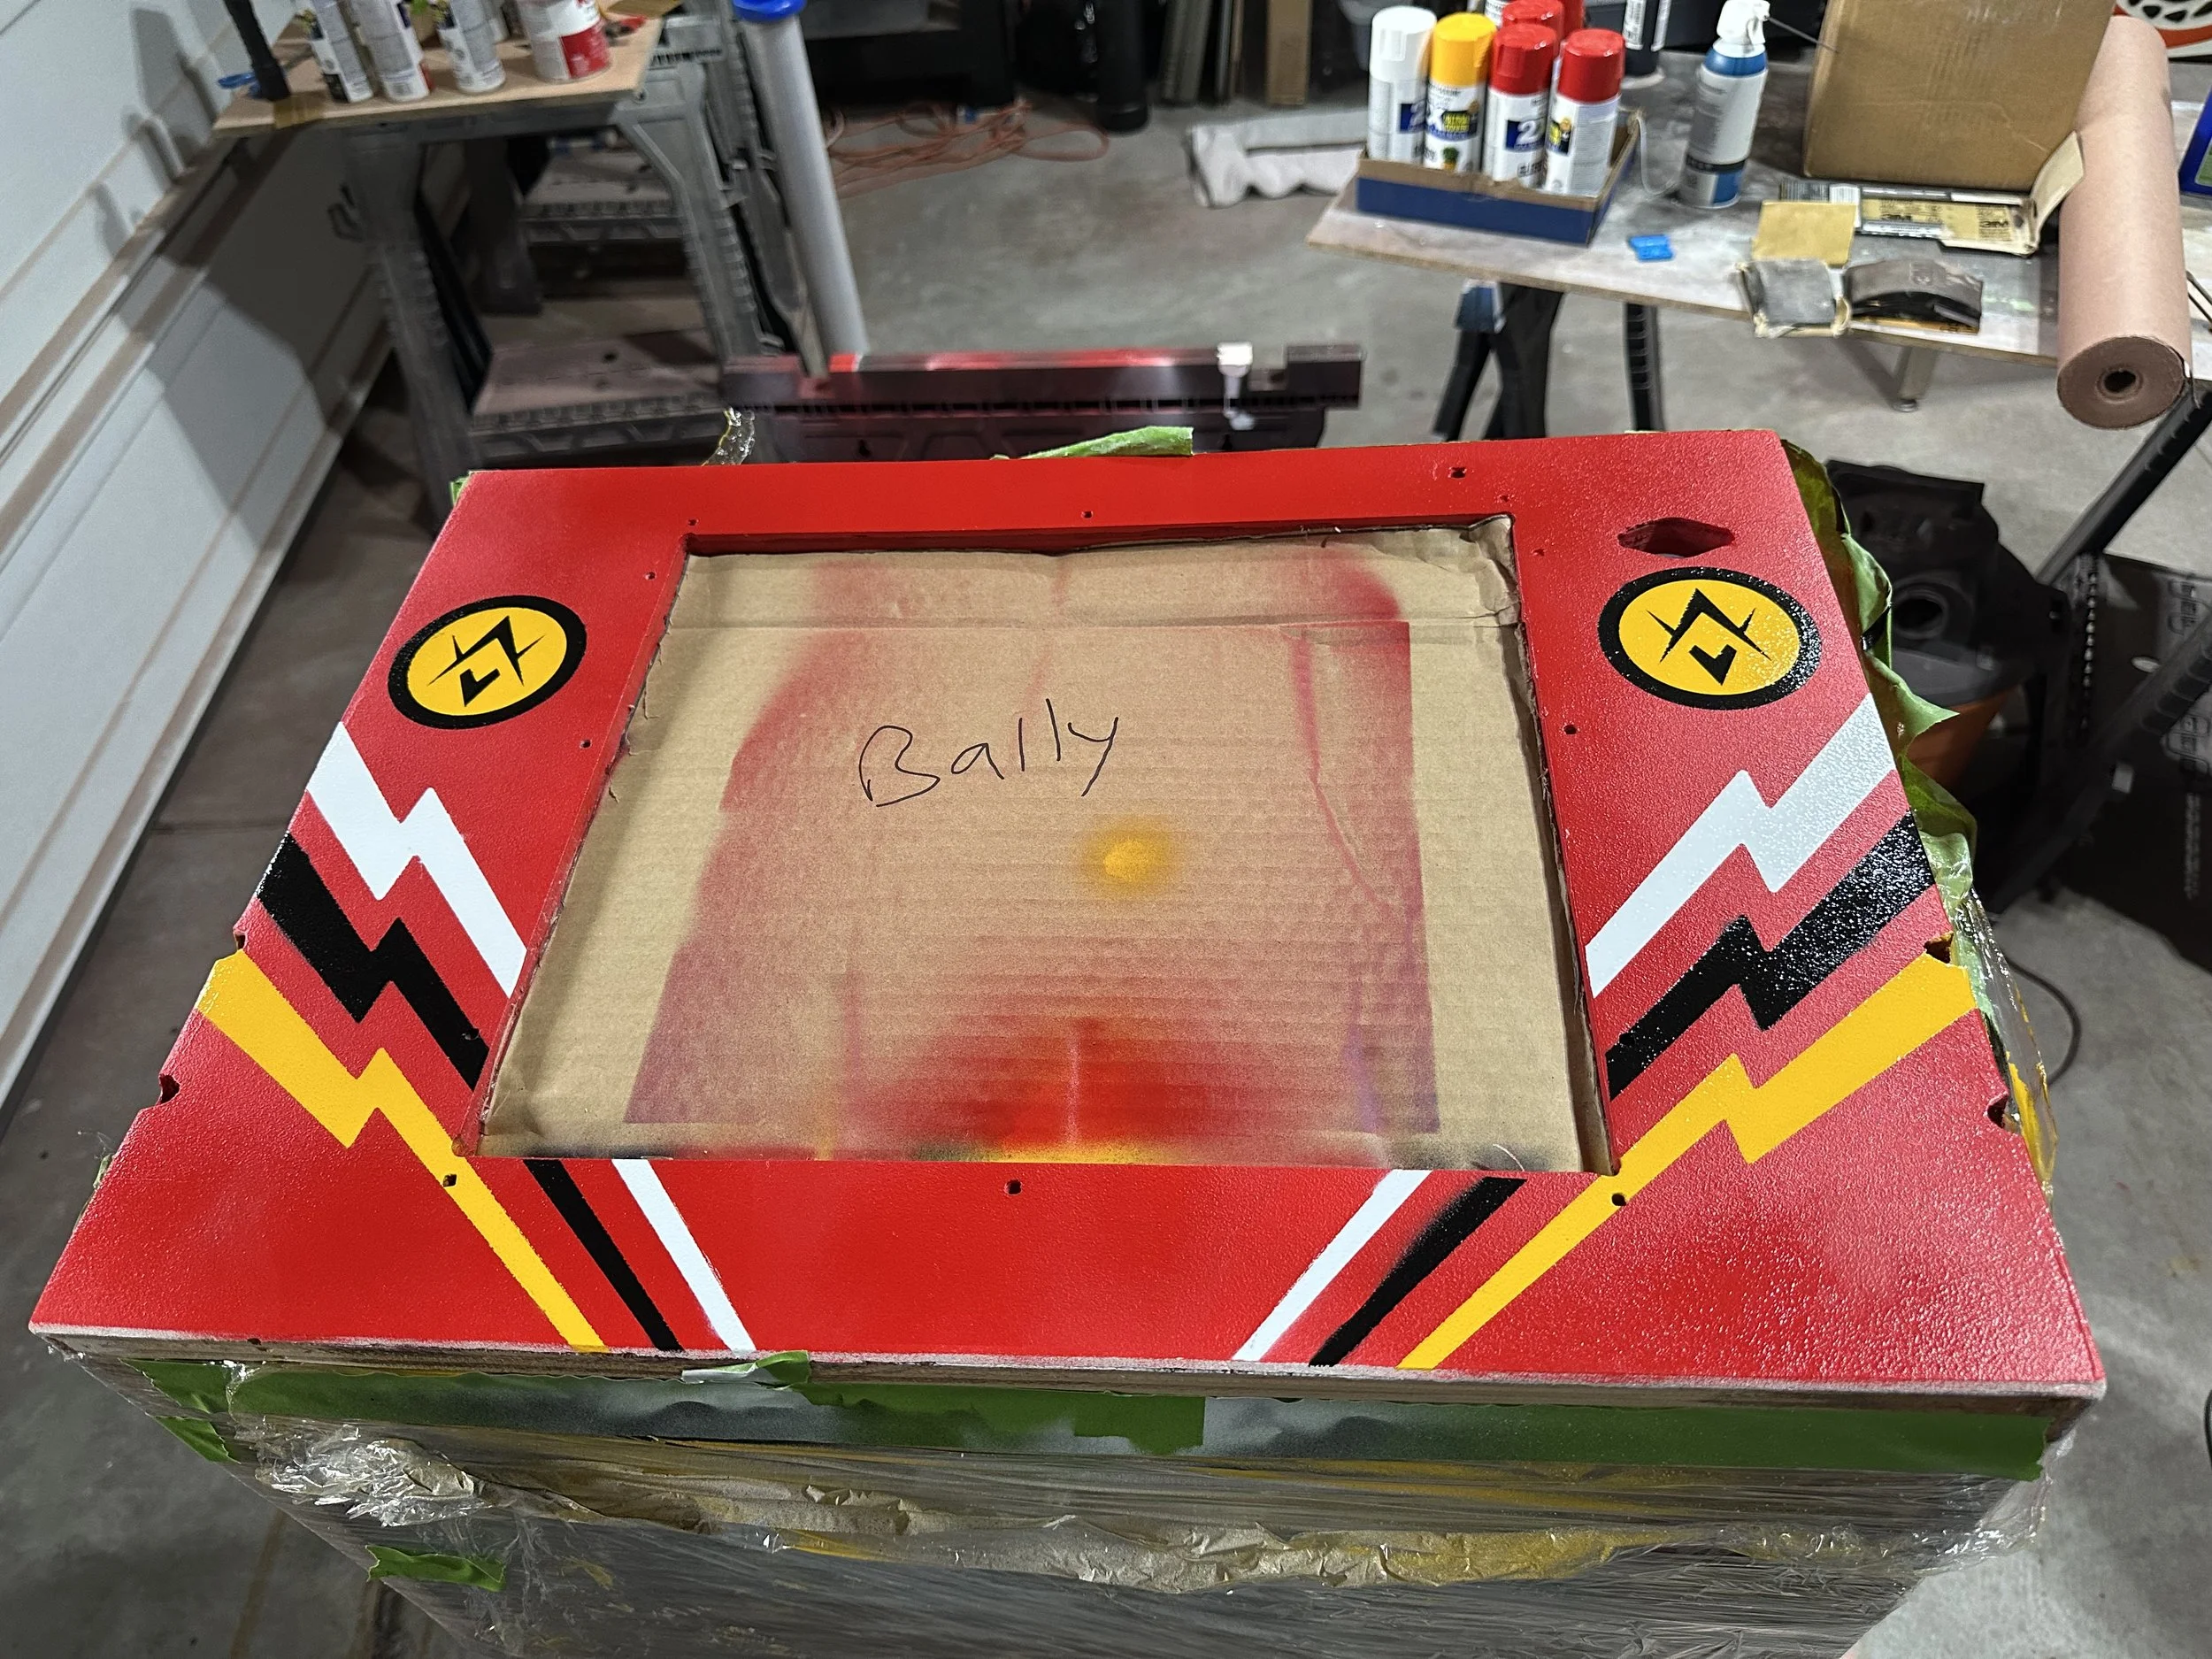
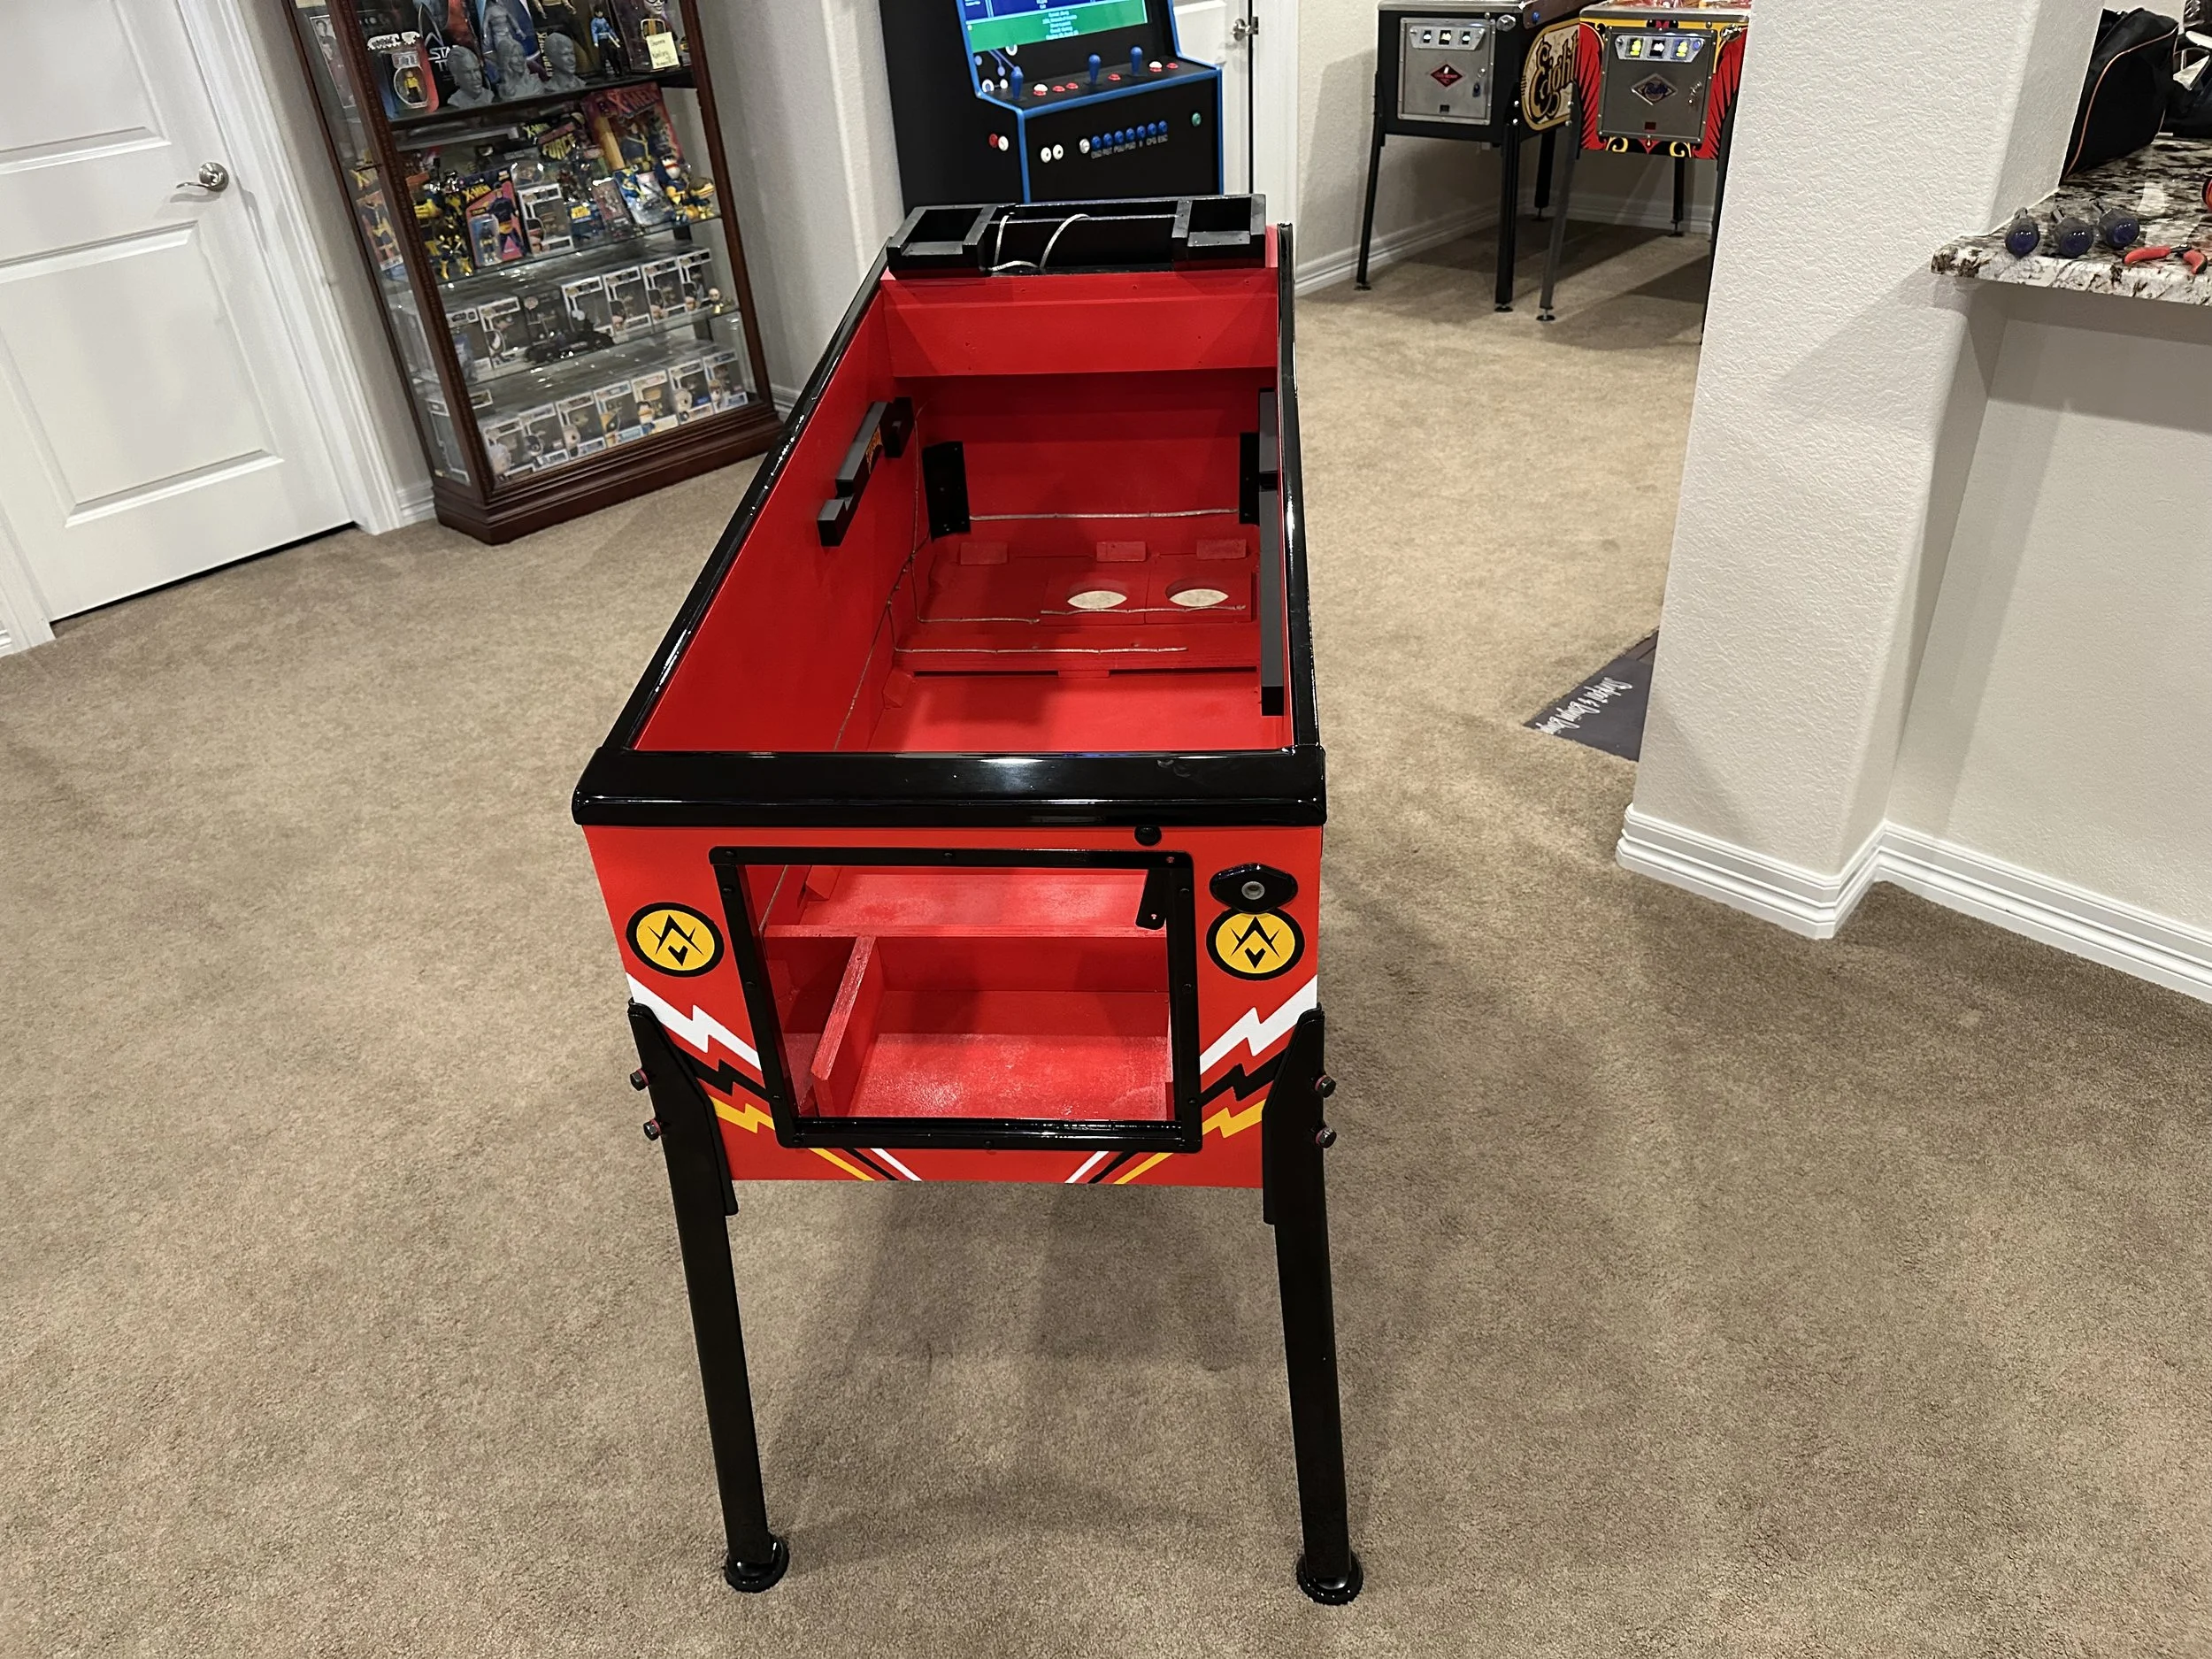
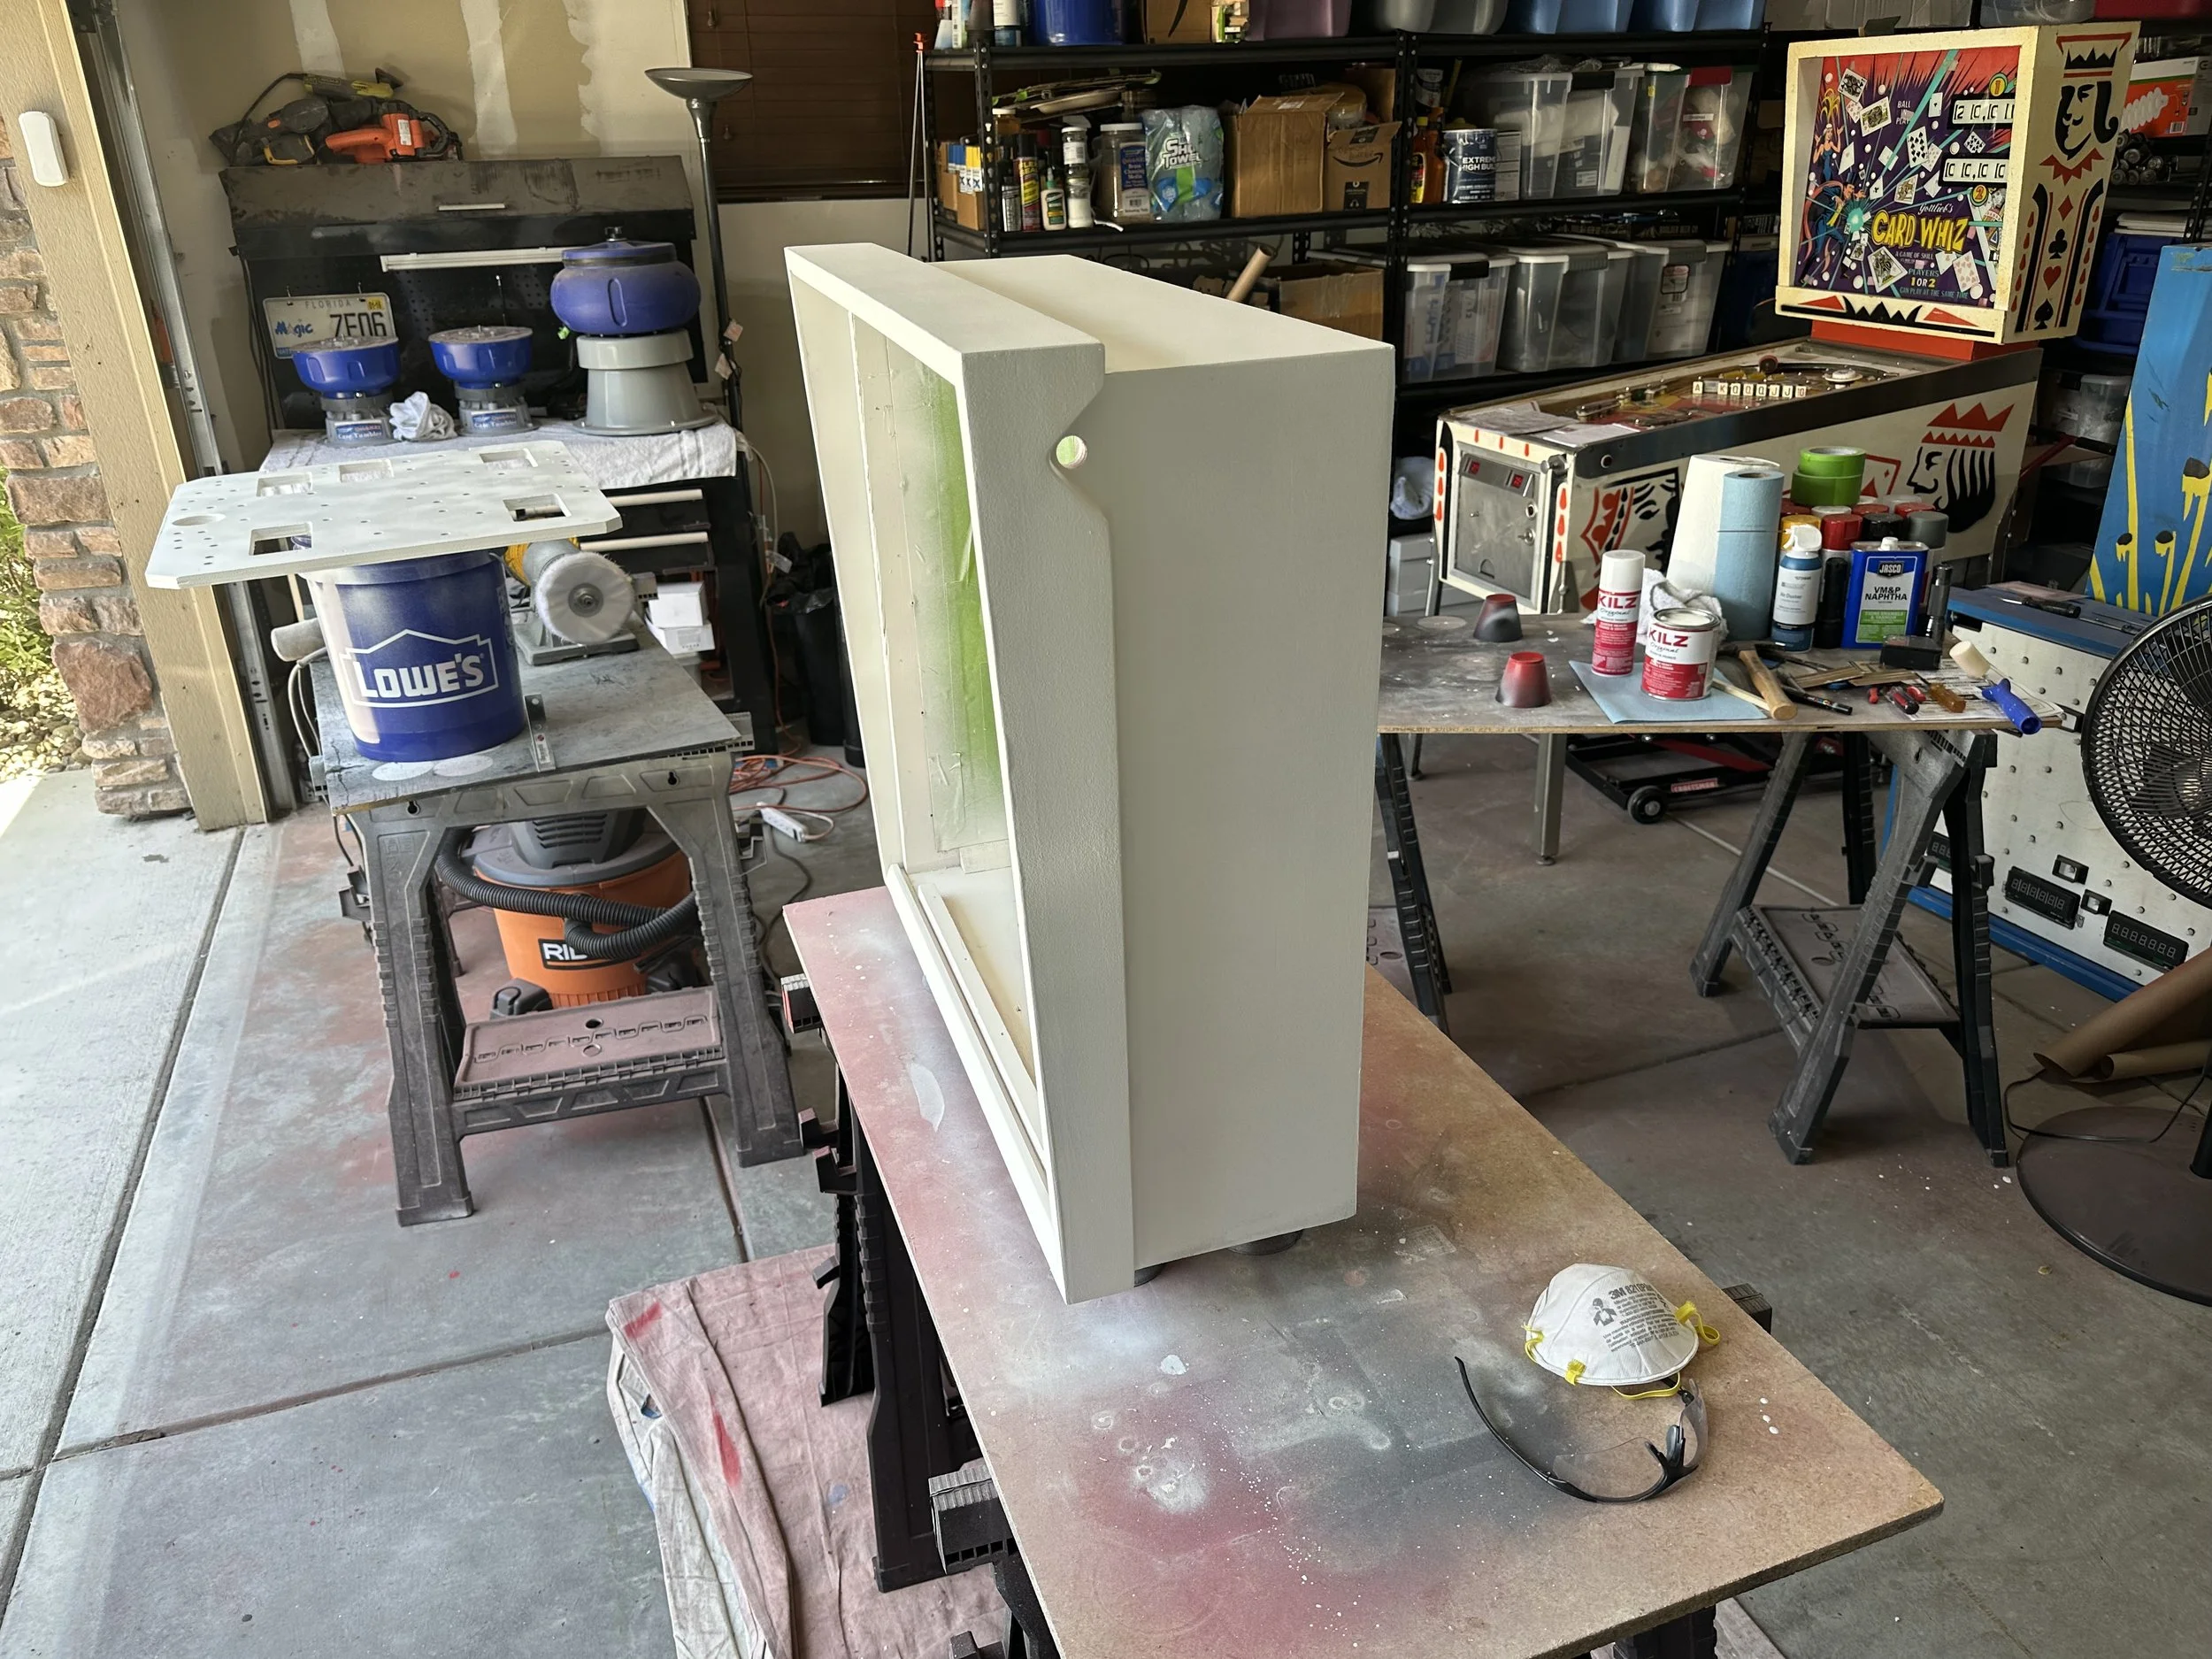
The orange and red colors Williams used on this cabinet are certainly unique which means if I wanted to keep that original look, I needed custom paint mixed. I normally paint Pinball Pimp stencils with rattle cans, but I can't have custom paint mixed in spray paint form (at least in my area). After getting the paint formula codes from a friend of mine who was also restoring a Solar Fire, I bought a compressor and spray gun setup to learn and step up my paint game. I practiced a lot on scrap wood before spray the actual cab which helped a lot. I now have a rudimentary workflow for this process that I can iterate and improve upon, but for my first spray gun job I'm pretty pleased with how it turned out.
And like in previous restorations, I designed and printed some 3D parts for Solar Fire:
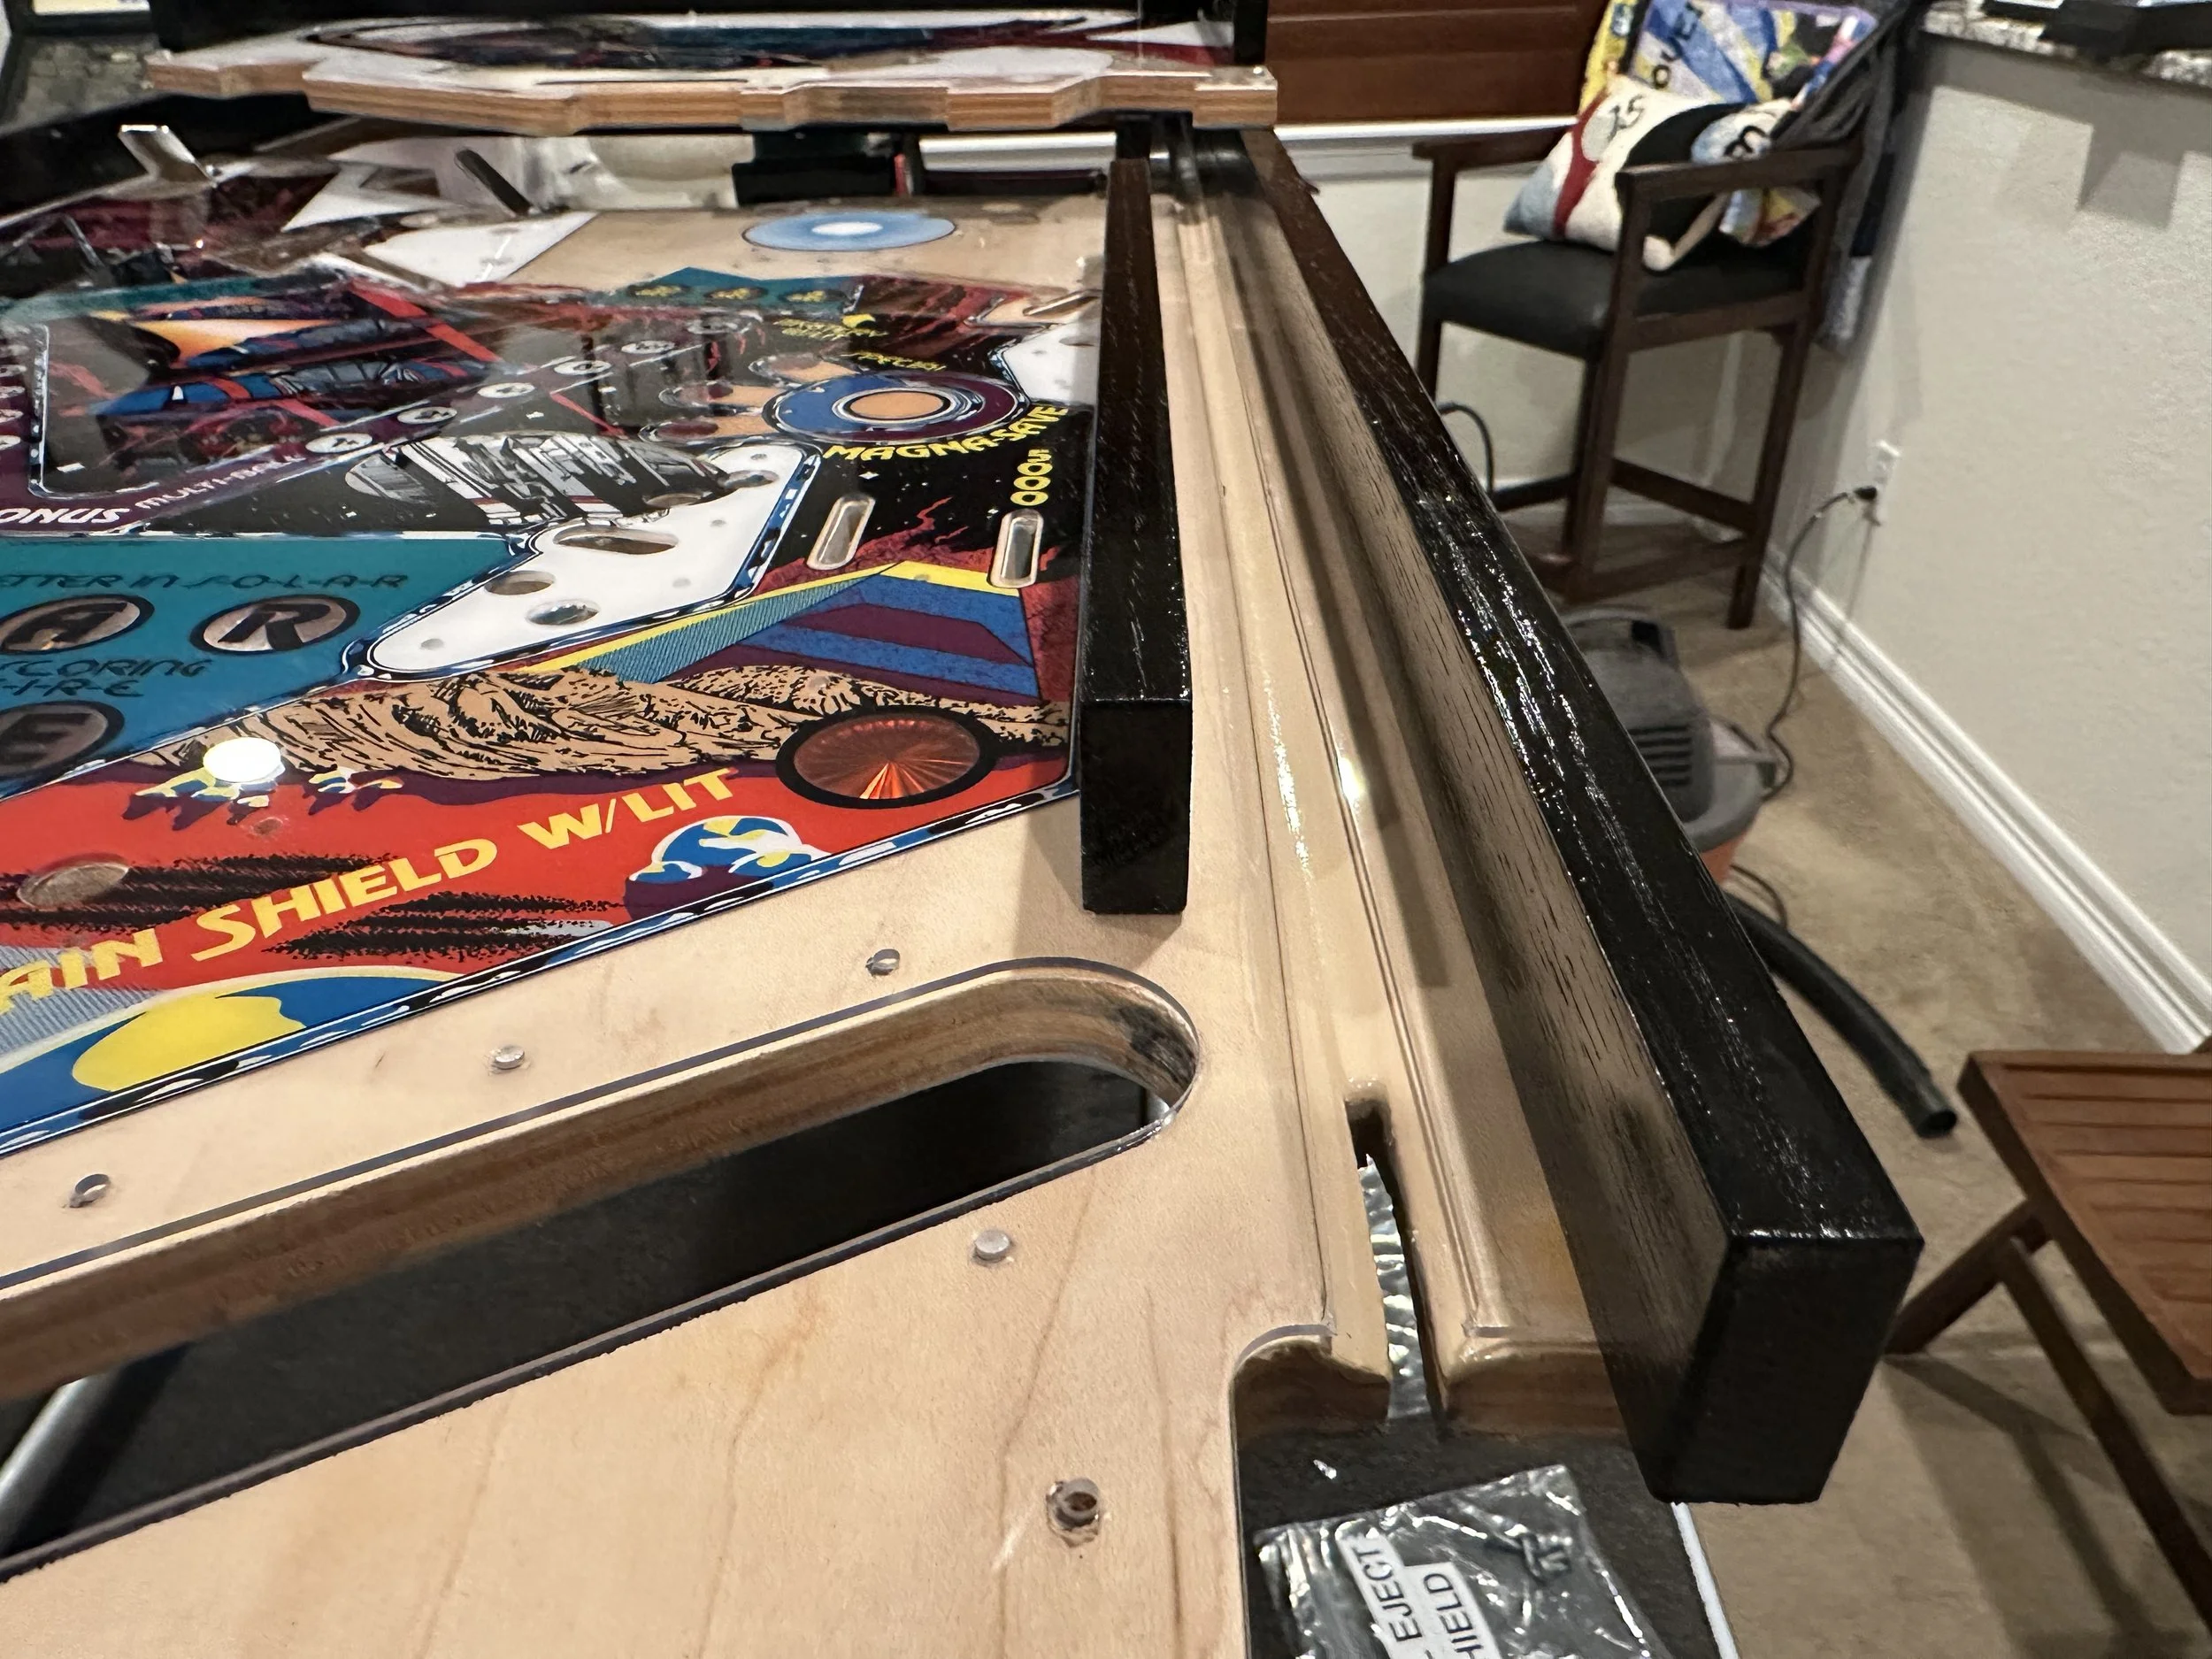
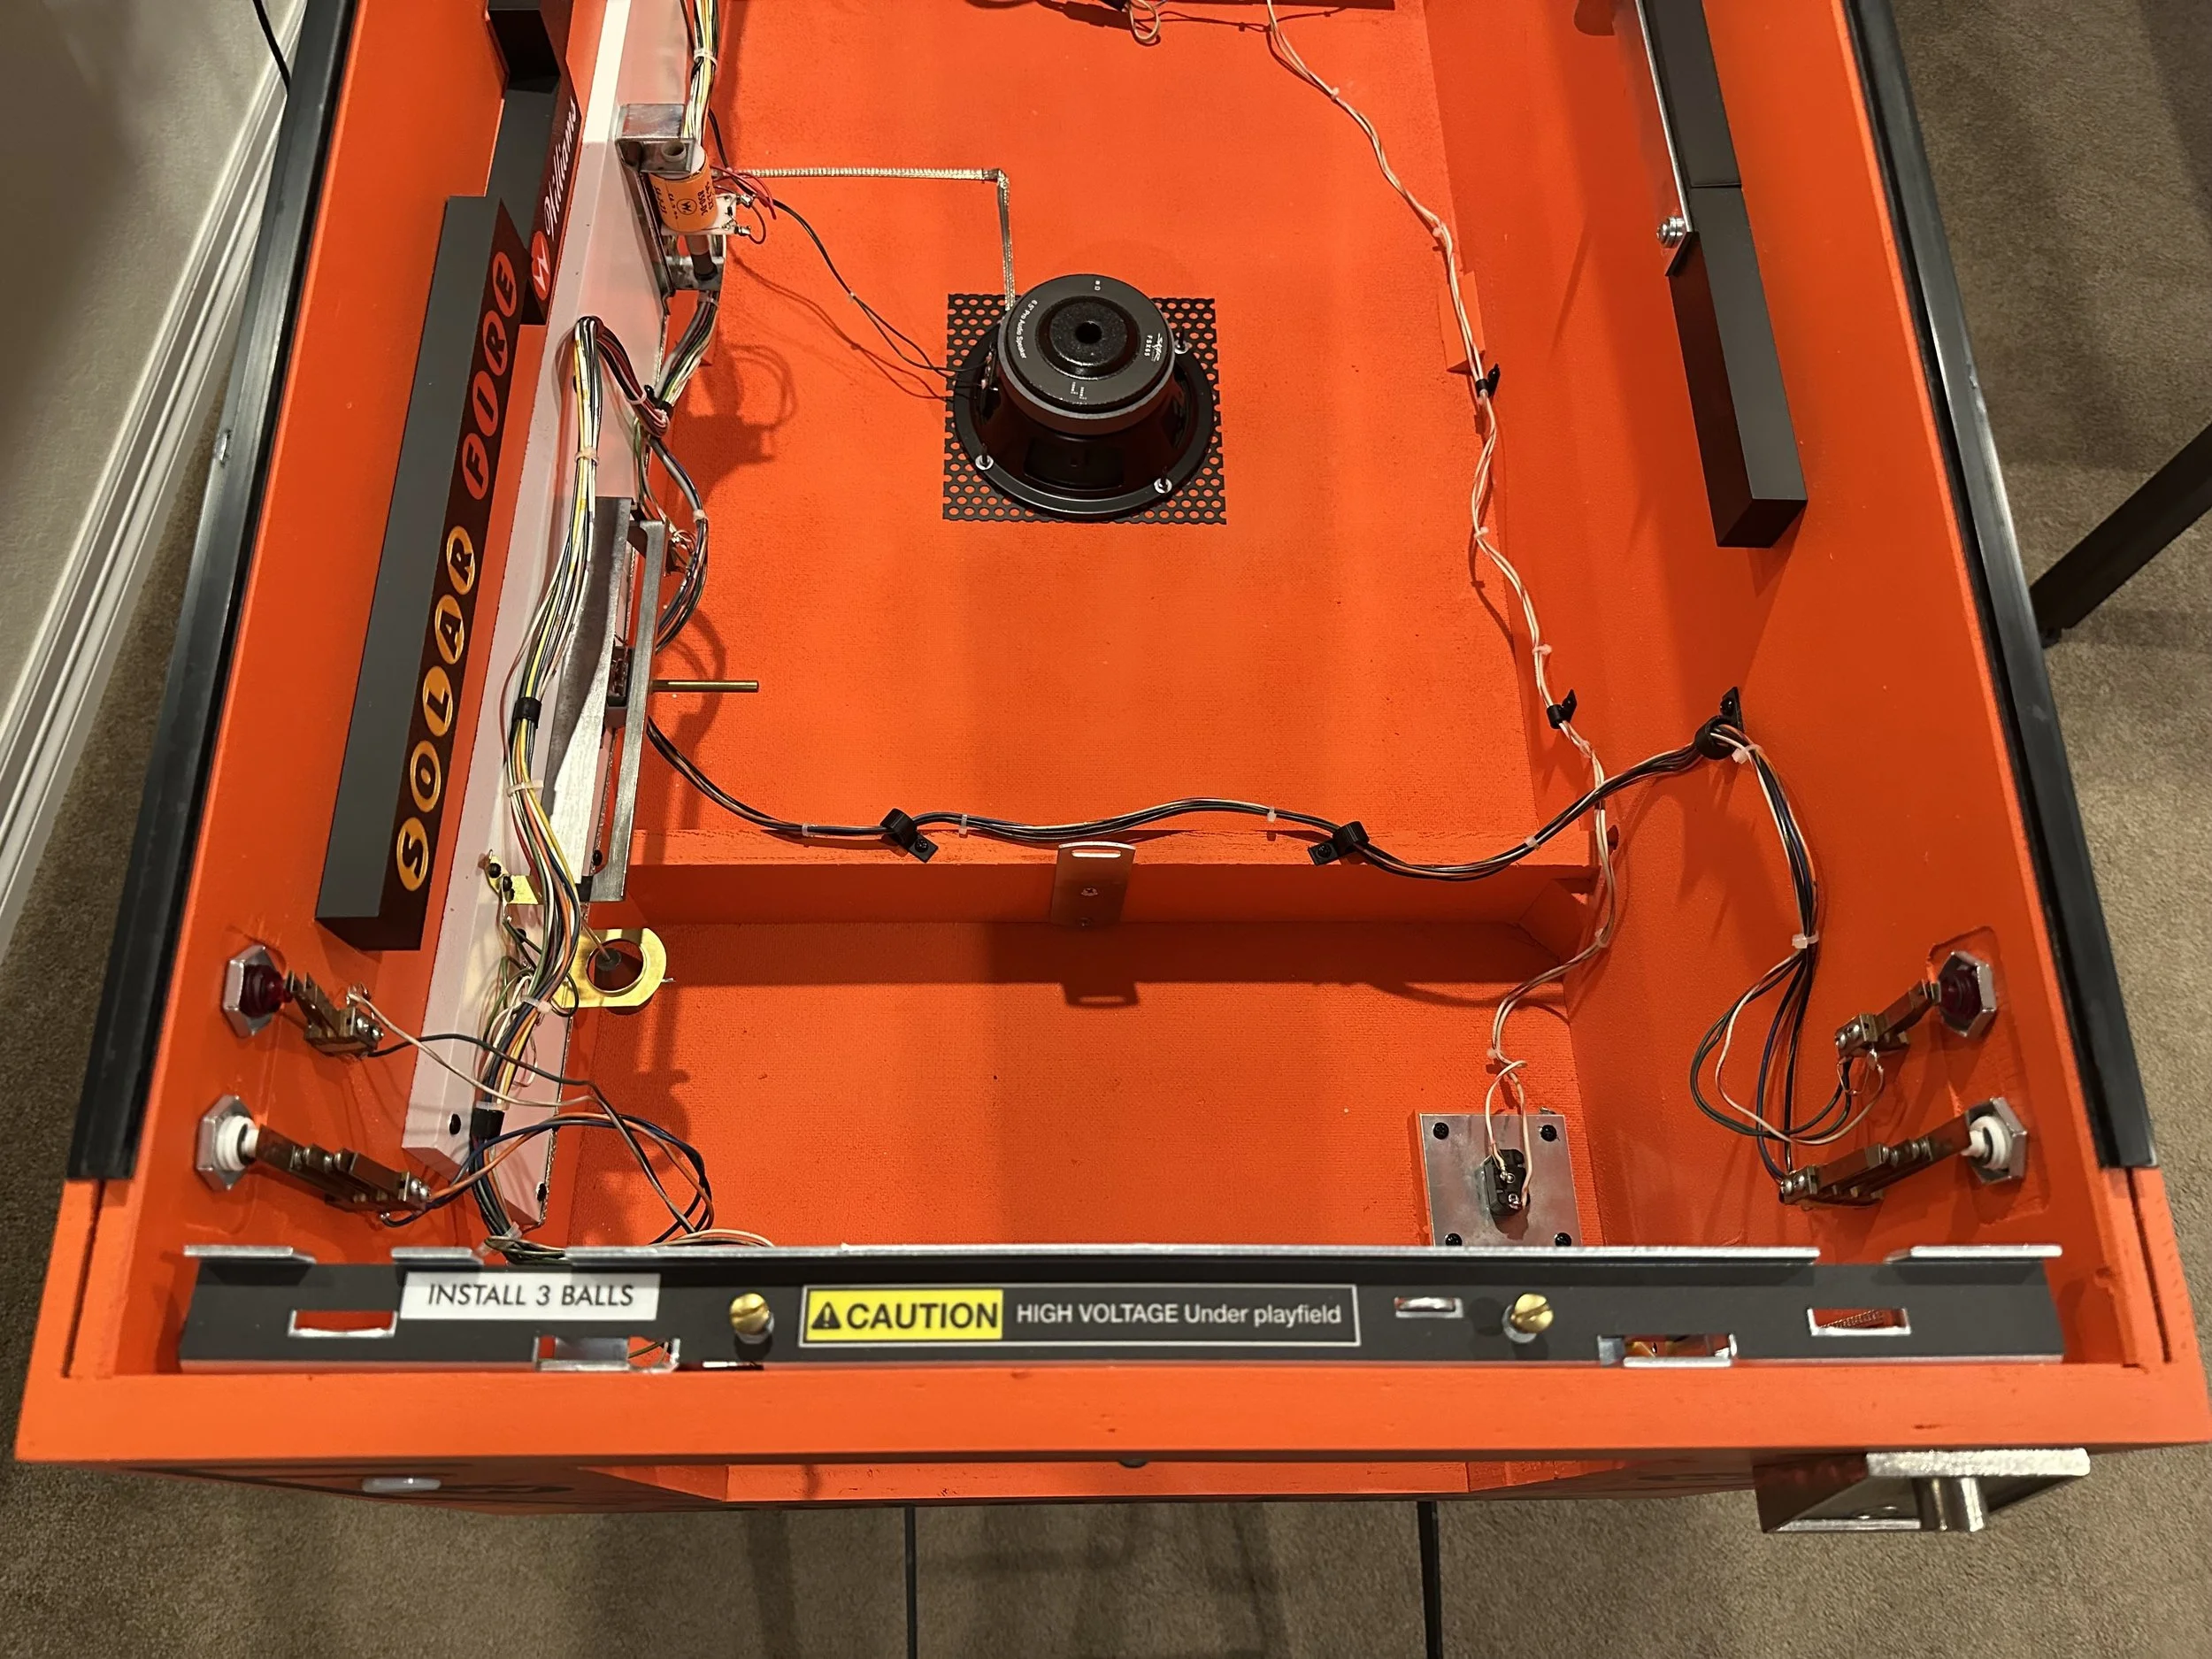
Covers for the cabinet rails that hold the playfield. Cleans up the interior and has some Solar Fire logo bling as well. They look great, but unfortunately the playfield doesn't sit quite the way I want it to with these covers on (they're easily removed). I did not have this problem with covers I created for Flash Gordon, Mata Hari, or Flight 2000. For now the covers are off and I'll take another look at how I can overcome this later.
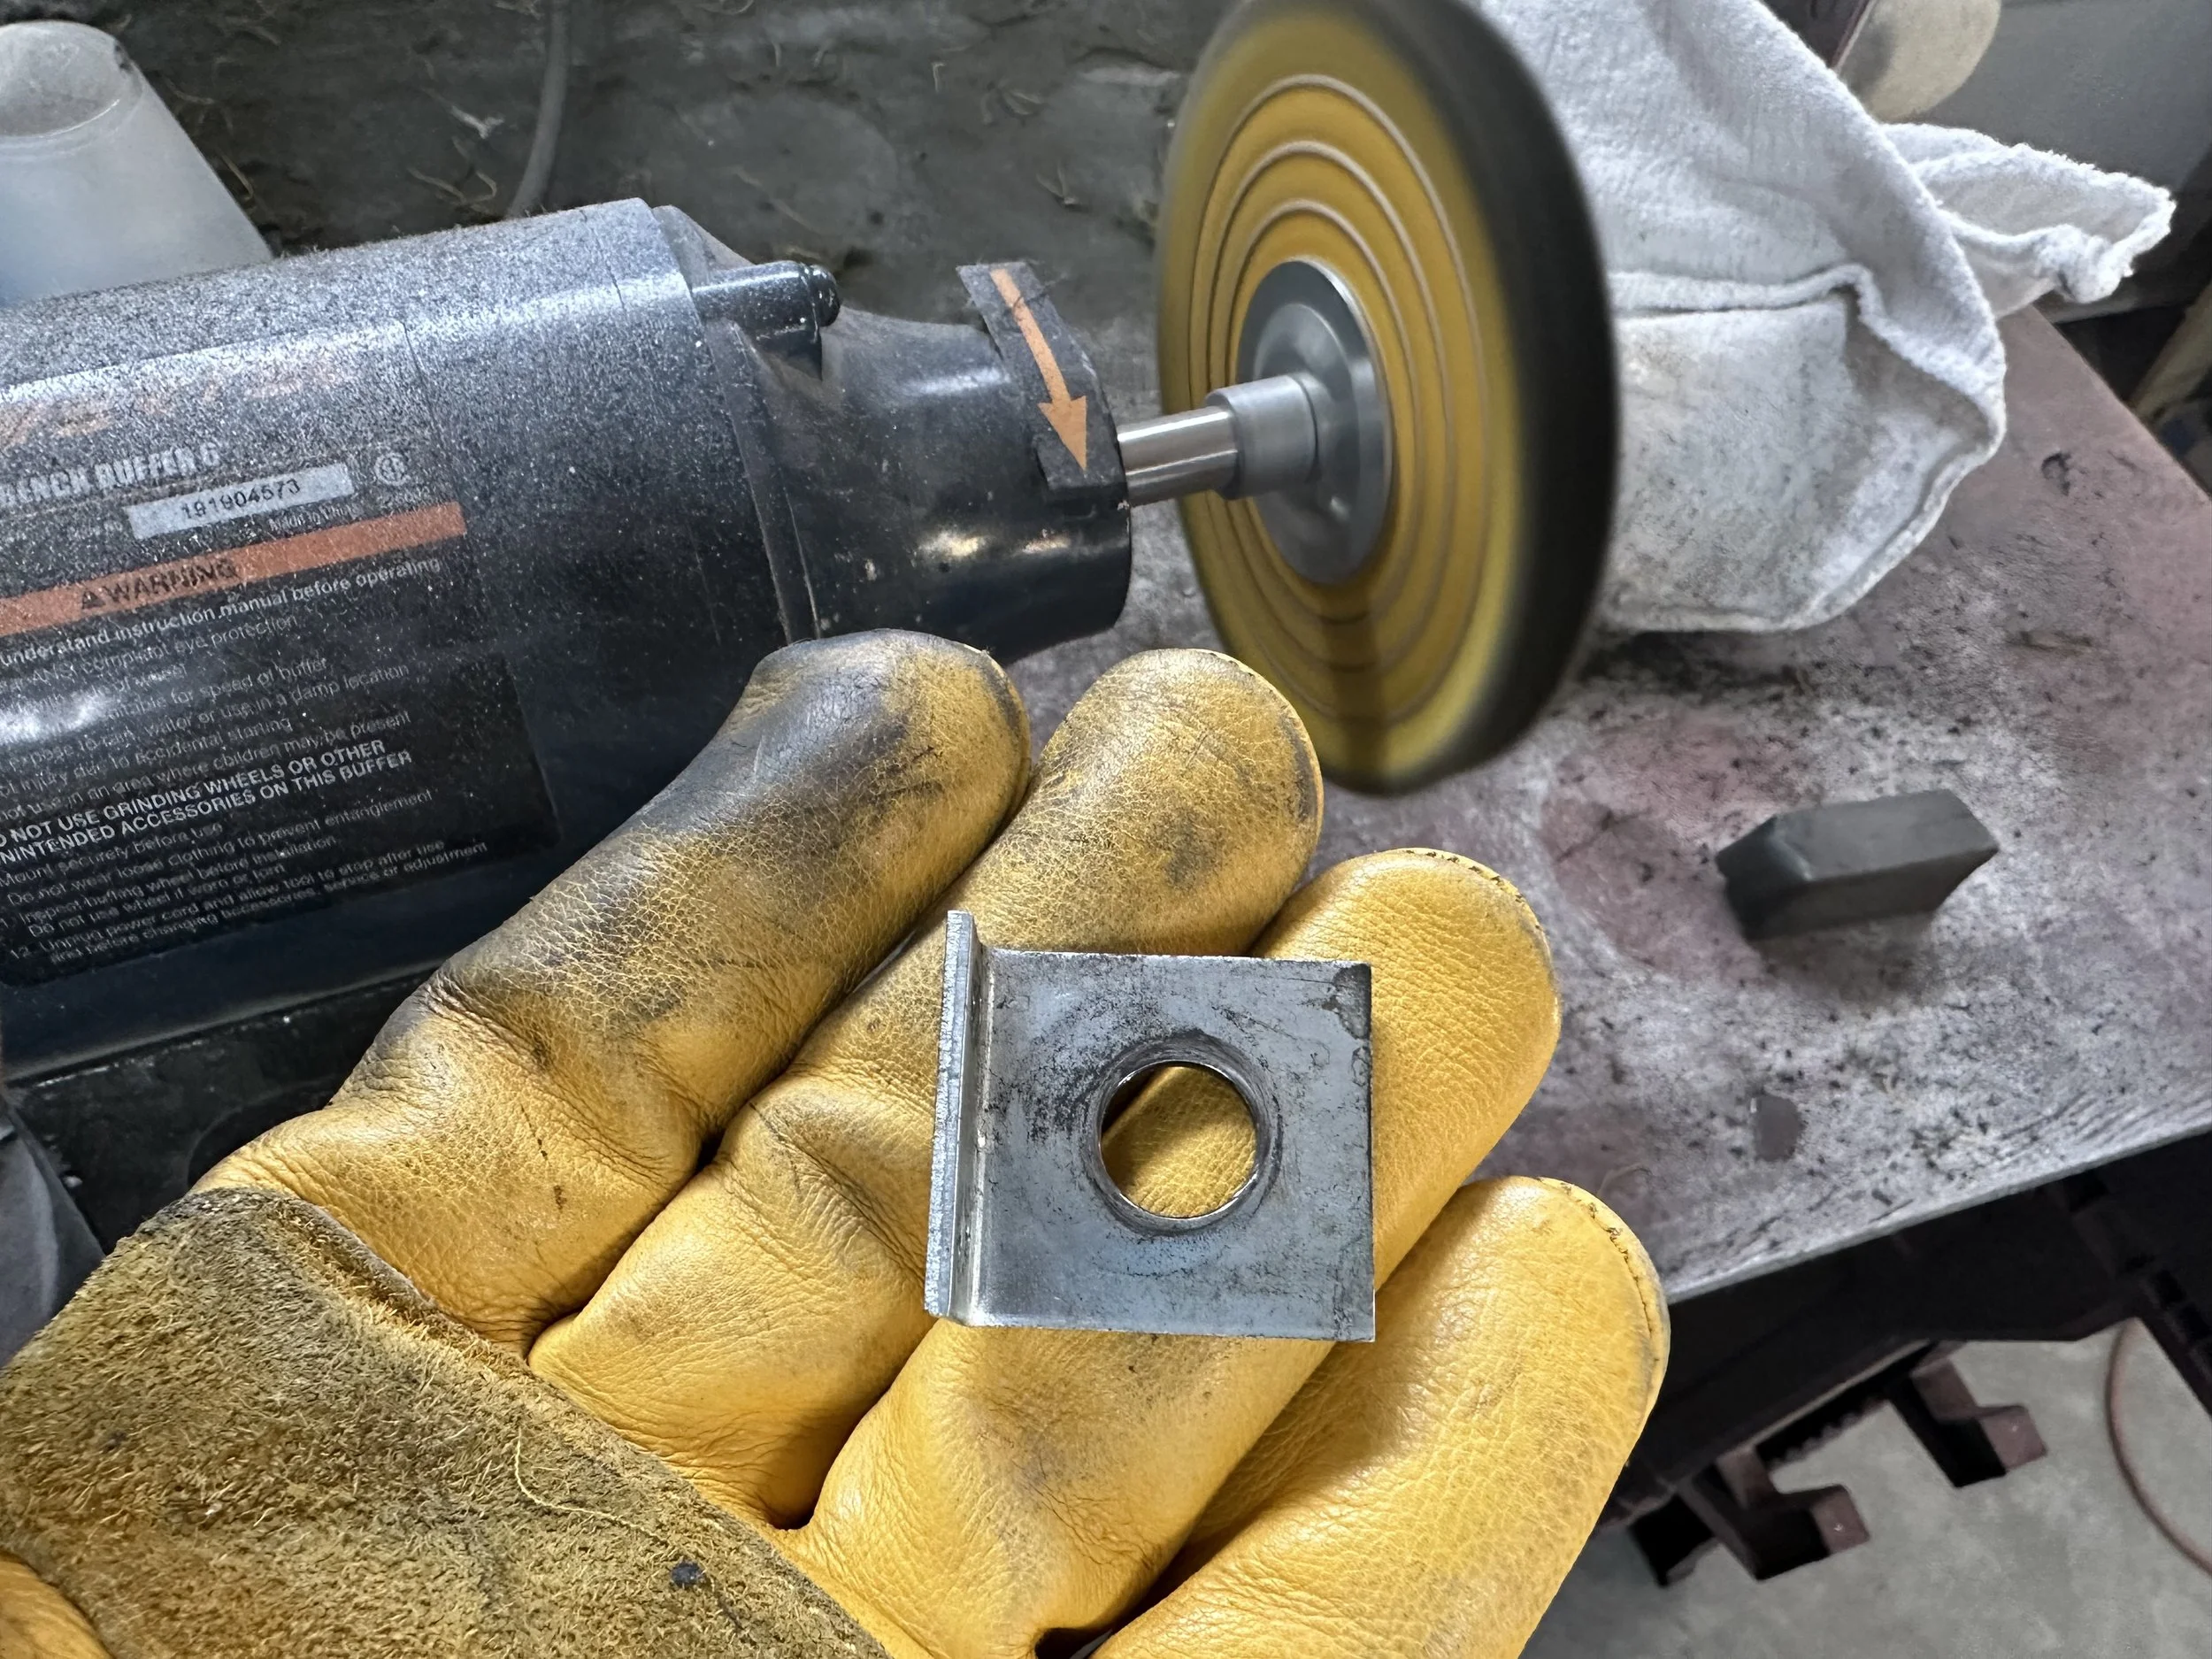
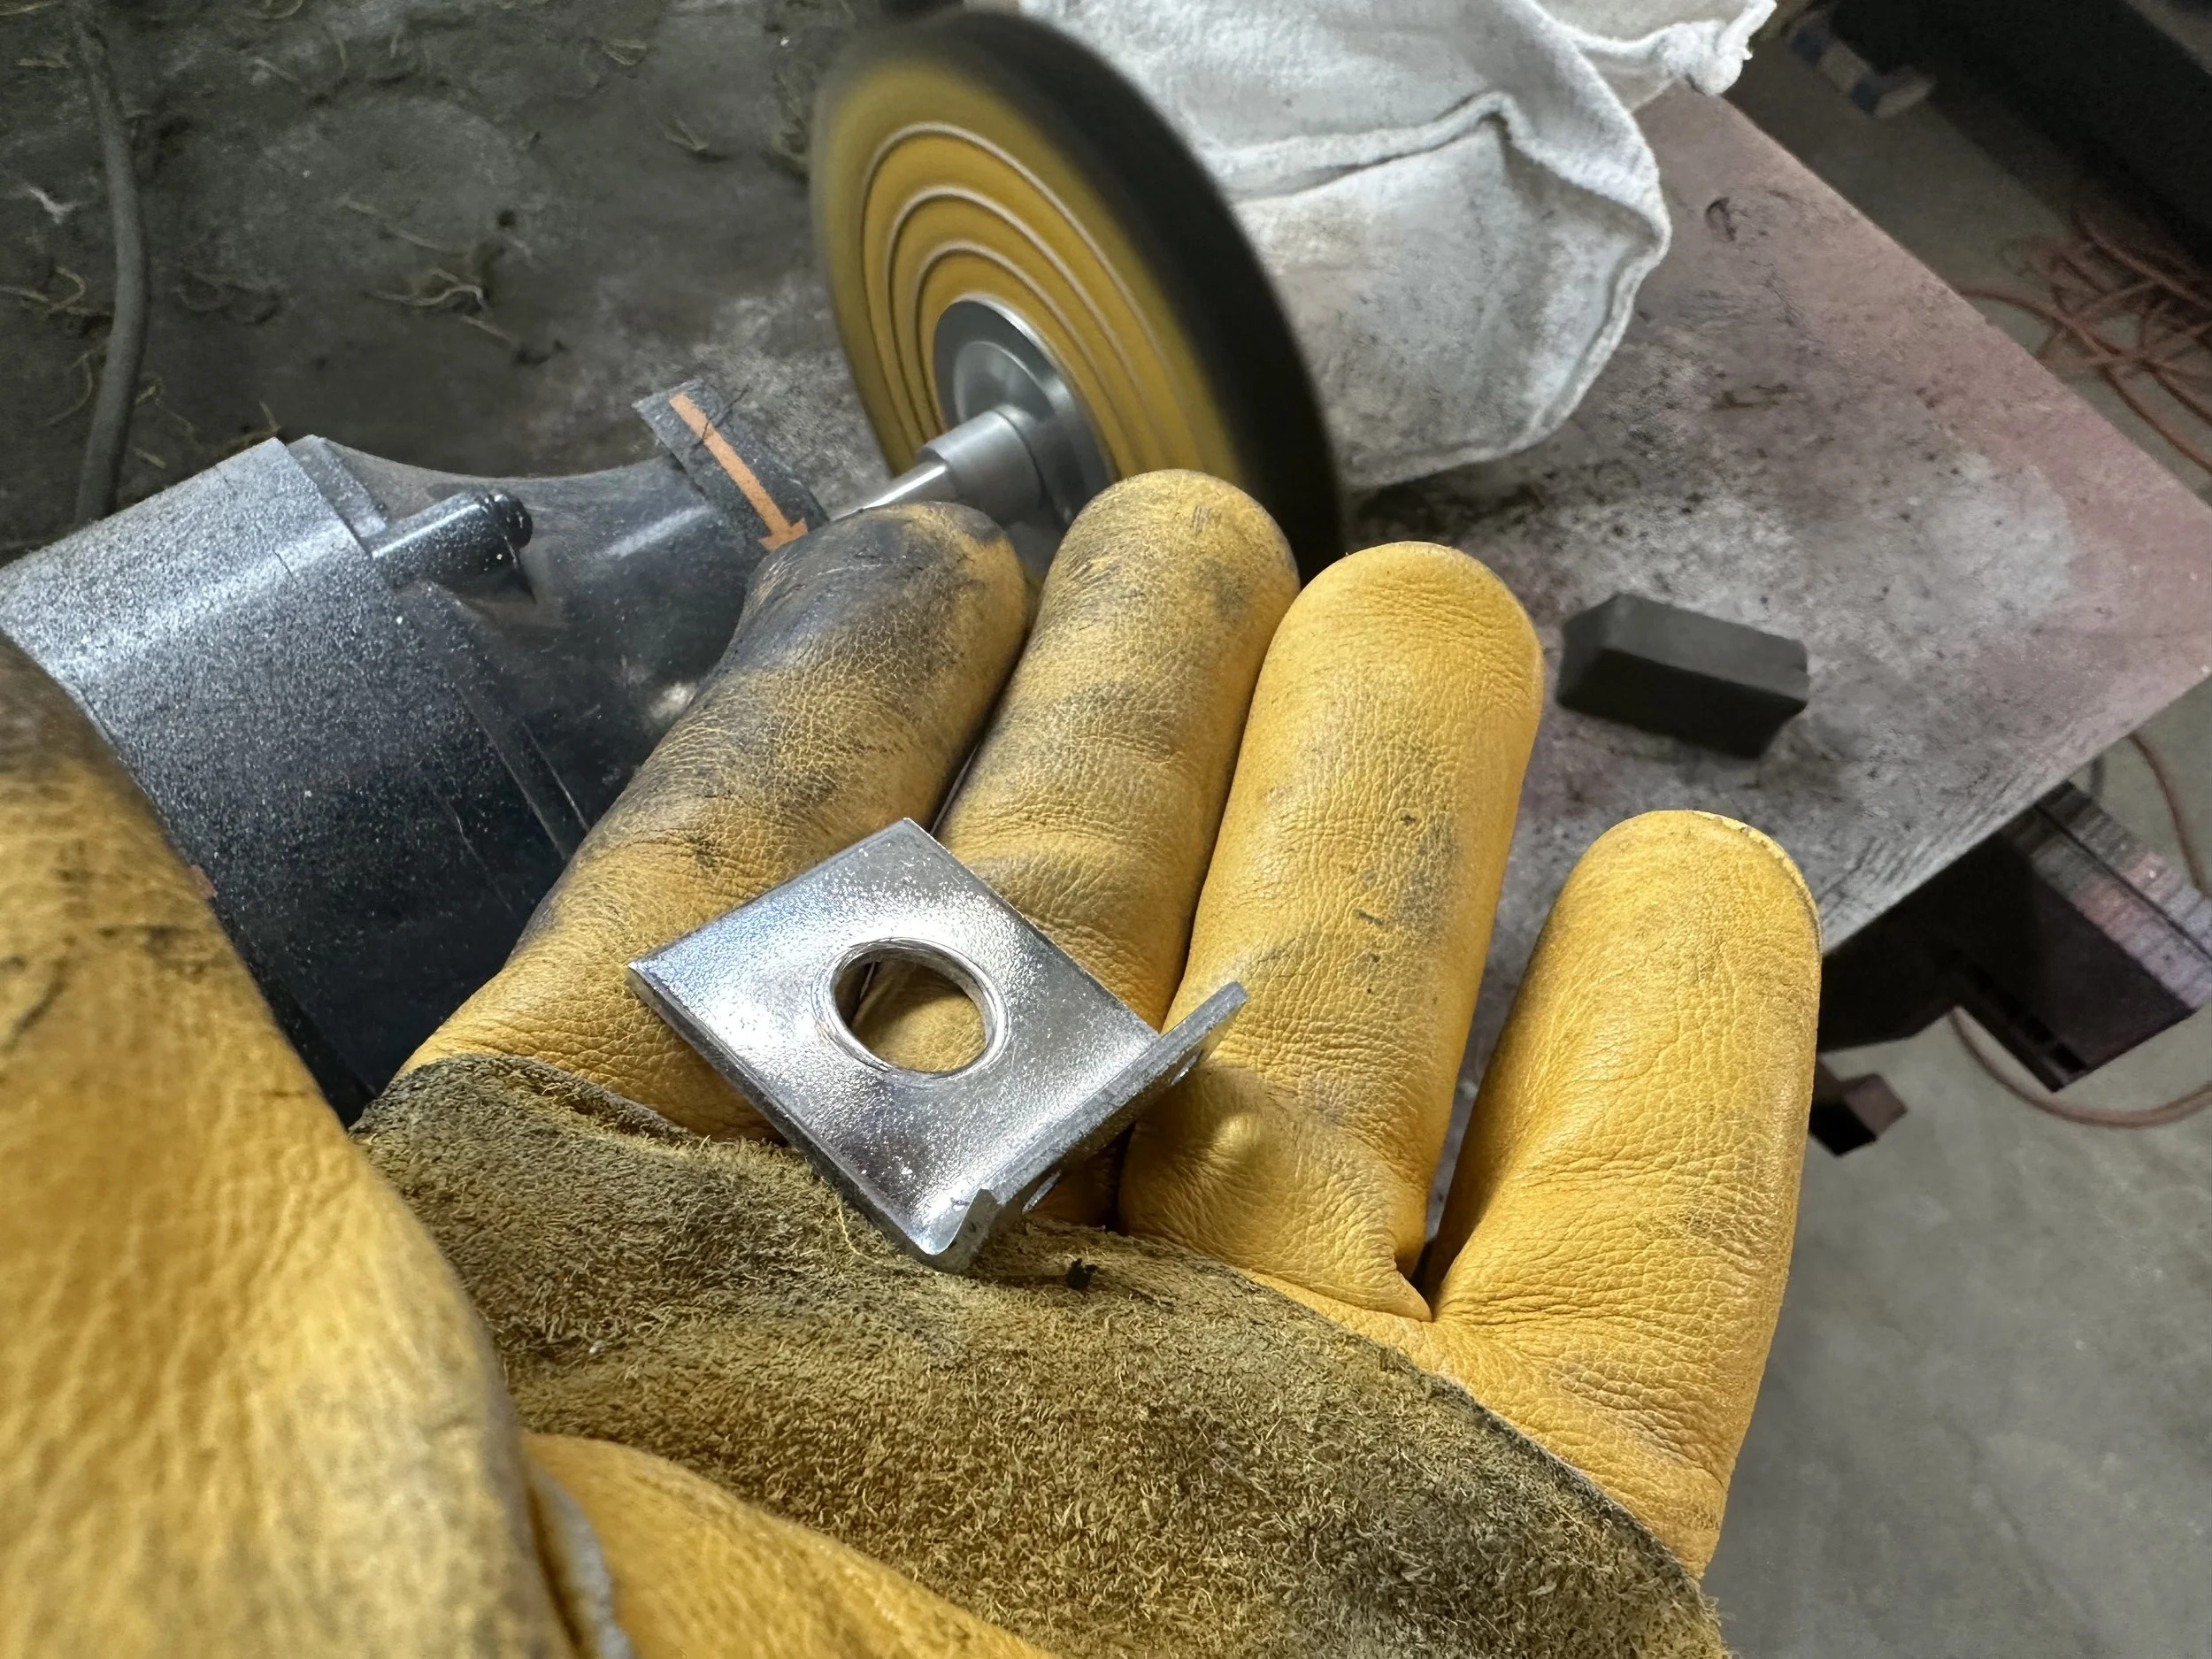
Small "L" brackets to mount new plastics with small screws (normally riveted)
Power Switch cover for the cabinet floor
Light baffles for the lamp panel door
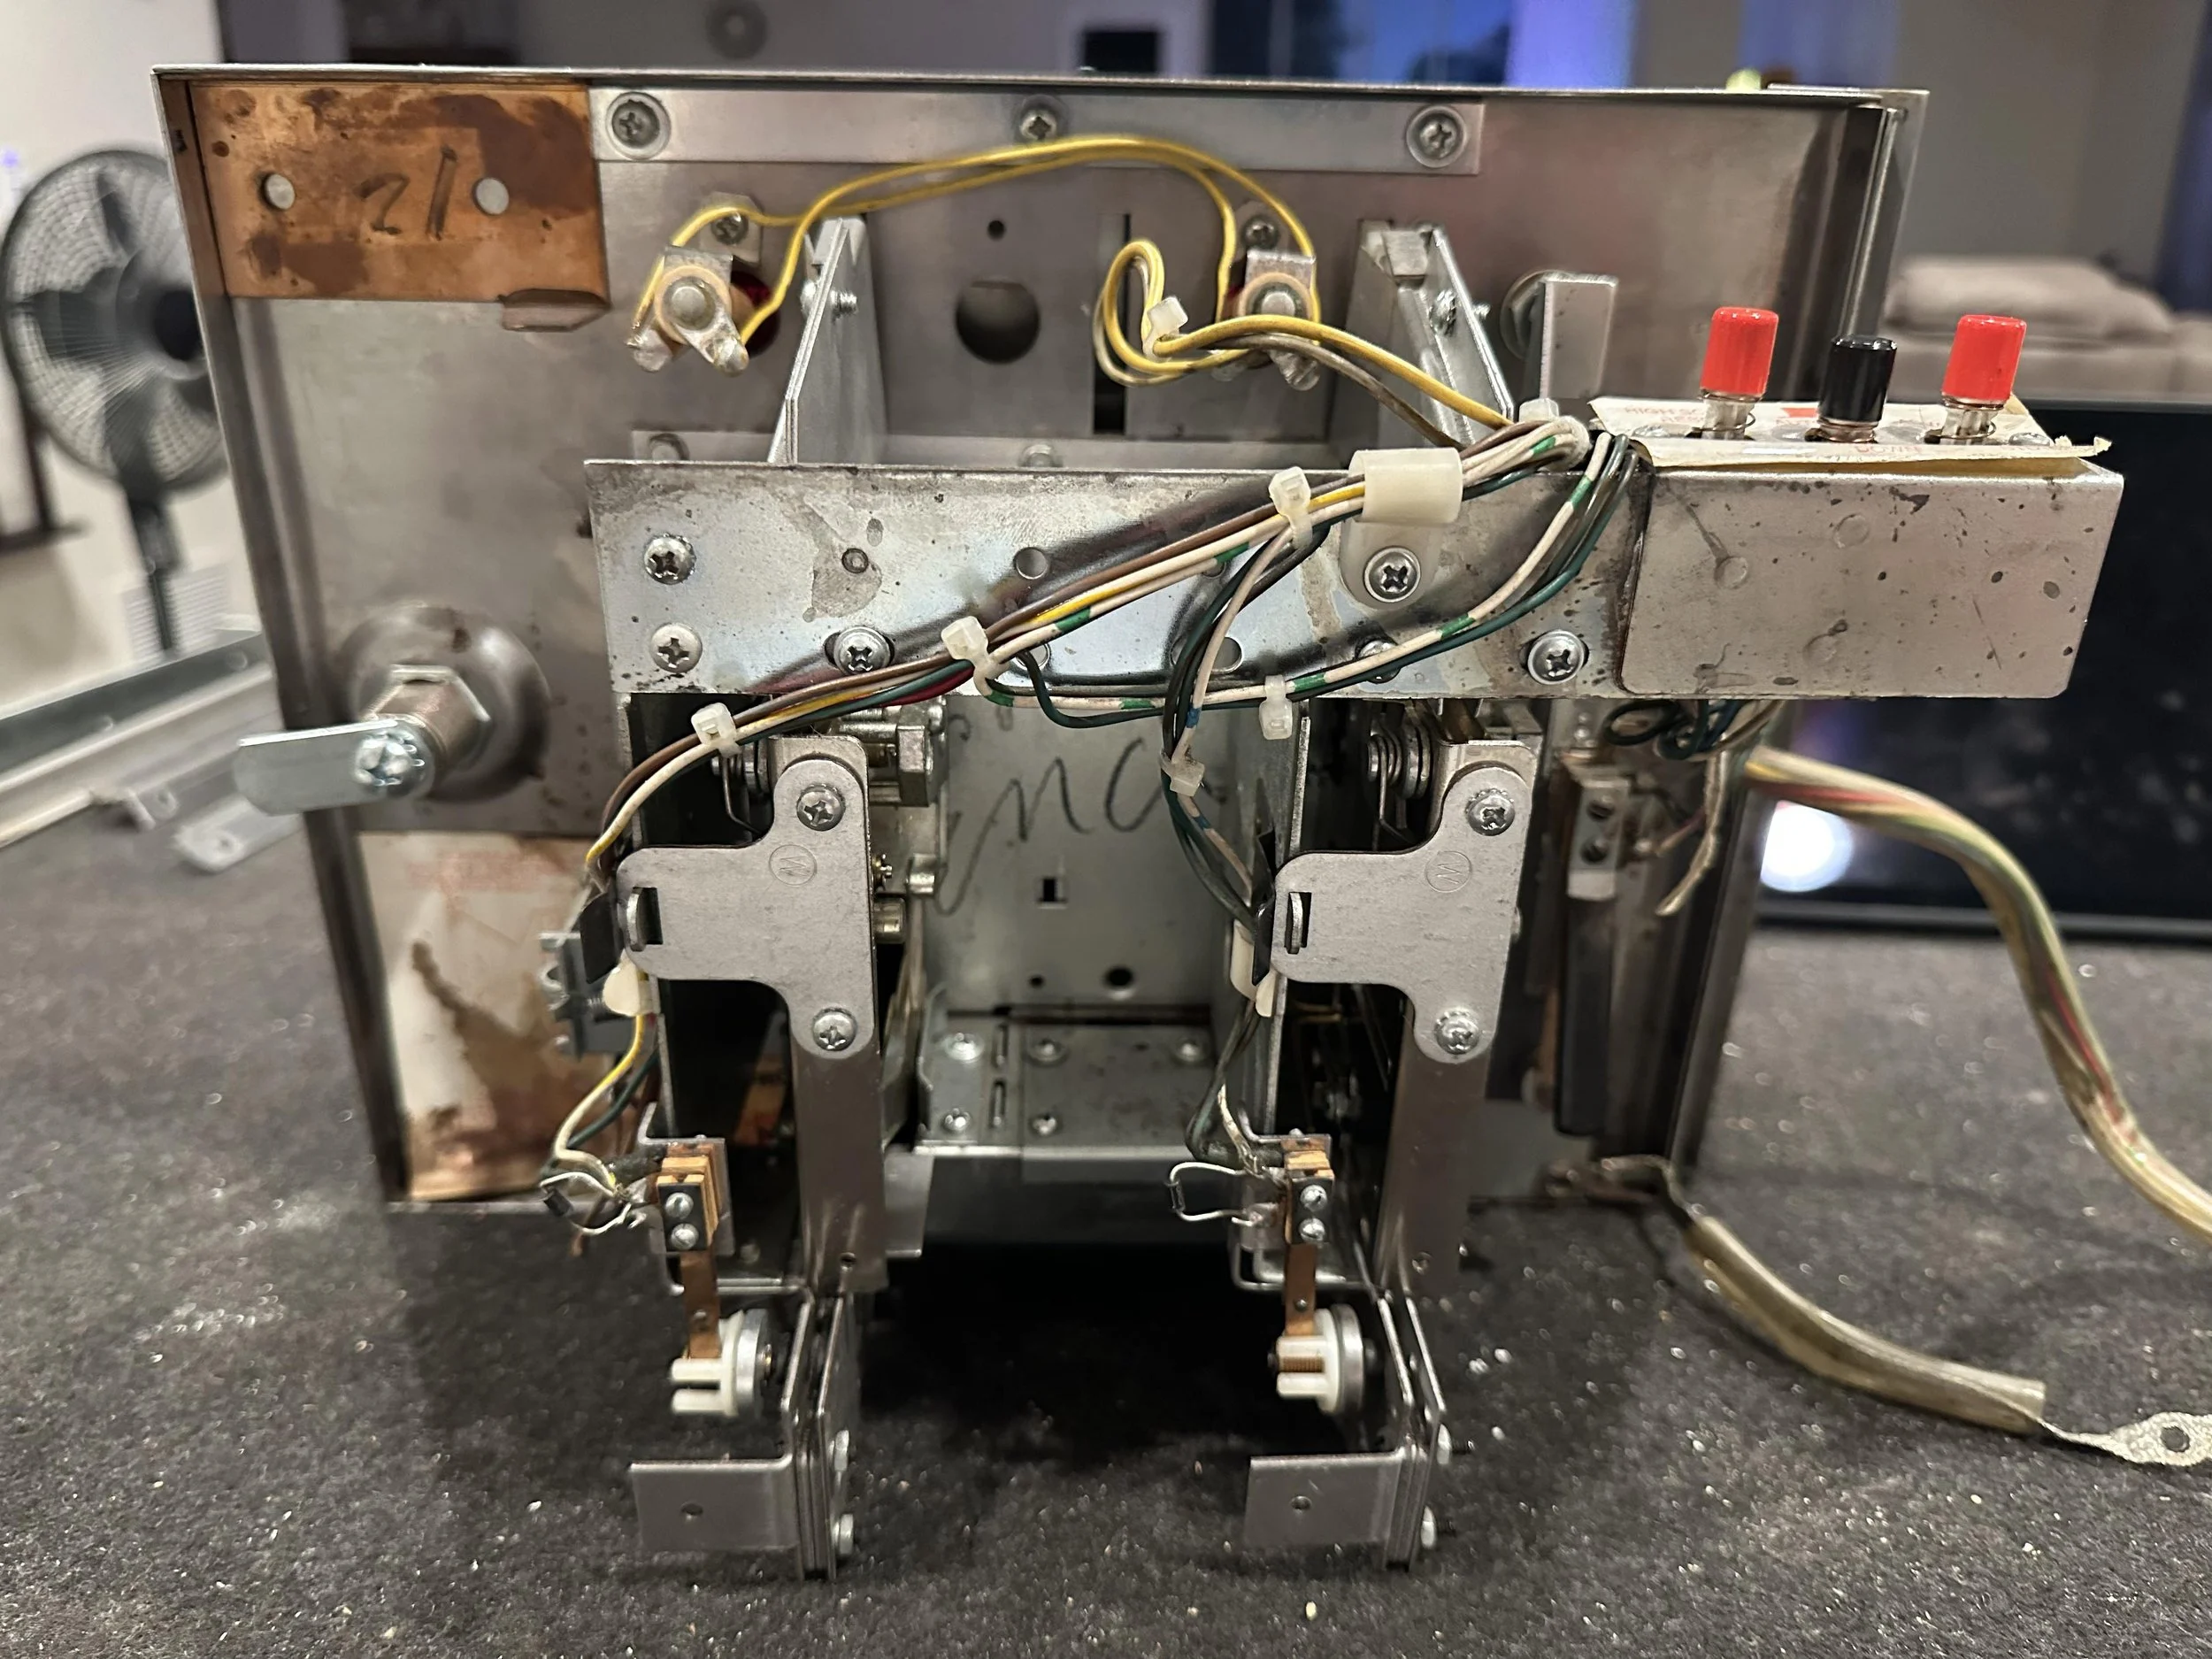
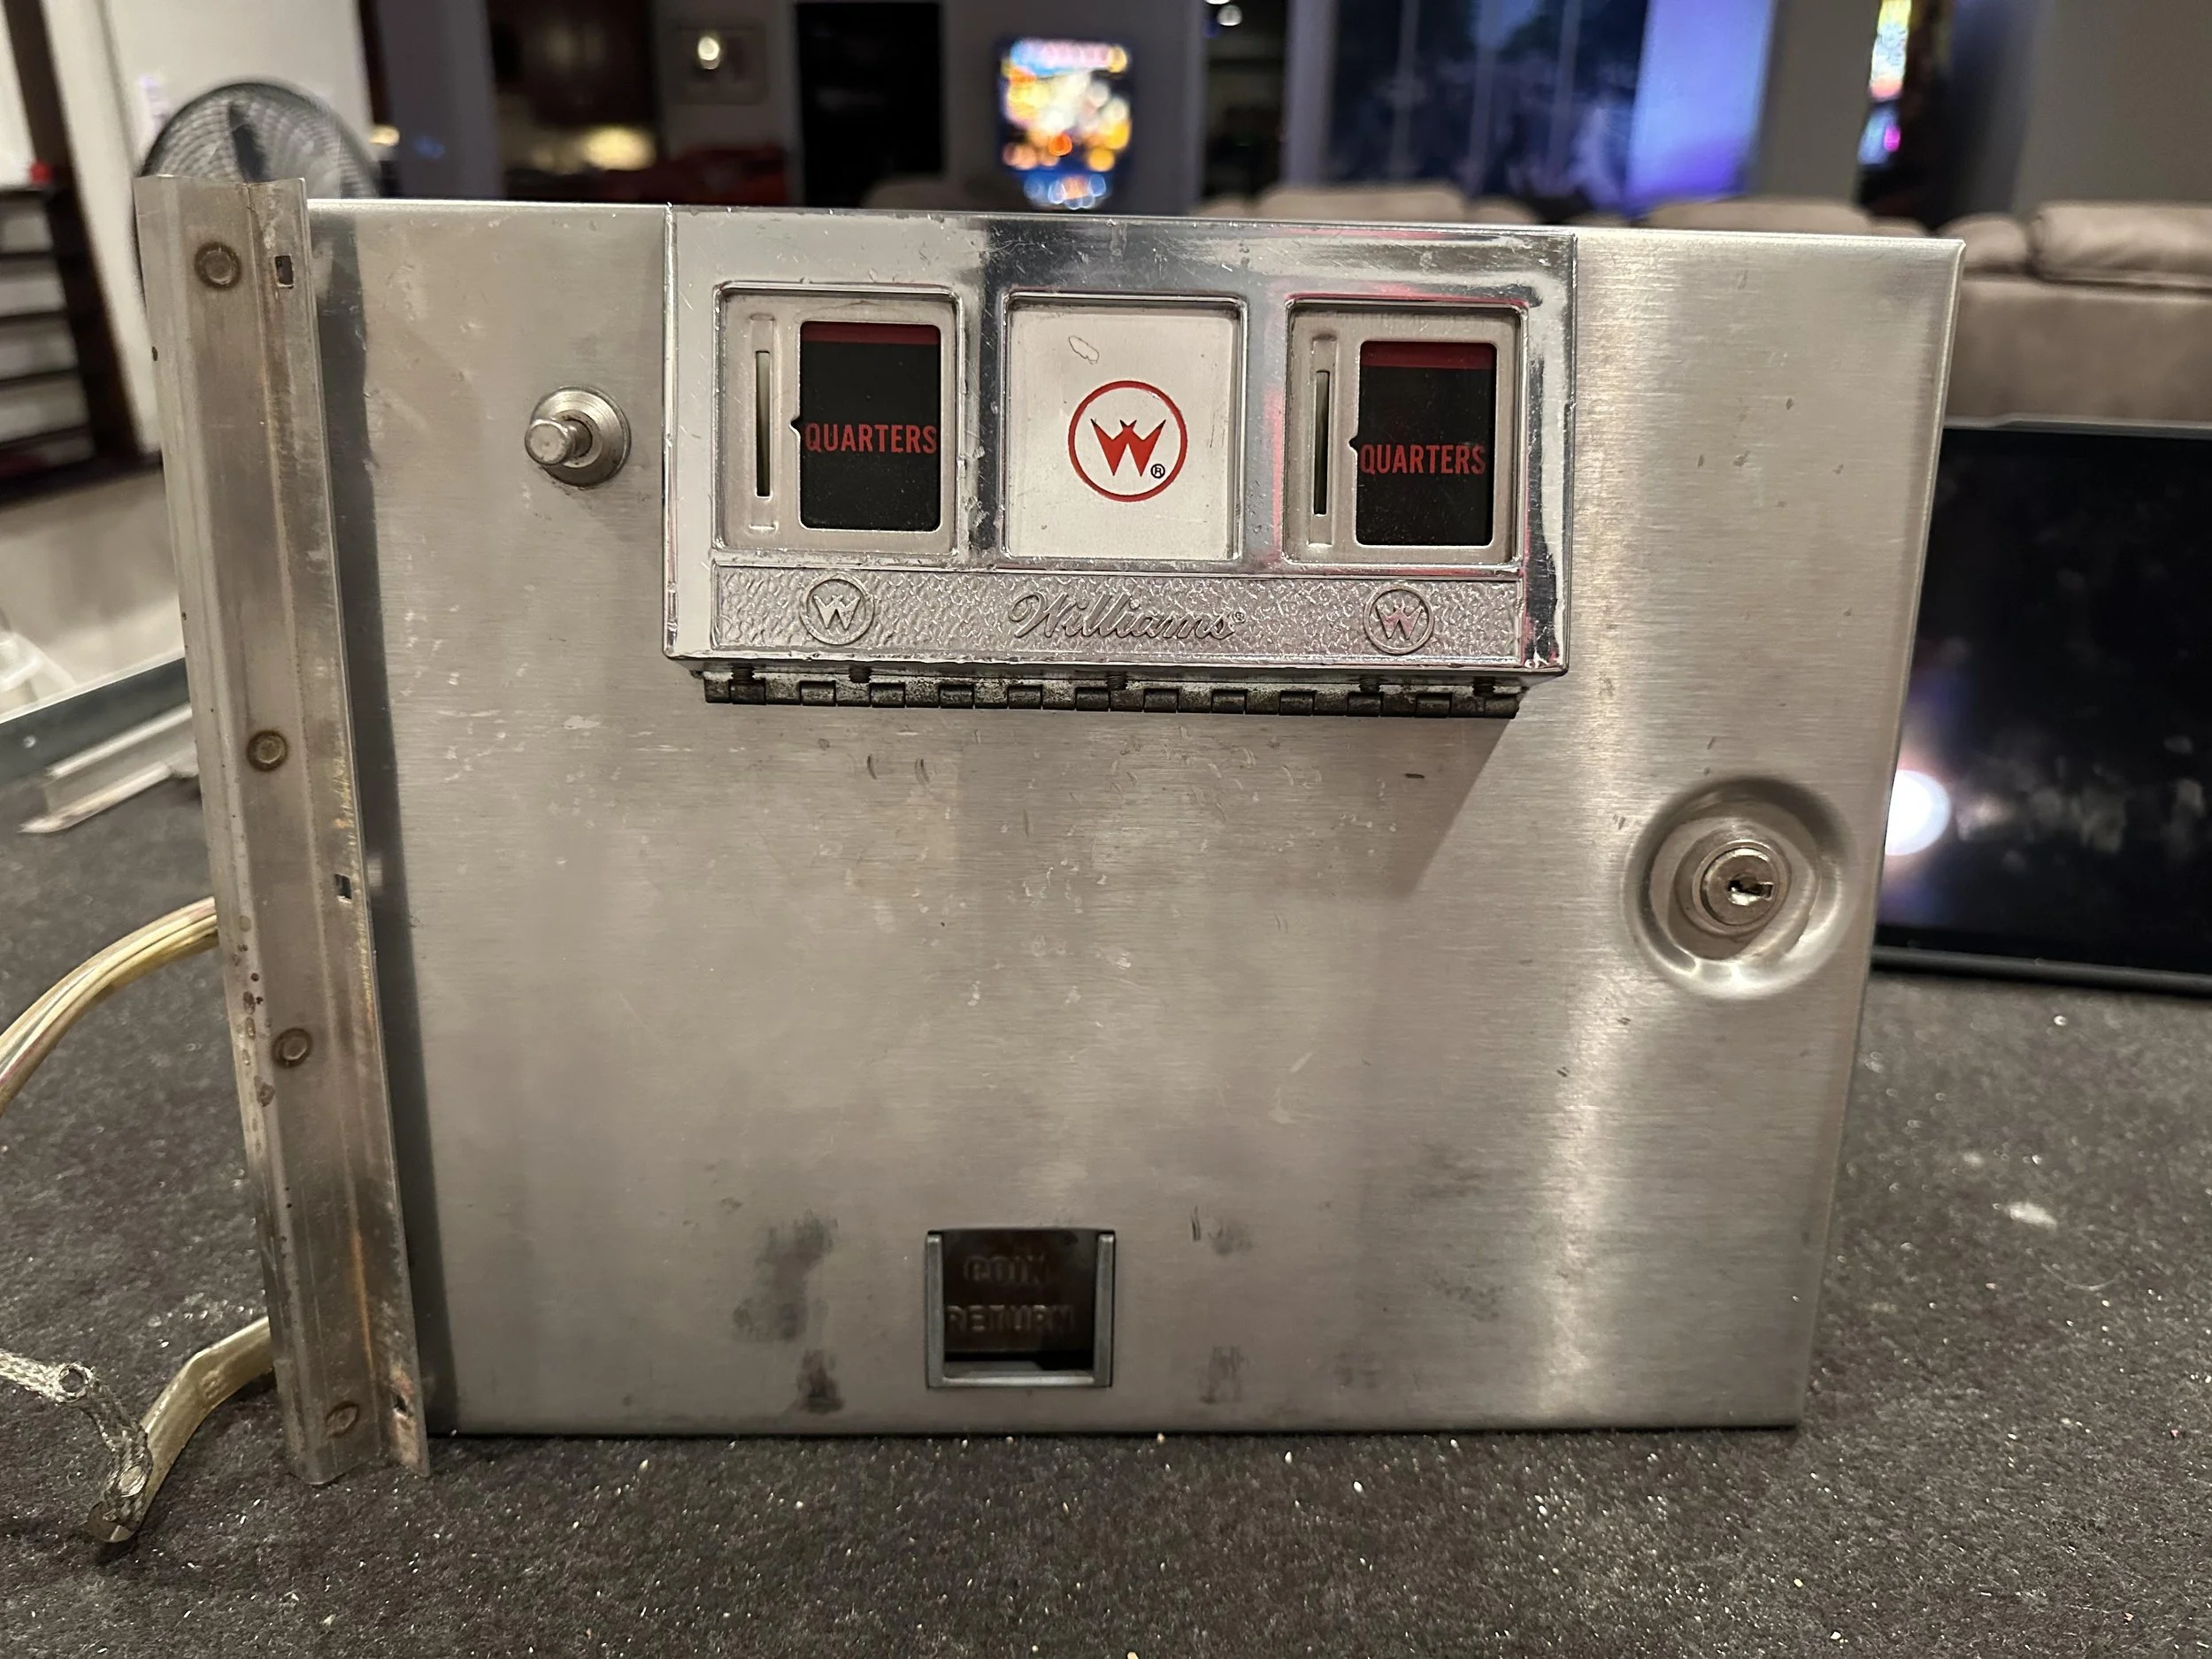
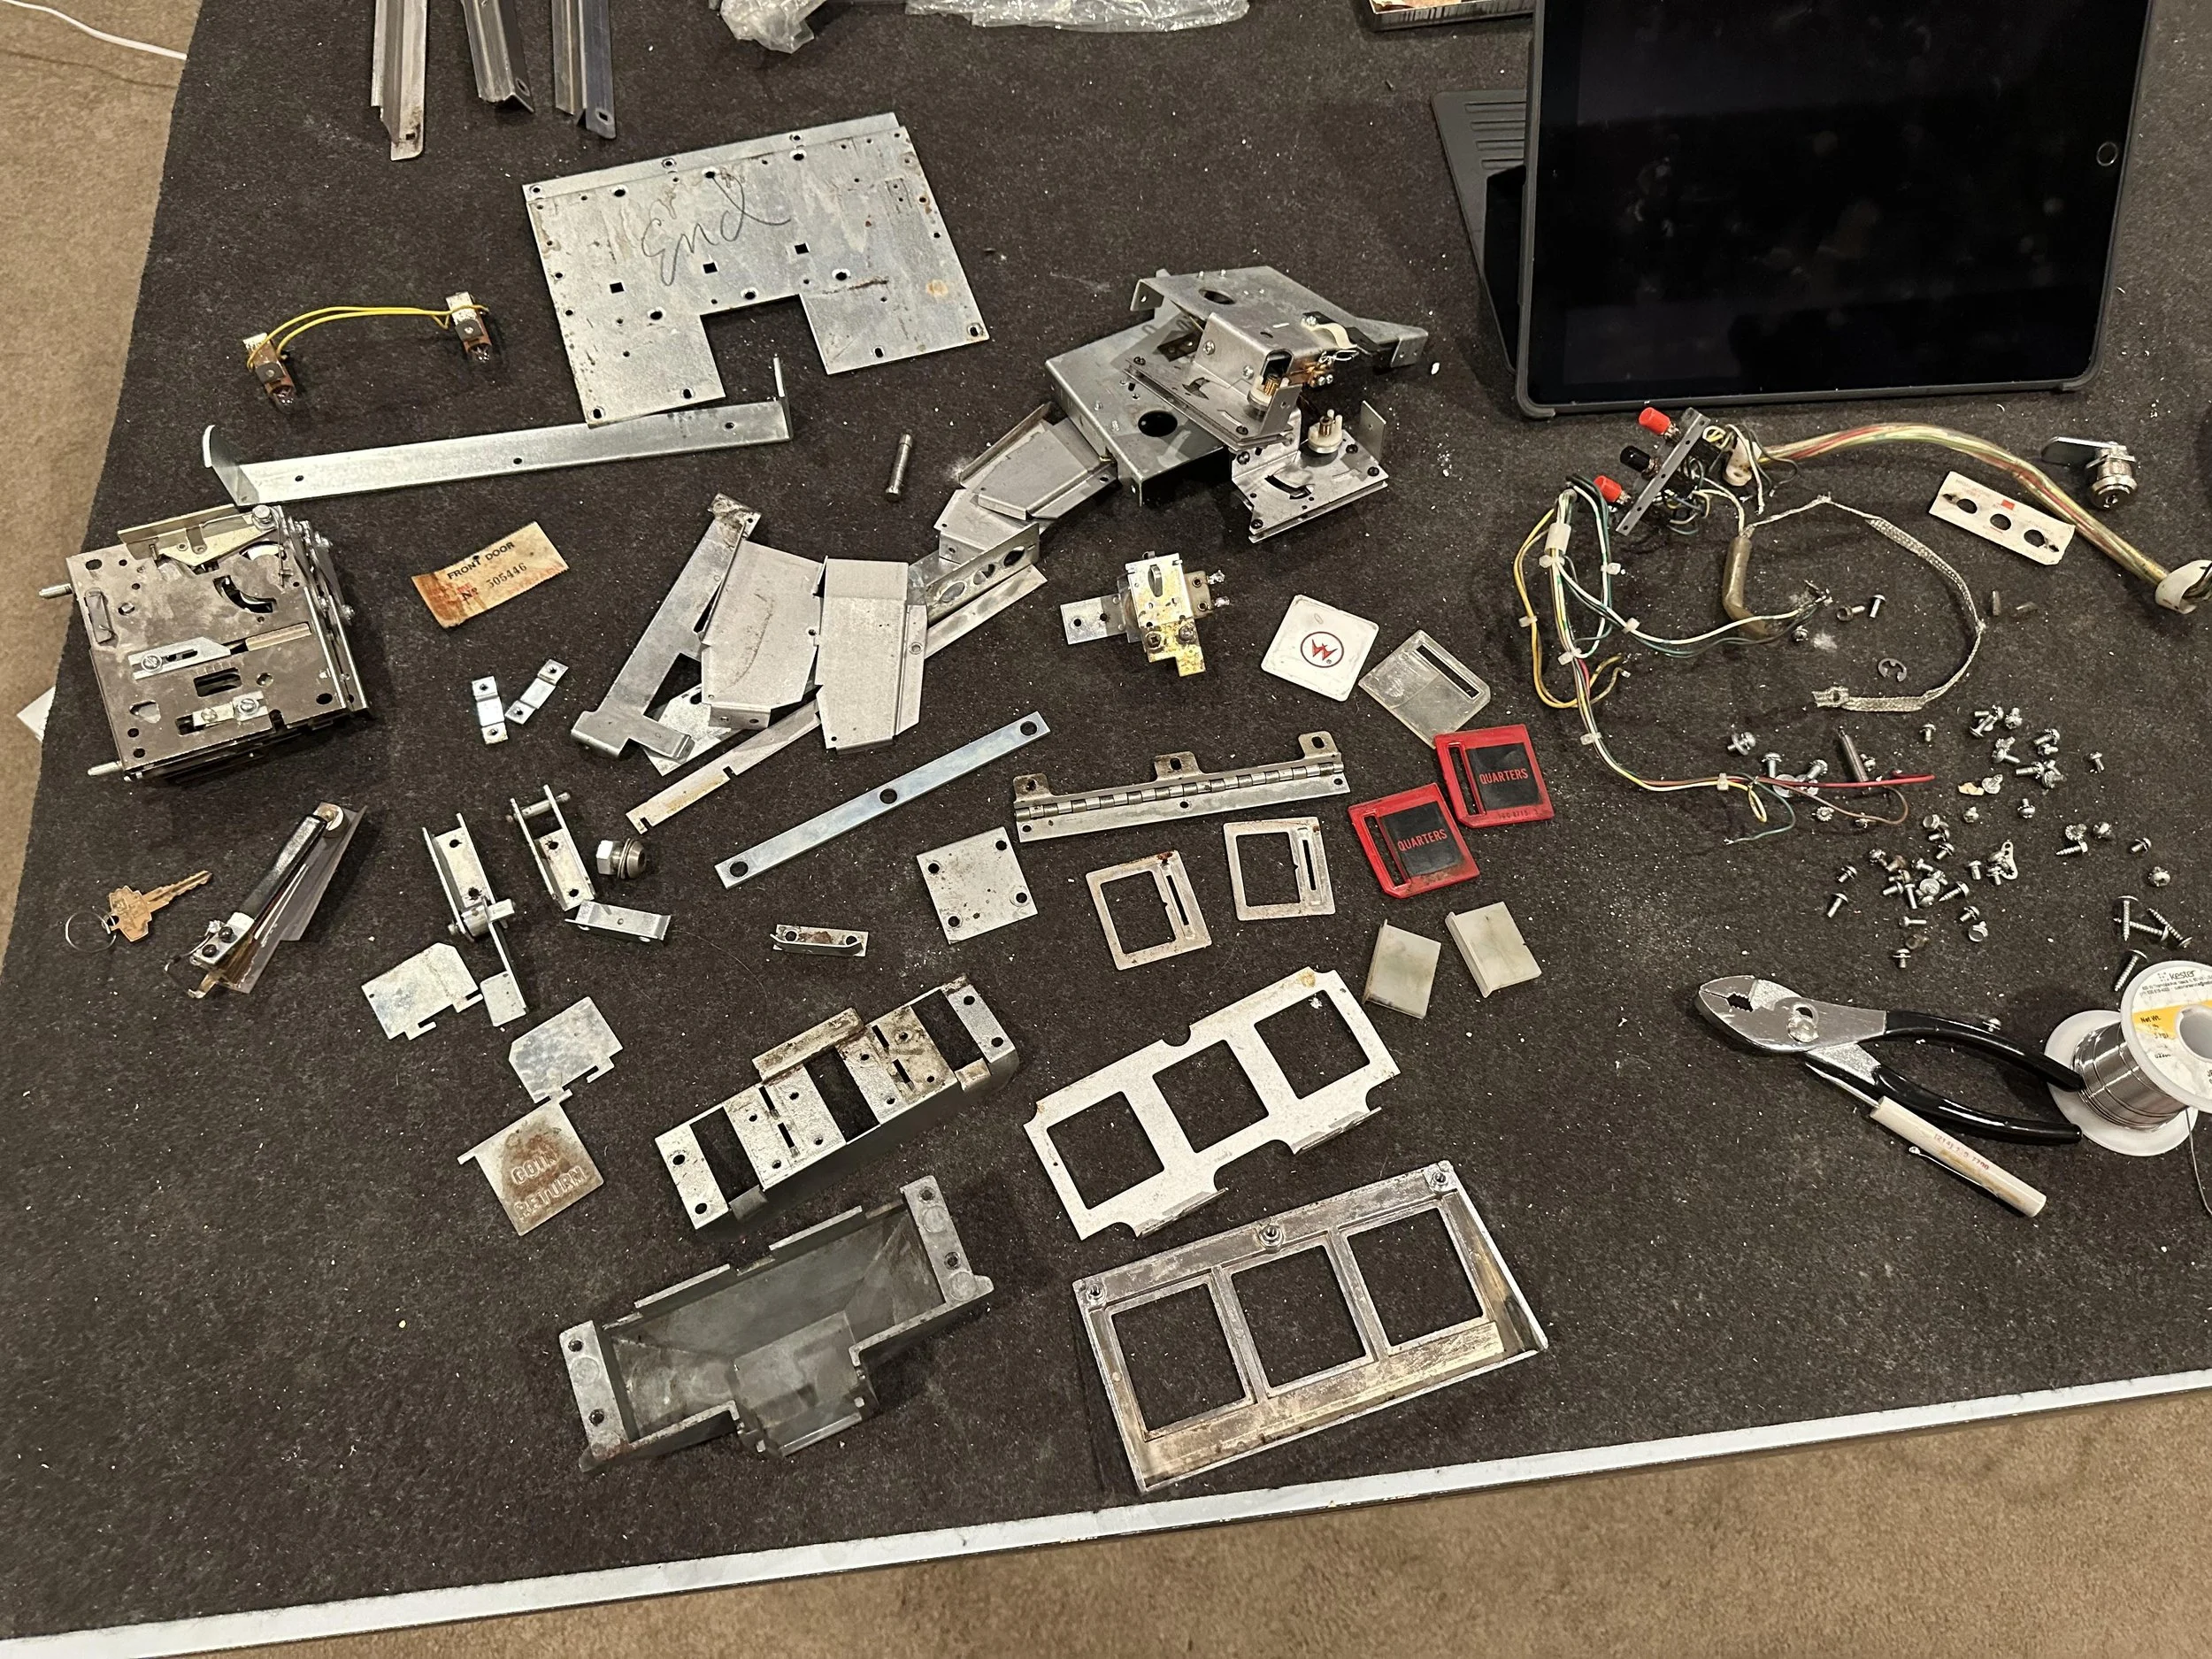
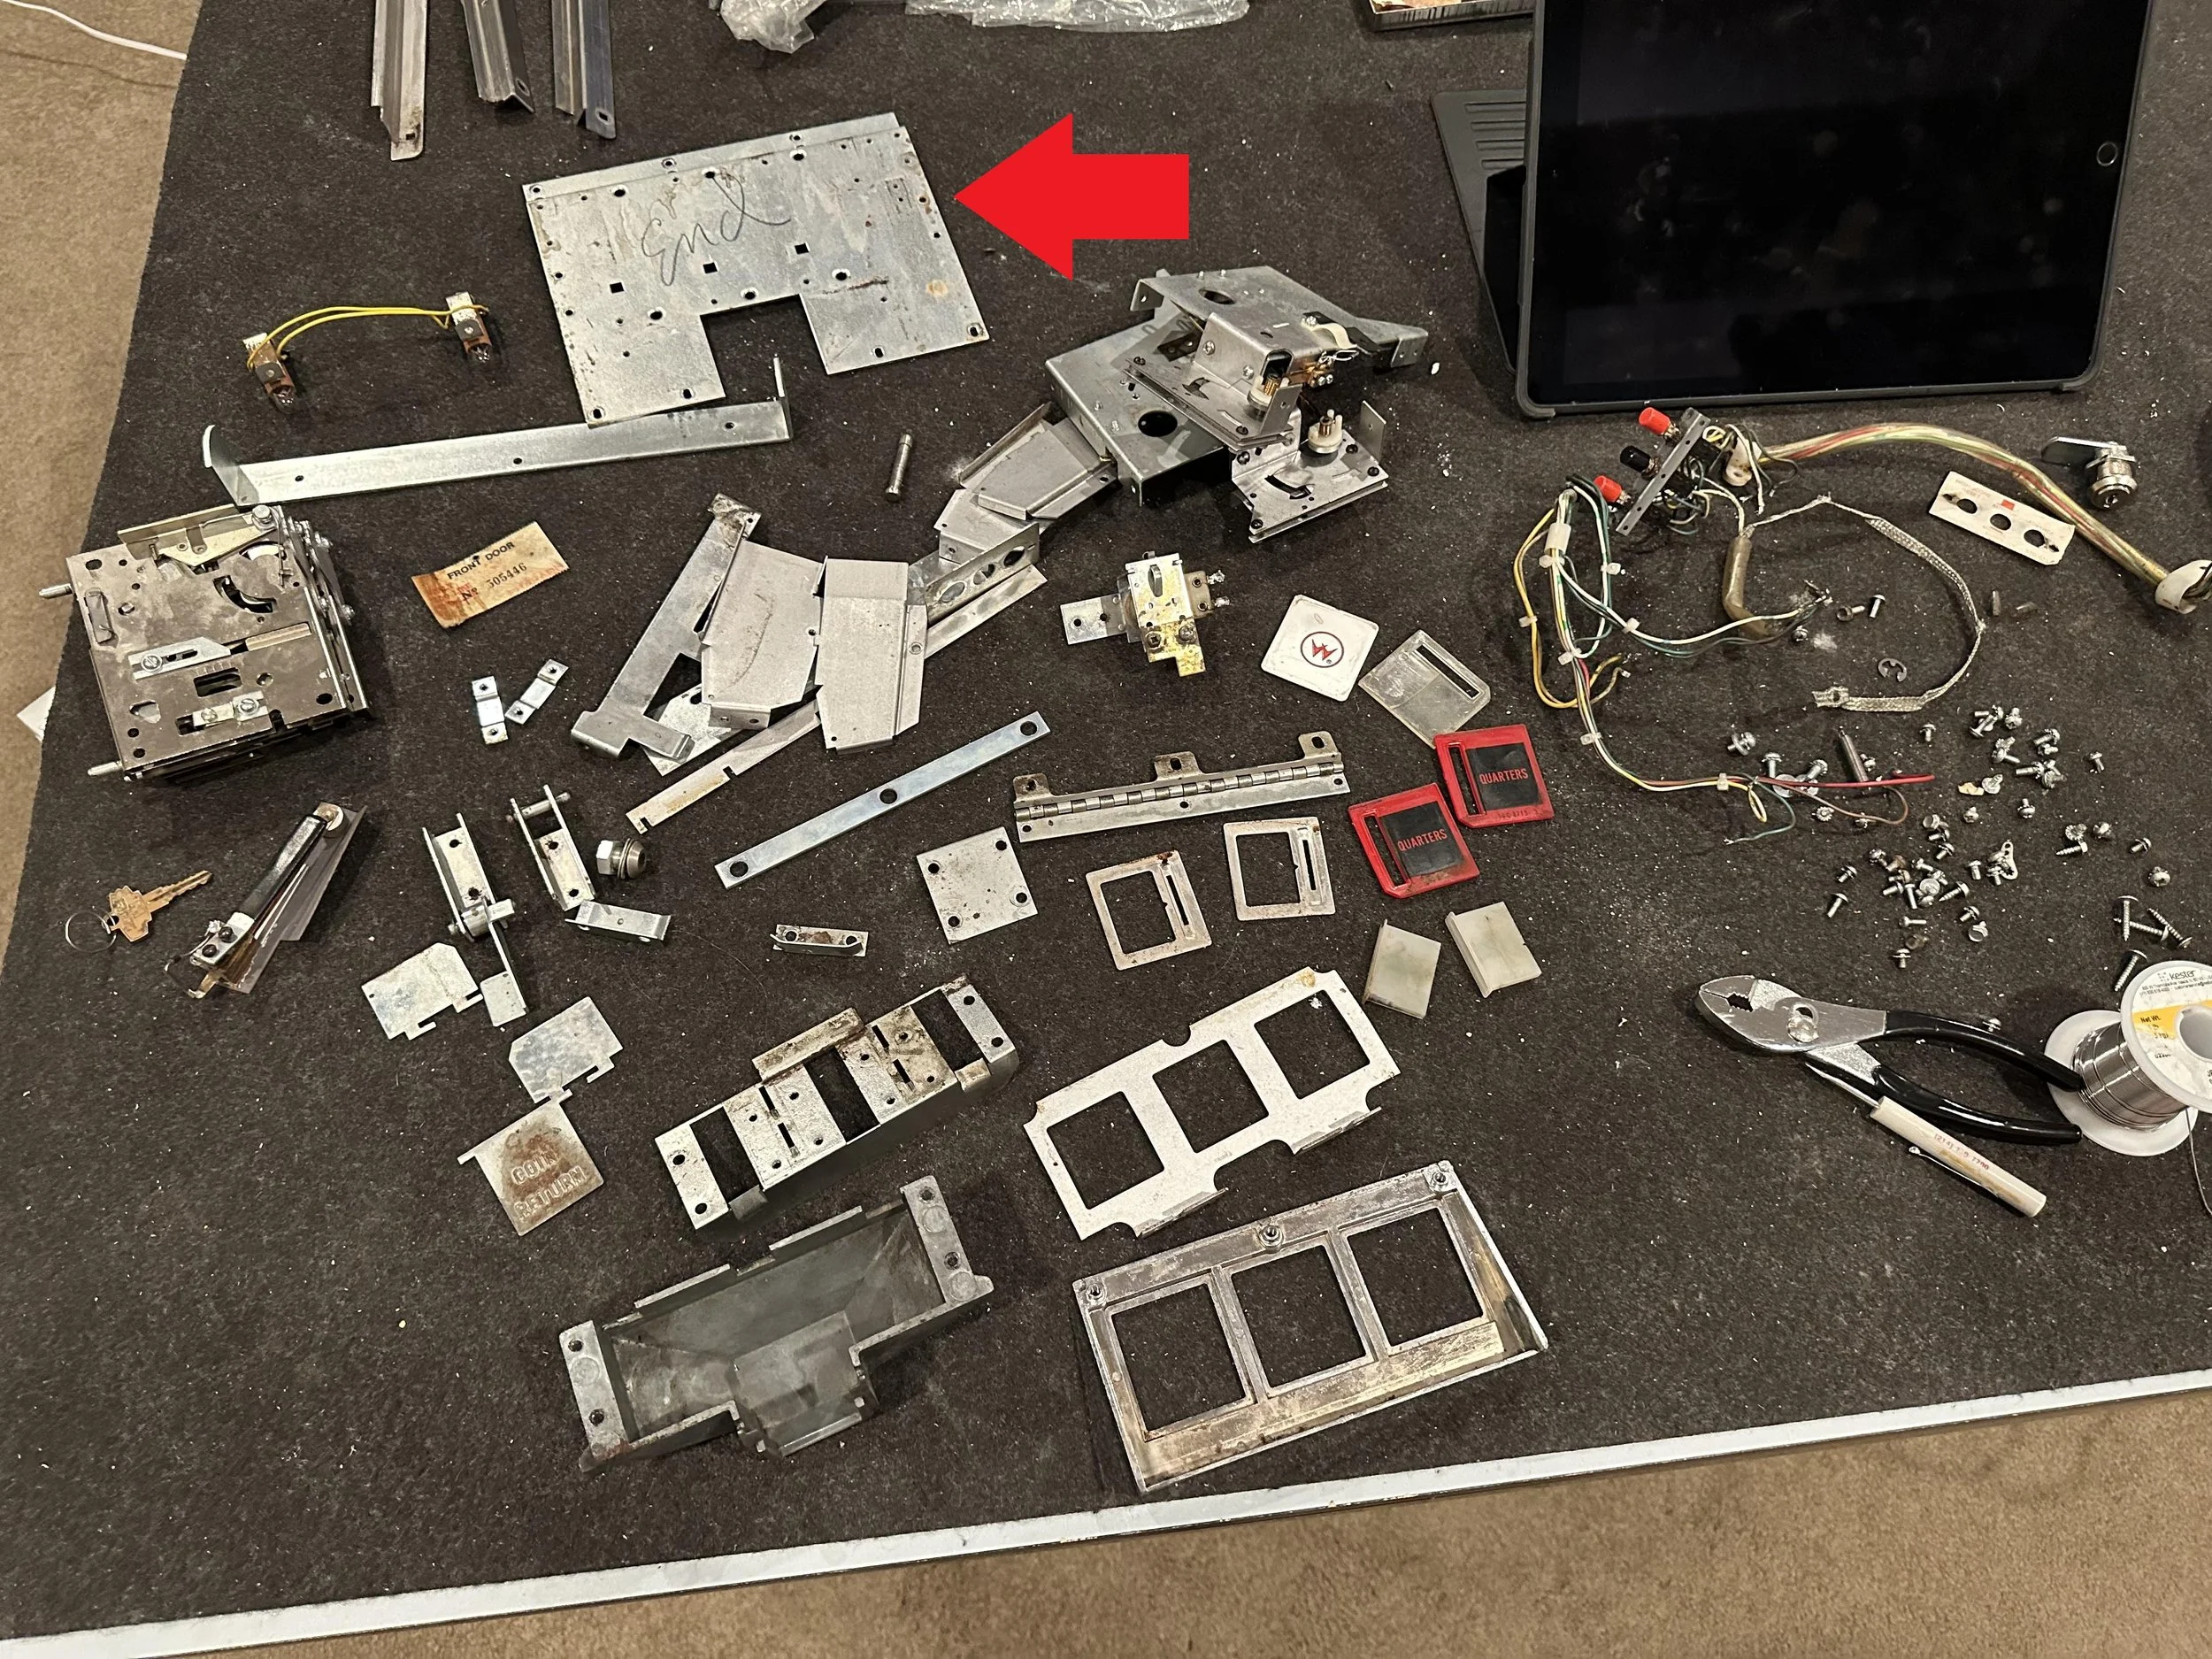
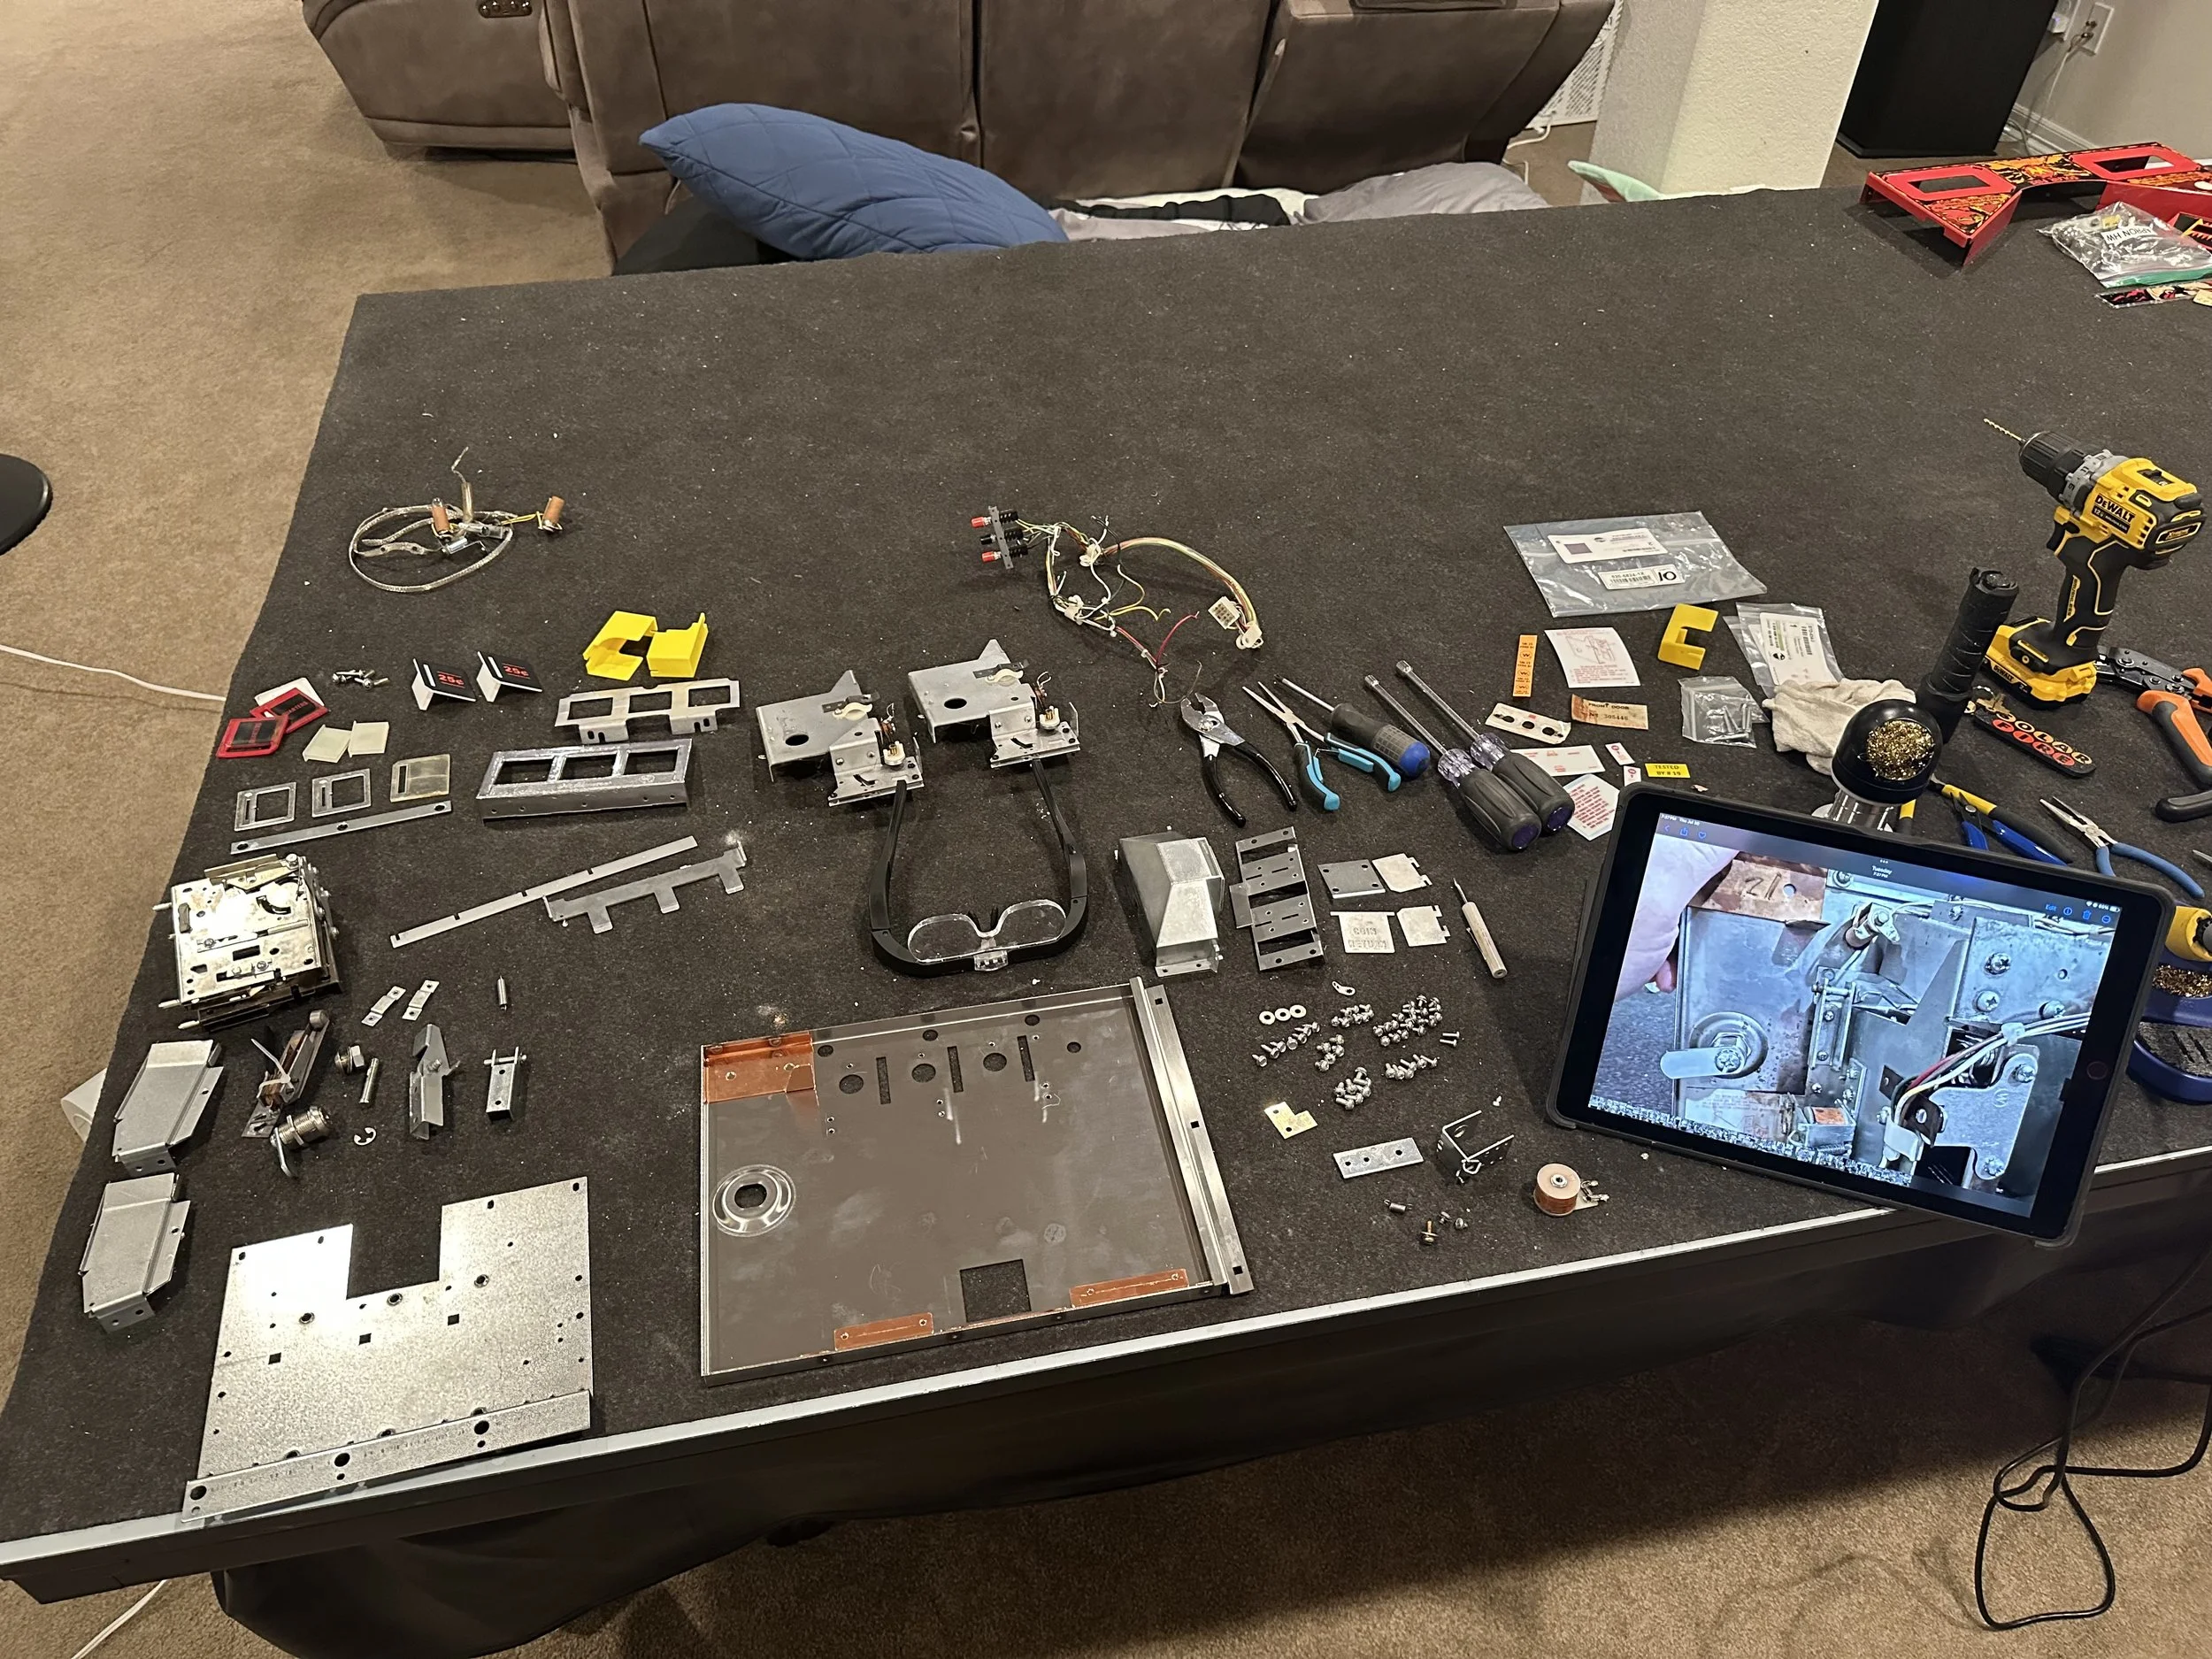
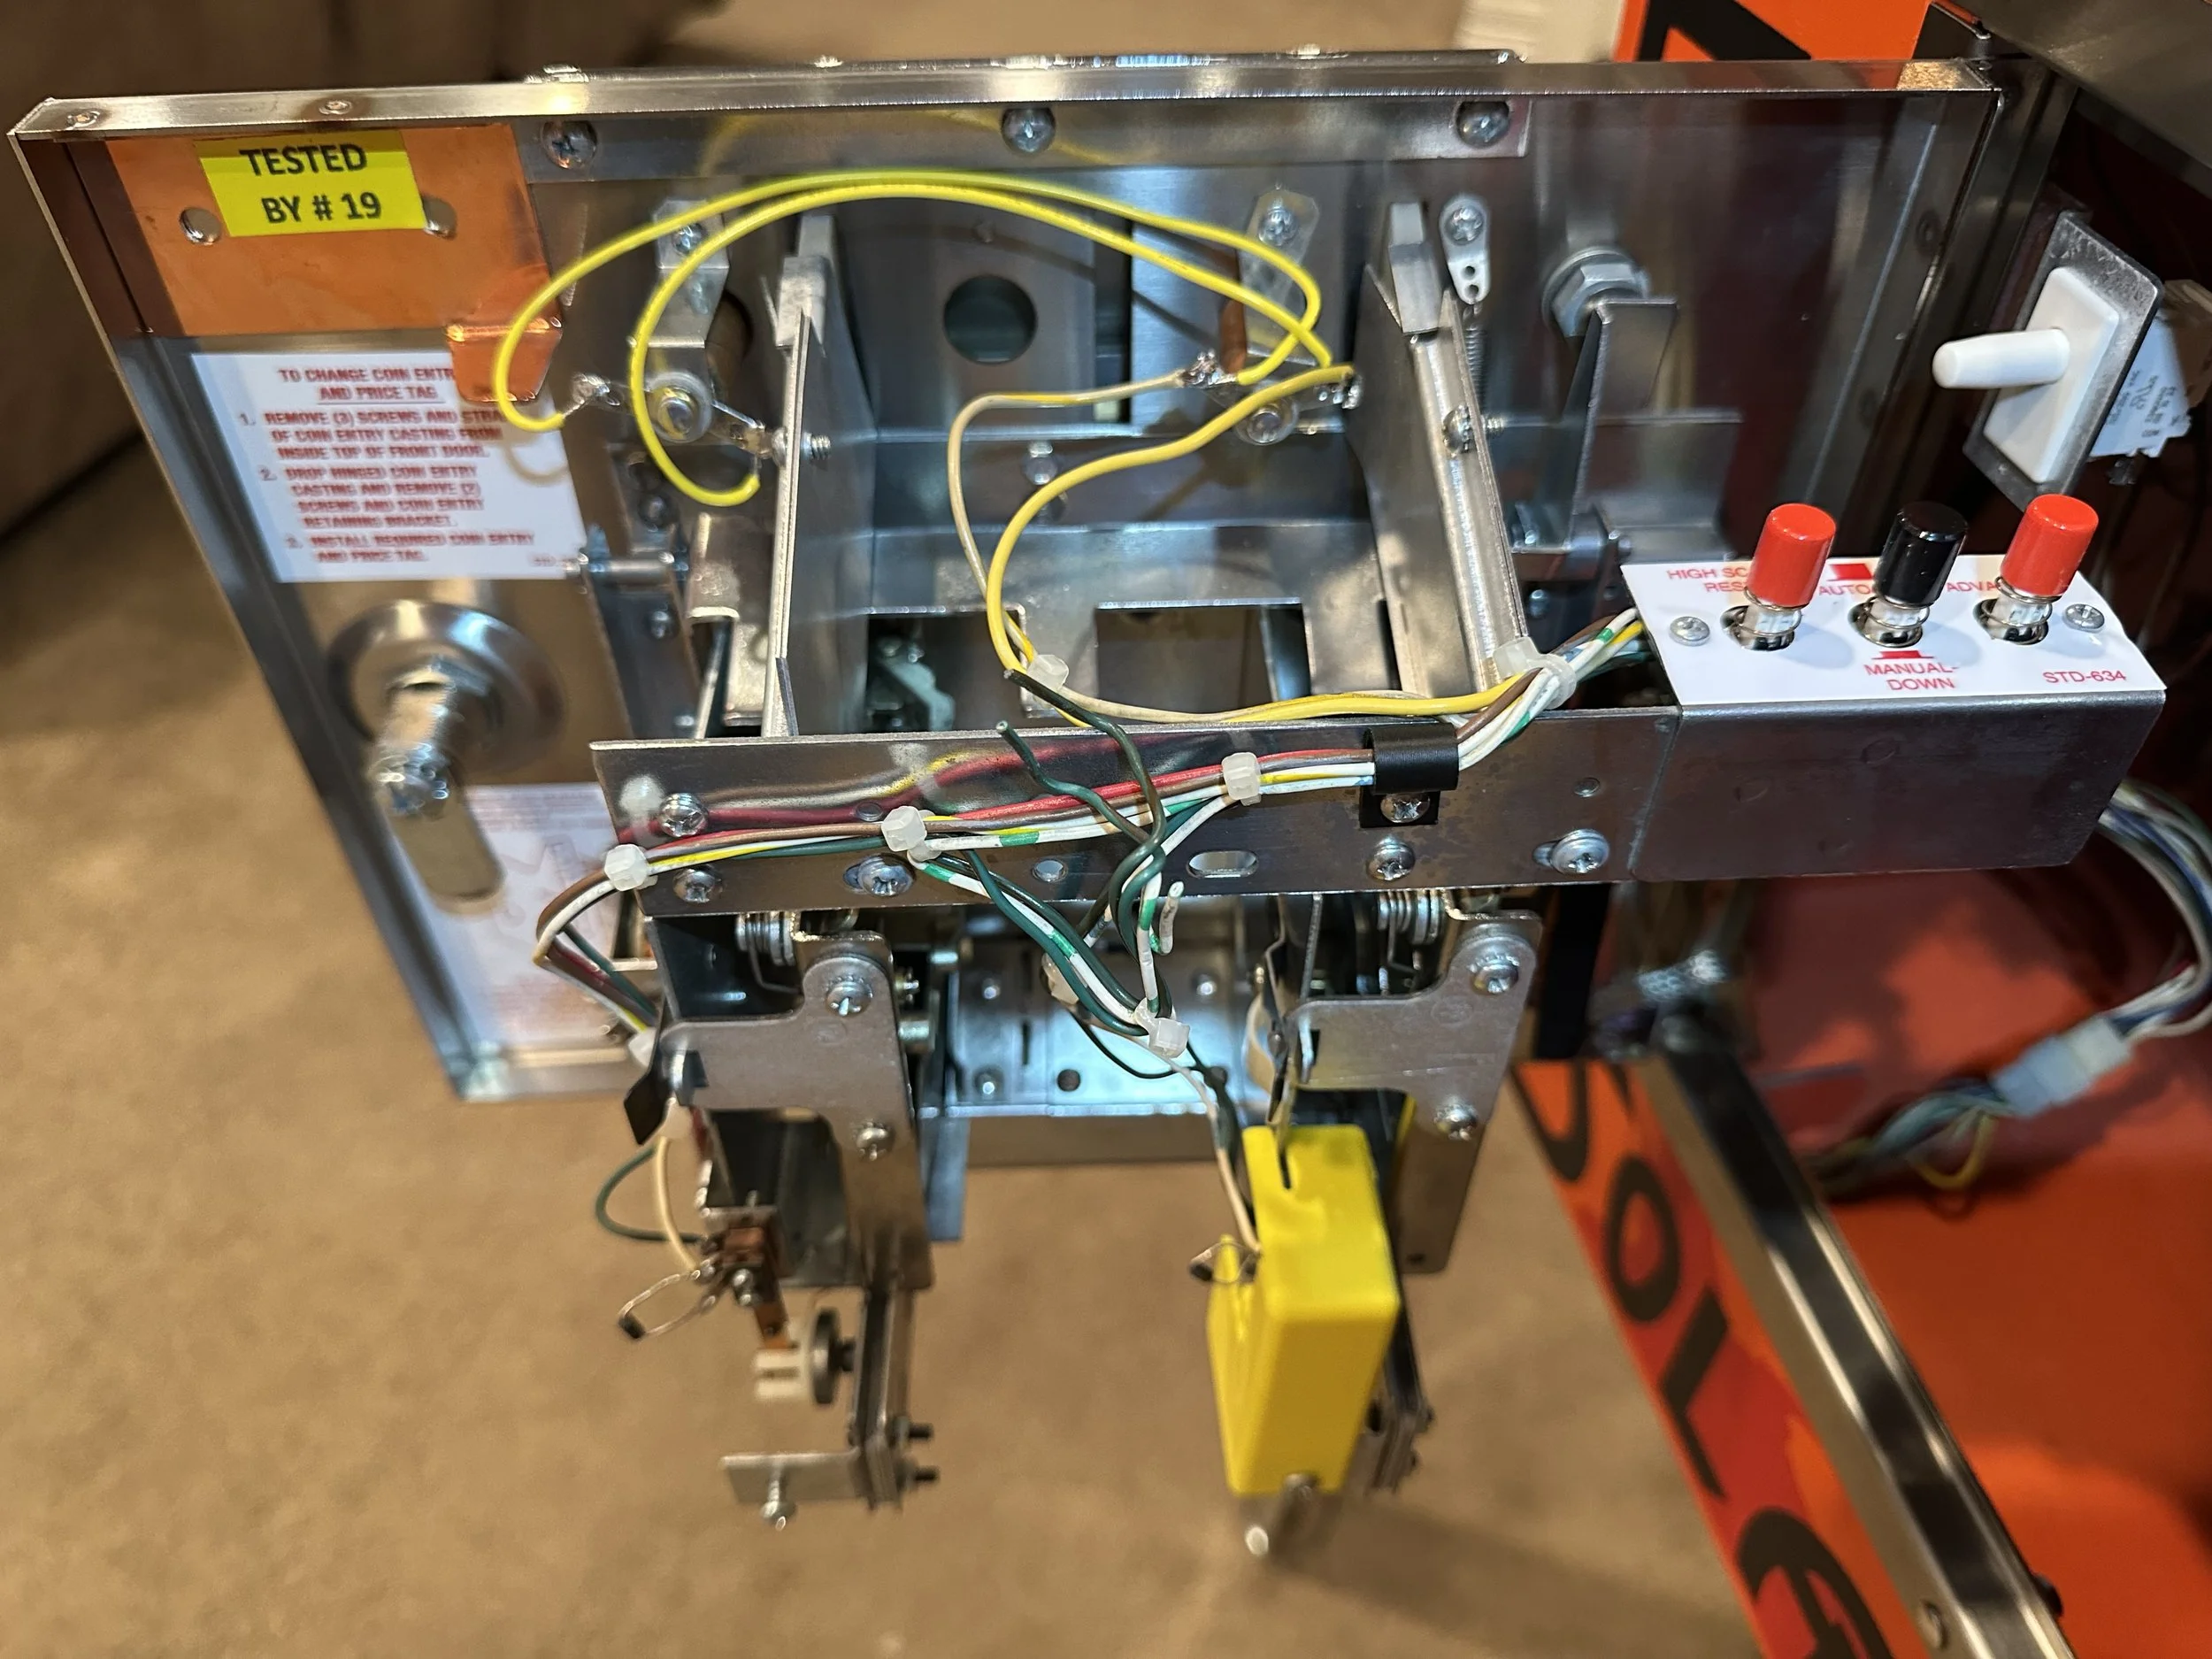
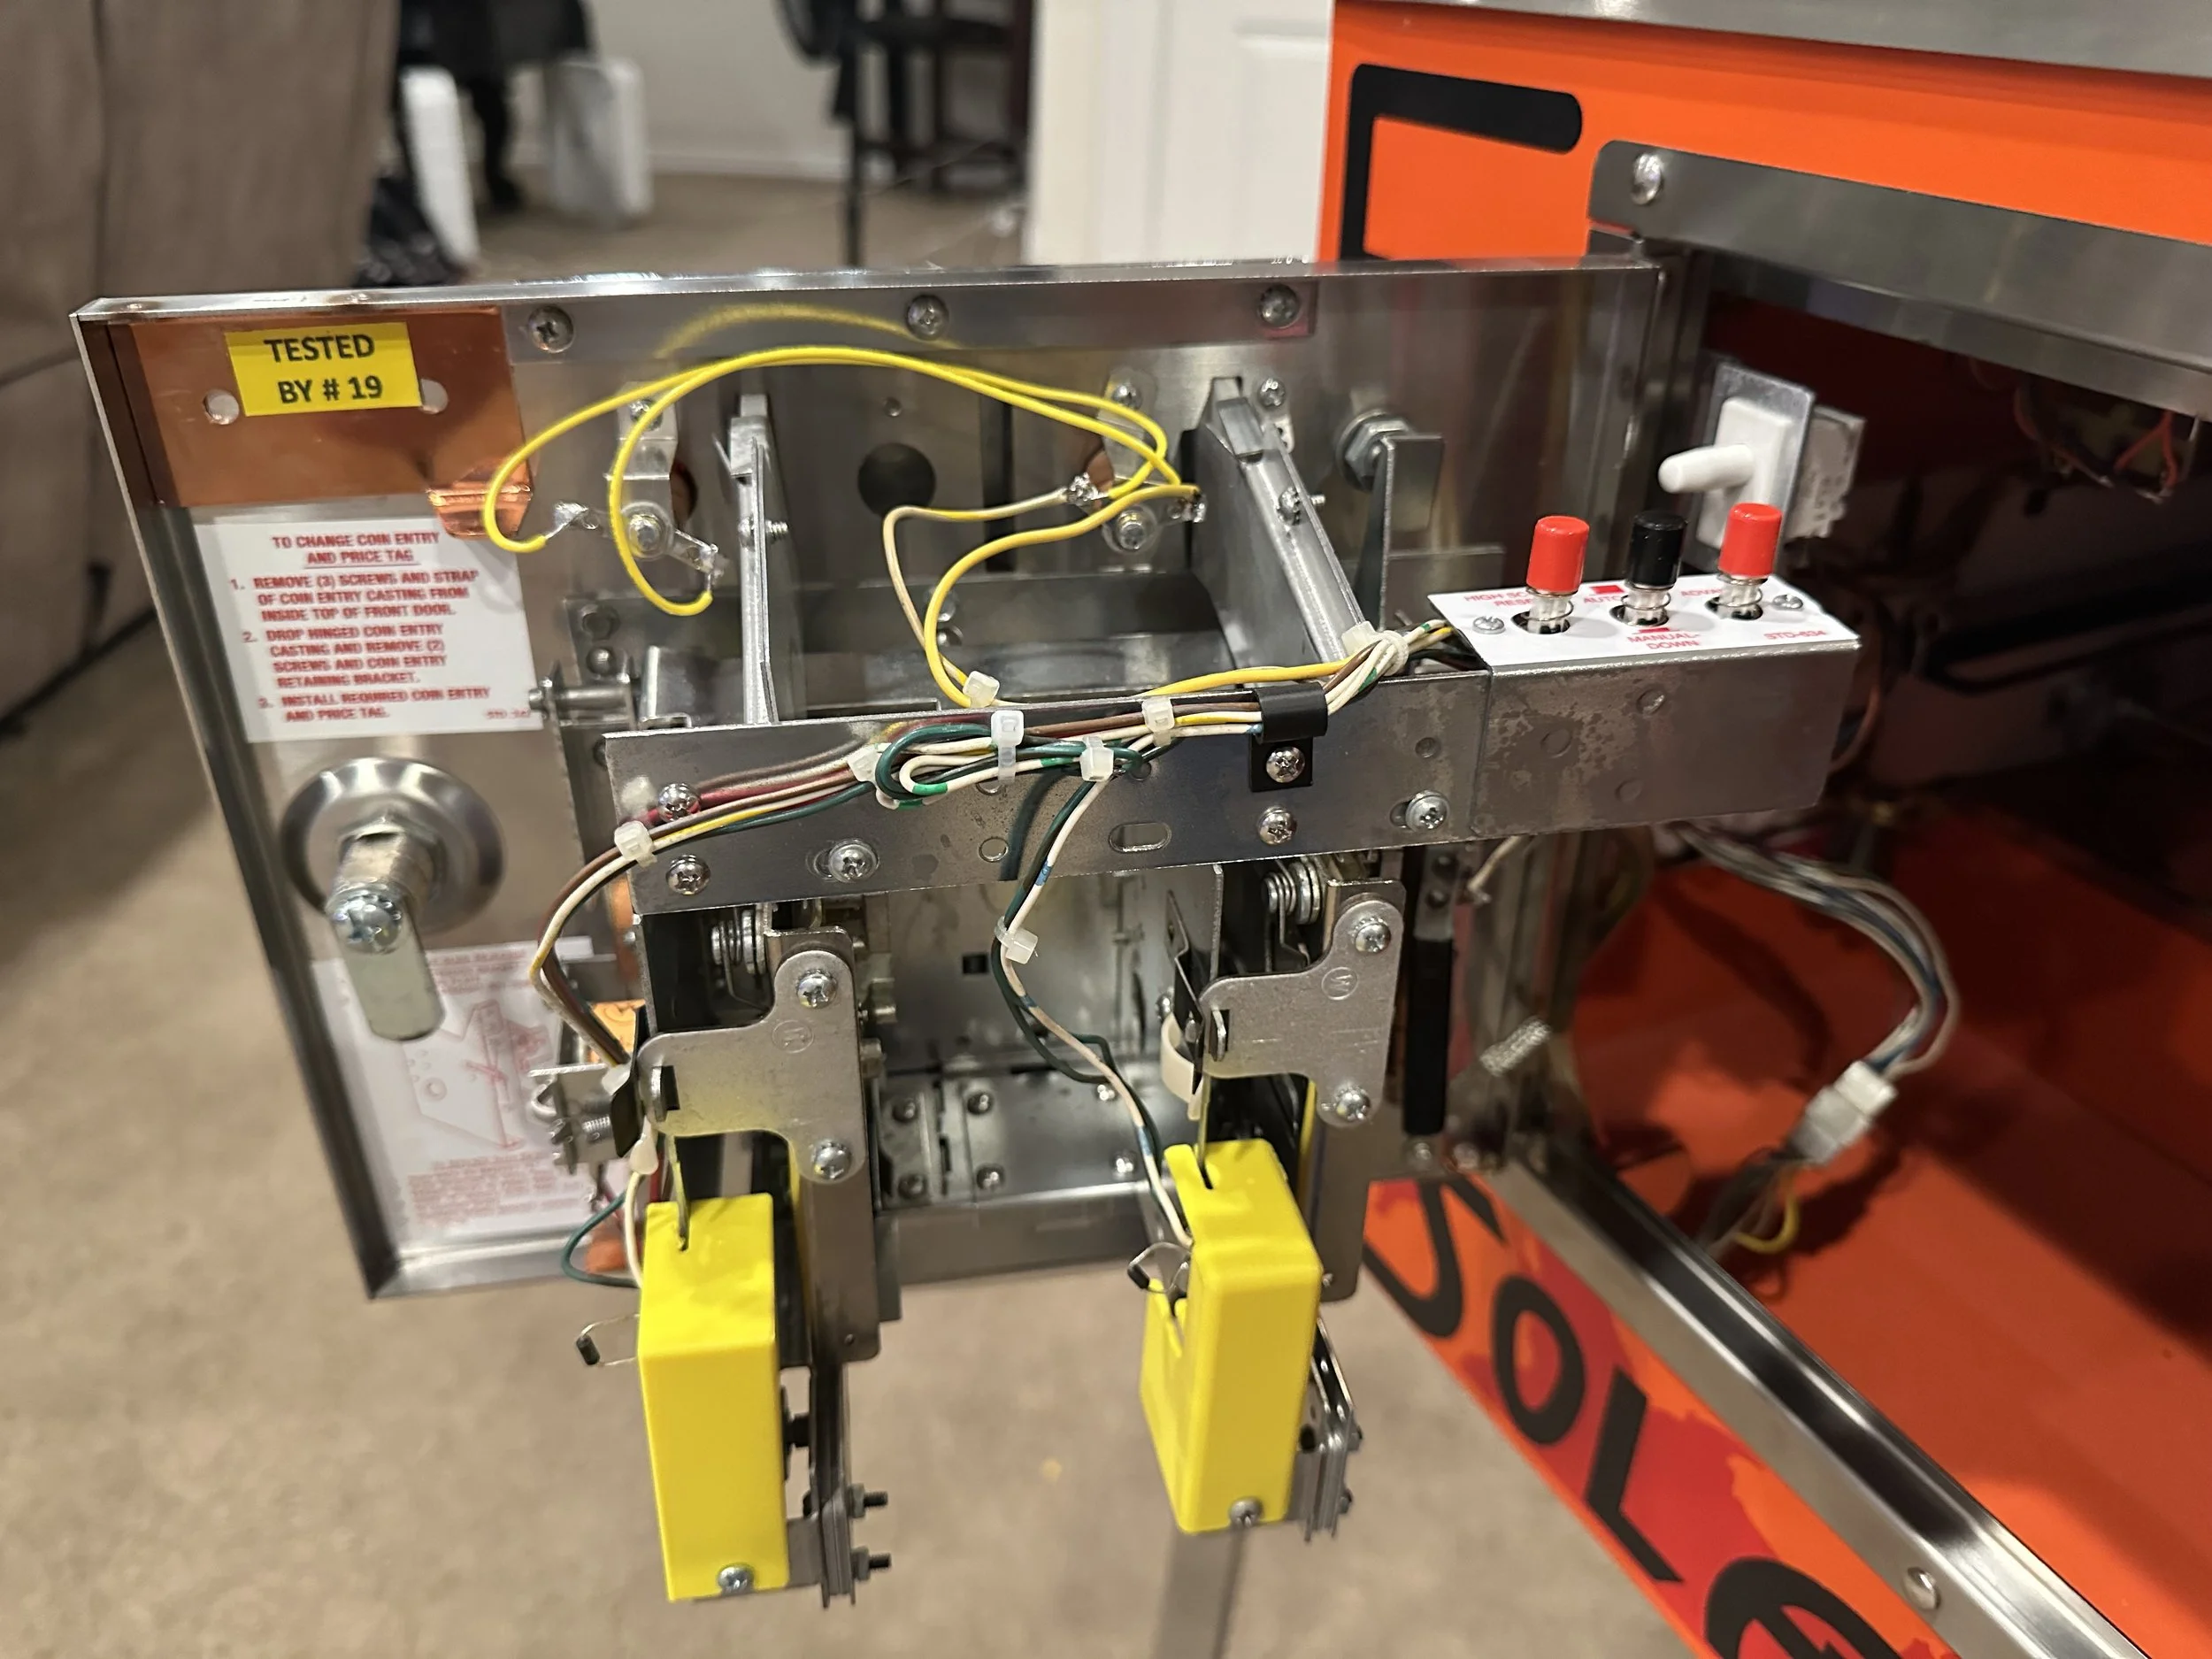
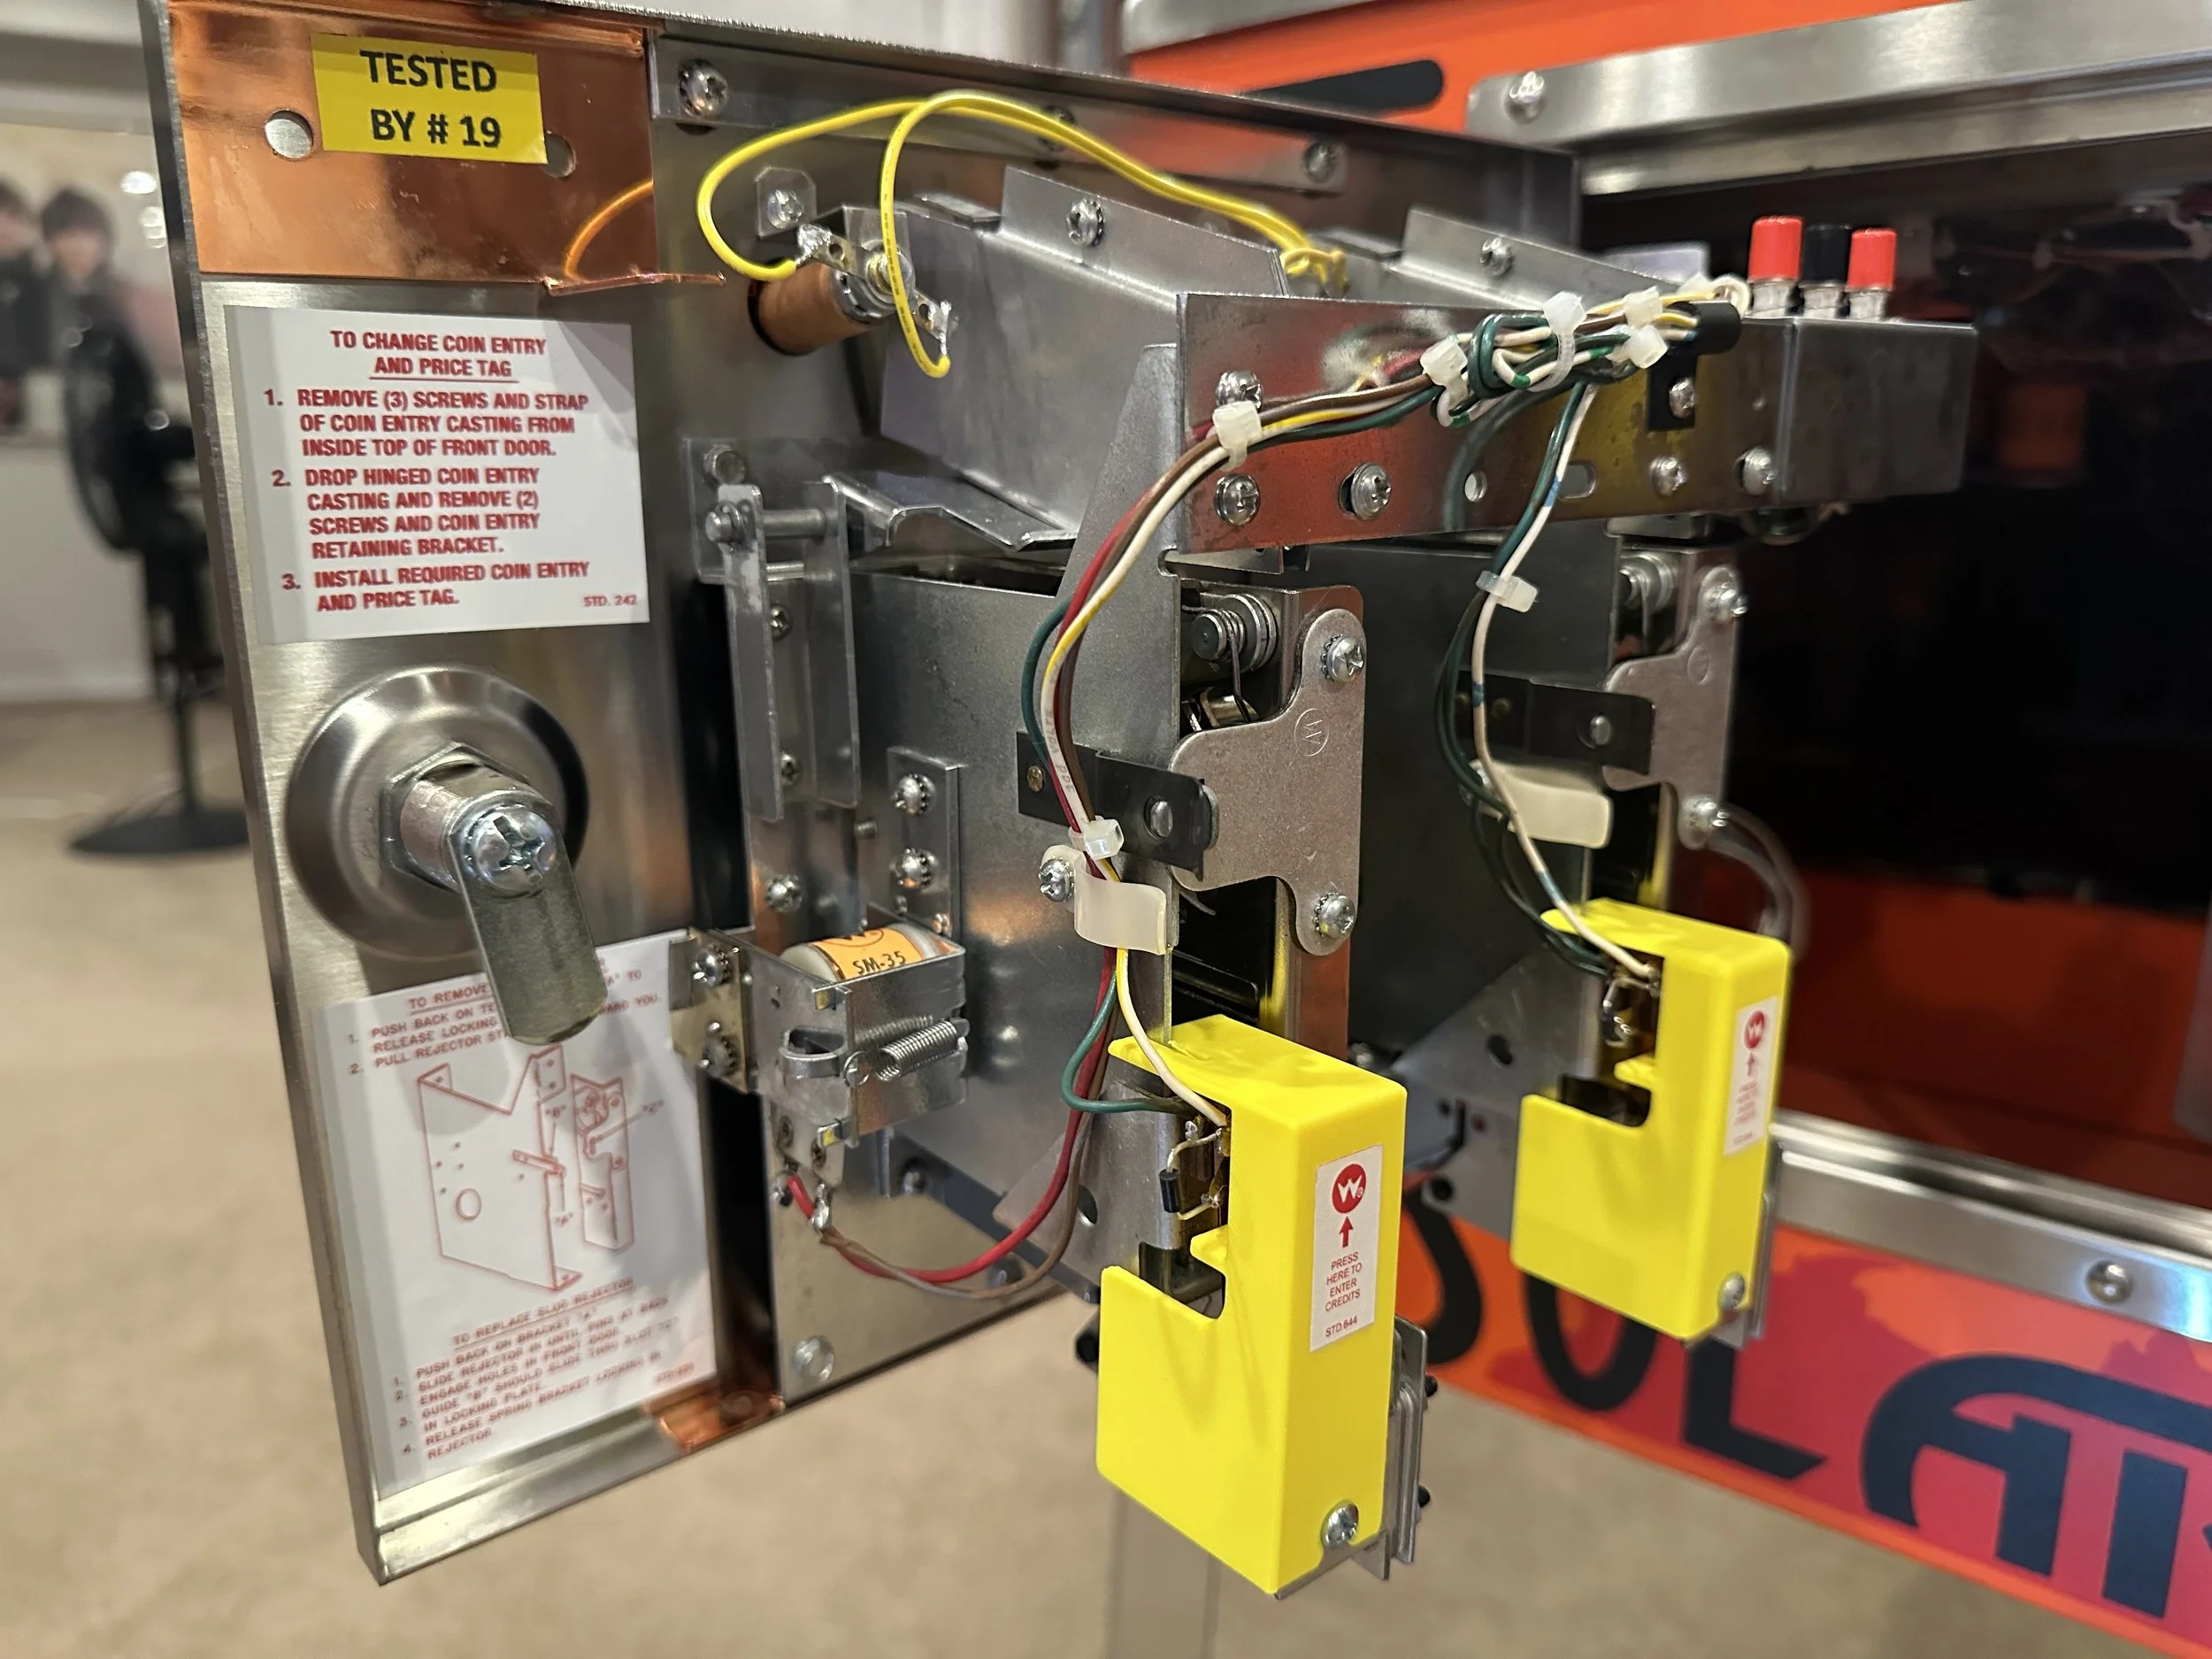
Switch covers for the coin door (which rock and add credits)